
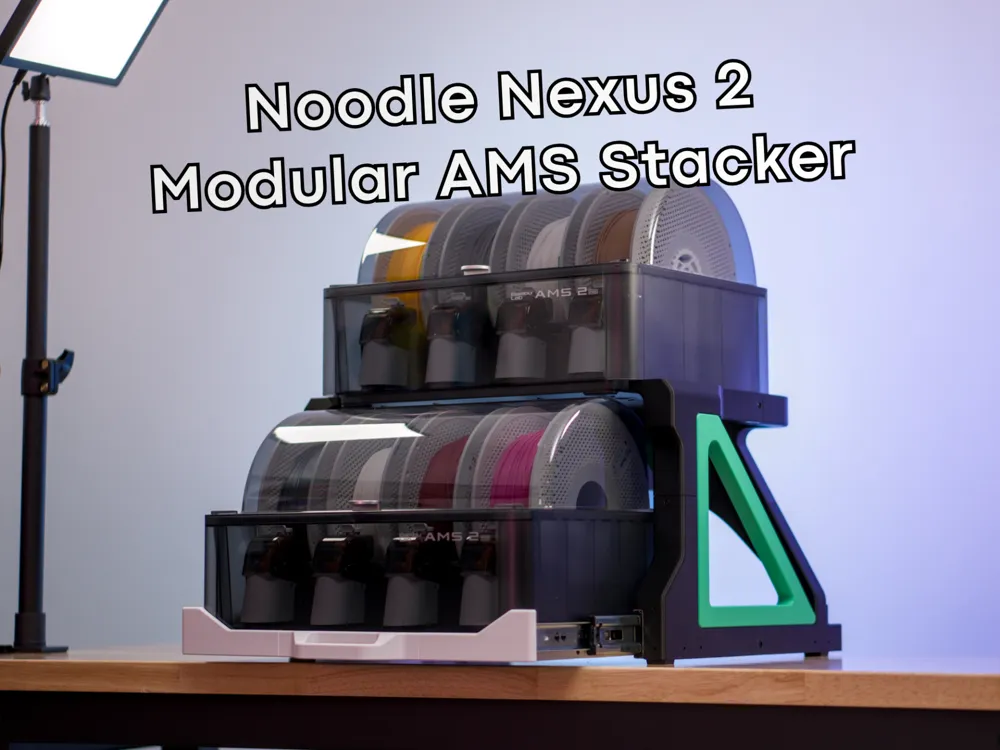
Noodle Nexus 2: Modular AMS Stacker Drawer
Print Profile(2)
Bill of Materials







Description
Introduction
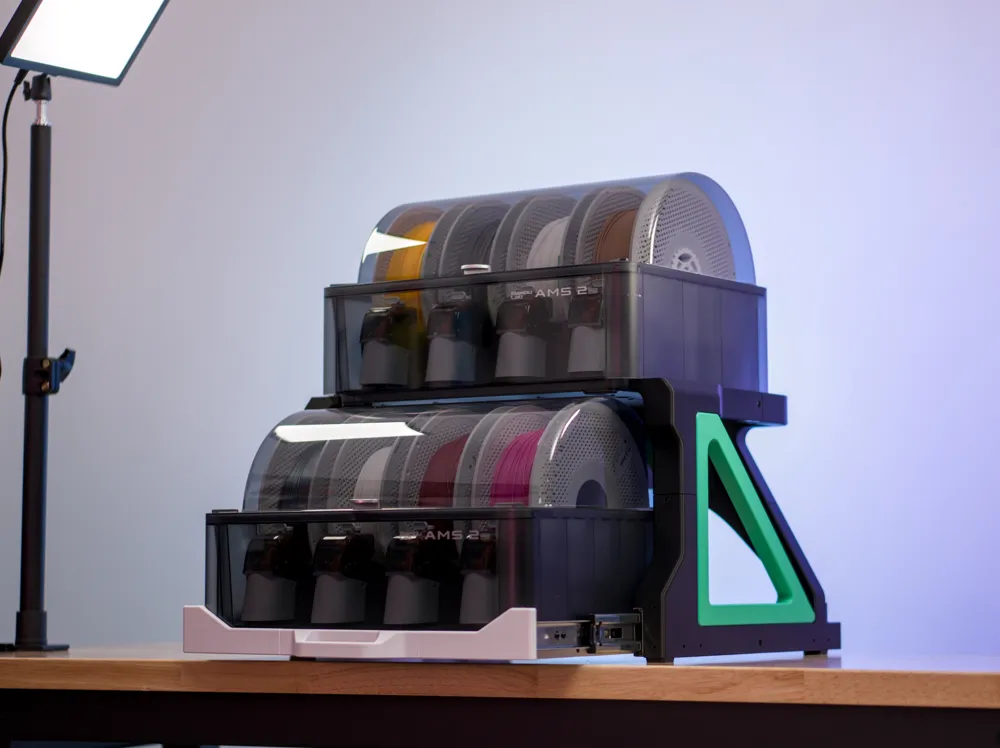
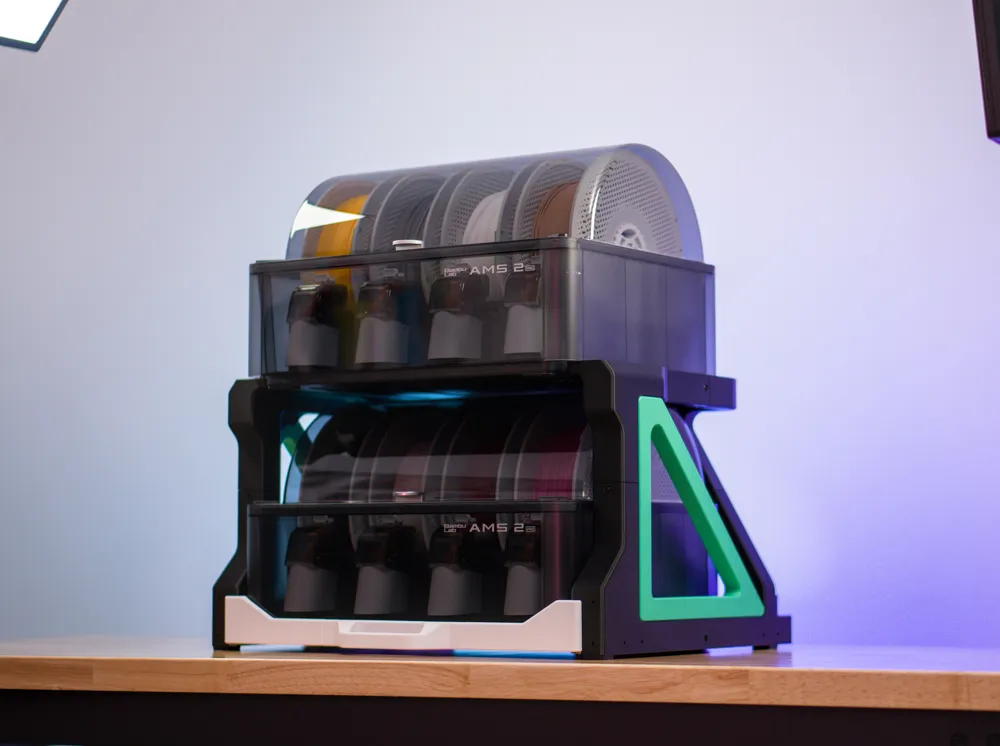
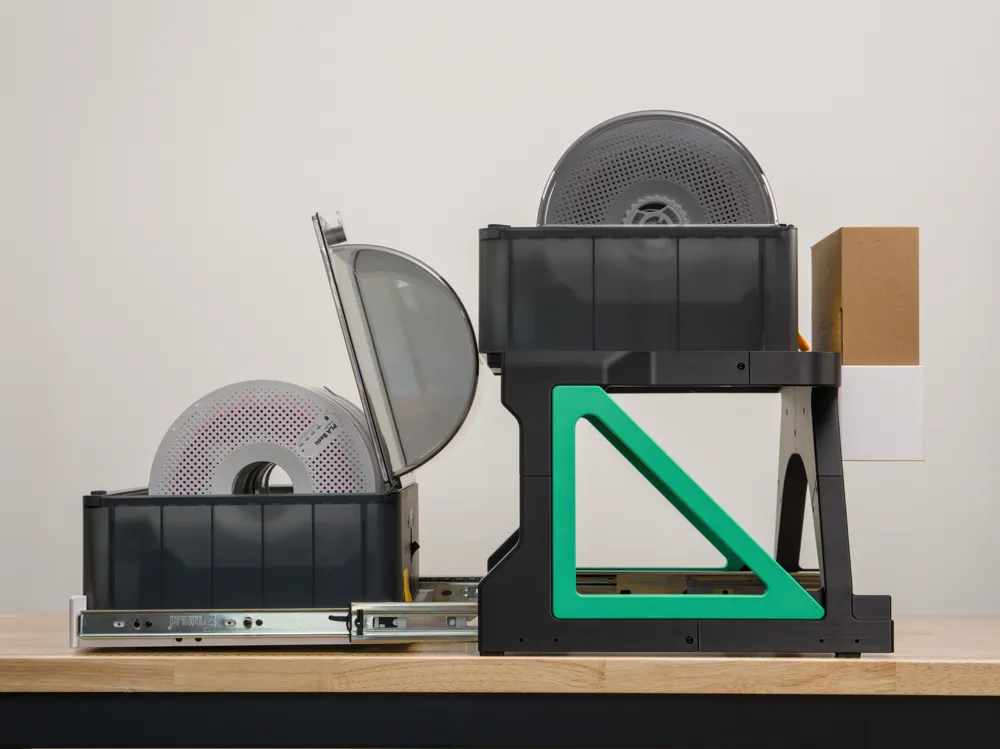
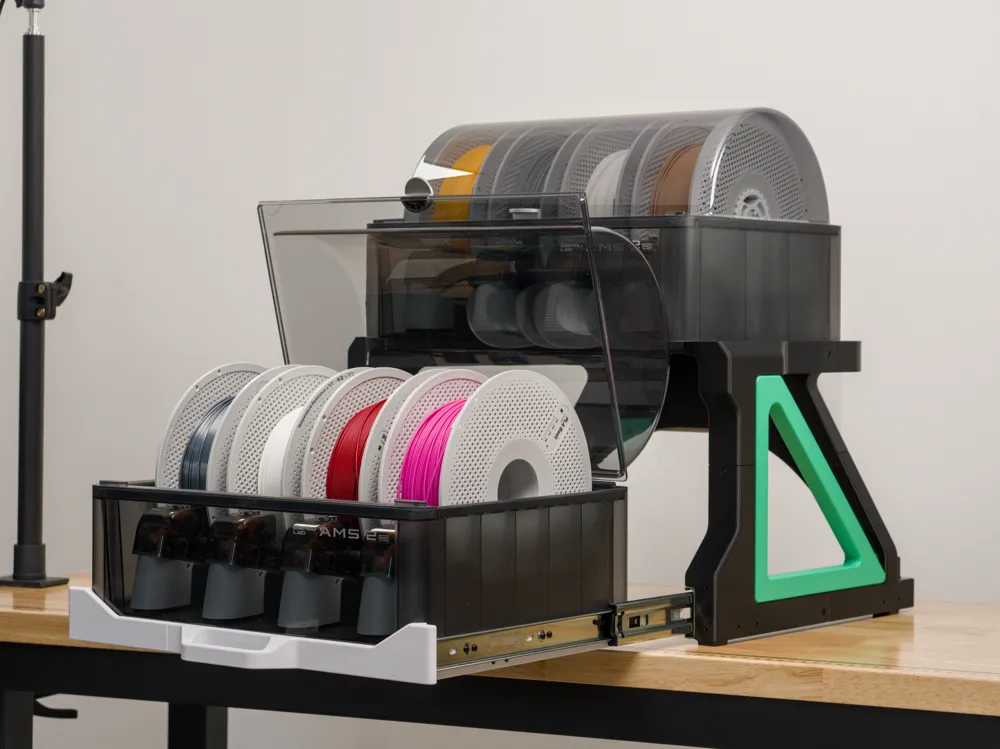
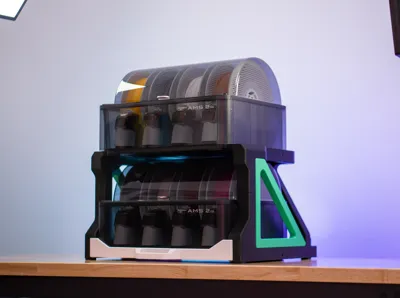
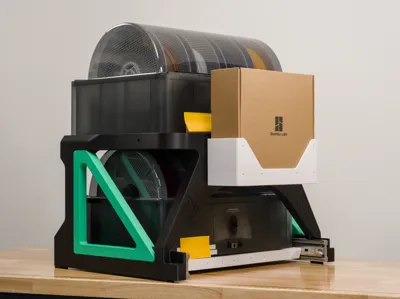
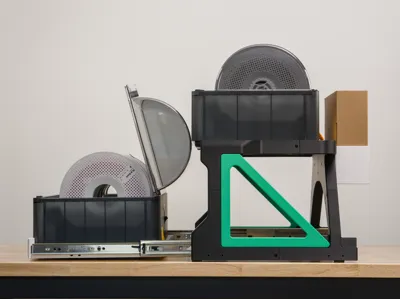
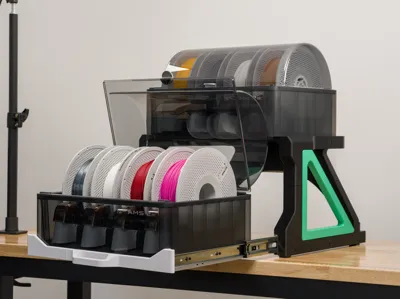
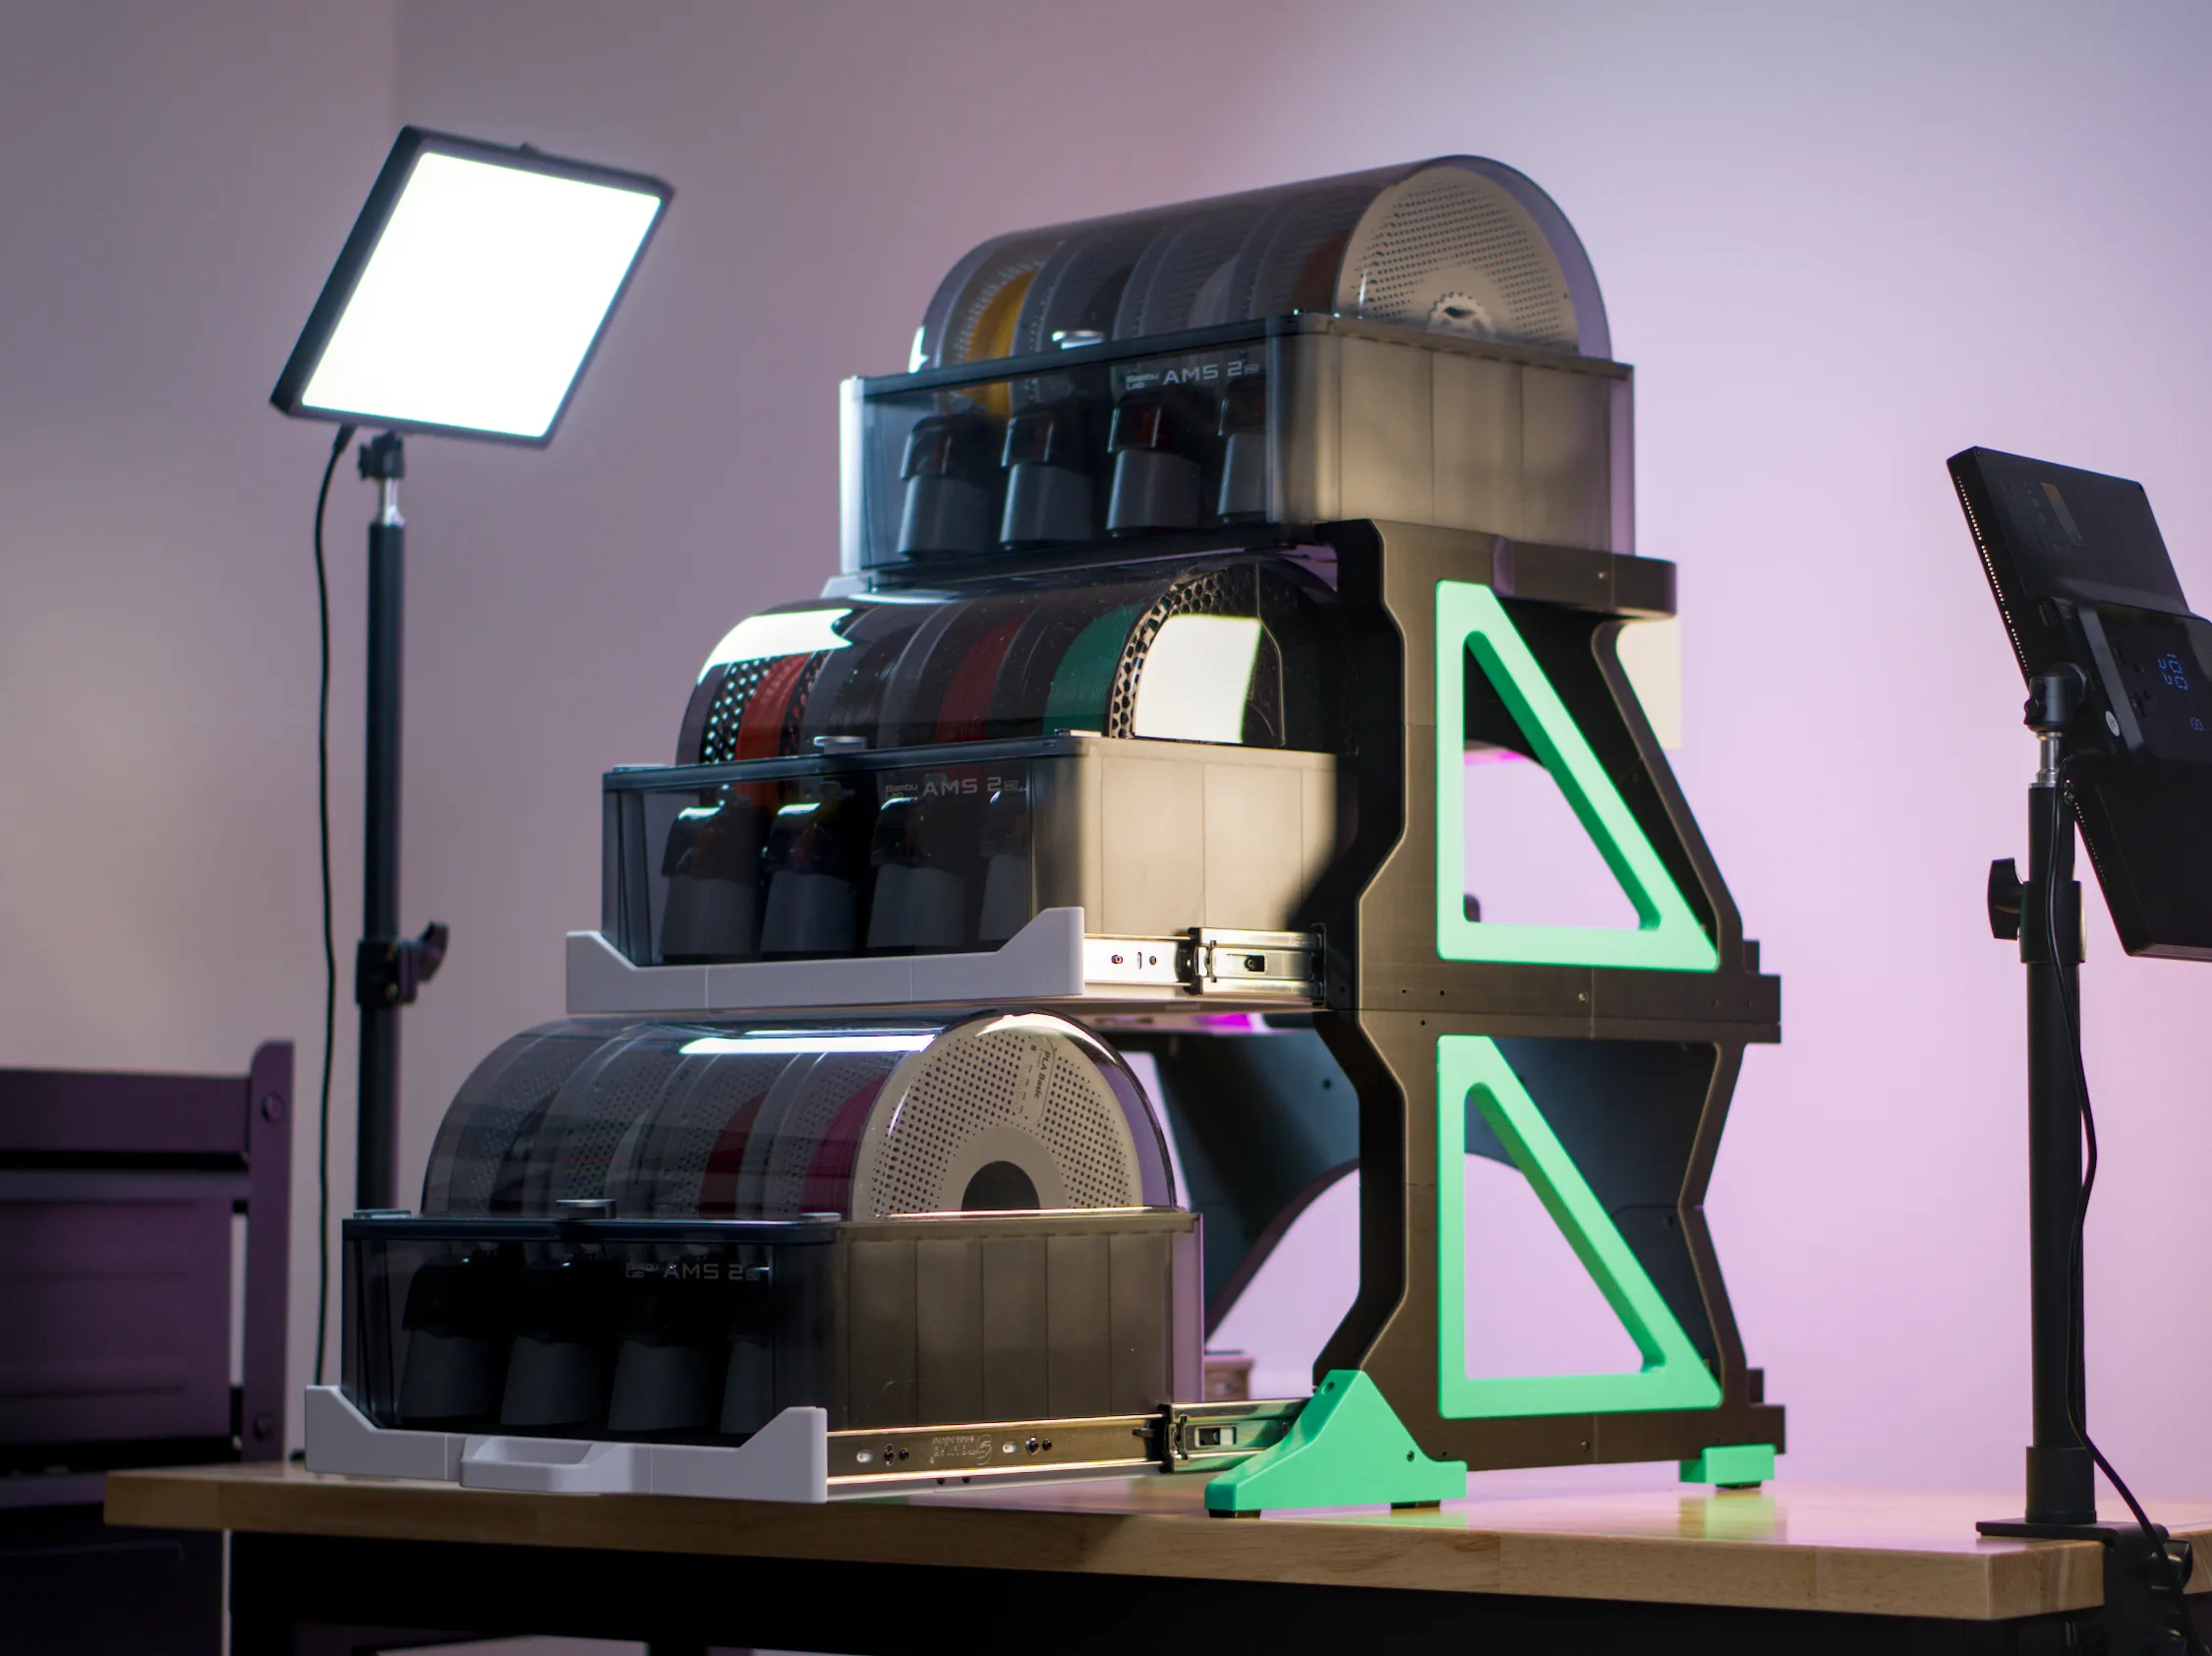
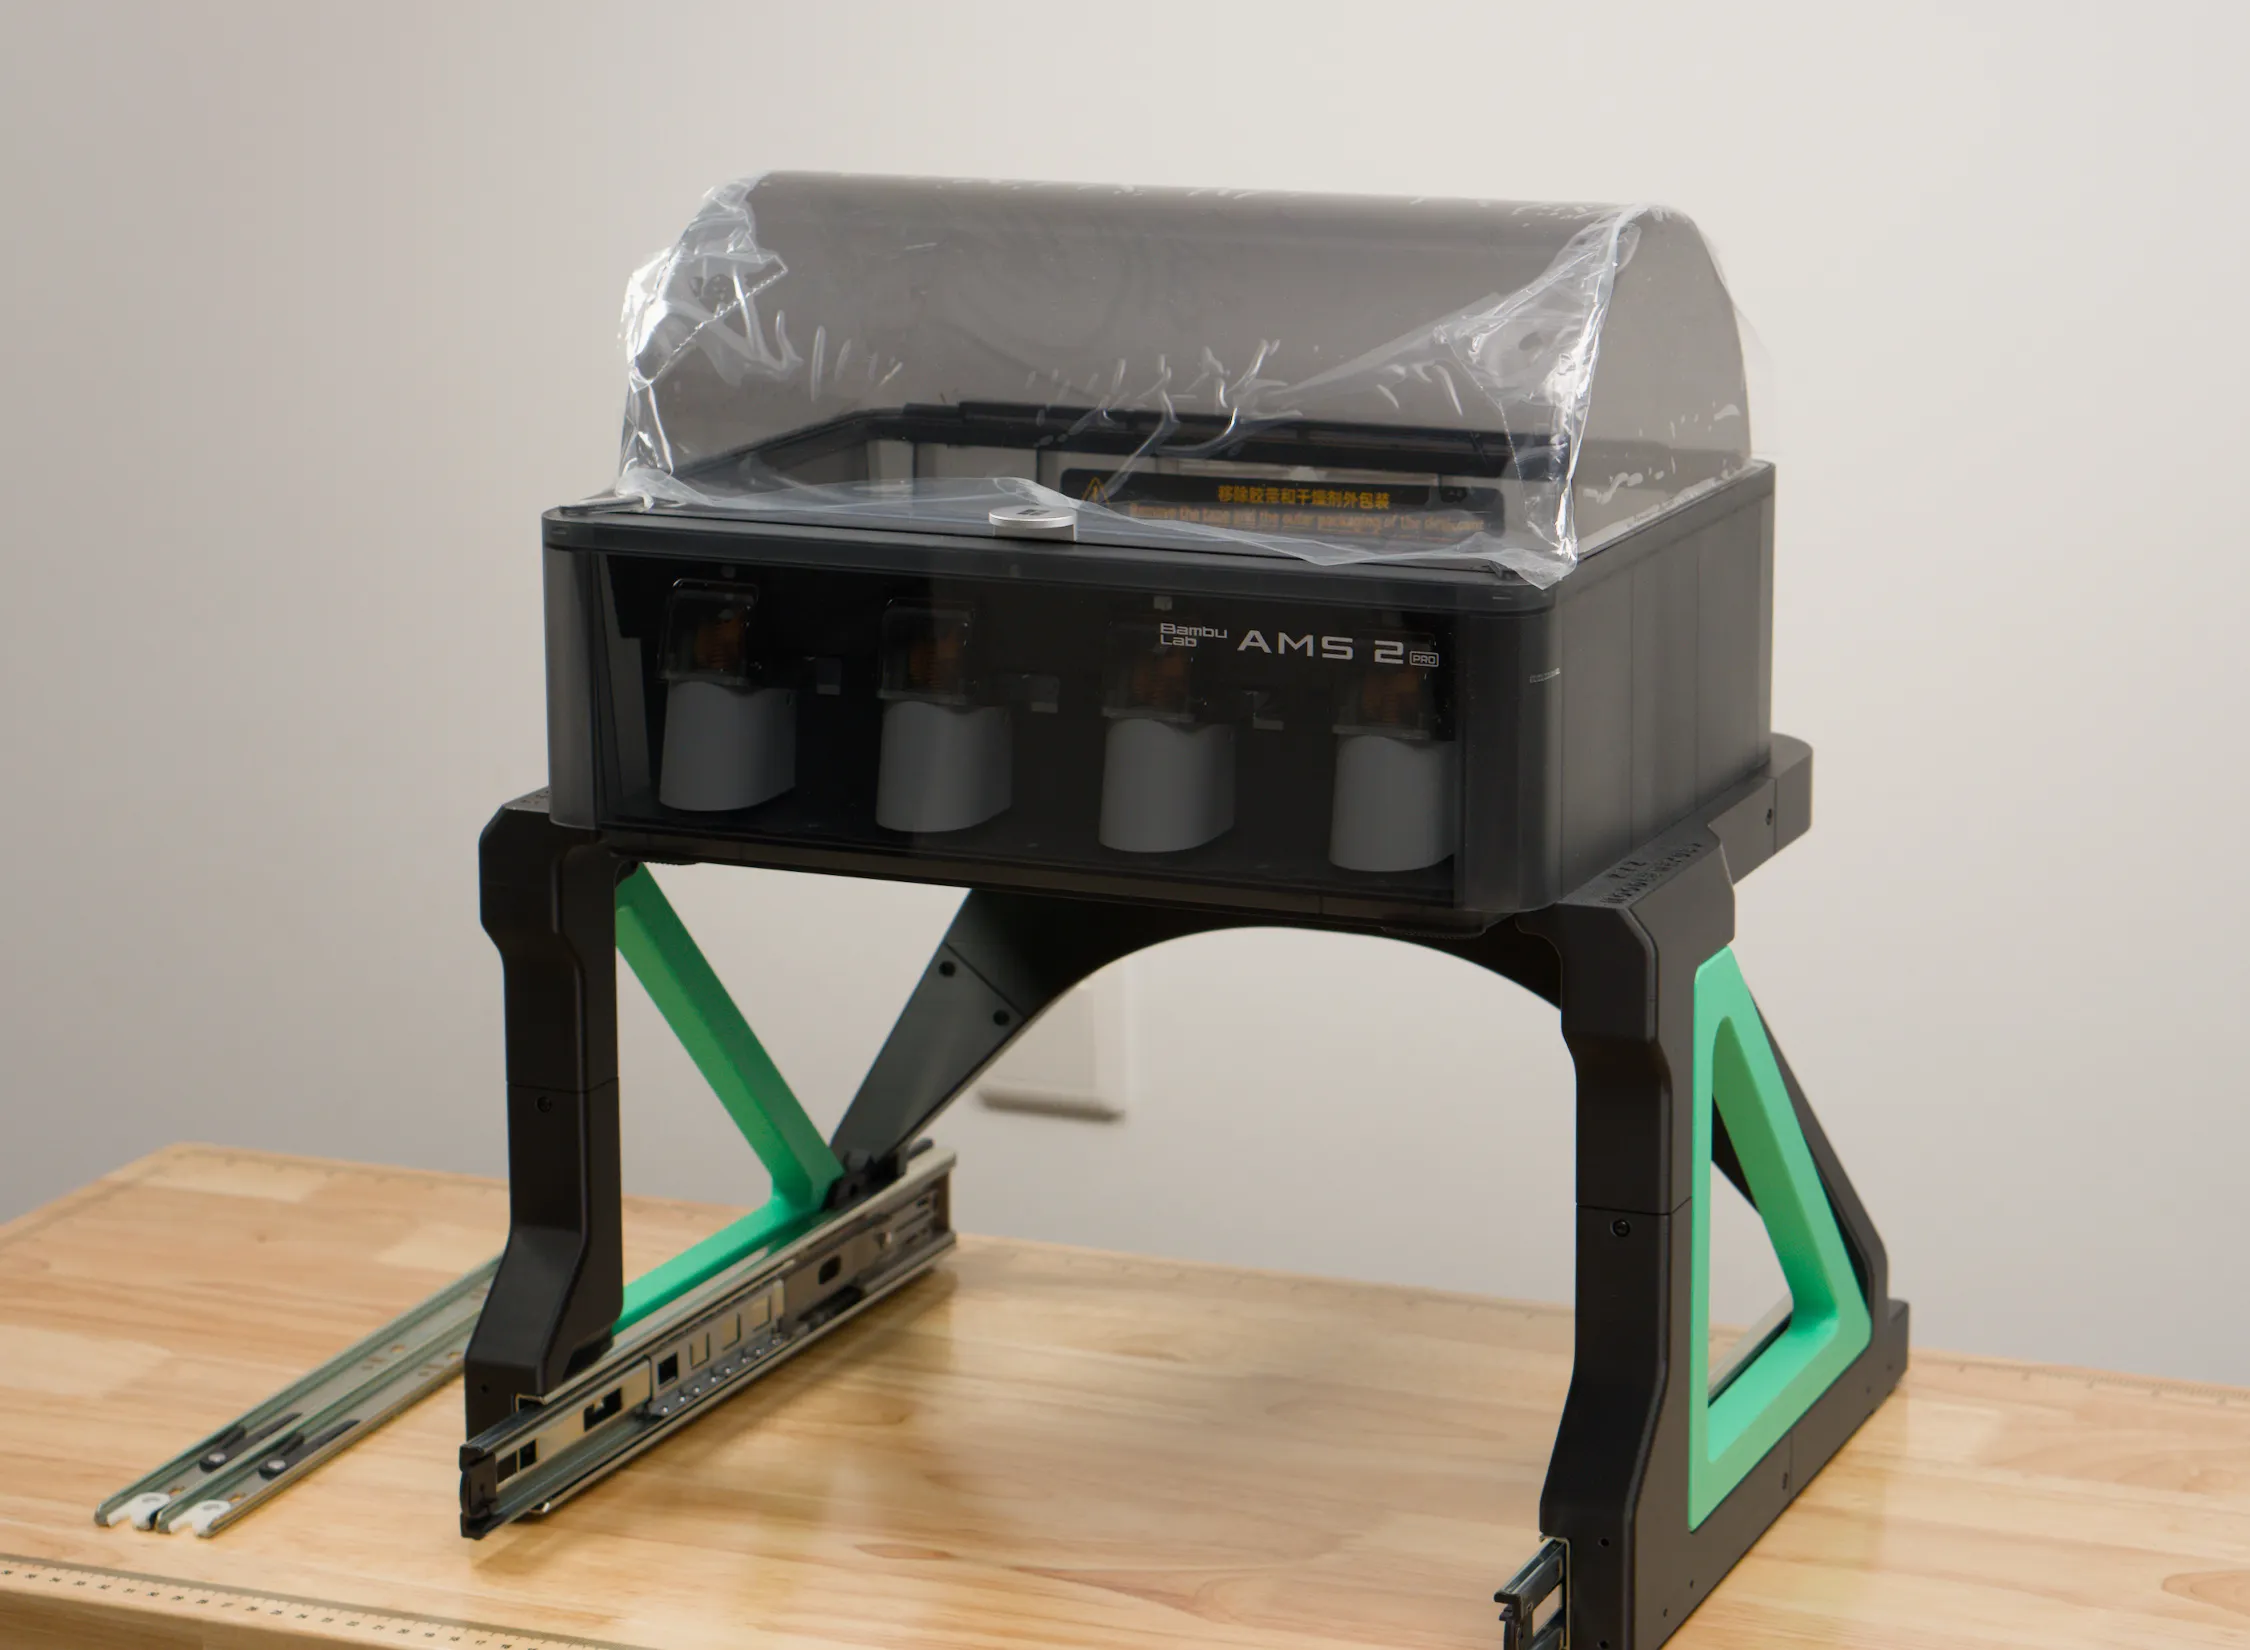
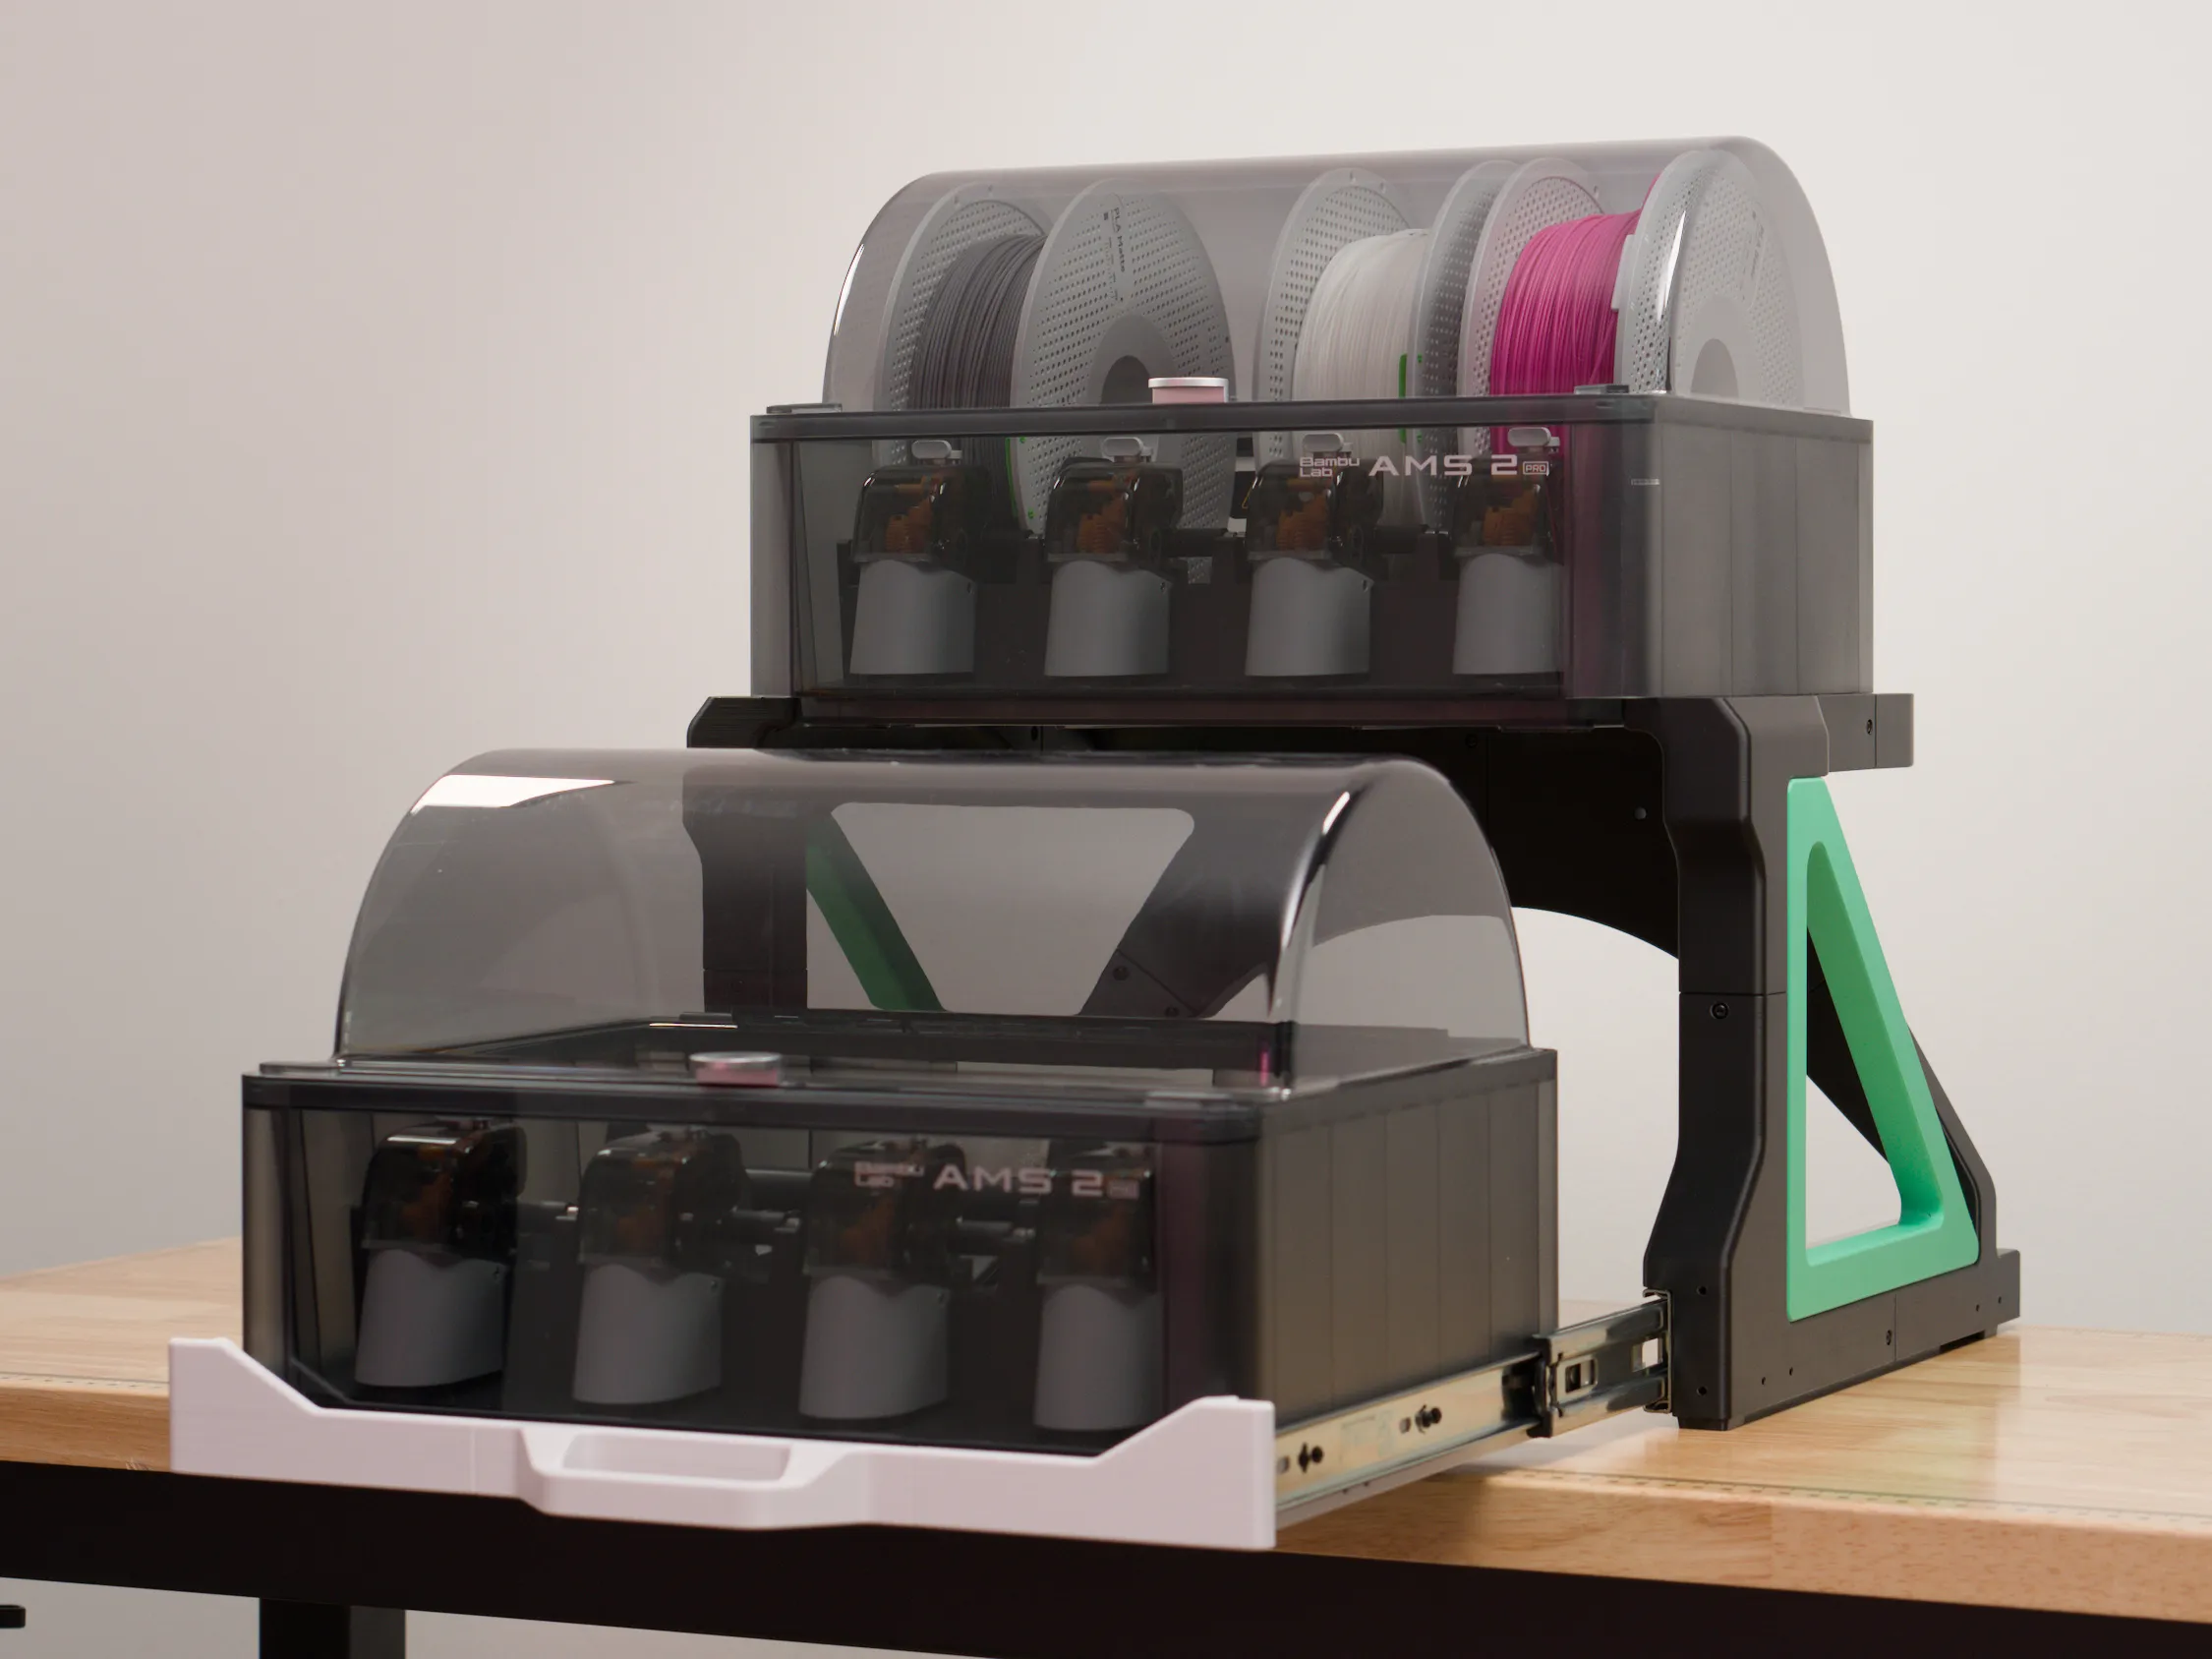
Another one? Yes. Clear up some desk space by stacking your AMS's! This version uses 45mm steel slides to slide out the lower AMS, making a super compact stacker. This is compatible with the original AMS and the AMS 2 Pro.
The top AMS is positioned forward to ensure that the lid can open fully. Even so, with 350mm slide travel, the AMS lid will open enough to stay open without falling closed.
The dimensions are:
- Height including an AMS 2 Pro on top: 475 mm
- Width: 443 mm
- Depth excluding handle and optional counterweight basket: 355 mm
- Handle adds 32mm of depth
- Counterweight basket adds 45mm of depth
If this isn't exactly for you, check out this collection for alternatives.
Modules
Feet extensions to put this on top of your H-series printer
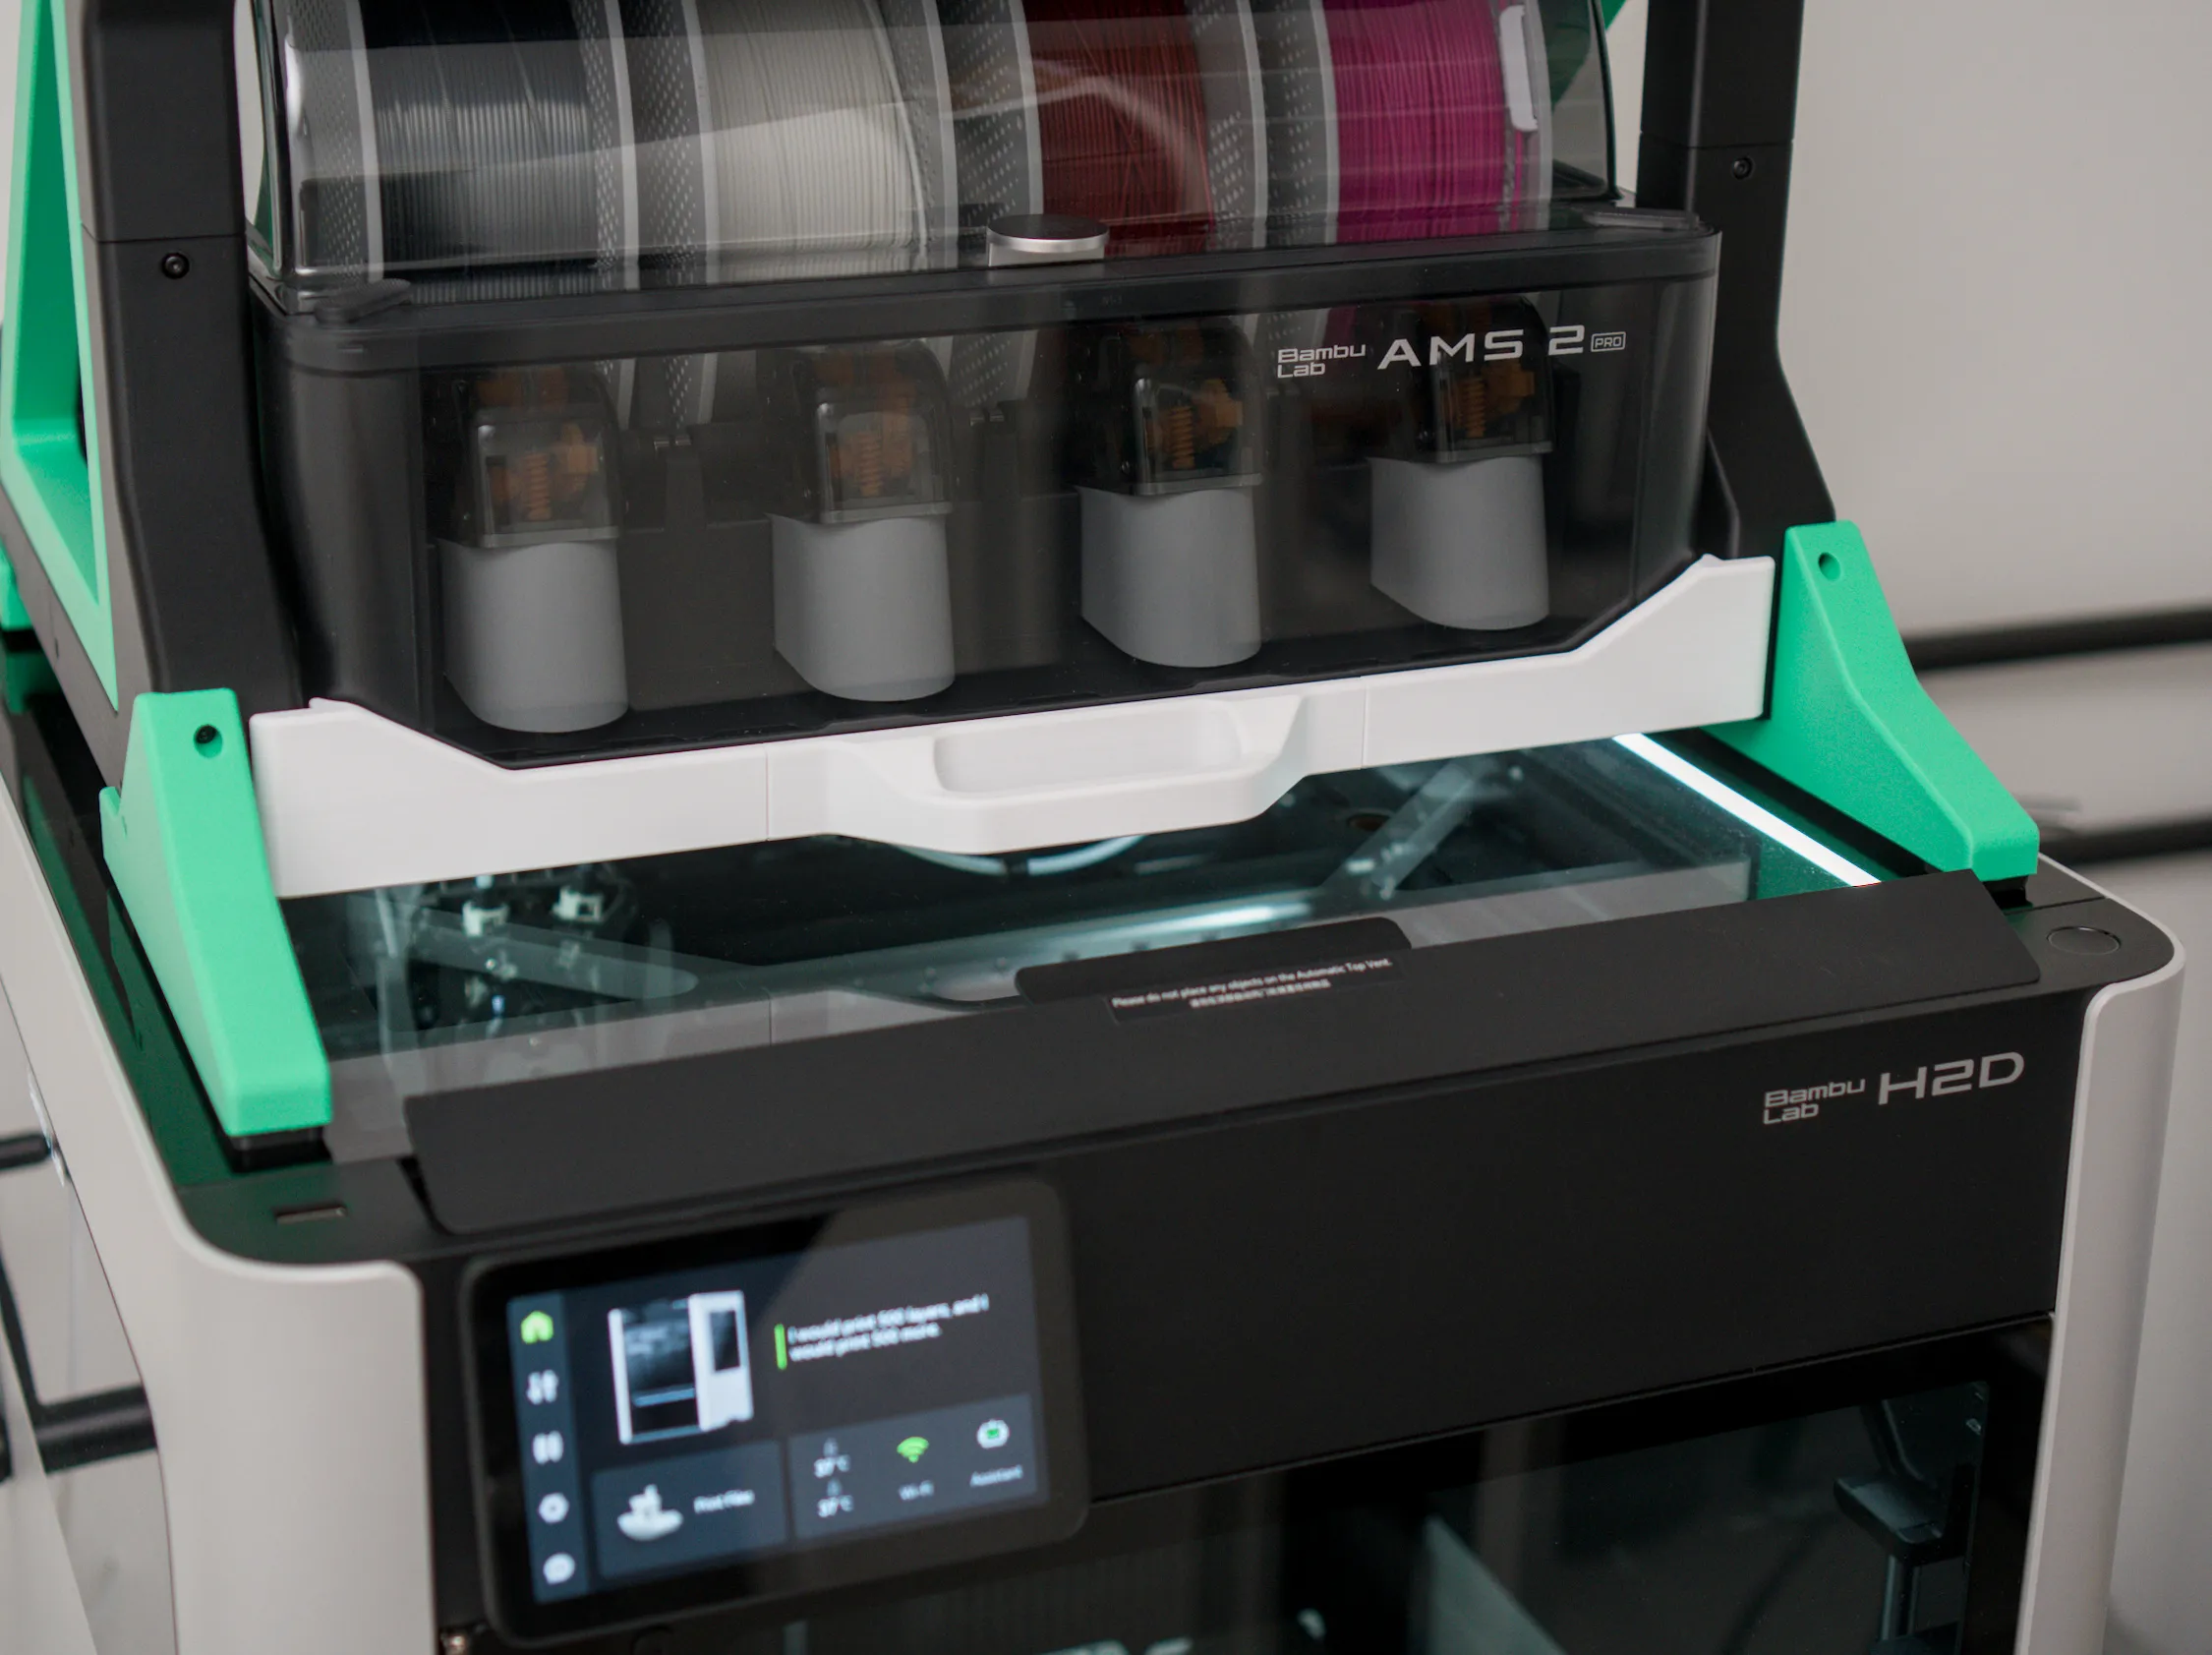
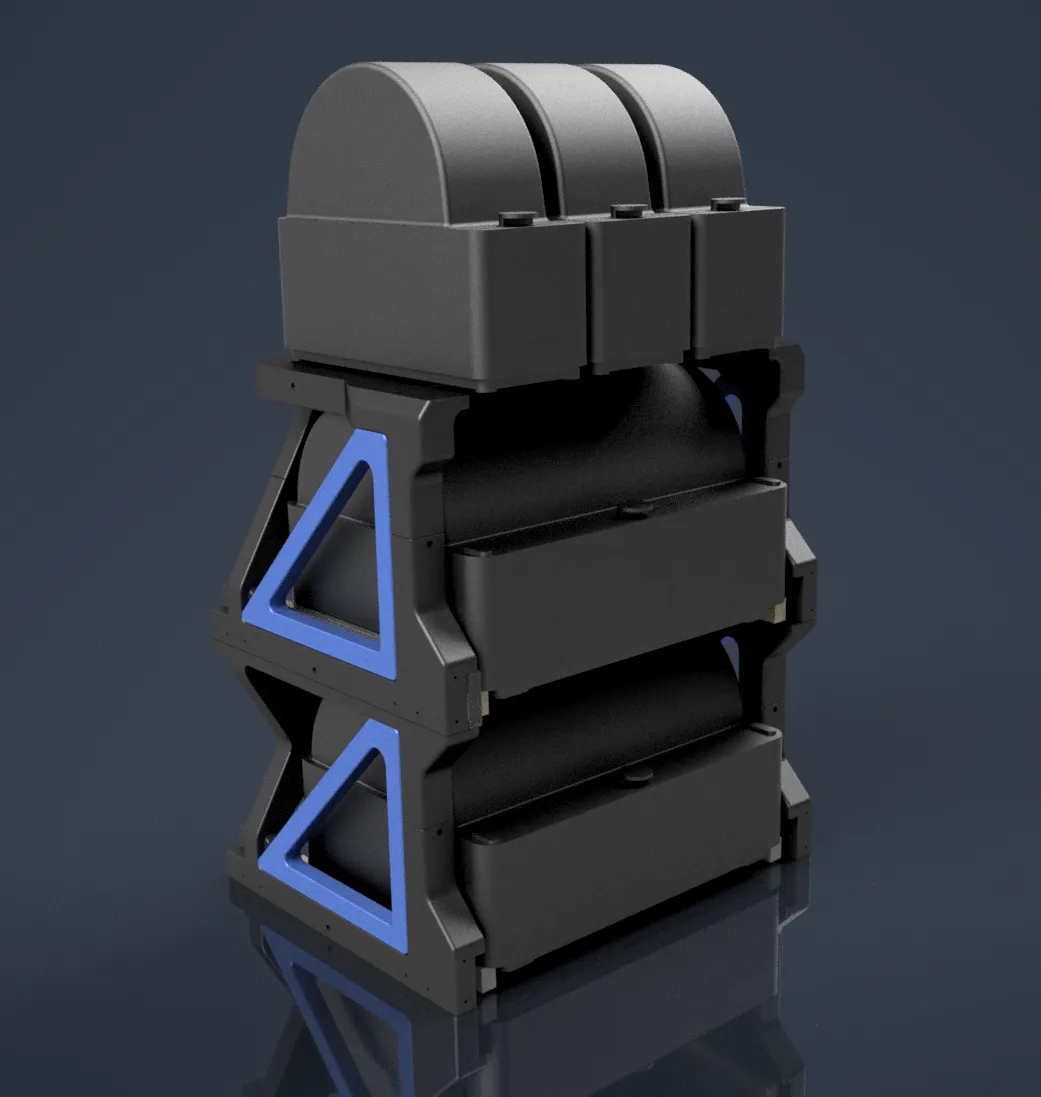
3rd/4th AMS Extension (link coming very soon!)
Upcoming: AMS HT adapter
Upcoming: Various Storage attachments, perhaps a tool drawer?
Difficulty
This project is designed for beginners. It is easy because:
- All parts print with minimal supports and all overhangs are easy to print.
- There is minimal post-processing required.
- There is only one type (and length!) of fastener needed with no heat-set inserts, no glue and no other specialty fasteners.
- You don't need "advanced" materials such as ABS.
The challenging aspects are:
- Large parts, even PLA and PETG parts, can warp and your build plates need to be clean. You may even consider using some glue if you have had issues with your particular material and plate.
- You need to be able to print TPU, and to do this cleanly, you will need a filament dryer.
Filament
I recommend:
- PETG for the frame
- PETG or PLA for the drawer (if you plan on putting this on top of a printer though, do not use PLA)
- TPU 90A or similar for the feet
If you use ABS or ASA, you must consider shrinkage compensation as the parts are large and the overall dimension can be affected by 2-3mm.
Please feel free to post your print profile. Add lots of pictures and a detailed description please! It will help other people decide which one to use.
Hardware for Assembly
Only one type and length of screw is needed: BT3x14 BHCS Self Tapping Screw (AA223). This is a 3mm diameter, 14mm long screw designed for plastic with coarse deep threads that cut into and grip well onto holes in plastic. They are not expensive extremely easy to use as you don't need to embed heat set inserts or seat little M3 nuts. They also make the printed parts simpler and use far less material than using printed fasteners or bowtie joints.
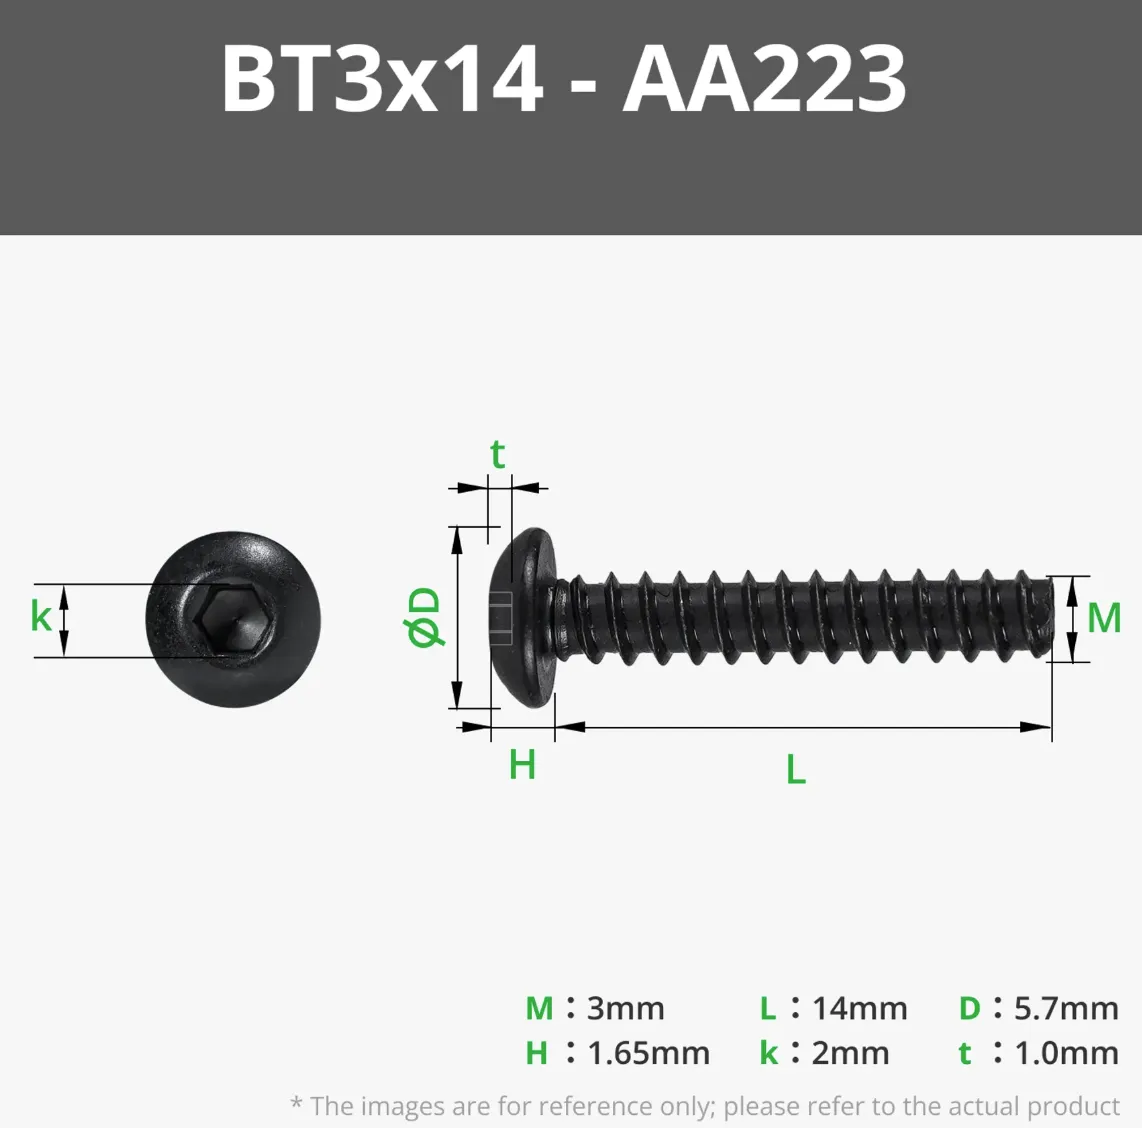
Alternatives:
- If you have 12mm screws or the socket head style of BT3 screws, they will be perfectly fine too.
- If Bambu doesn't ship to your country, the key words to search are “3mm self-tapping screw hex socket”. Try to get some without a pointy tip as they have a slightly longer usable thread length and a head height of 2mm or less. I found some products on AliExpress (Listing 1, Listing 2, Listing 3) which look promising, but I have not tried them.
- Do NOT use countersunk screws as most holes in the design are parallel to the print bed plane and the screws can split your layers if you're not careful with tightening.
You will need:
- 43 for the frame assembly
- 10 for the drawer assembly
- 16 to attach the steel slides to the frame and drawer assemblies
- 8 to attach the AMS's
- Optional: 4 to attach the counterweight basket
81 screws total (if I counted correctly…). If you ever wanted an excuse to buy an electric pencil screwdriver, here it is!
In the bill of materials, I have put 5 packets of 20 screws but I suggest ordering extra if you are interested in making the future modules.
You will also need 350mm or 14-inch nominal length, 45mm nominal width (can be a little wider as there is nothing below the slides), 12.7mm thick full extension slides. Here in Germany, I got Stahlia branded slides direct from their website, also available on Amazon.de. You do not need to get exactly the same one. I took specs from several different brands and accommodated for them all in the design and you just need 3-4 holes that line up. Worst case, you might need to make some new holes but I think that's unlikely as slide manufacturers just copy each other.
IMPORTANT: If you are using soft-close slides, check that they are truly full extension and extend 400mm. Many 3-section slides that are labelled “full extension” are not really full extension, particularly some of the soft-close ones. Slide designers, when taking their regular slide and making a soft-close version, need to decide whether to reduce the load rating of their slide or reduce the extension to try to fit the extra mechanisms into the design. Some brands have lowered weight ratings (say, 35kg down from 45kg), some reduce their travel.
Parts for Installation
You will need a longer PTFE tube than typically supplied with printers (or a coupler to connect two shorter ones) as the AMS travels forward and back. The length needed depends on your particular setup. If the tube is brand new and tightly-wound for shipping, they will need to be relaxed to form gentle curves. Don't get the "star shaped" tubes, that's a gimmick. If you use a coupler, note that there is an entry side (tapered inlet) and an exit side (not tapered).
You may also need longer 6-pin AMS connectors depending on your printer and AMS arrangement.
Print Settings
General Tips
- Flow rate calibration is highly recommended for every spool you use! Many clearances in the design are 0.1mm. For proper fit, the parts should not be under or over-extruded.
- Dry your filament (even PLA) to minimise risks with dimensional accuracy.
- Aux fan OFF if you've had issues with part warping. Don't worry, all of the overhangs are super easy.
Specific Settings
These are all set in the print profile. However, if you download it on PC and change the printer, some of these may get overwritten so I will list them here.
These are the settings I use and are quite conservative and a little slow for a clean print with sharp corners, it's a balance between Bambu's “High Quality” and “Standard" profiles. Feel free to deviate as you see fit.
Speeds
- Outer wall: 70 mm/s
- Inner wall: 150 mm/s
- Top Surface: 120 mm/s
- Everything else: default for your favourite profile
Accelerations
- Normal printing: 4000 mm/s²
- Outer wall: 2000 mm/s²
- Inner wall: 0 (same as Normal)
- Top surface: 2000 mm/s²
- Sparse infill: 8000 mm/s²
- Everything else: default for your favourite profile
Strength
Parts are designed for a 0.4mm nozzle printing 0.2mm layer heights.
| Wall loops | Top/bottom shell layers | Infill |
|---|---|---|---|
Frame Parts | 3 | 7/5 | 10-15%, your choice of pattern |
Slider Parts | 3 | 7/5 | 10-15%, your choice of pattern |
TPU feet | 6 | 5/3 | Your choice |
All other parts | 2 | 5/3 | 10-15%, your choice of pattern |
Bonus tip
If you want the perfect 🧑🍳👌🏼fit between parts, make sure your beds are trammed! They're not always trammed out-of-factory; 3 of the printers I got in 2026 were not trammed.
Manual Bed Leveling / Manual Bed Tramming | Bambu Lab Wiki
P2S & X2D Heatbed Manual Bed Leveling | Bambu Lab Wiki
Assembly and Installation
As all screws are the same, this is quite straight forward. Just one thing to note: screws can get hot while tightening; tighten them most of the way and give them a minute before final tightening.
Frame Assembly
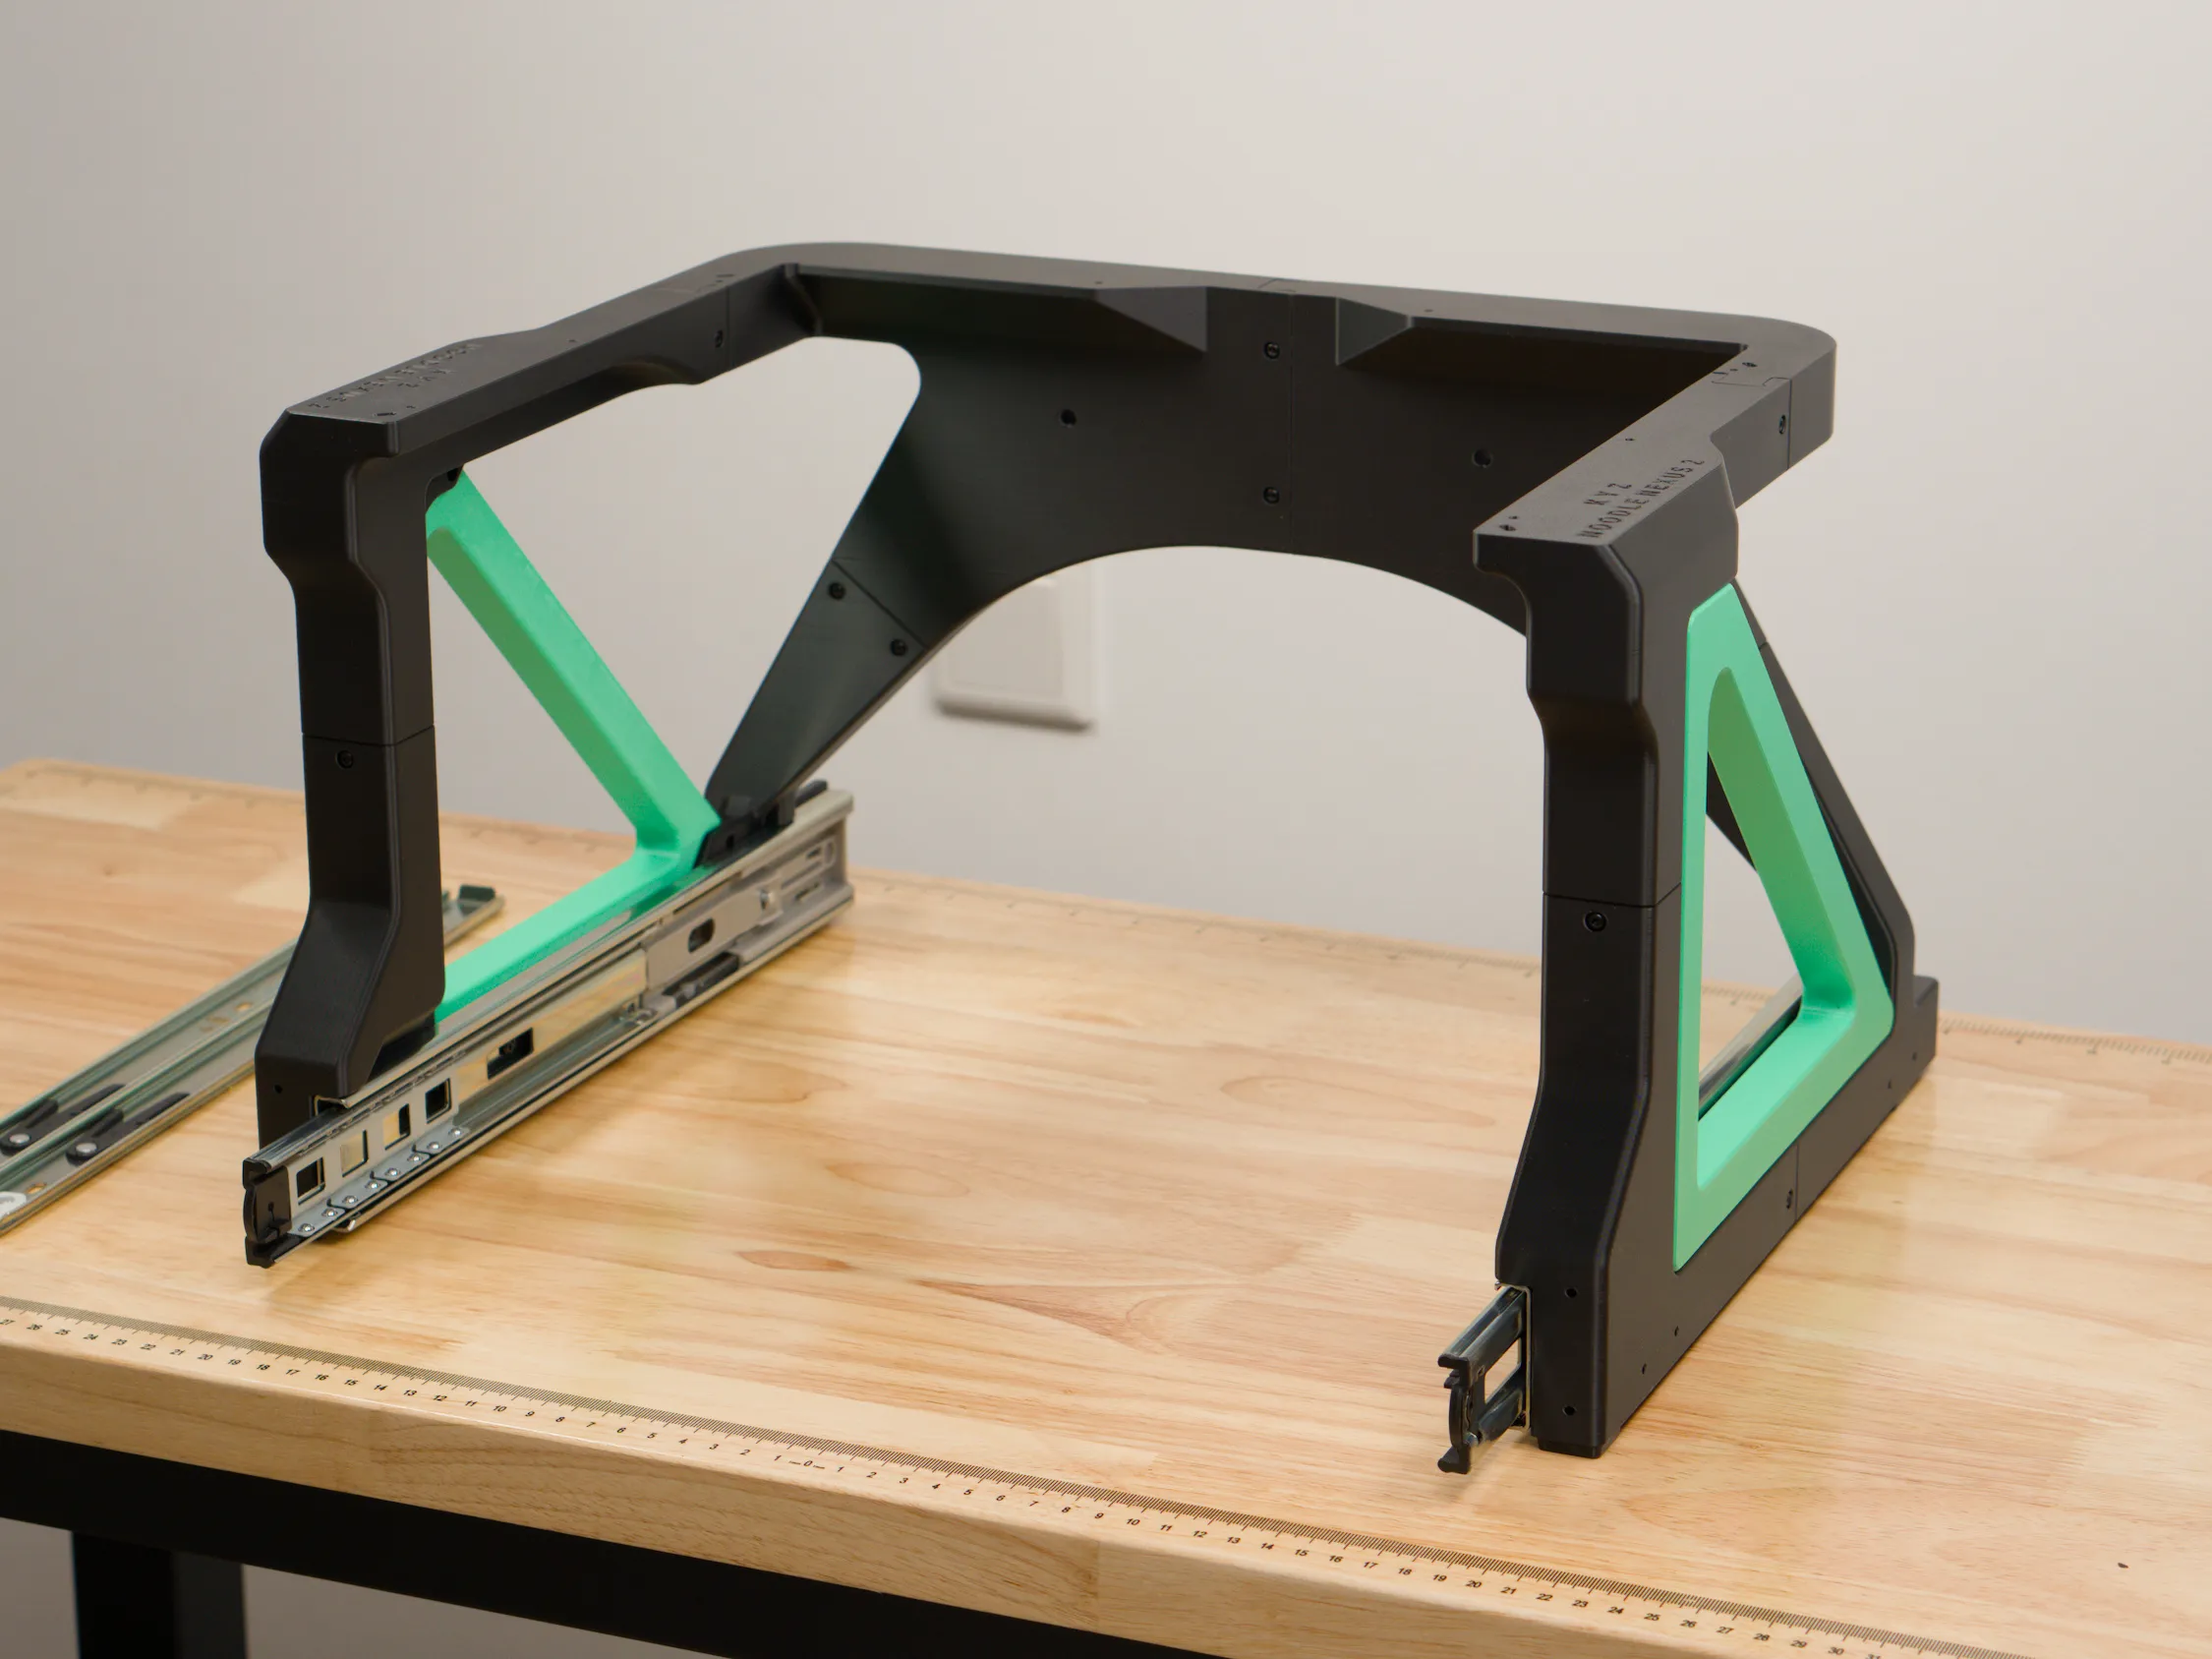
Assemble each half first. Use the screws to attach the 5 pieces of one side together. Insert the TPU feet - they are press-fit and should stay-in firmly without glue.
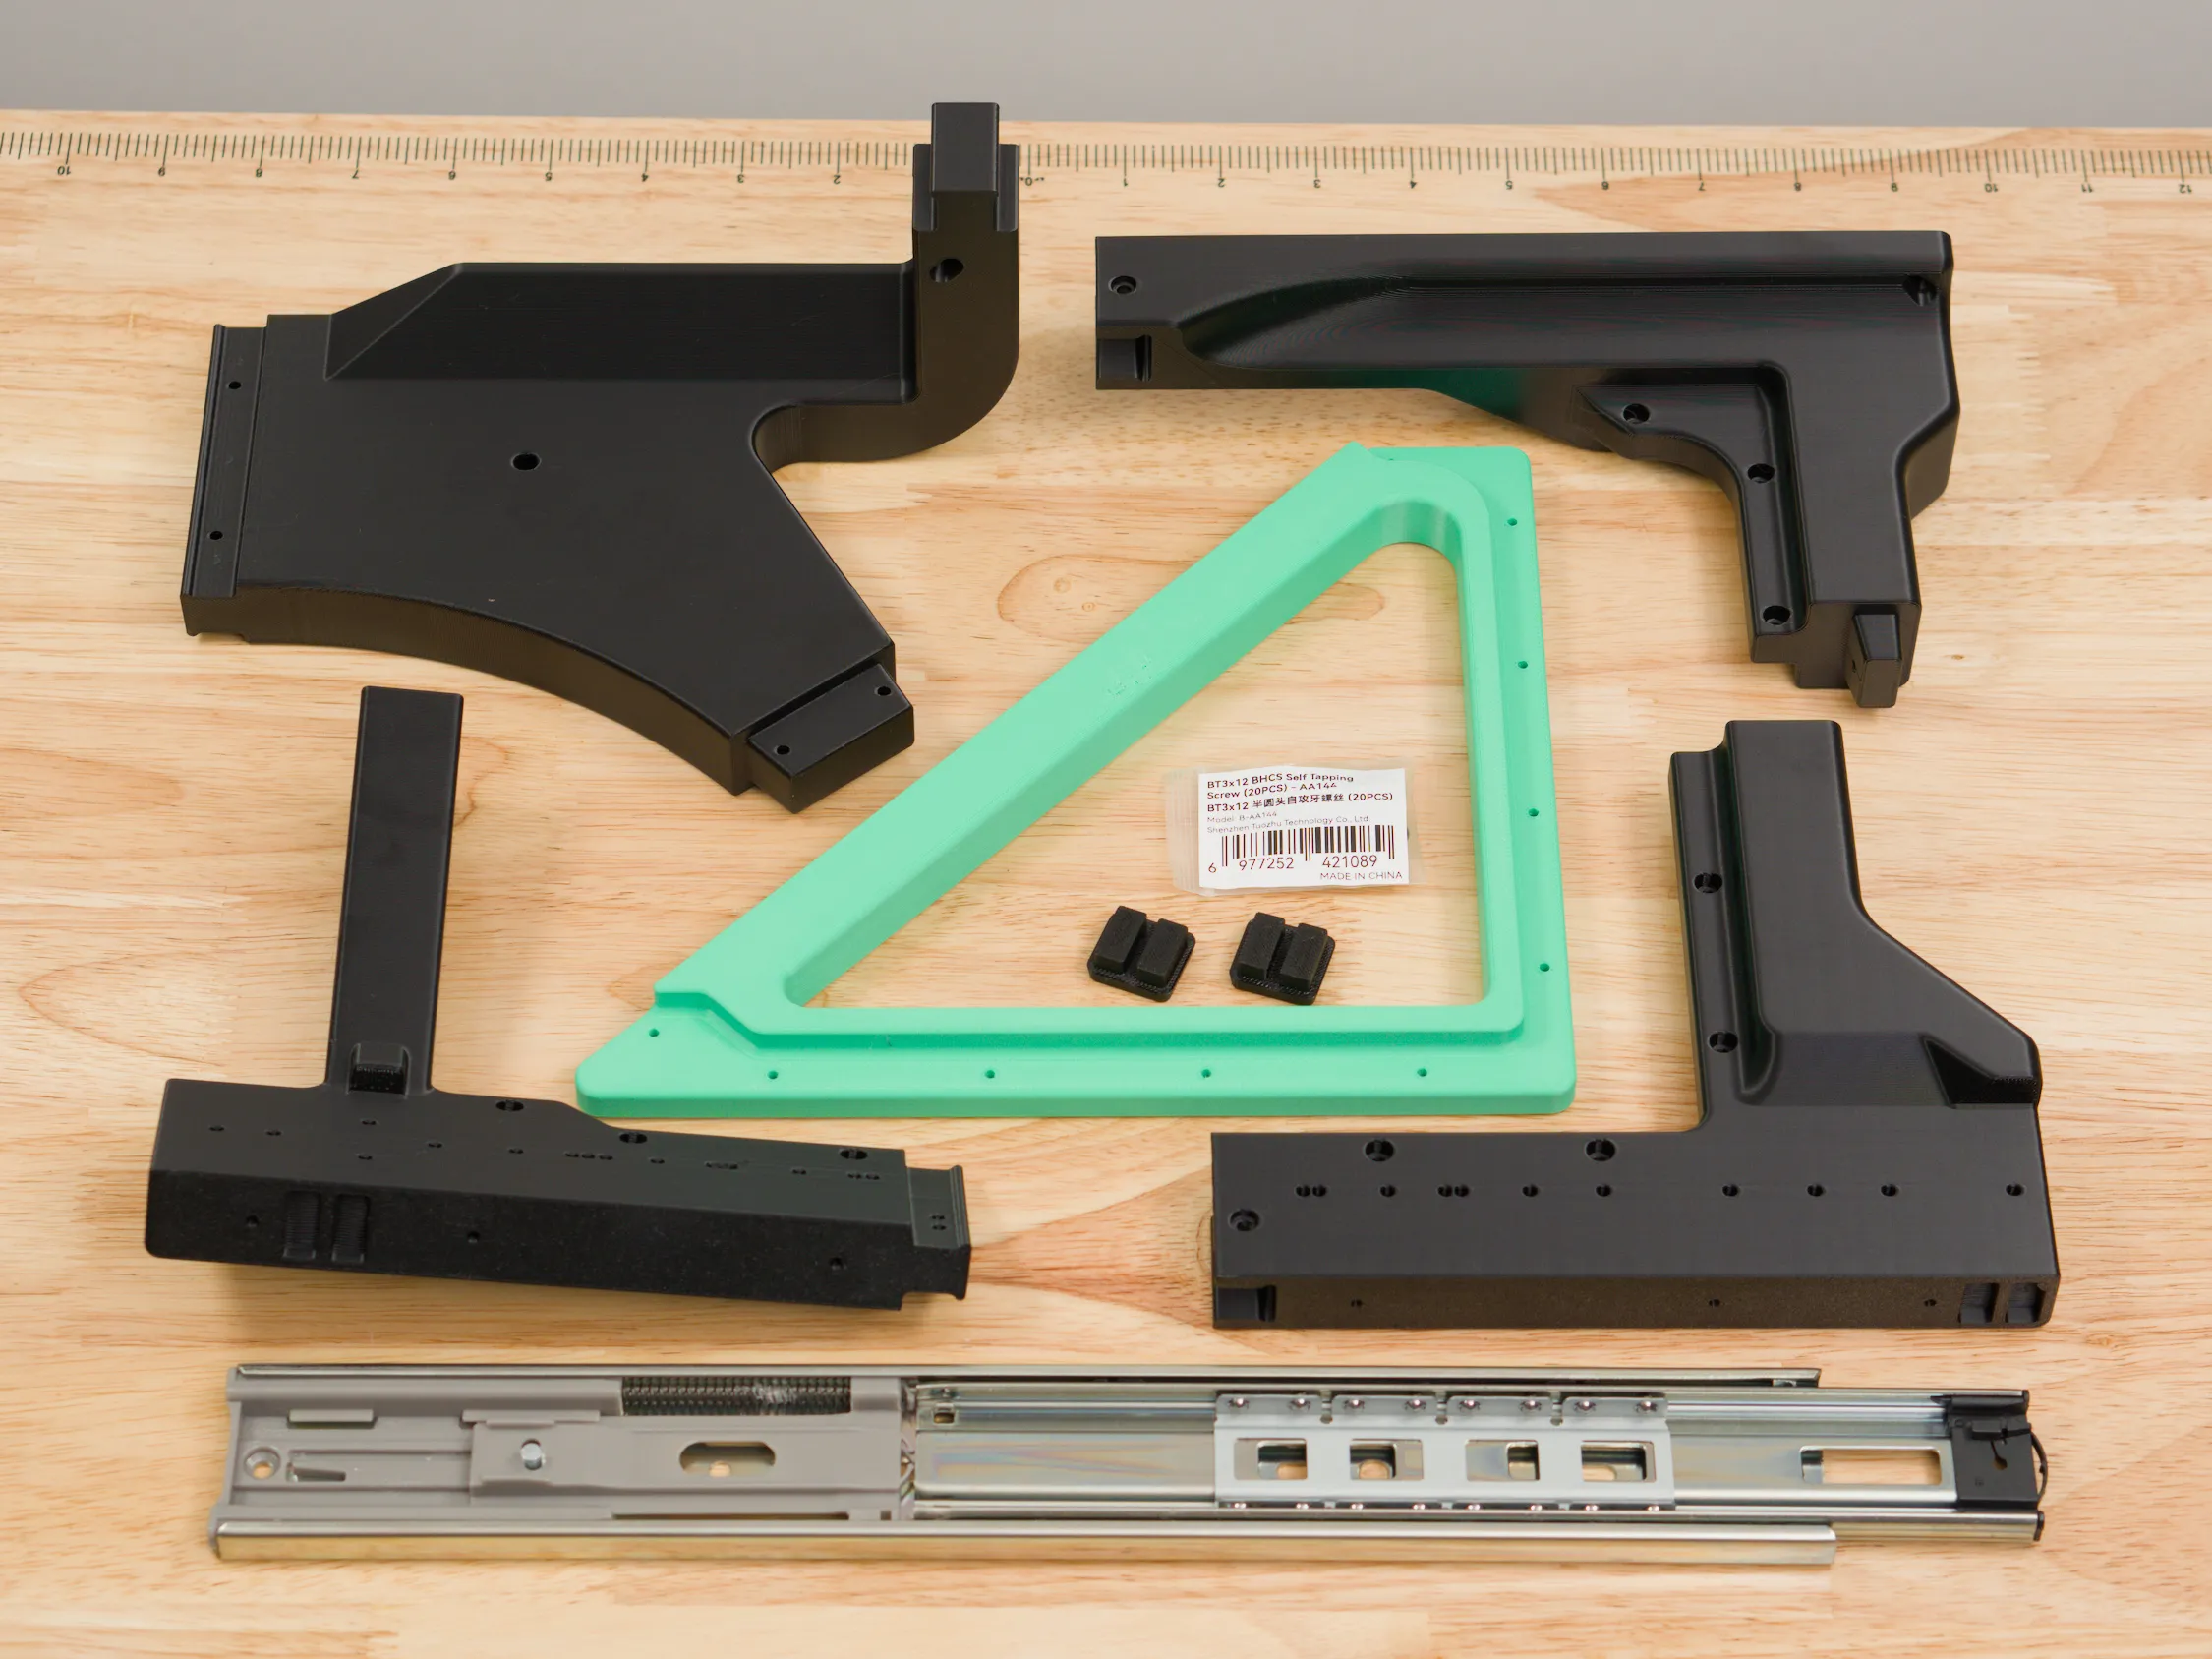
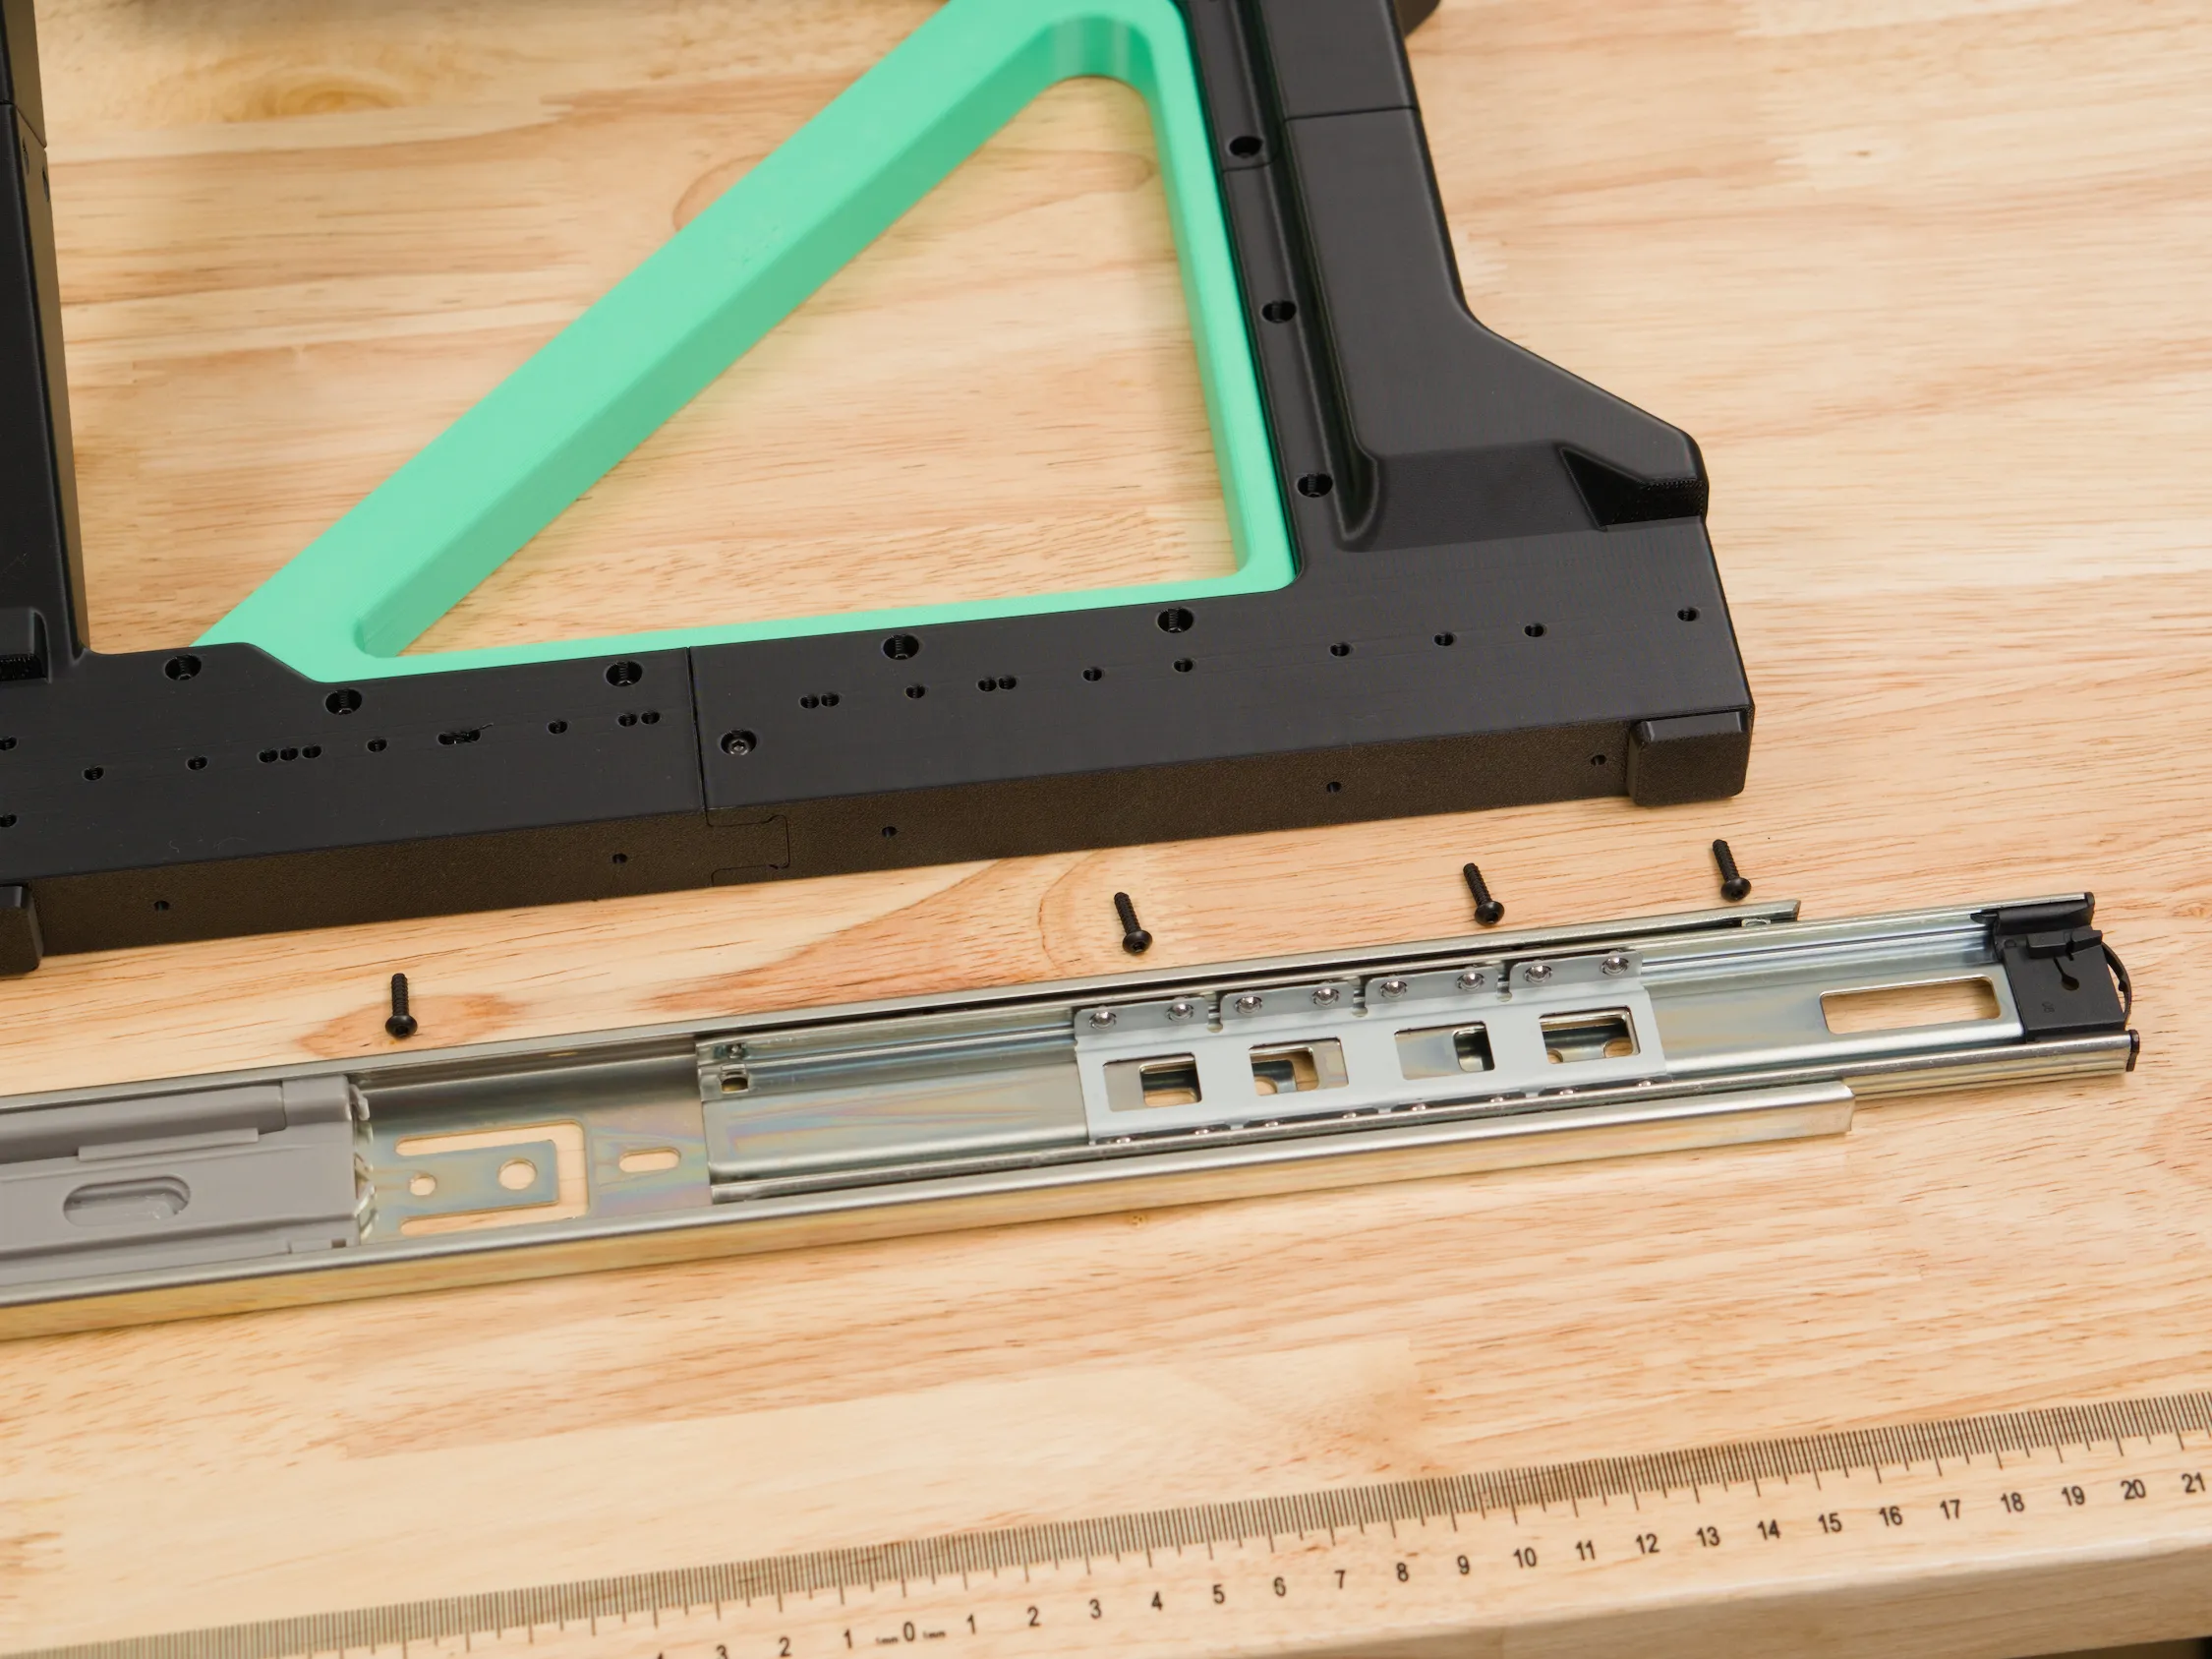
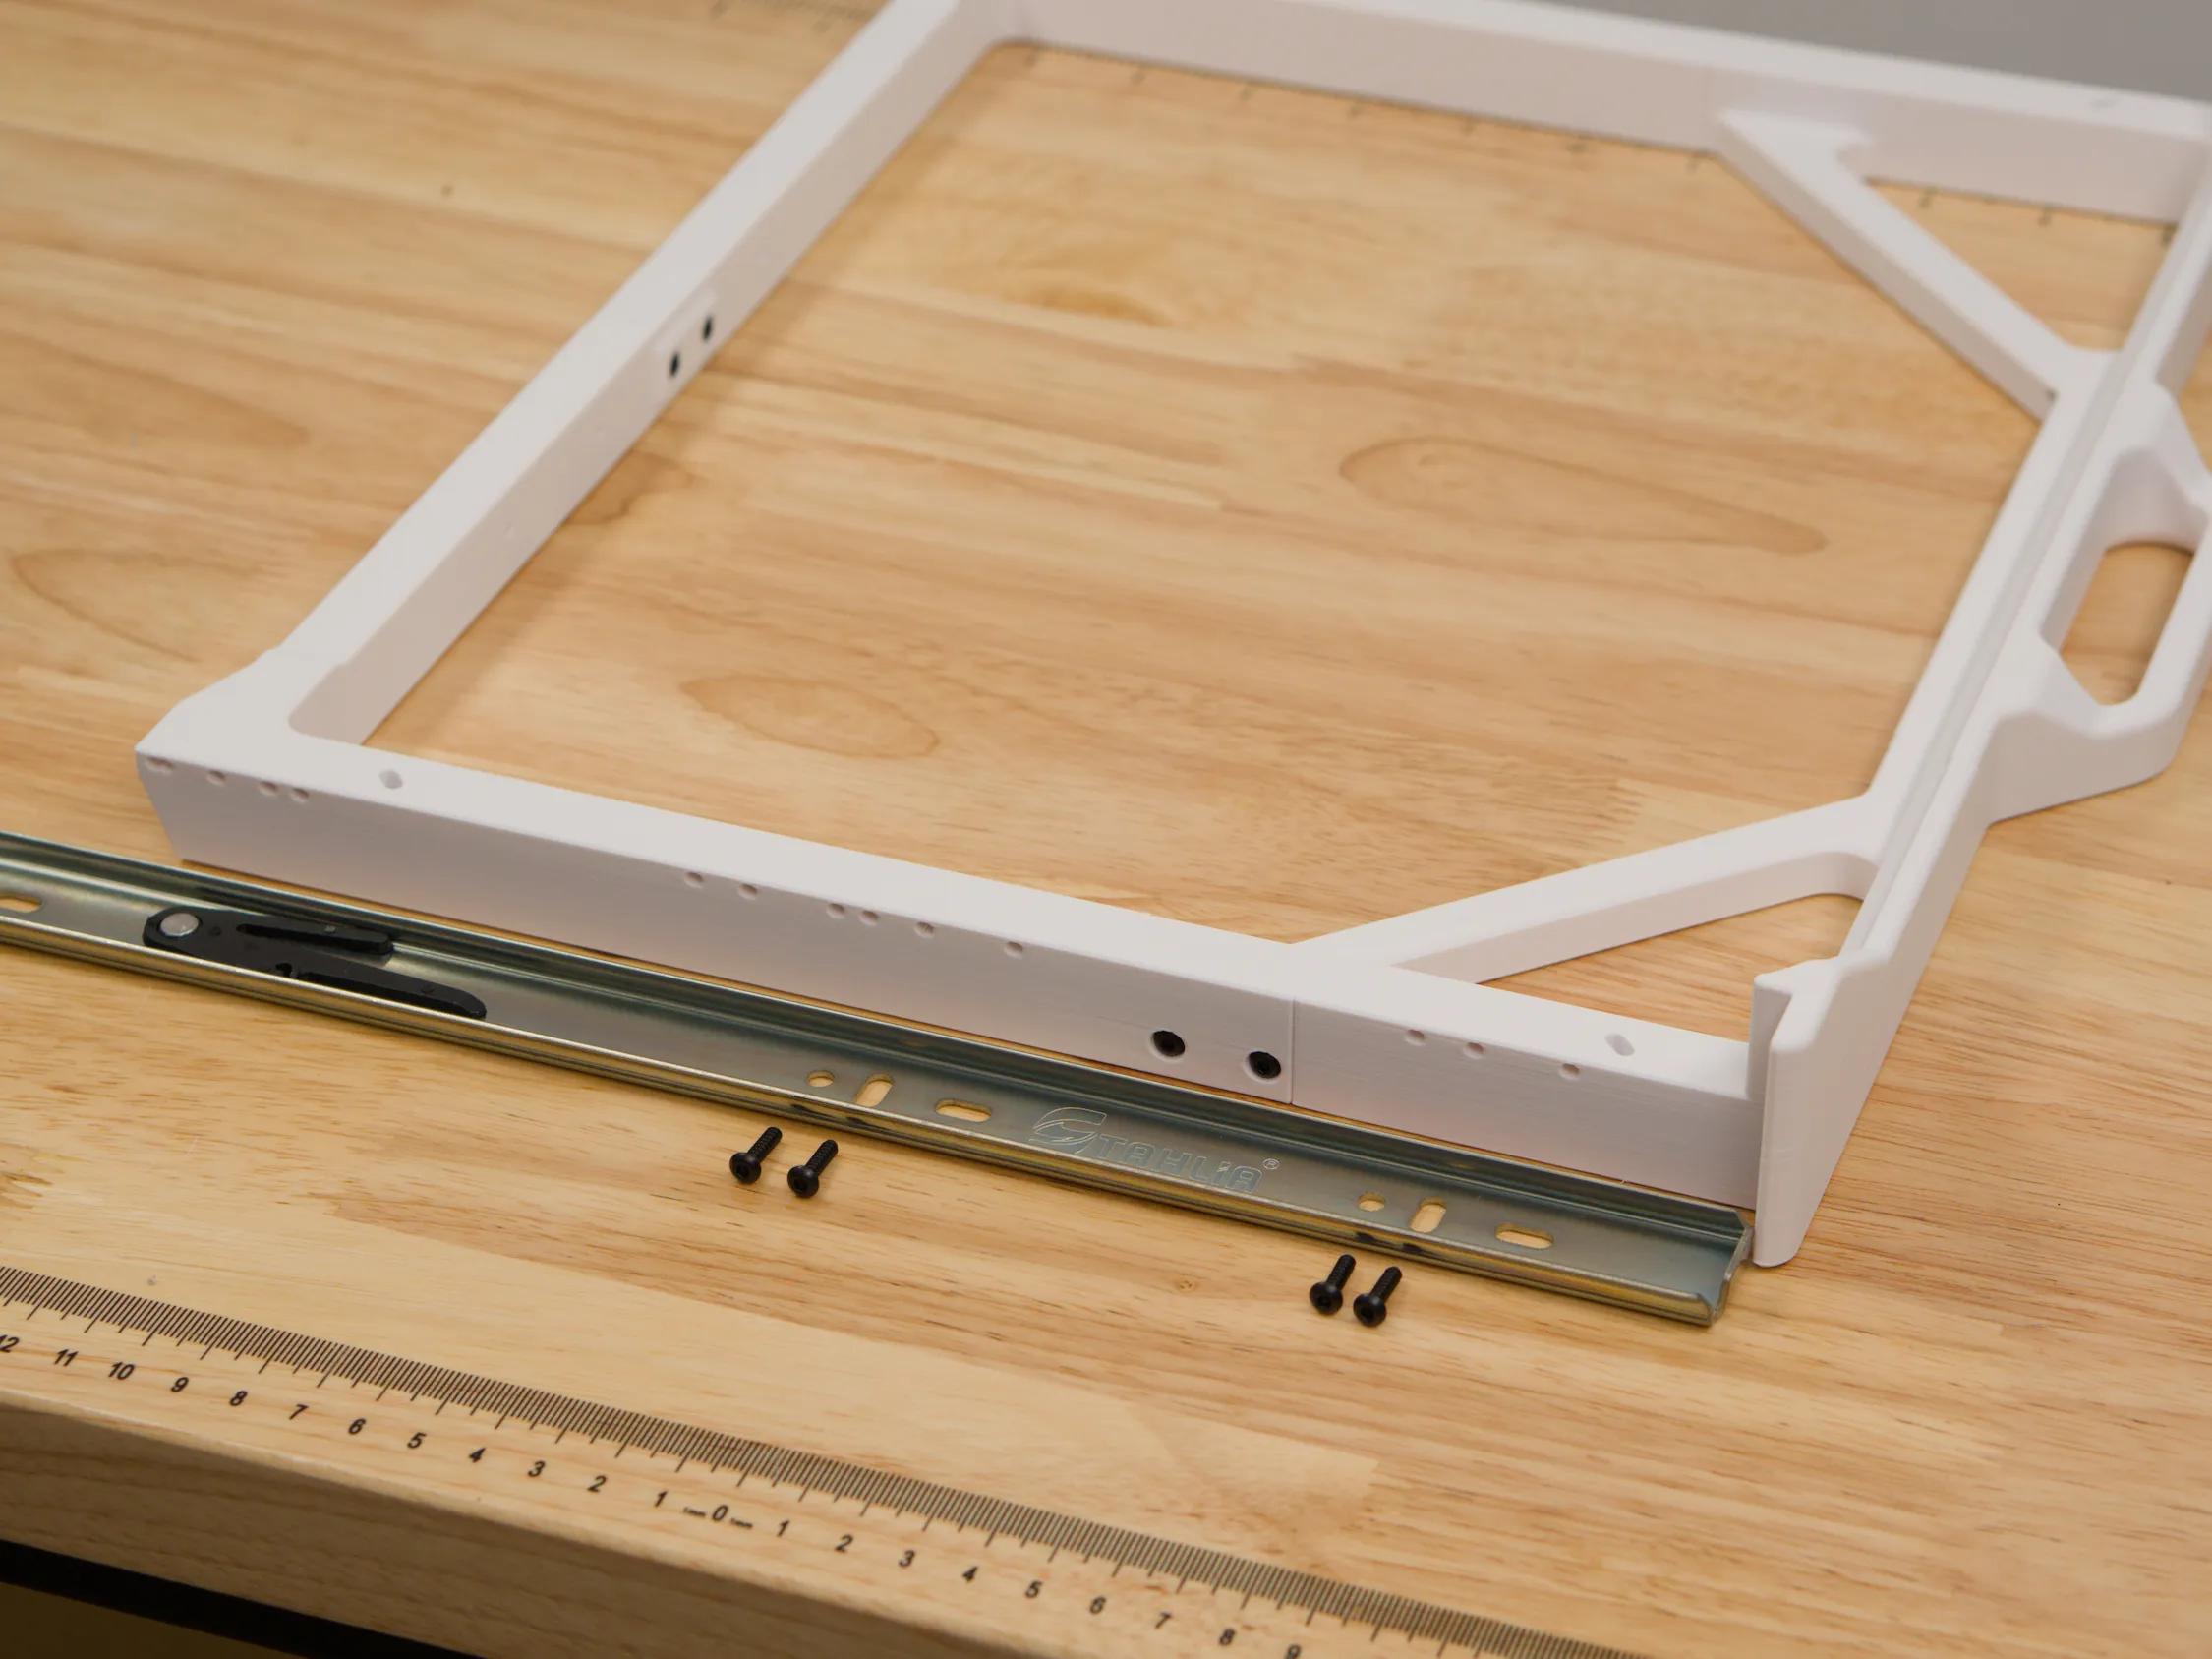
Remove the inner part of the slide and attach to the frame using at least 3 screws.
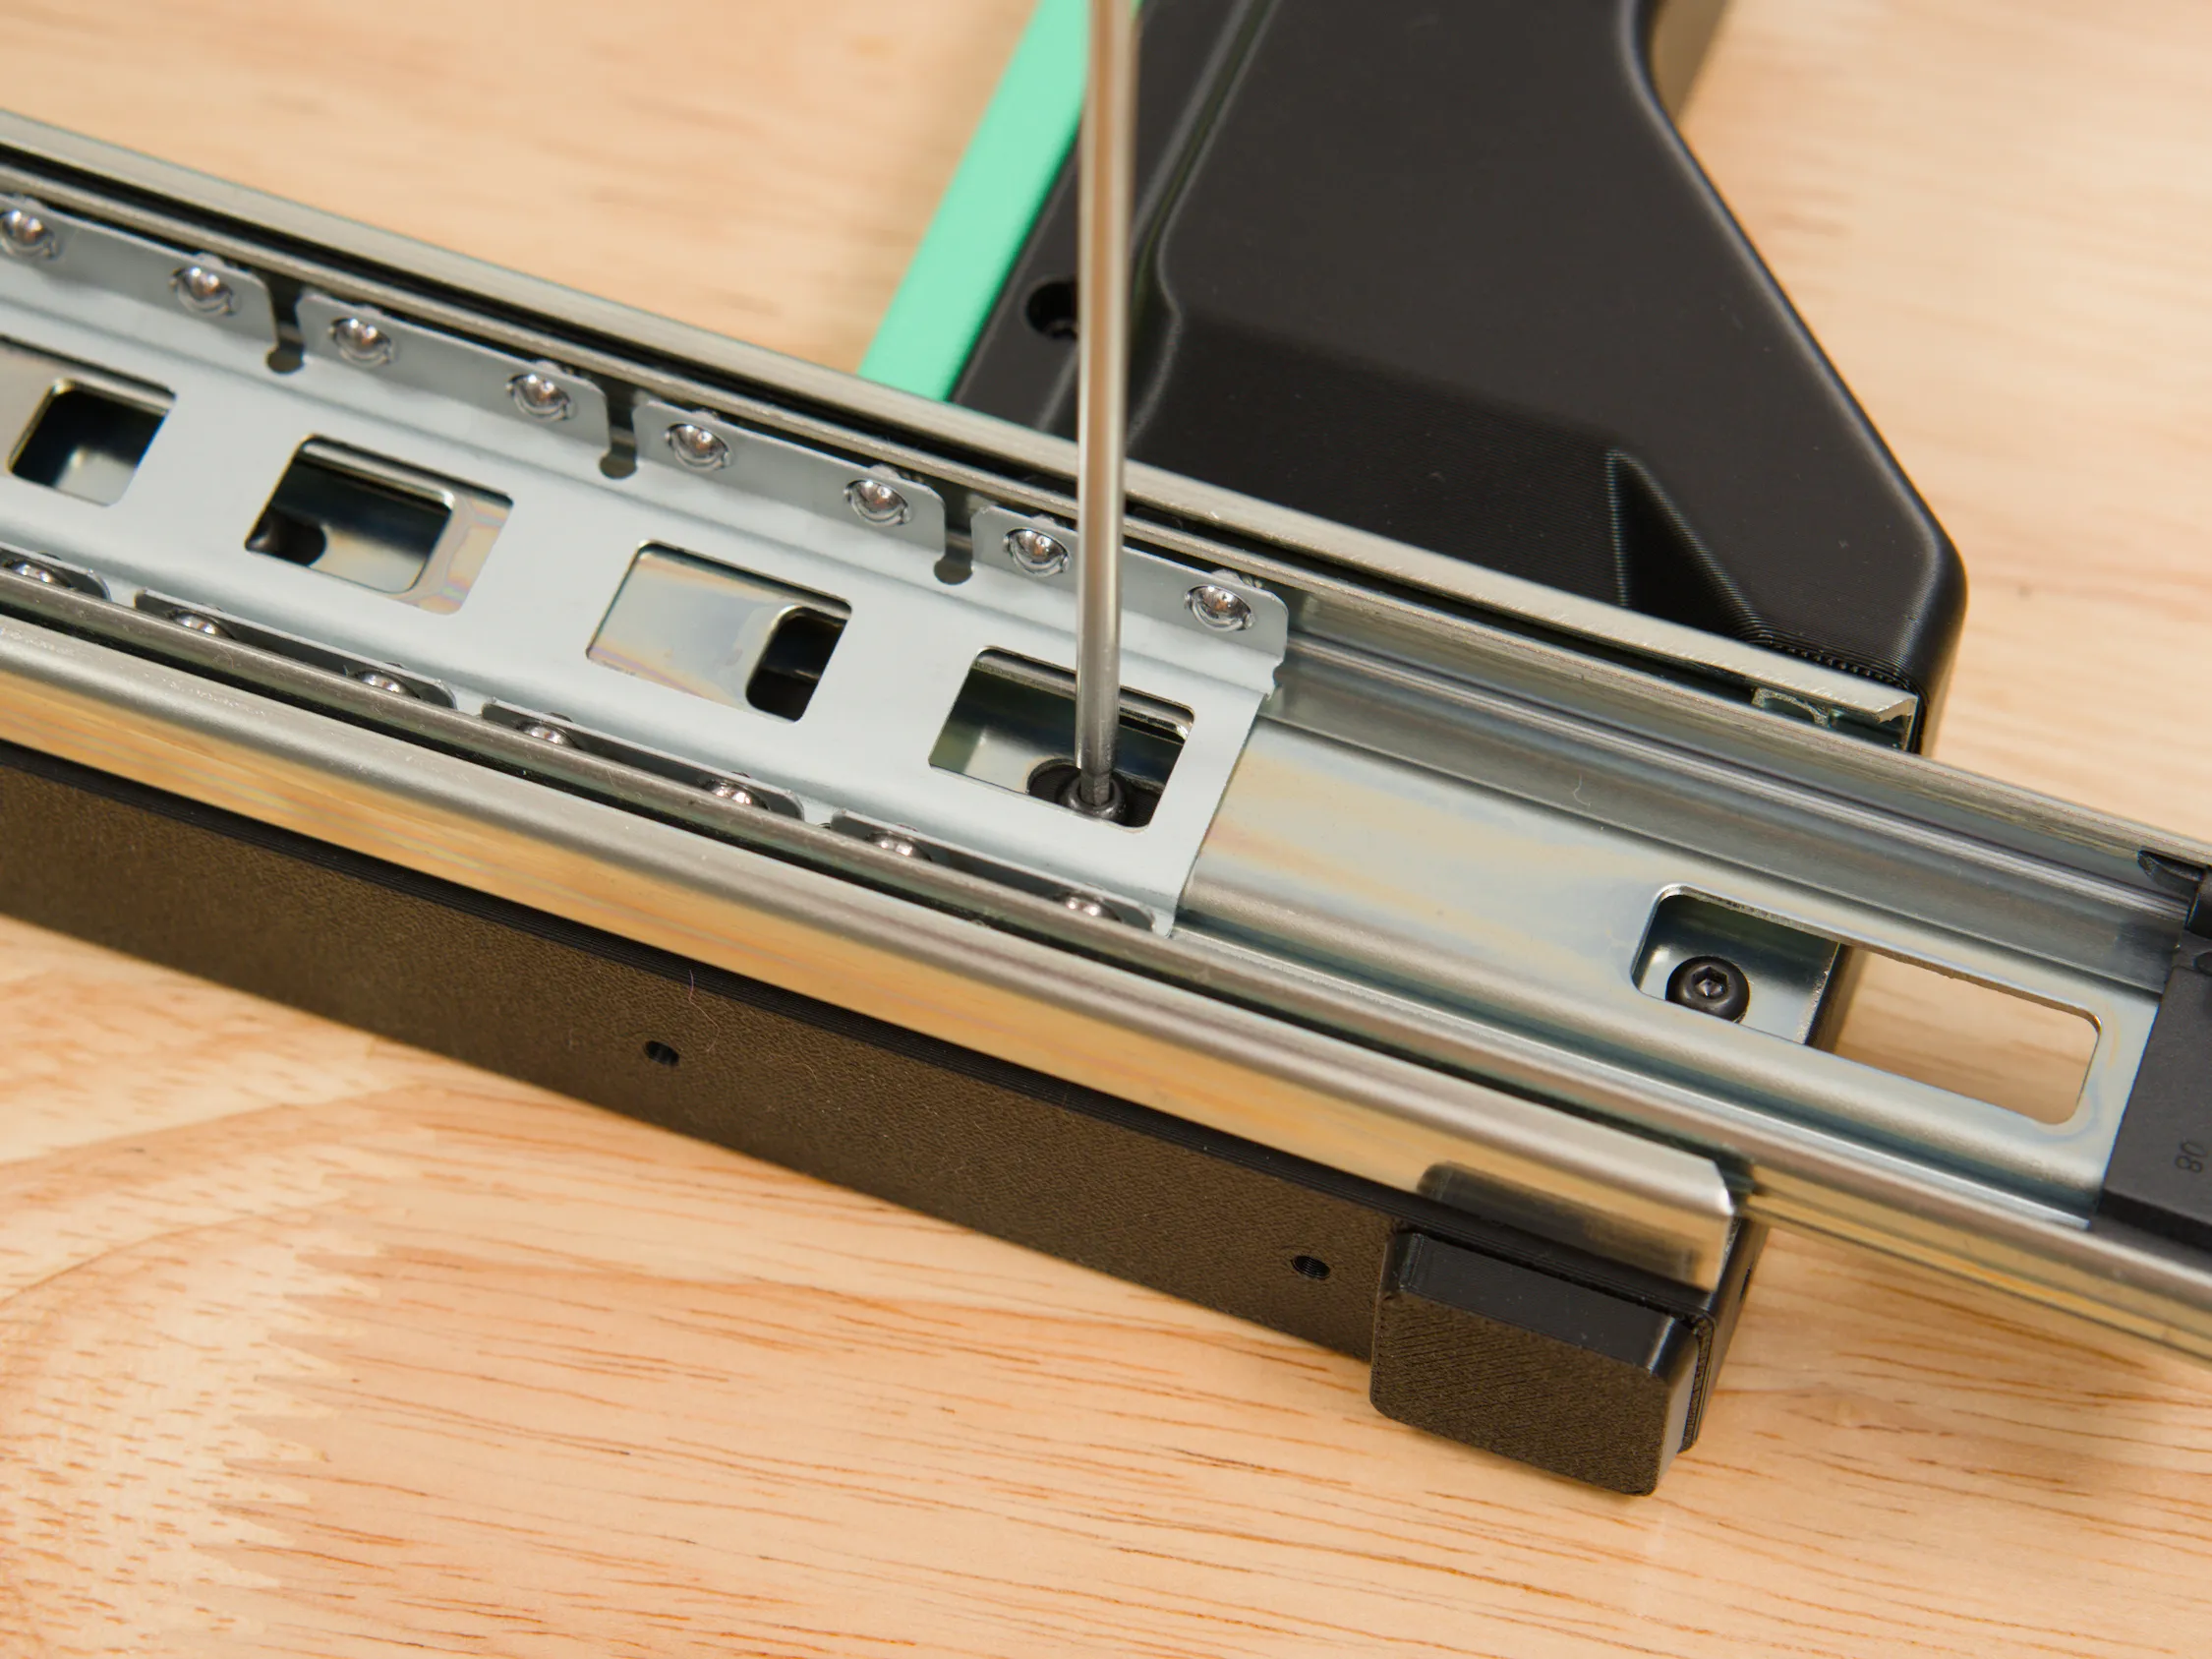
When tightening, push the slides up to the flat parts on the frame - this ensures that the left and right slides are parallel and level.
Repeat for the other side and put the two halves together with more screws.
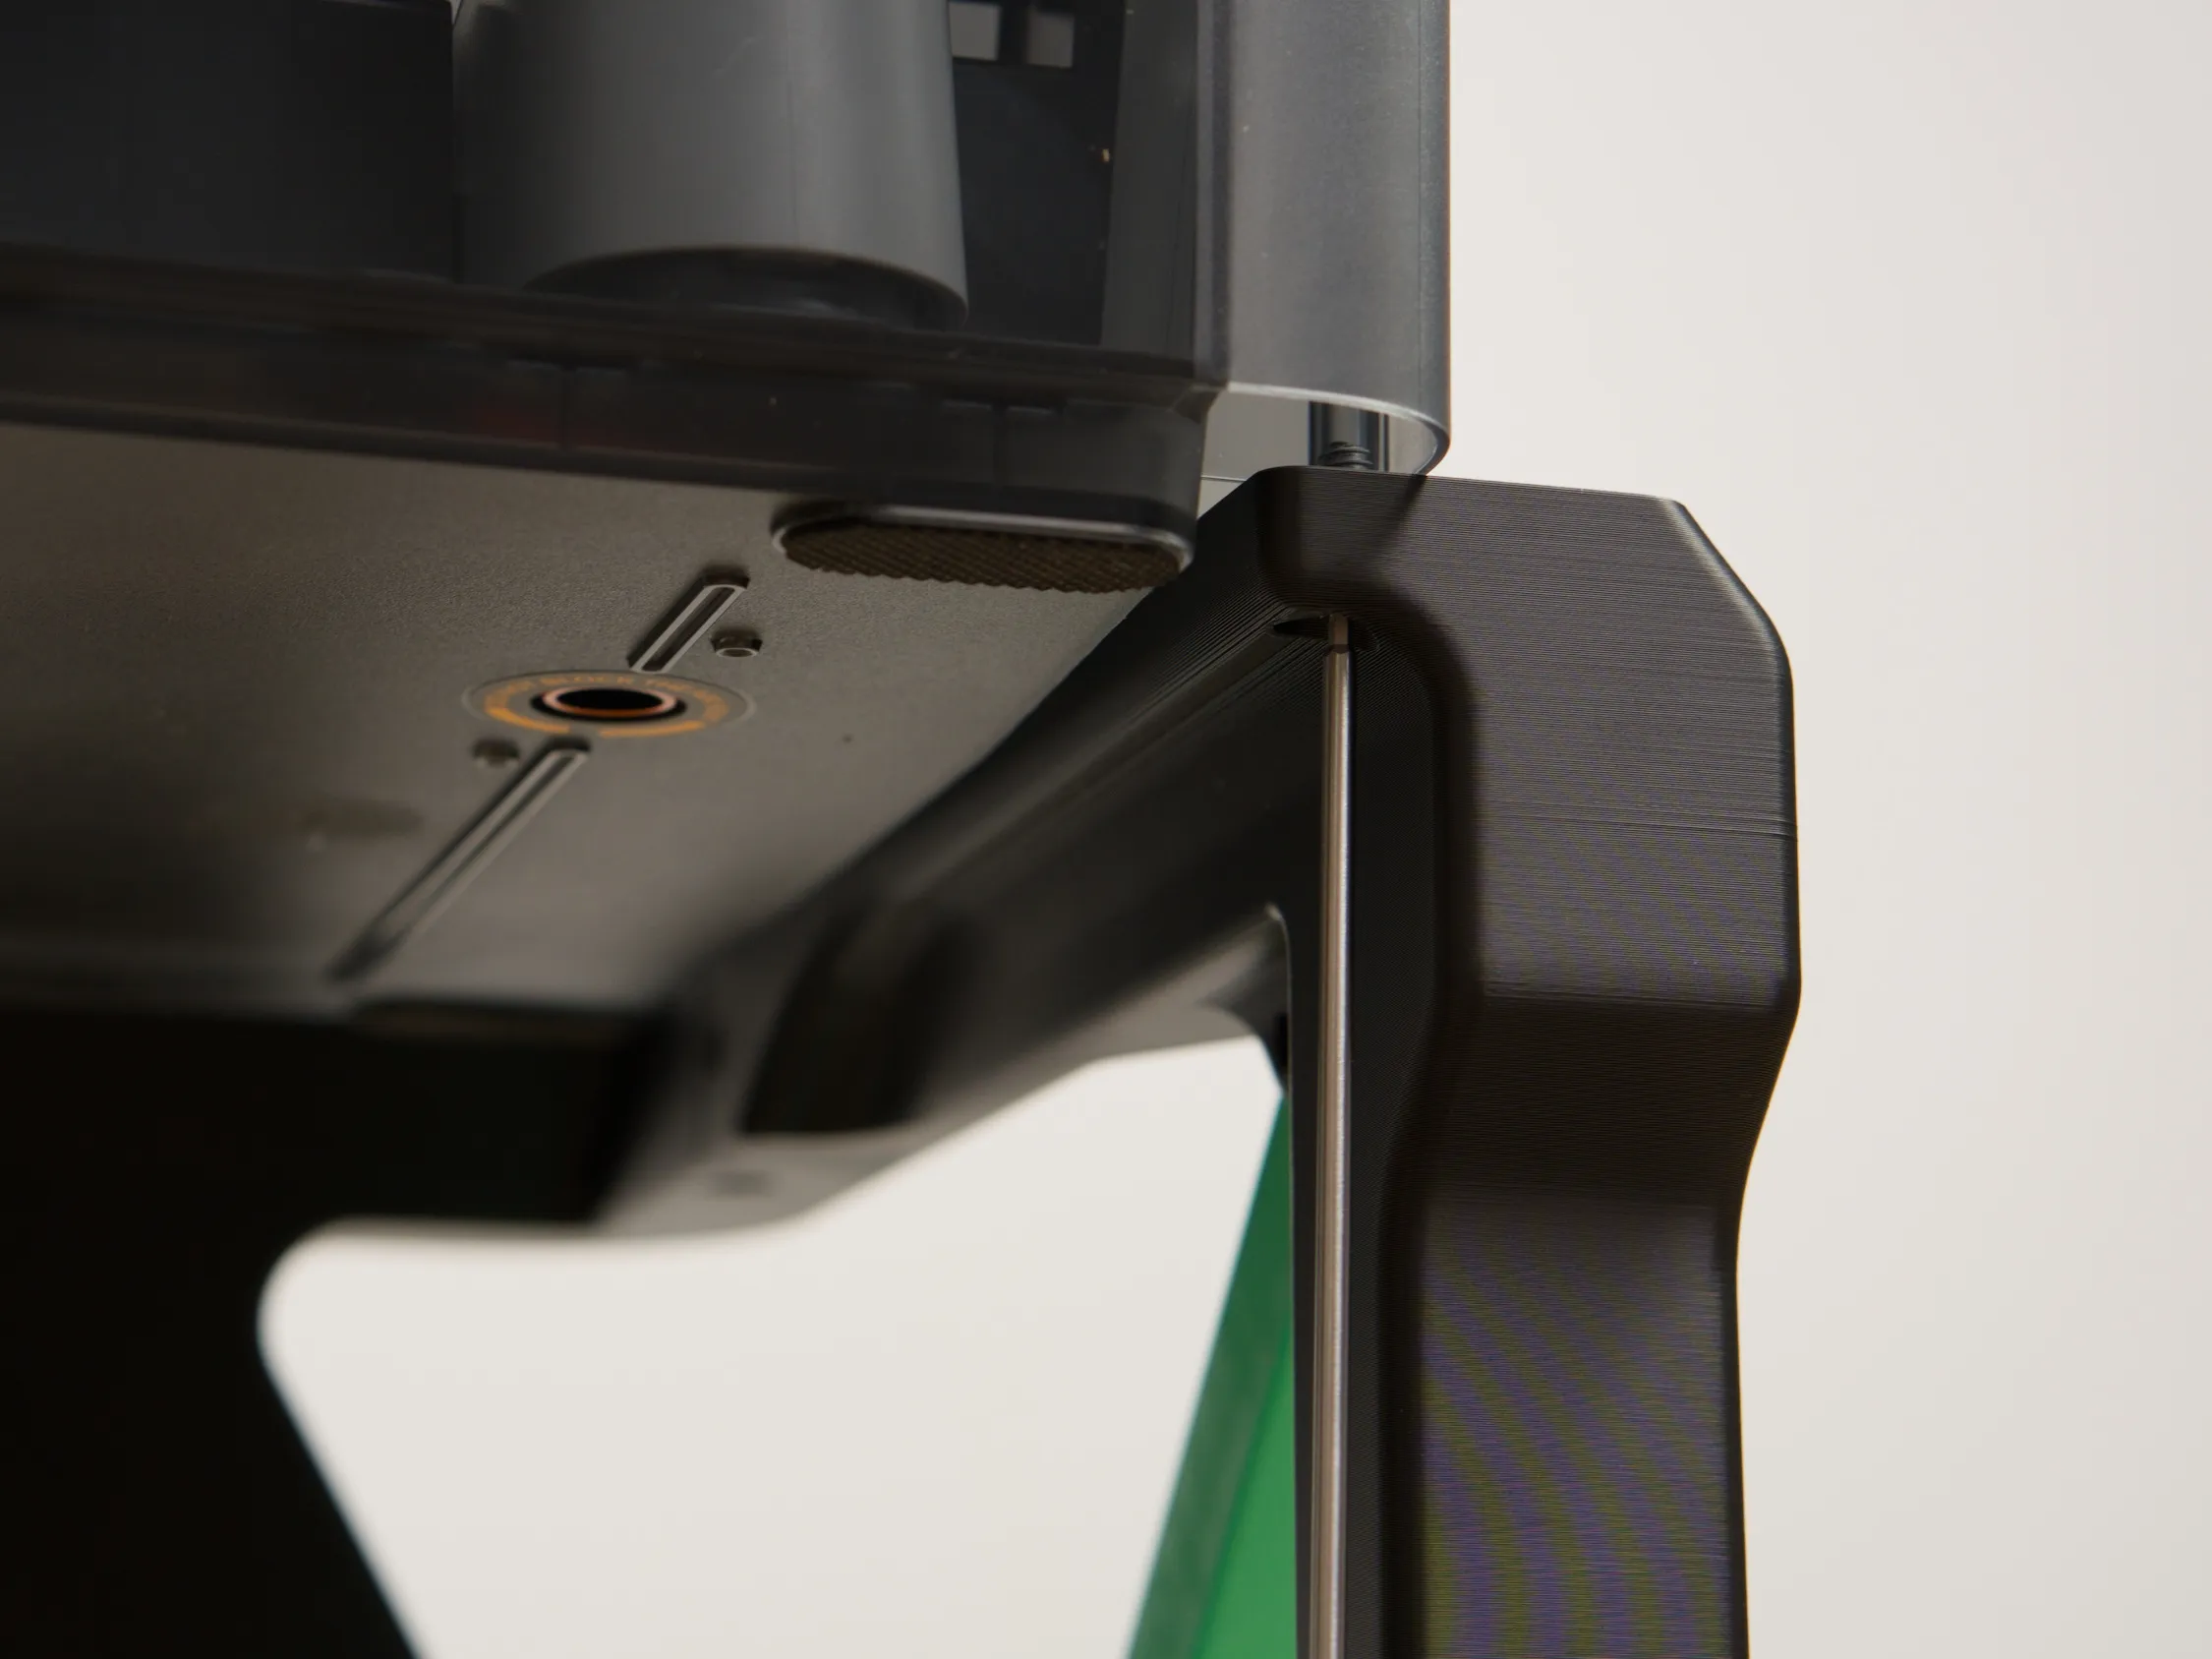
Attach the top AMS with 4 screws. This will stiffen up the frame assembly considerably. For some versions of the original AMS, there are some small pieces of plastic that need to be trimmed. This is not necessary for the AMS 2 Pro and some original AMS variants.

Drawer Assembly
Assemble the drawer assembly with more screws.
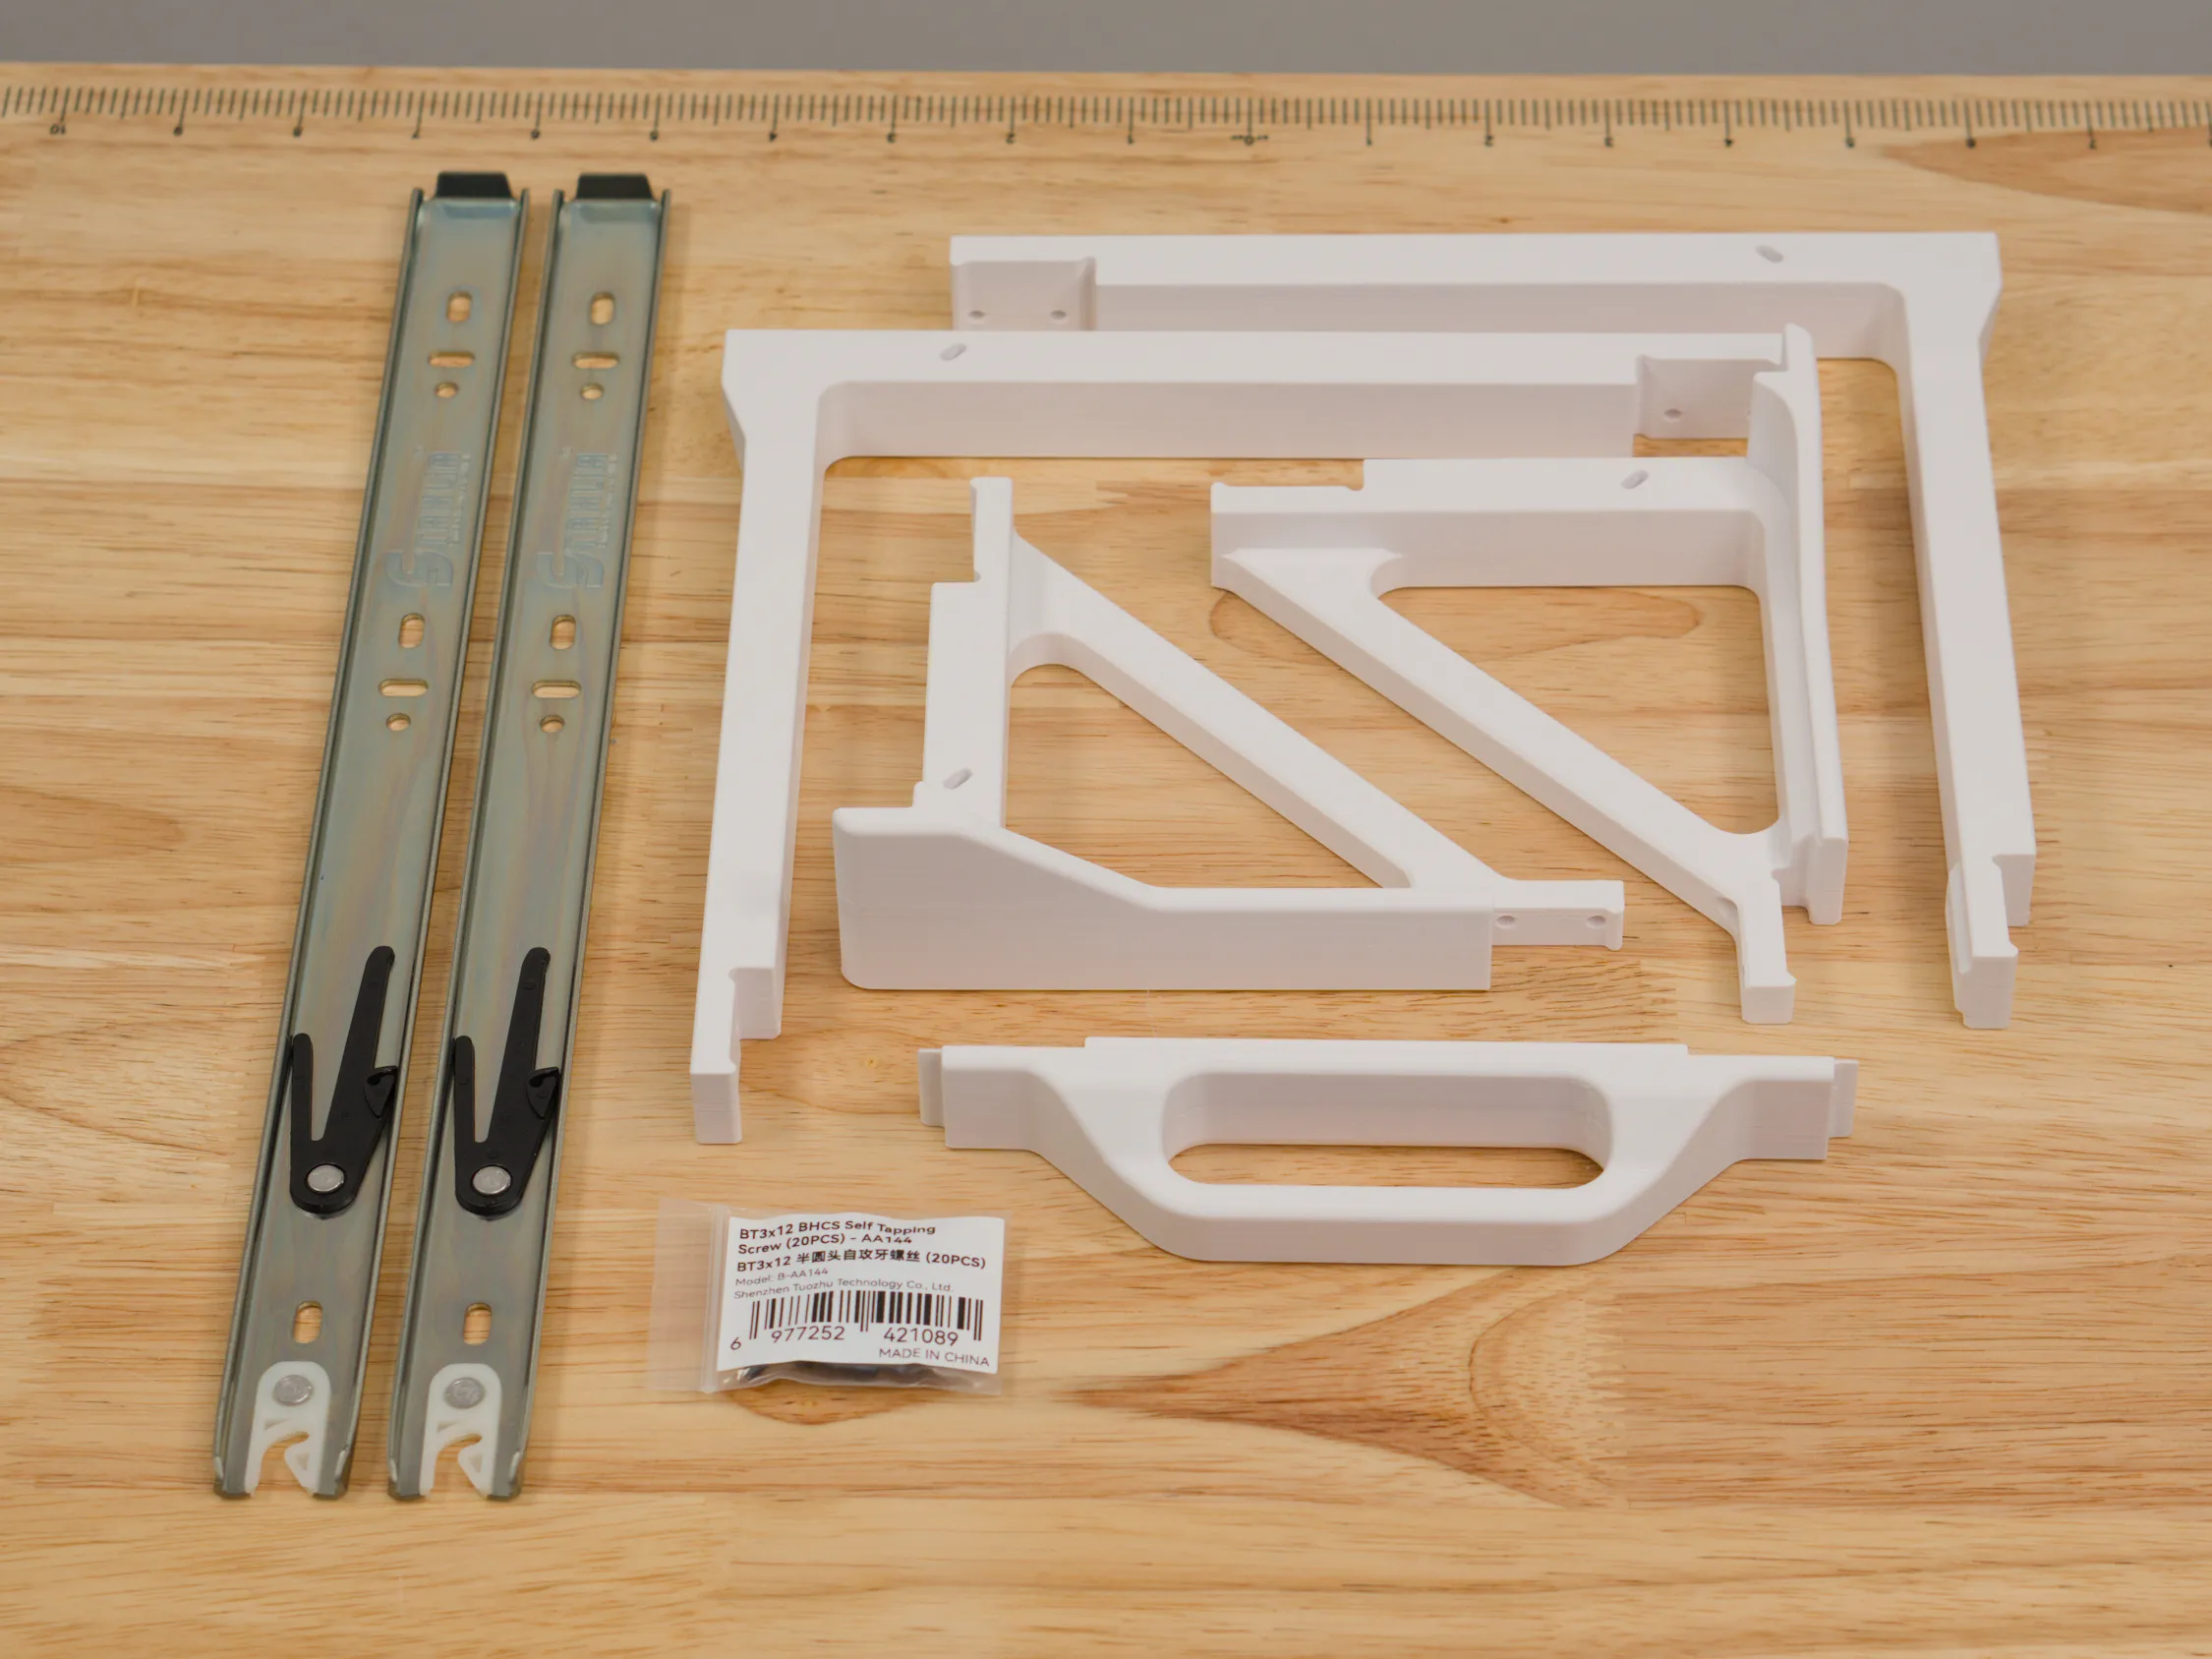
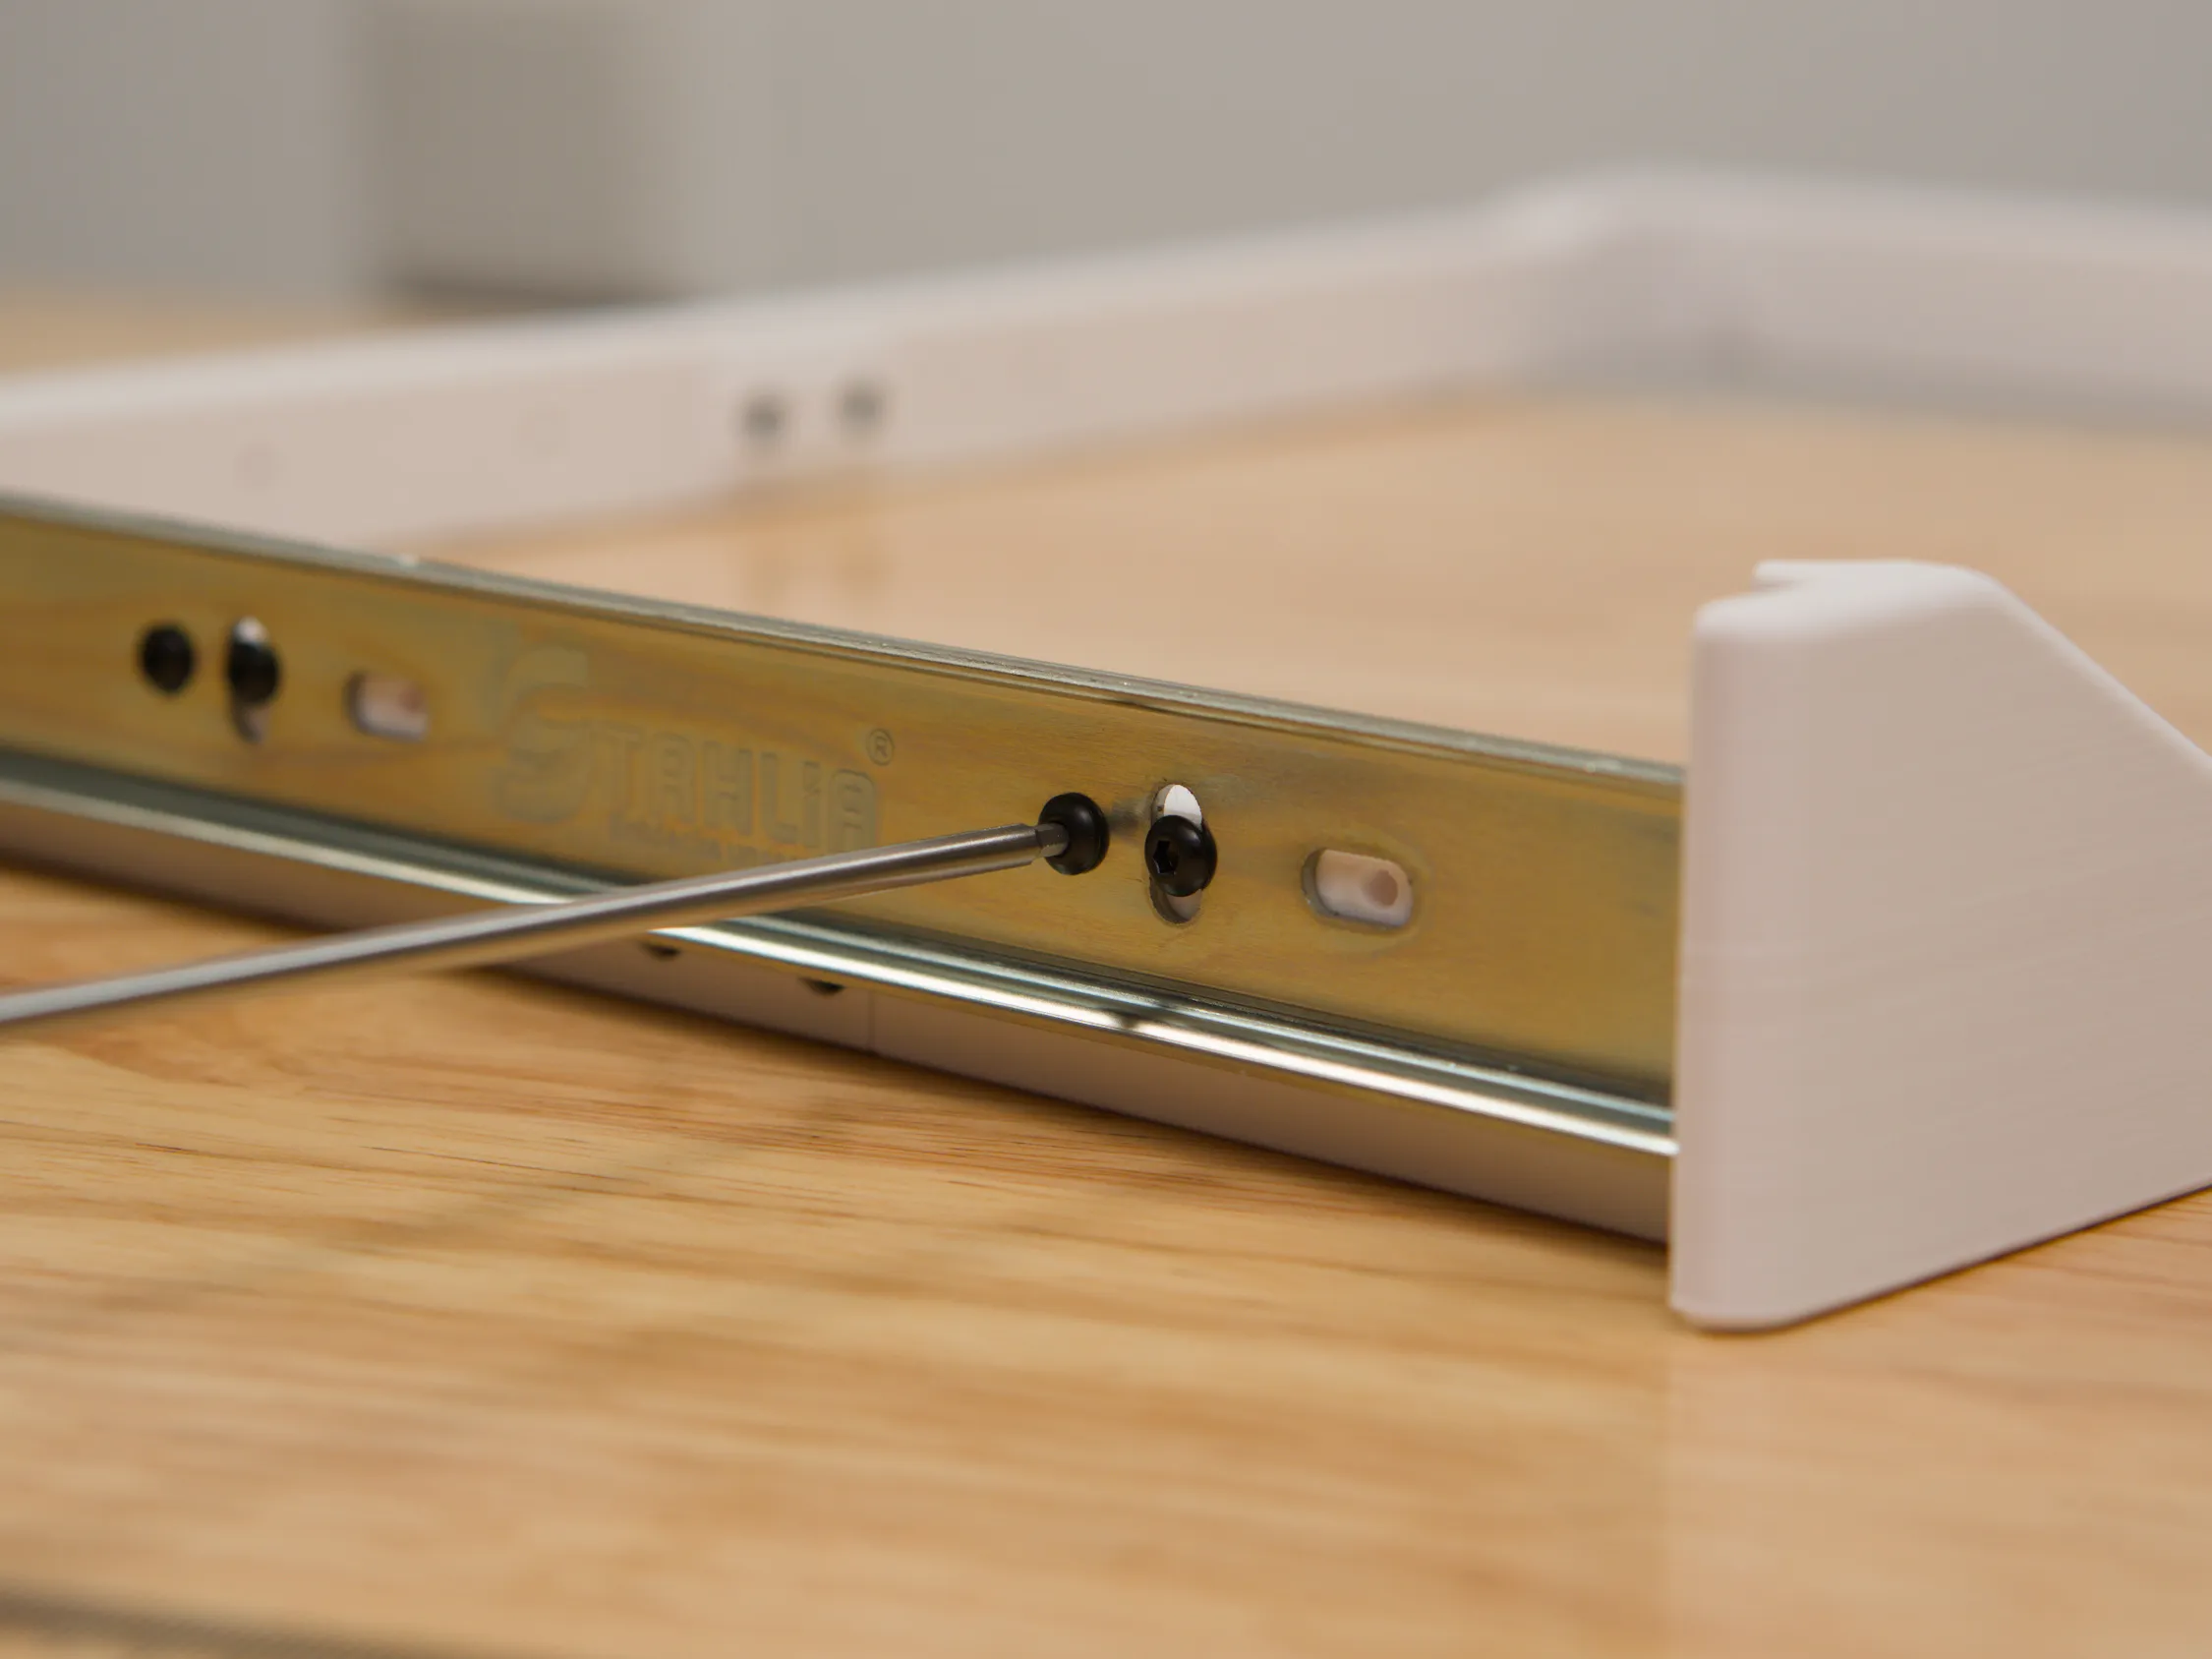
Attach the inner slides using at least 3 screws on each side.
When tightening, try to get the two inner slides parallel. You can look at the unused holes to determine the positioning.
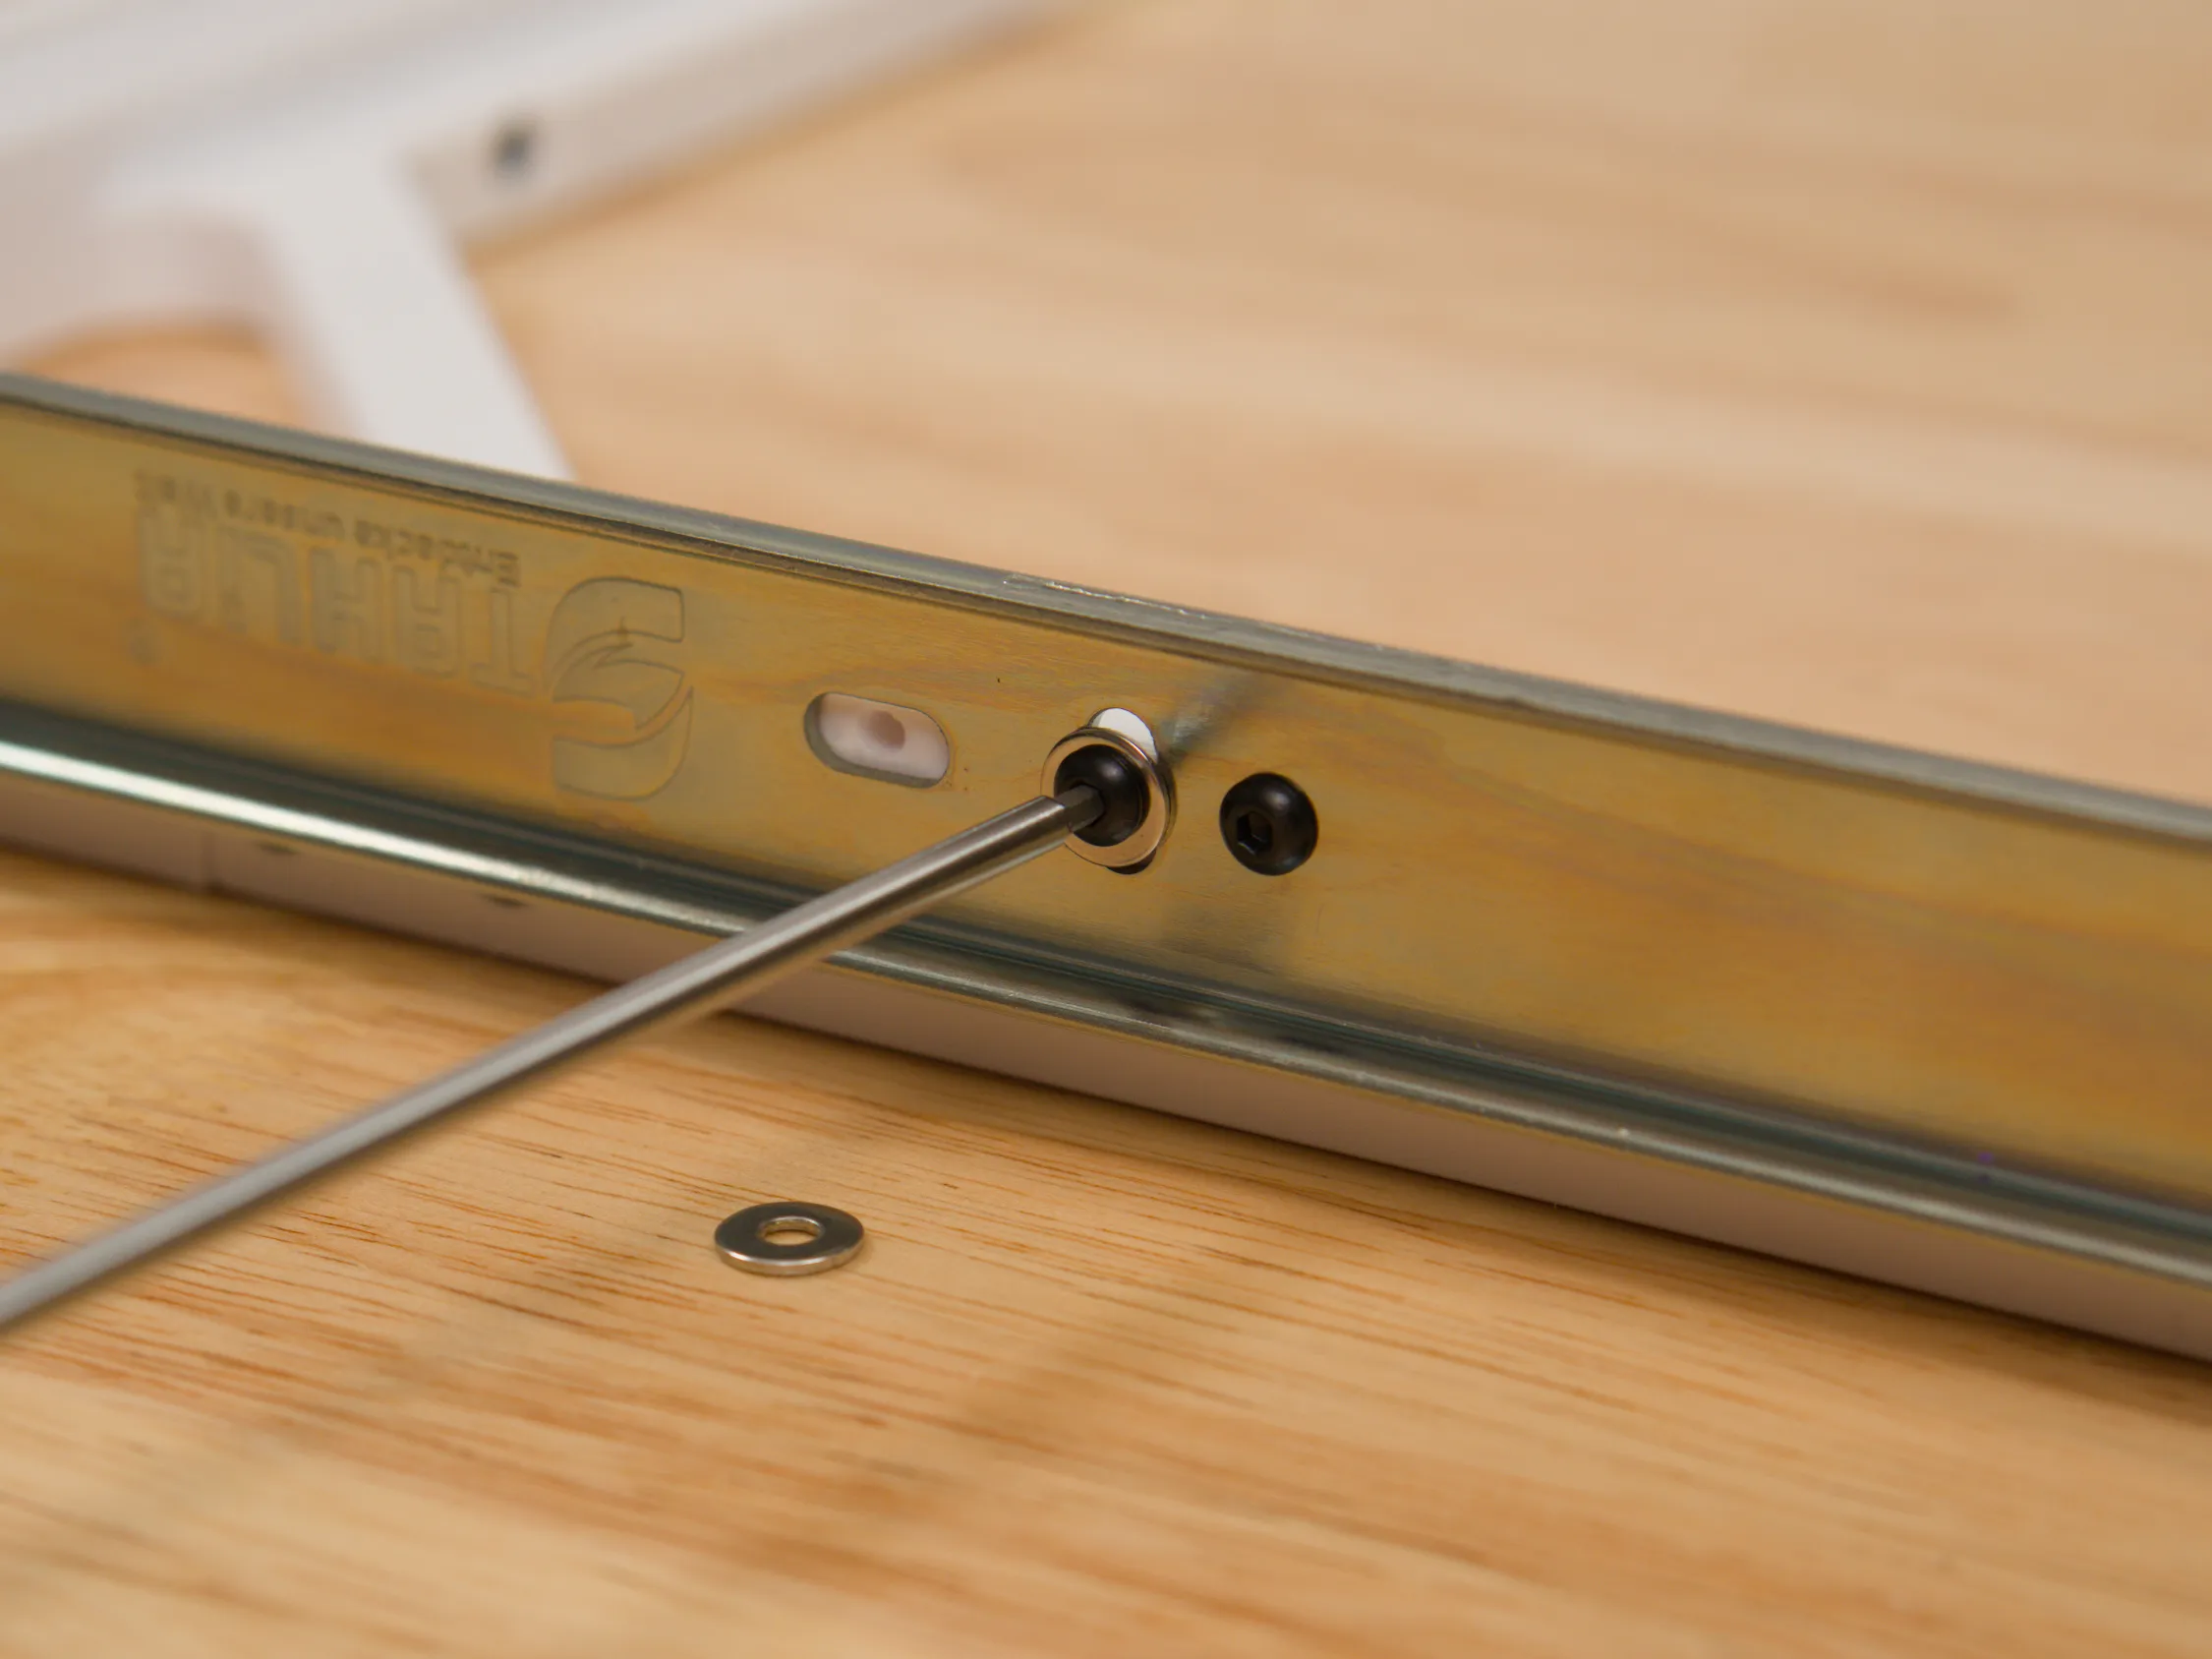
If the holes are too big, you can use some washers (mine is OK without, this is just for illustration).
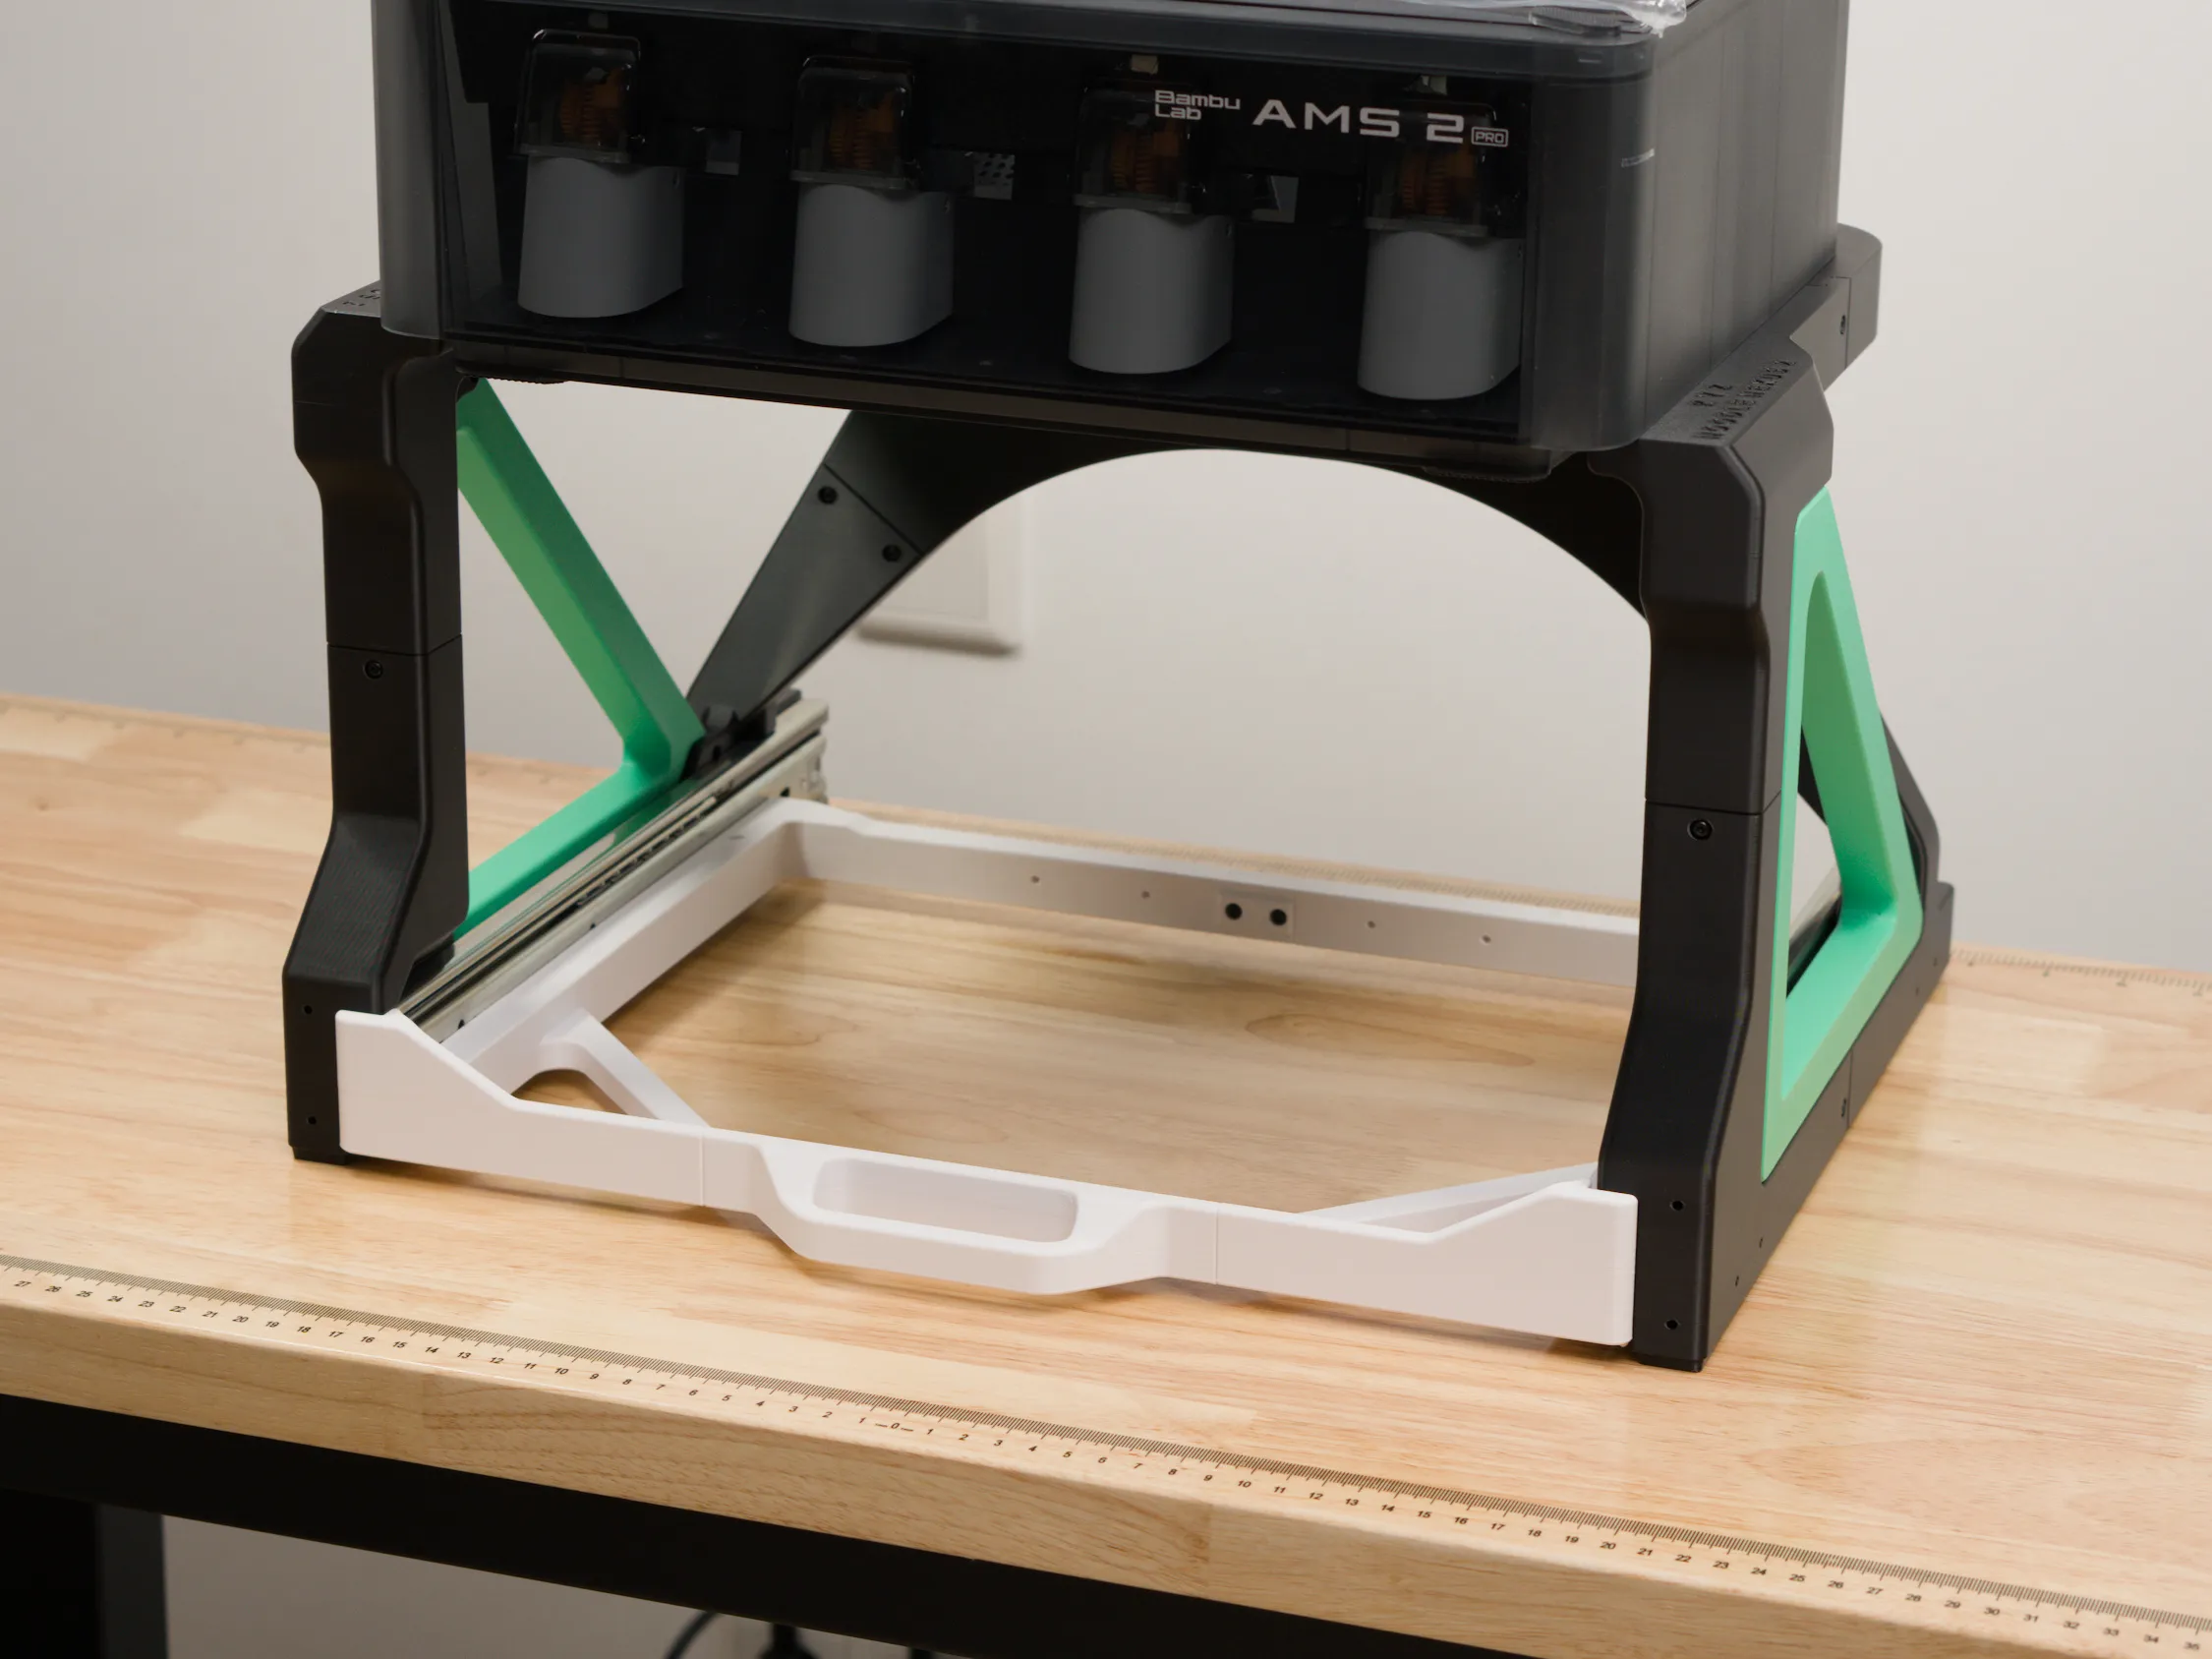
Now slide this into the frame.
Attach the lower AMS
Put some filament inside the top AMS to provide some counterweight. Pull out the drawer and place the second AMS.
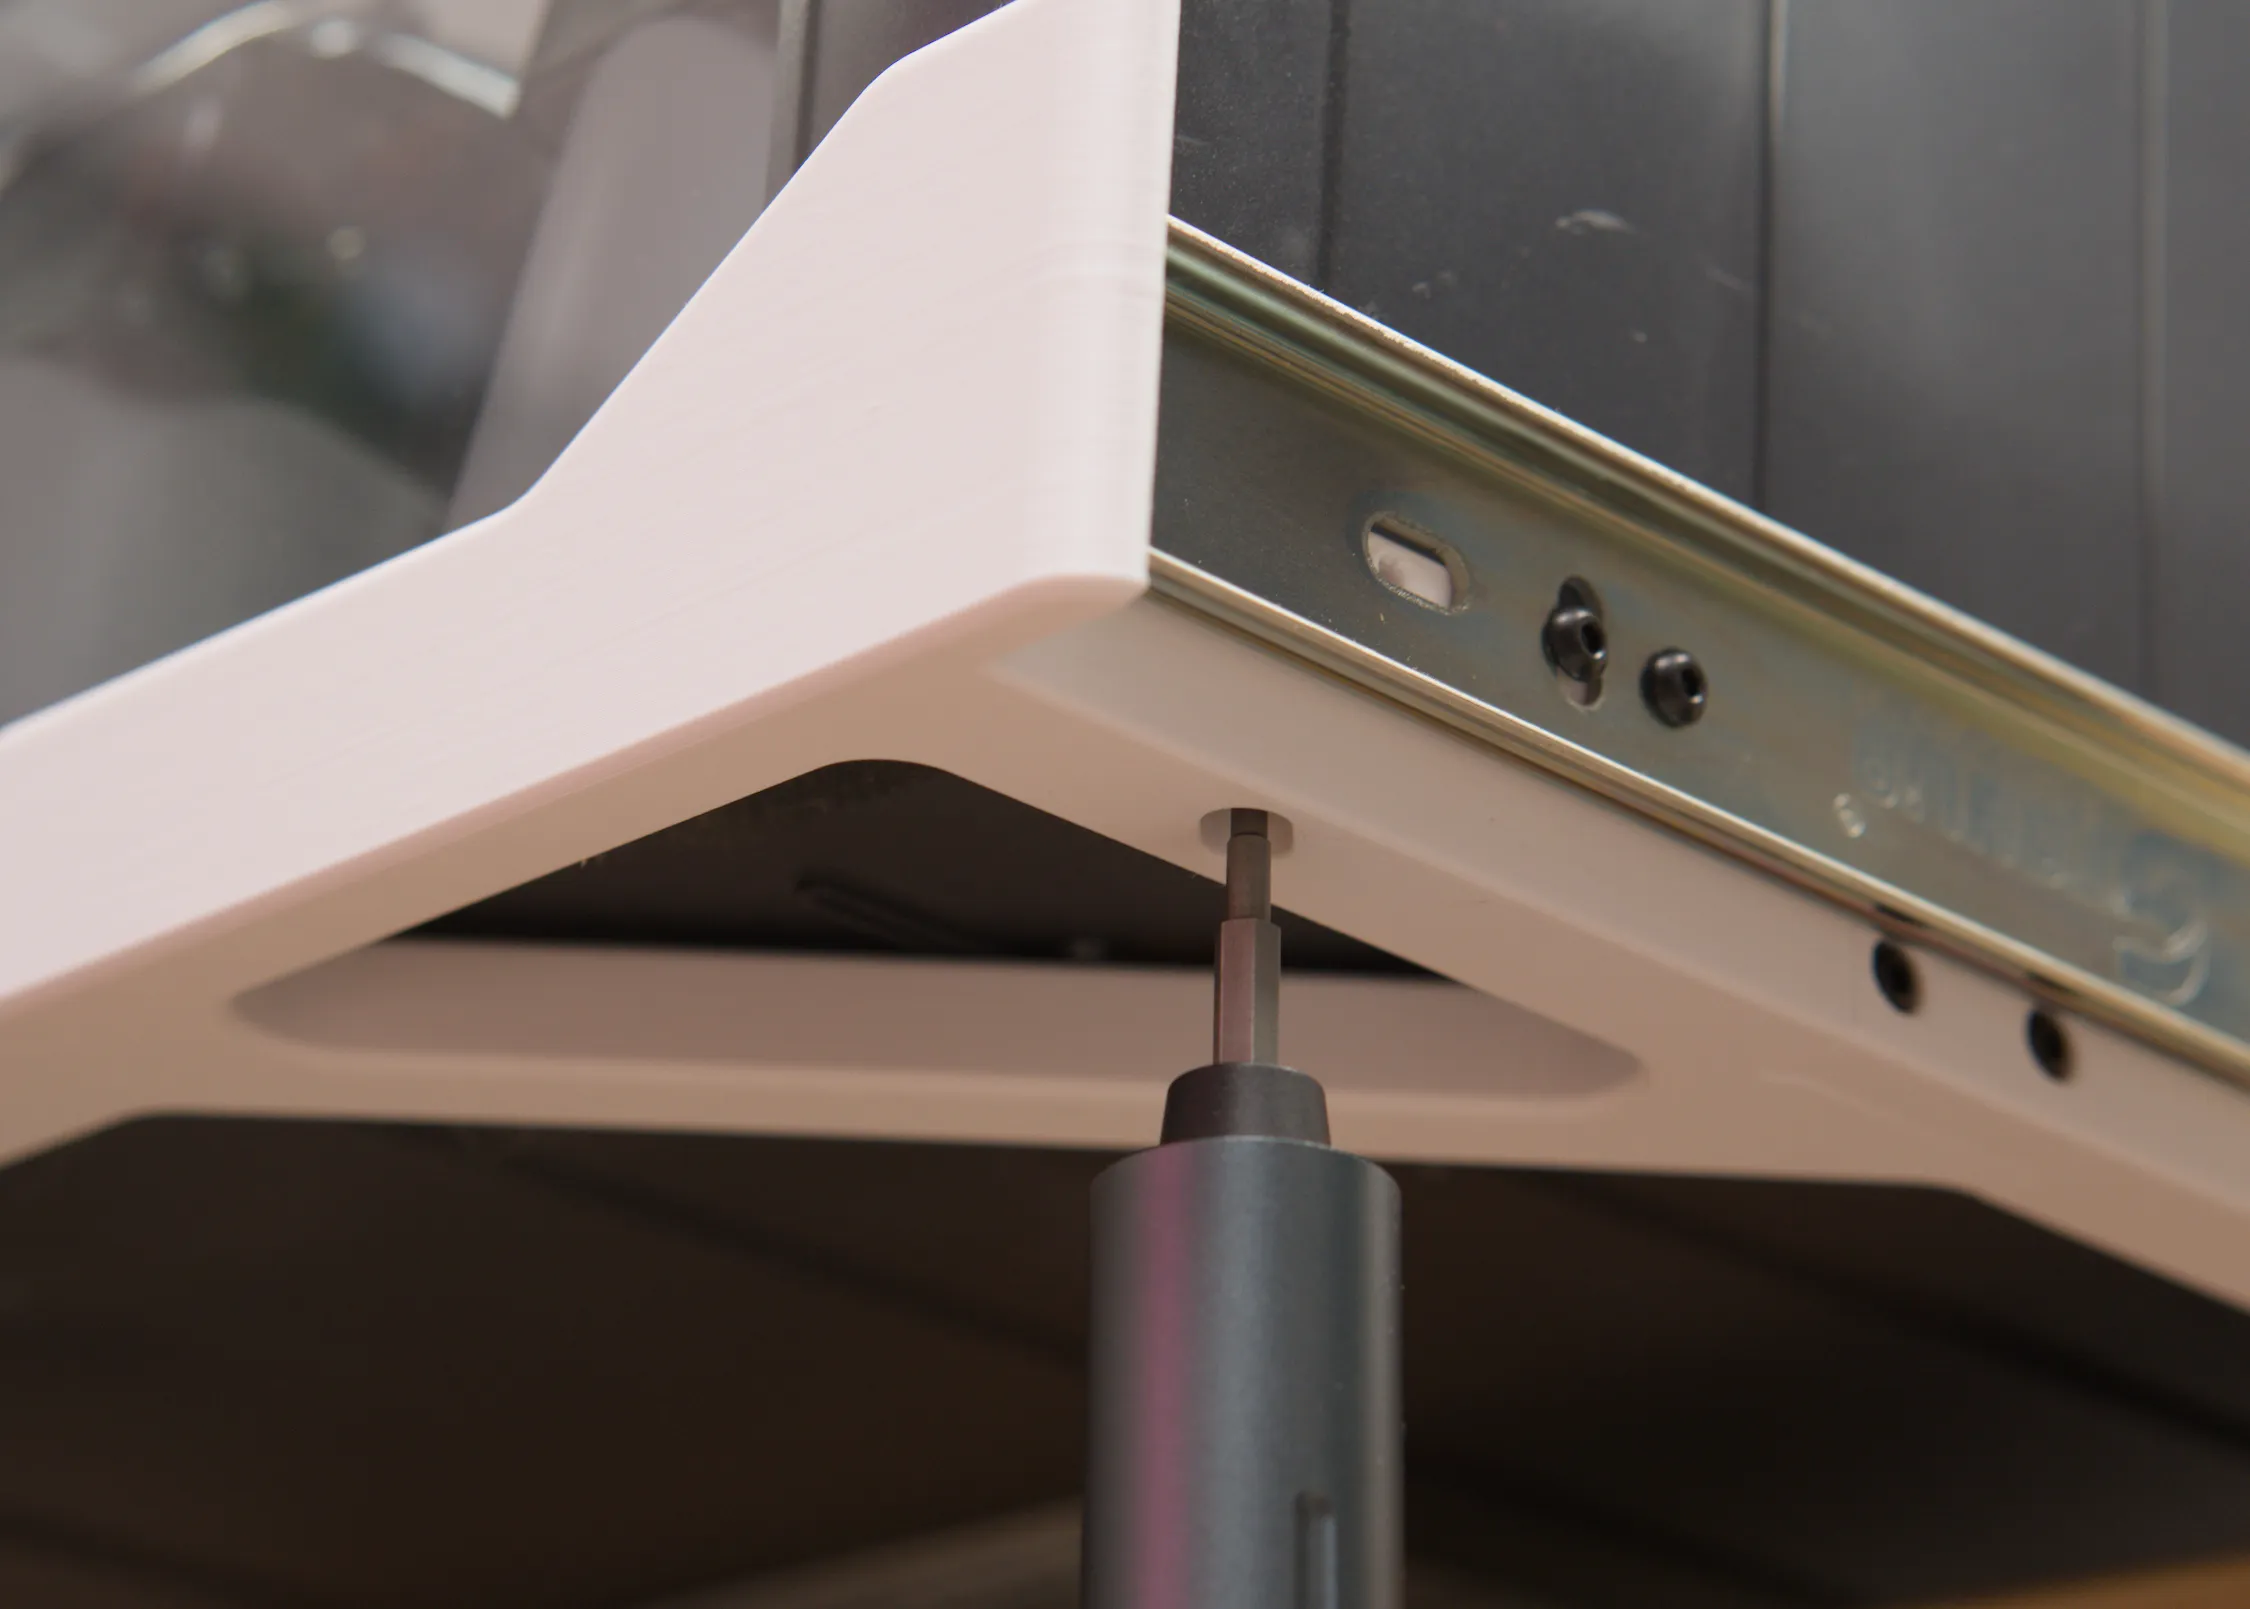
Use 4 more screws to secure it in-place.
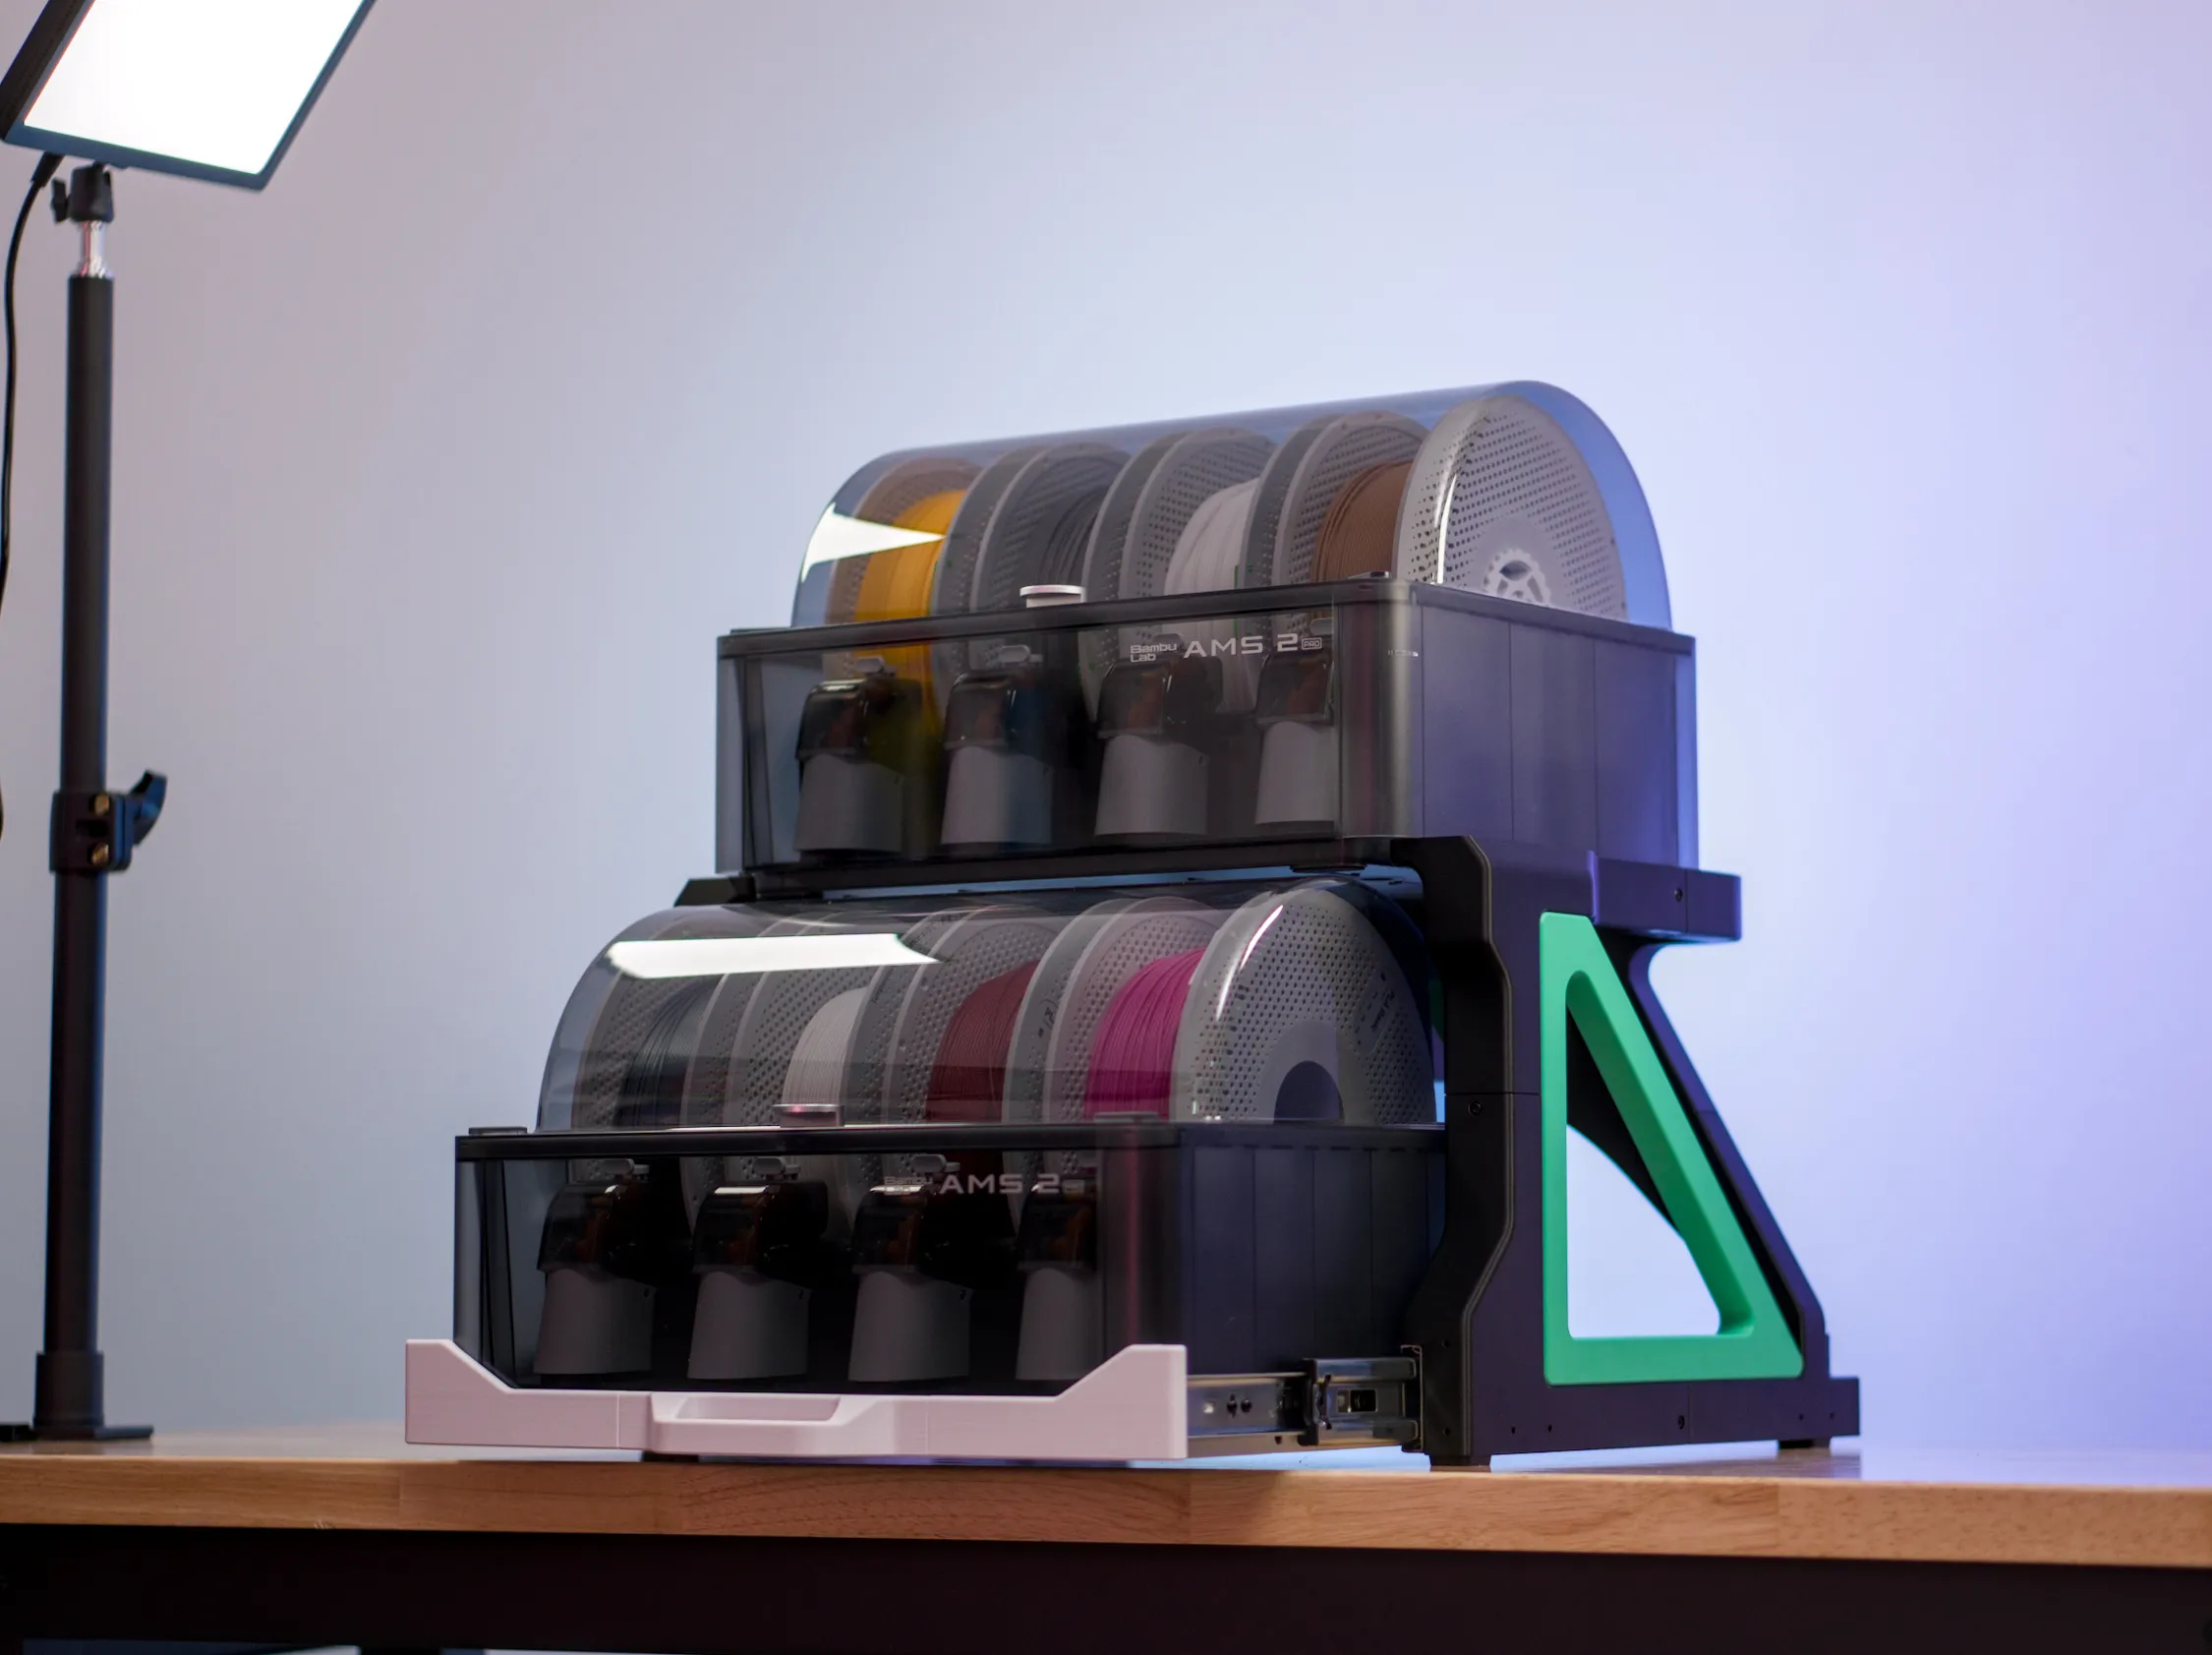
And finally, post a picture here!
Counterweight Options
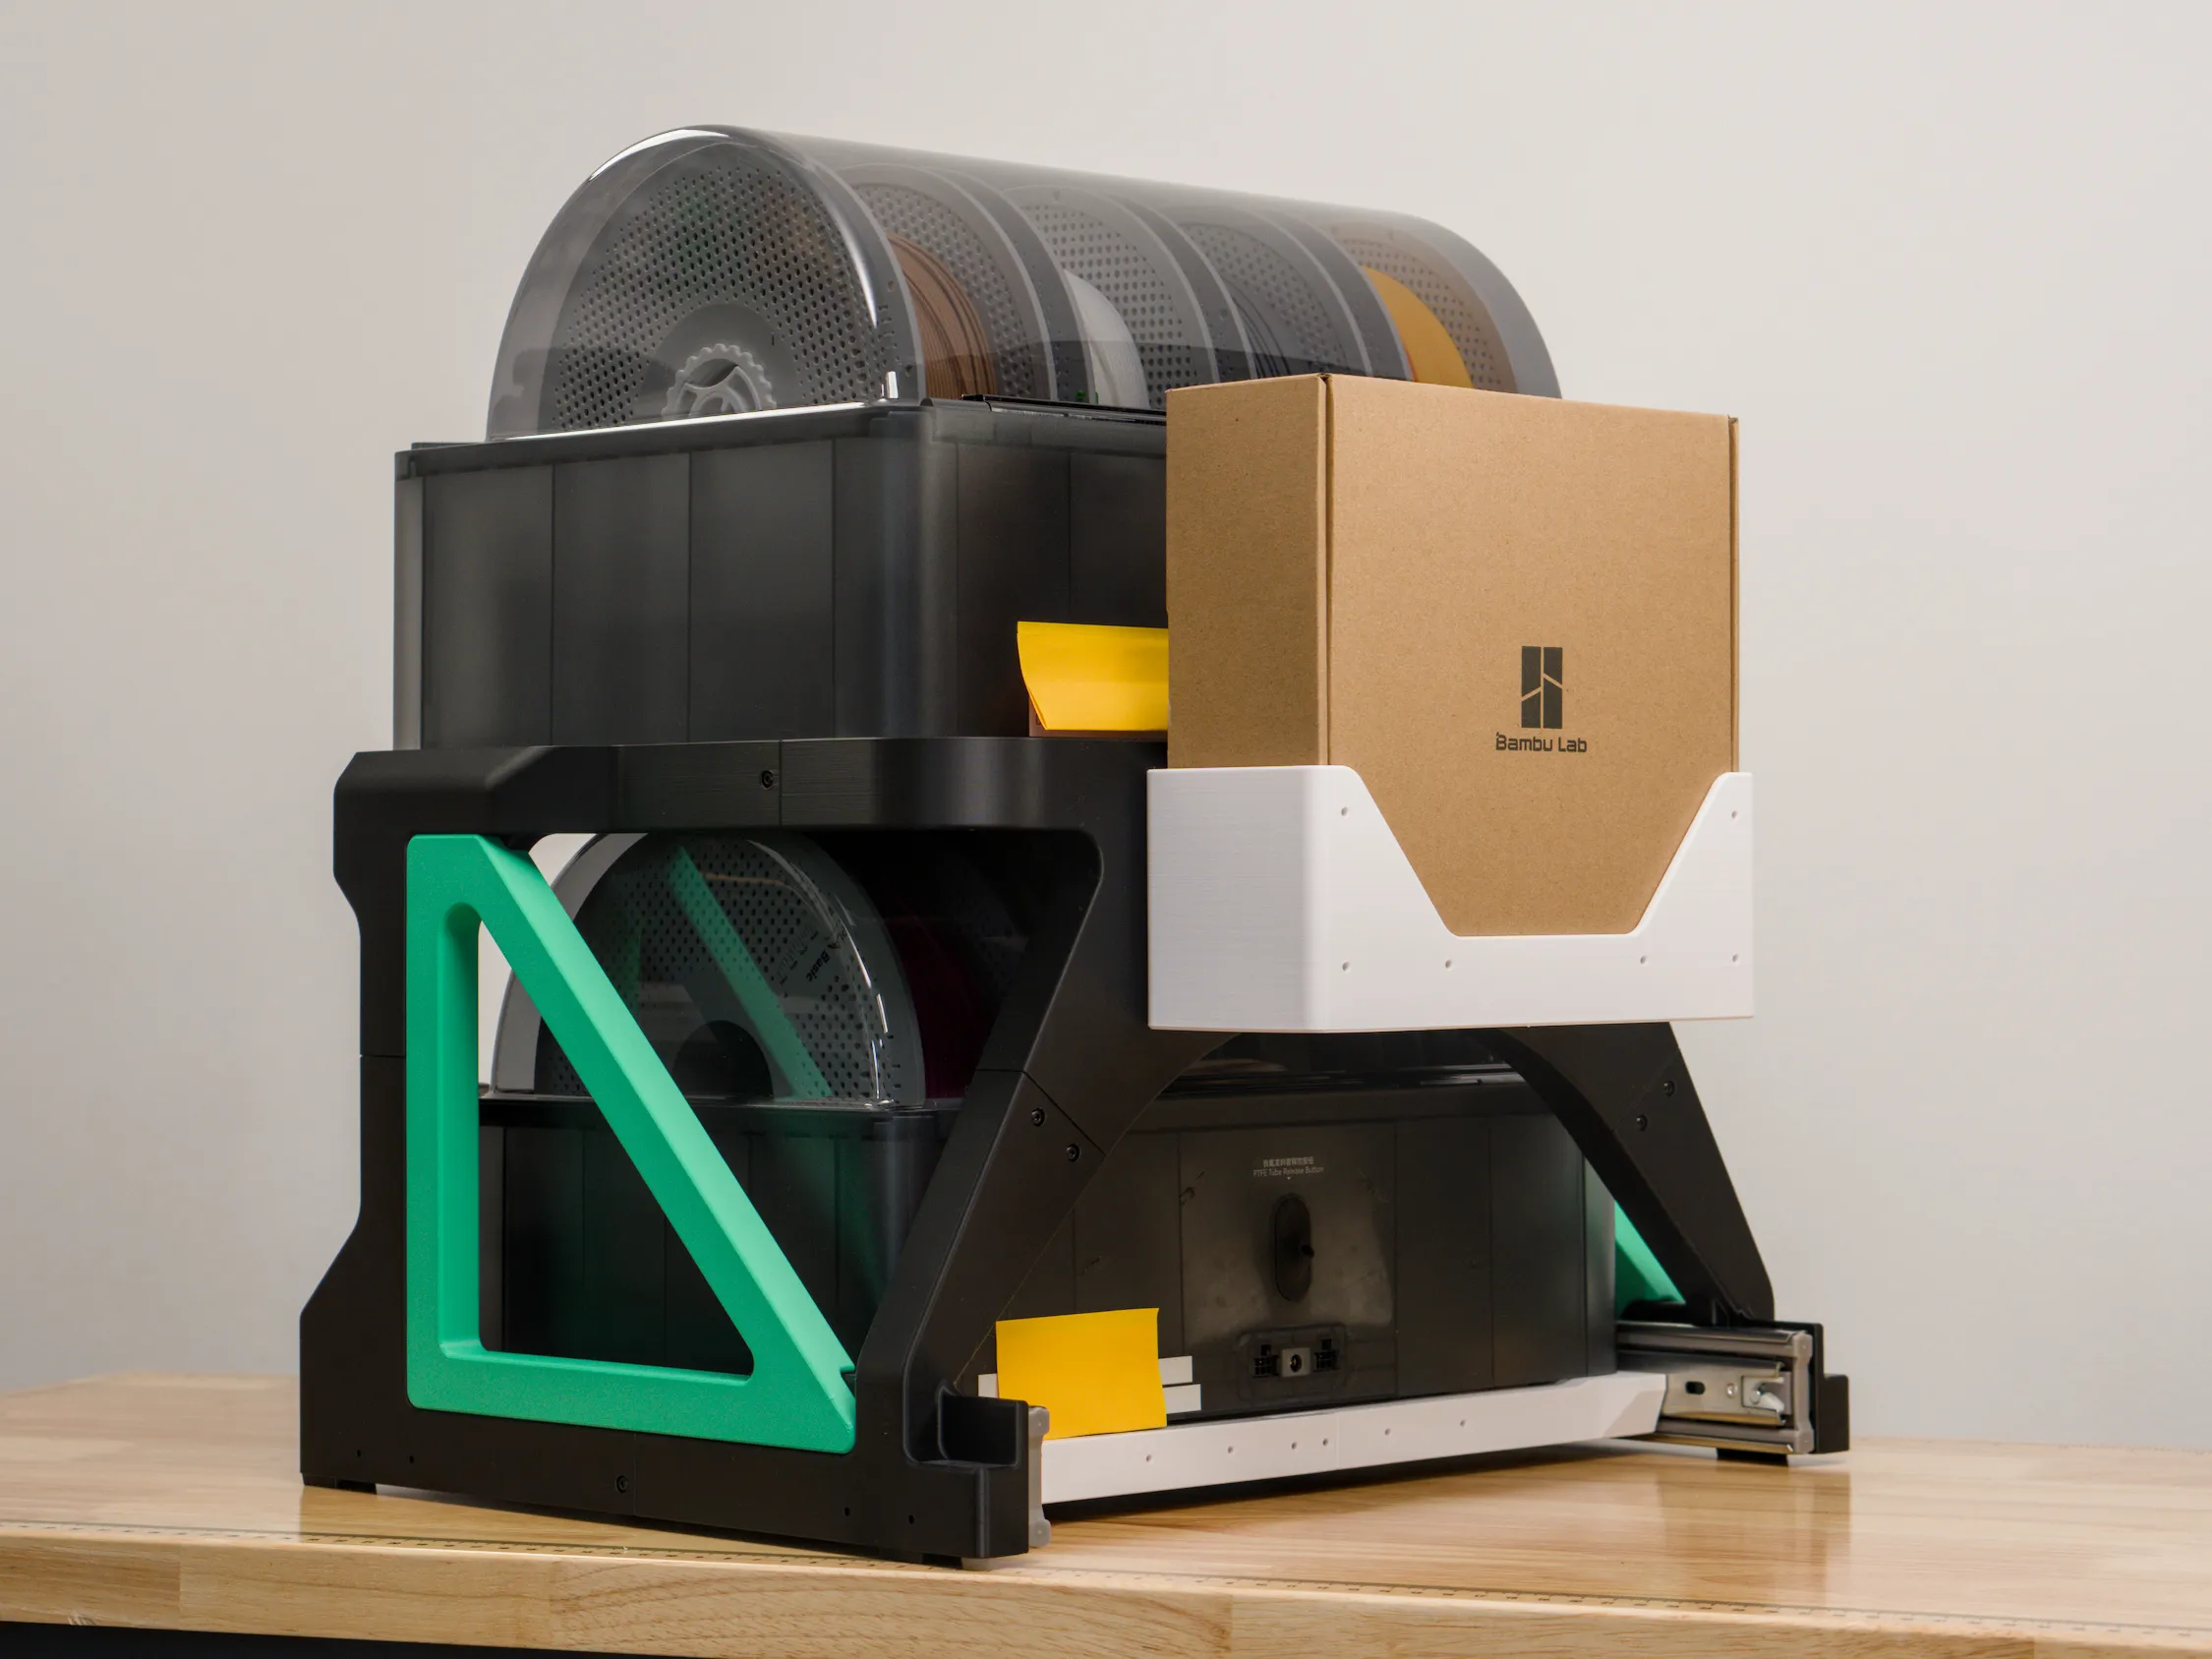
As you can guess, the whole assembly can tip forward when the drawer is opened fully. I have 3 options to reduce this risk. You can use one or more of the methods at the same time.
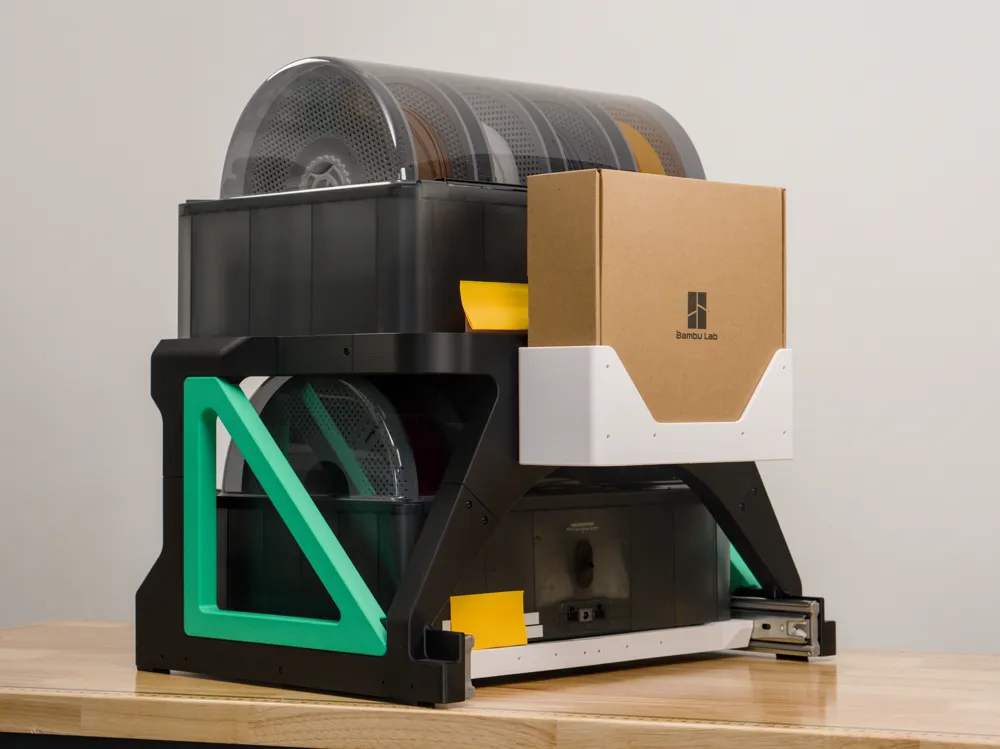
Option 1 - Counterweight Basket
Attach the counterweight basket using 4 screws (same screws as above!). The file for this is in a separate print profile, on this page.
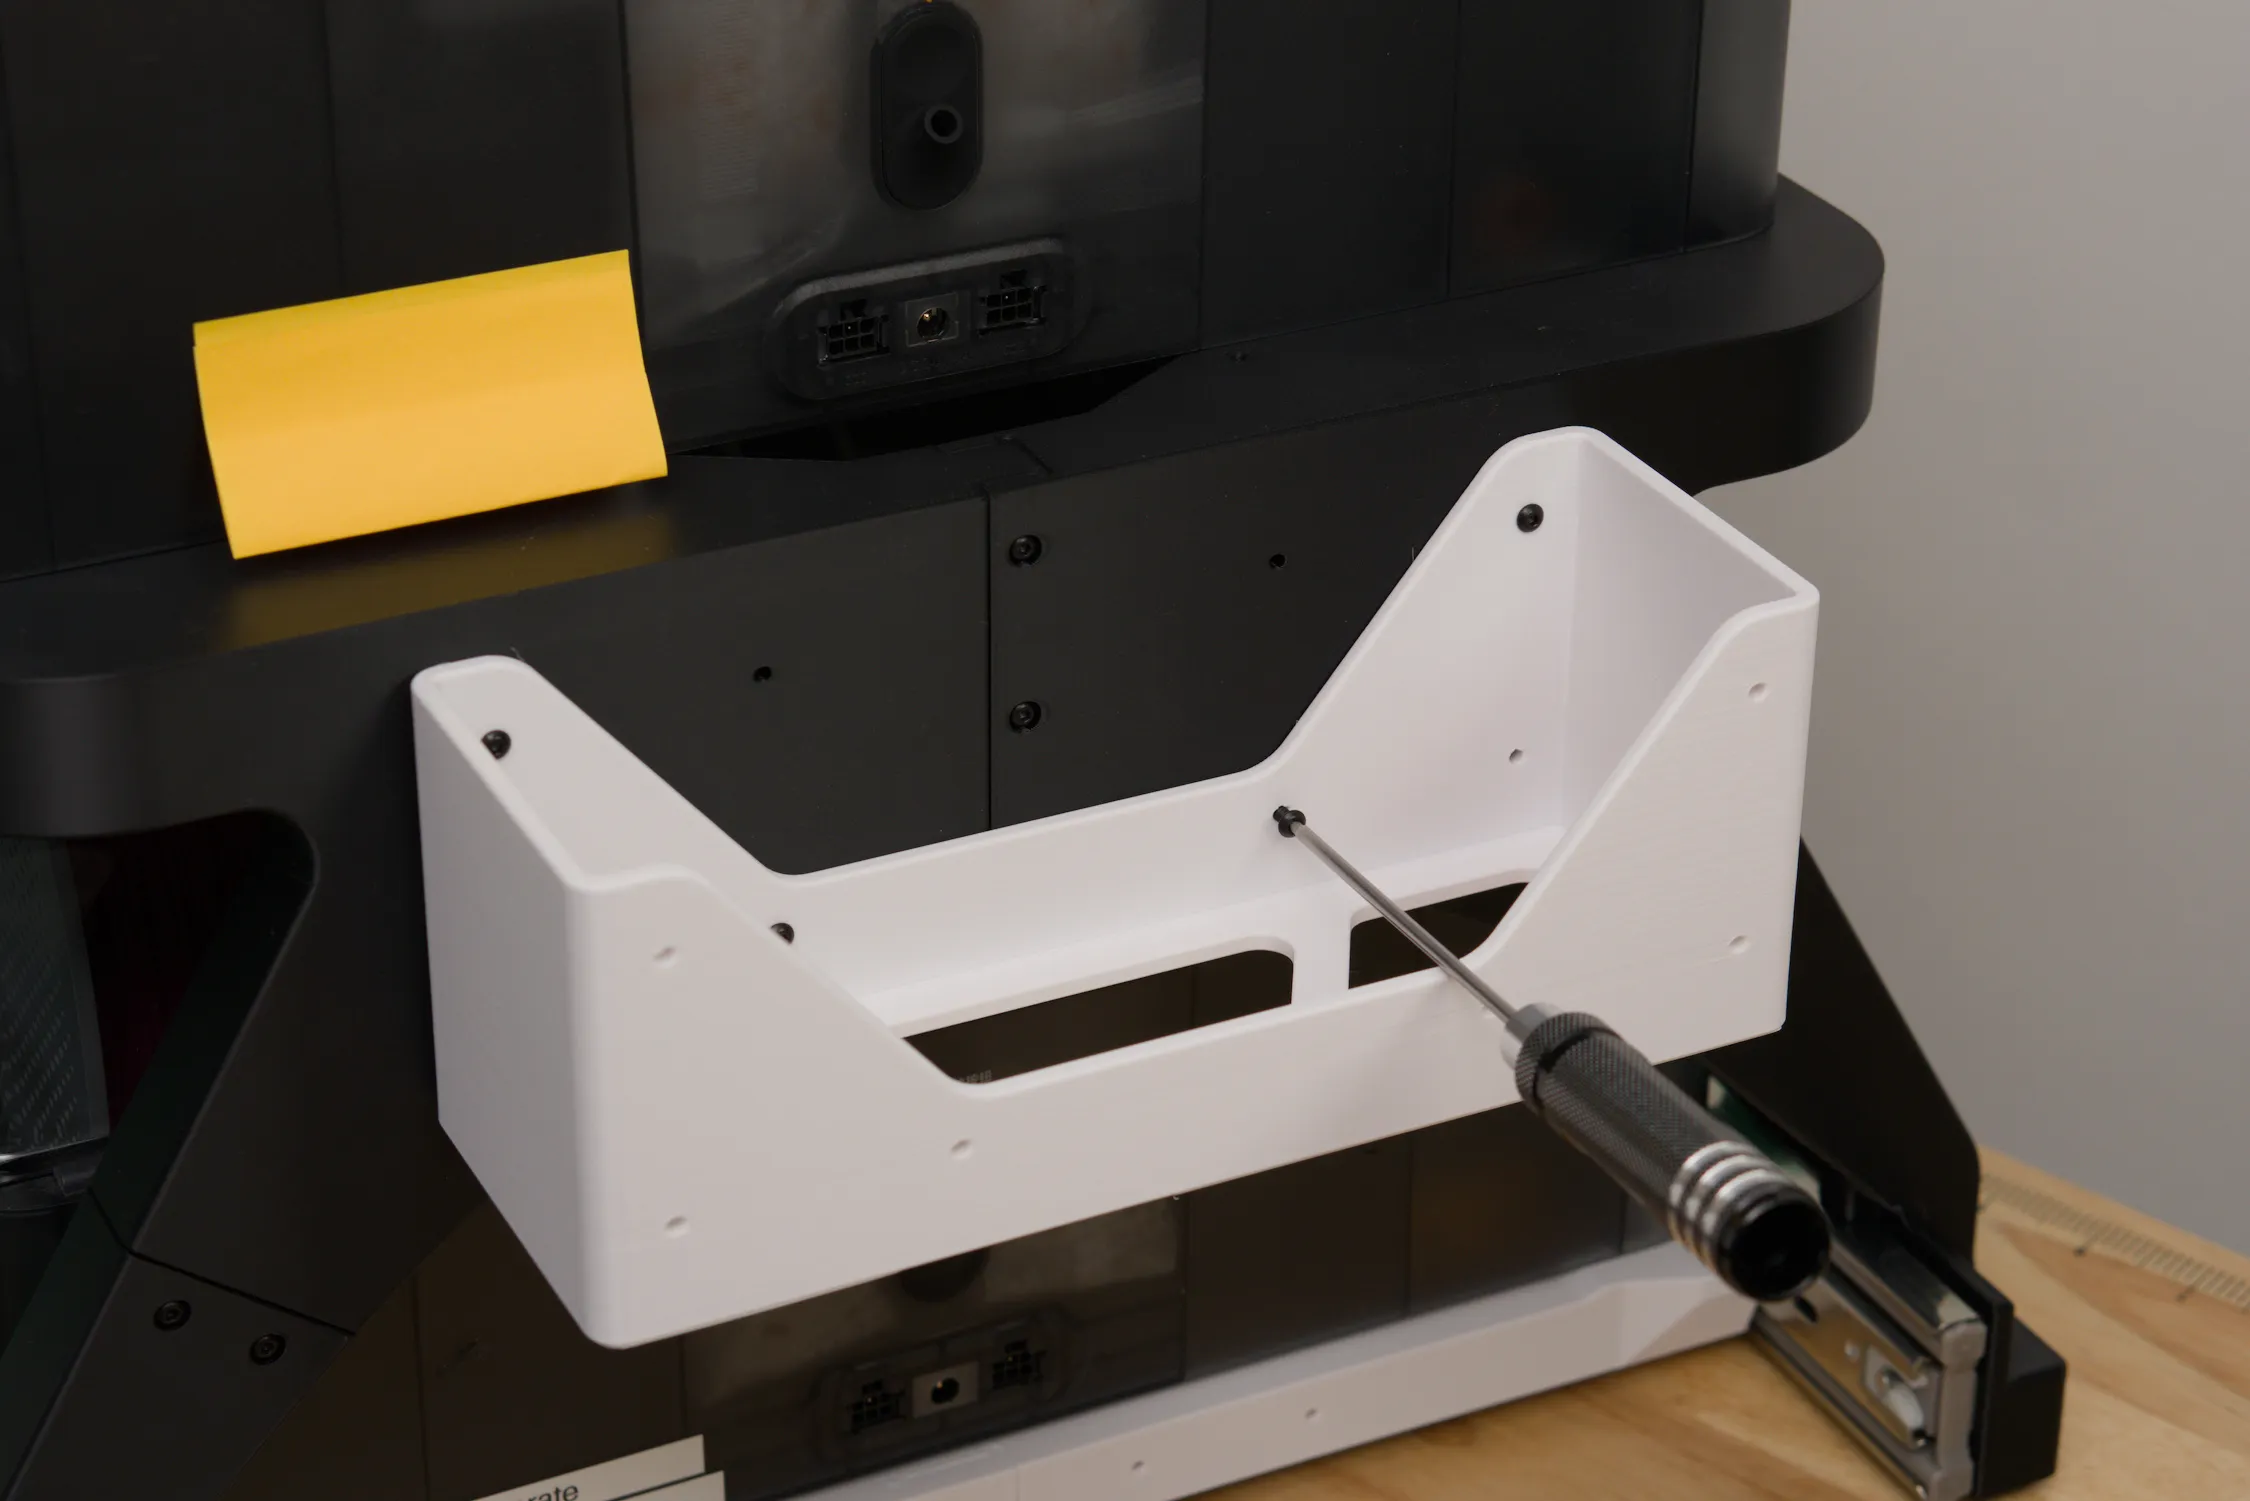
Fill an empty filament box with heavy stuff - try to get at least 2kg in there (a bag of sand, depleted uranium, a brick, whatever you have around the house). Put the box into the basket. You can make the box smaller too.
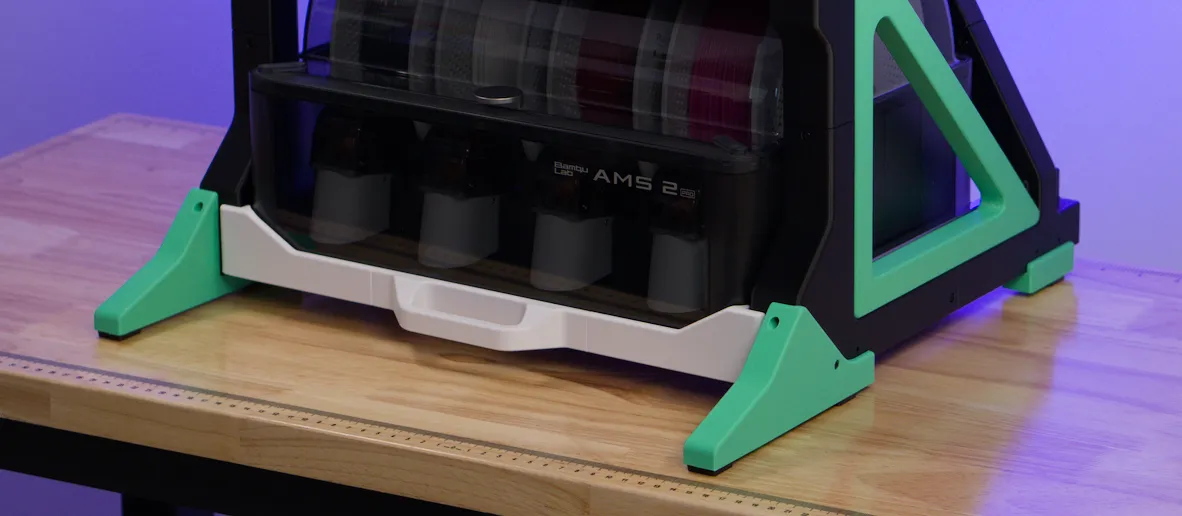
Option 2 - Feet extensions
These extensions extend the front by 95mm - if you have the table space these work great.
Option 3 - Add another AMS
Coming soon™!
Support
If you make one, please share a pic on social media! Facebook, Reddit, Twitter, whatever! It really helps me out. And of course:
Boost Me (for free)
I've not used AI in any part of this project (not in design, not in photo editing, not in writing this page), I raw-dogged the whole thing! I hope this deserves your boost :)
Changelog
25/06/2026
Original release
License

You shall not share, sub-license, sell, rent, host, transfer, or distribute in any way the digital or 3D printed versions of this object, nor any other derivative work of this object in its digital or physical format (including - but not limited to - remixes of this object, and hosting on other digital platforms). The objects may not be used without permission in any way whatsoever in which you charge money, or collect fees.


Comment & Rating (30)