
Split Flap Display - Flap Customiser
Print Profile(1)
![[Recommended settings] 0.2mm nozzle, 0.1mm layer](https://makerworld.bblmw.com/makerworld/model/US9fd81a14c8f865/273913473/instance/2025-04-11_ededca80ea8a68.png?x-oss-process=image%2Fresize%2Cw_100%2Fformat%2Cwebp)


Description
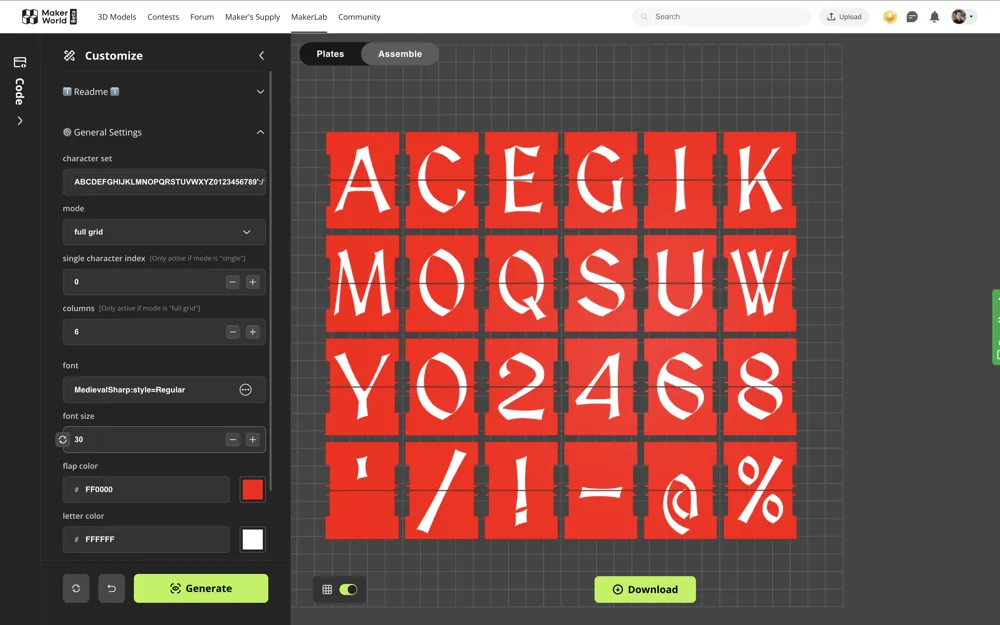
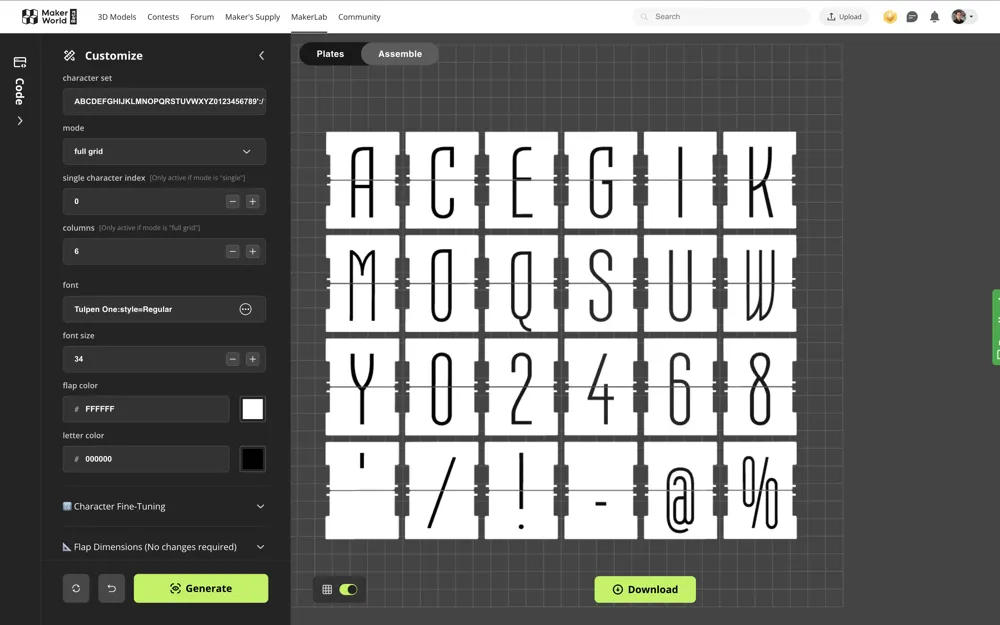
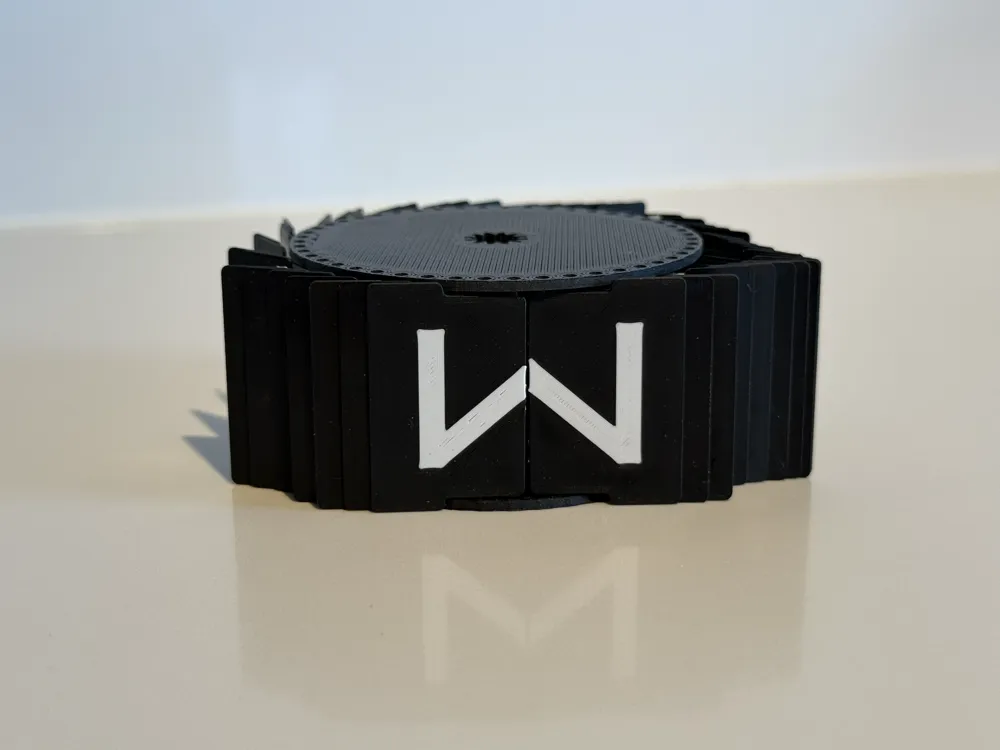
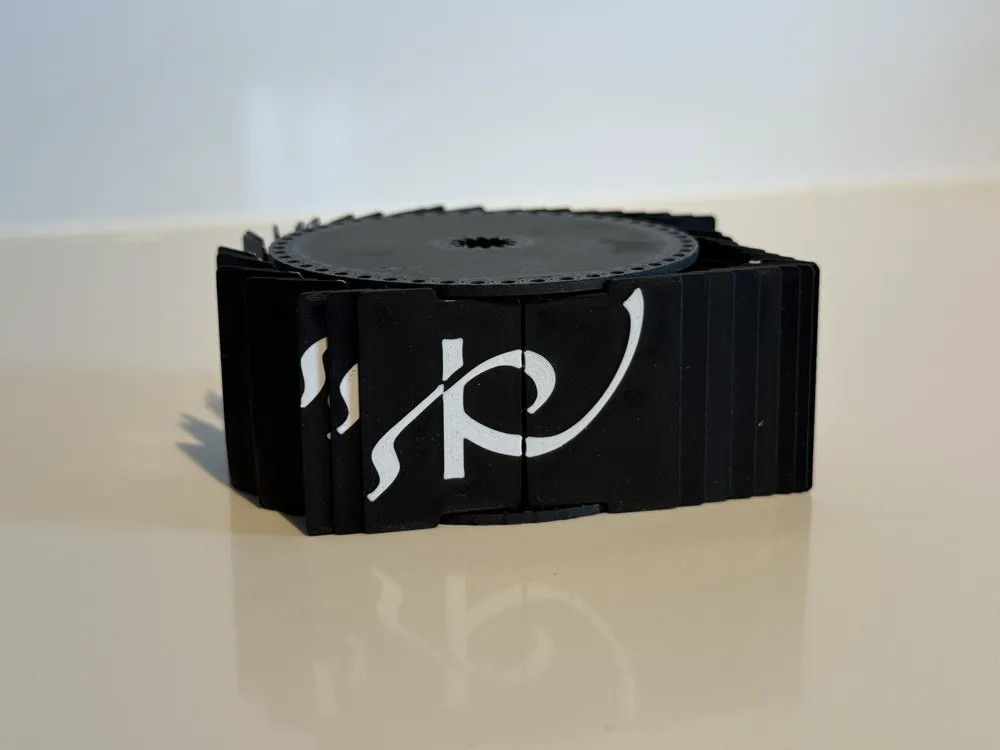
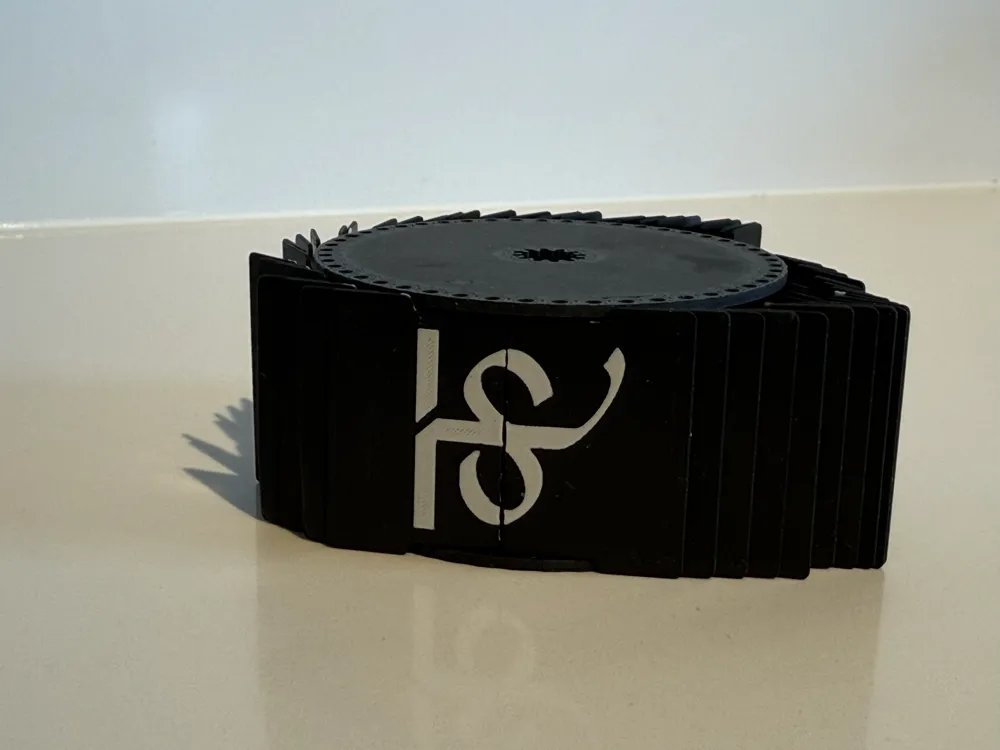
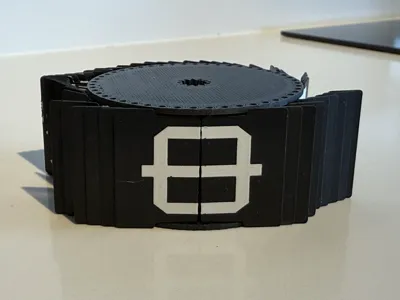
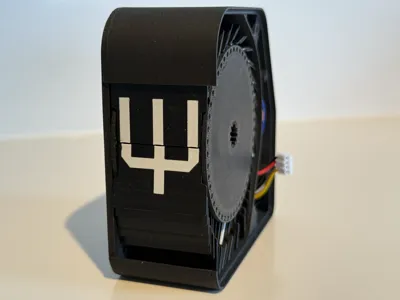
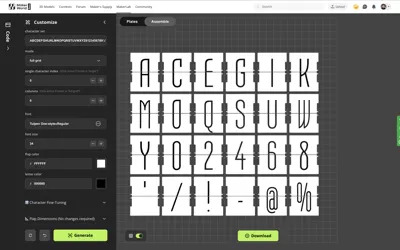
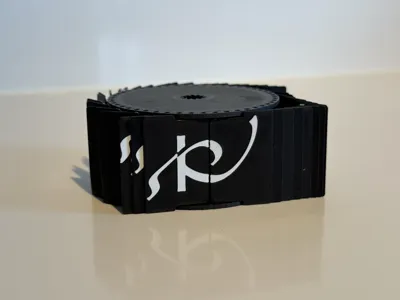
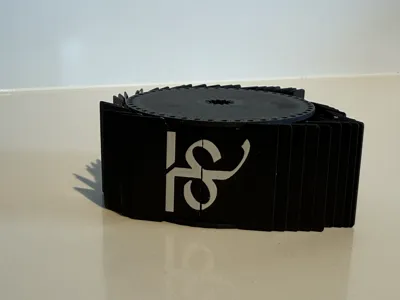
The Split-Flap-Customiser lets you create your own split-flap display characters with full control and flexibility.
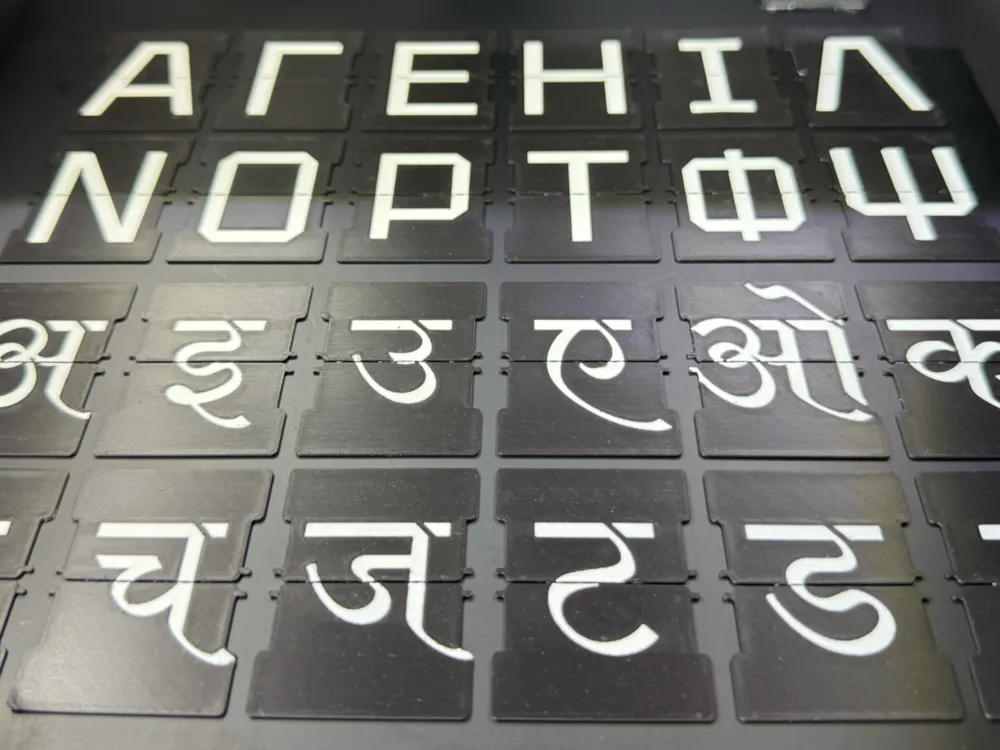
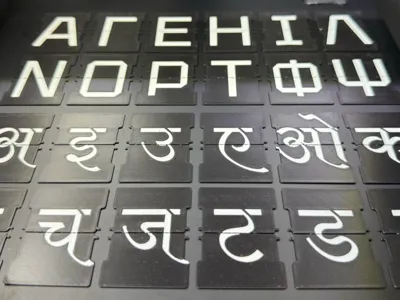
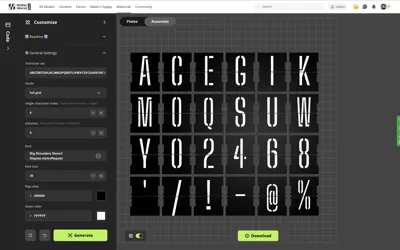
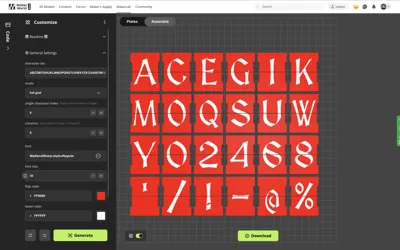
You determine which language/alphabet, the specific characters, the style of font that you want and the Split-Flap-Customizer will generate all the flaps automatically for you.
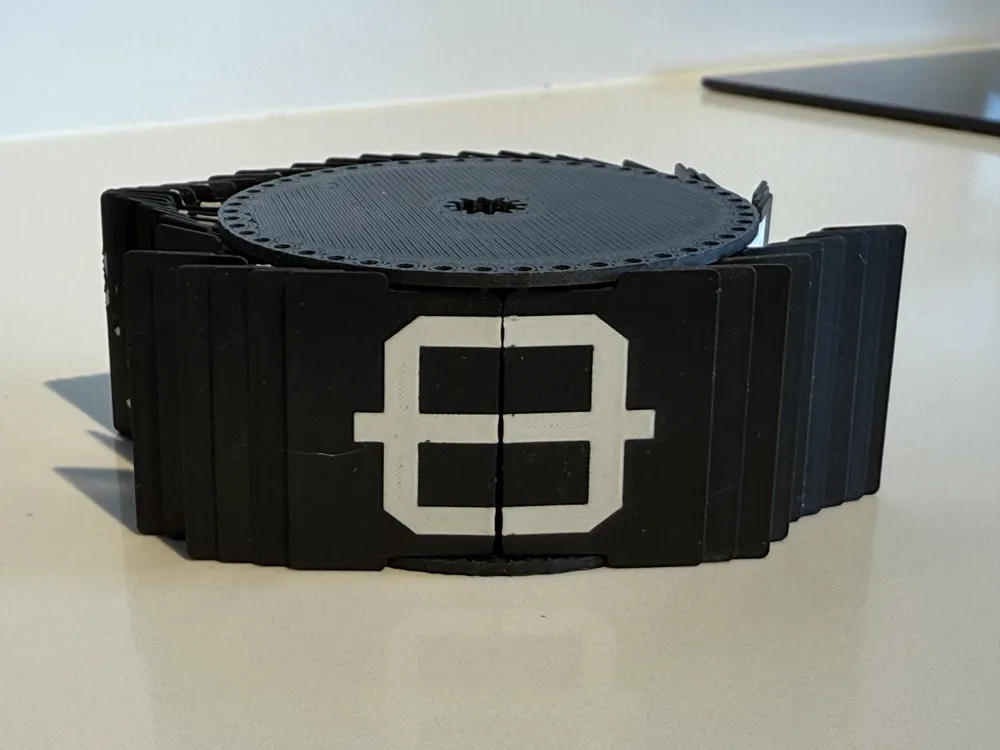
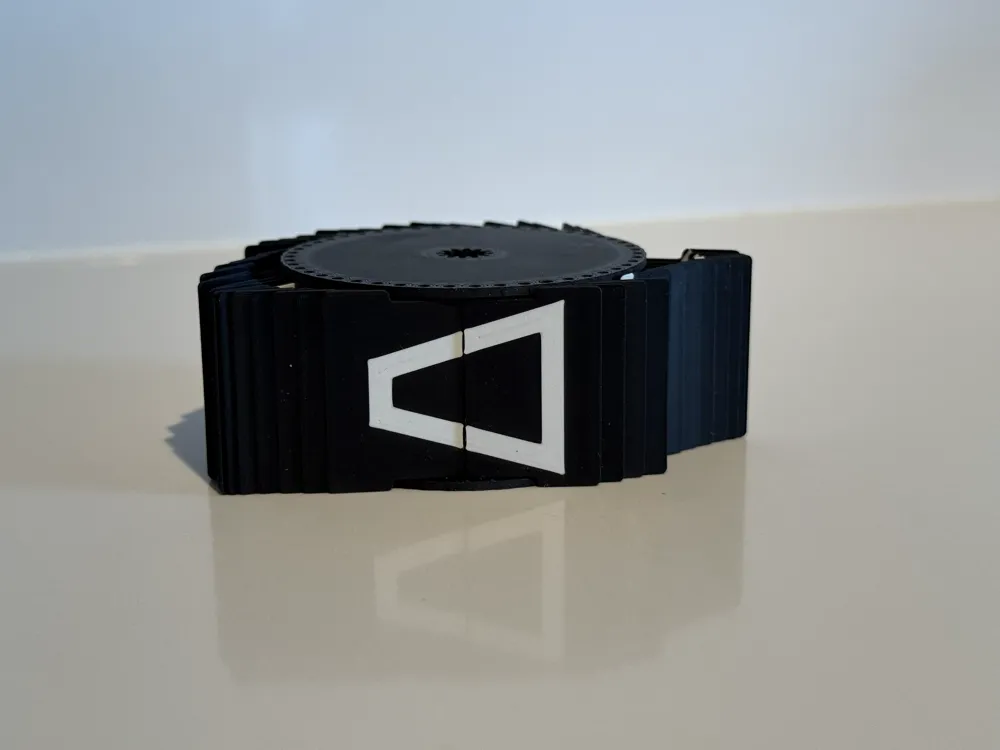
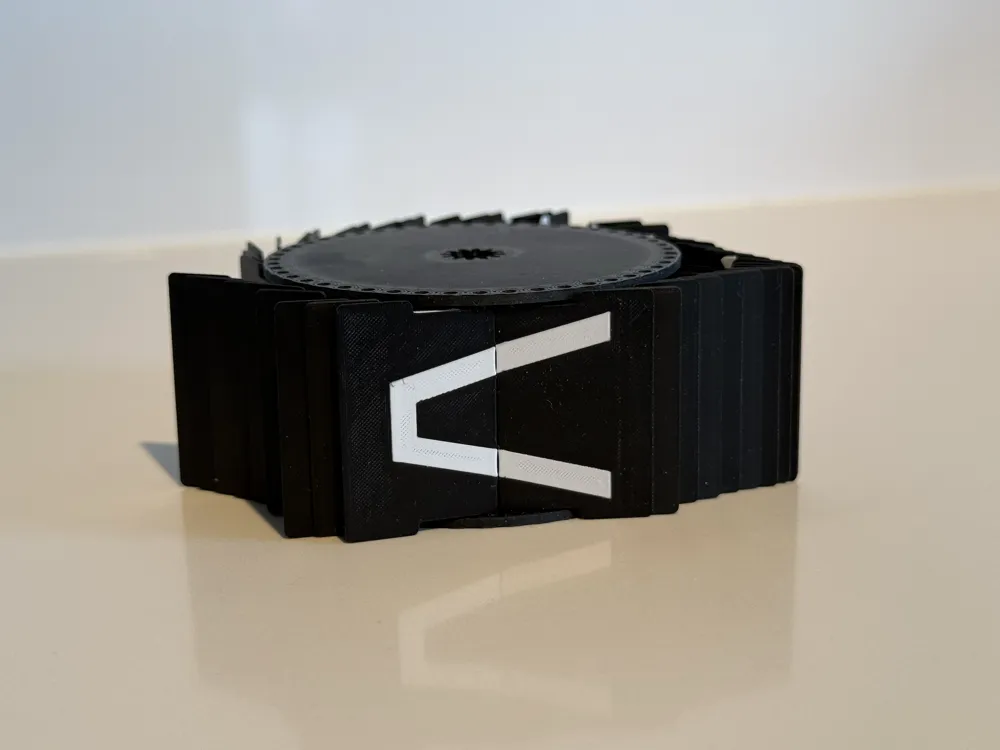
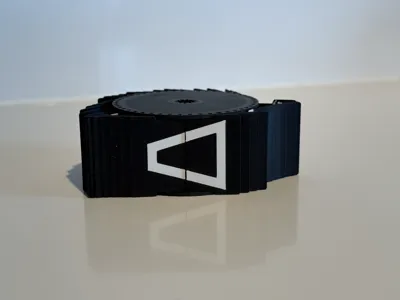
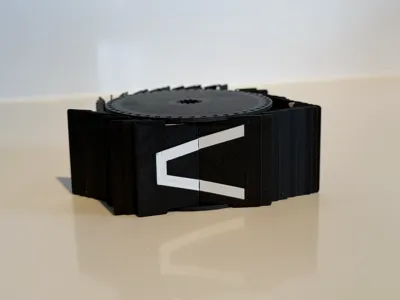
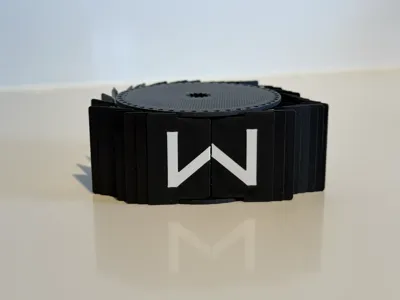
Since every full character flap also needs to have half of the previous flap and half of the next flap on the backside, this tool will save a lot of puzzling and manual work.
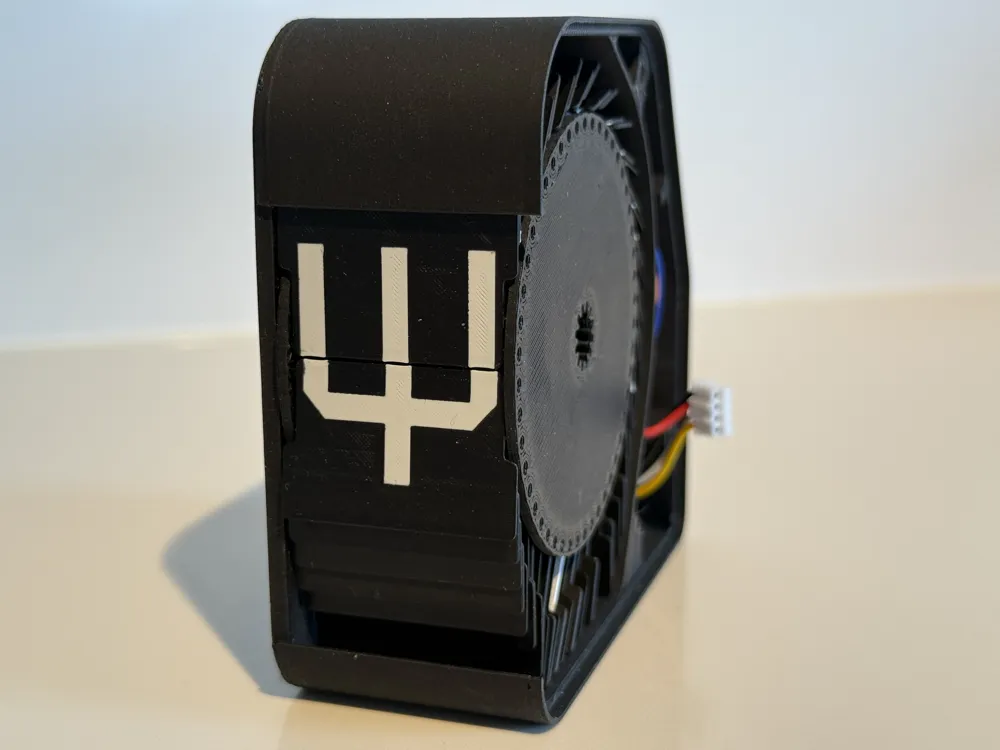
💡 This model is only for printing the flaps.💡
Check out Split Flap Display - Extended Charset if you haven't build a split flap display yet.
General Customisation Settings
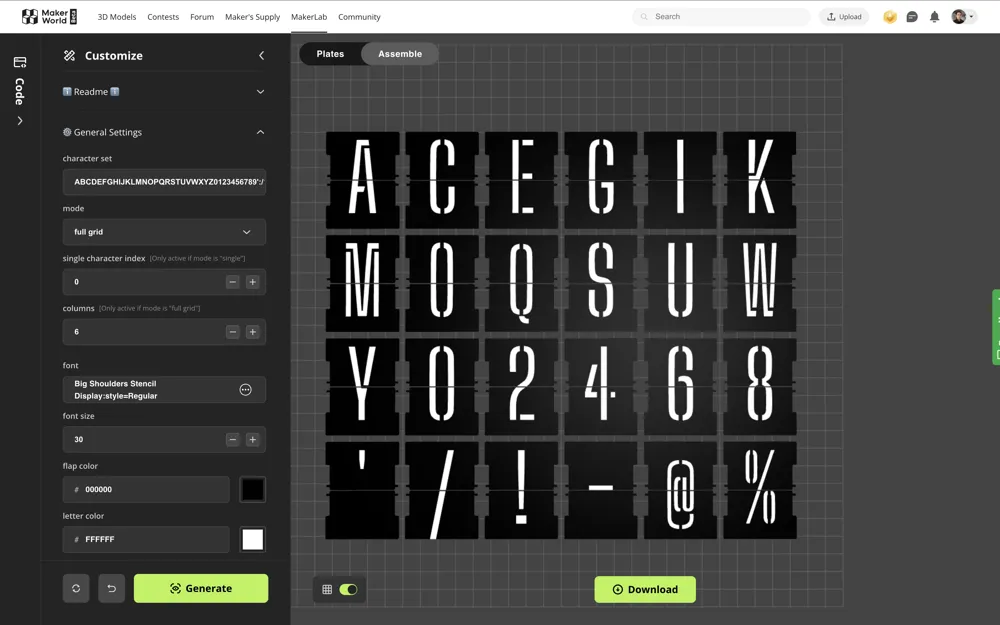
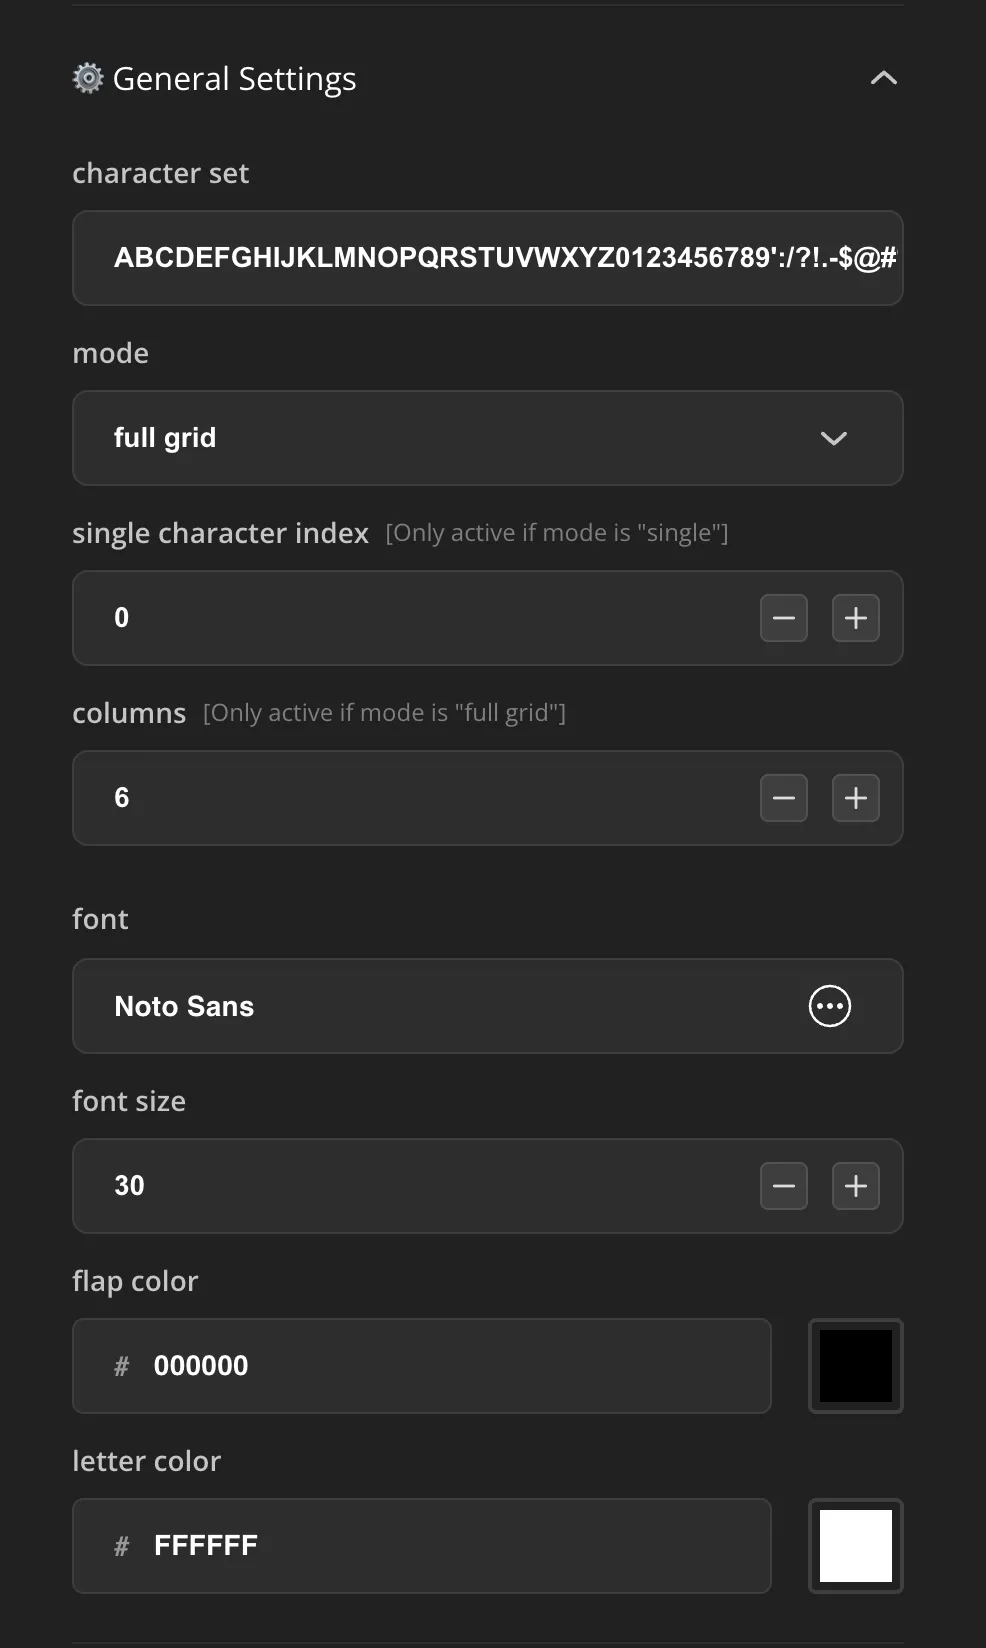
In this tab it's possible to set exactly which characters you want to create and you can decide in which font and size.
The script is optimised for 48 flaps, if you want an even bigger character set and you need to fine-tune the scale and position of certain characters beyond this point, it's best to split it up in two batches. If you want to have an odd number of flaps, duplicate the last character to make it an even number. Then in the slicer you could remove the part you don't need.
Character Fine-Tuning Settings
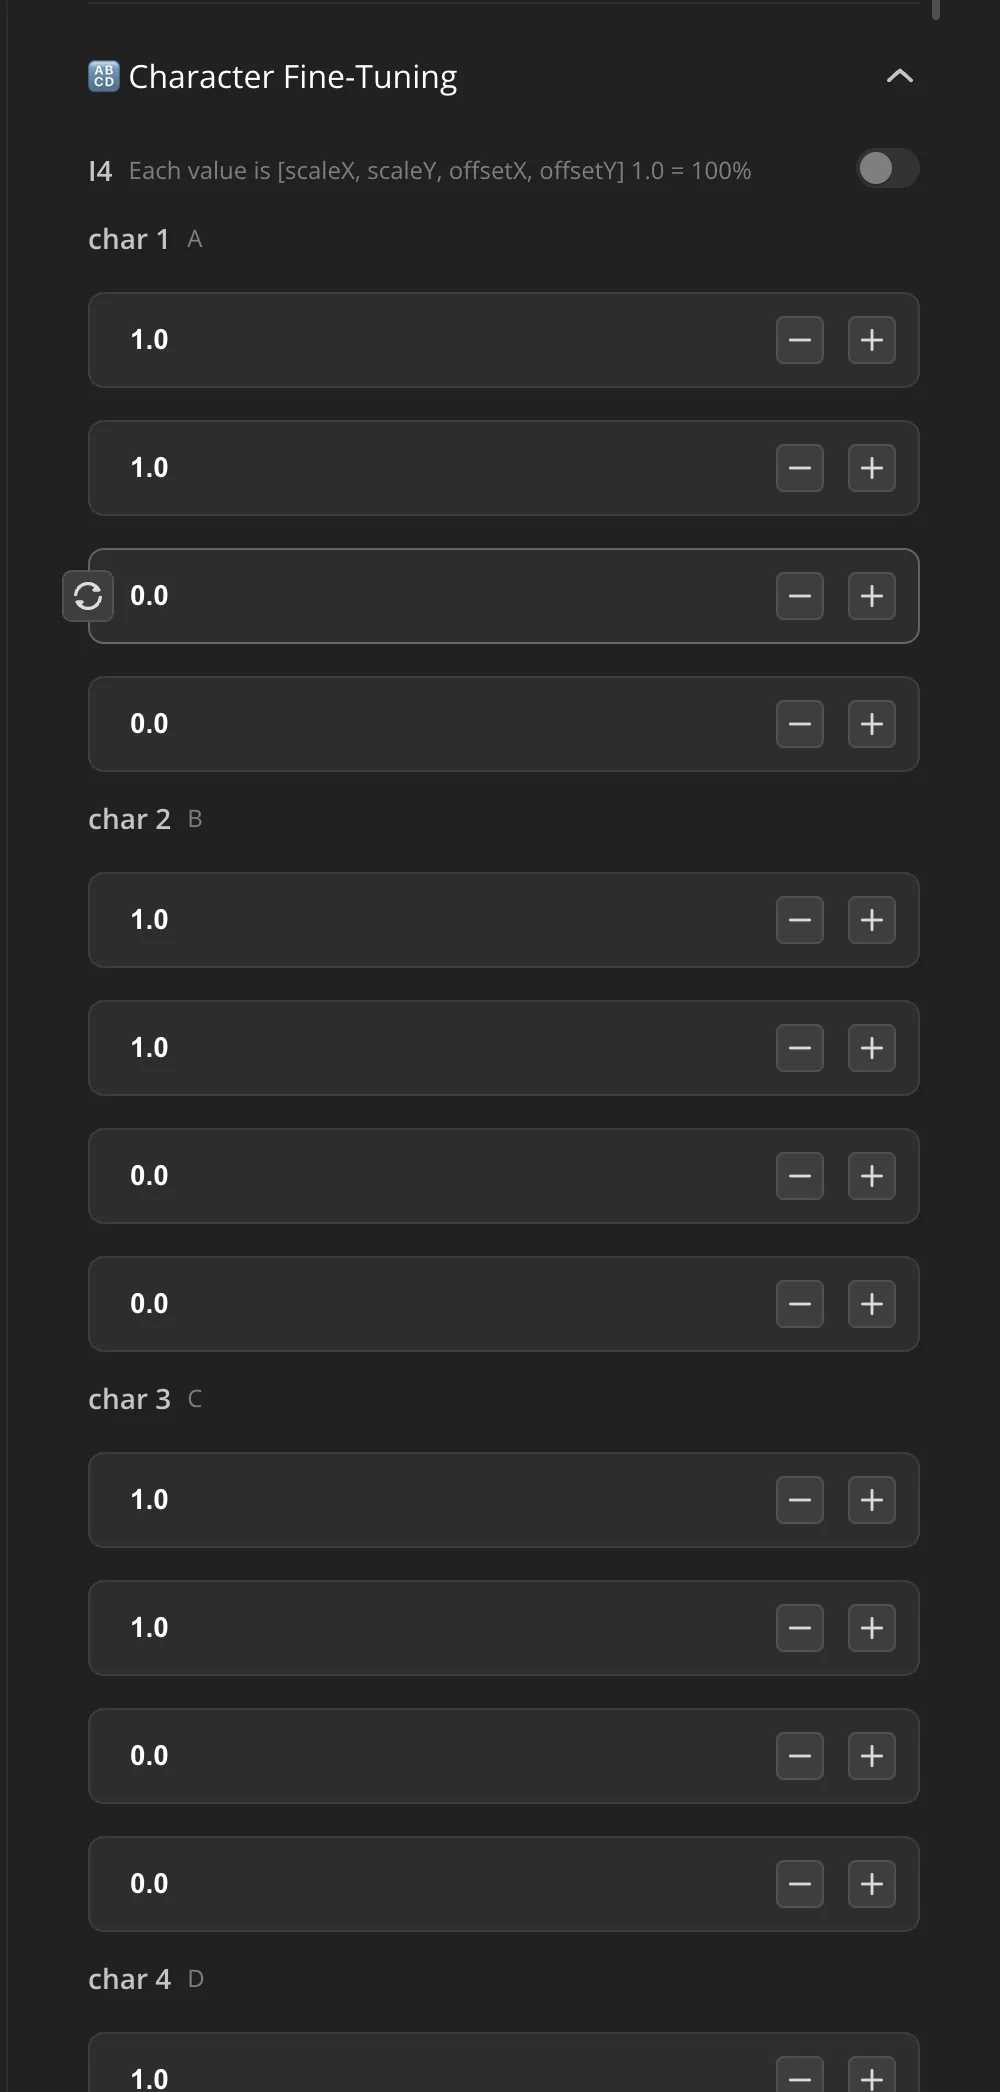
Generally the characters within the font are aligned on the baseline. But sometimes specific characters are different in size or not visually not well aligned. In this case you can adjust the scale on the X and Y axis and the offset per character.
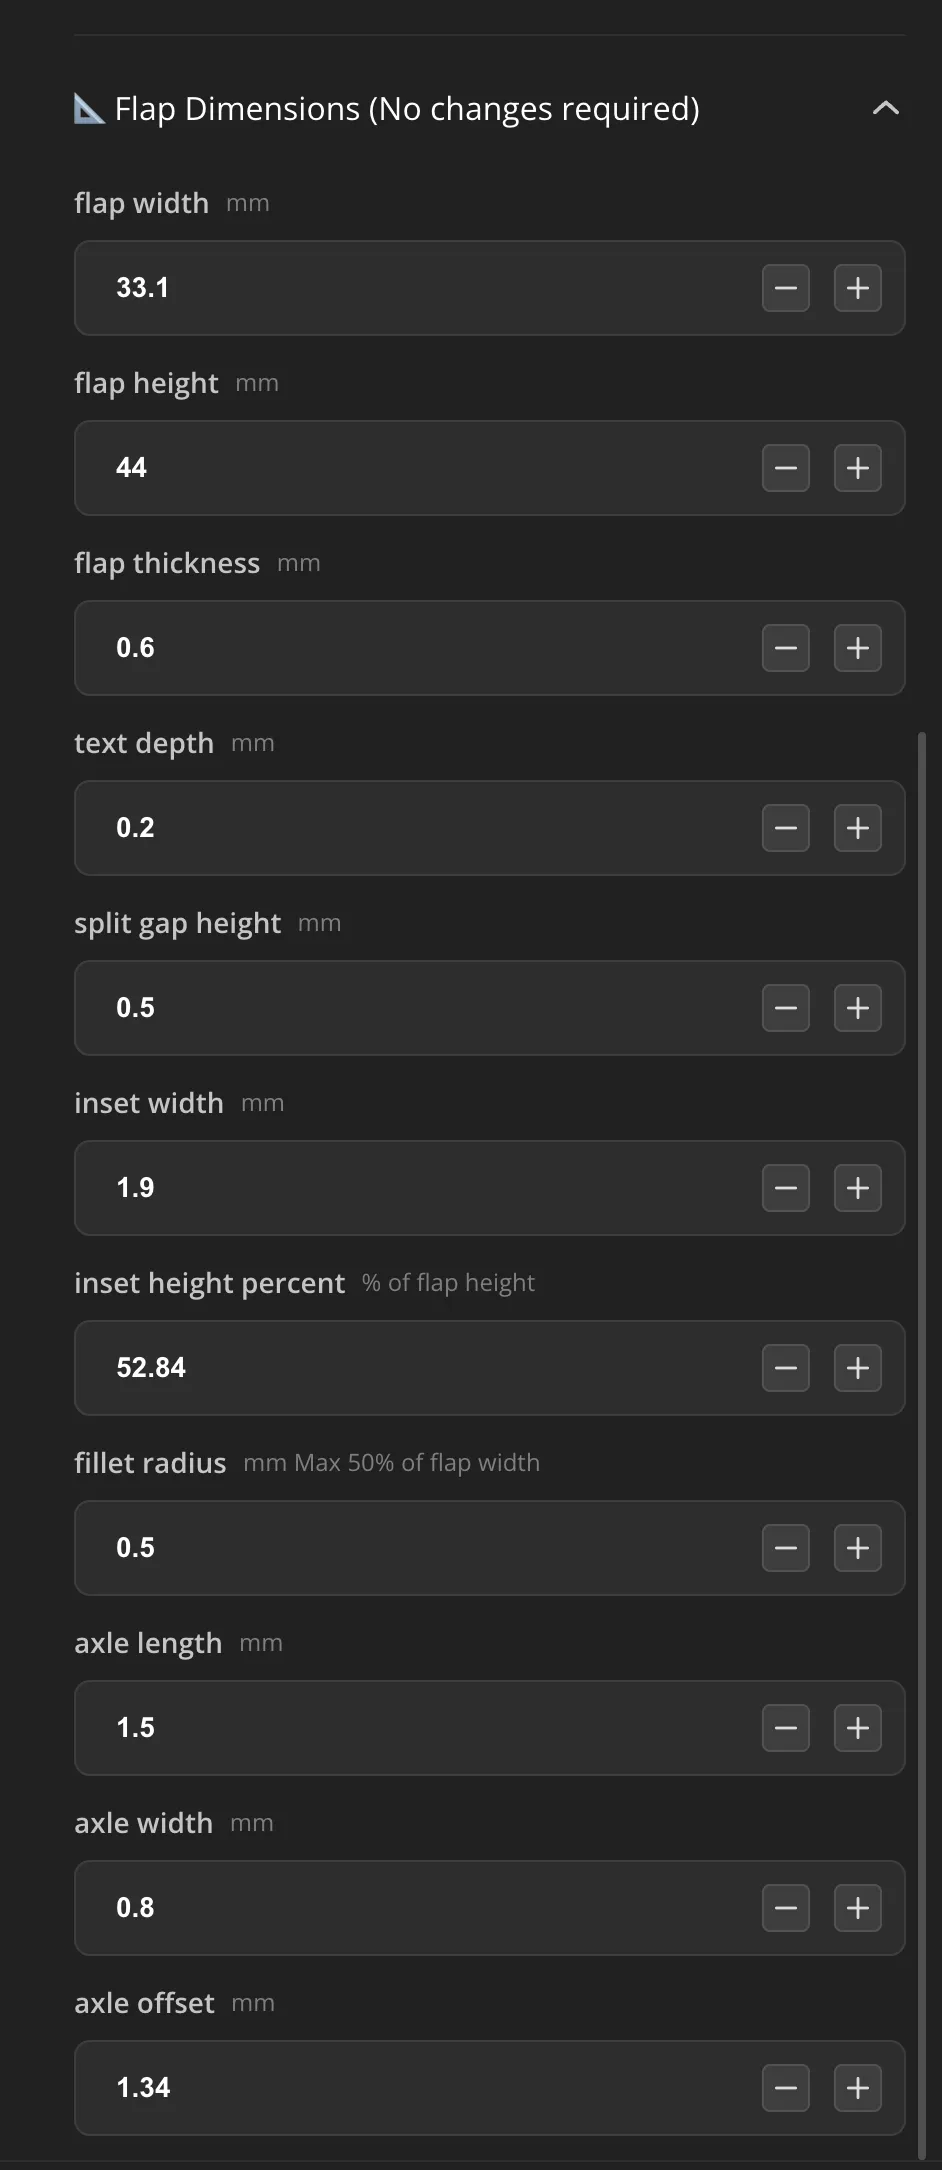
Flap Dimensions Settings (For Universal Compatibility)
The default parameters in the Flap Dimensions settings Tab are specifically tailored for the Split Flap Display - Extended Charset version and is also compatible with the Original Standard version designed by Morgan Manly.
If you are building /have built one of these, you don't need to change these parameters.
But I made the script as universally compatible as possible. If you have any other type of Split Flap Display you can adjust the width, height, the axis and inset dimensions as you'd like:
Slicing & Printing
Due to the way the slicer handles painted objects, it is better to have the letters as separate objects.
That's why the letters levitate 10mm above the flaps when exported, allowing it for easy splitting as separate objects in the slicer.
Once they are split into two objects (cut to parts, keep orientation) and assigned the right (color) filament you can move the letters 10mm down on the z-axis and it will fit perfectly on and in the flaps.
Recommended settings:
- 0.2 nozzle
- 0.1 layer height
- Smooth Plate
- Ironing top surfaces (I recommend dialling in the ironing settings for your printer and filament if you haven't already)
- Filament as desired (I'm using matte PLA)
The process is quite easy but I made a short screen recording for clarification:
License

You shall not share, sub-license, sell, rent, host, transfer, or distribute in any way the digital or 3D printed versions of this object, nor any other derivative work of this object in its digital or physical format (including - but not limited to - remixes of this object, and hosting on other digital platforms). The objects may not be used without permission in any way whatsoever in which you charge money, or collect fees.


Comment & Rating (7)