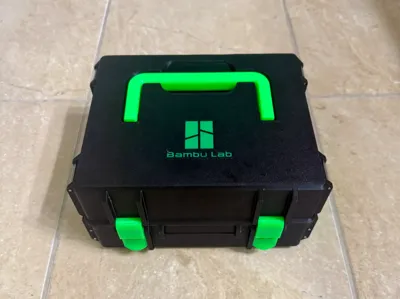
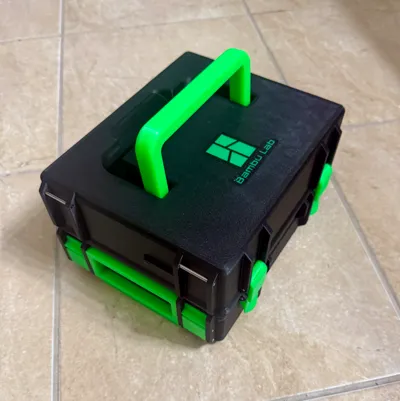
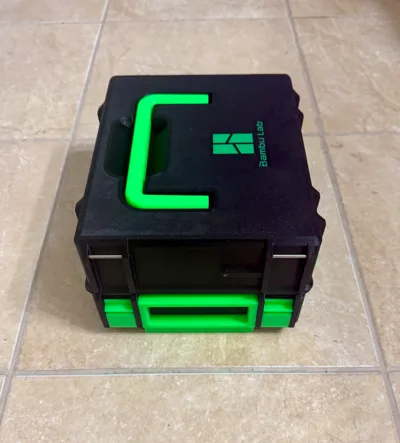
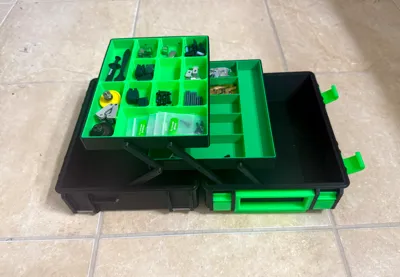
Bambu Single Cantilever Toolbox (SBox)


Print Profile(2)


Bill of Materials


Description
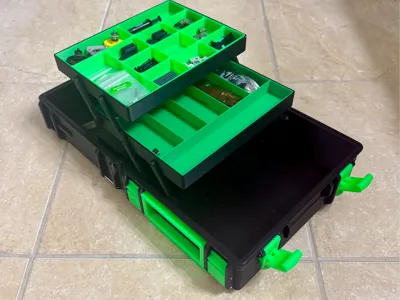
This is a single cantilever Bambu Lab toolbox for all your small spare parts for your printer or storage of any small items. It has a retractable handle and it can lock together with other SBox items.
The profile is “0.2mm strength” but you can change it if you dont plan to carry anything heavy in it. The rods are printed from Nylon for best long term durability, but you could print them from PLA, PETG or ASA if you dont have any Nylon on hand. I suggest you turn off the AUX fan to prevent warping as the toolbox uses most of the build plate. I added a Bambu Logo to the lid and optimized everything into one easy to print profile. There is a BOM at the bottom for all the items needed for assembly. Make sure to use the 3mf file to get all the features.
list of non-printed parts
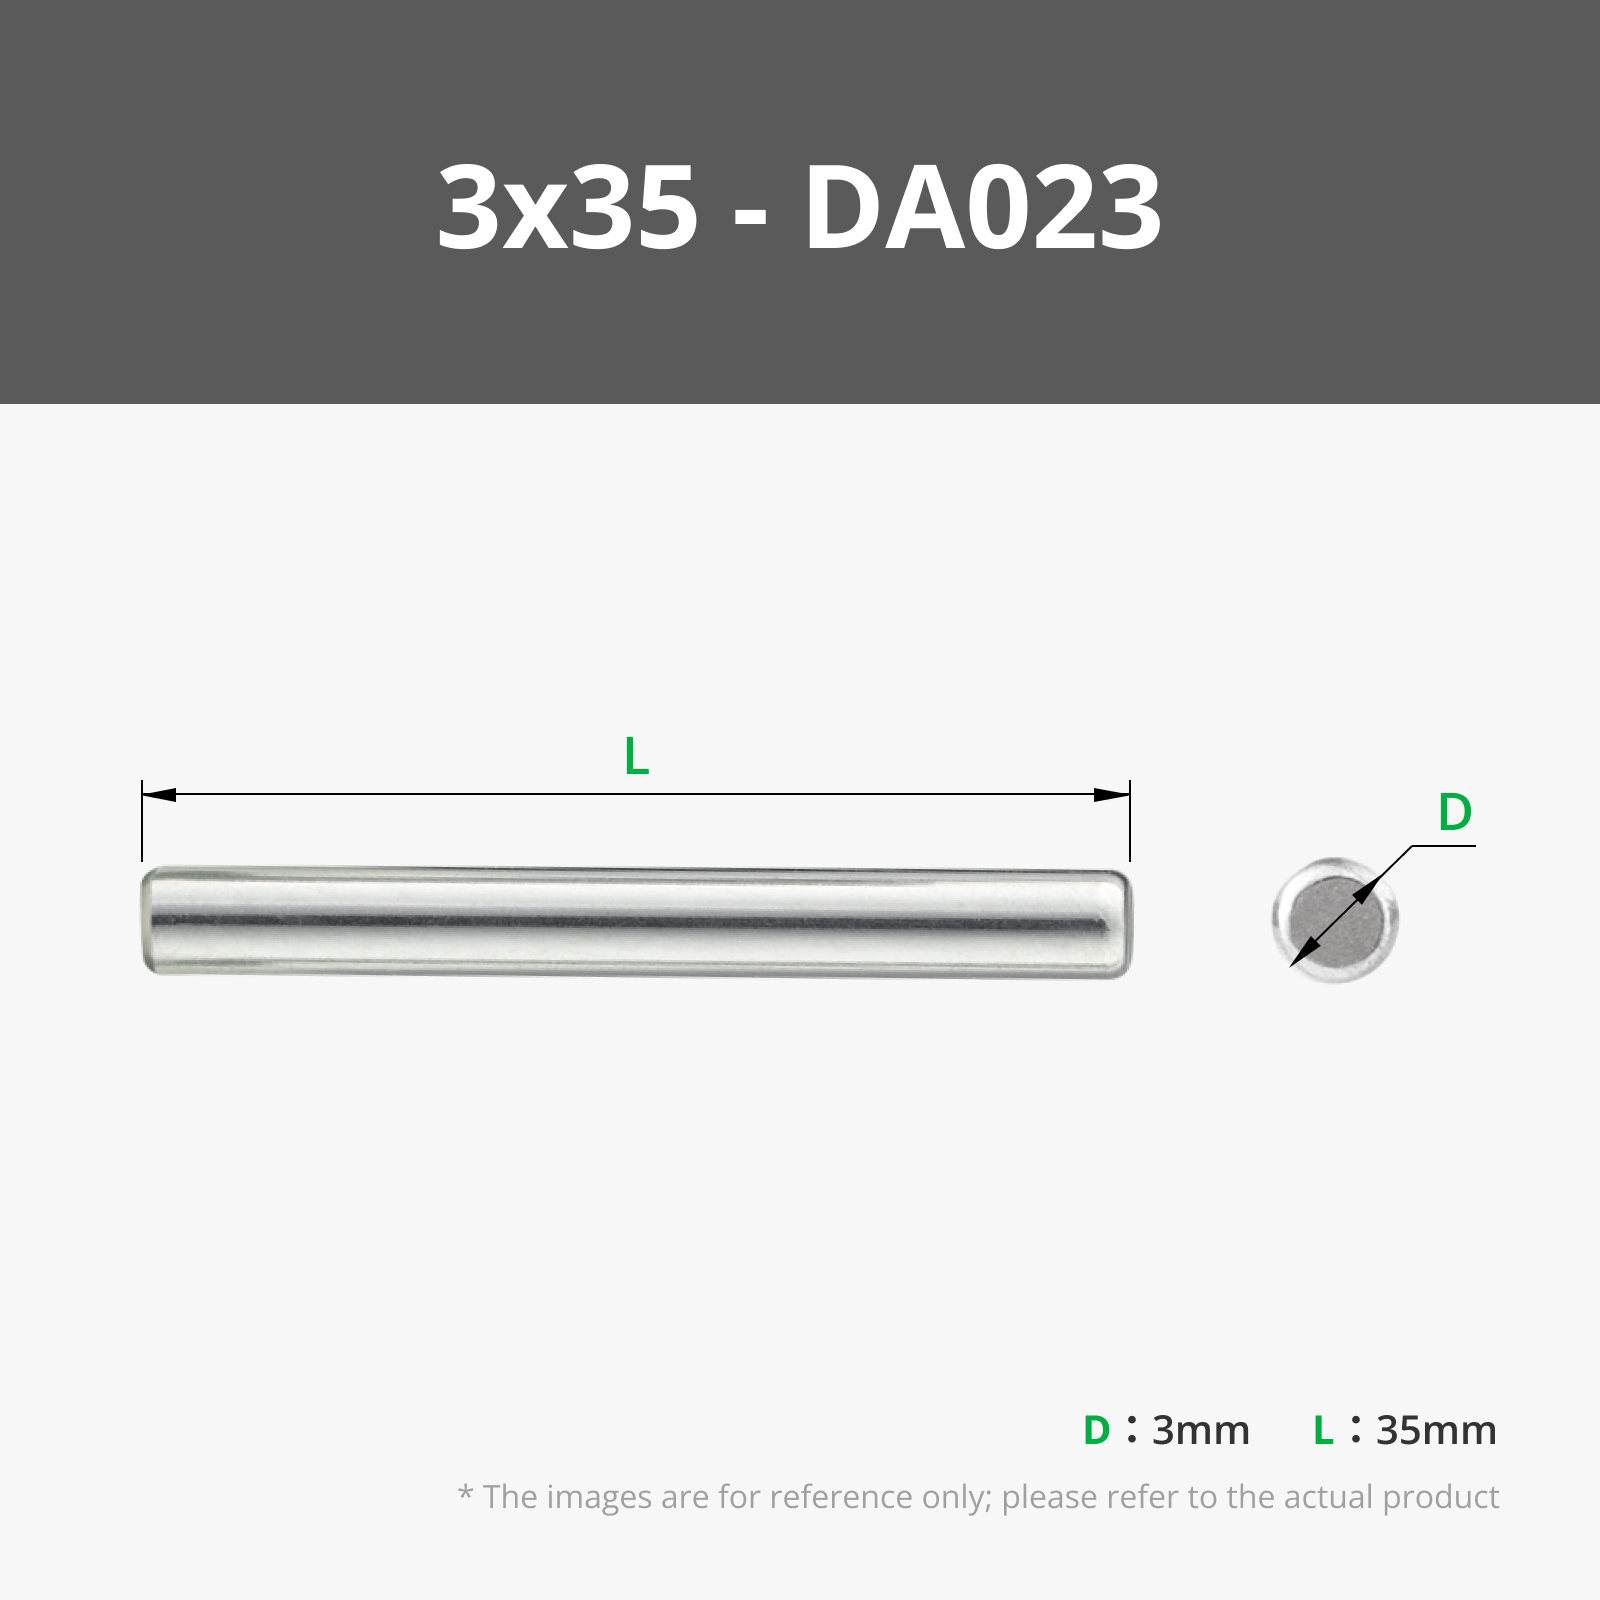
- 8 pcs - metal axis 35mm x 3mm
- 8 pcs - metal axis 40mm x 3mm
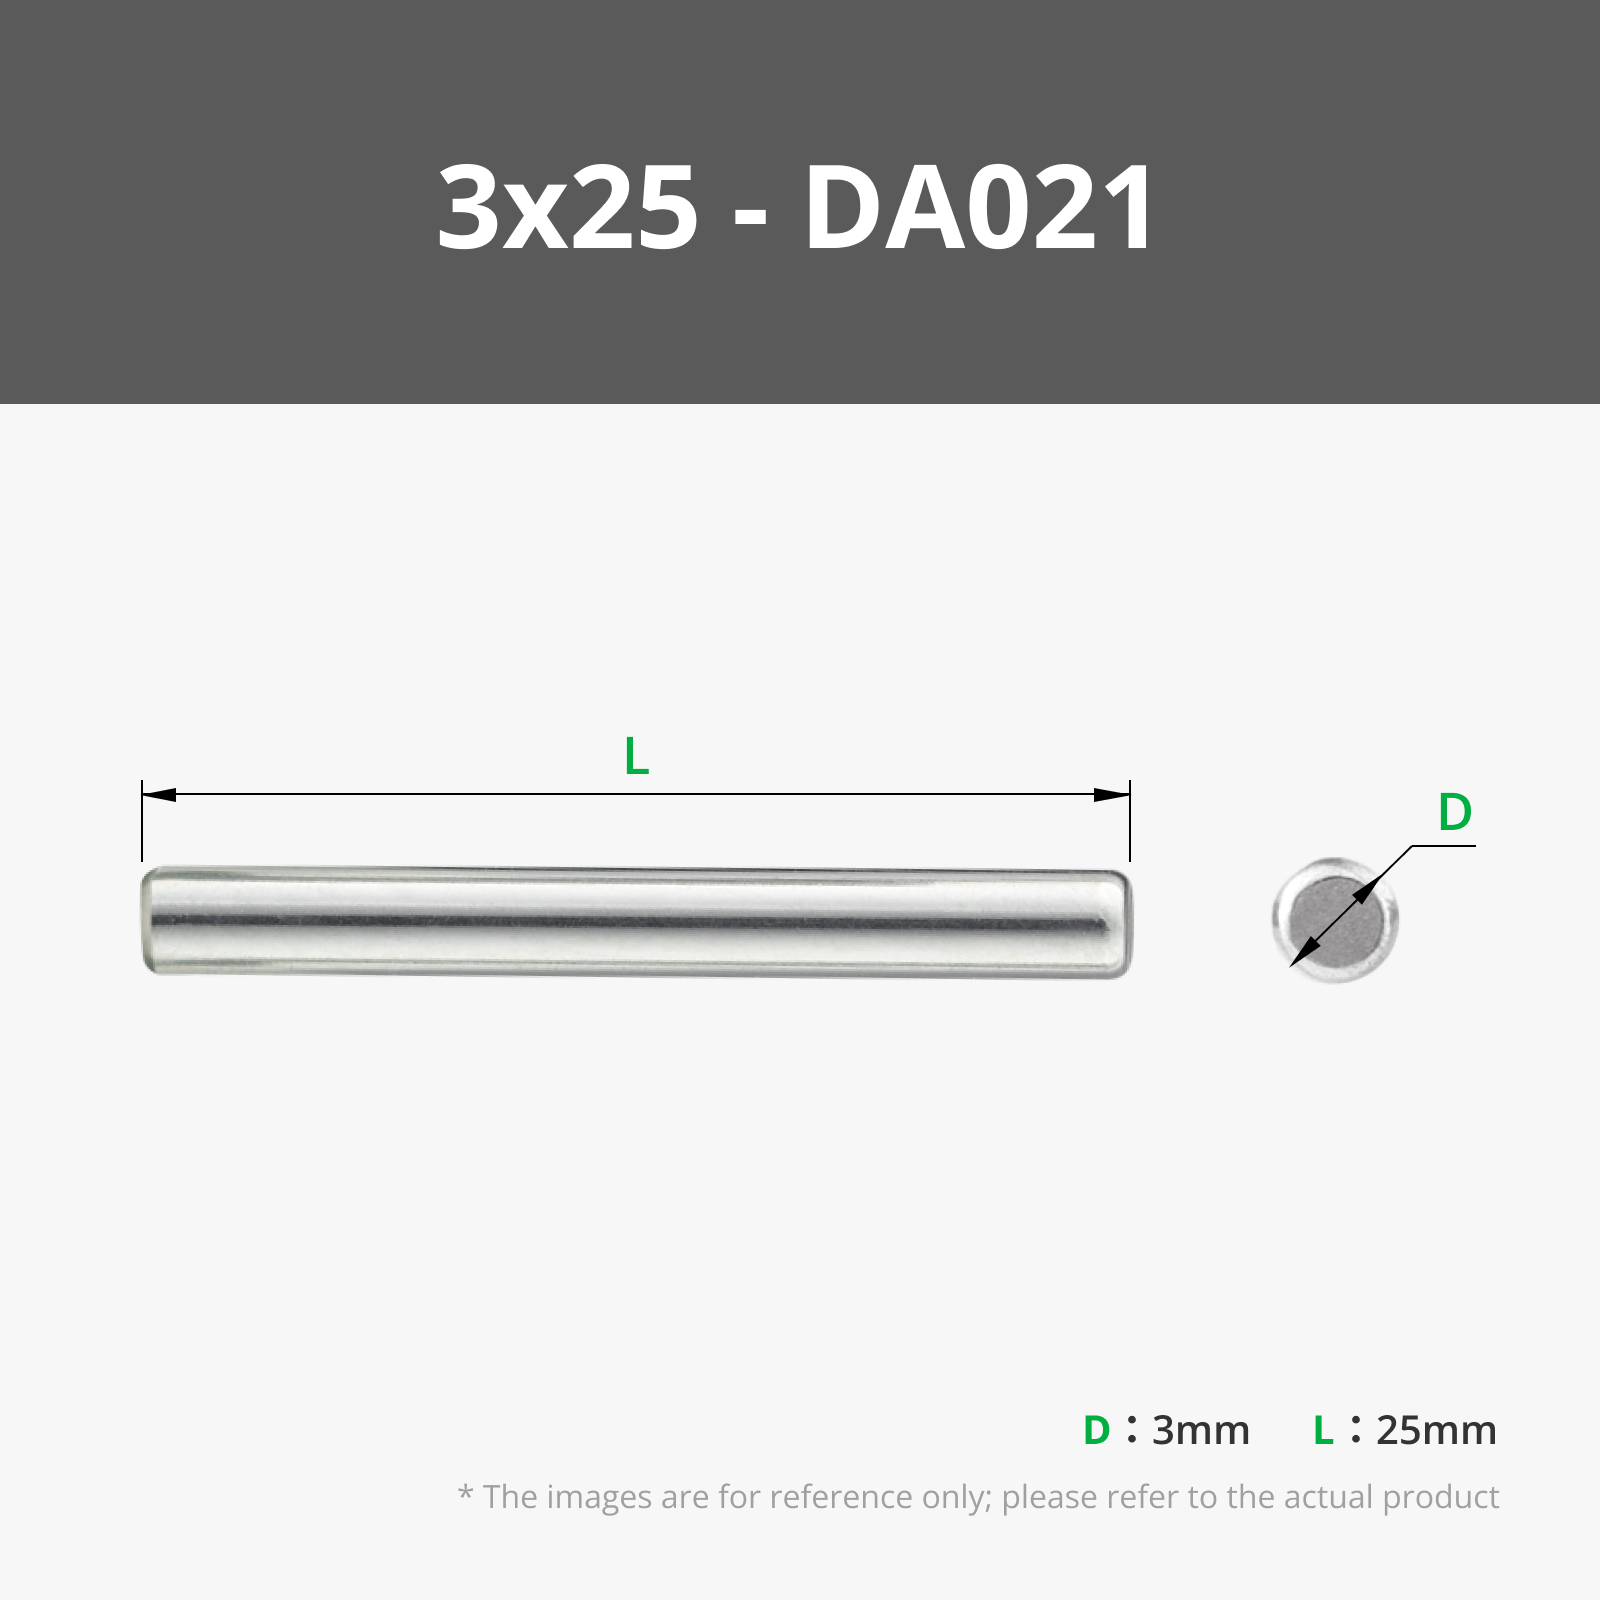
- 2 pcs - metal axis 25mm x 3mm
- 2 pcs - metal axis 25mm x 3mm (for hinges)
- 14 pcs - 6mm M3 screw with internal hex head
- 2 pcs - 10mm M3 screw with internal hex head
You can use cylindrical pins, stainless steel shafts in M3 diameter or M3 screws for the pins listed above.
All the items needed are at the BOM at the bottom.

Click here for double cantilever toolbox.
Click here for chest of drawers toolbox.
Click here for sturdy folding crate.
Click here for all my other models!
Boost Me (for free)
Boost very appreciated! Thank you!
This remix is based on

Comment & Rating (27)