Search models, users, collections, and posts
A1/A1 mini Magnetic Front Cover Adapter
Remixed by
IP Report


GIF
Print Profile(8)

PETG HF
Designer
18 min
1 plate

Third magnet, no need to leave the screw exposed
25 min
1 plate

Magnet 6x2mm 0.2mm layer, 2 walls, 95% infill
19 min
1 plate

PETG - For 8x3mm magnets and larger hole
21 min
1 plate
Click to see more
Open in Bambu Studio
Boost
547
1435
307
143
1.8 k
1.5 k
Released
Bill of Materials
Maker's Supply Kits and Parts
Select all

Description
Background
First I'd like to give a thanks to the OP of this cover by ceo51378 and one of it's remixes by amzaldua. These are very clean, minimalistic designs.
Modifications
- Changed to a counter bore instead of through hole for 6X2 magnets
- Added a lead-in to the locating pin for easier attachment
- Added a stopping boss on the locating pin to account for the protruded magnet ensuring the top right corner is supported on the same plane
- Re-drew the adapter to nominal dimensions
- Added features to more accurately locate the OEM snap on cover
- Added grips to the side of the adapter for easier install and removal to toolhead
Instructions
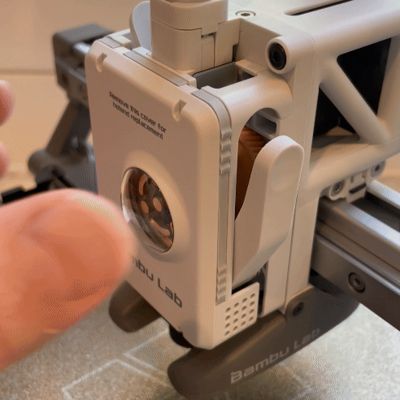
Press-fit the QTY: 3 - 6X2 magnets into the counterbores. A drop of CA glue can hold them more securely in the counterbore if they do not fit snuggly.

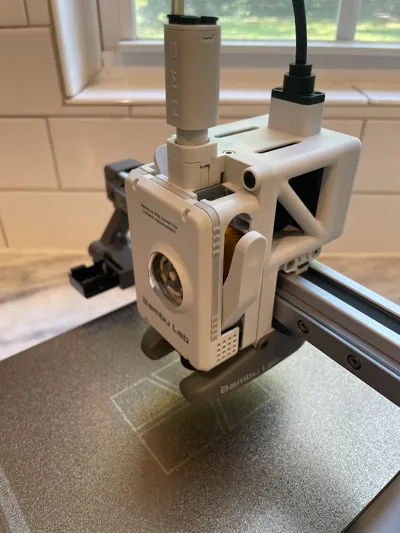
Figure 1: Insert 6X2 magnets into adapter Attach the magnetic adapter to the OEM Bambu extruder cover. Start by inserting the adapter into the cover at the top and then snapping the bottom into place.

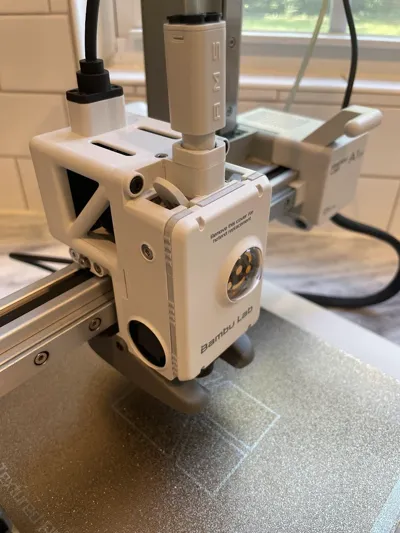
Figure 2: Attach magnetic adapter to OEM extruder cover Unscrew the filament cutter arm screw a couple of turns until it is just slightly less than flush to provide a surface for the magnet to attach to.

Figure 3: Loosen filament cutter arm screw until slightly less than flush Enjoy!

This remix is based on
This source model was used for remixing/sharing before its license was restricted.

This source model was used for remixing/sharing before its license was restricted.

License
This user content is licensed under a
Creative Commons Attribution-Noncommercial-Share AlikeRemixes (5)
Click to see more
Comment & Rating (307)