
A1 Time-Lapse Mount (Elevated)
Print Profile(1)
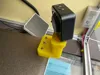
Description
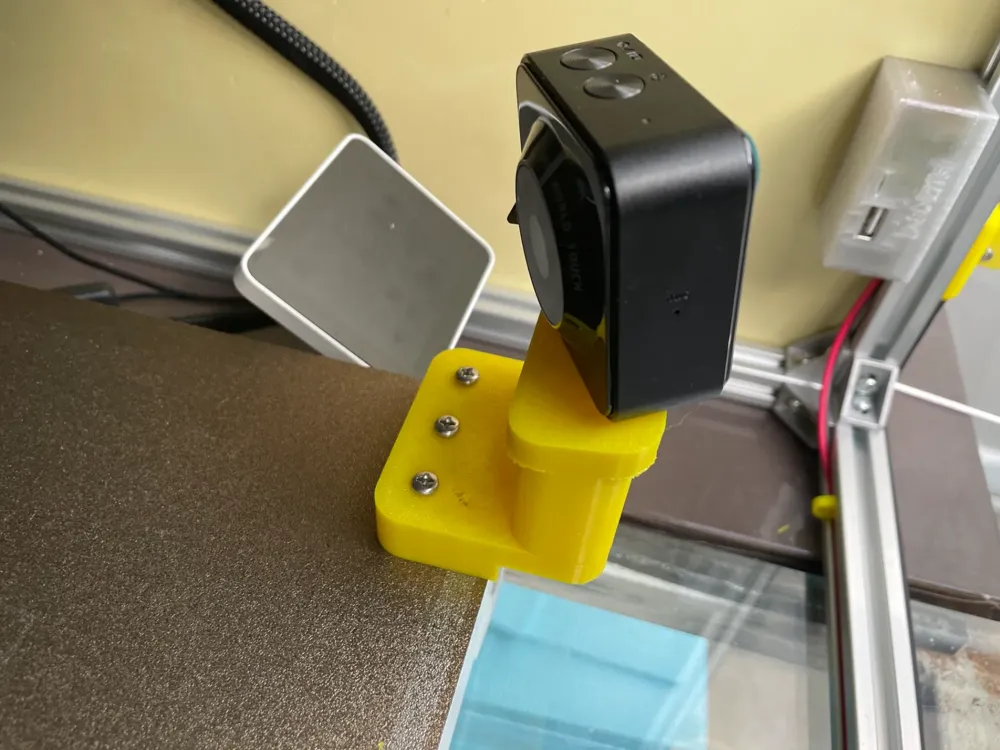
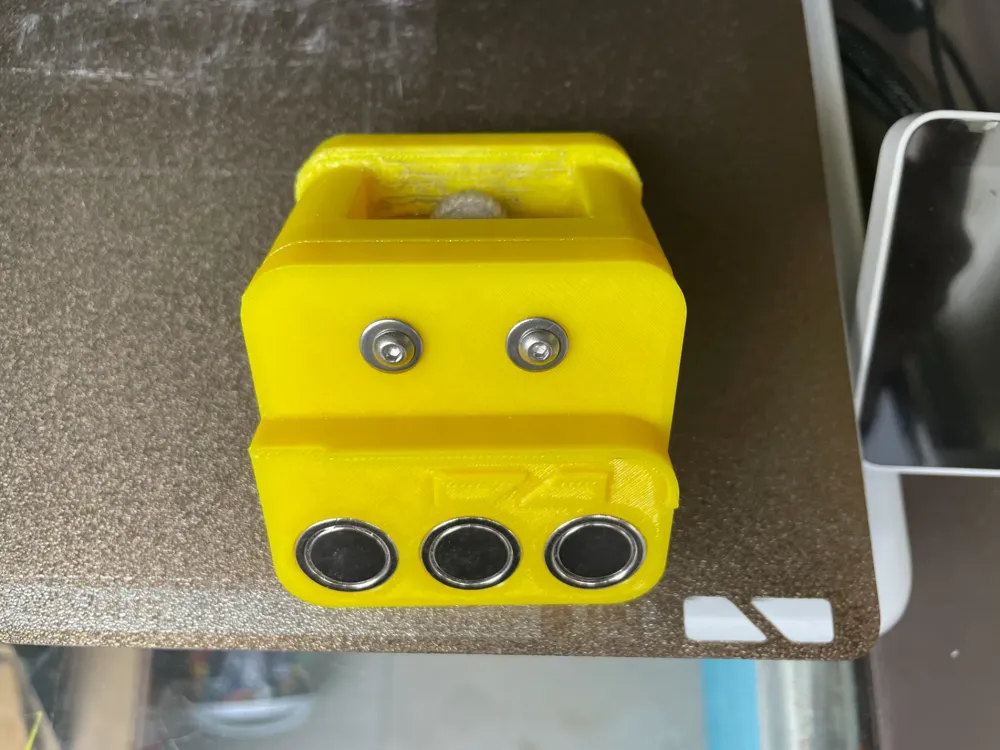
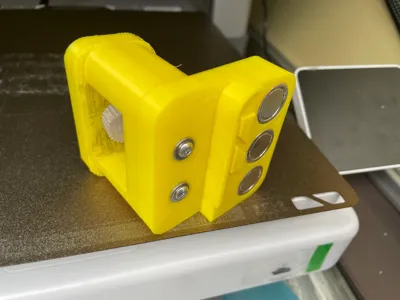
Activating the A1's built-in time-lapse function significantly reduces print speed and quality. This mount secures a camera to the build plate, enabling independent time-lapse capture without impacting the print process or quality.
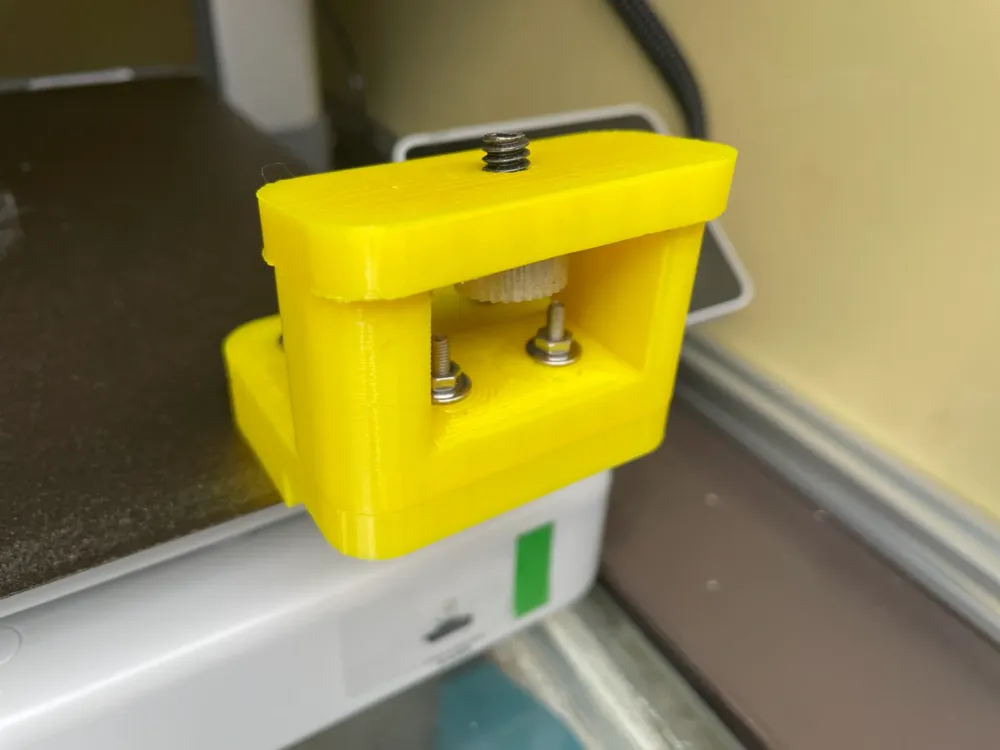
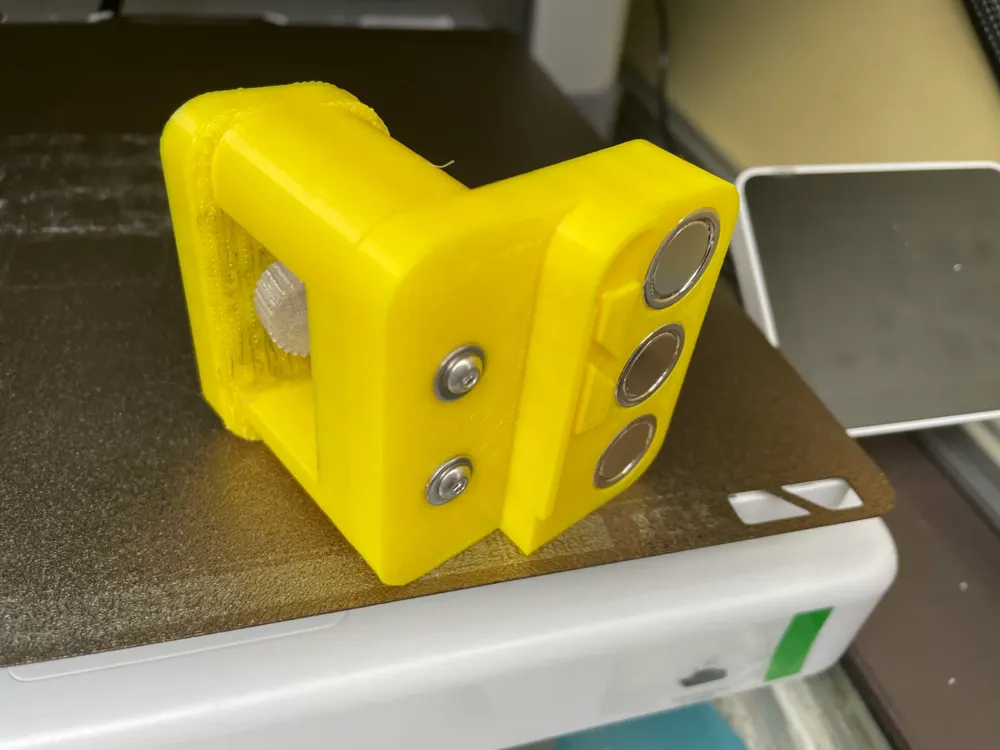
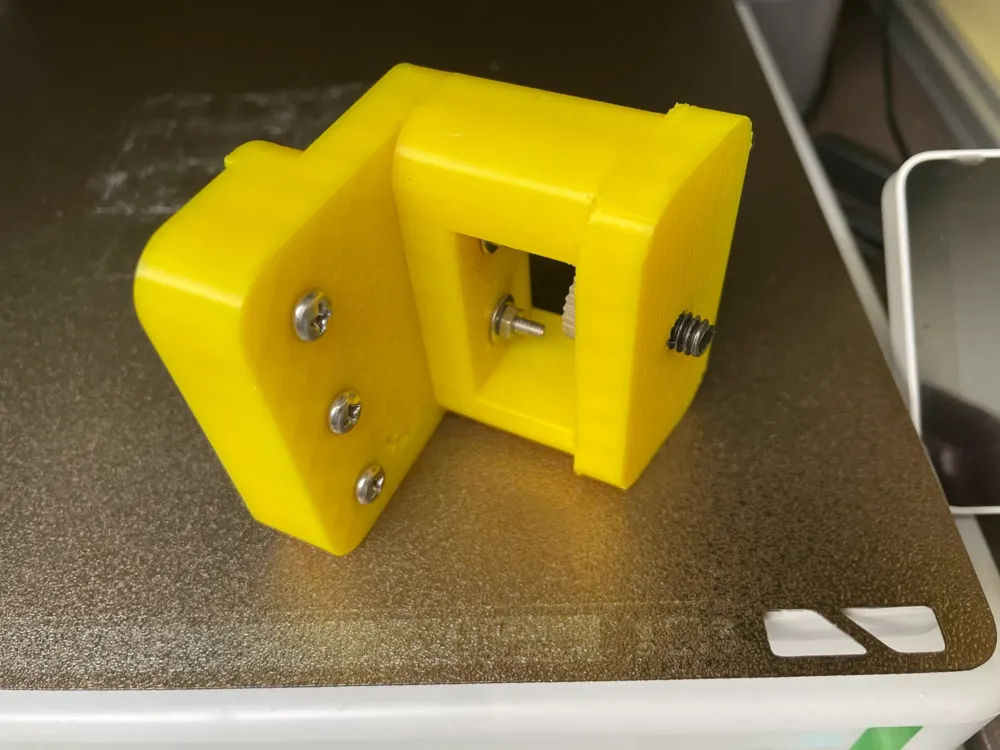
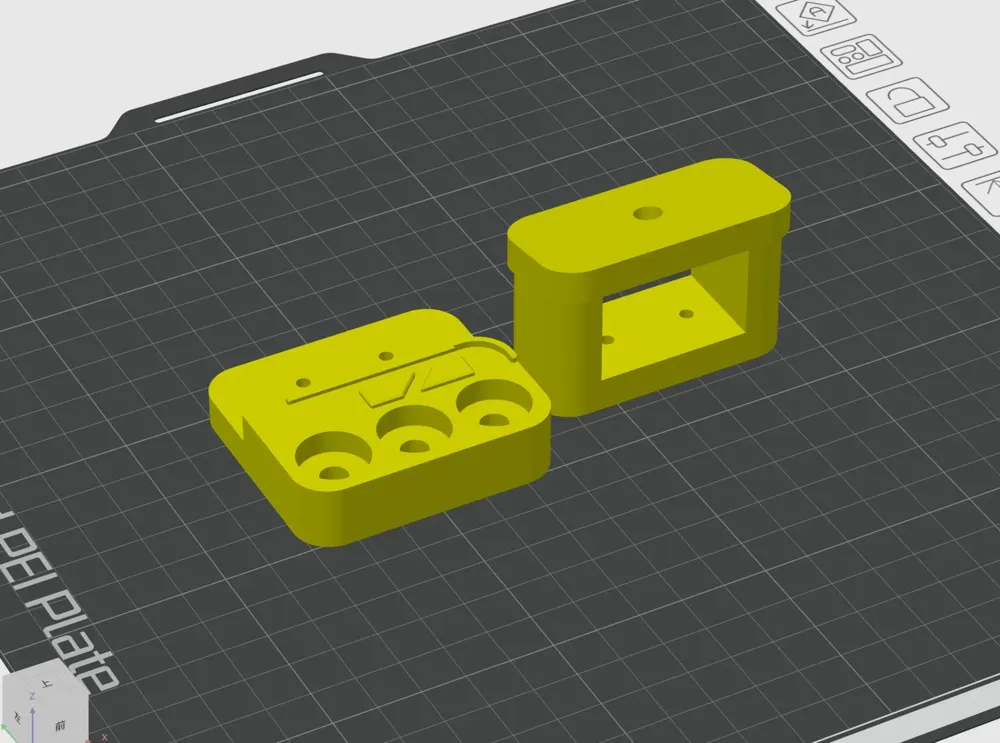
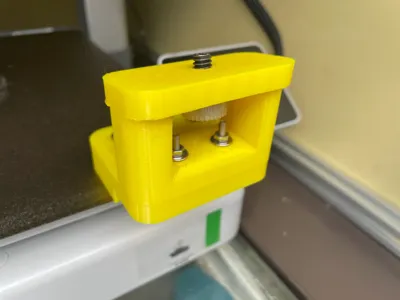
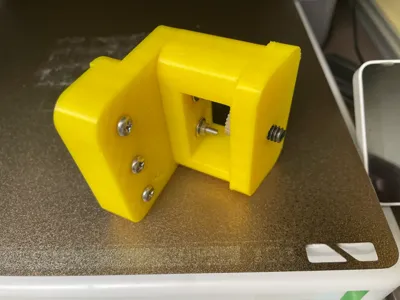
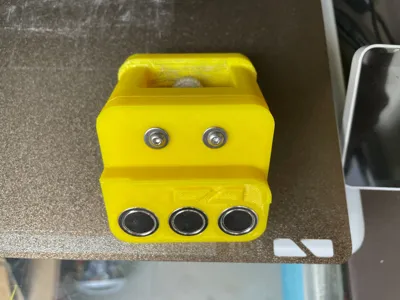
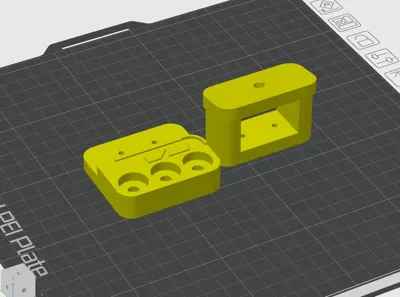
This mount utilizes magnets and the rhombus-shaped holes on the build plate's steel sheet. Secure the mount in the bottom right corner, then fasten it into the rhombus-shaped hole, ensuring the magnets adhere to the build plate.
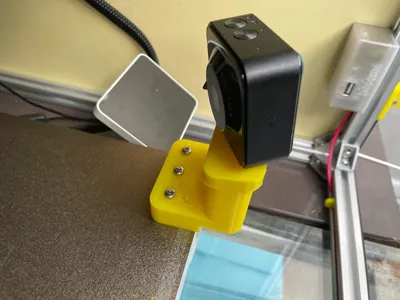
This elevated version provides a superior camera angle for improved composition.
Search "匠心智作" on Bilibili (bilibili.com) for installation and printing demonstration videos, as well as additional project videos.
Note:
During printing, do not enable bed leveling! This will cause a collision with the print head!
Due to the significant impact and vibration of the A1's build plate during operation, heavy cameras are unsuitable!
The build plate's considerable Y-axis travel range also means overly large cameras are unsuitable! Ensure the camera does not extend beyond the right and front supports; otherwise, it may collide with the screen or A-axis slider! The cameras shown in the images (GoPro Hero 4 Session and Brinno timelapse camera) are appropriately sized. If unsure about collisions, manually test by sliding the bed after installation.
This mount is unsuitable for capturing prints extending to the bottom-right corner of the build plate!
The camera must have standard mounting holes.
This method eliminates the need for the printer's built-in time-lapse feature.
The resulting footage will include the print head in unpredictable locations in each frame.
.
Required external materials:
16mm diameter strong magnets, 3 pieces
M4x6 screws, 3 pieces (for securing magnets)
M3x20 screws and nuts, 2 sets
1/4-20 * 1/2 inch screws, 1 piece (for connecting to standard camera bottom screw hole)
License

You shall not share, sub-license, sell, rent, host, transfer, or distribute in any way the digital or 3D printed versions of this object, nor any other derivative work of this object in its digital or physical format (including - but not limited to - remixes of this object, and hosting on other digital platforms). The objects may not be used without permission in any way whatsoever in which you charge money, or collect fees.


Comment & Rating (1)