
Modular keychain stand

Print Profile(2)


Description
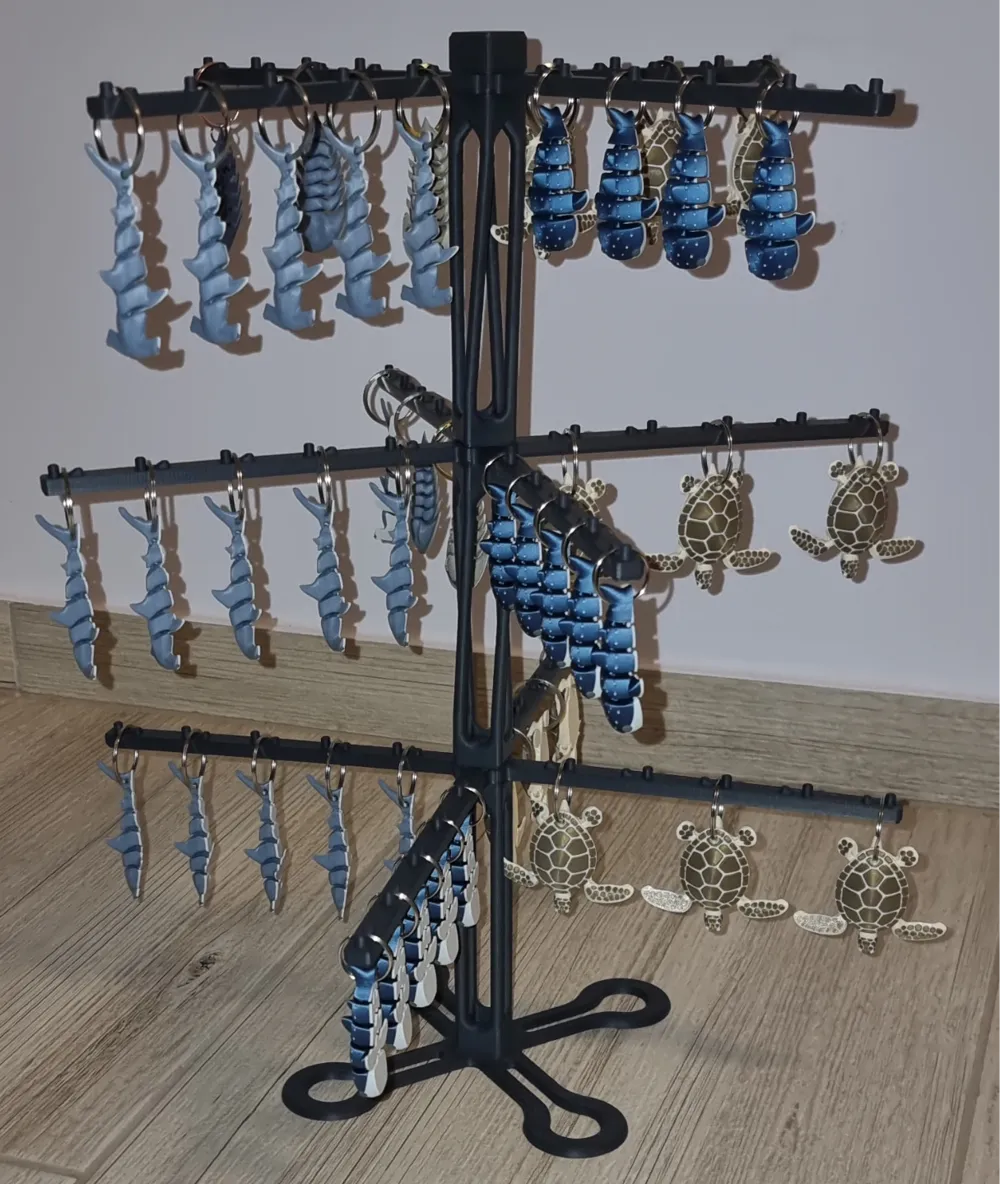
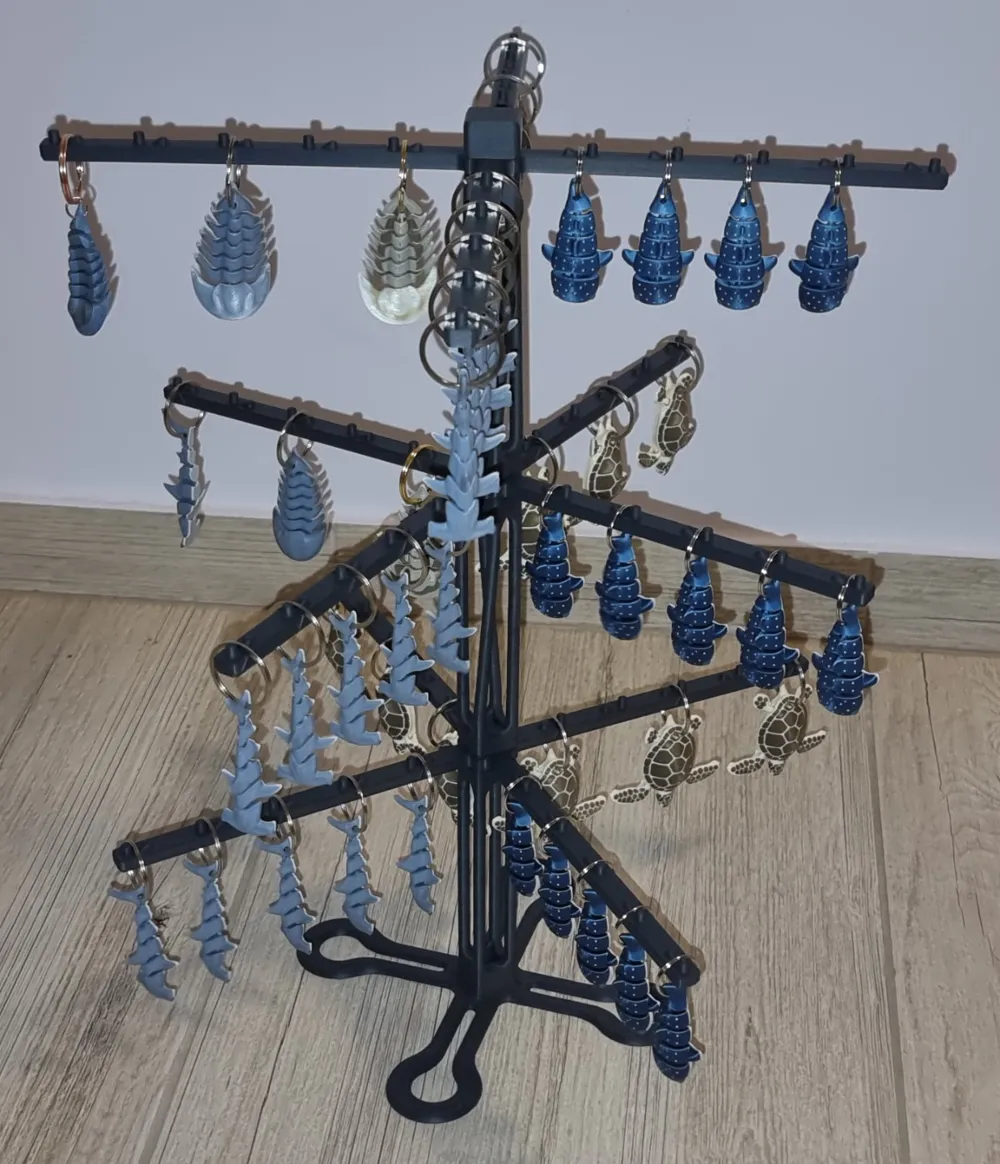
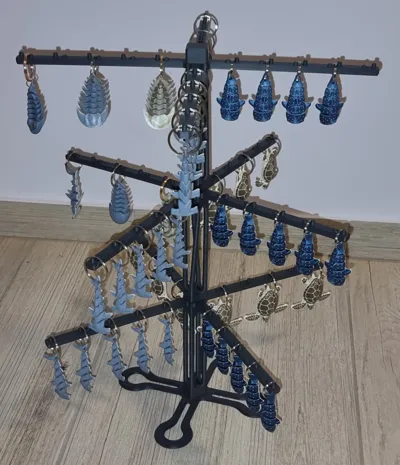
A modular keychain display stand, to display your keychains properly.
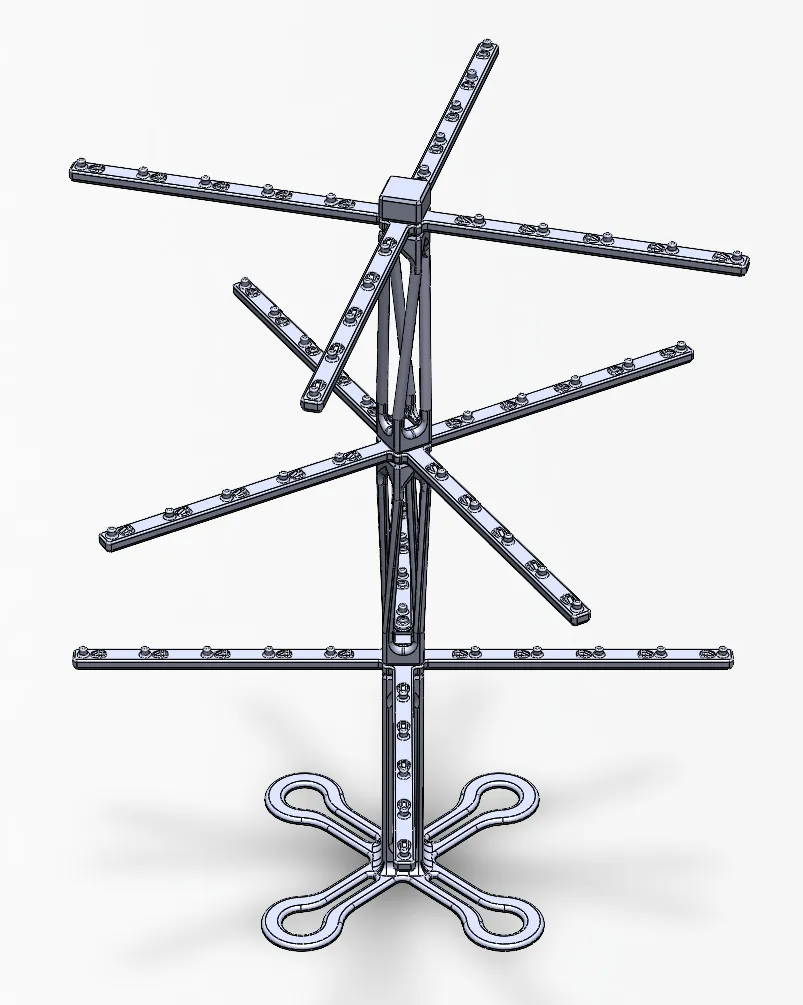
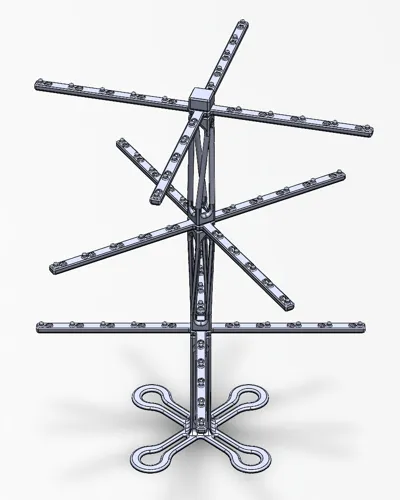
Stack as many as you want and choose between four different rotations of the next level.
Features
- Modular. Configure it to your needs.
- Two base options. Small for a few levels and a large one for many stacked levels for increased stability.
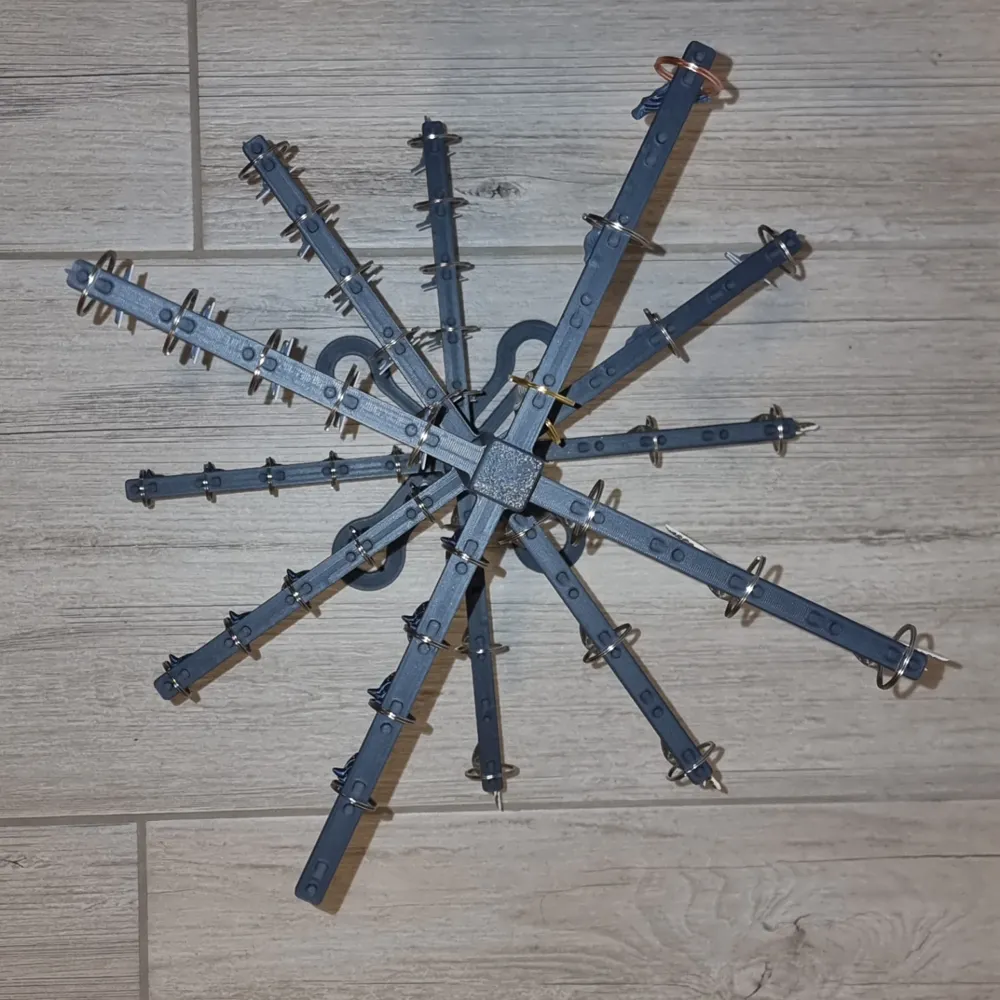
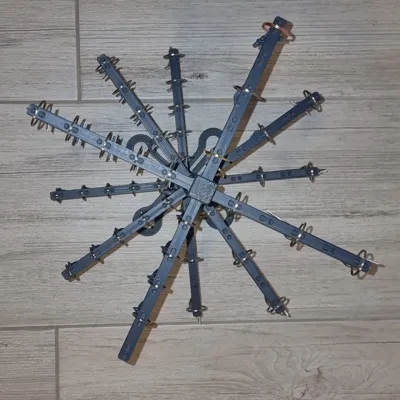
- Multiple extension rotation options: 0°, 30°, 45°, and 60°.
- Up to 5 keychains per arm, 20 keychains per level.
- A top cap to finish the assembly.
- Tight tolerances allow assembly without glue if your printer is tuned well.
- Works with any material (TPU likely won't work well).
- Easy to assemble.
Printing notes
Select the base that you want to print. If you plan to have multiple levels or have heavier keychains I suggest printing the large version for better stability. In the pictures, I have 3 levels with a smaller base and it seems stable enough.
On plate 3, select the extension rotations that you want. I provided two of each. Disable those that you don't need.
The more the extension rotates the more difficult it is to print. So 0° will print the easiest and 60° will be the most difficult. Normally you won't require a 60° rotation. The pictures include two 30° extensions for a total of 3 levels.
If you have issues with printing the extensions you may need to slow down your printer.
Assembly
If your printer is properly tuned you can assemble it without glue. If not, you may need to do some sanding or glue the parts together.
Take your base and push the arm part fully down. Next, take your extension or top and do the same. Continue this way until you have the full stand assembled. Make sure not to break the base or extensions.
The model should have a small amount of friction, but not so much that you can't assemble it by hand.
Boost Me (for free)
Thank you for supporting me.
Update 18.1.25
I have uploaded a new print profile that features a reinforced large version of the base. The base legs should now be more stiff and you can fit more material in it to make it heavier.
If you think it is still too light you can increase the wall loop count and infill percentage to use even more material and make it heavier.
License

You shall not share, sub-license, sell, rent, host, transfer, or distribute in any way the digital or 3D printed versions of this object, nor any other derivative work of this object in its digital or physical format (including - but not limited to - remixes of this object, and hosting on other digital platforms). The objects may not be used without permission in any way whatsoever in which you charge money, or collect fees.


Comment & Rating (54)