Search models, users, collections, and posts
3D Paint Lab
@3dpaintlab
7.7 k
130.9 k
172 k
88.7 k
Social Media Links
Bio
3D model designer focusing on functional and useful objects
Achievements
MakerWorld Guardian
Active more than 20 days out of last 30 days UTC time

Contest Winner
Won 7 model contest awards.

Featured Creator
9 models are featured by MakerWorld.

Maker's Supply Contributor
6 models with Maker's Supply Model Kit achieves 500 successful prints.

Popular Model
2 models more than 5,000 successful prints.

Popular Creator
More than 1,000 followers.

Stellar Reviewer
Rate or Comment 369 different models

Pioneer Maker
Print successful 229 different models and 6,730 hours
Pinned Models
Foldable Key Phone Stand
15.7 k
909
45 k
31.1 k
Playing Cards Box
11.8 k
1 k
19.9 k
11 k
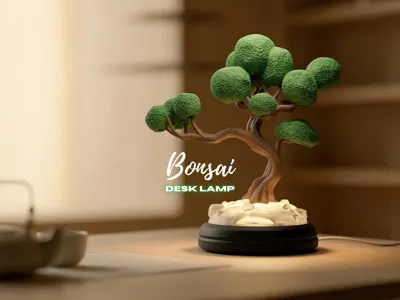
Bonsai Desk Lamp
8.4 k
441
6.4 k
3.4 k
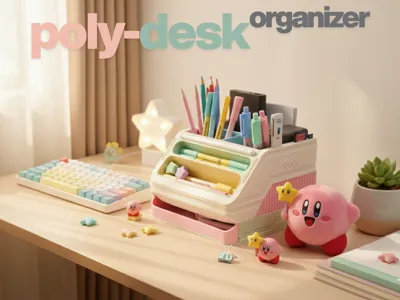
Poly-Desk Organizer
3.8 k
210
3.6 k
1.1 k
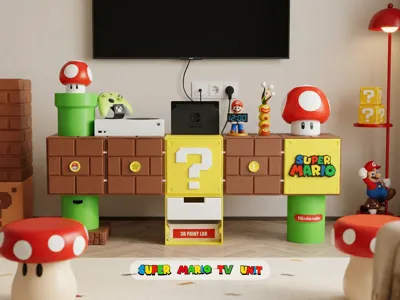
Super Mario TV Unit
4.2 k
365
2.3 k
162
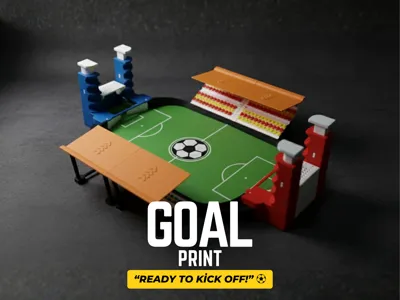
Goal Print
1.2 k
83
1.2 k
197
Recent Article
Anatomy of a Design
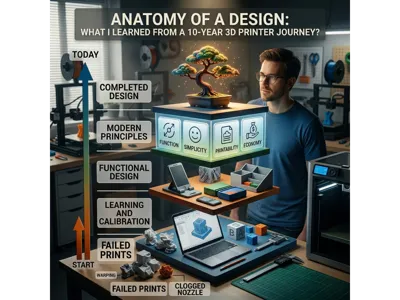
Anatomy of a DesignWhat I Learned from a 10-Year 3D Printing Journey 🛠️It didn’t all start with a dream of becoming a "designer." When I bought my first printer ten years ago, I had one simple goal: to print small toys and objects for my son. However, that simple curiosity evolved over time into a deep passion and, ultimately, a design philosophy. Today, looking back as a 40-year-old designer, I see that this journey was about much more than just producing plastic parts.Here are the "Anatomy of Design" lessons distilled from thousands of hours of print time, hundreds of failed attempts, and dozens of projects.1. The Beginning: Failure is the Best Teacher 🎓Ten years ago, the world of 3D printing wasn’t the "plug-and-play" comfort it is today. Every successful print was essentially a small miracle. I spent thousands of hours struggling with:Warping: That crushing disappointment when the first layer doesn't stick.Clogged Nozzles: Long nights spent fixing nozzles like a watchmaker.Calibration Settings: Manual bed leveling, flow rates, and endless test cubes.Today, I can confidently say: these problems were my greatest teachers. Every failed print helped me understand the limits of the material and the language of the machine.2. The Turning Point: The Liberating Power of Technology 🚀Everything changed with the arrival of next-generation printers like Bambu Lab. The printing process suddenly became reliable, fast, and predictable. Instead of wondering "Will it actually print?" I started asking, "What can I design?" I realized it was time to stop just printing other people's models and start creating my own world.3. Starting from Scratch at 38: Fusion 360 and Beyond 🏗️I was 38 years old when I stepped into the world of design. I had no prior knowledge—just my curiosity and Fusion 360. I lost myself in YouTube tutorials and turned trial-and-error into a way of life. I designed parts that didn't fit due to wrong tolerances and models that looked good but were structurally weak. I wasted a lot of filament, but I accepted it as the "tuition fee" for my learning process.4. Seeking Identity: From Aesthetics to Function ✨In the beginning, I focused on Lightbox, exploring the dance of light through plastic. But the real transformation happened when I put the question "What problem does this design solve?" at the center of my work. I gathered this philosophy under four main categories:Functional & Print-in-Place Solutions: User-friendly designs like the "One-Piece Foldable Phone Stand" that require no assembly and work right off the build plate.Organizational Systems: Creating order out of chaos with projects like the "Multi-Purpose Game Card Box" and the "Poly-Desk Organizer."Modular Aesthetics: The "Logo Shoe Stand," designed for sneaker enthusiasts, focusing on minimum filament consumption and rapid production.Lighting & Mood: The "Bonsai Desk Lamp" and "Crystal Summit," inspired by Japandi and Scandinavian styles, blending the serenity of nature with modern technology.5. My Modern Design Principles 💡Today, for every model I upload to MakerWorld, I follow these four fundamental rules:Function: The design must have a clear purpose and fulfill it exceptionally well.Simplicity: Strip away every unnecessary detail. Aim for maximum efficiency with minimum parts.Printability: If a model looks perfect but is a nightmare to print, it’s not a good 3D design. It must be easily reproducible on anyone’s machine.Economy: Material savings (low filament consumption) is a priority for both the environment and the user.Final Word: Age is Just a Number, Decision is Everything ⏳I am 40 years old now. I’ve only been designing for two years, but I feel more productive and younger than ever. Learning and building things is the only way to make time stand still.If there is a designer inside you, don’t wait for the "perfect" time to start. You don’t need to be perfect; you just need to start. The true anatomy of design is simple:Build. Fail. Fix. Repeat. 🔄At what stage are you in your own journey? Let’s meet in the comments and keep creating together! @makerworld
In the Modeling Phase: Color Planning
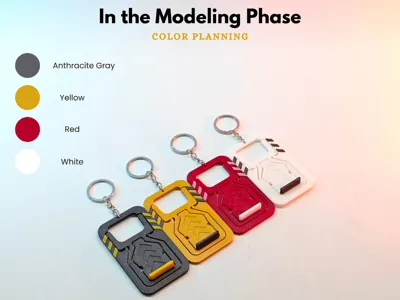
In the Modeling Phase: Color PlanningIn the Modeling Phase:1. Color PlanningDetermine a color palette in advance: Think about where the model will be used (decorative or functional?). Choose 3–5 main colors accordingly. → For example: pastel tones for minimal designs, gray-black tones for technological products.Contrast and harmony: If you want to highlight the main lines, you can choose high contrast (like black and white), if you want a harmonious look, you can choose tone-on-tone (like light blue – dark blue).Pay attention to the material color: Also think about glossy, matte or semi-transparent effects on the model. In printing, these are directly related to the filament.Create realistic visuals in a 3D design program: In programs like Blender, you can get a more accurate preview by "rendering" with material shaders and real color tones.2. In the 3D Printing Phase: Filament SelectionTest the real tone of the filament: Manufacturers' filament colors may look different in online photos. The best way is to make a test print and examine it in natural light.Color perception varies depending on the material structure: The white of PLA and ASA does not look the same as white. While PLA is brighter, ASA looks more matte and deep. → If you want a clear color appearance in your design, you can choose matte filaments.Color depth and light reflection: Colors look more vibrant in glossy filaments, but details may be lost. Details are more visible in matte filaments, but colors may look a little "pale".Are you going to print multi-color models? Then you should especially choose color transitions or tone harmony. (This is more critical if you have a multi-filament system like Bambu Lab AMS.) 3.Some Practical Tips:Use a neutral color + accent color combination: Usually, a combination of a main neutral (gray, white, black) and an accent (vivid like red, yellow) balances every design.Optimize the model according to the filament color: For example, since small details can be lost in very dark filaments, it is better to choose a light-toned filament for such detailed work.Consider the target audience/product theme: Pastel and vibrant colors for children, black-grey-tones for office products, natural stone colors for decorative products are more appropriate choices.In summary: Step Things to Consider Modeling Create a color palette, check contrast, preview with render Printing Pay attention to the filament tone, choose matte/gloss, take a test print General Make a combination of main neutral + accent color, choose color according to the target 🎬 Closing: Add Color to Your Designs! Color selection is not only aesthetic, but also expressive. With the steps you learn in this series, you will not only print your designs, but also make them felt. Remember: Every color carries an emotion, Every design tells a story. 🛠️ Imagine, plan, produce! See you in the next episode...