
SpoolBox
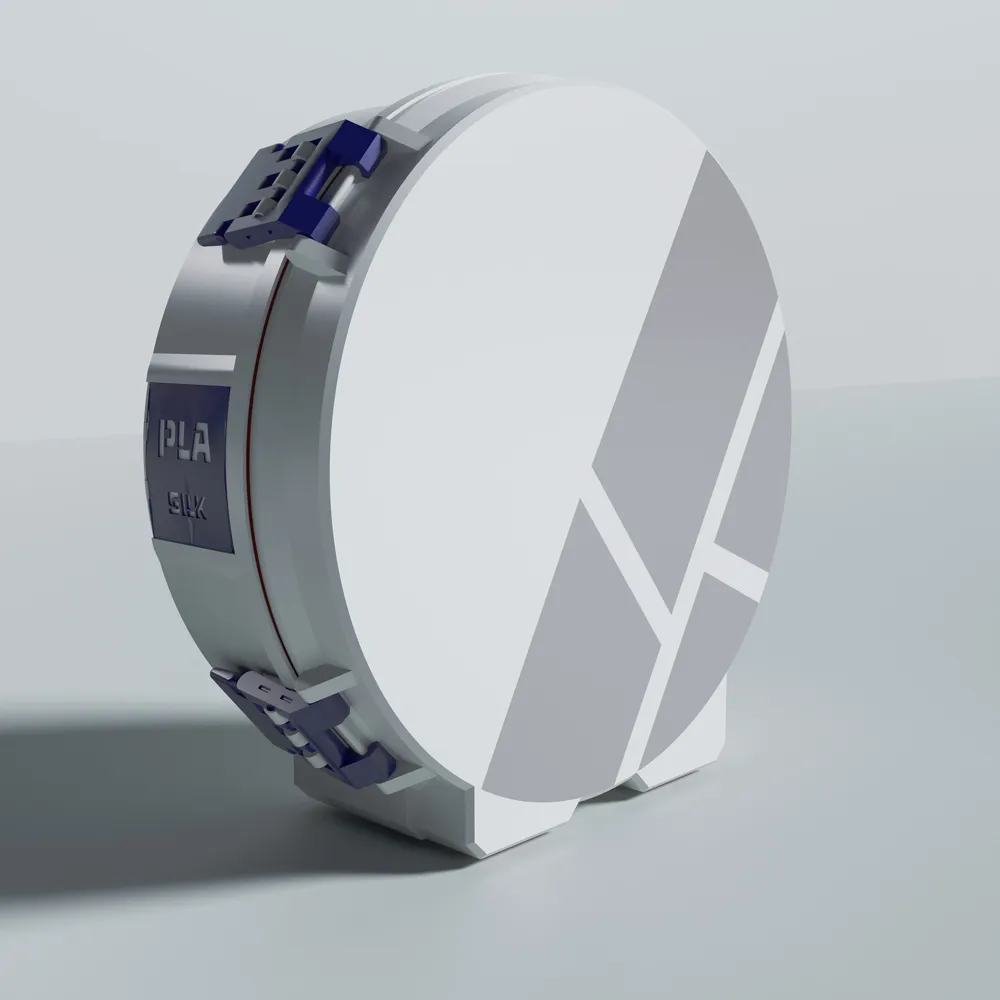
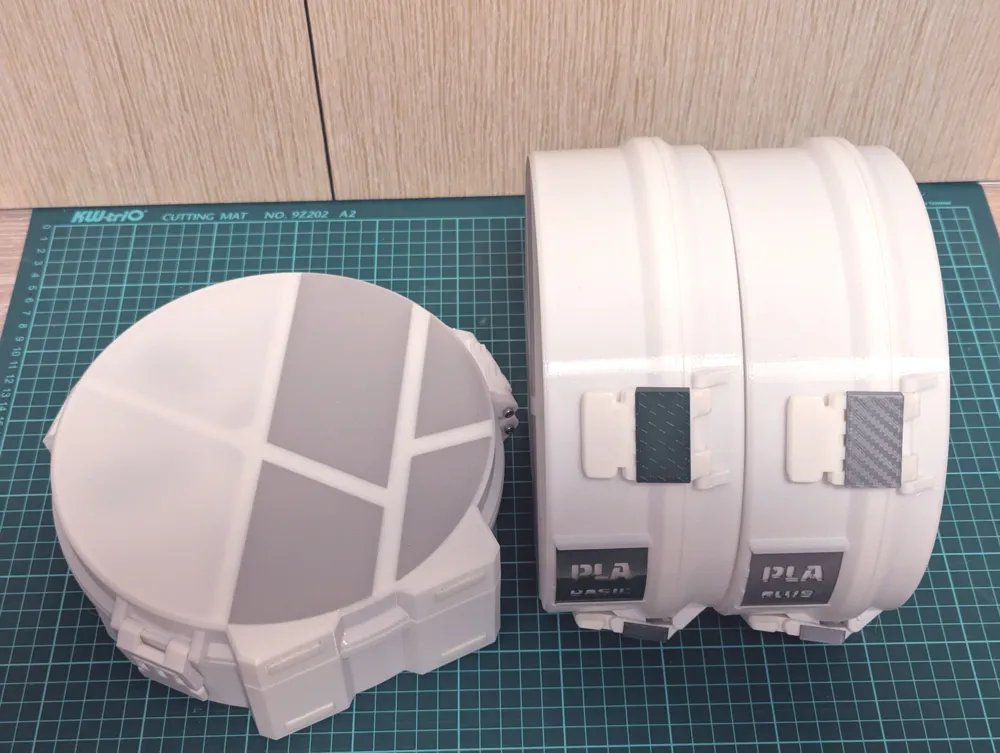
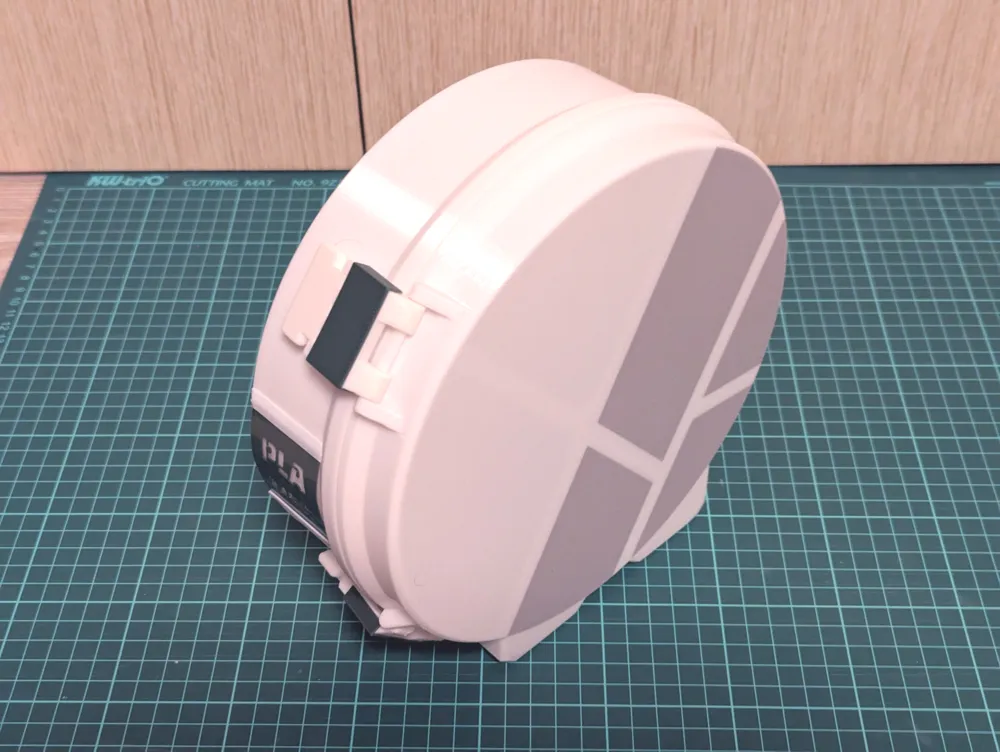
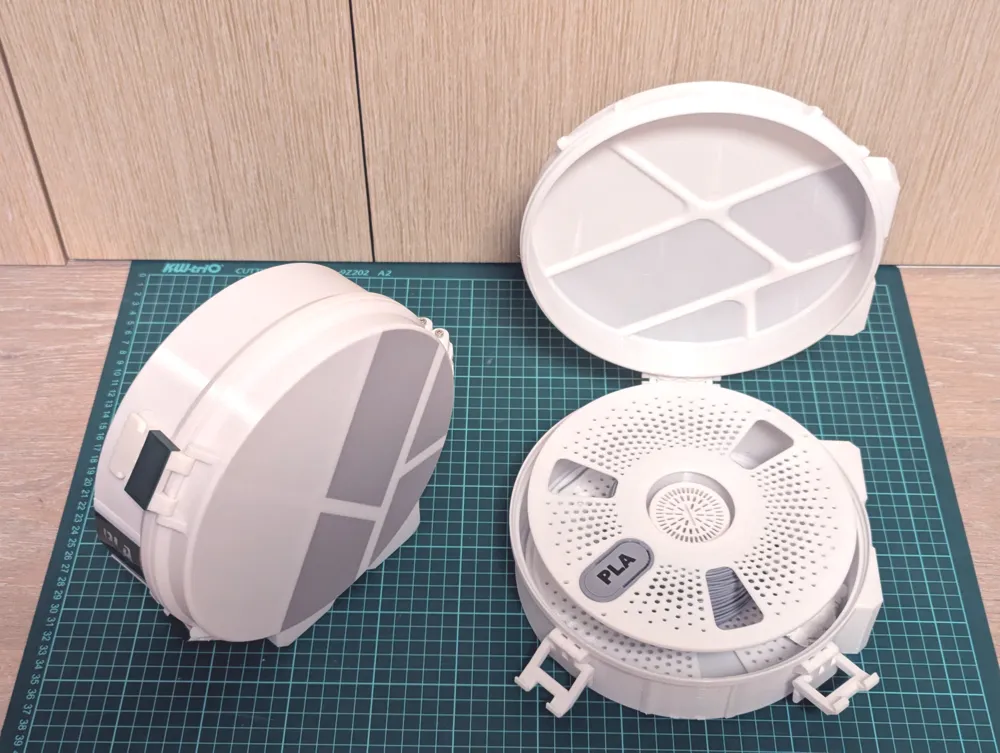
Print Profile(4)



Bill of Materials

Description
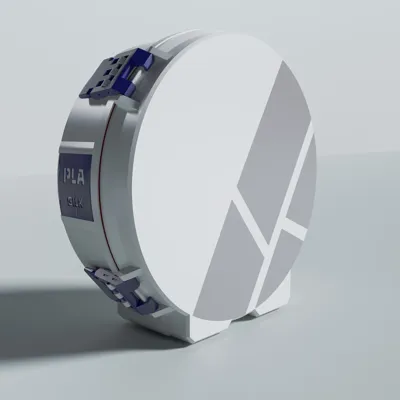
We all know that it is not good to leave the filament in the air and let it suck in air wool. So, like many of you, I took a look around. The cereal box route didn't tempt me, I like things to fall nicely and not just be functional.
So I started looking around to see what boxes were available. I found a nice one, but unnecessarily complicated. I also found a very economical one, but somehow it didn't satisfy them either. So I had no choice but to start my own model.
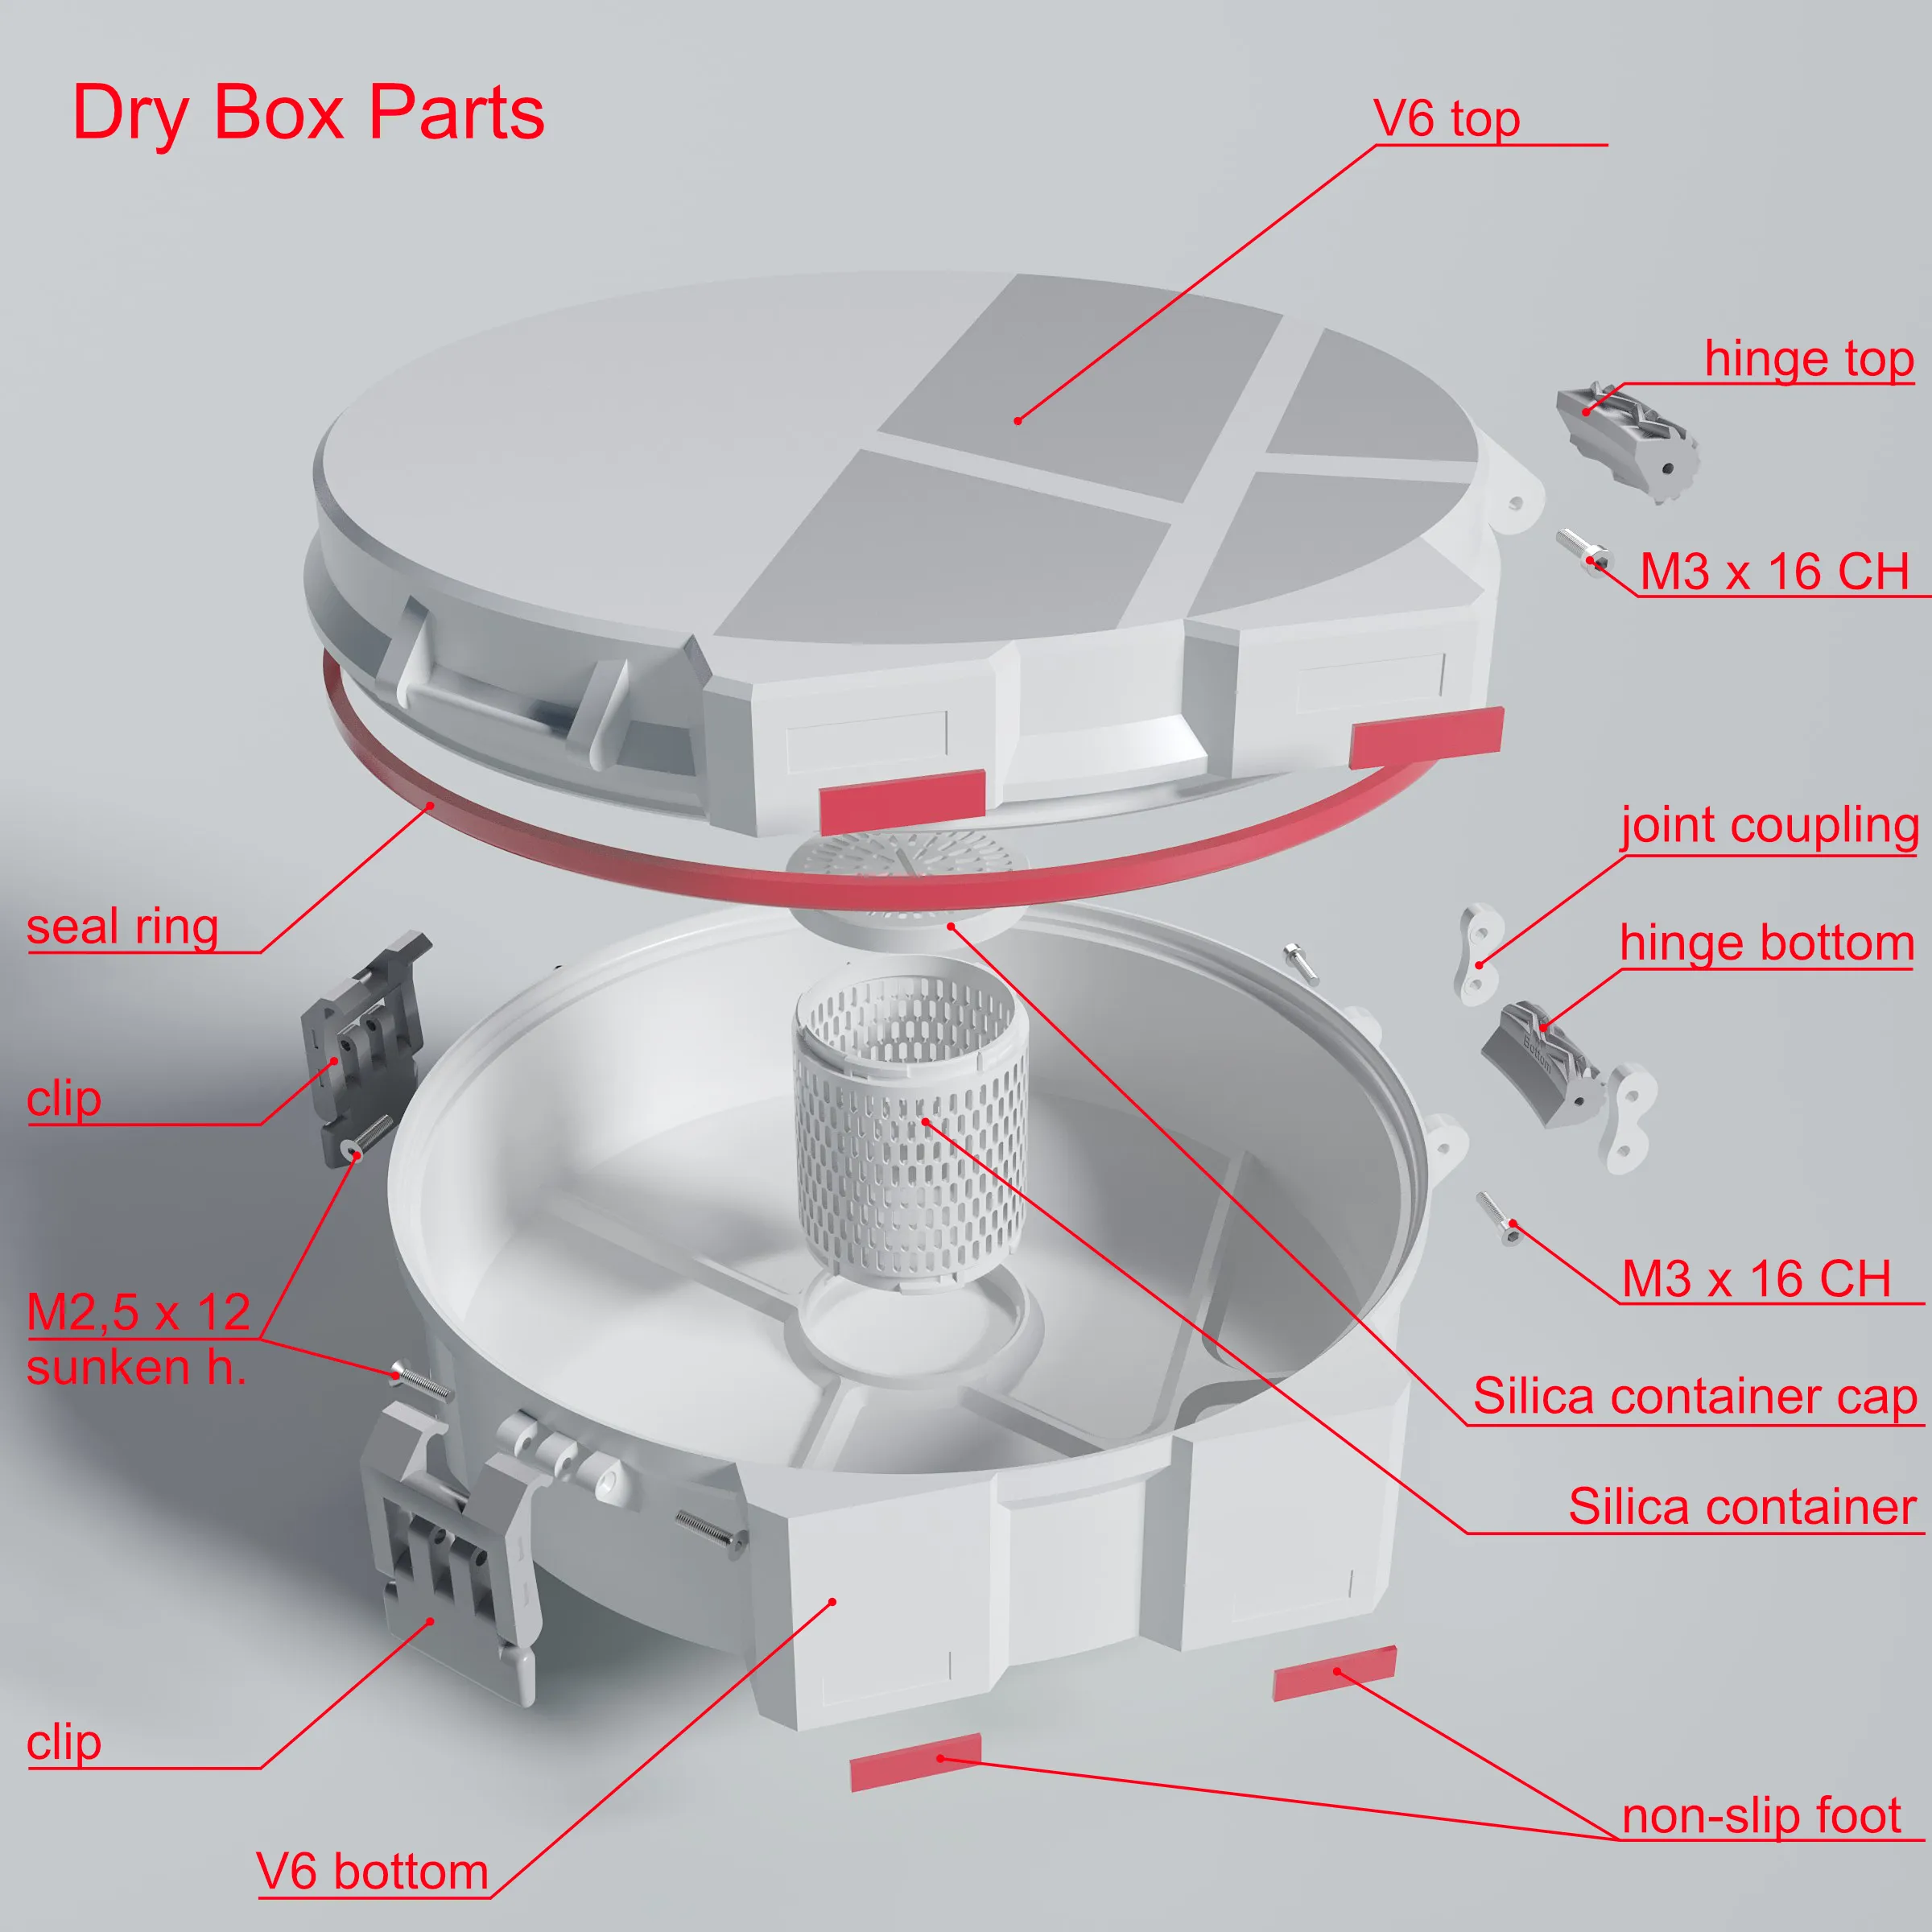
What needs to be printed:
Main part:
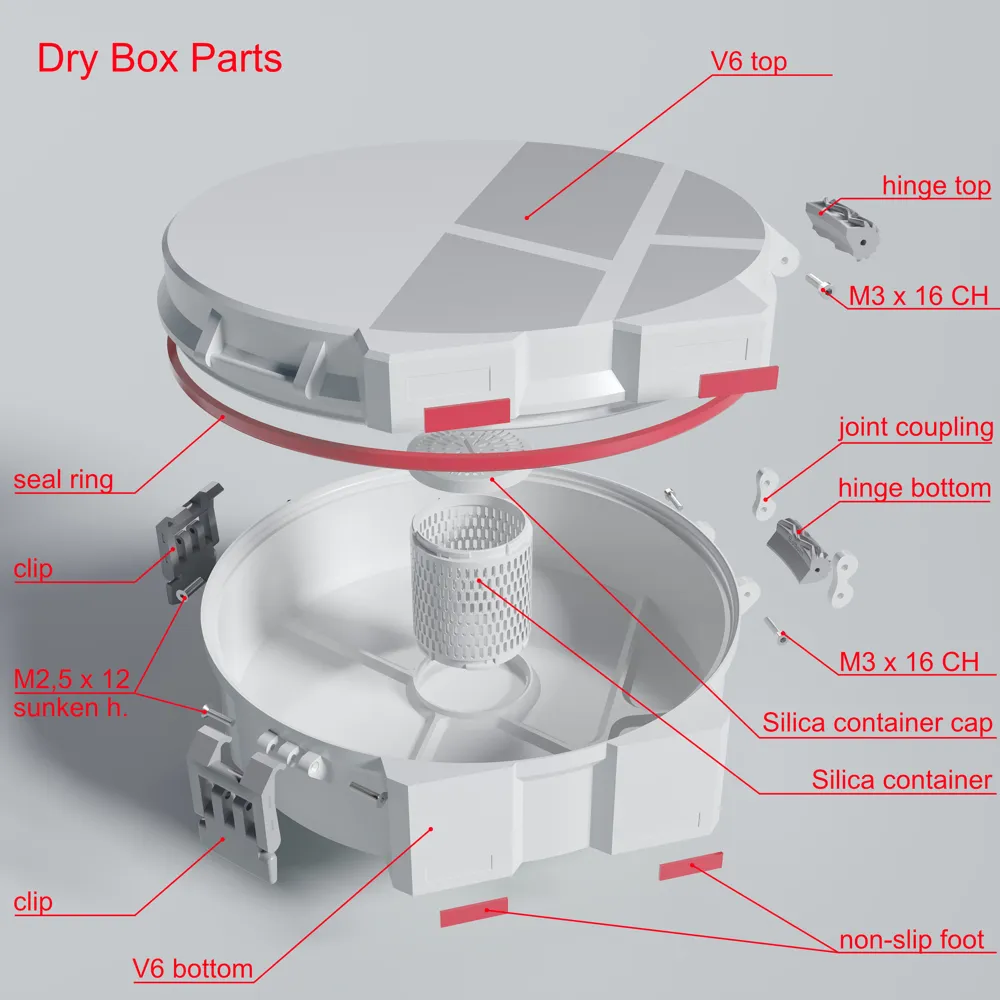
- 1x V06 bottom.stl
- 1x V06 top.stl
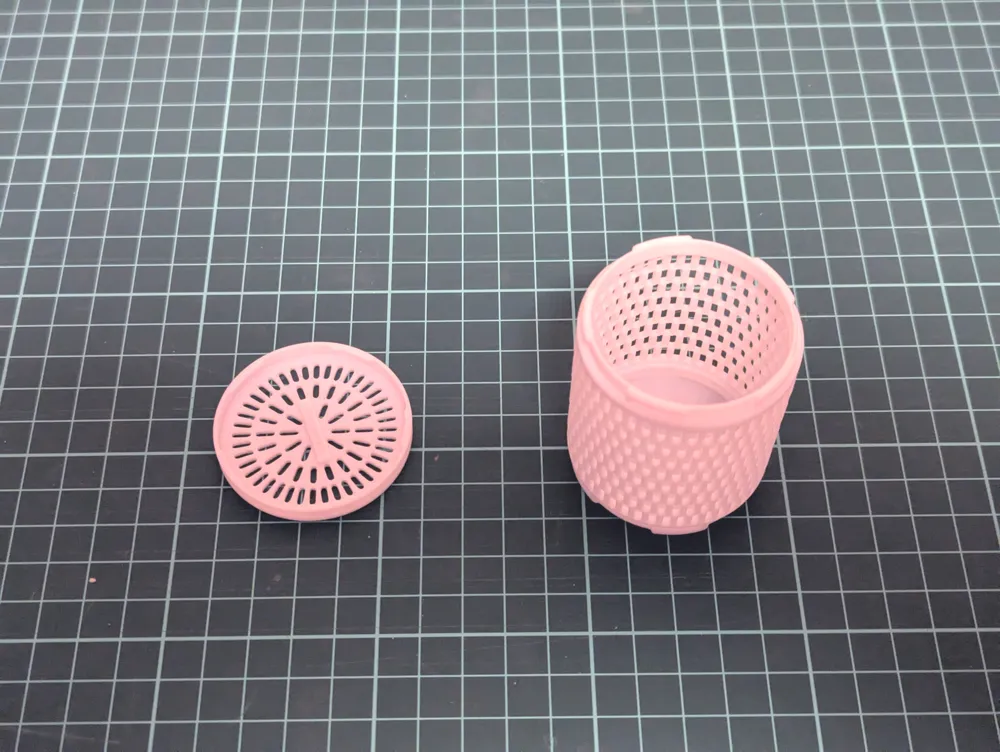
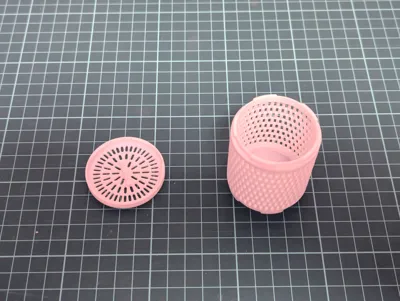
- 1x Silica container
- 1x Silica container cap
TPUs:
- 1x seal ring.stl
- 4x non-slip foot.stl
Clips:
- 2x clip.stl
- 4x pin for clip.stl (This is just a variation instead of using screws)
- 2x clip tag (To identify the filament: printed with stored filament)
Hinge:
- 1x hinge bottom.stl
- 1x hinge top.stl
- 1x joint coupling part B.stl
- 1x joint coupling part A.stl
All parts except the TPU ones can be printed in PLA or PETG. I have tried both. But I personally use ABS for the clip and hinge. Because with my open A1 there is no classic ABS on the list, I use “Sunlu Easy ABS”
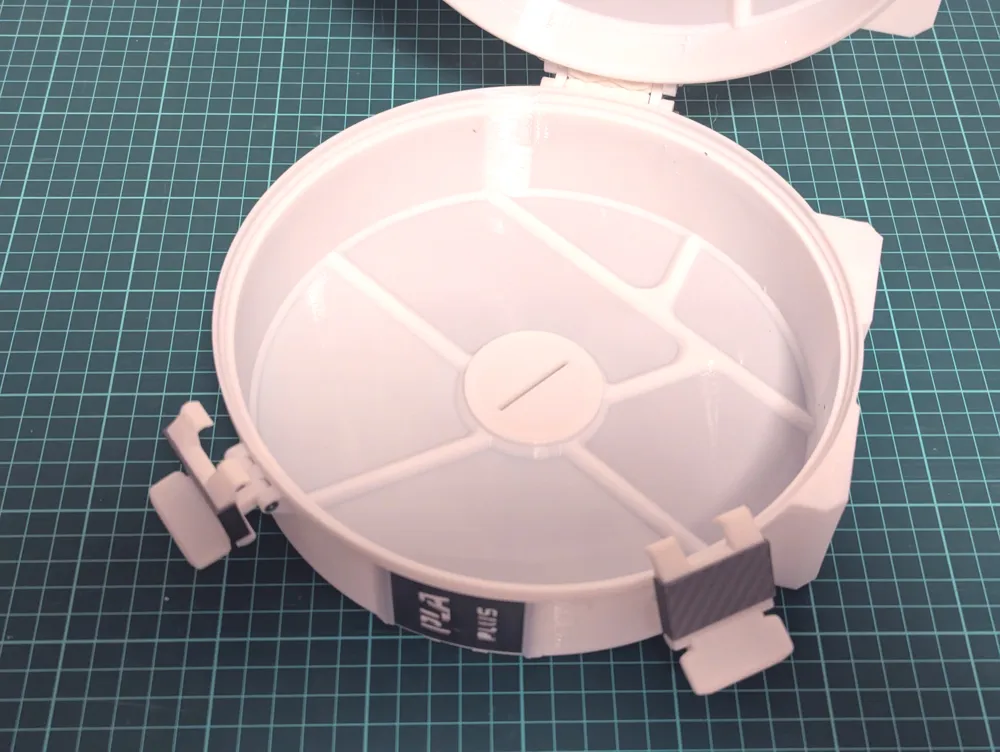
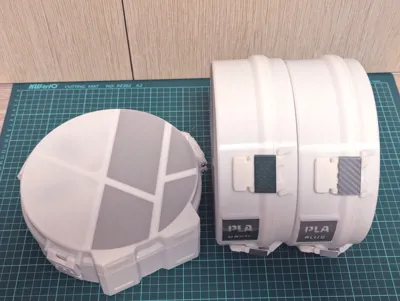
The box is equipped with a place for Tags, but in addition, it is possible to print the “clip tag” in the color of the stored filament.
Required Hardware:
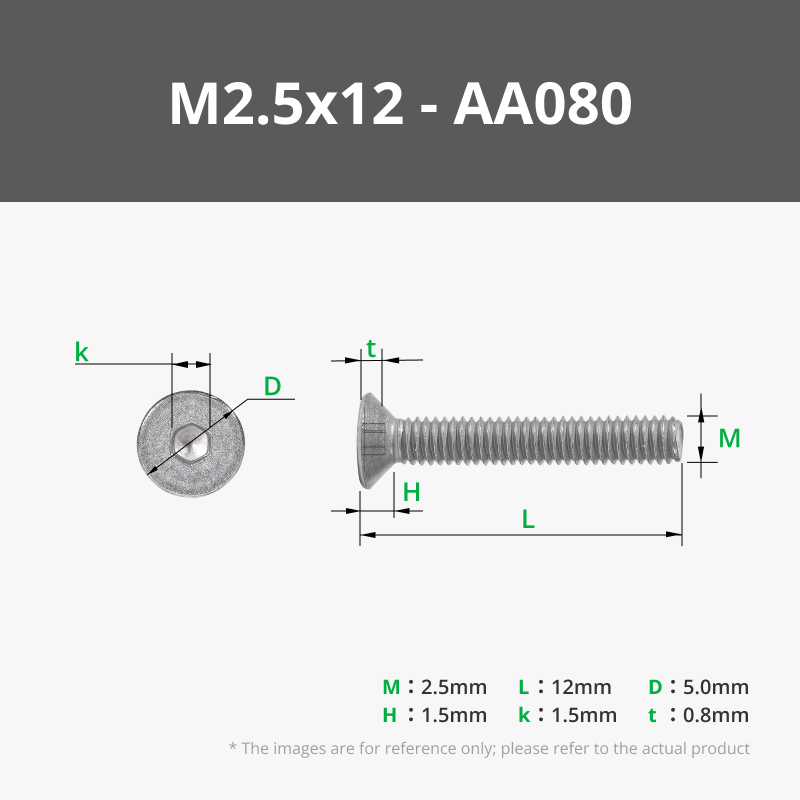
- 4x M2,5x12mm countersunk head - for the clip ( Printed pins can be used instead)
- 4x M3x16 cilinder head - for the hinge
Assembly:
start with the bottom of the hinge. Between the brackets on the button part, insert the joint coupling and hinge bottom in this subframe. For easier differentiation, the part of the hinge intended for the bottom is described. Then screwed with two M3 screws
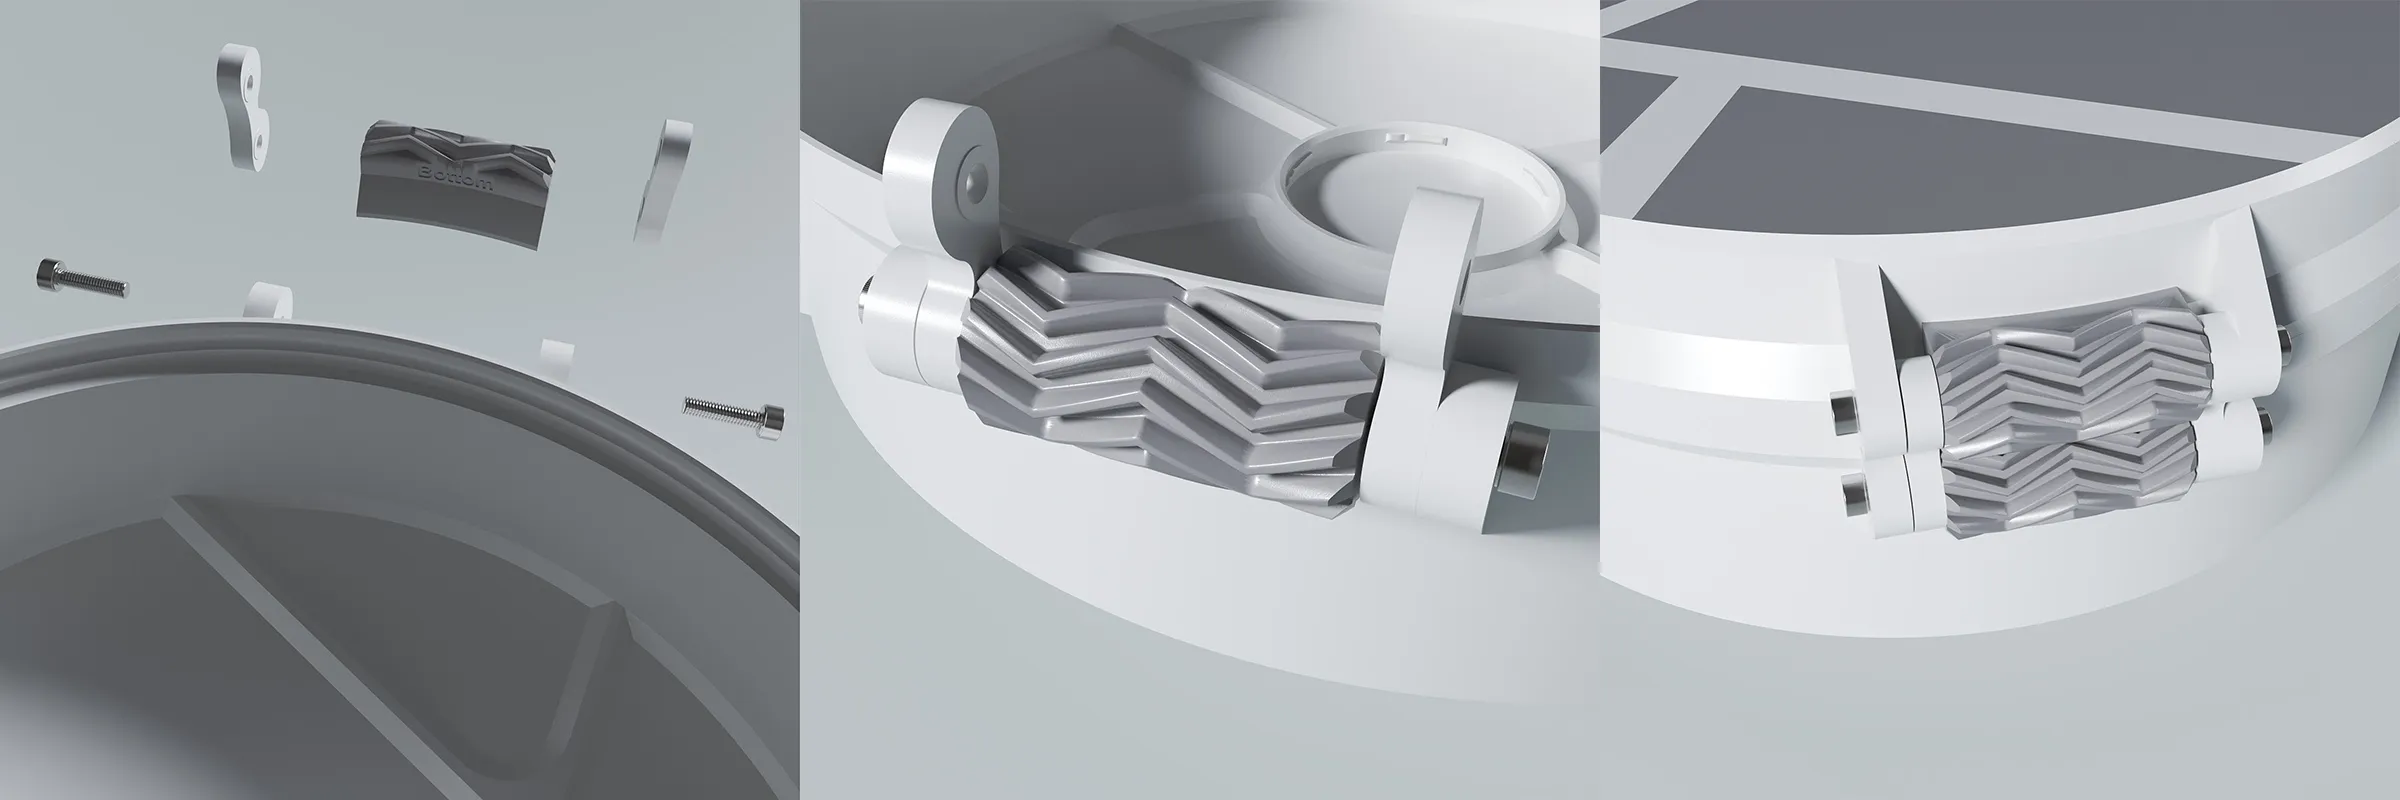
Cover the lid (no ring yet), insert the other part of the hinge so that the teeth fit between each other and also screw it together.
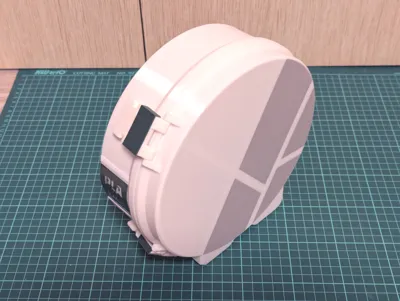
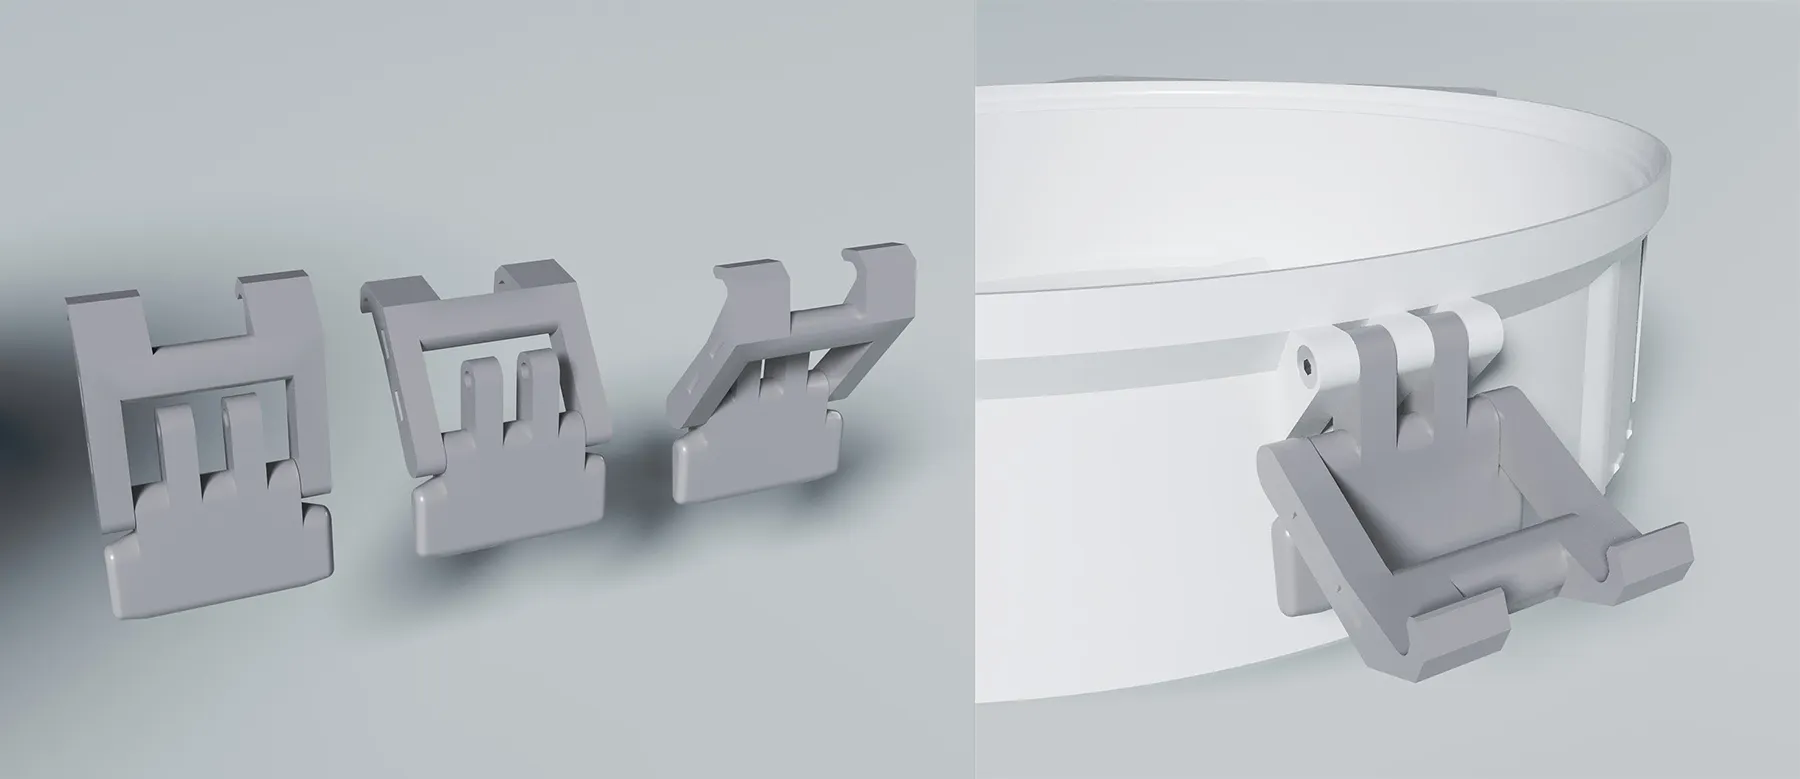
Firmly release the clip joint printed in place, and insert the clip between the brackets and secure with M2.5 screws:
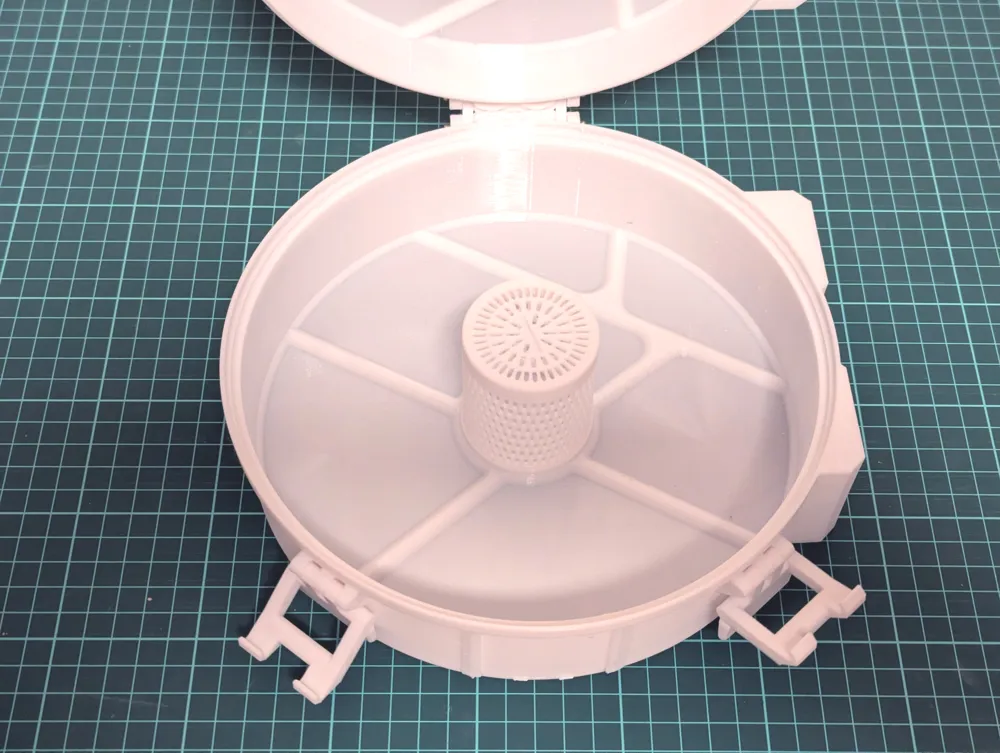
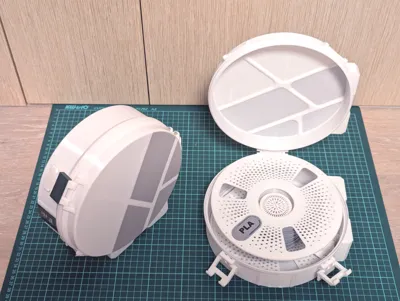
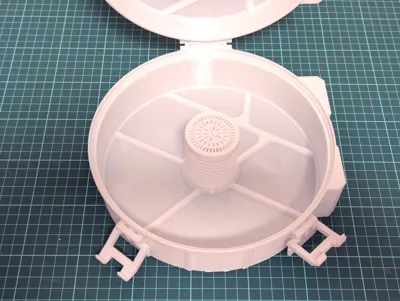
Put the cap on the Silica gel container (or some gel inside first ;-)) and fit and snap into the bottom piece inside the centre.
As an alternative there is a container that snaps right in without the lid, so the lid is the main part of the box. (direct silica container)
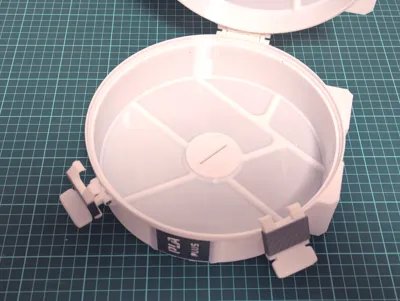
If you don't want to insert the silica gel, e.g. with PLA this is not necessary, it is possible to just plug in the lid instead of the container (plug in place of silica container).
Done.
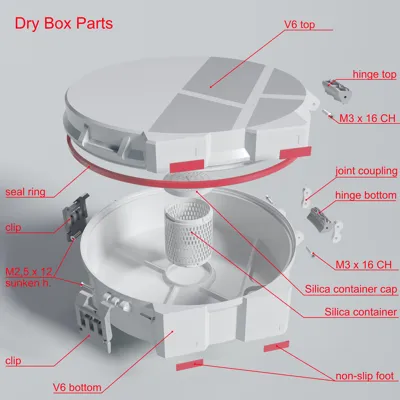
Placement of the elements:
08. 12. 2024
Sincerely Popleta
If you like my work, you can buy me a coffee
License

You shall not share, sub-license, sell, rent, host, transfer, or distribute in any way the digital or 3D printed versions of this object, nor any other derivative work of this object in its digital or physical format (including - but not limited to - remixes of this object, and hosting on other digital platforms). The objects may not be used without permission in any way whatsoever in which you charge money, or collect fees.


Comment & Rating (29)