
Spool Mod for Ultimate Filament Spool Enclosure
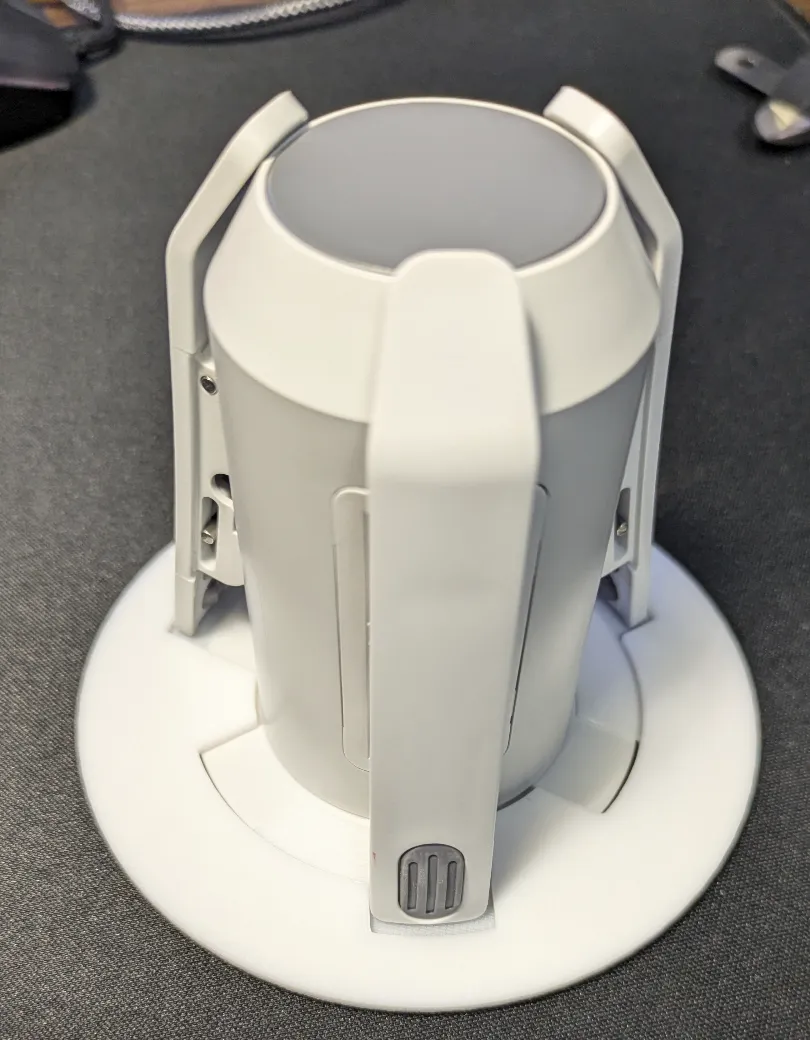
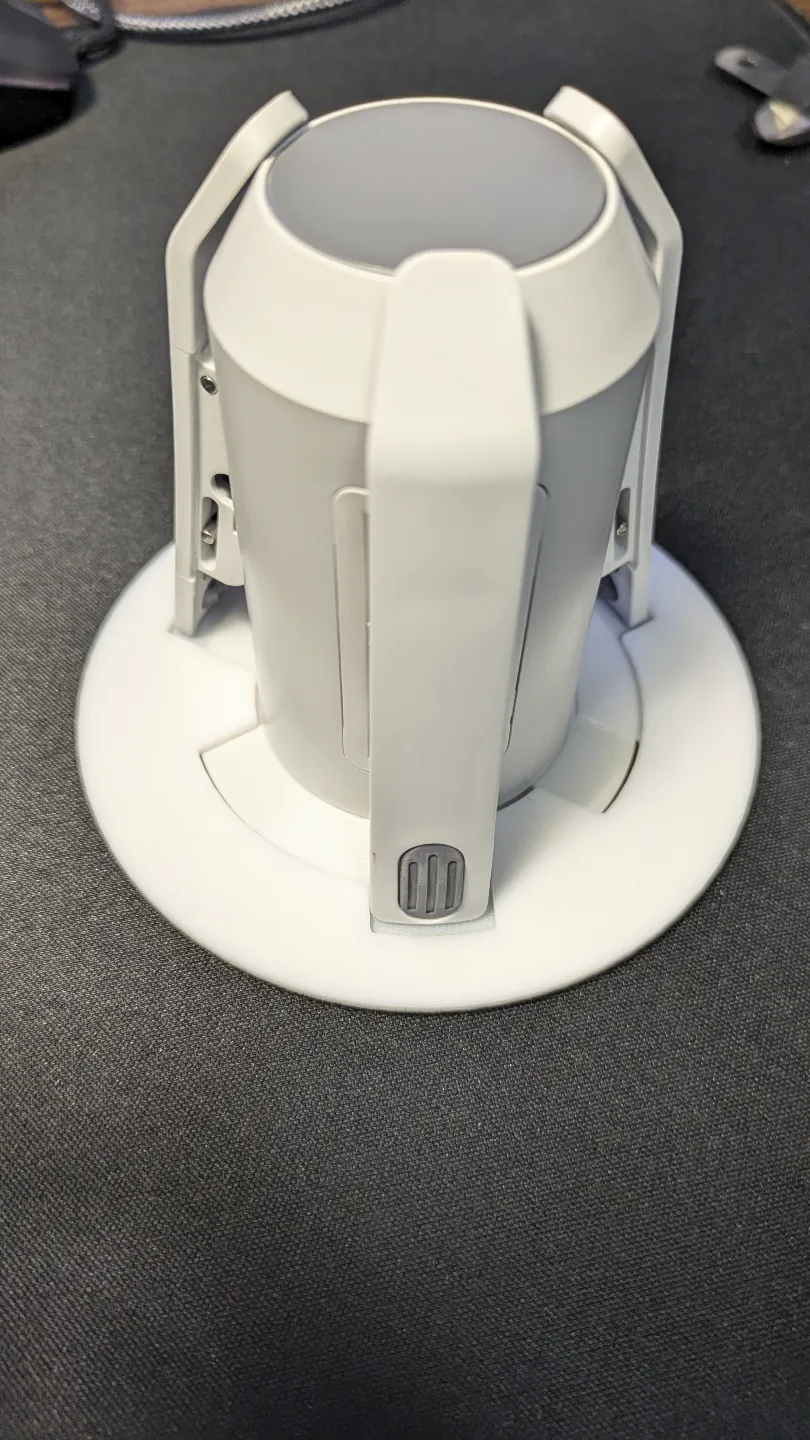
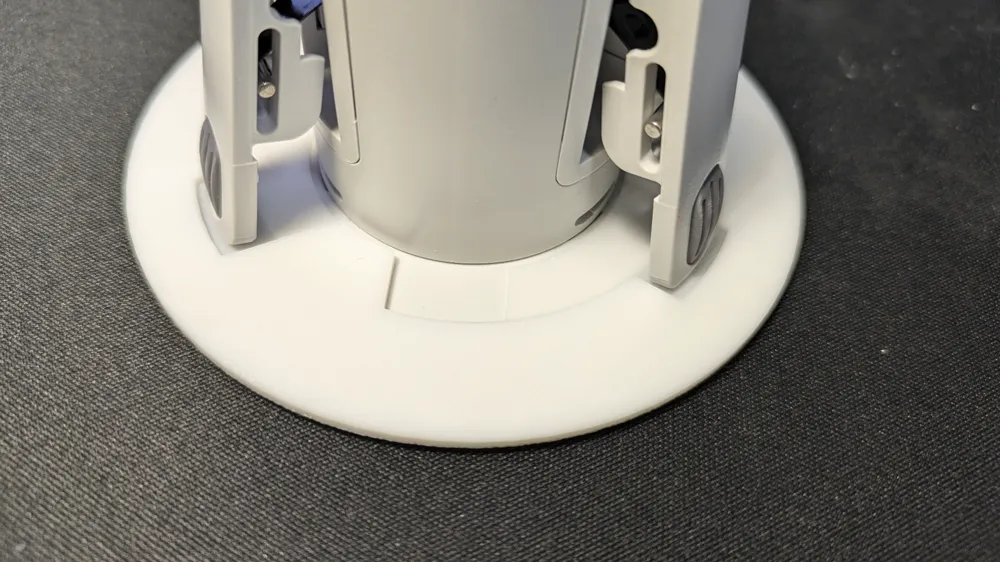
Print Profile(2)


Description
Changelog:
(25.11.2024) - Added V9 + Added instructions 1.a and 1.b
(18.11.2024) - Added V7, skipped two test versions.
(17.11.2024) - Added Step 3.a., as mentioned by Asadehelicoptero in the comments.
(13.11.2024) - Added 4 Versions: V1-4
Available Versions:
- V1 - First Version with its flaws
- V2 - Wider grooves at the outer ring, so the clamps will better retract
- V3 - Bigger outer circle to compensate problems with e.g. Creality Ender Spools
- V4 - Added reinforcement to the inner circle, more sturdy now and can be used as an end stop.
- V7 - Widened inner hole for an easier fit. Removed the rest of the inner cut-outs to reduce the possibility of the clamps getting stuck. The rest is like V4.
- V9 - Added thickness to outer parts, increasing strength of the whole part.
Print duration: 34min Filament use: 9g as of Version 9
I have tested all version. And the V4 works even with the original BambuLab spools without problems.
Please give feedback if you have problems or want a custom version.
Introduction
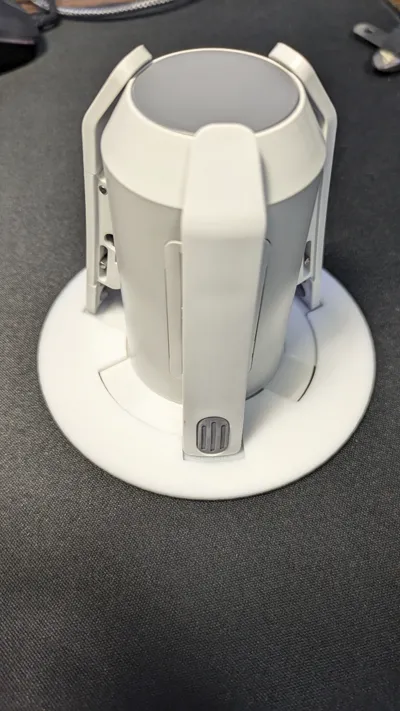
This mod is for use with supergraphers Ultimate Filament Spool Enclosure for AMS Lite.
Inspired by his original mod “Make My Spool Great Again” I wanted to create a mod which will not tension the spool-springs, so I designed a new one with additional cutouts.
This will push the spool ~1,86mm outwards, so the original Bambulab spools won't rub against the enclosure anymore.
This mod will not reduce the grip on cardboard spools (as the original does). Instead, I would recommend checking out the "S.R.T - Spool Removal Tool" by BigJon1378. This will also help with removing normal spools! Definitely check it out.
I hope this Mod will enable me to keep the disks on the AMS and not worry about which spool will be loaded.
Hopefully this will even be compatible to other spacers, I will later test this with Kingroon and Geeetech spools.
Since I do not have a cardboard spool, I would love to hear your feedback on using them with this mod and if the S.R.T menttioned above is working.
Similar to the original, this is in “Beta”. Please provide feedback, so I can make changes.
Design is done in Fusion360.
Thanks!
Instructions
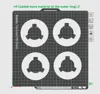
- Print as the print profile is set up, I have tested this on my own setup.
- Make sure to let the parts cool before removing from the heatbed, else they could warp.
- Be cautious not to break them, as they are quite thin to slide below the clamps. (fixed in v9)
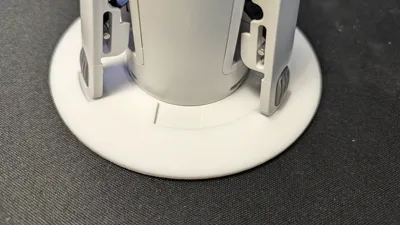
- Push the plate over the spring-loaded-clamps. Flat side to enclosure.
- Turn the disk by ~30° until the clamps can push up again.
- Be sure you properly align the cut-outs, and you have the clamps already pushed into place, so they make contact of the outer, thicker, ring. (fixed in V7)
License

You shall not share, sub-license, sell, rent, host, transfer, or distribute in any way the digital or 3D printed versions of this object, nor any other derivative work of this object in its digital or physical format (including - but not limited to - remixes of this object, and hosting on other digital platforms). The objects may not be used without permission in any way whatsoever in which you charge money, or collect fees.


Comment & Rating (131)