
Musical Fidget

Print Profile(87)


Bill of Materials

Description
Please have a look at my new fidget, the “Infinity Infill Cube”
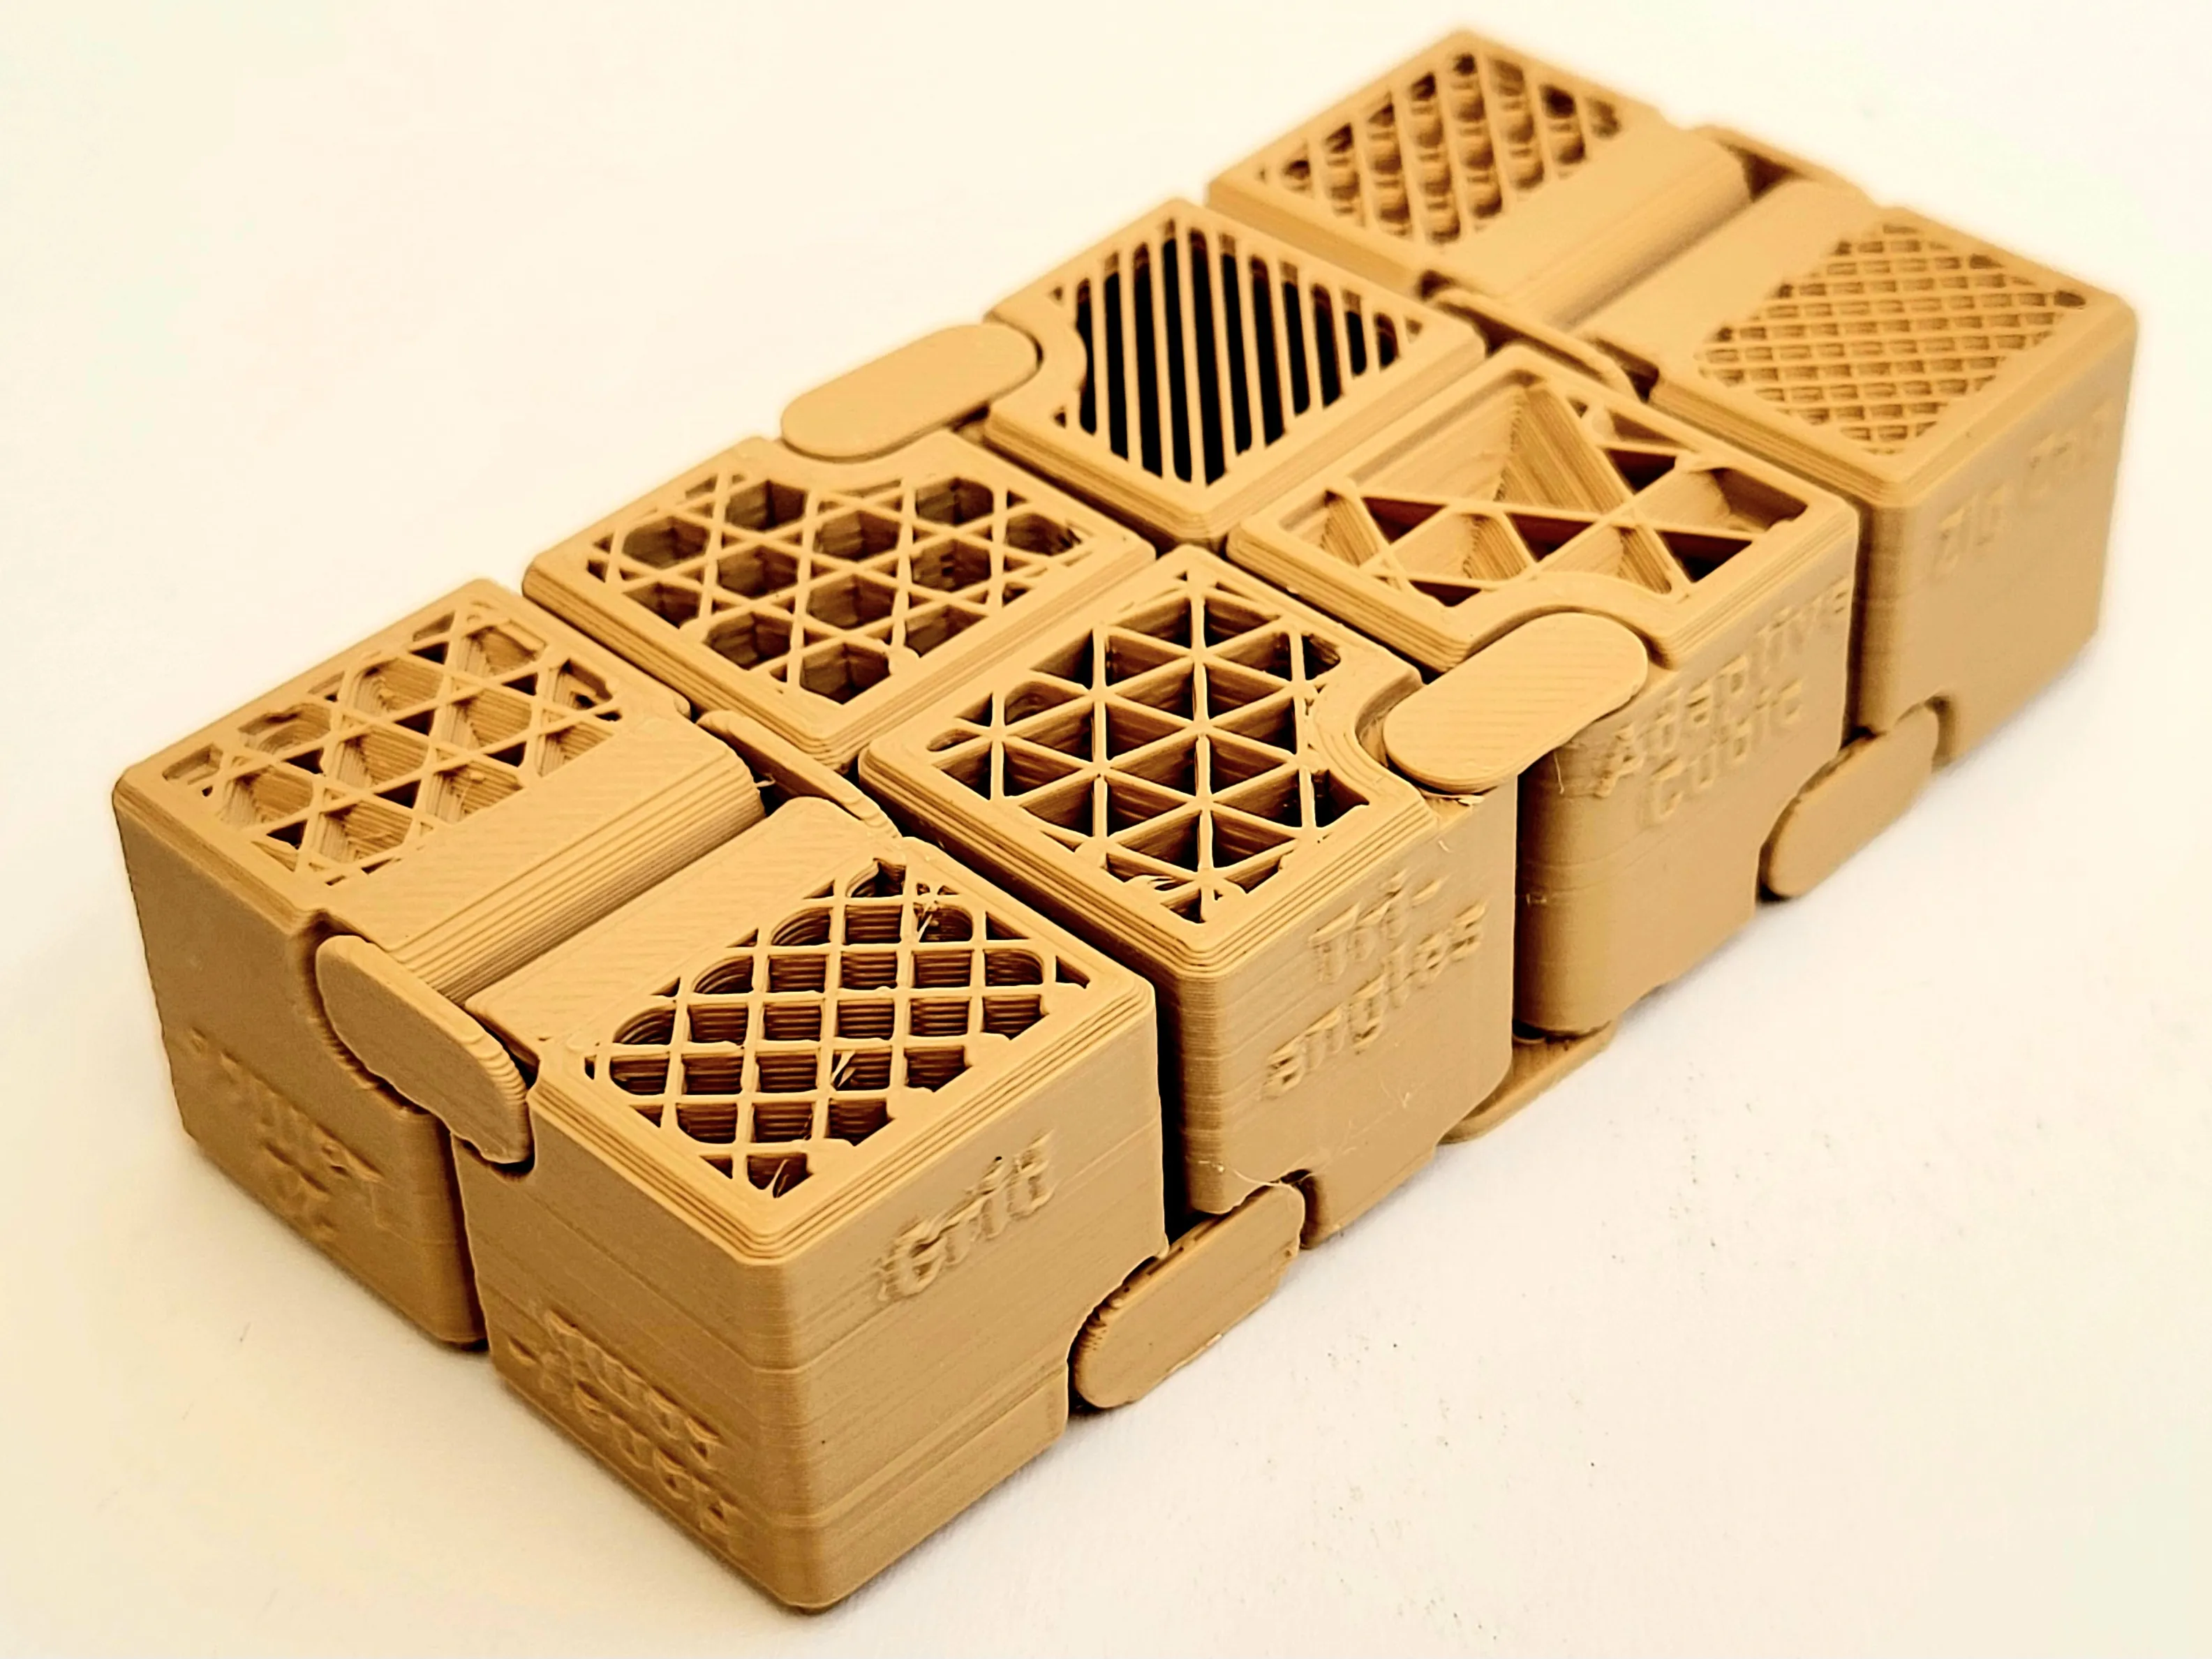
Infinity Infill Cube - Free 3D Print Model - MakerWorld
I have written here about my musical fidget experience
Membership
Support my work by becoming a member and get a commercial license to sell my models.
!!!Update #1!!!
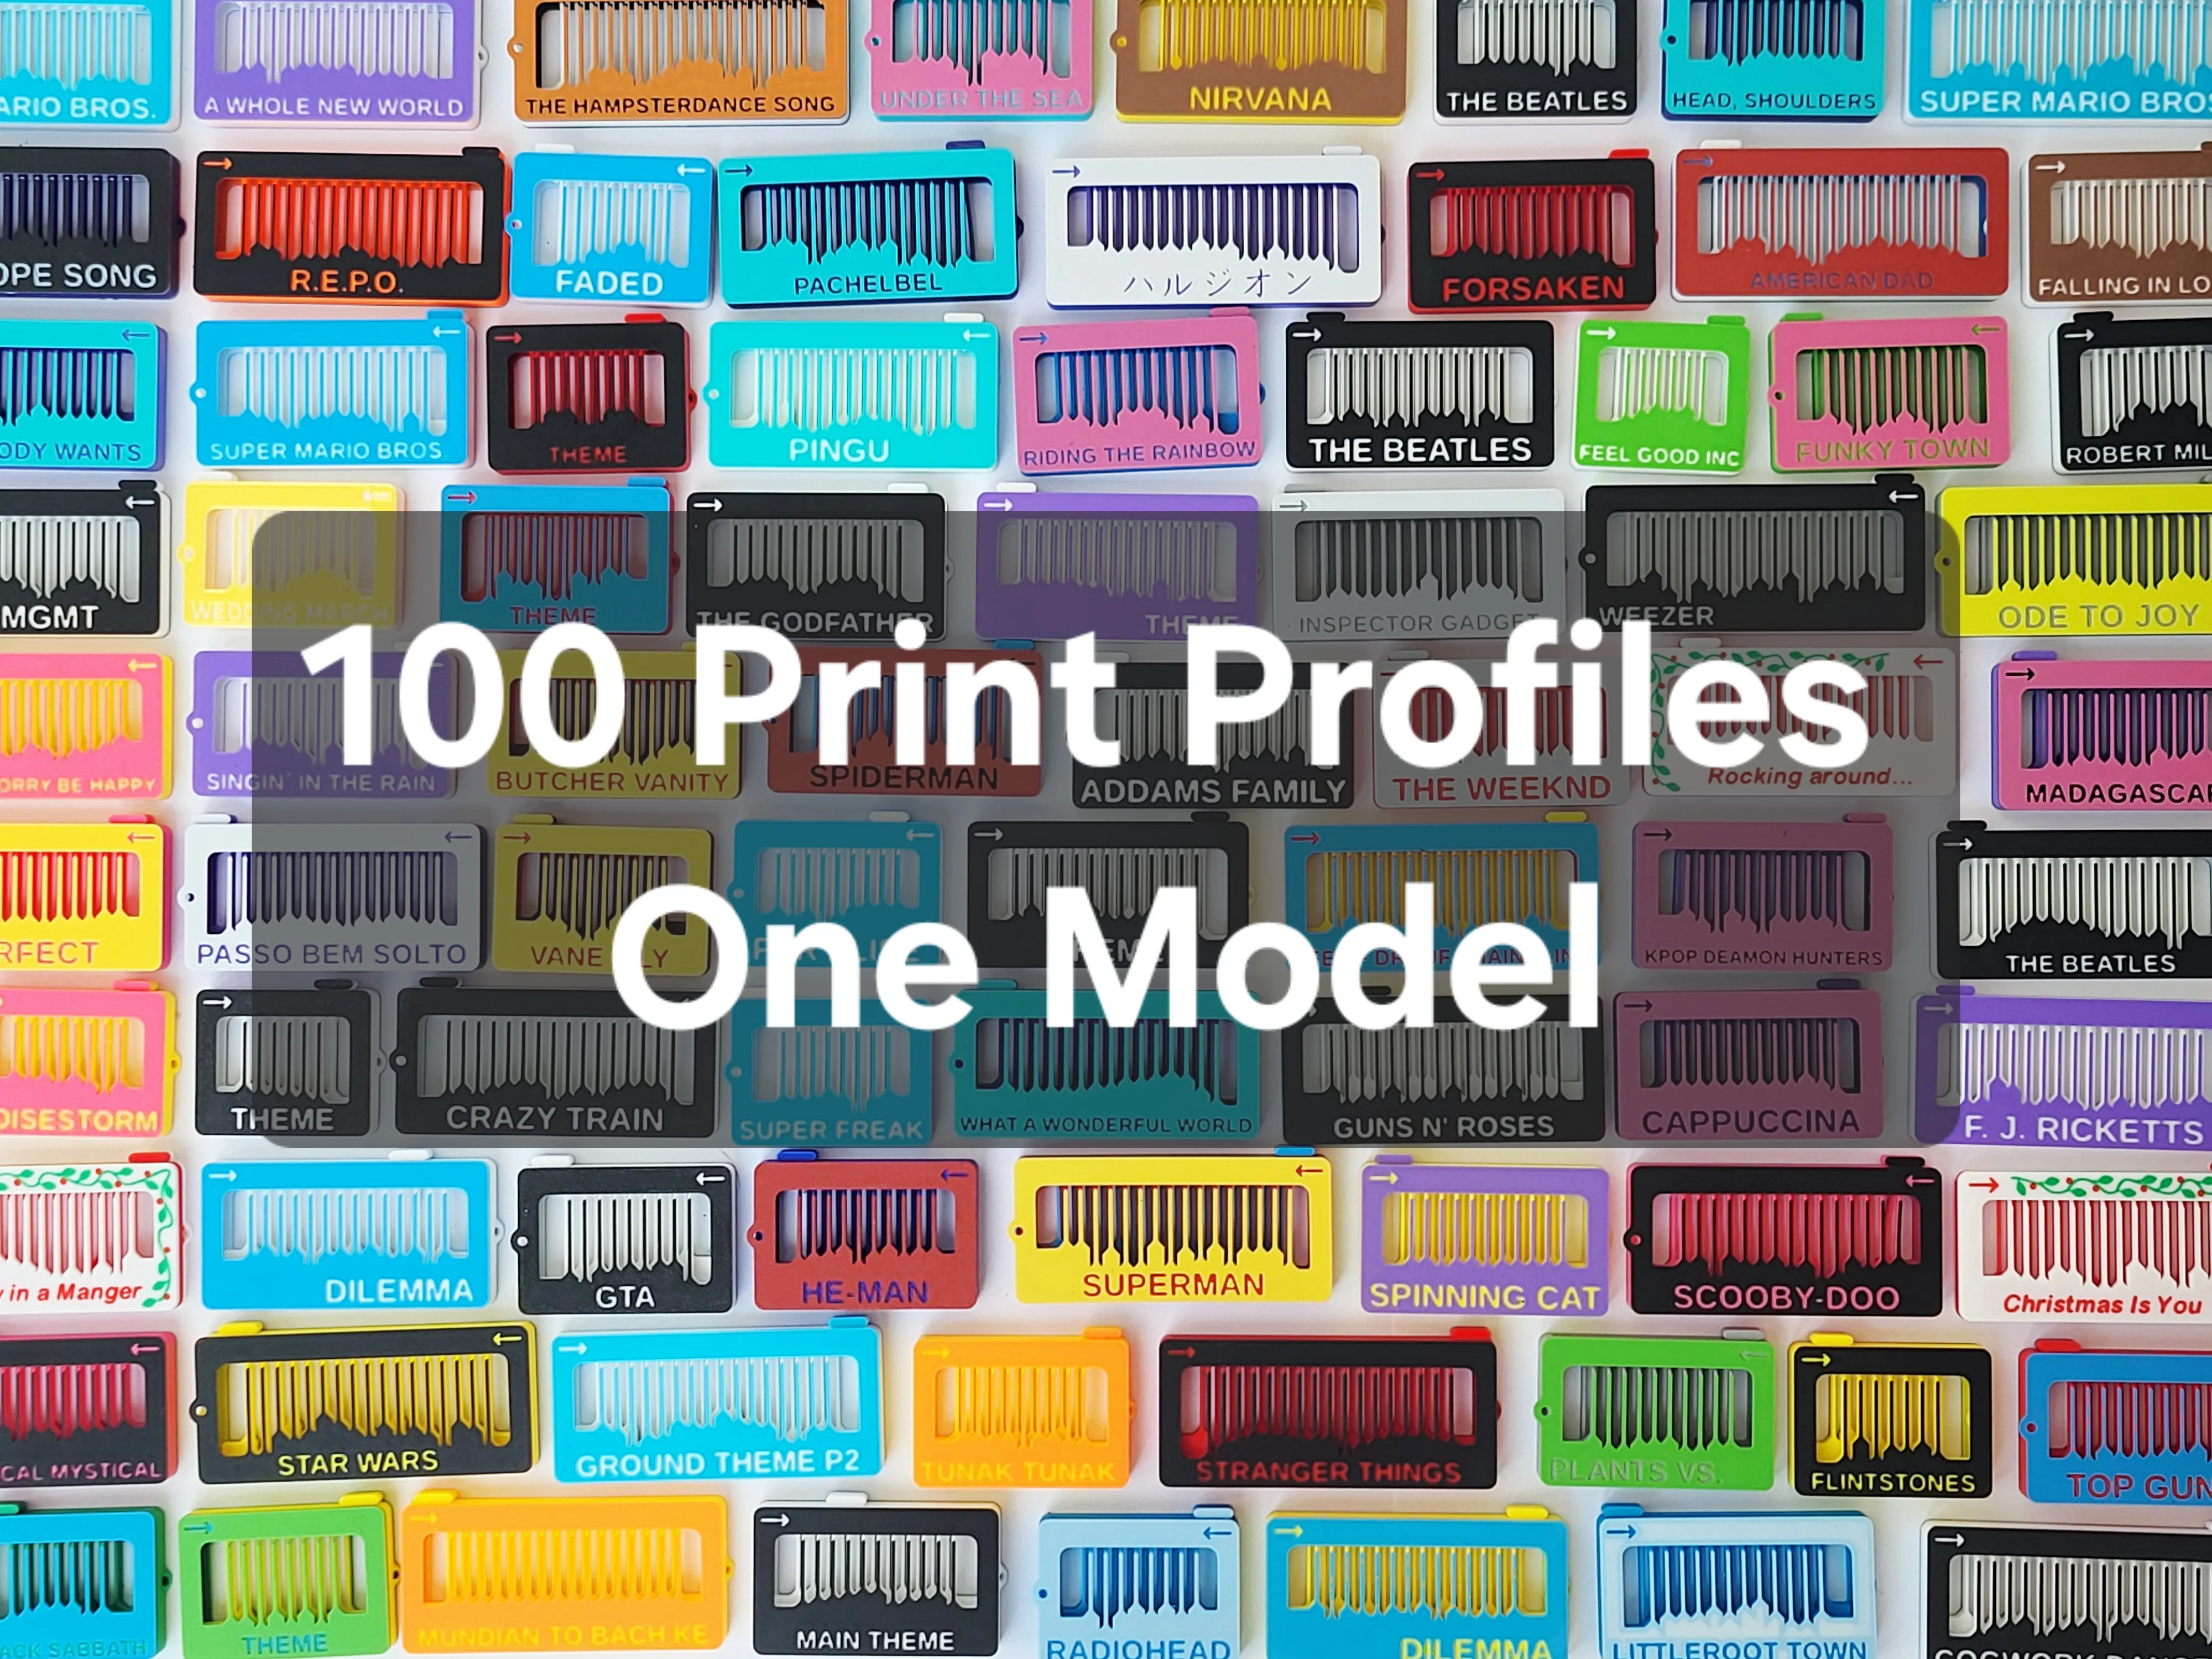
The new Musical Fidget Generator is live. Please try it out or enjoy the >100 new melodies. This model will get all new melody uploads from now on!
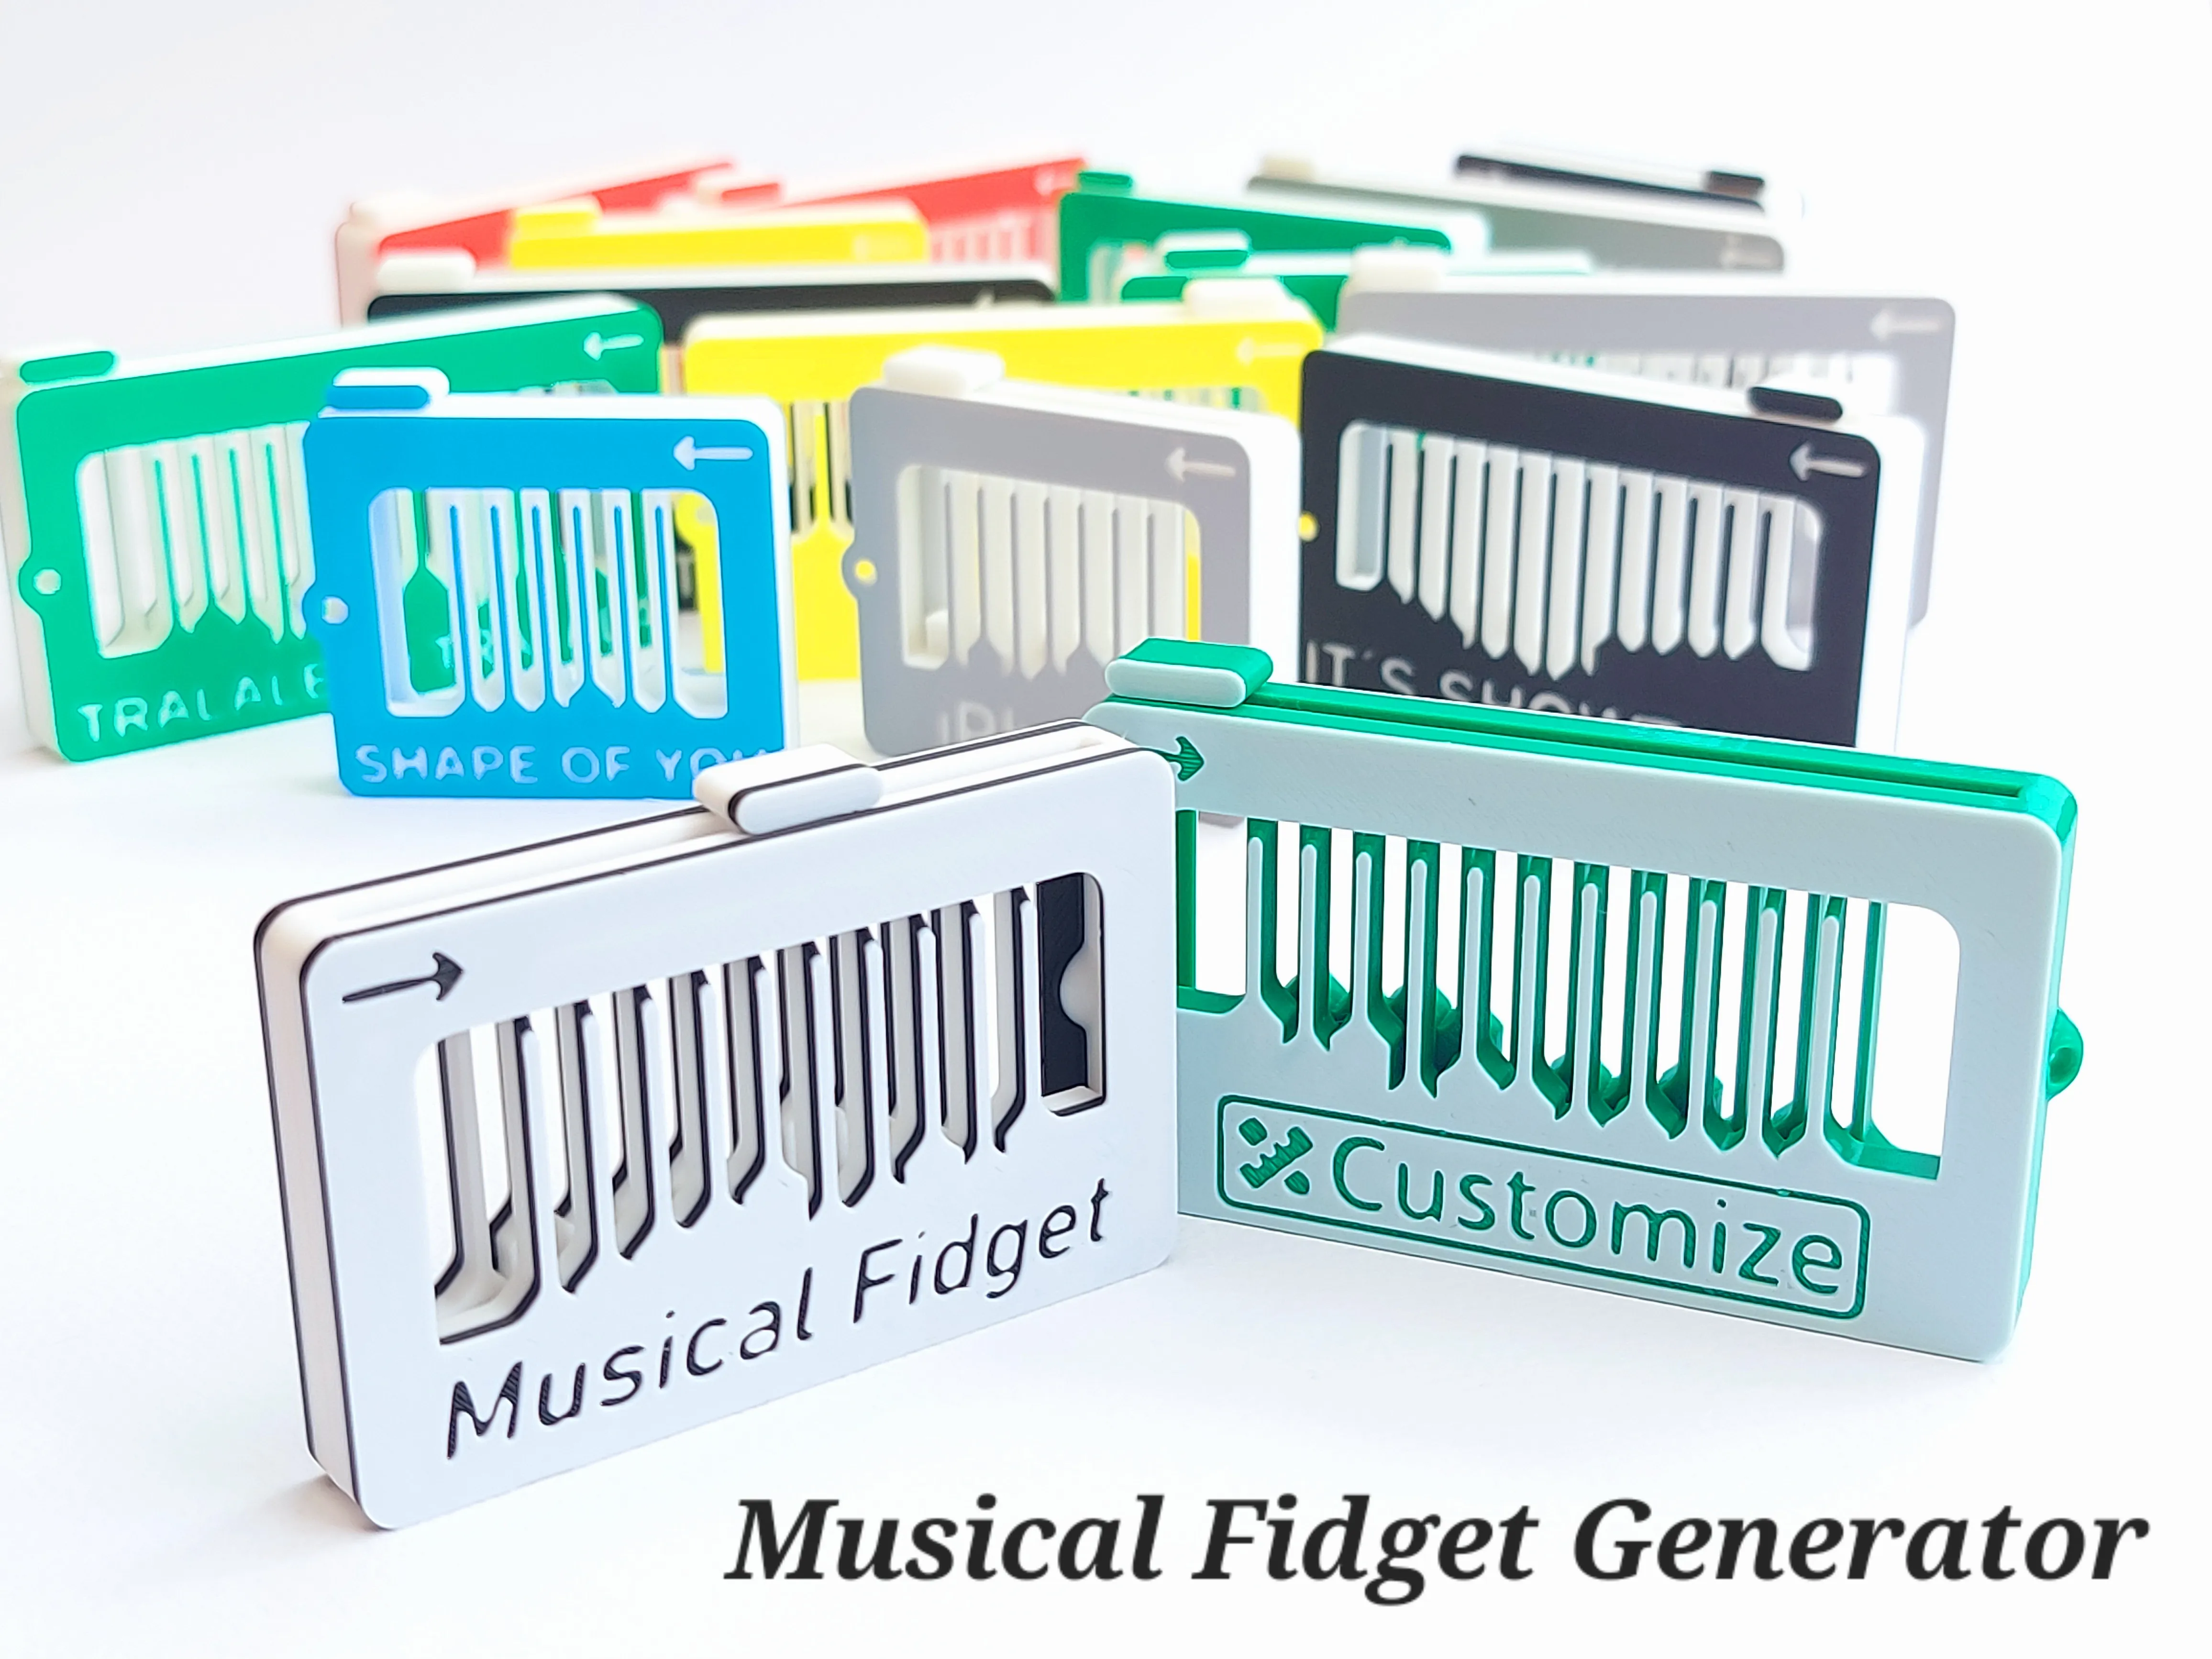
Musical Fidget Generator by kida MakerWorld: Download Free 3D Models
!!!Update #2!!!
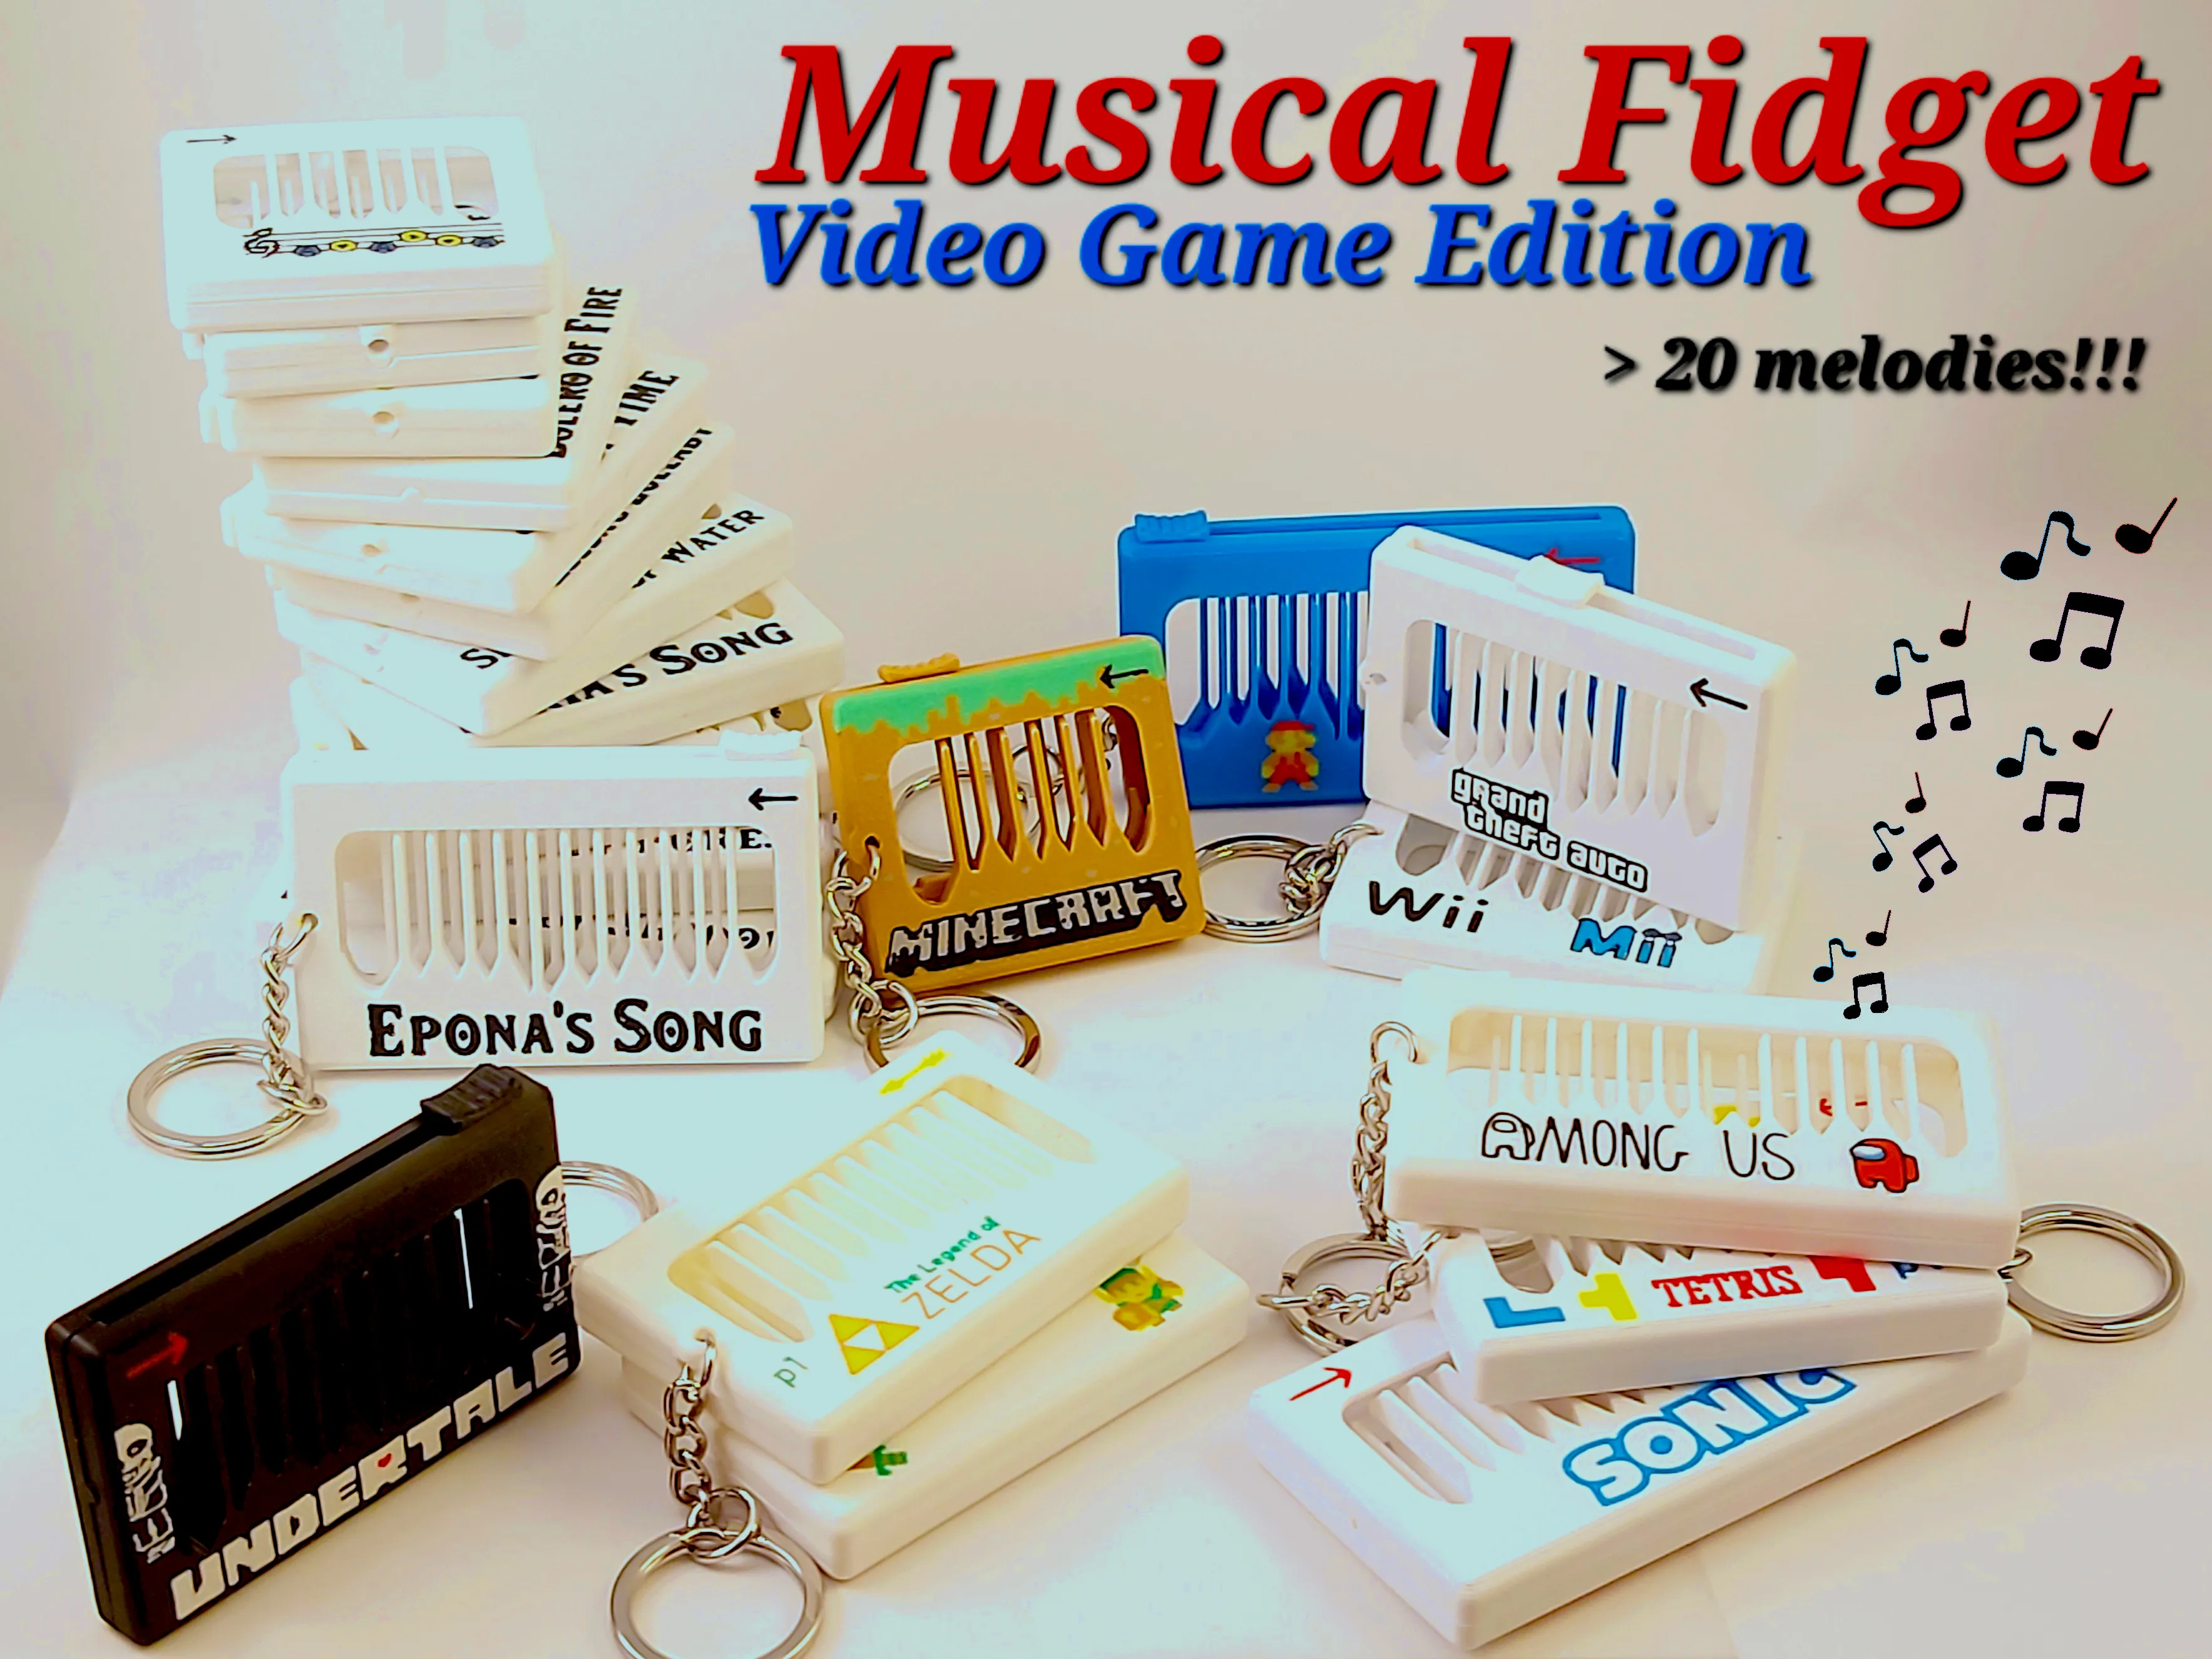
The Video Game Edition of the Musical Fidget is now available. Please have a look following the link!
Musical Fidget - Video Game Edition by kida - MakerWorld
!!!Update #3!!!
The filament seems to matter a lot for the sound experience. Users have reported Bambu PLA Sparkle as particularly good! Prusament PLA is also good.
For more tunes, check out these
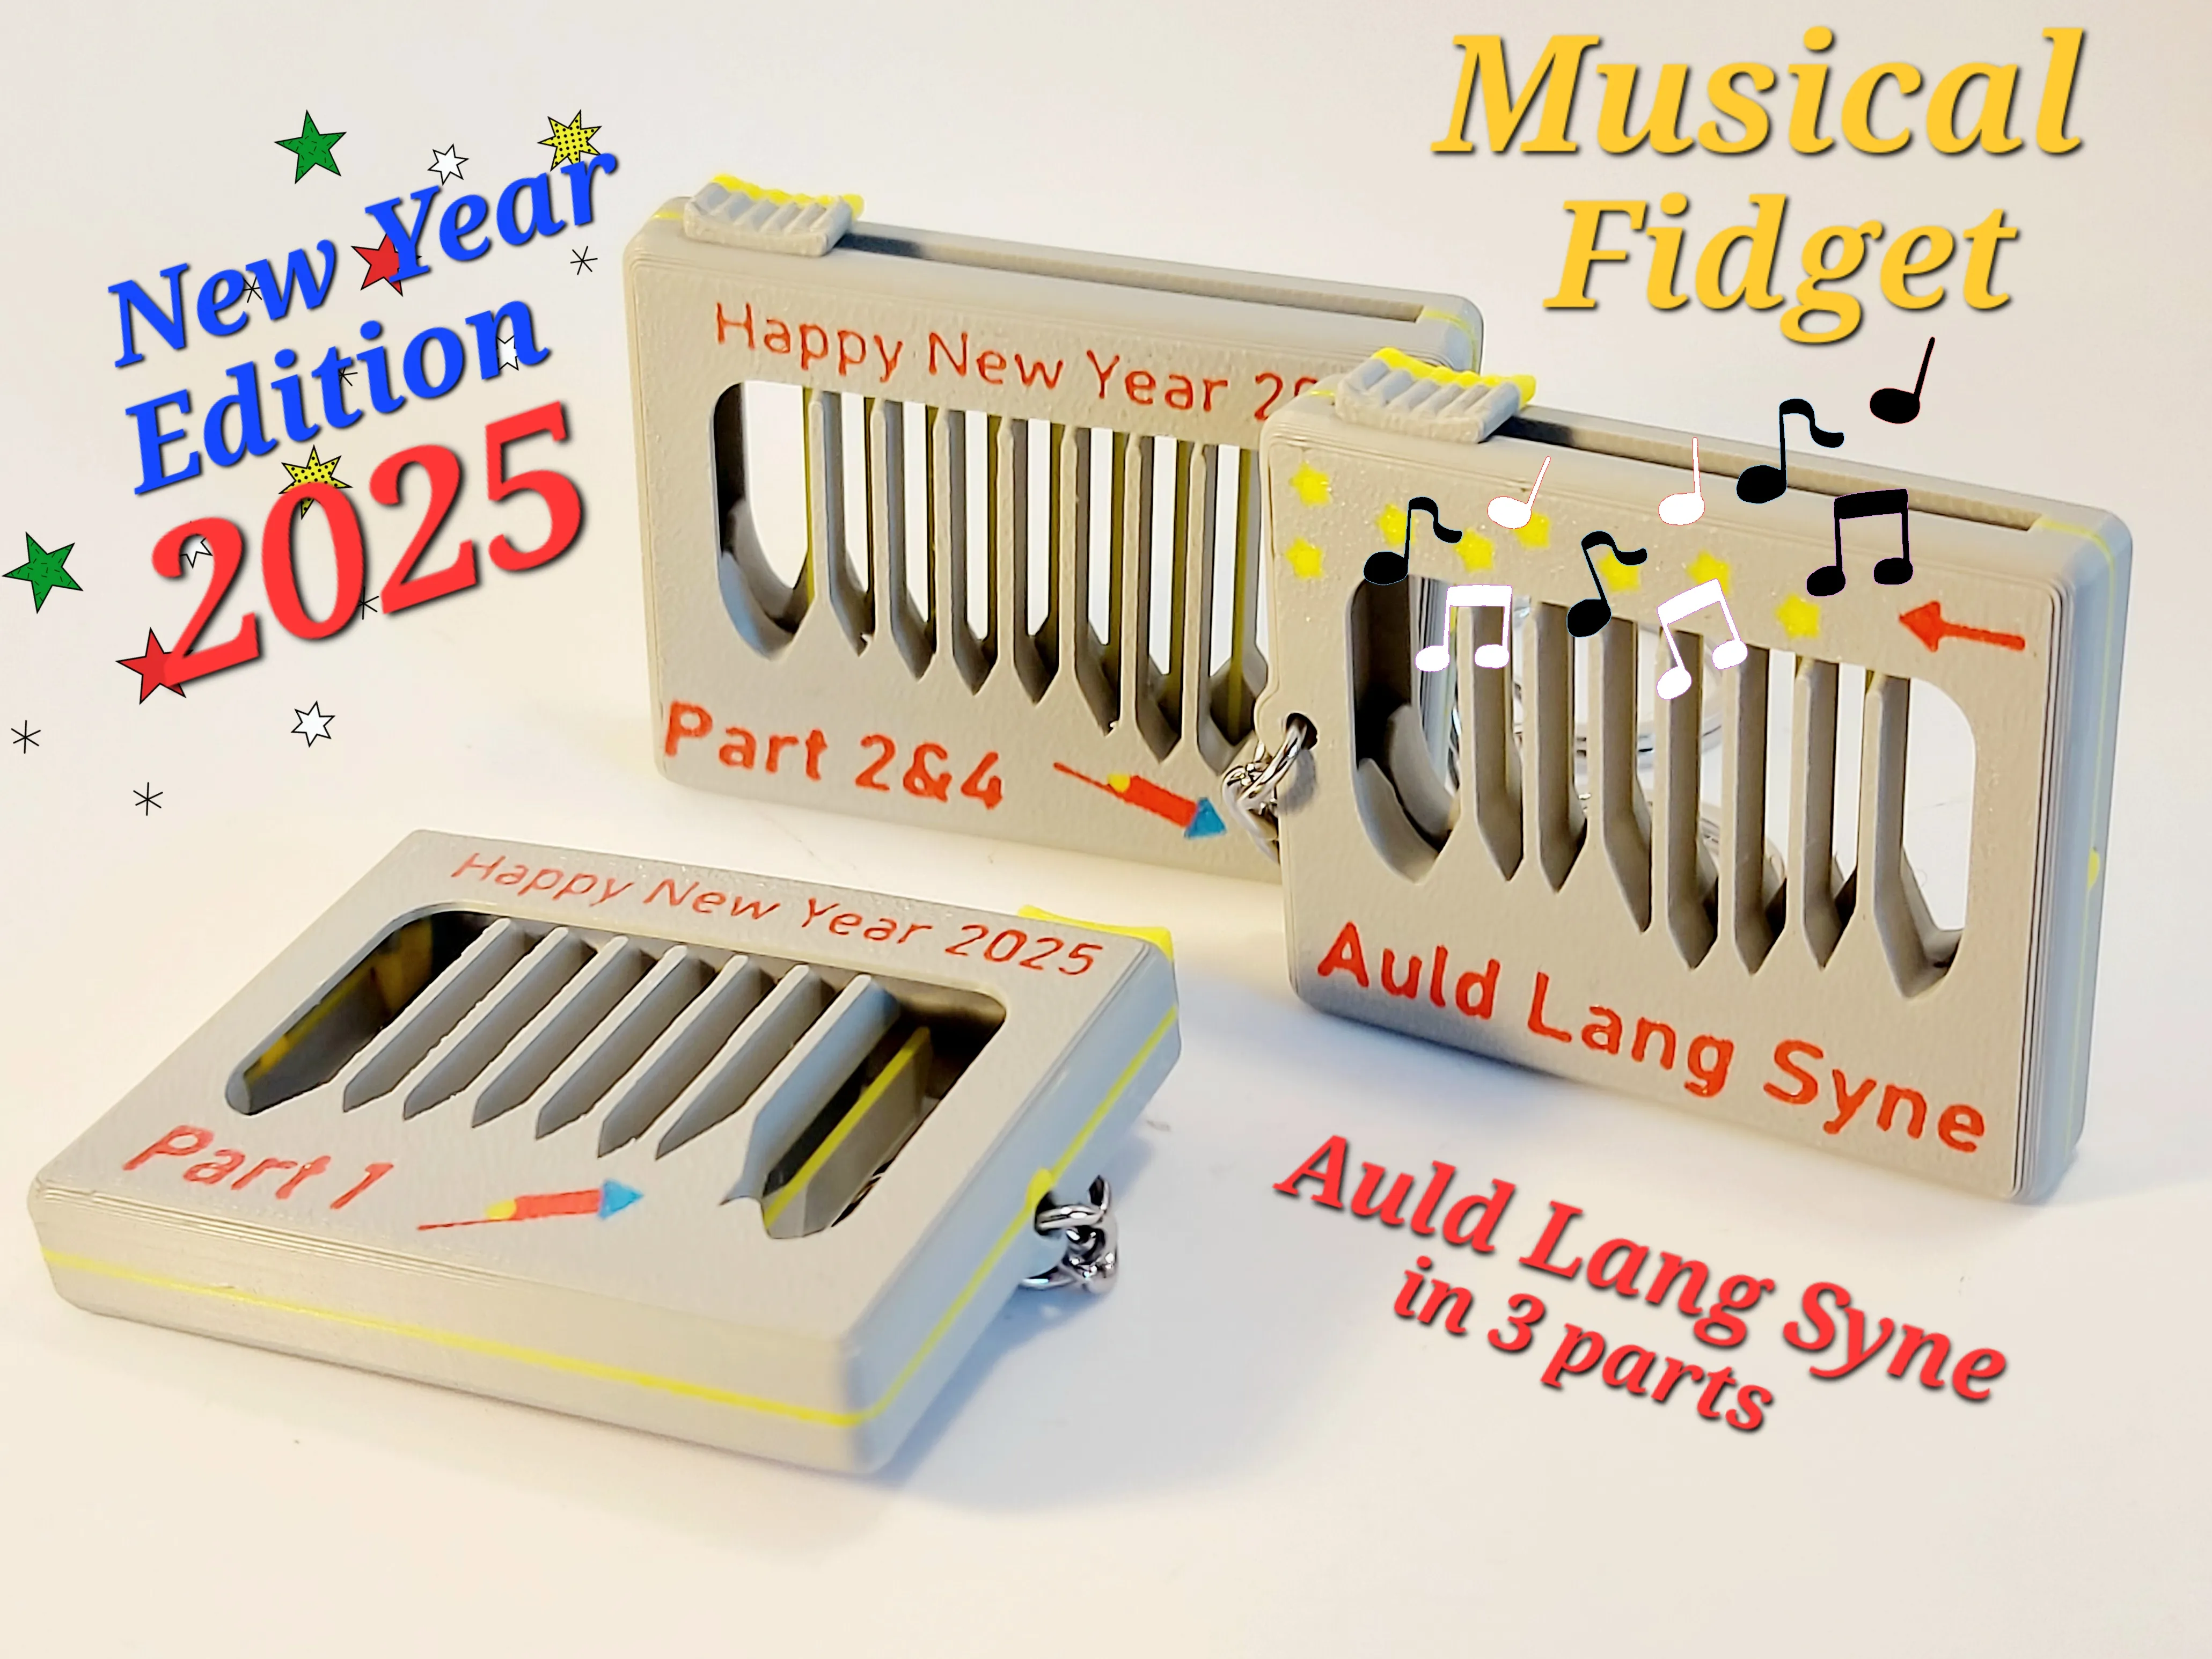
Musical Fidget (New Years Edition) by kida - MakerWorld
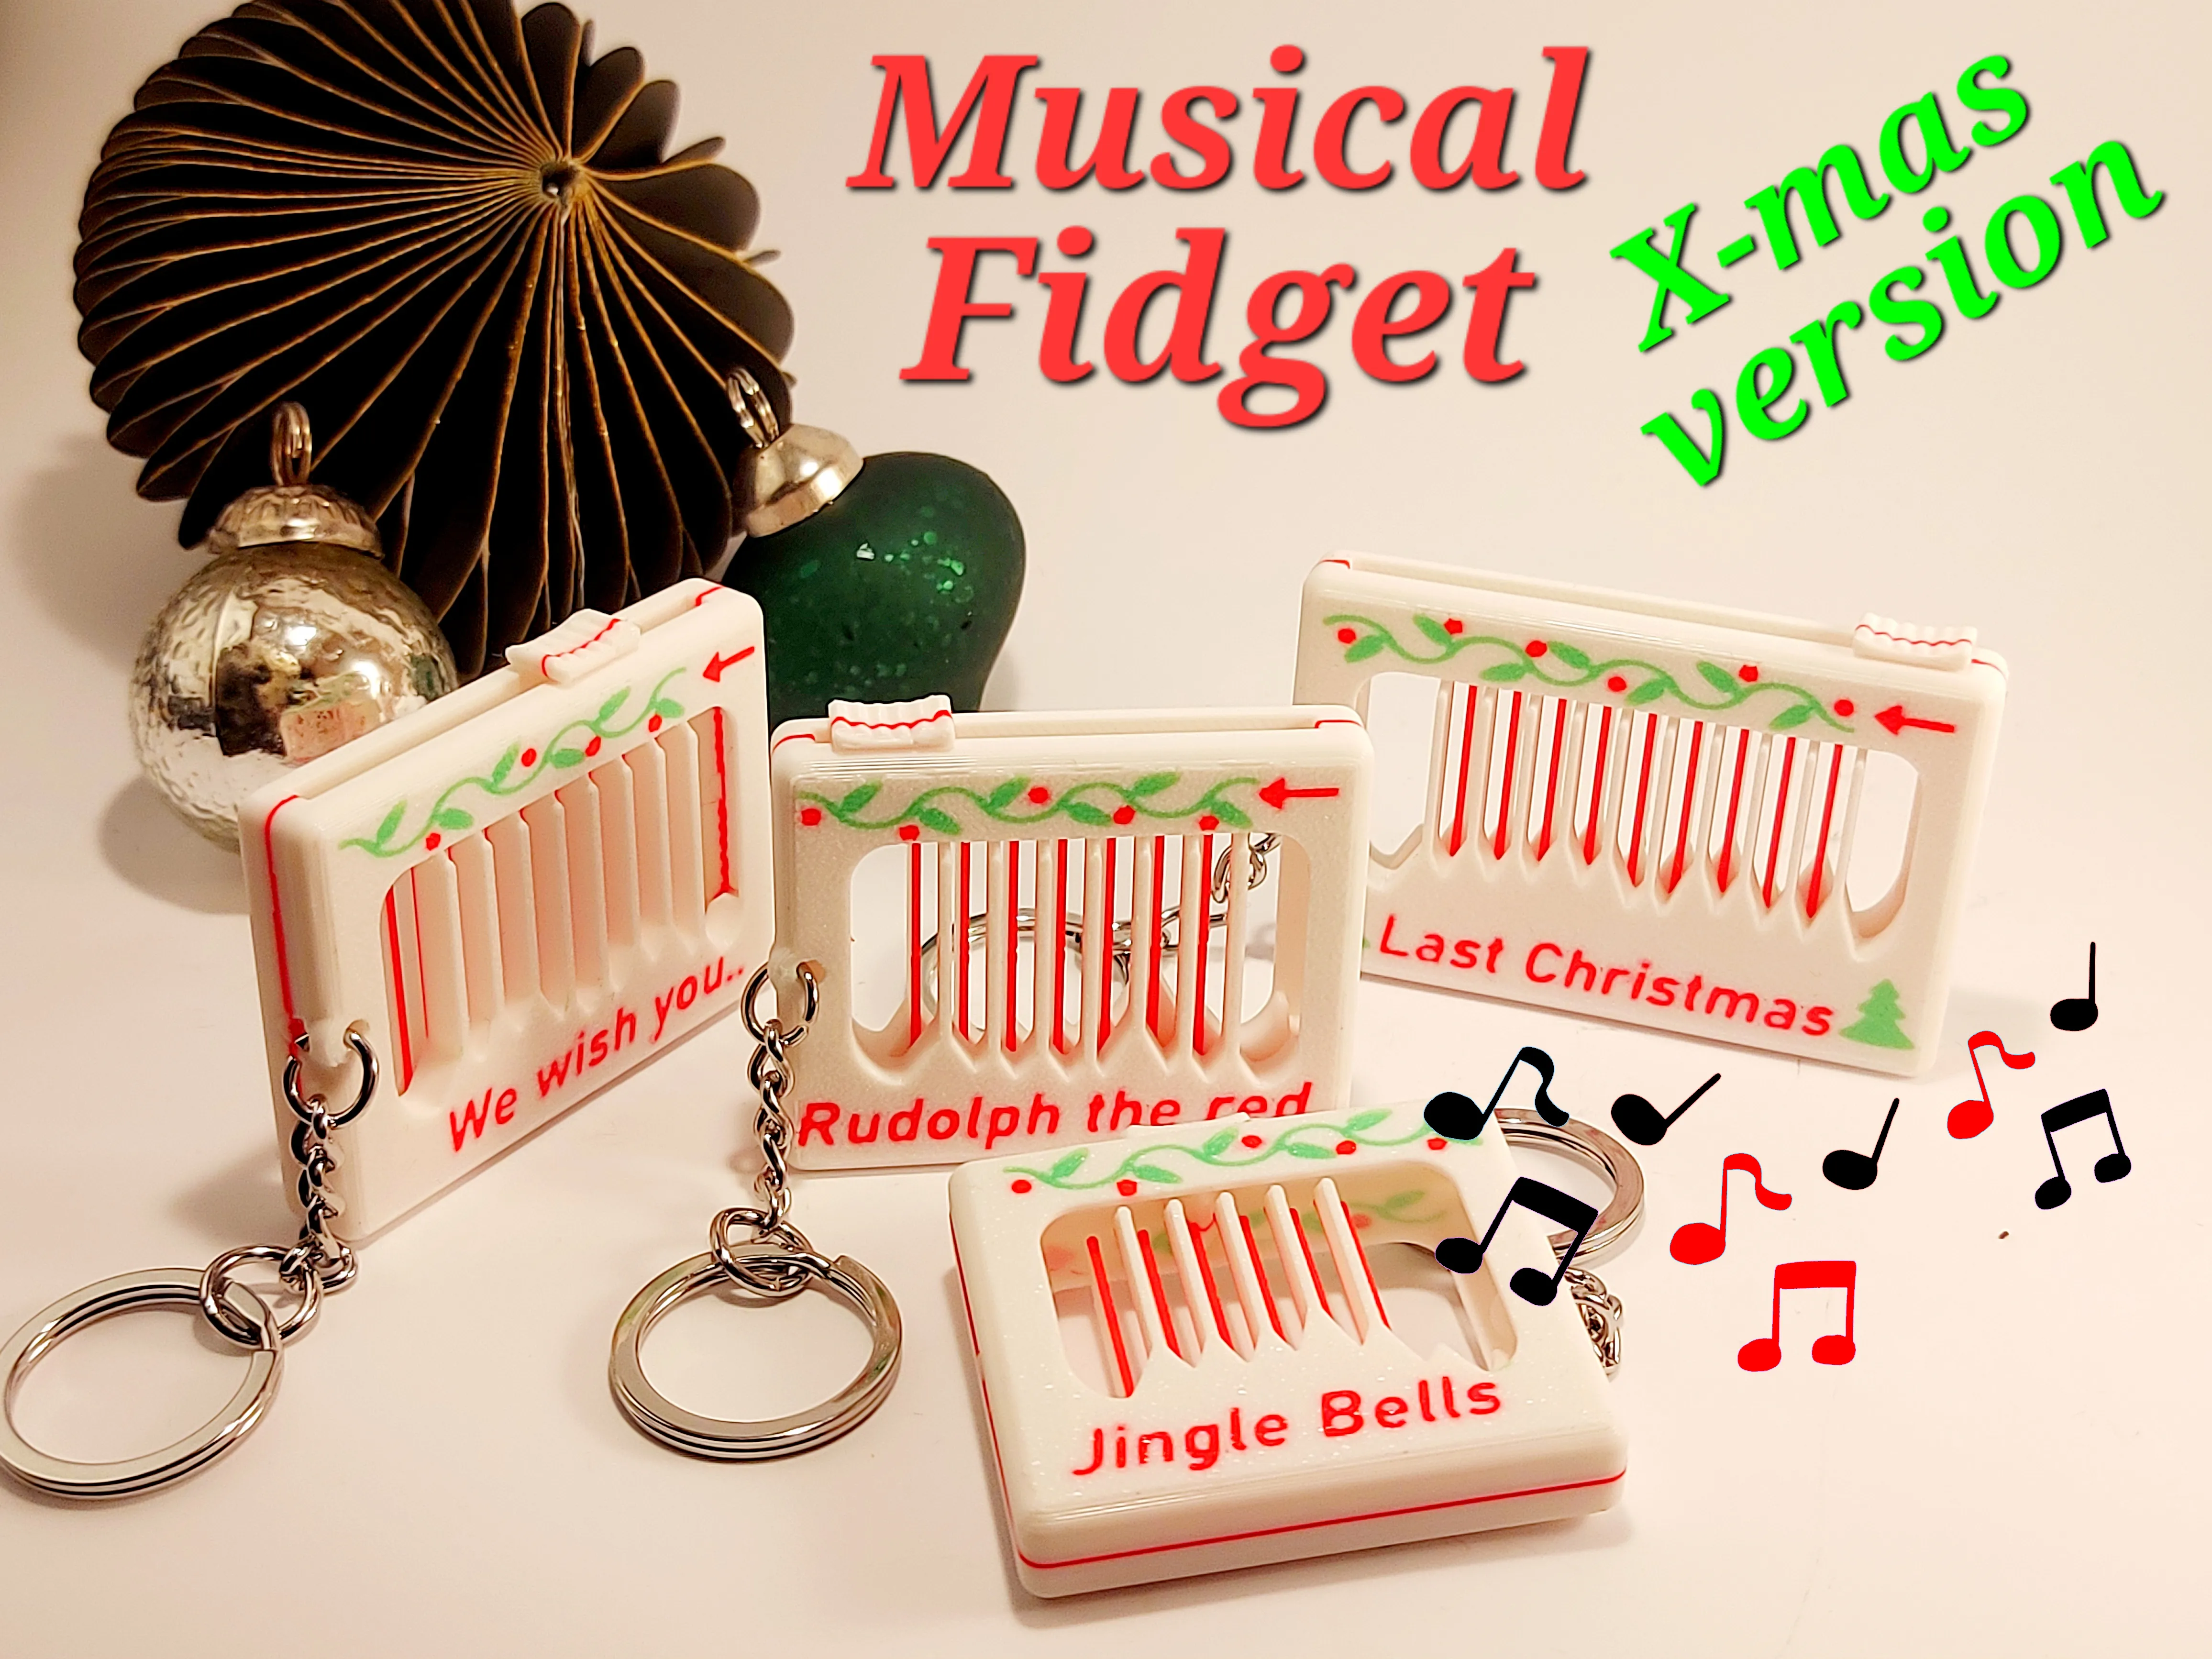
Musical Fidget (X-Mas version) by kida - MakerWorld
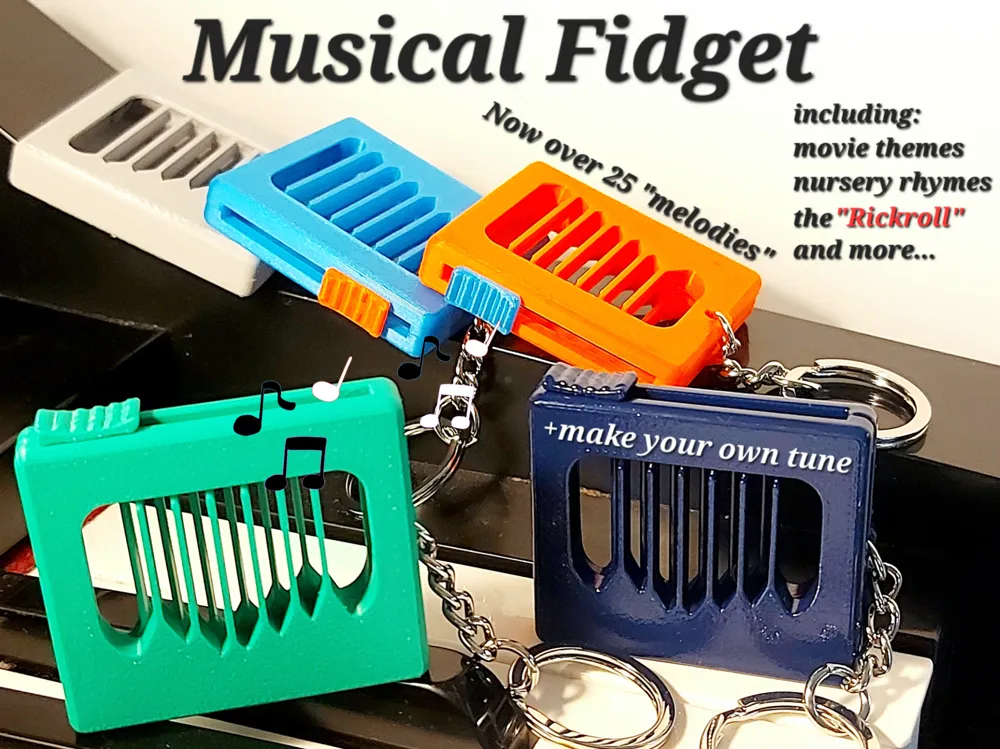
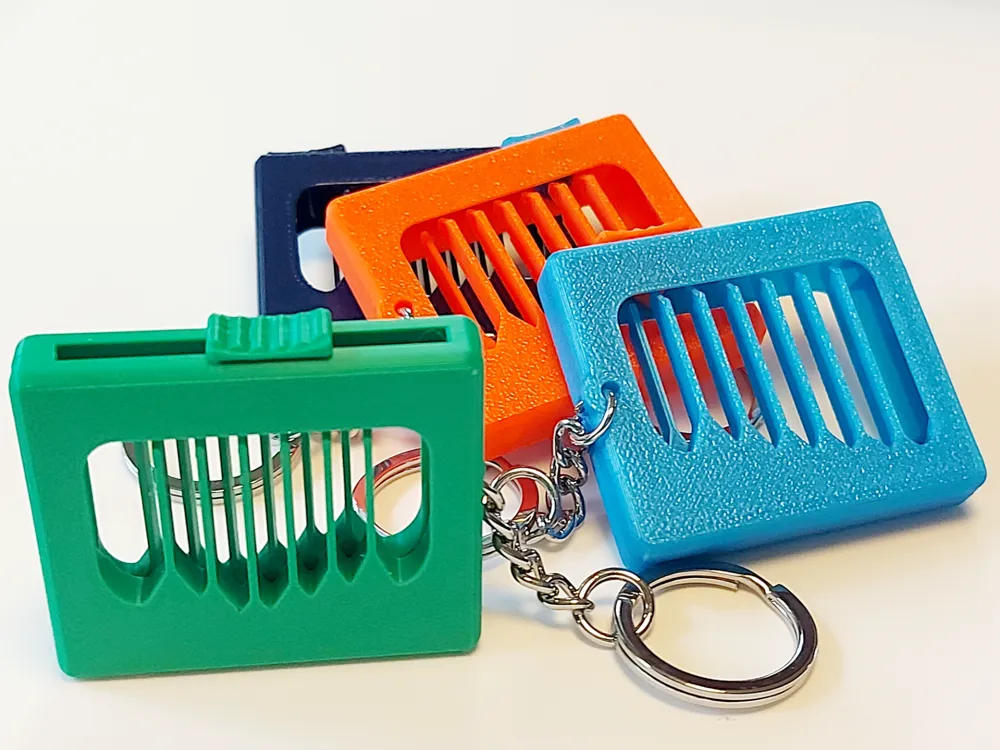
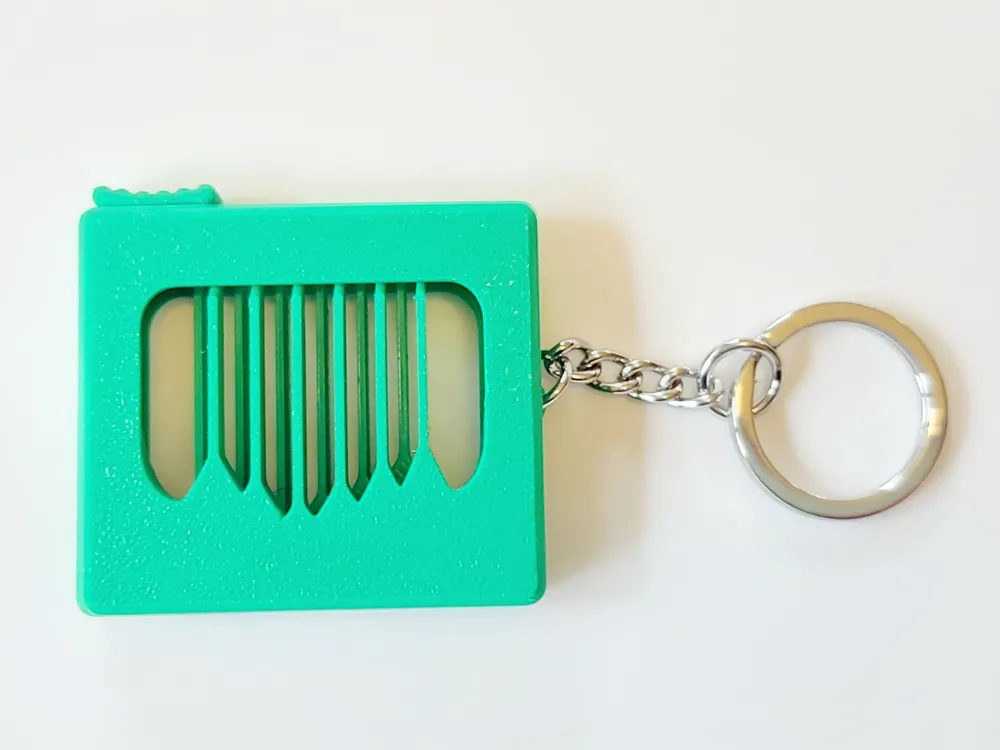
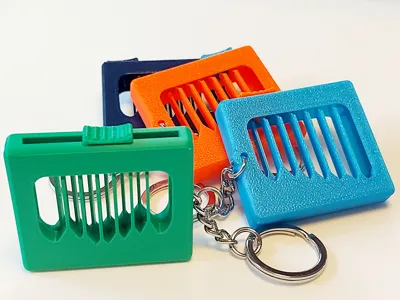
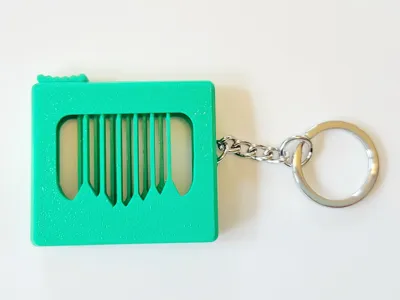
I here present the “Musical” Fidget, a lovely little print that creates an addictive fidget to keep in your pocket. Moreover, the print profile allows for easy modulation of the tones, and I hope to see print profiles uploaded with different short tunes (see below for detailed instructions)! The original print profile is a “simple scale” from low to high, which by itself is highly addictive. This is certainly not the best one (as this is an evolving project) and I would suggest looking at the “real” melodies, or the scales in the “12,14,16,18 note fidgets in G-scale" print profile.
Boost Me (for free)
If you like this model, please give it a like and consider giving it a boost!
Or buy me a coffee if you want to support me further.
For the “melodies” we currently have the highly recognisable beginnings of:
“Happy Birthday”
”Old MacDonald"
“Smoke on the Water”
“The Simpsons”
“Twinkle, twinkle little star”
“The wheels on the bus”
“Itsy Bitsy Spider”
“The next episode”
“Android Notification sound”
“Star Wars - Imperial March”
“The Star-Spangled Banner”
“Hedwig´s Theme - Harry Potter”
“Raiders Marsh - Indiana Jones”
“London Bridge”
“Rickroll - Never gonna give you up”
“Pokemon - Theme”
“Dragonball Z - Cha-la Head Cha-la”
“Jurassic Park - Theme”
“Happy Birthday - Full Song”
“Star Wars - Main Theme”
“Squid Game - Four Melodies” (Red light Green light, Way Back Then (Theme), Pink Soldiers, Mingle Song)
“Boate Azul” (translated to “Blue Club”)
“Not Like Us - K. Lamar”
“Giorno's Theme - Only the good Part"
“Rush E"
“Bara Bada Bastu - Kaj”
“Jeopardy - Waiting Theme”
“Crazy Frog - Axel F”
“Baby Shark”
“The Pink Panther”
“Lava Chicken Song”
“Coffin Dance - Astronomia”
“The Gummy Bear Song”
“Popcorn”
“Rat Dance” (new)
“Star Wars - Cantina Band” (new)
+ increasing number of amazing user made profiles!
For some example songs, have a look at these videos:
If you have suggestions for short “melodies” (12-18 notes) let me know and I might make them.
One print profile has been added named "Reprogramming profile"
This profile has 4 different simple scales tuned in the G-scale. They are all nice and fun and worth printing, but the profile is also there if anyone would like to make their own tune.
If pressed against a surface (like a table) the sound produced will be exponentially louder.
Printing
This is an easy print and there should be no real issues, although good bed adhesion is always important so keep your bed clean or consider adding an adhesive. Most print profiles now have a normal brim around the “note bars” that must be removed.
I would advise against using matte or silk filament, but otherwise seems to work best with PLA. The print profile also includes supports for the “slider” which makes sure that this piece fits perfectly and slides well. This support needs to be removed before assembly.
Assembly
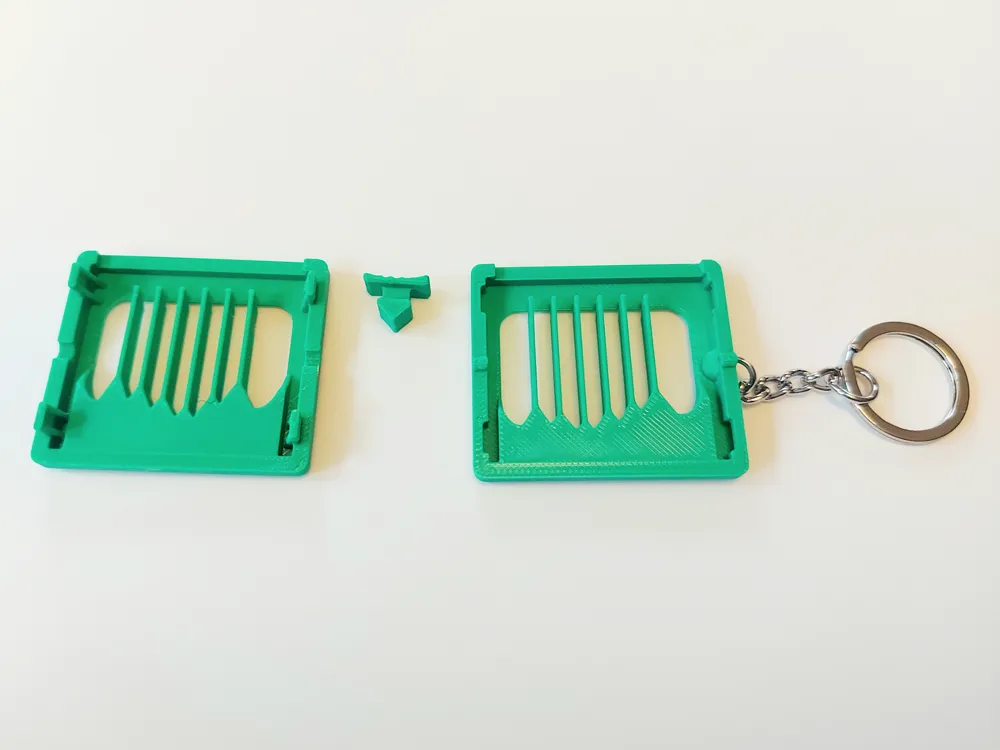
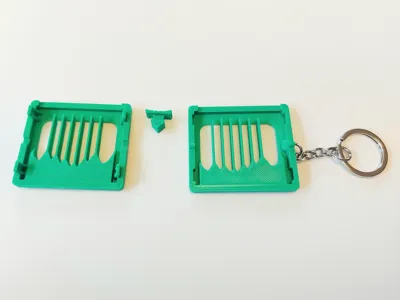
The print produces 3 pieces required for the fidget with the optional addition of a keychain. Simply press the two side pieces together while keeping the “slider” piece in place. The extruding connectors that clicks in place are theoretically sensitive to breakage in the layer lines so it is better to bend the whole side piece a little when assembling. For me, this mostly works, but if there are issues, the musical fidget can also be glued together.
Making a your own Melody
!!!The “Musical Fidget Generator” is now available and the easiest way to make new melodies!!!
Each note is produced by a note bar, and the pitch of the note depends on the length of the bar. By adjusting the length of the red/orange objects (Figure 1) in the slicer, you can control the note that each bar produces.
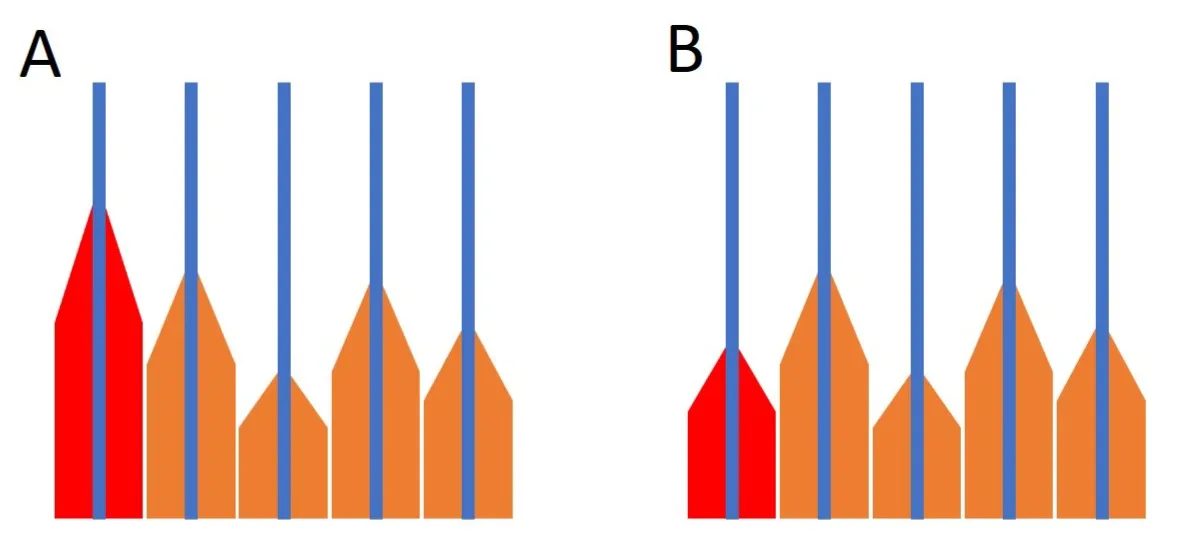
Figure 1. Changing the length of the “Tone objects” changes the note
Looking at the table below, you’ll find the lengths (in millimetres) required for specific notes. All you need to do is adjust the length of the object in the slicer to create the desired tone.
Suggested Heights (in mm) for Common Notes:
- E = 8.1
- F = 9
- Gb = 9.6
- G = 10.2
- Ab =10.7
- A = 11.5
- Bb = 12.1
- B = 13.0
- C = 13.8
- Db = 14.6
- D = 15.15
- Eb = 15.7
- E1 = 16.2
- F1 = 16.9
- Gb1 = 17.4
- G1 = 18.2
- Ab1 = 18.5
- A1 = 19.1
- Bb1 = 19.6
- B1 = 20.2
To do this, click on Objects to see the items labeled “tone1, tone2, …”. When selected, press the Scale button in the slicer to change the height of the object. You can adjust the height using your mouse. Importantly, to ensure the height is only modified in one direction (Figure 2C), press the Ctrl button on the keyboard. If you don't, the object’s size will change in both directions (Figure 2B).
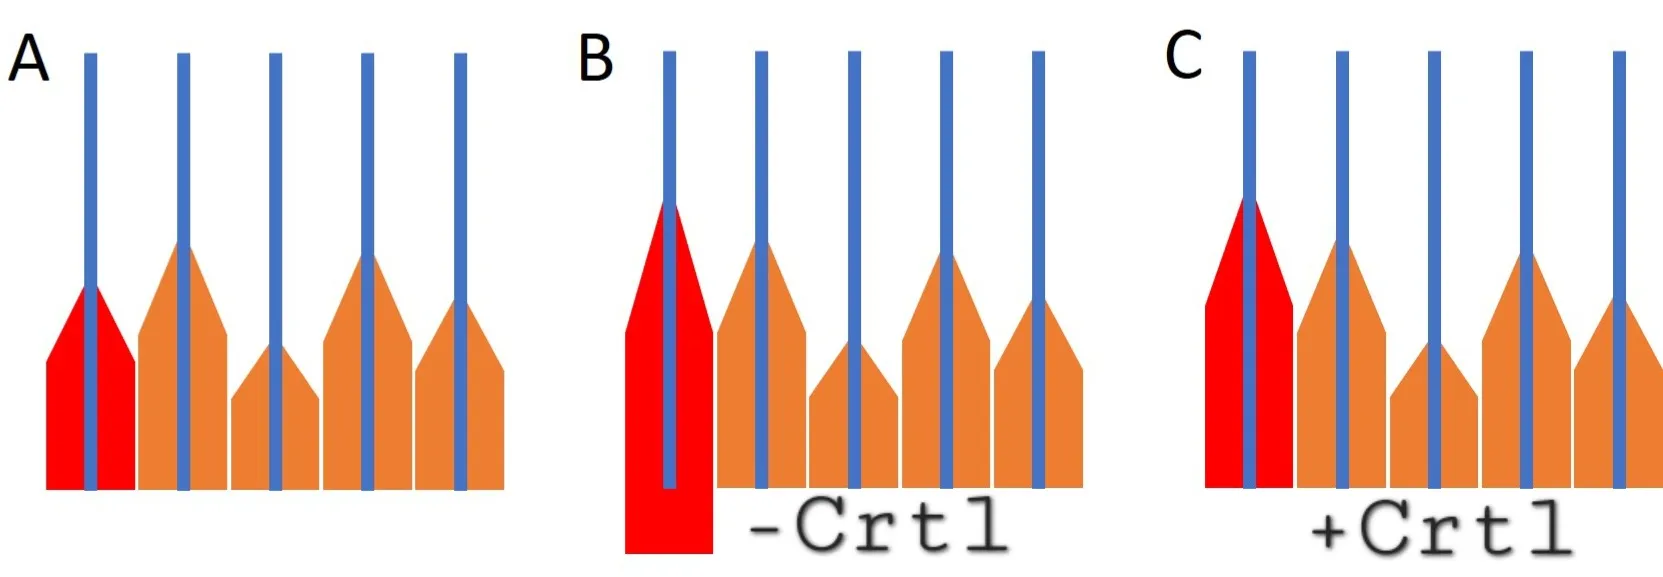
Figure 2. When rescaling the “tone objects” you must press and hold Crtl on the keyboard before changing its length
To create a new melody, you first need to identify the required tones. In this example, we will create the first 12 notes of The Star-Spangled Banner (Figure 3).
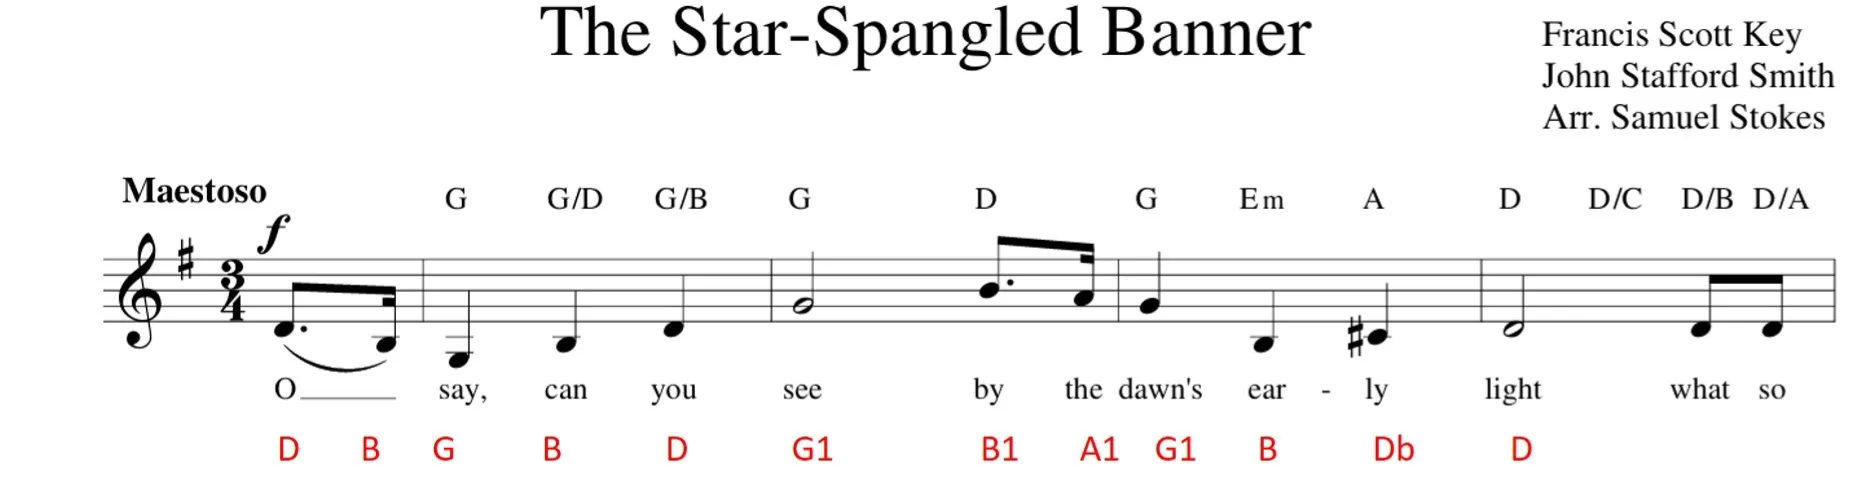
Figure 3. Identify the notes you need for your “Melody”
After examining the notes, we identify their names and compile them into a list numbered 1–12. We then record the required length for each note (Figure 4).
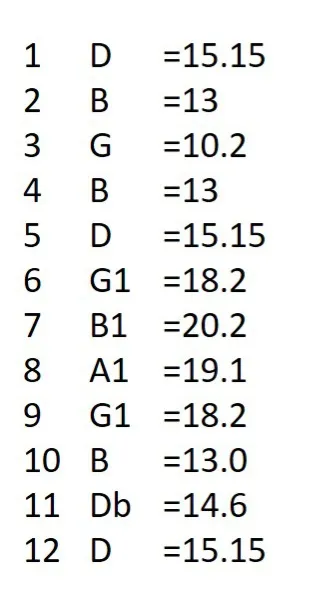
Figure 4. Cross-reference your notes with the Table above to find each “Tone object length” and write it down.
Next, open the "Reprogramming Profile” print profile. The rest of the process (the reprogramming) took me about six minutes, as shown in this video.
Briefly, since we need 12 notes, I start by deleting the other three plates and their fidgets. Then, I press the Objects button to reveal the available items. I select “Tone1” and press the Scale button. While holding the Ctrl key, I adjust the Y-value to 15.15 mm, as previously determined (Figure 4). The video then demonstrates the process of adjusting the remaining tones.
The final step is to print the fidget to ensure no mistakes were made. Once everything checks out, you can upload the print profile for the community to enjoy your work.
Enjoy!
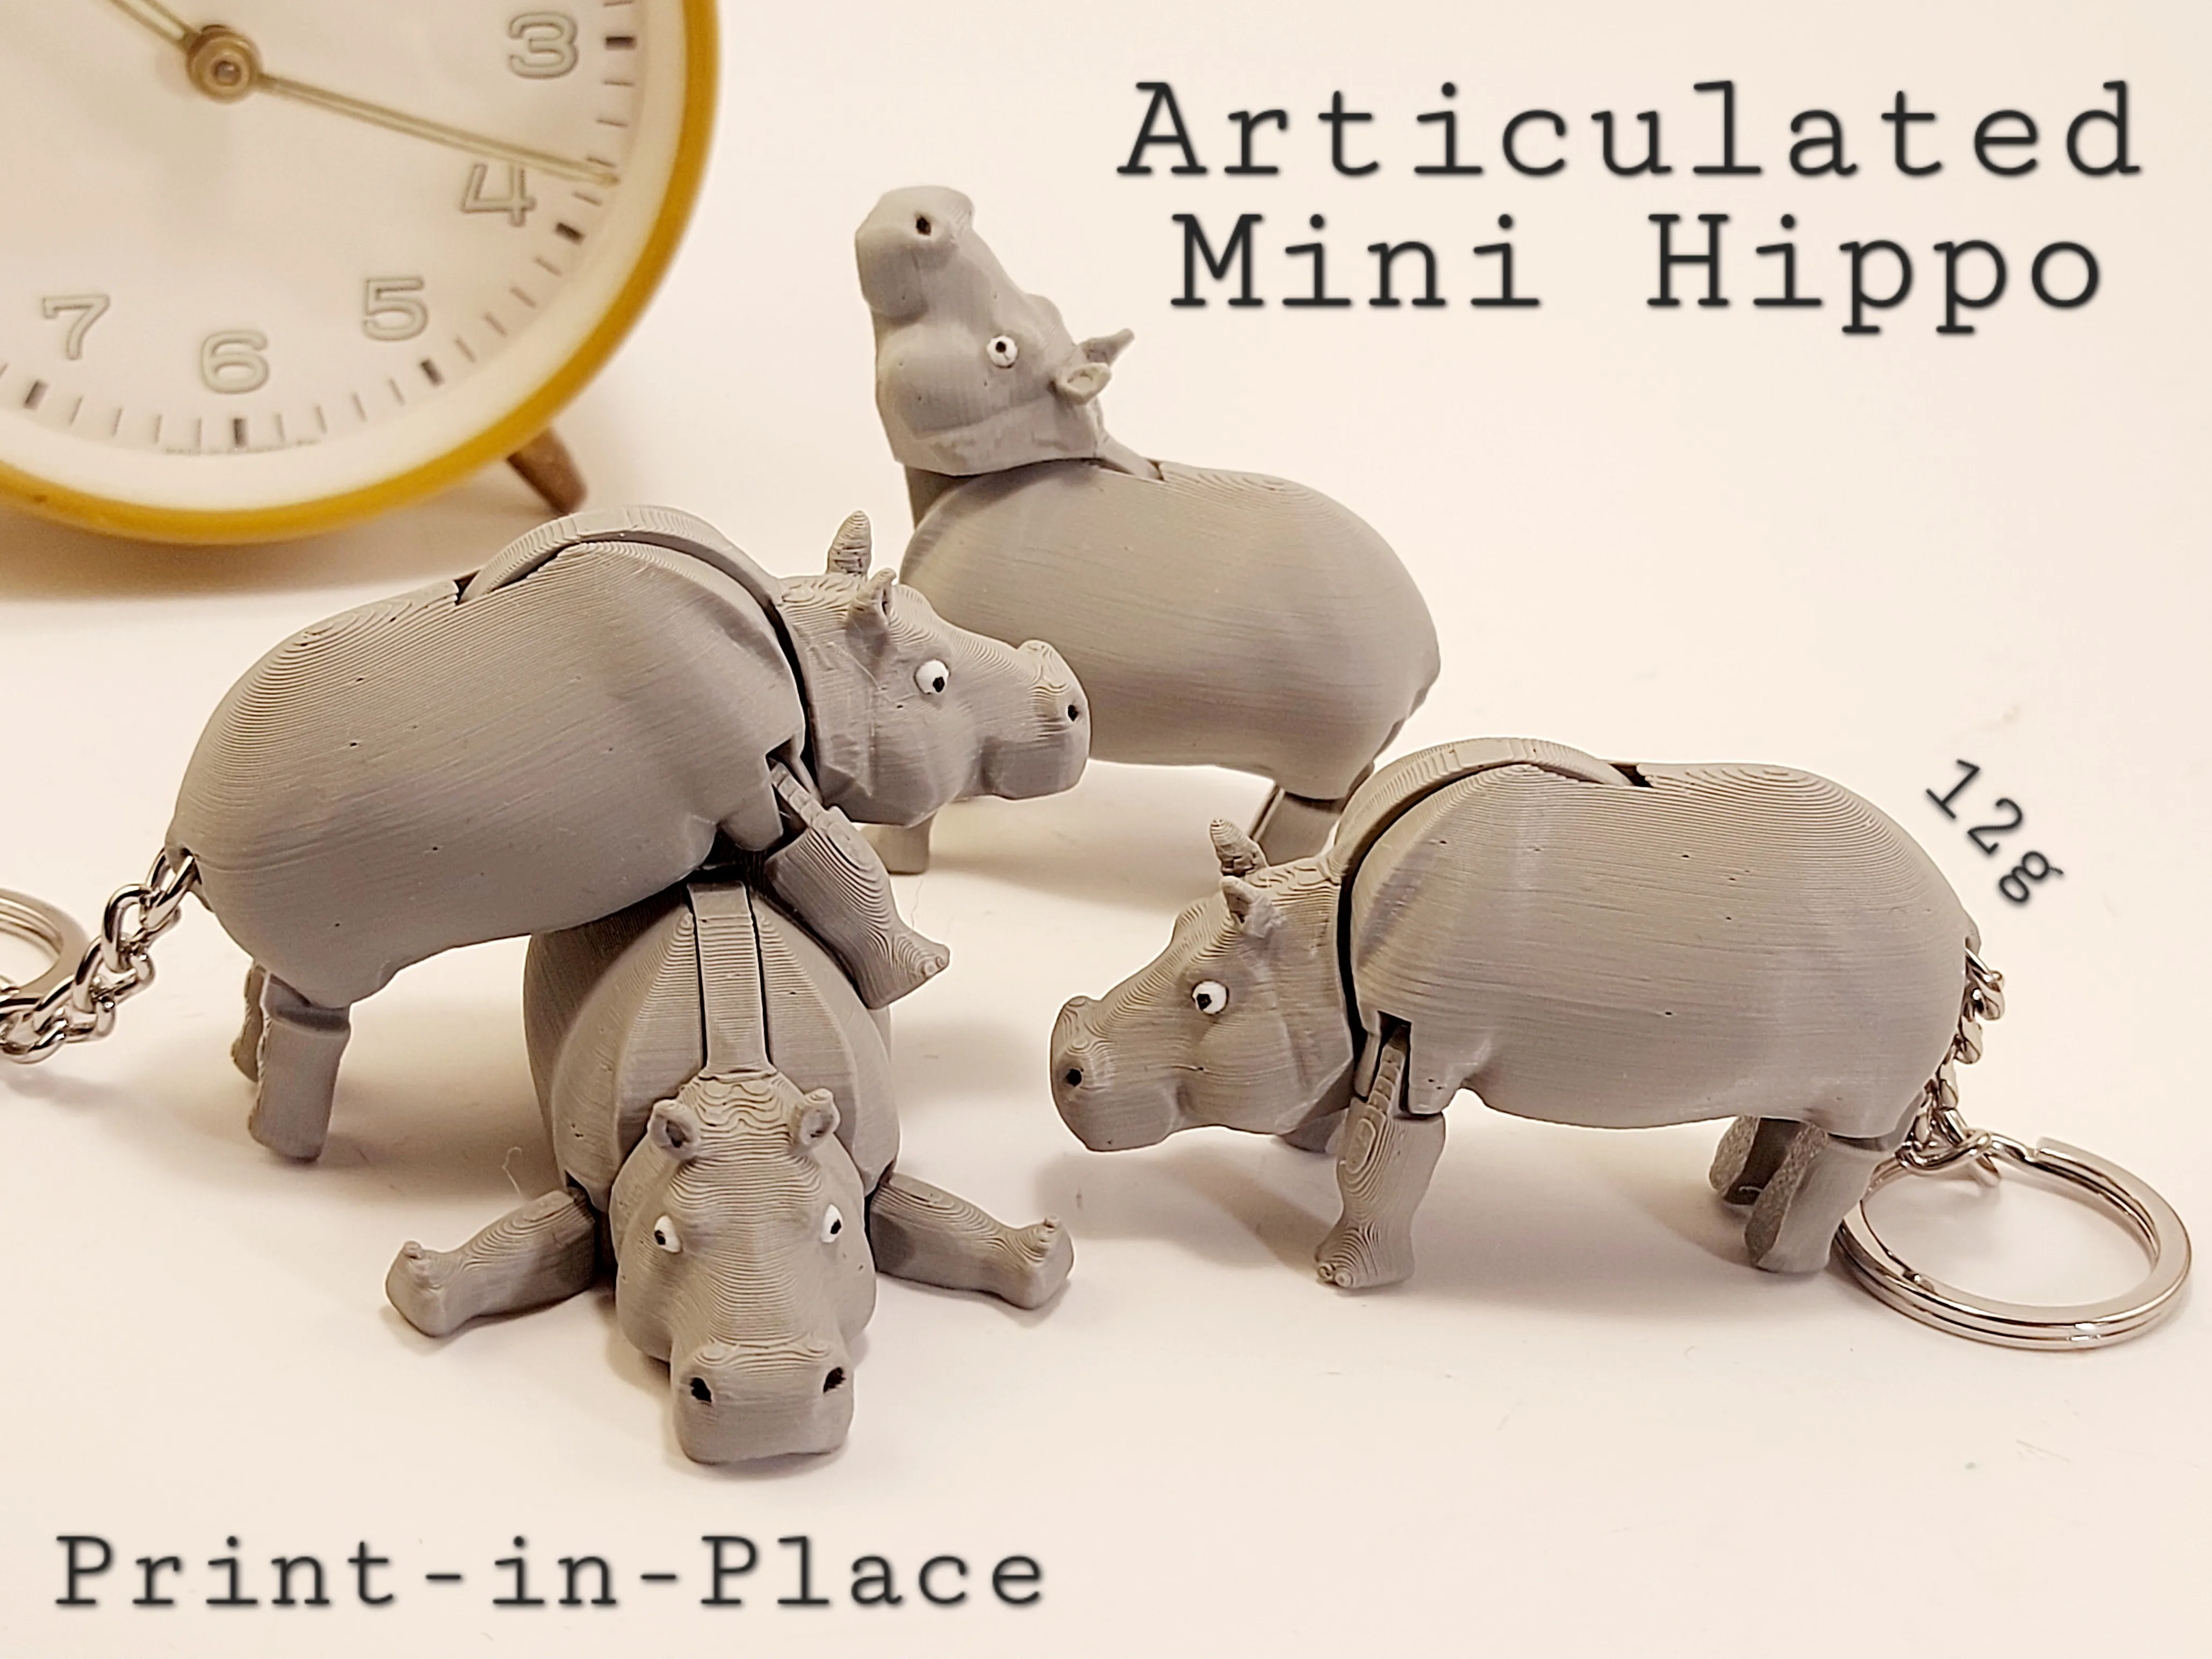
Please also have a look at my new model “The articulated Mini Hippo” which is a quick and easy print!
Mini Hippo by kida - MakerWorld
and the other models in my Articulated Animal Series
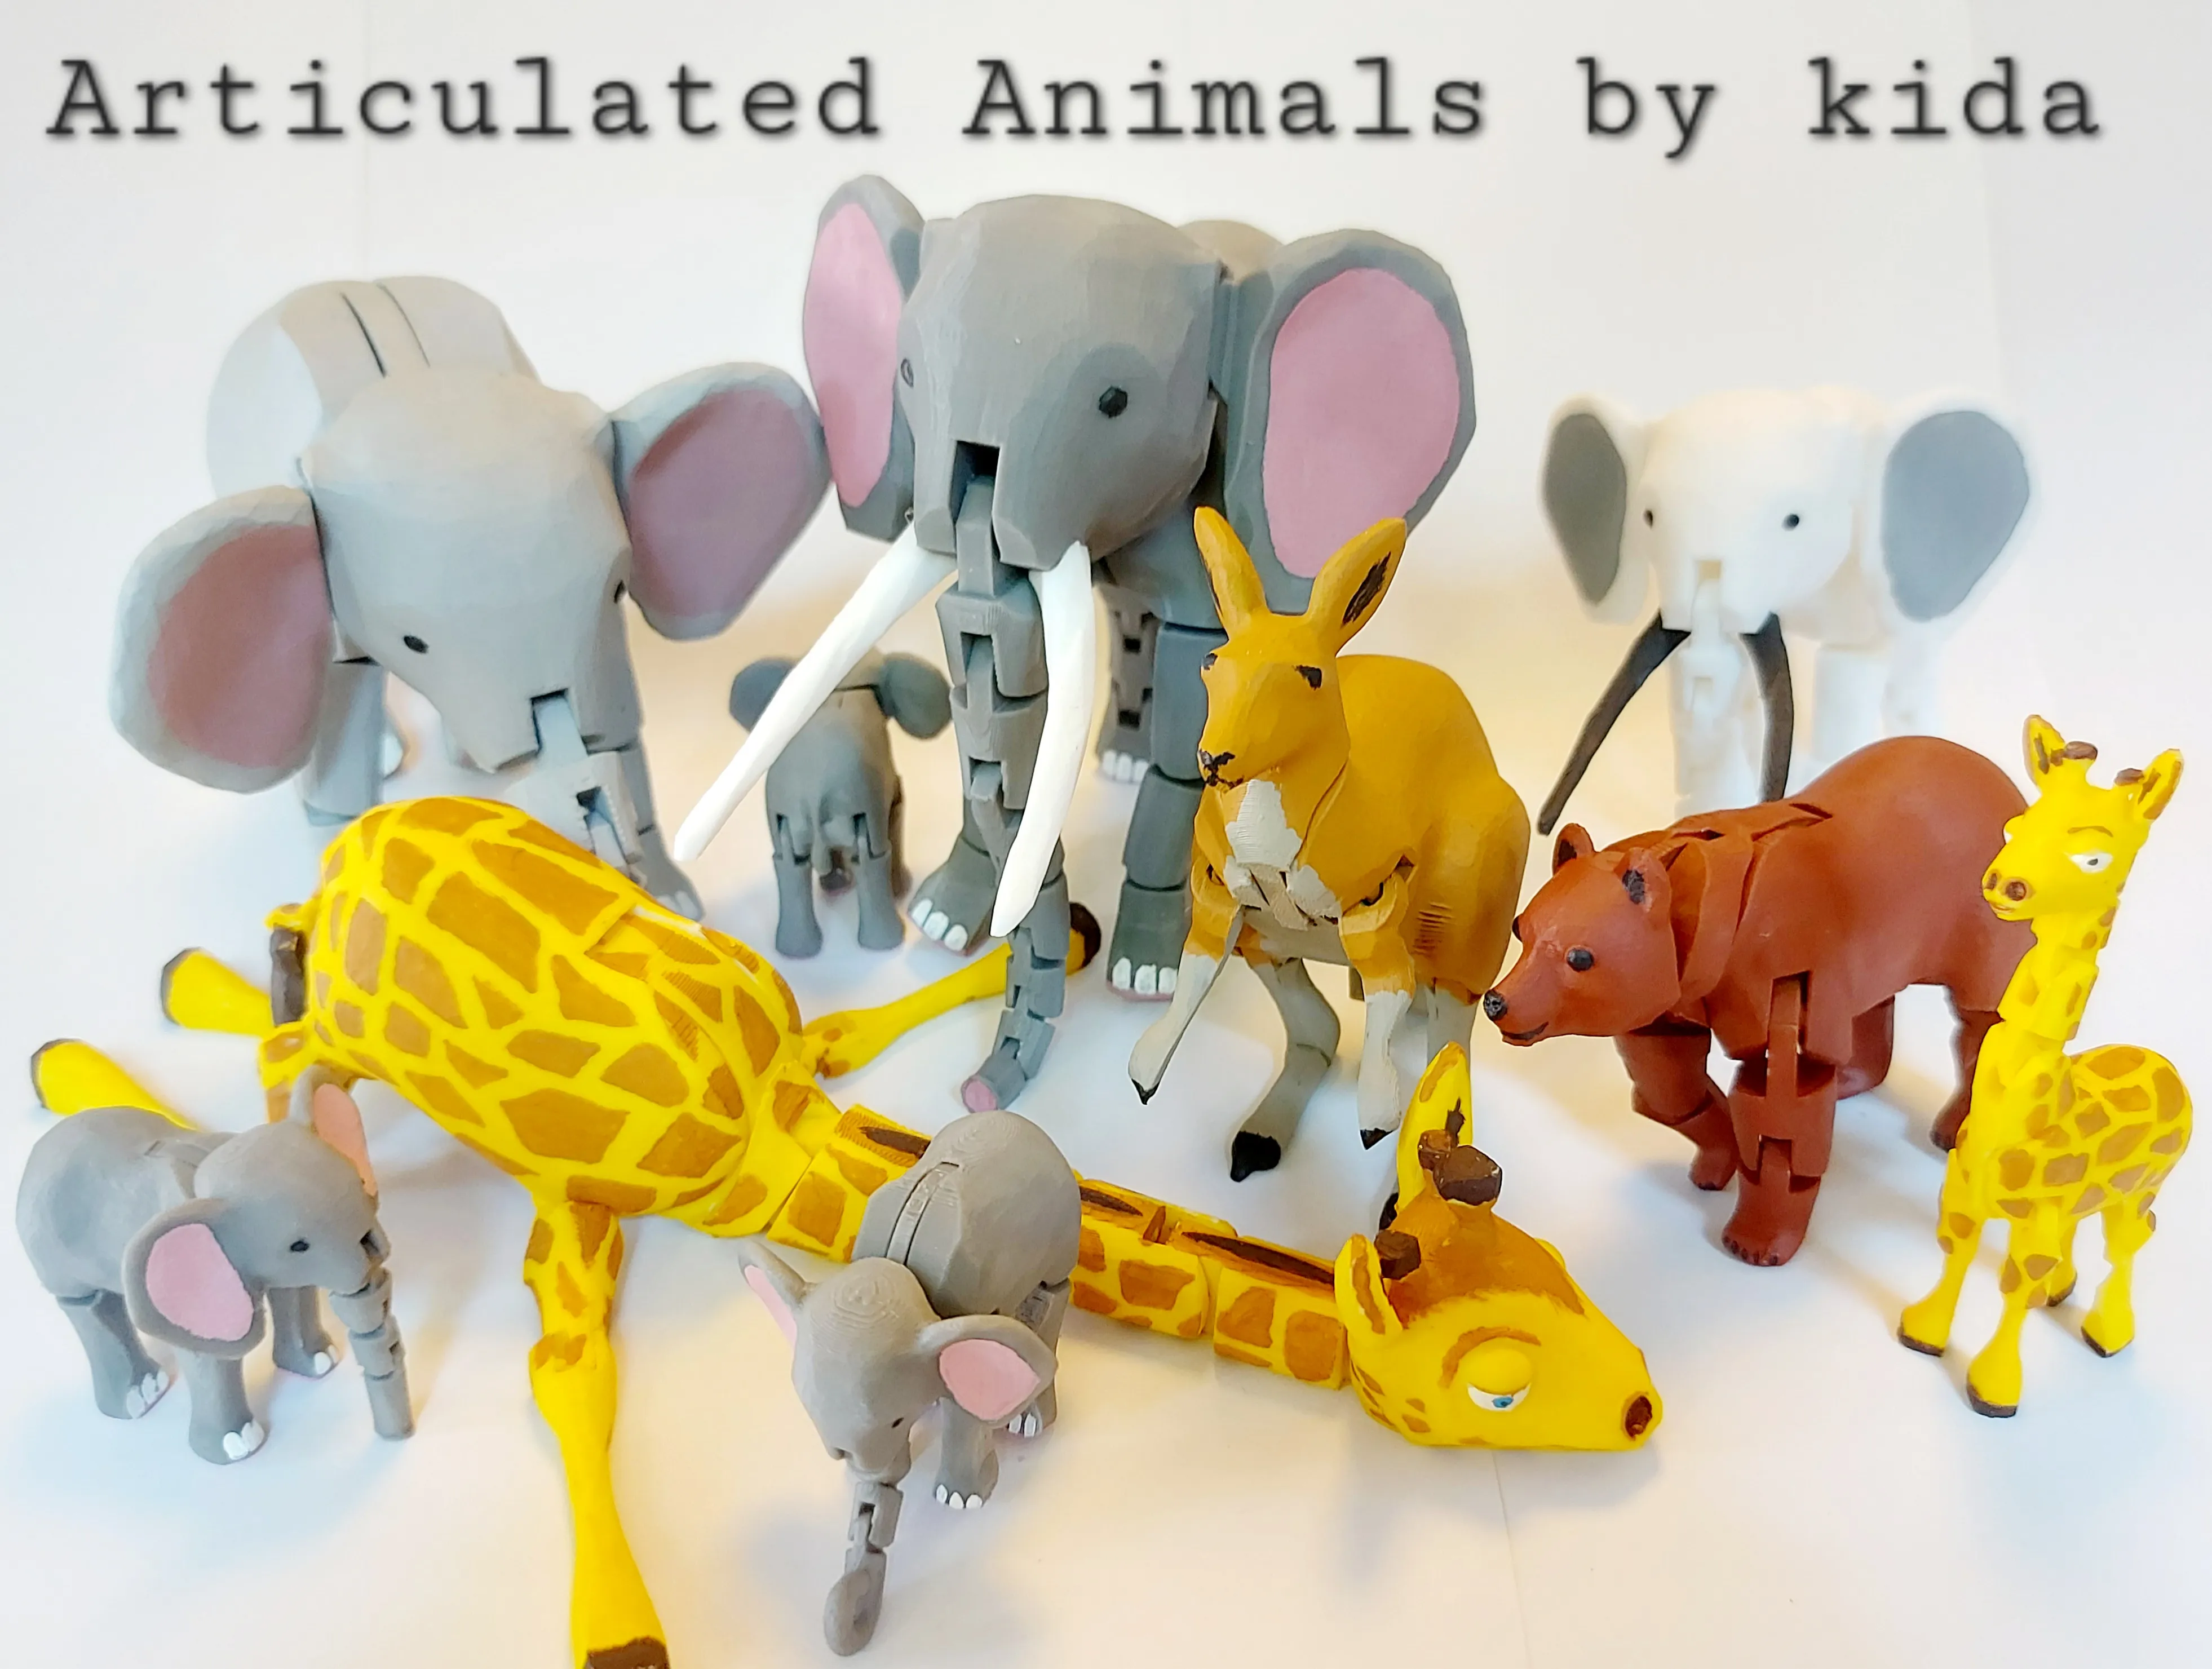
Animal Series by kida | Collection - MakerWorld
License

You shall not share, sub-license, sell, rent, host, transfer, or distribute in any way the digital or 3D printed versions of this object, nor any other derivative work of this object in its digital or physical format (including - but not limited to - remixes of this object, and hosting on other digital platforms). The objects may not be used without permission in any way whatsoever in which you charge money, or collect fees.


Comment & Rating (7637)