
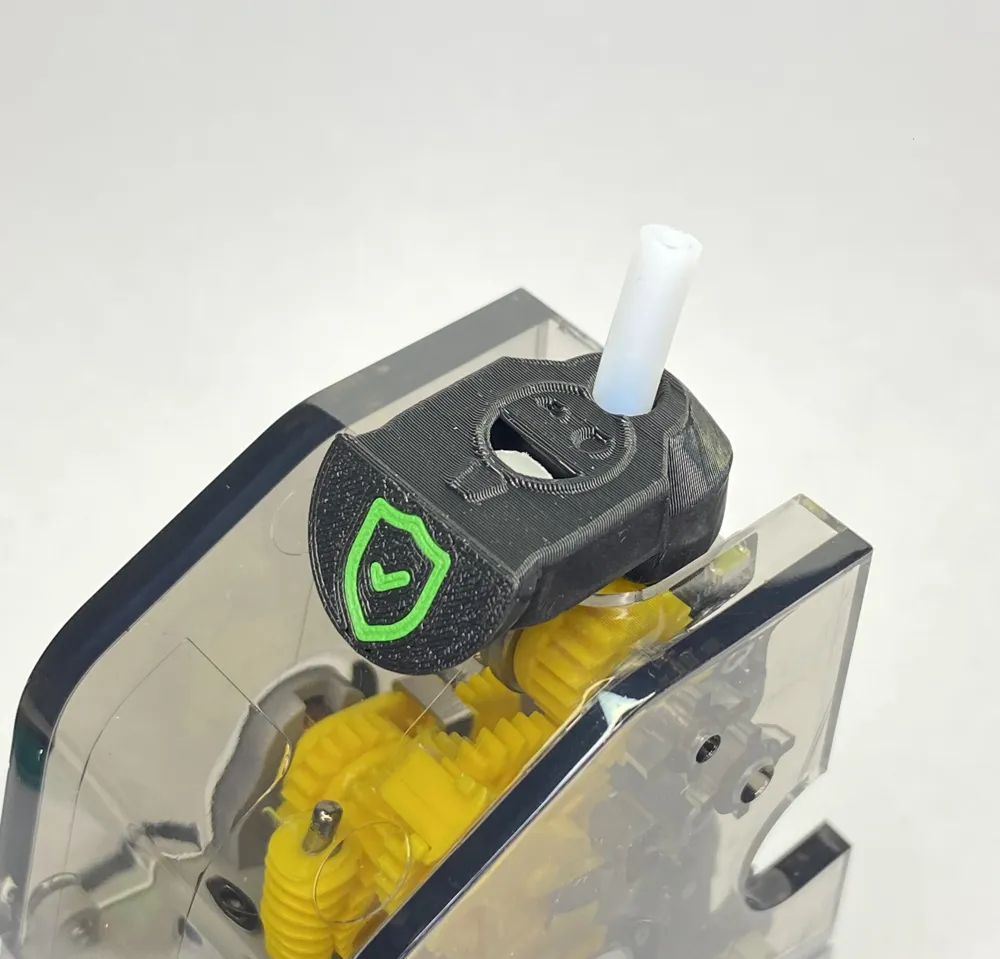
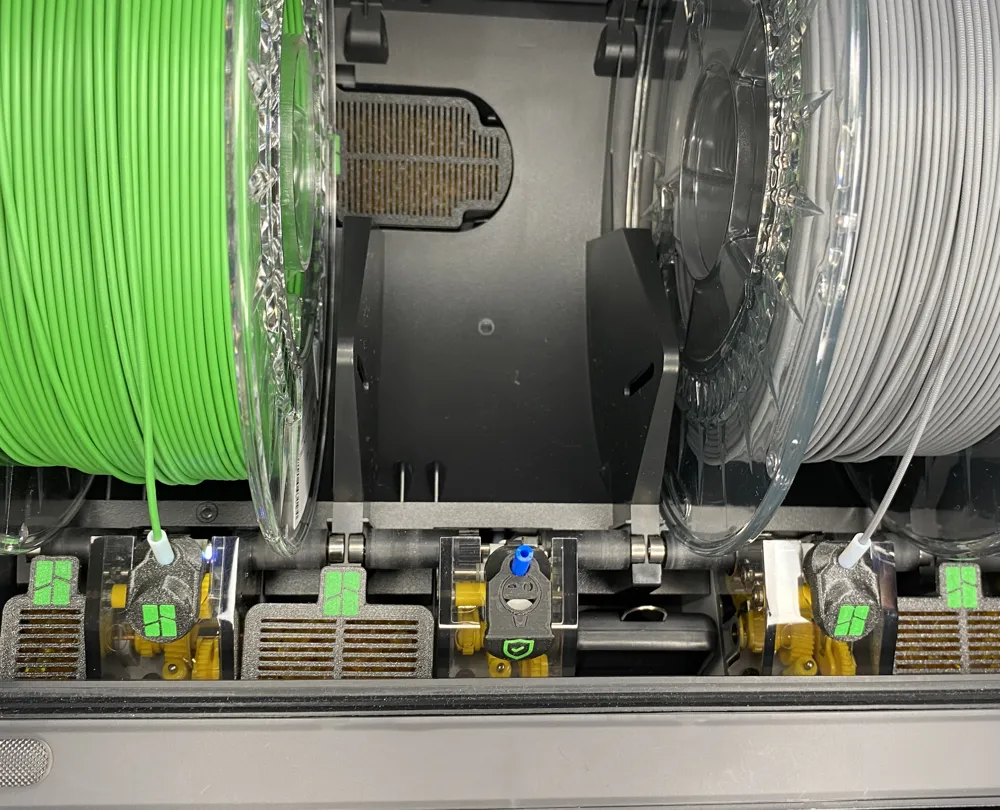
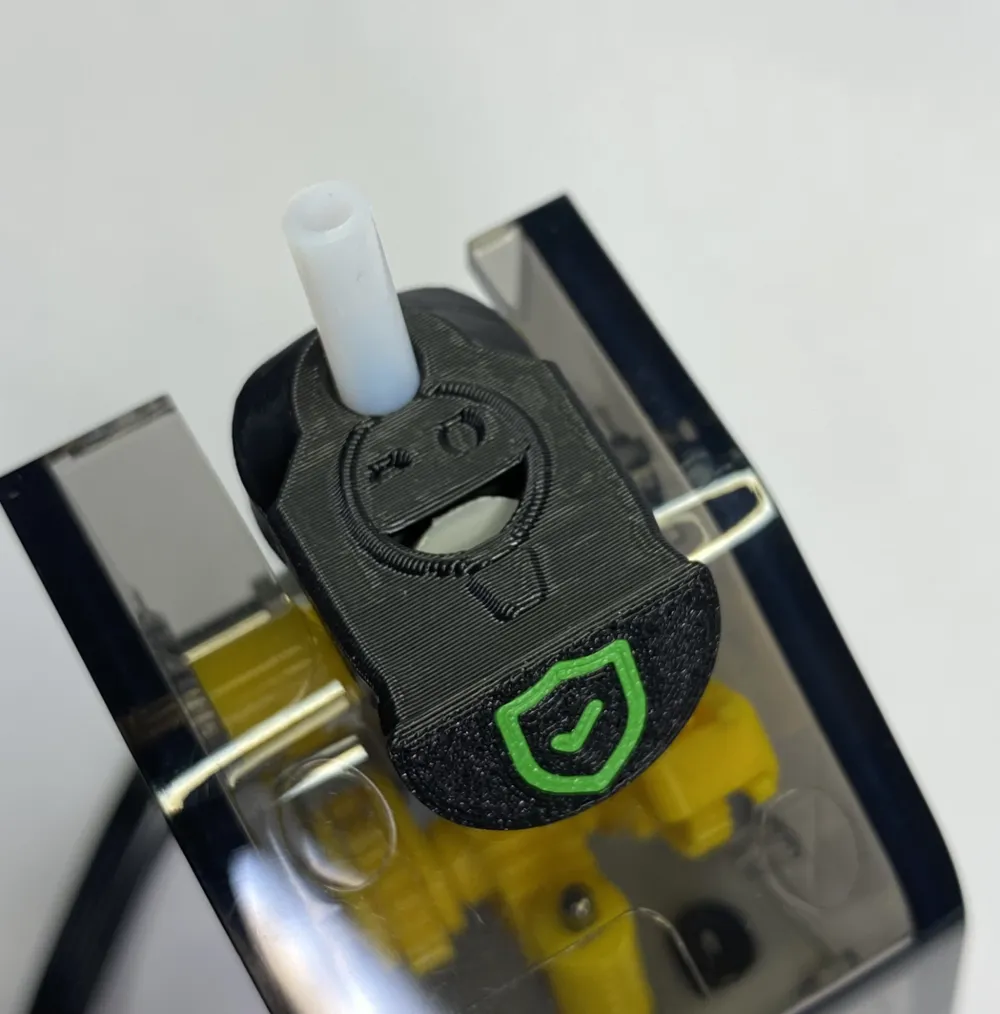
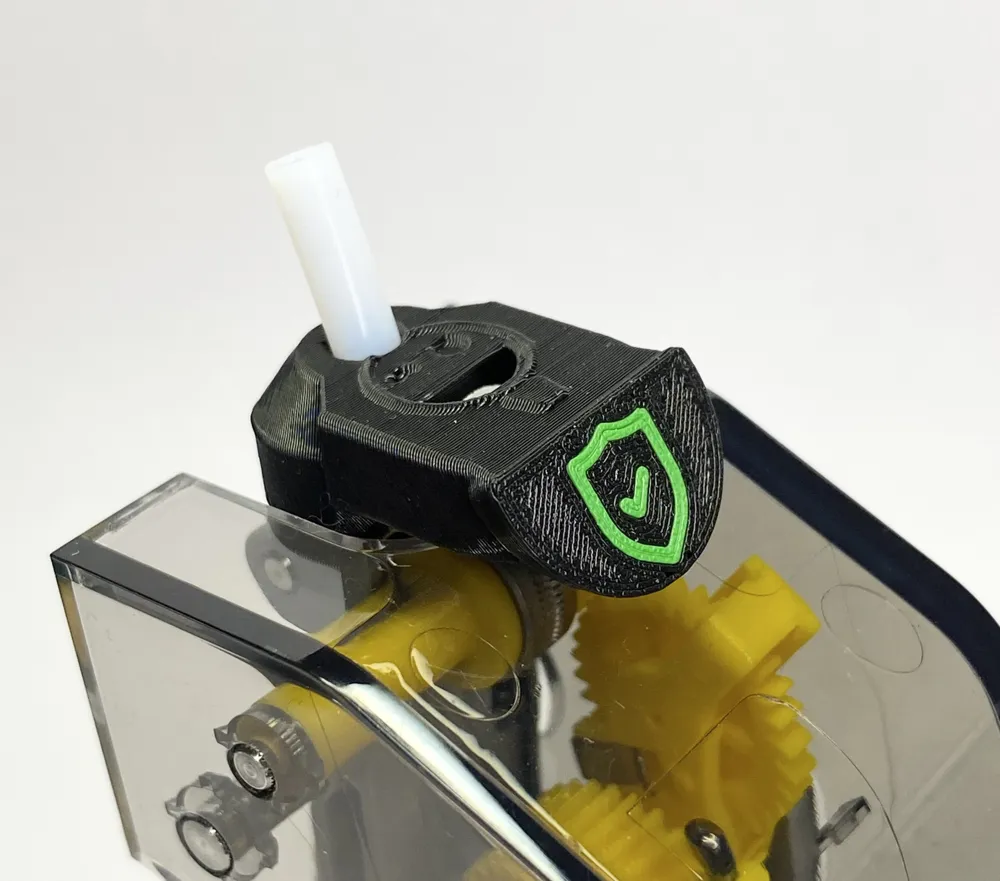
v.3.0 AMS Feeding Funnel Protector Filament Guide

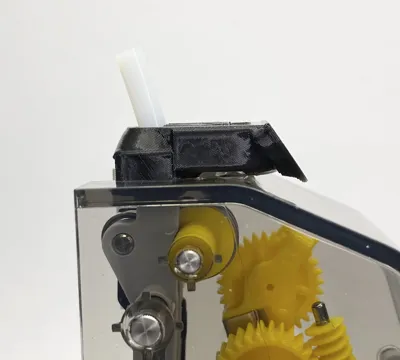
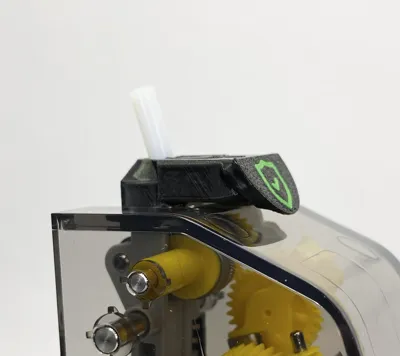
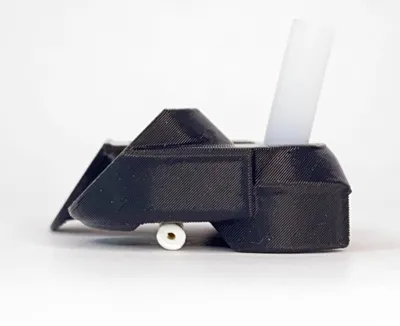
Print Profile(3)


Bill of Materials

Description
⚠️Since I can't offer profiles that are perfectly tuned to every filament (MakerWorld treats them as a duplicate upload), I have a universal profile here, and I recommend printing this profile/design with PETG (just ignore filament in profile and choose PETG in BambuStudio or APP). According to numerous user feedback, PETG has always produced the best results with this design!
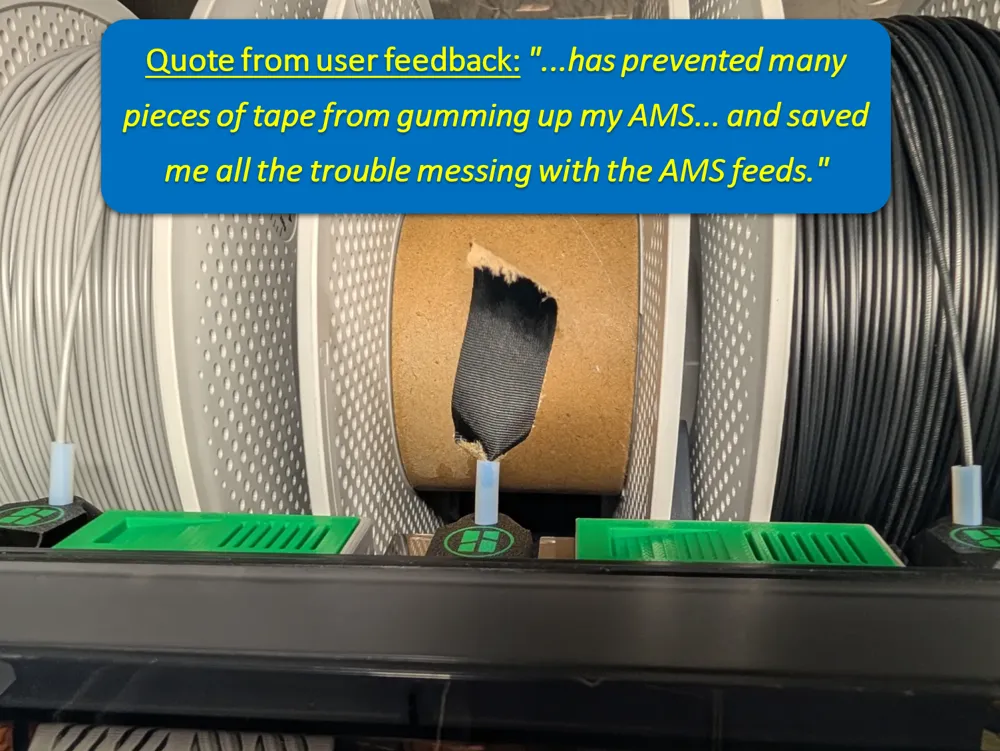
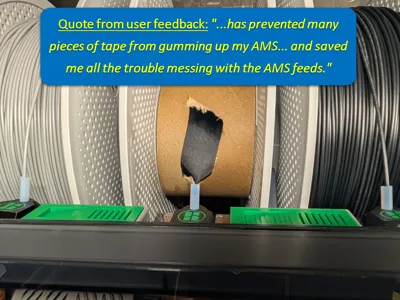
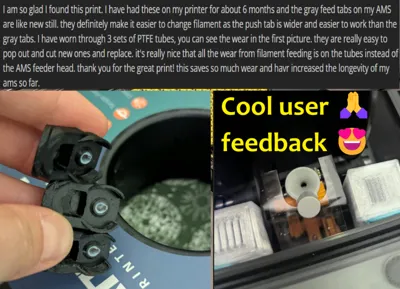
🙏😊💬Quote from user feedback: "…finally a design that is minimally invasive and works well all the time, does not fall down during operation, without danger of destroying LED and without having to stick some constructions on the first-stage-motors with double-sided adhesive tape!"
⚠️Working on this complicated model takes a lot of time and if you like my work and want to support me and this design - please BOOST this design (click on the small Rocket 🚀 or „BOOST“ button) 🙏👍 Thank you in advance!🙏
! Please take bed adhesion very seriously when printing these little helpers, use 3DLAC OR GLUE STICK if necessary, BUT not BRIM, if you want a nice Logo quality! In my printprofile the color sequence is set so that the logo color is printed first in order to get very nice, sharp contours. When BRIM is switched on, Brim will also be printed in LOGO color and unsightly marks will be left on the edges !
If you are unsure about bed adhesion - please use the “Mice Ears” print profile! 👌
⚠️Does my AMS need version 3.1 or 3.0?
If your AMS was delivered to you by Bambu Lab before October 2023, then just print version 3.0.
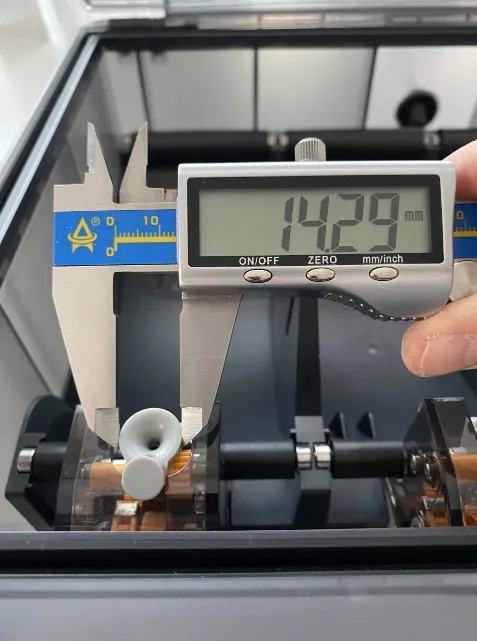
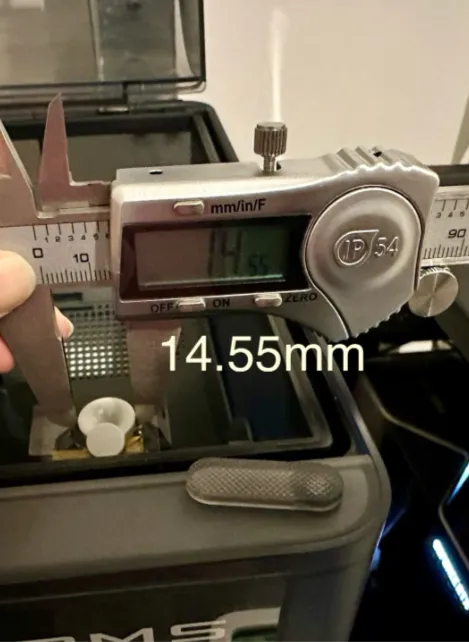
If your AMS was delivered to you by Bambu Lab after October 2023, then I would simply measure the AMS Feeder Funel - see the pictures below.
⚠️If the funnel diameter is about 14.3mm, then you should print version 3.0, if it is about 14.5mm, then print version 3.1👌
 |  |
Thanks to my supporters and testers @linshuuyuu, CROKOBIBI, @TheEngineer, Susi-Knalltüte
@user_1817999304, @Encore94 With their great help I was able to check and improve the functionality of the version 3.1!!! 🙏❤️👍
Why this Version 3.0?
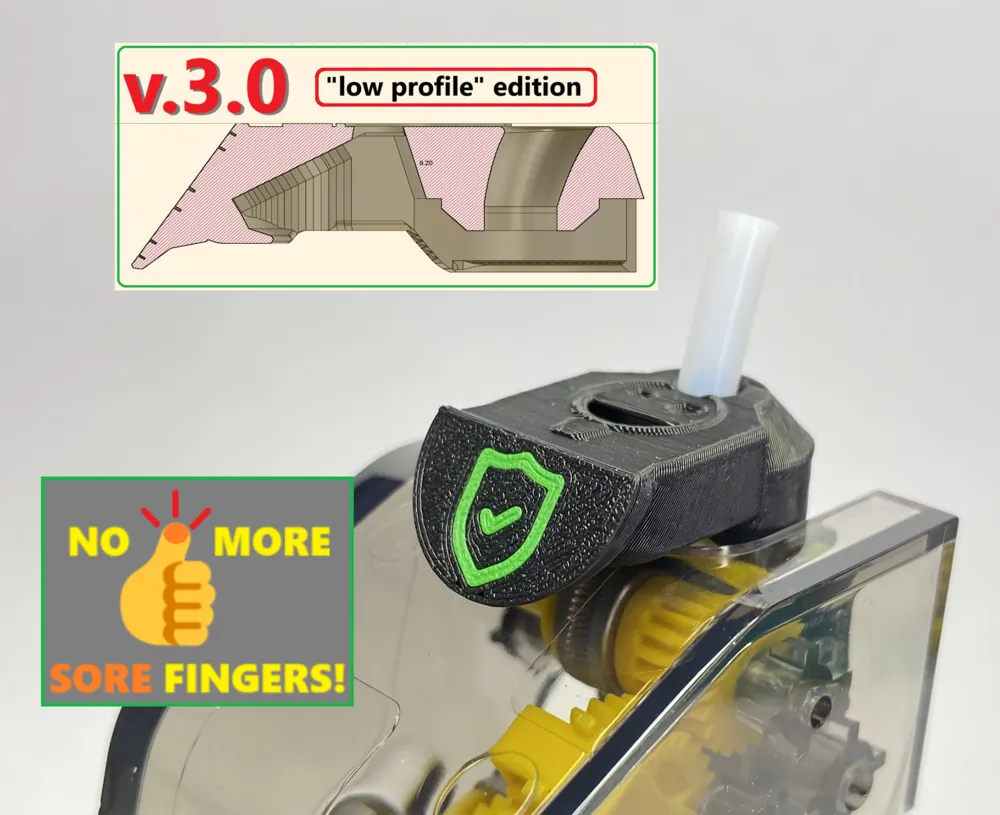
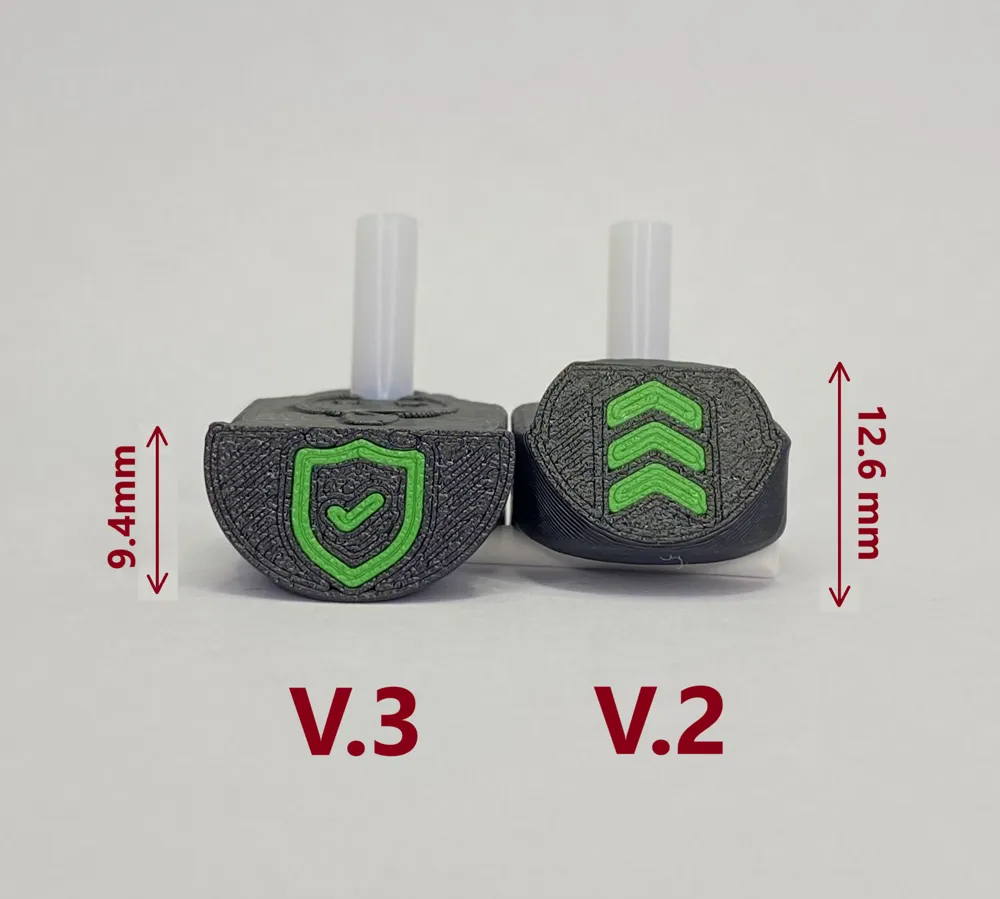
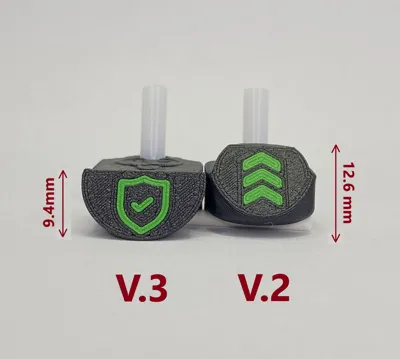
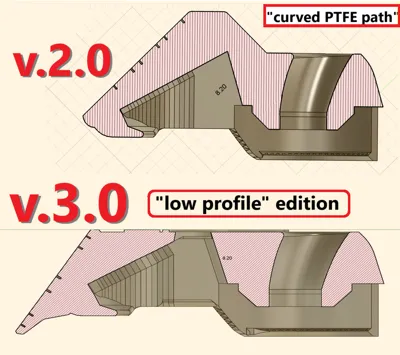
I get a lot of feedback for my AMS Protectors, which I am very grateful for! 🙏😍 Recently, there have been increasing reports that the AMS lid could not be closed completely when Funnel Protectors v.1/v.2 were installed - after measuring, it was found that in such cases AMS first stage feeders were 2.5mm higher than in AMS versions before.
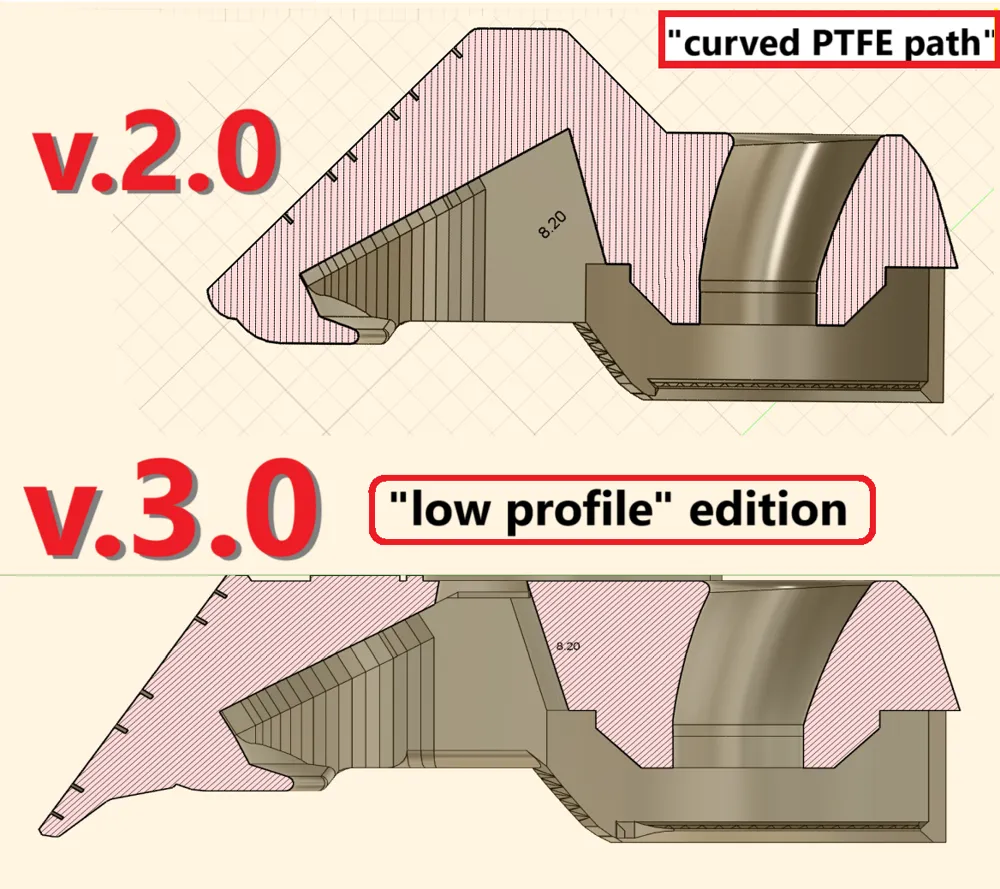
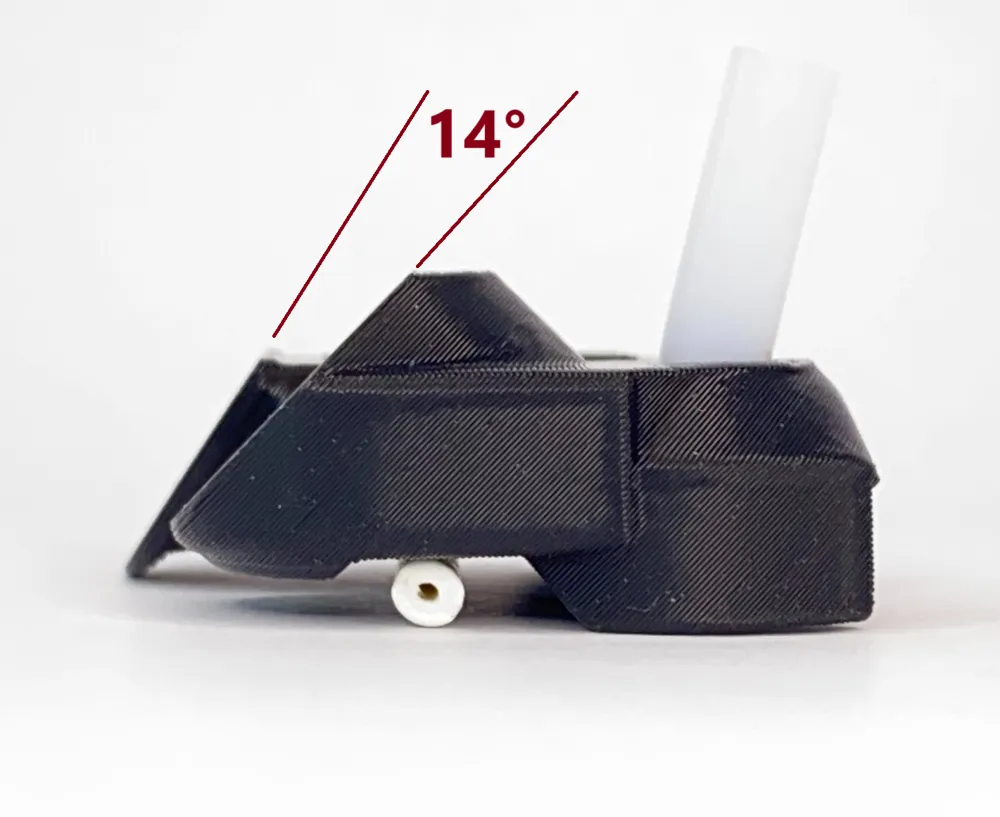
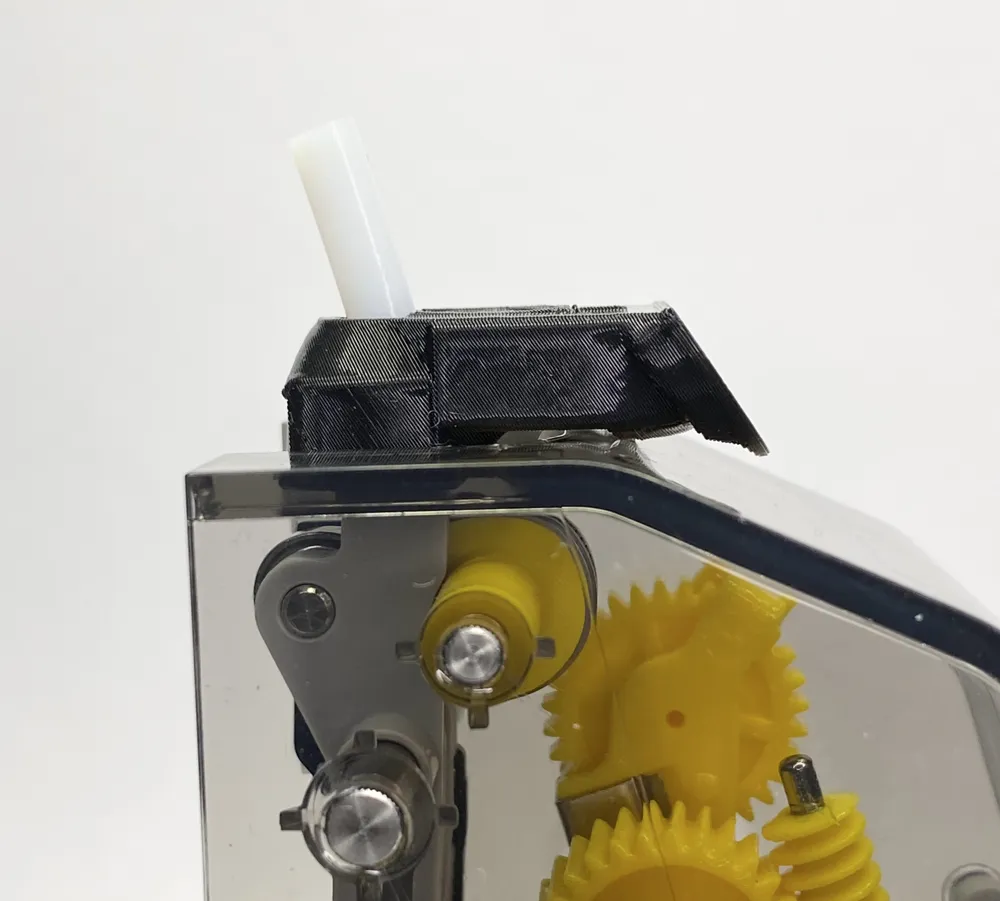
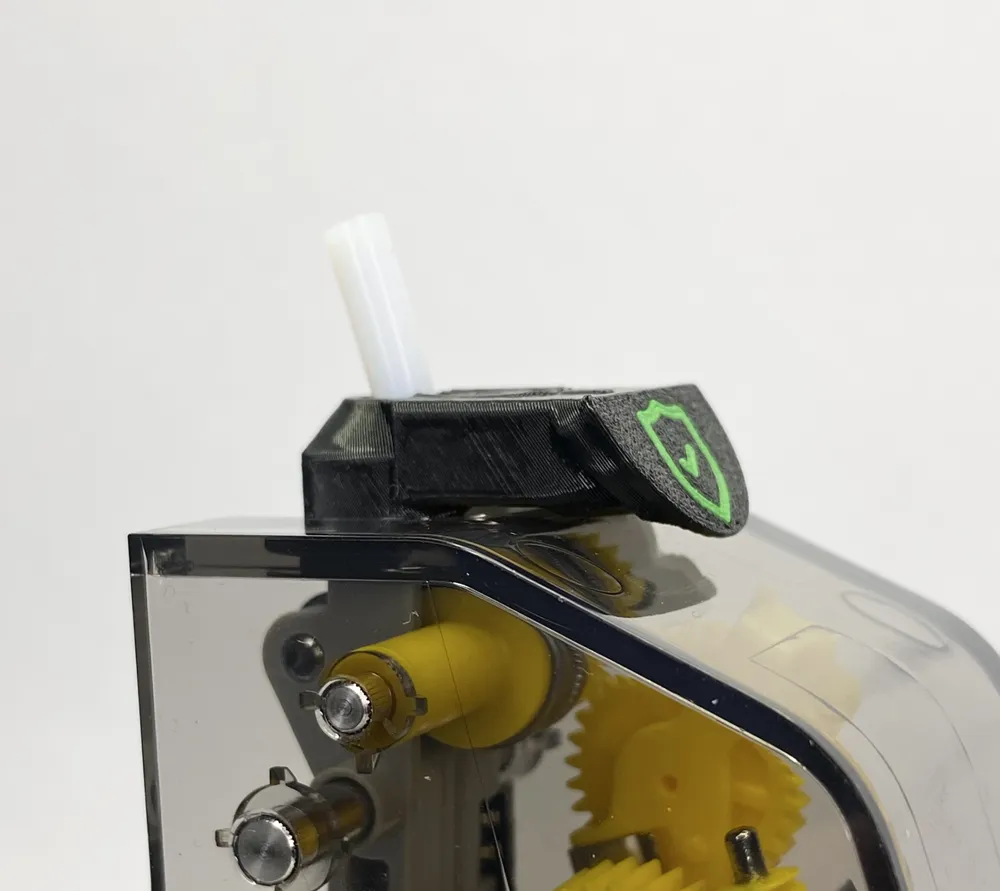
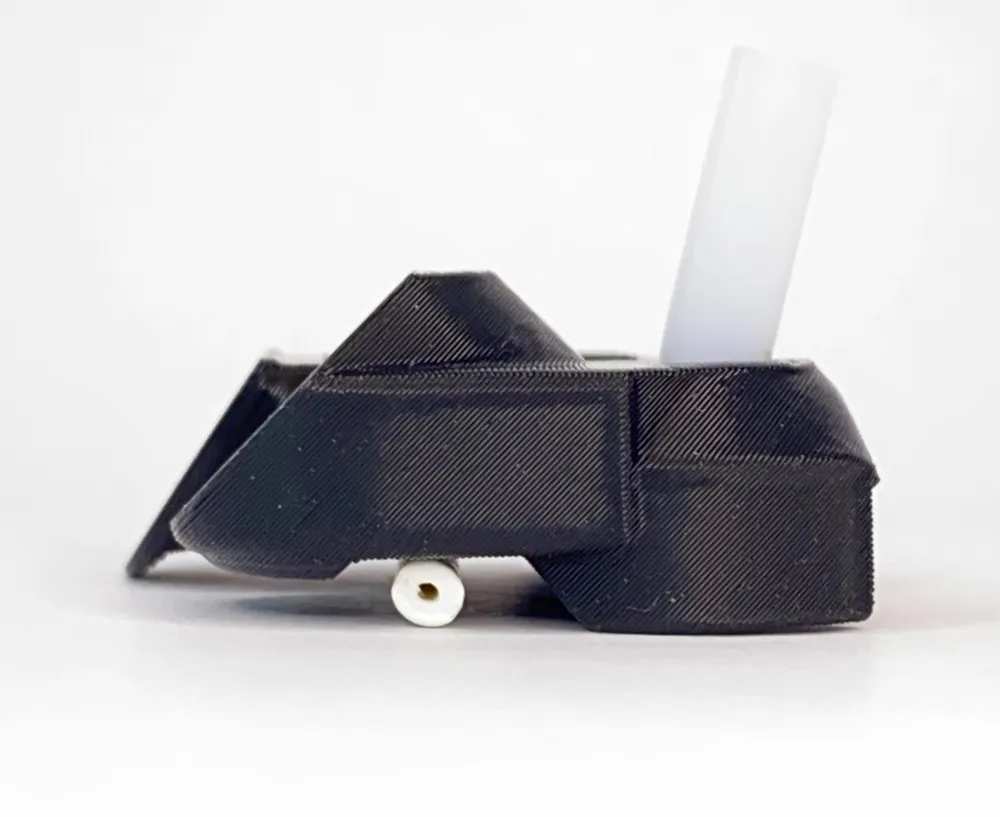
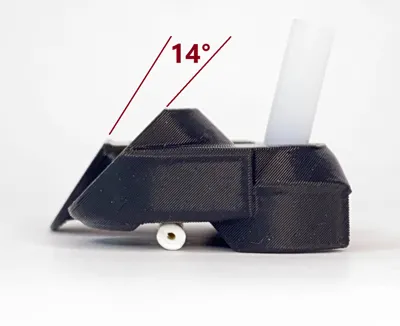
I've done refactoring of the design of v.2 to minimize the height of AMS Funnel Protector and at the same time, I changed the inclination of the push button by 14° to achieve more ergonomic operation. My fingers often slipped on v.1/v.2 😂
Version 3.0 is full compatible with ALL previously (delivered before October 2023!) AMS revisions! 👌😊
Thanks to my supporters and testers @CerialPhreak_1003972, @tlum00_718492, @RebKing_263863 With their great help I was able to check and improve the functionality of the version 3.0!!! 🙏❤️👍
Bambu Lab X1 AMS Feeder Button Cover/Protector - what is that good for?
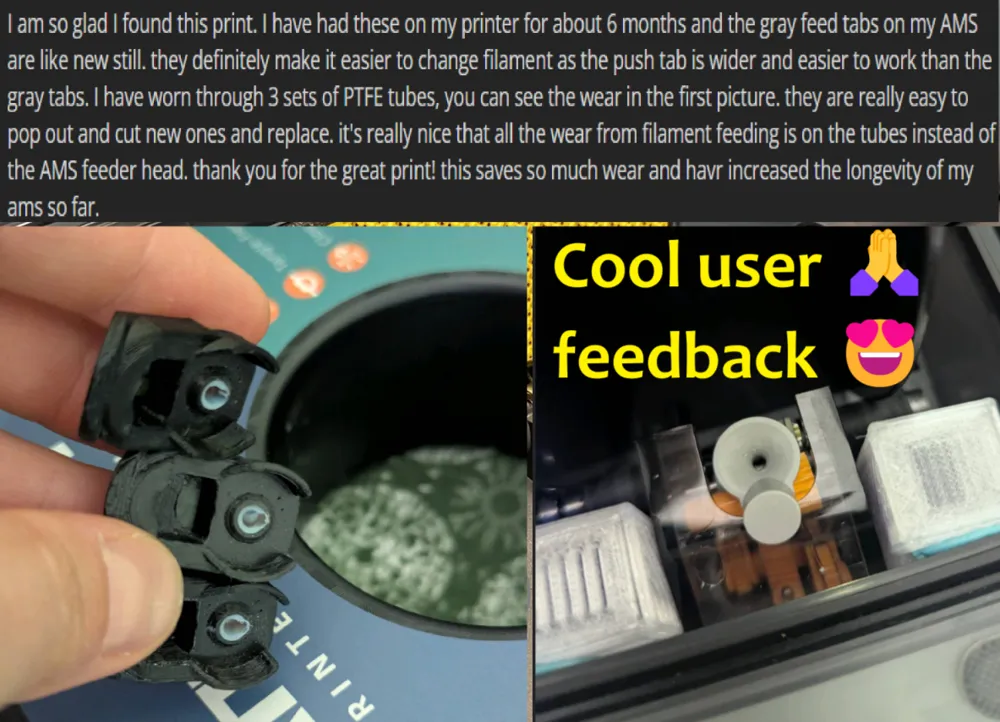
I have read some reports that the abrasive filaments "grind" the feeders from AMS (which are from soft plastic too) very quickly! And this problem may affect the loading and unloading filaments !
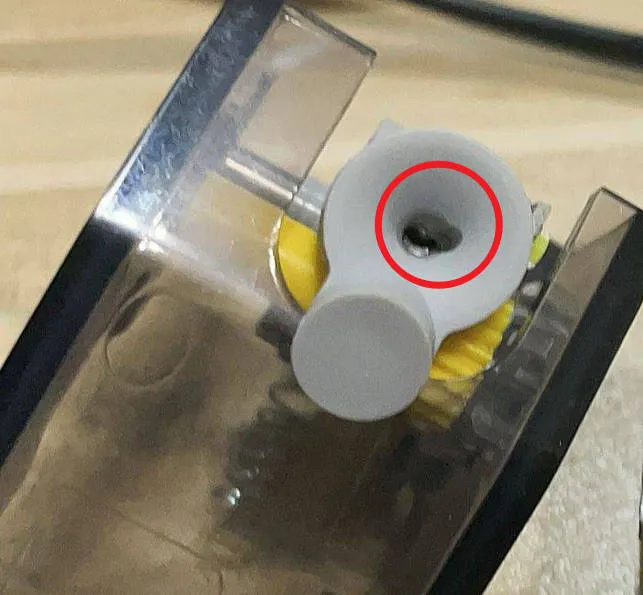 | 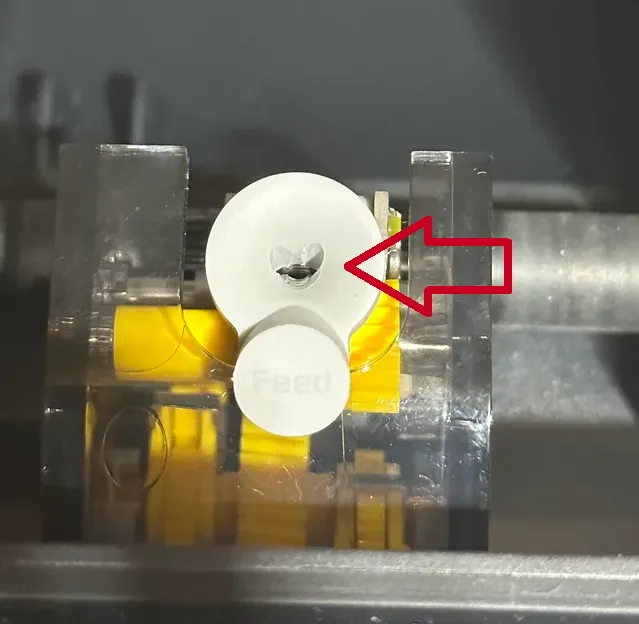 |
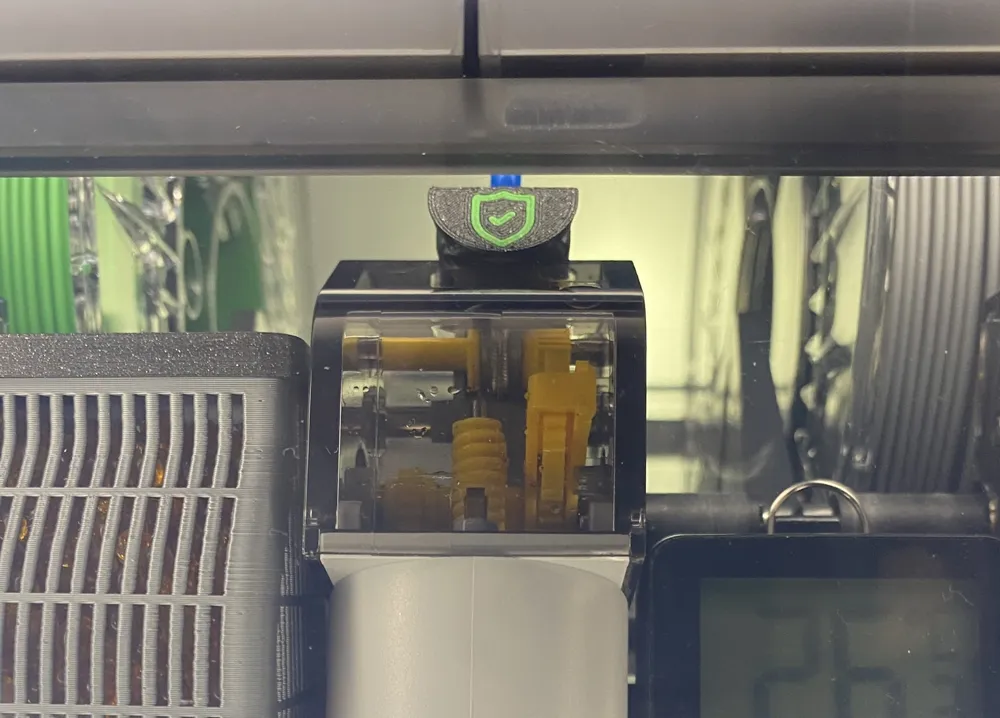
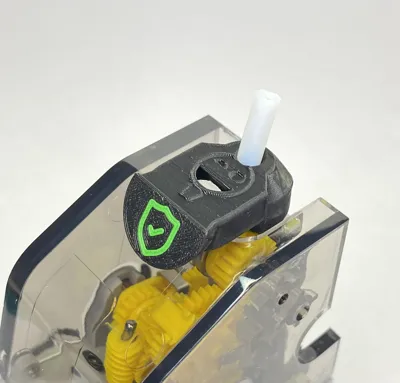
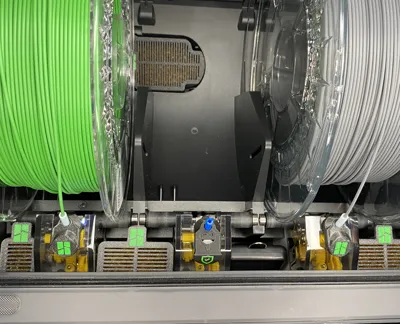
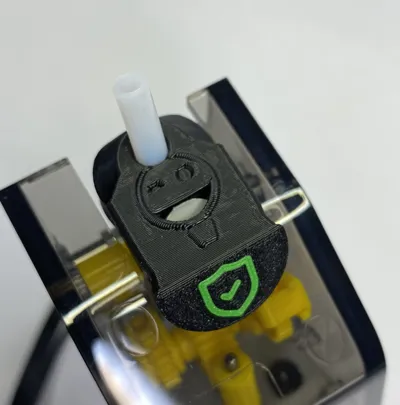
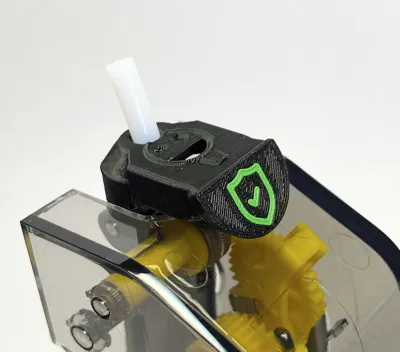
I found an interesting feeder cap at Printables (thank you, Maverick Ng, for sharing your model!) and reconstructed it so that the cap sits very stable on the feeder and can still be easily pulled on and removed. Look at Installation-Video on my Instagram Channel - its very easy! :-)
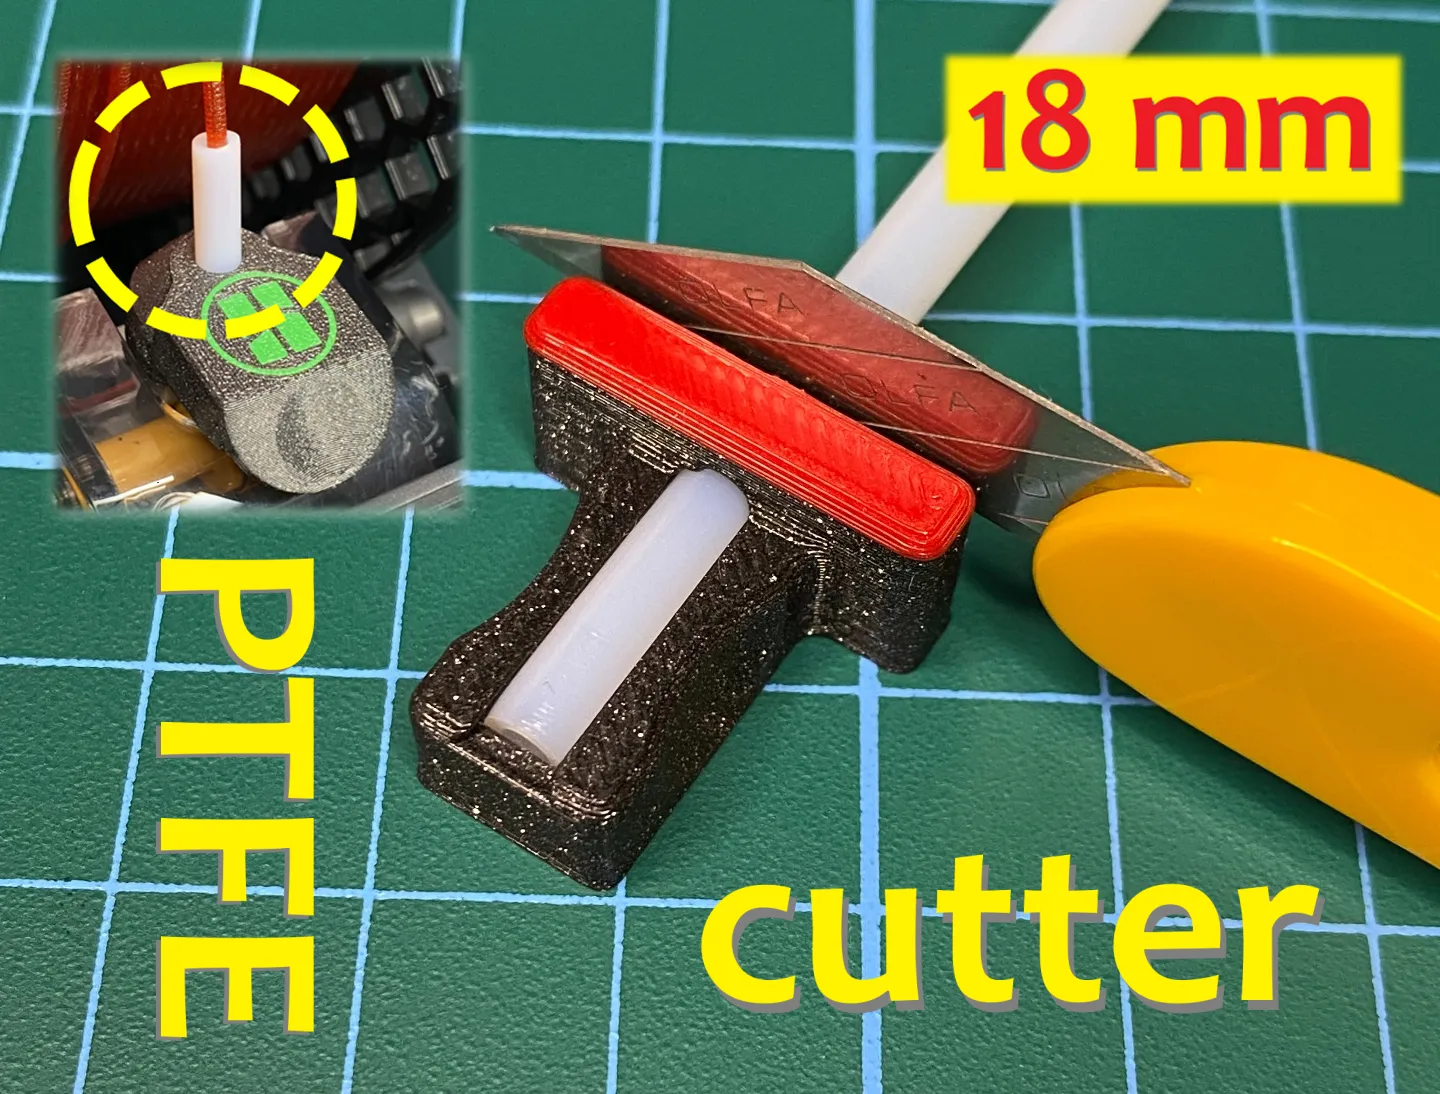
For version 2.0 I achieved the best results with the PTFE length of 18mm. I used a replacement PTFE tube that came with my Bambu Lab X1 Carbon.
Please read the print instructions carefully! They are important so that the small parts can be printed correctly and then sit and hold well on the feeder!
Print / Install Instructions:
- place them with the logo on the build plate
- first layer line width: 0,36 (0.4 mm Nozzle)
- first layer speed: 10ms per second (for perfect look of the button-surface)
- 2 perimeter, 4 top/bottom layer, 20% infill
- take better PLA/ASA - they are stiffer, for better hold on the feeder
- print layer height: 0.16mm and WALL generator: Classic (in this case please no Arachne) !!!
- It is helpful to swith your Bambulab Printer from “Standard” Speed to “Quiet”!
Cool recomendation from User SHAYDED (Thank you! :-): “If you are struggling with sagging, move the parts closer to the aux fan, orient the overhang towards it, and crank it up to 70-100%”. I had no problems with sagging (just printed 4-5 of them at once and slow), but why not? :-)
Take a look at the Video/Post about this model on my instagram channel: https://www.instagram.com/eds_3d_shop/
!!! Please take a look at this video, here you can see how you can easily get these protectors on the feeder properly!
⚠️IMPORTANT!⚠️ You don't need to disassemble your AMS or remove any parts!
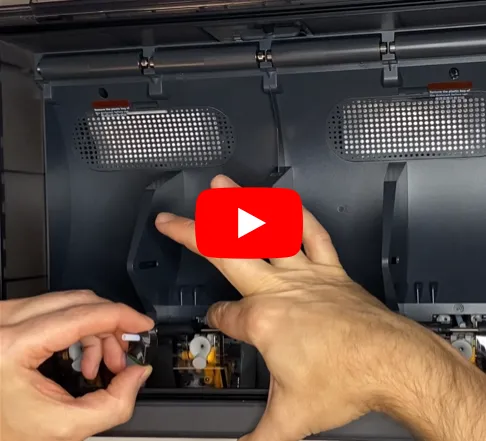
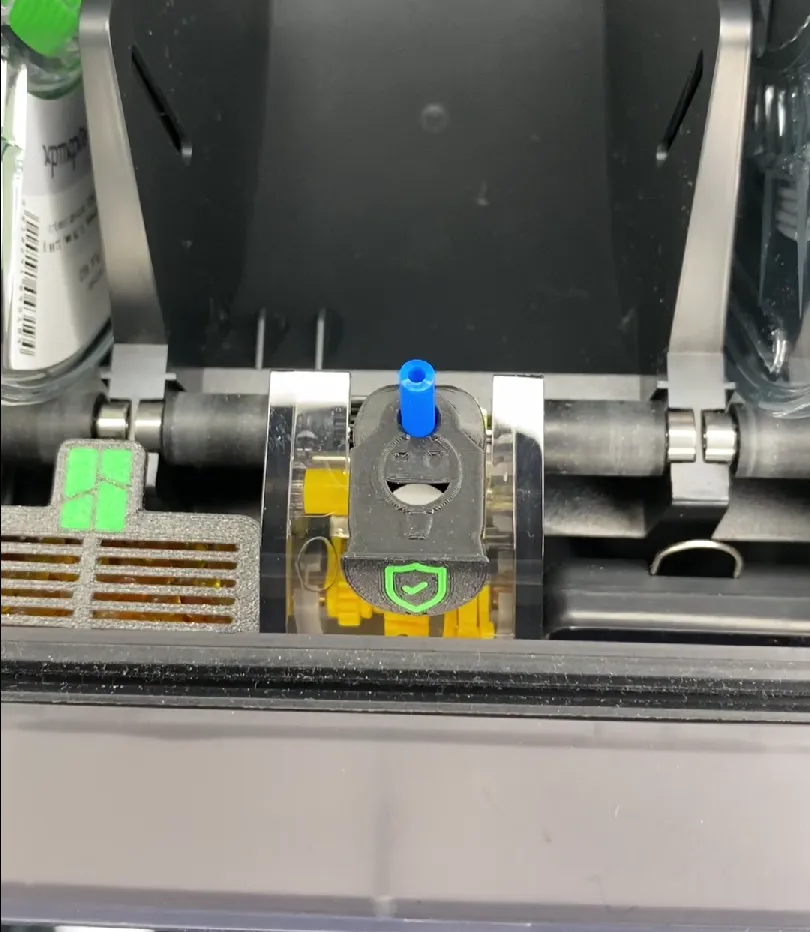
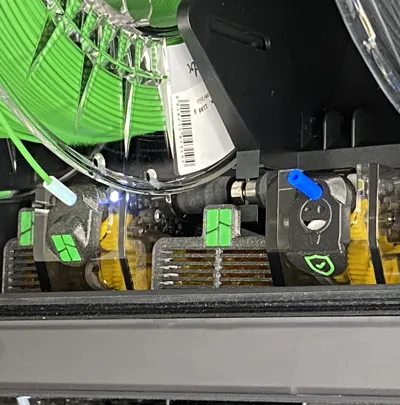
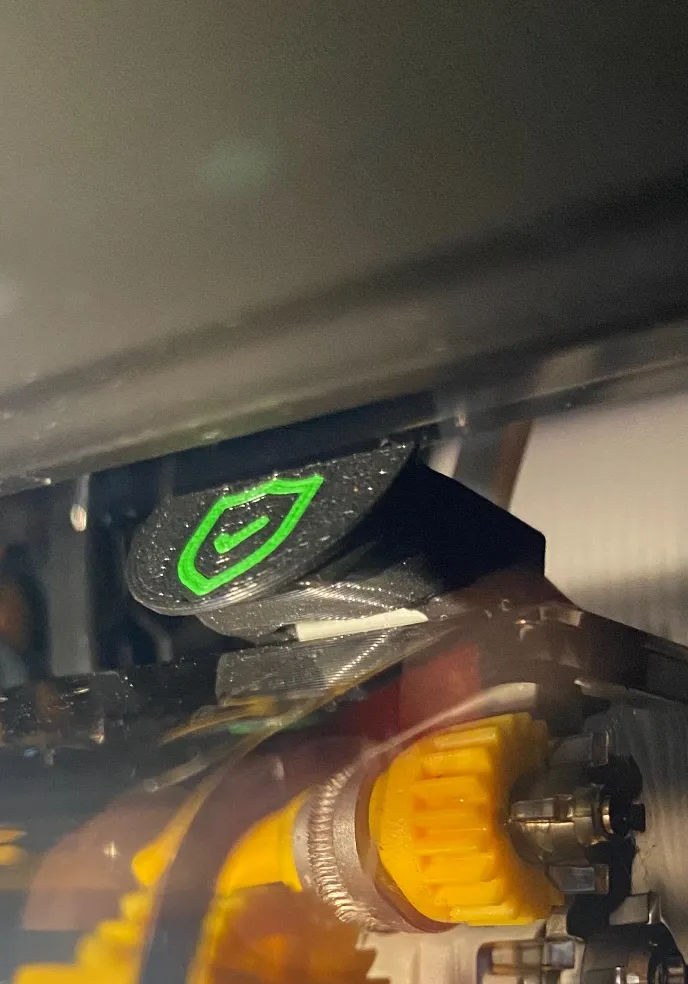
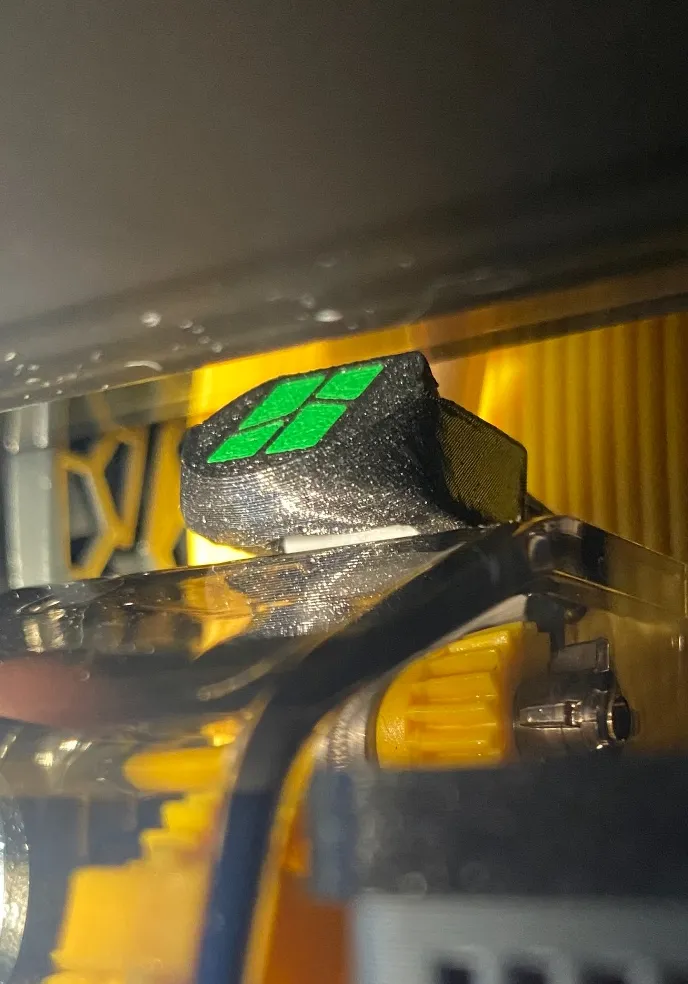
Short and cool description from User SpectreGadget : “Push forward with the back of the cap against the lever to snap it in place. Then line up an press firmly down to get over the existing inlet, until it snaps in place.”
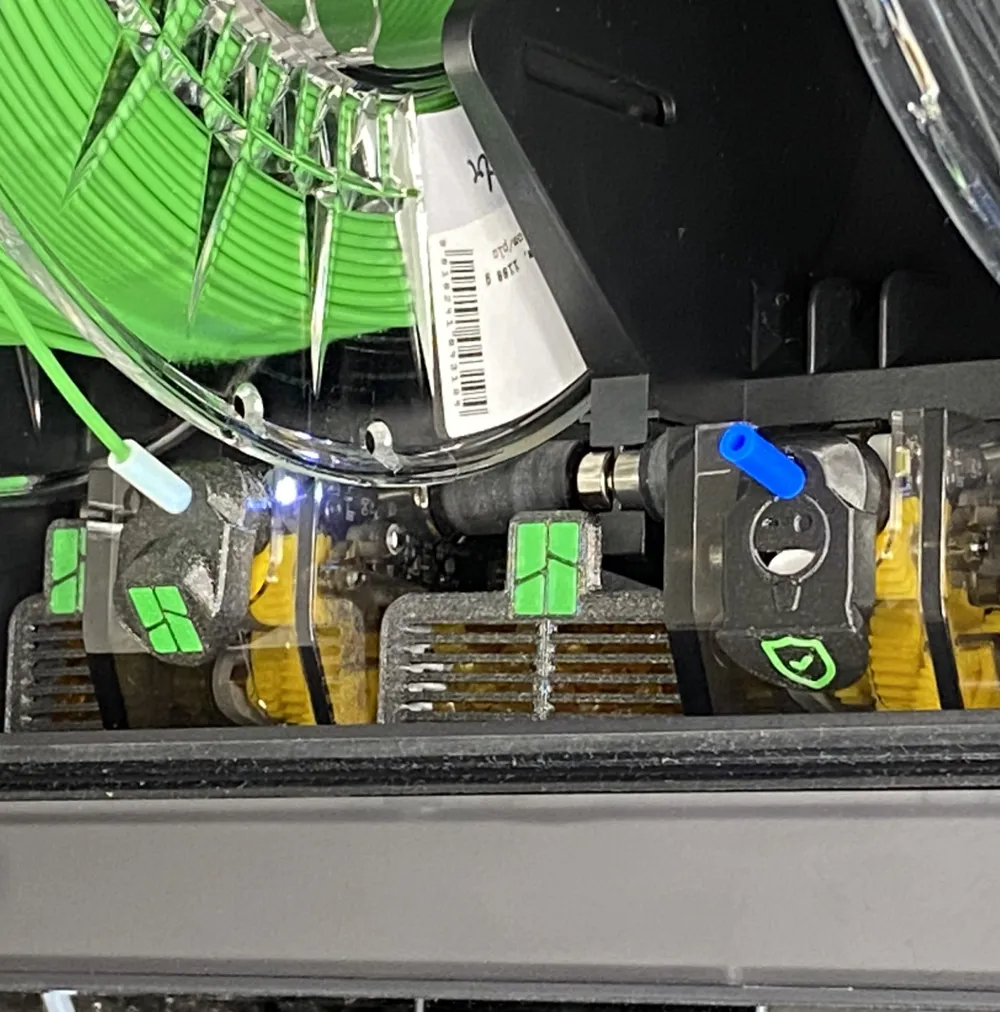
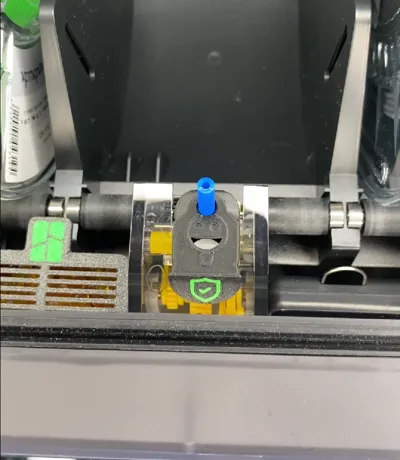
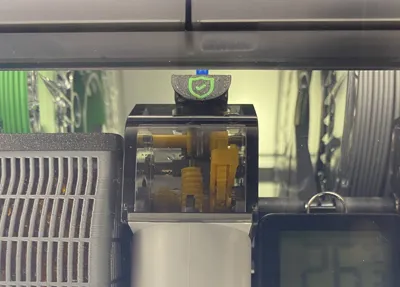
Please look at these pictures - good example of correct installation 👌😊👍
 |  |
— ! —
Thanks for downloading, rating in advance and please don't forget to like👍and to BOOST 🚀 this model! ;-)

⚠️If you have an A1/A1mini with AMSlite - take a look at this design 🦾😊
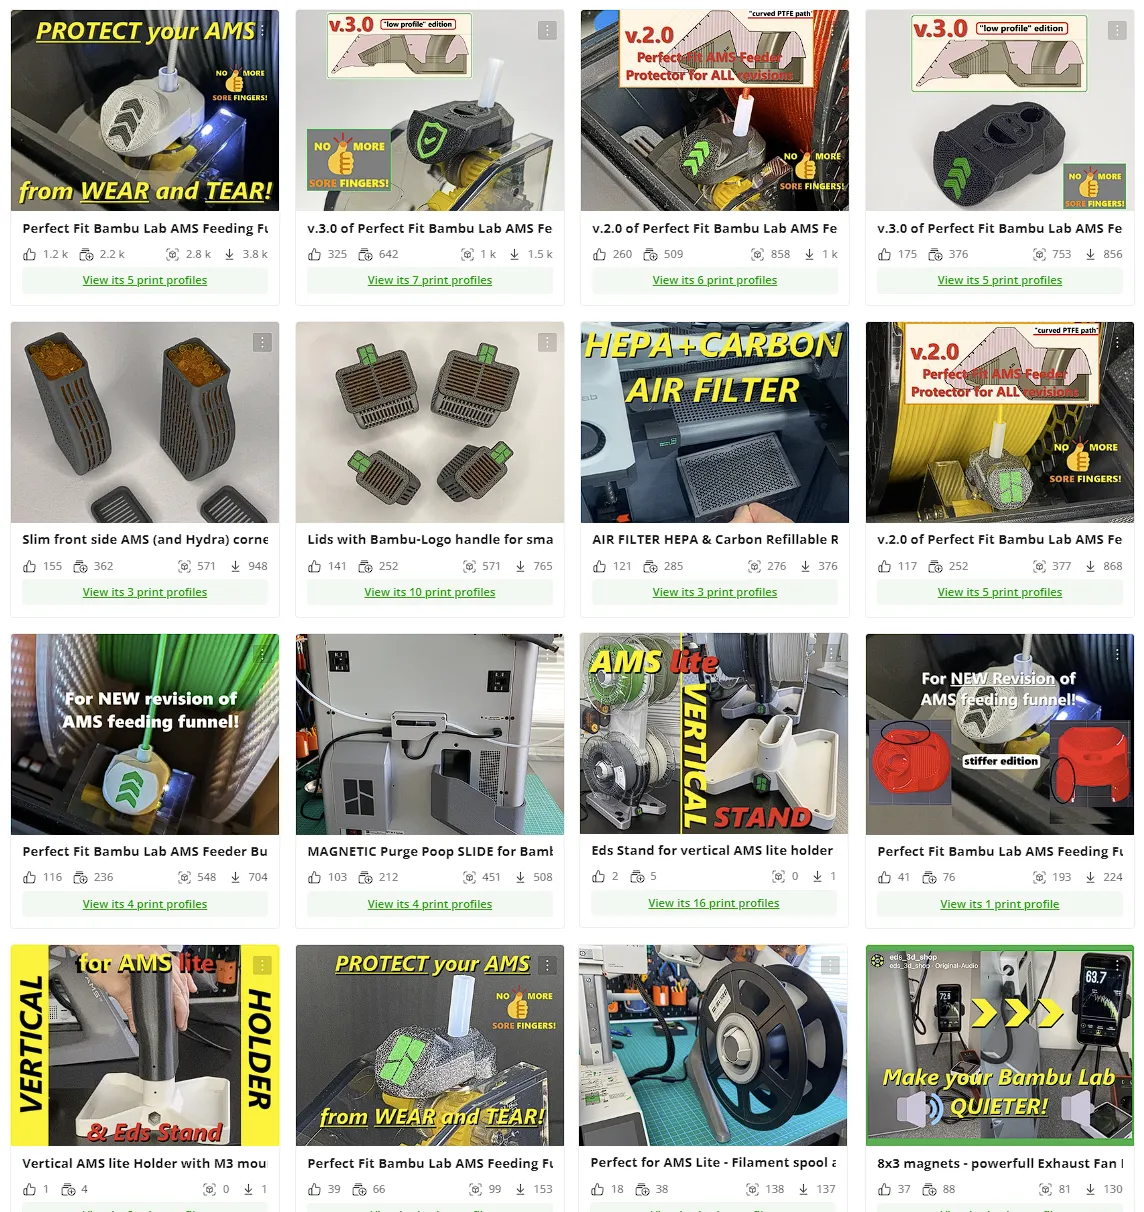
Take a look at my other very helpful designs for X1/P1P/P1S/A1/A1mini:
If you like my work and want to support me - please follow me and if you want - you can buy me a coffee! https://linktr.ee/eds_3d_shop
Thank you for your support and.. happy printing!
Ed ;-)
This remix is based on

License

You shall not share, sub-license, sell, rent, host, transfer, or distribute in any way the digital or 3D printed versions of this object, nor any other derivative work of this object in its digital or physical format (including - but not limited to - remixes of this object, and hosting on other digital platforms). The objects may not be used without permission in any way whatsoever in which you charge money, or collect fees.


Comment & Rating (662)