MAG Plate Wall Mate - For Screw Bit Scabbard


Print Profile(2)


Bill of Materials

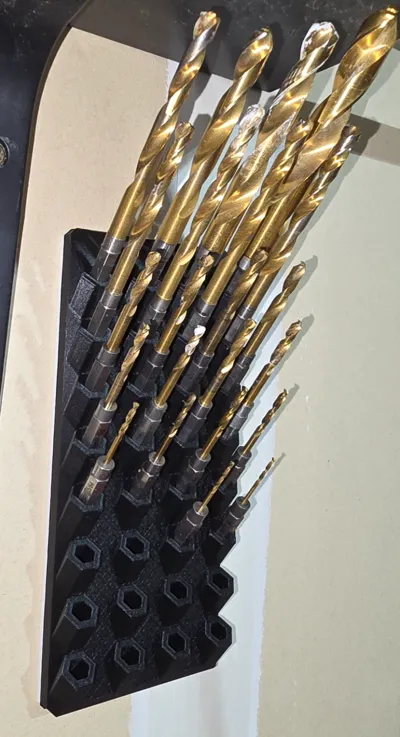
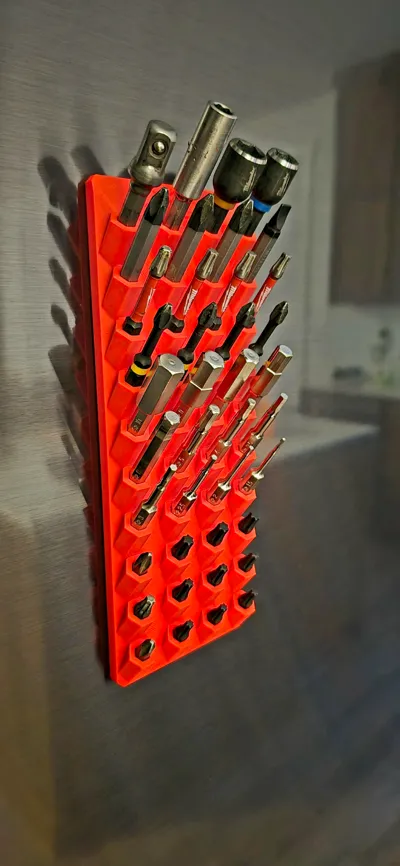
- Screw Bit "Scabbard__Wall Mount + Magnetic + SKADIS" x 1: https://makerworld.com/en/models/579090#profileId-499838
Description
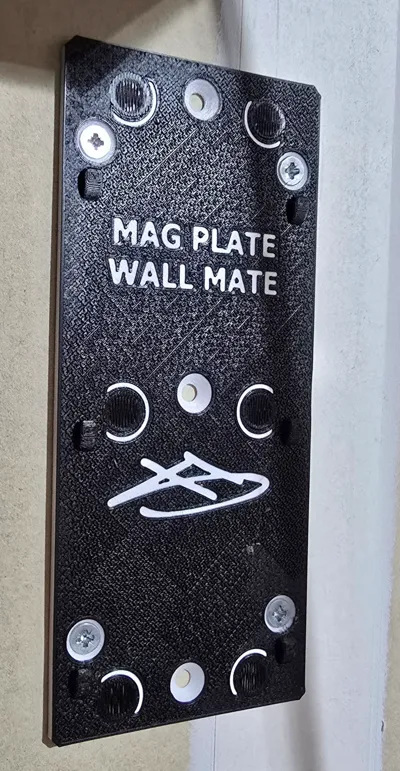
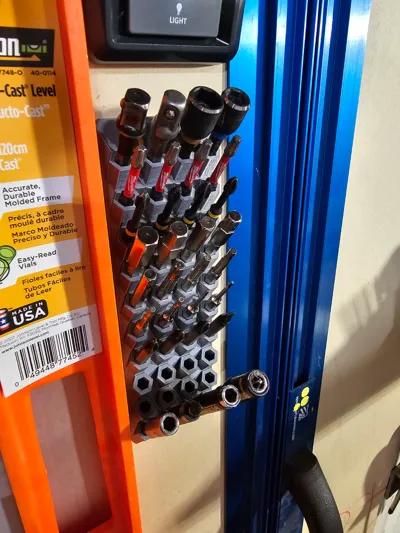
This is a super thin (3.29mm THK) magnetic wall mount for your favorite screw bit organizer; the Screw Bit Scabbard!
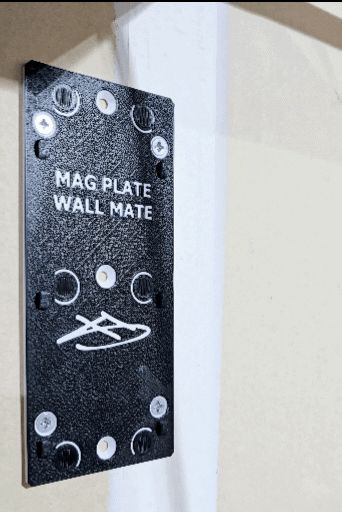
Now you can non-permanently mount your Screw Bit Scabbard to any wall! Simply pull it off the Mag Plate:

Note: The Mag Plate is mounted to the wall via screws.
Another Note: The Mag Plate has Qty (6) hooks which engage only if you load the Screw Bit Scabbard beyond the shear strength of your magnets. So, load it up with no fear of it slipping off the magnets; the hooks will hold it!
…Once you've pulled it off the wall mount, simply slap it onto any ferrous surface closer to where you're working:

…Then efficiently return it to its original secure position:

Now you're convinced, here's the process:
- Print the Screw Bit Scabbard (why haven't you done that already?)
- It will help orient the magnets correctly (step 3).
- Press “Prepare to Print”.
- Let the printer do what it do and be a little patient.
About an hour later (X1C), add Qty (6) D8x2mm magnets like so: (do it like this to guarantee you set the polarity correctly)

Note: Video above is for MAG Plate SKÅDIS Hanger but the process is the same
- Resume print for like 26 minutes (X1C).
Let it cool, remove from build plate, then proceed as shown:
Note: Screw holes are included for both single stud mounting as well as for mounting to broad face surfaces (e.g., plywood, wide face of a 2x4, or any other vertical planar non-ferrous surface).

- Attach your Screw Bit Scabbard.
- Enjoy being organized, more efficient, and better looking!
Feedback is welcome!
ENJOY!!
Boost Me (for free)
Thank you for your support!
Membership
Subscribe & Sell with a Commercial License!
License
You shall not share, sub-license, sell, rent, host, transfer, or distribute in any way the digital or 3D printed versions of this object, nor any other derivative work of this object in its digital or physical format (including - but not limited to - remixes of this object, and hosting on other digital platforms). The objects may not be used without permission in any way whatsoever in which you charge money, or collect fees.
Comment & Rating (0)