
Candy trap




Print Profile(1)

Bill of Materials

Description

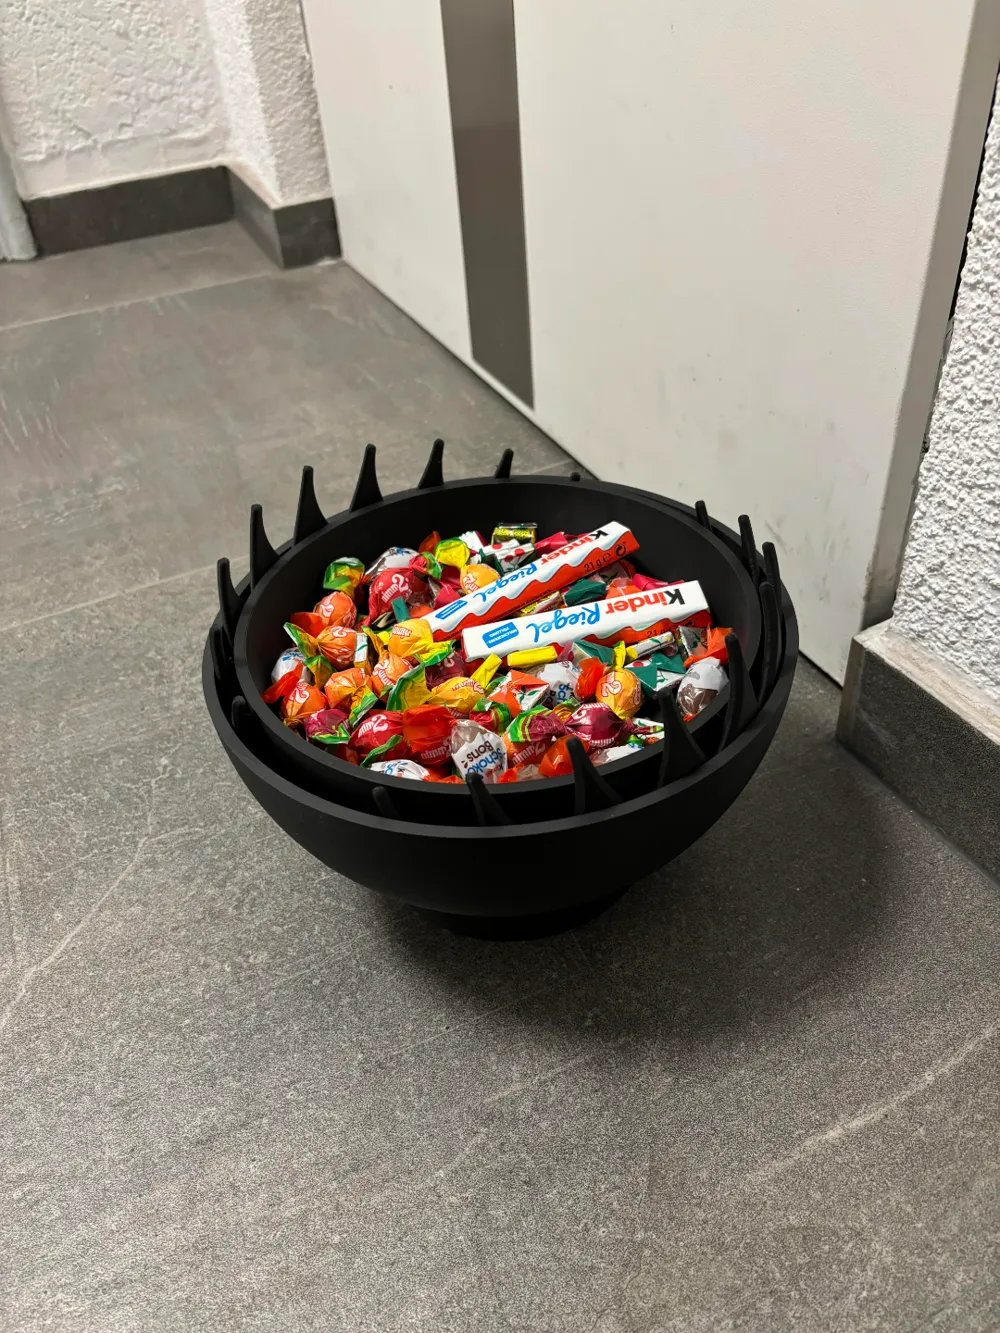
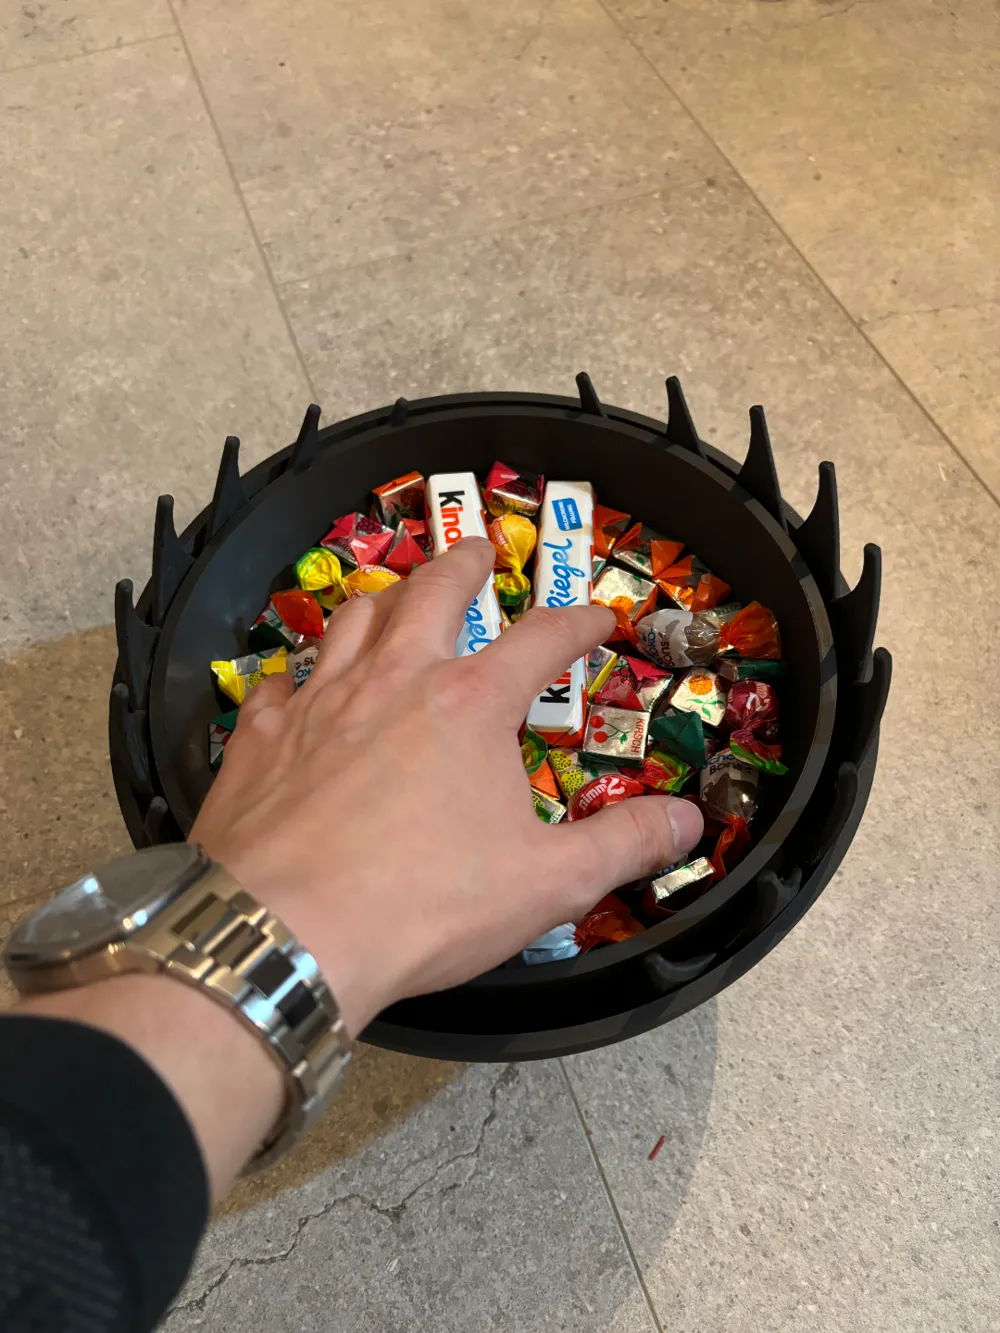
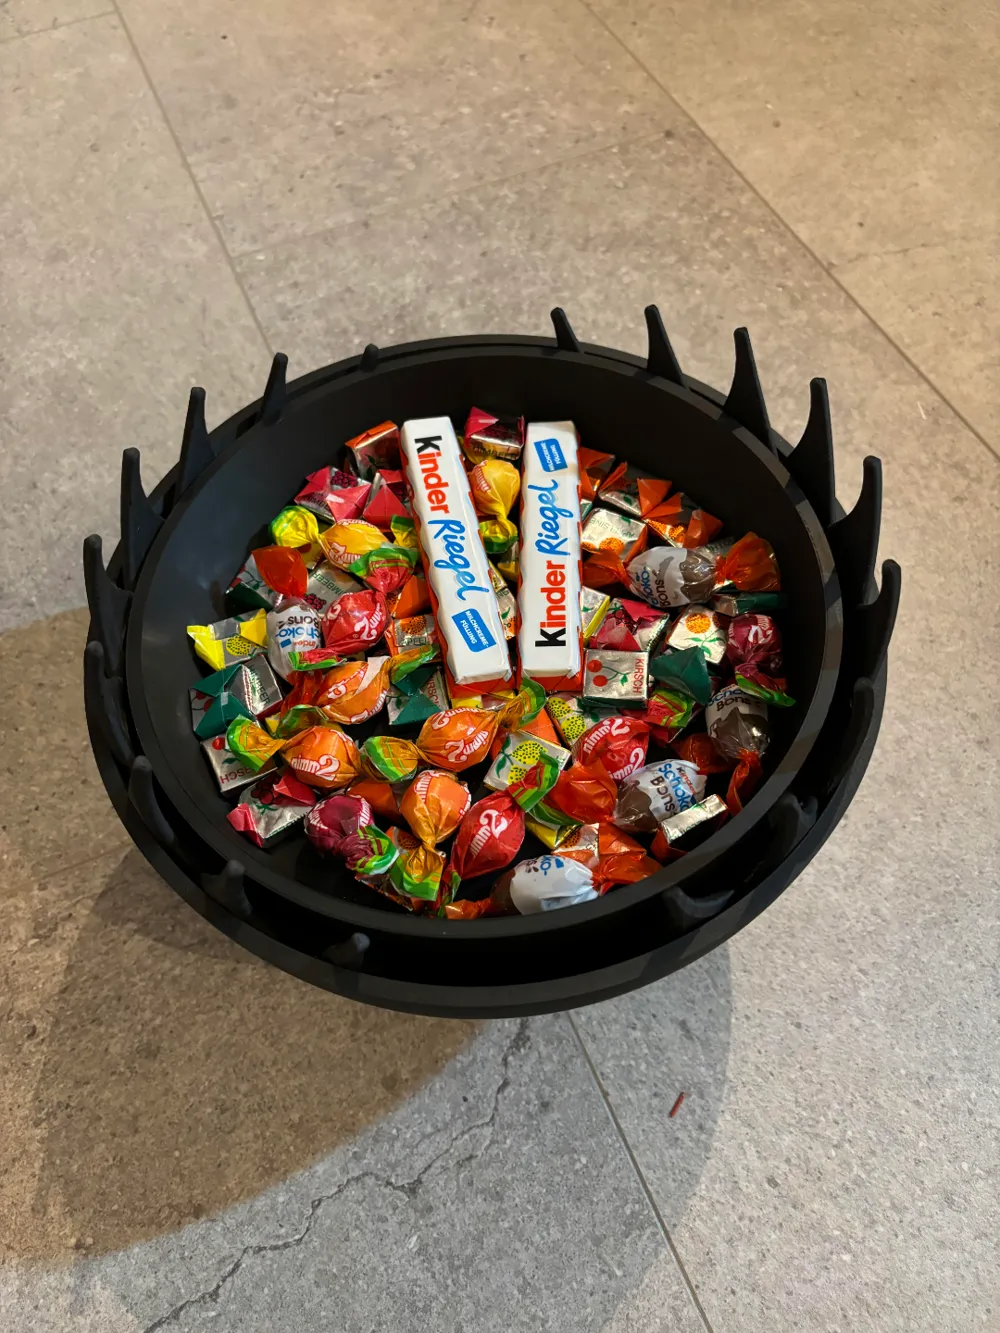
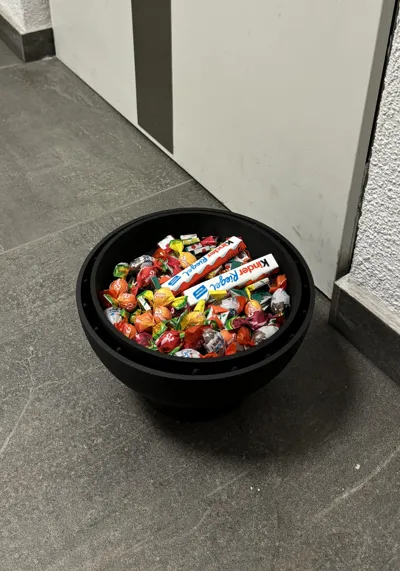
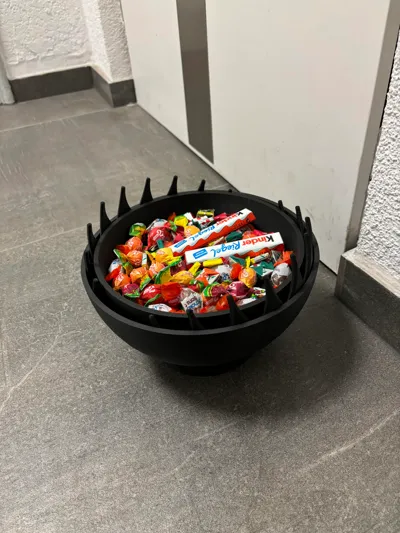
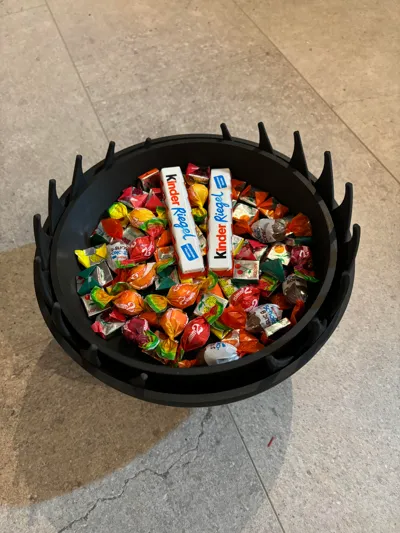
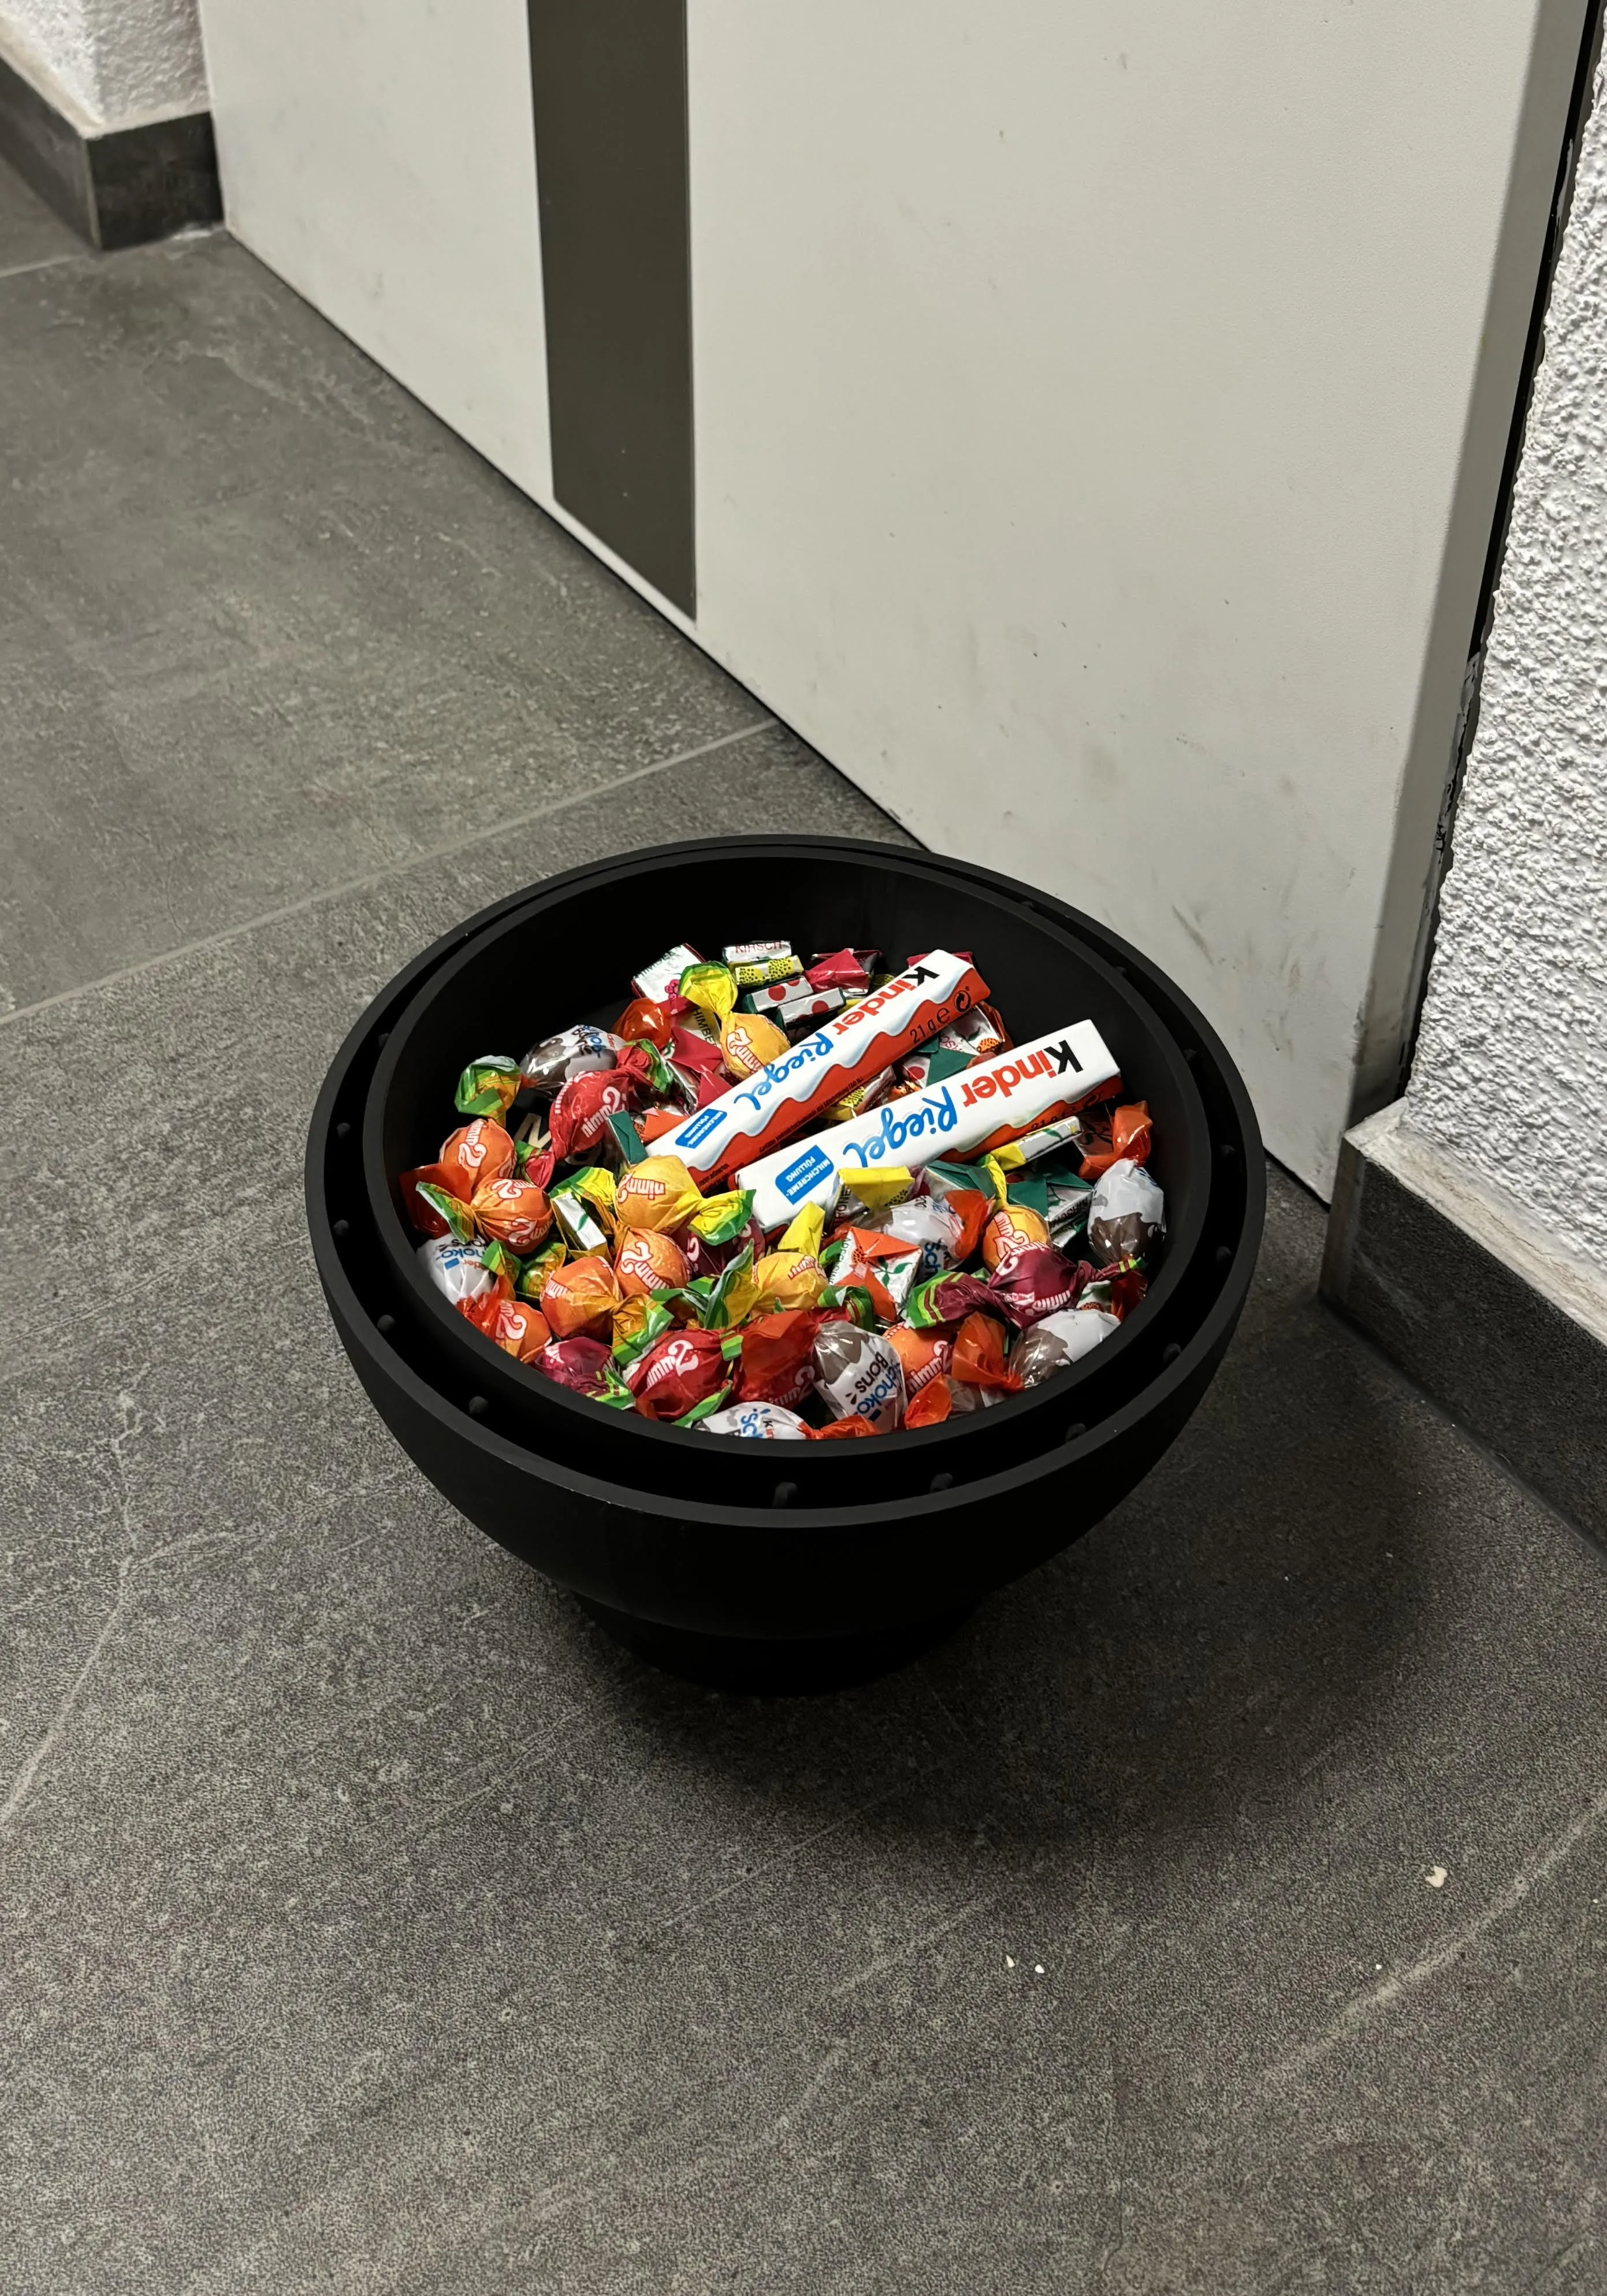
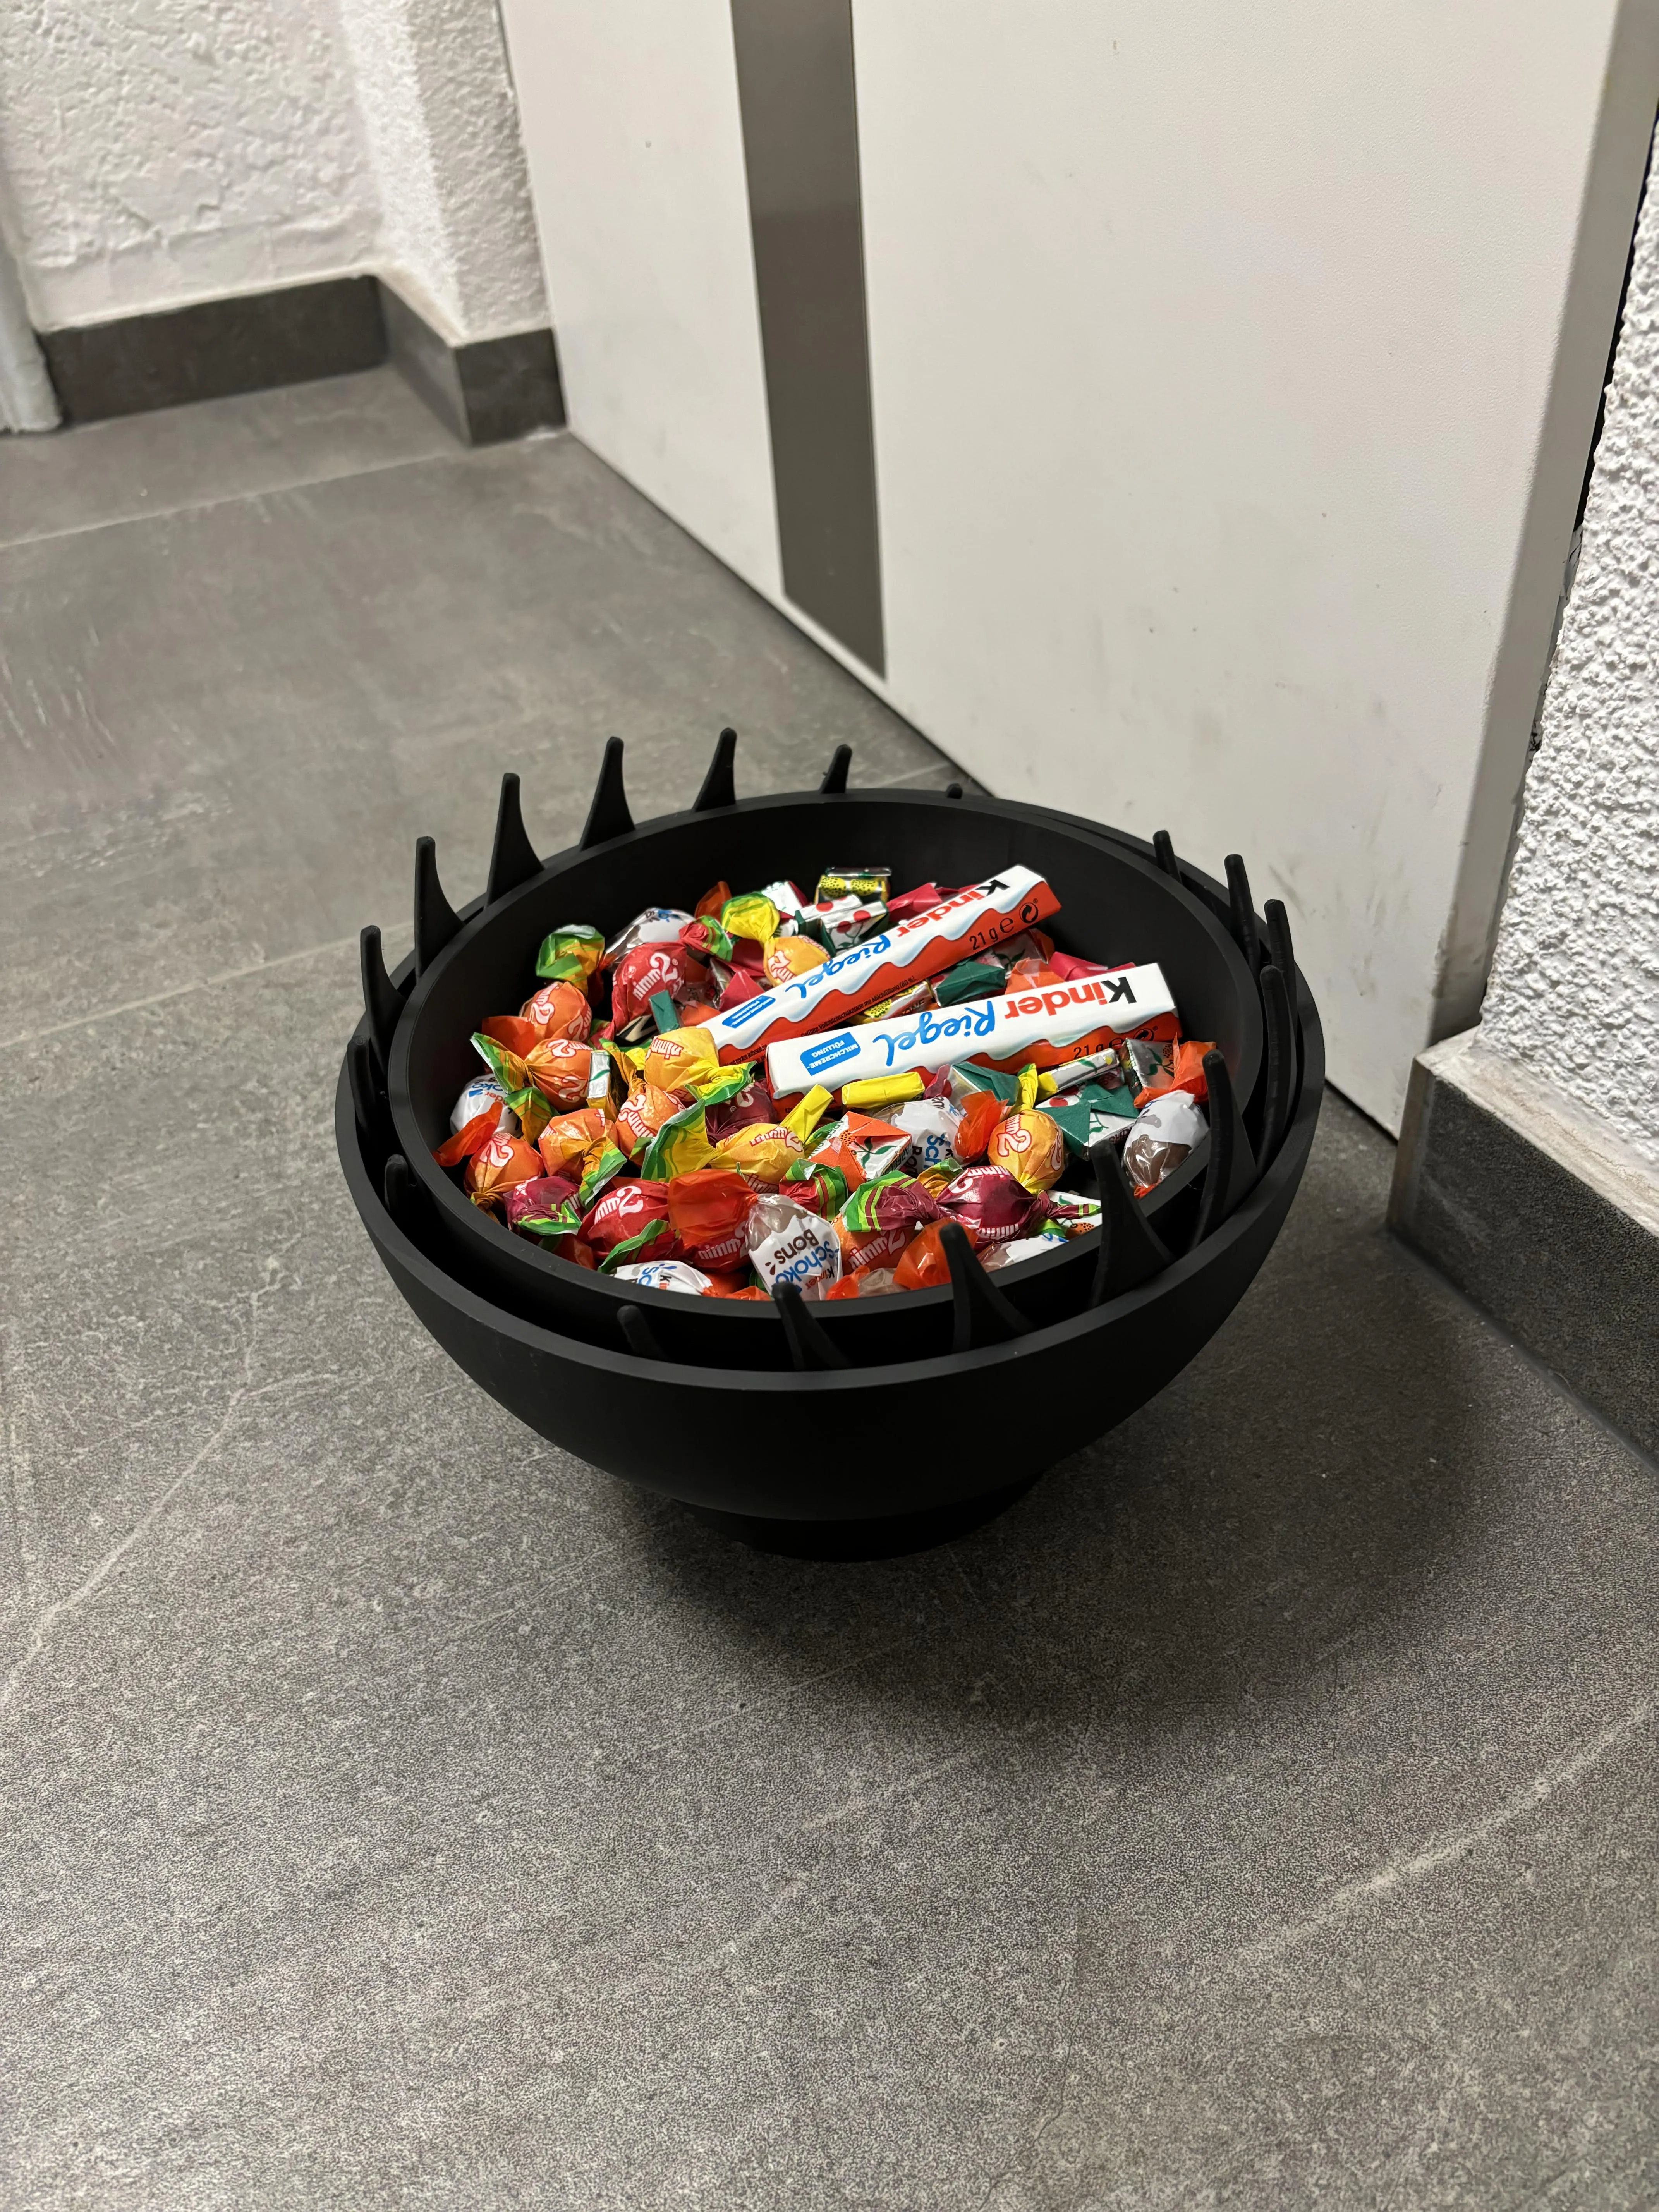
Are you looking for a cool gadget for Halloween?
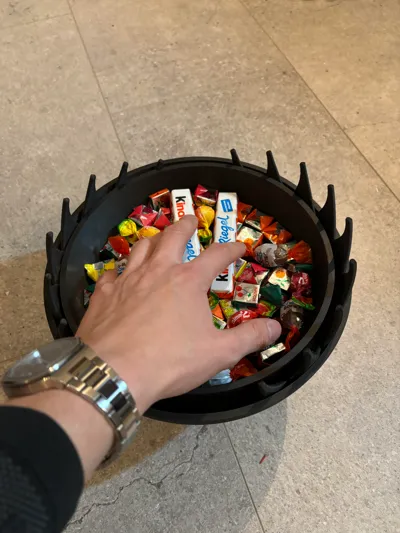
I introduce my candy trap with a lot of work.
There is no risk of crushing or injury!!!!
Here are the instructions for assembling:
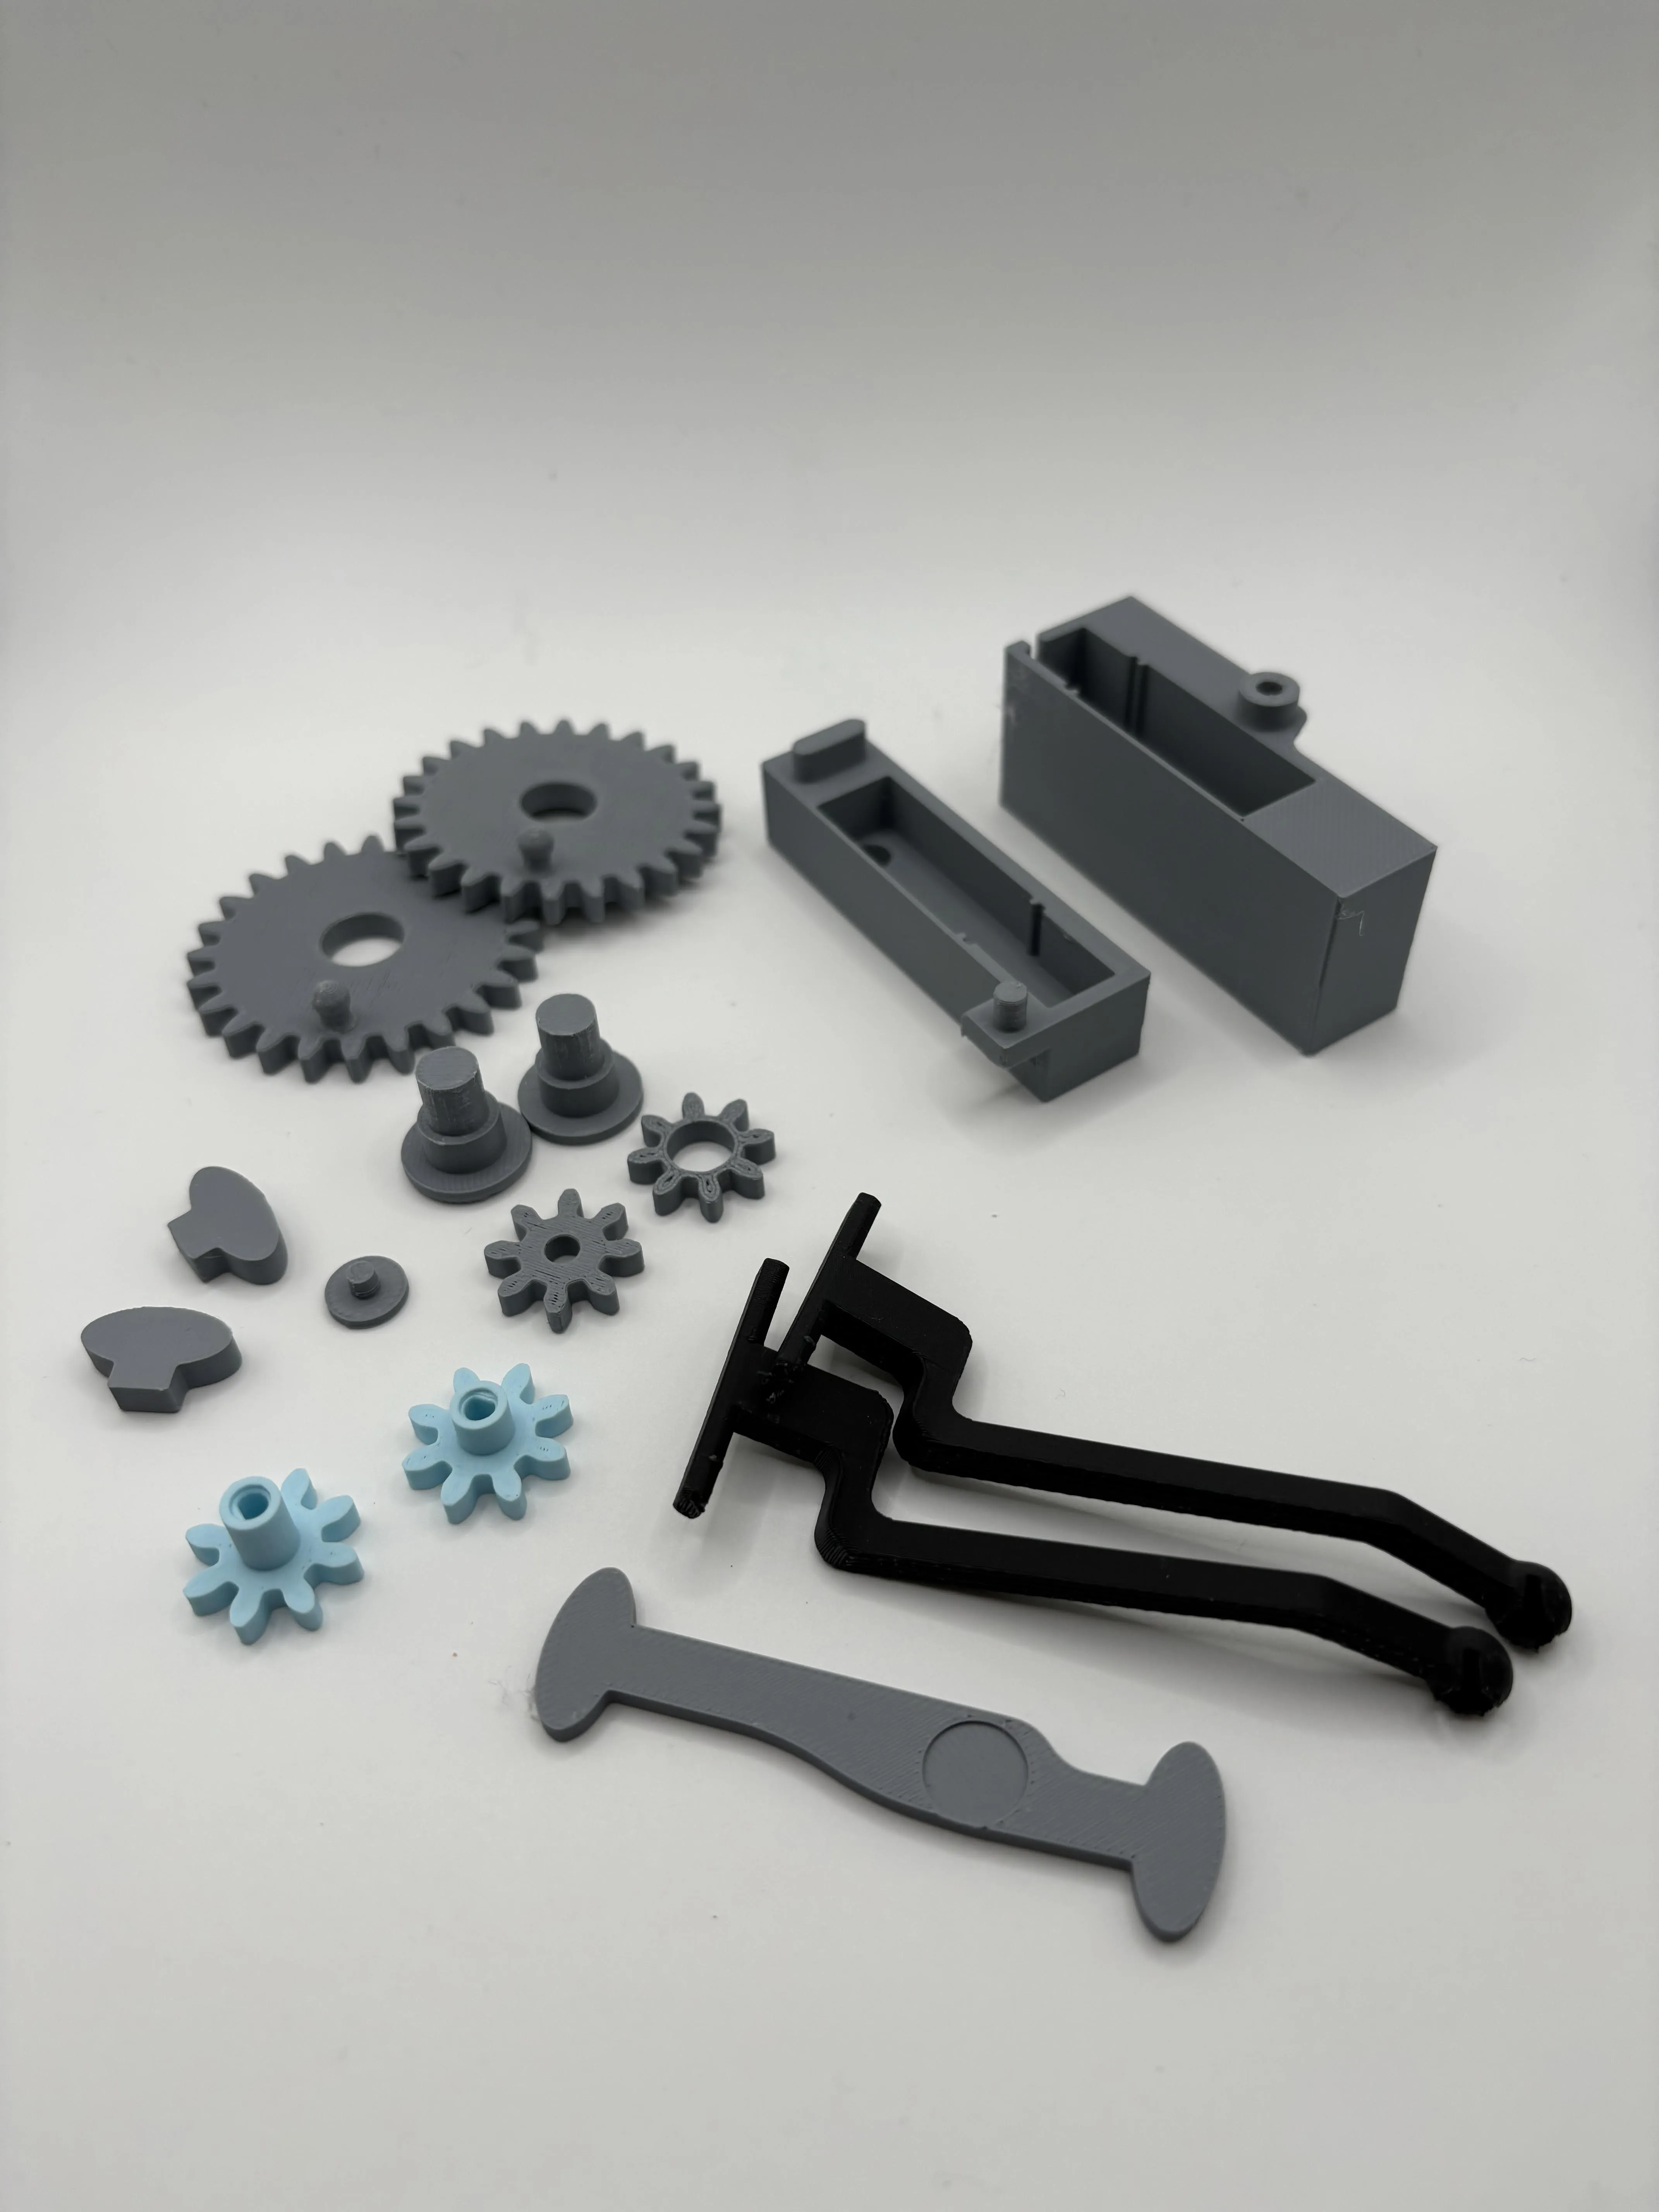
Print out all the components you need.
In total there are:
6 gears
6 holders
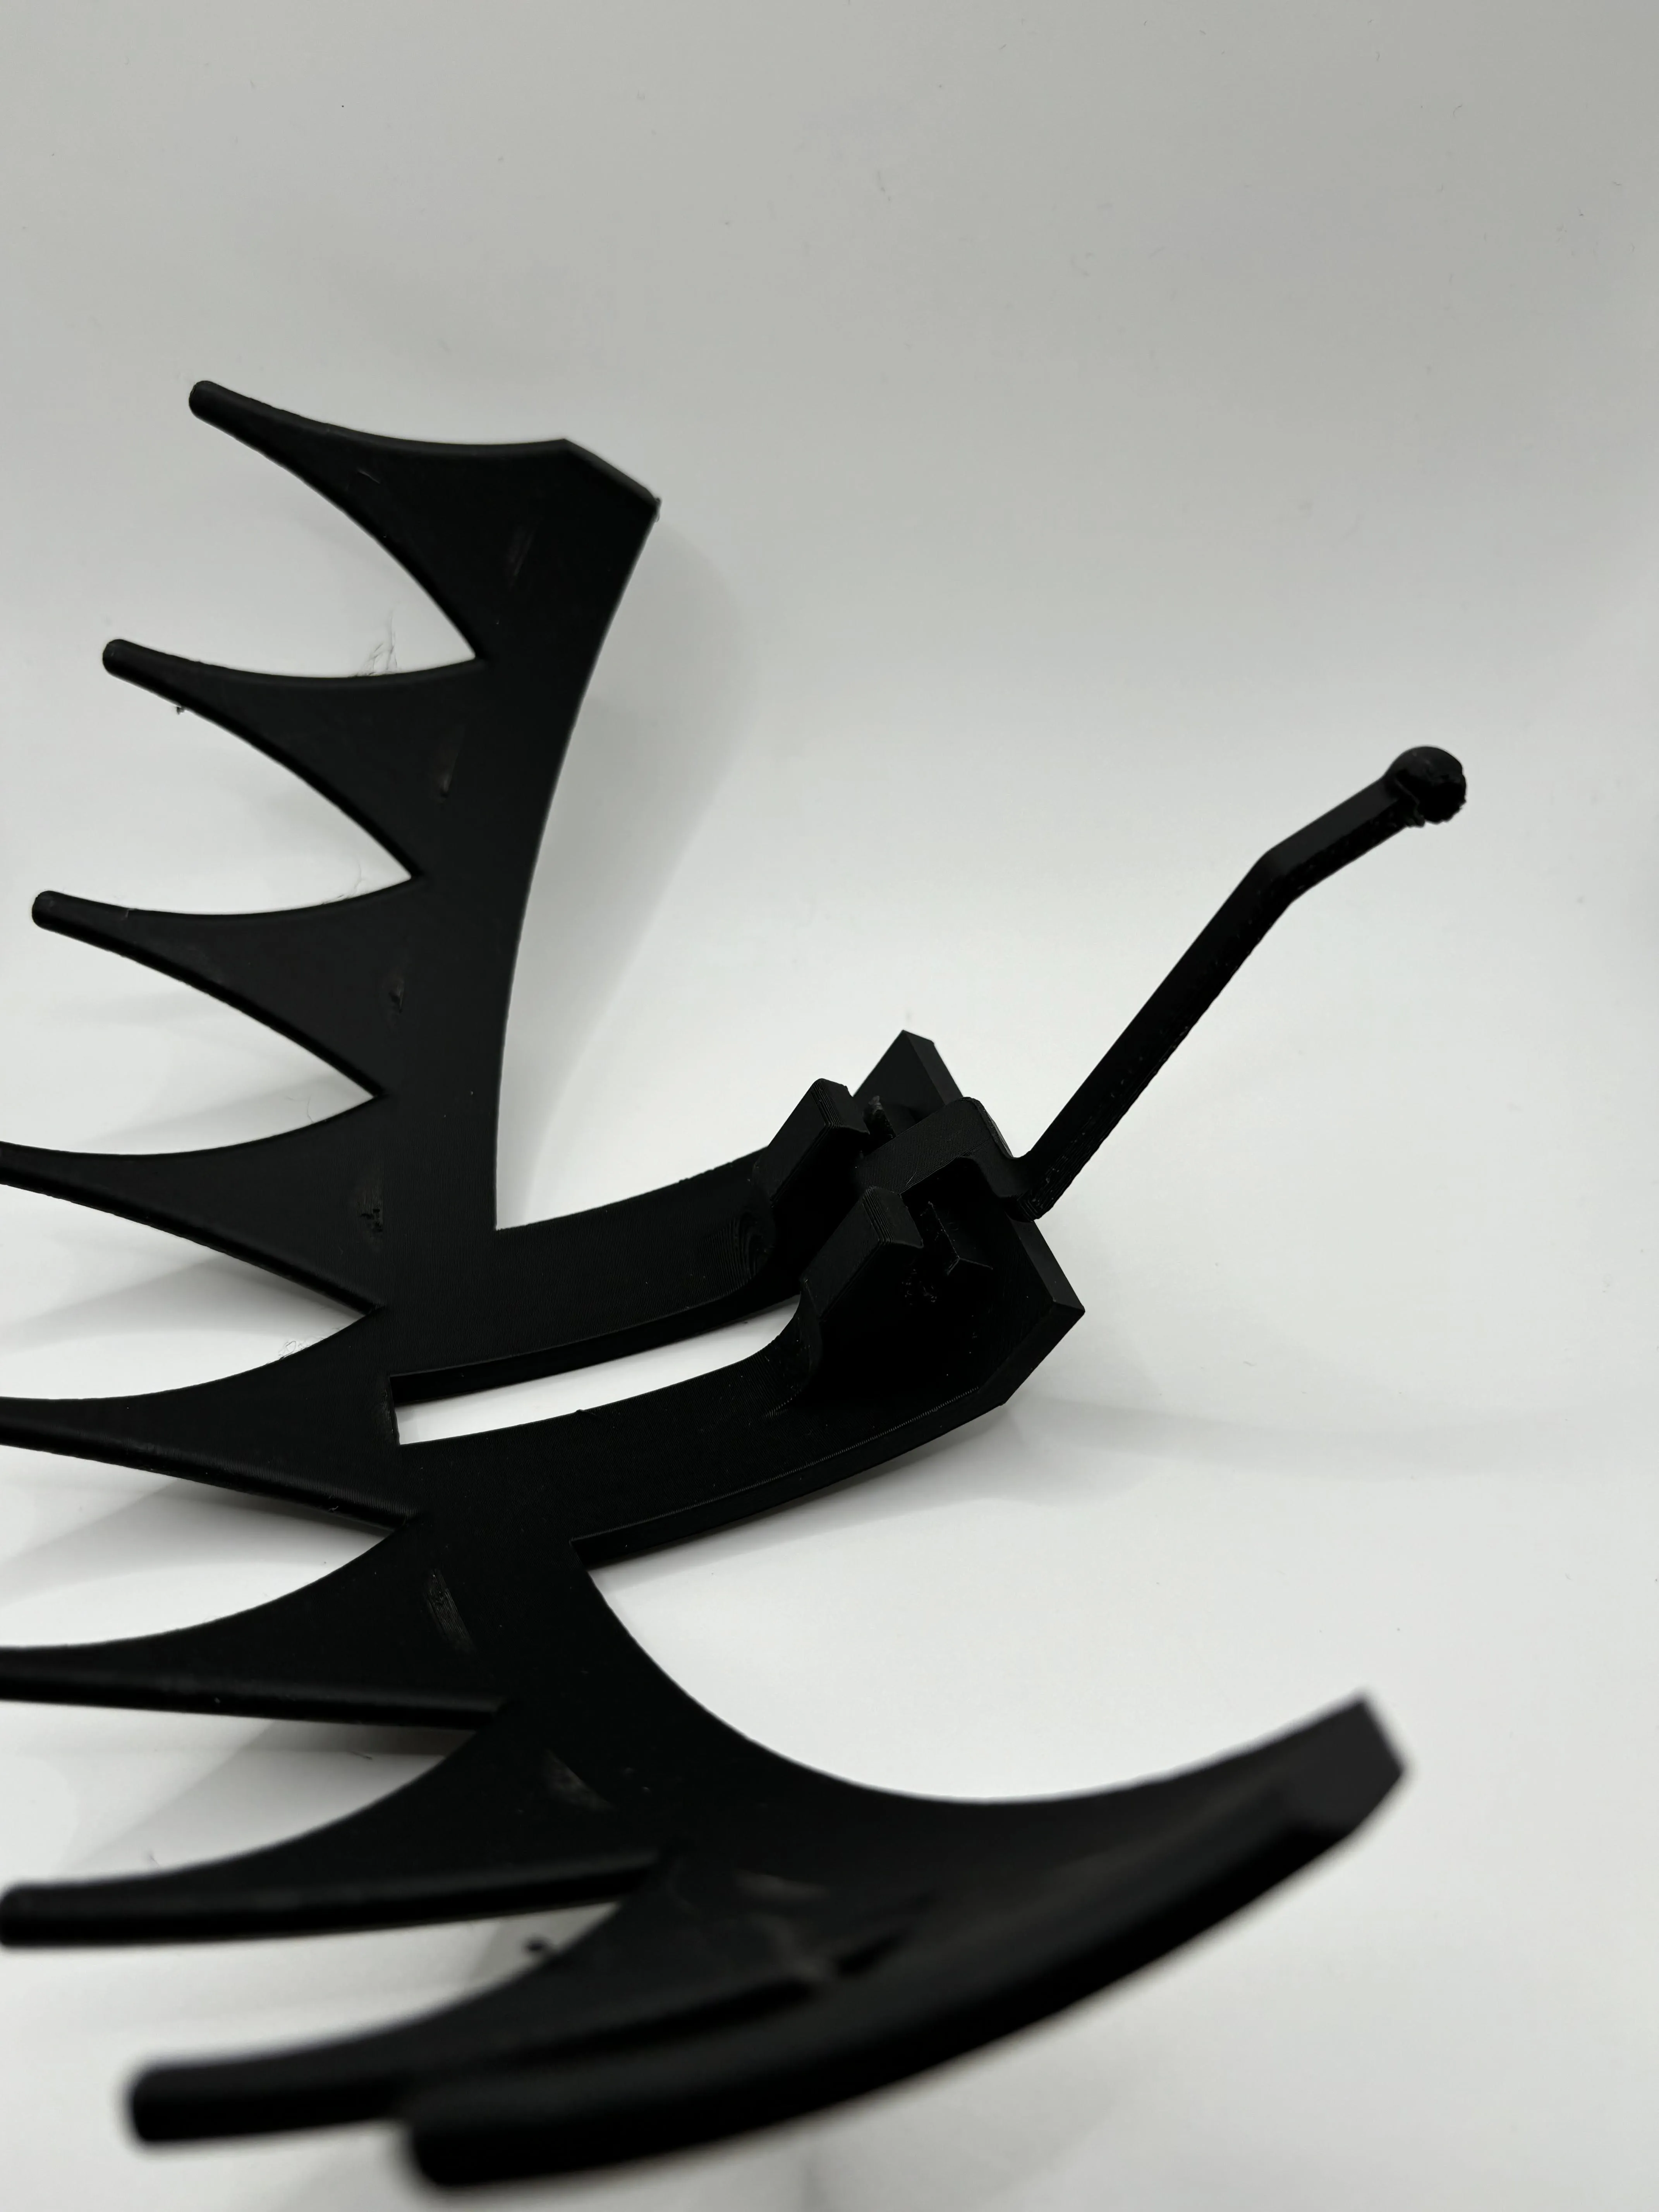
2 articulated arms
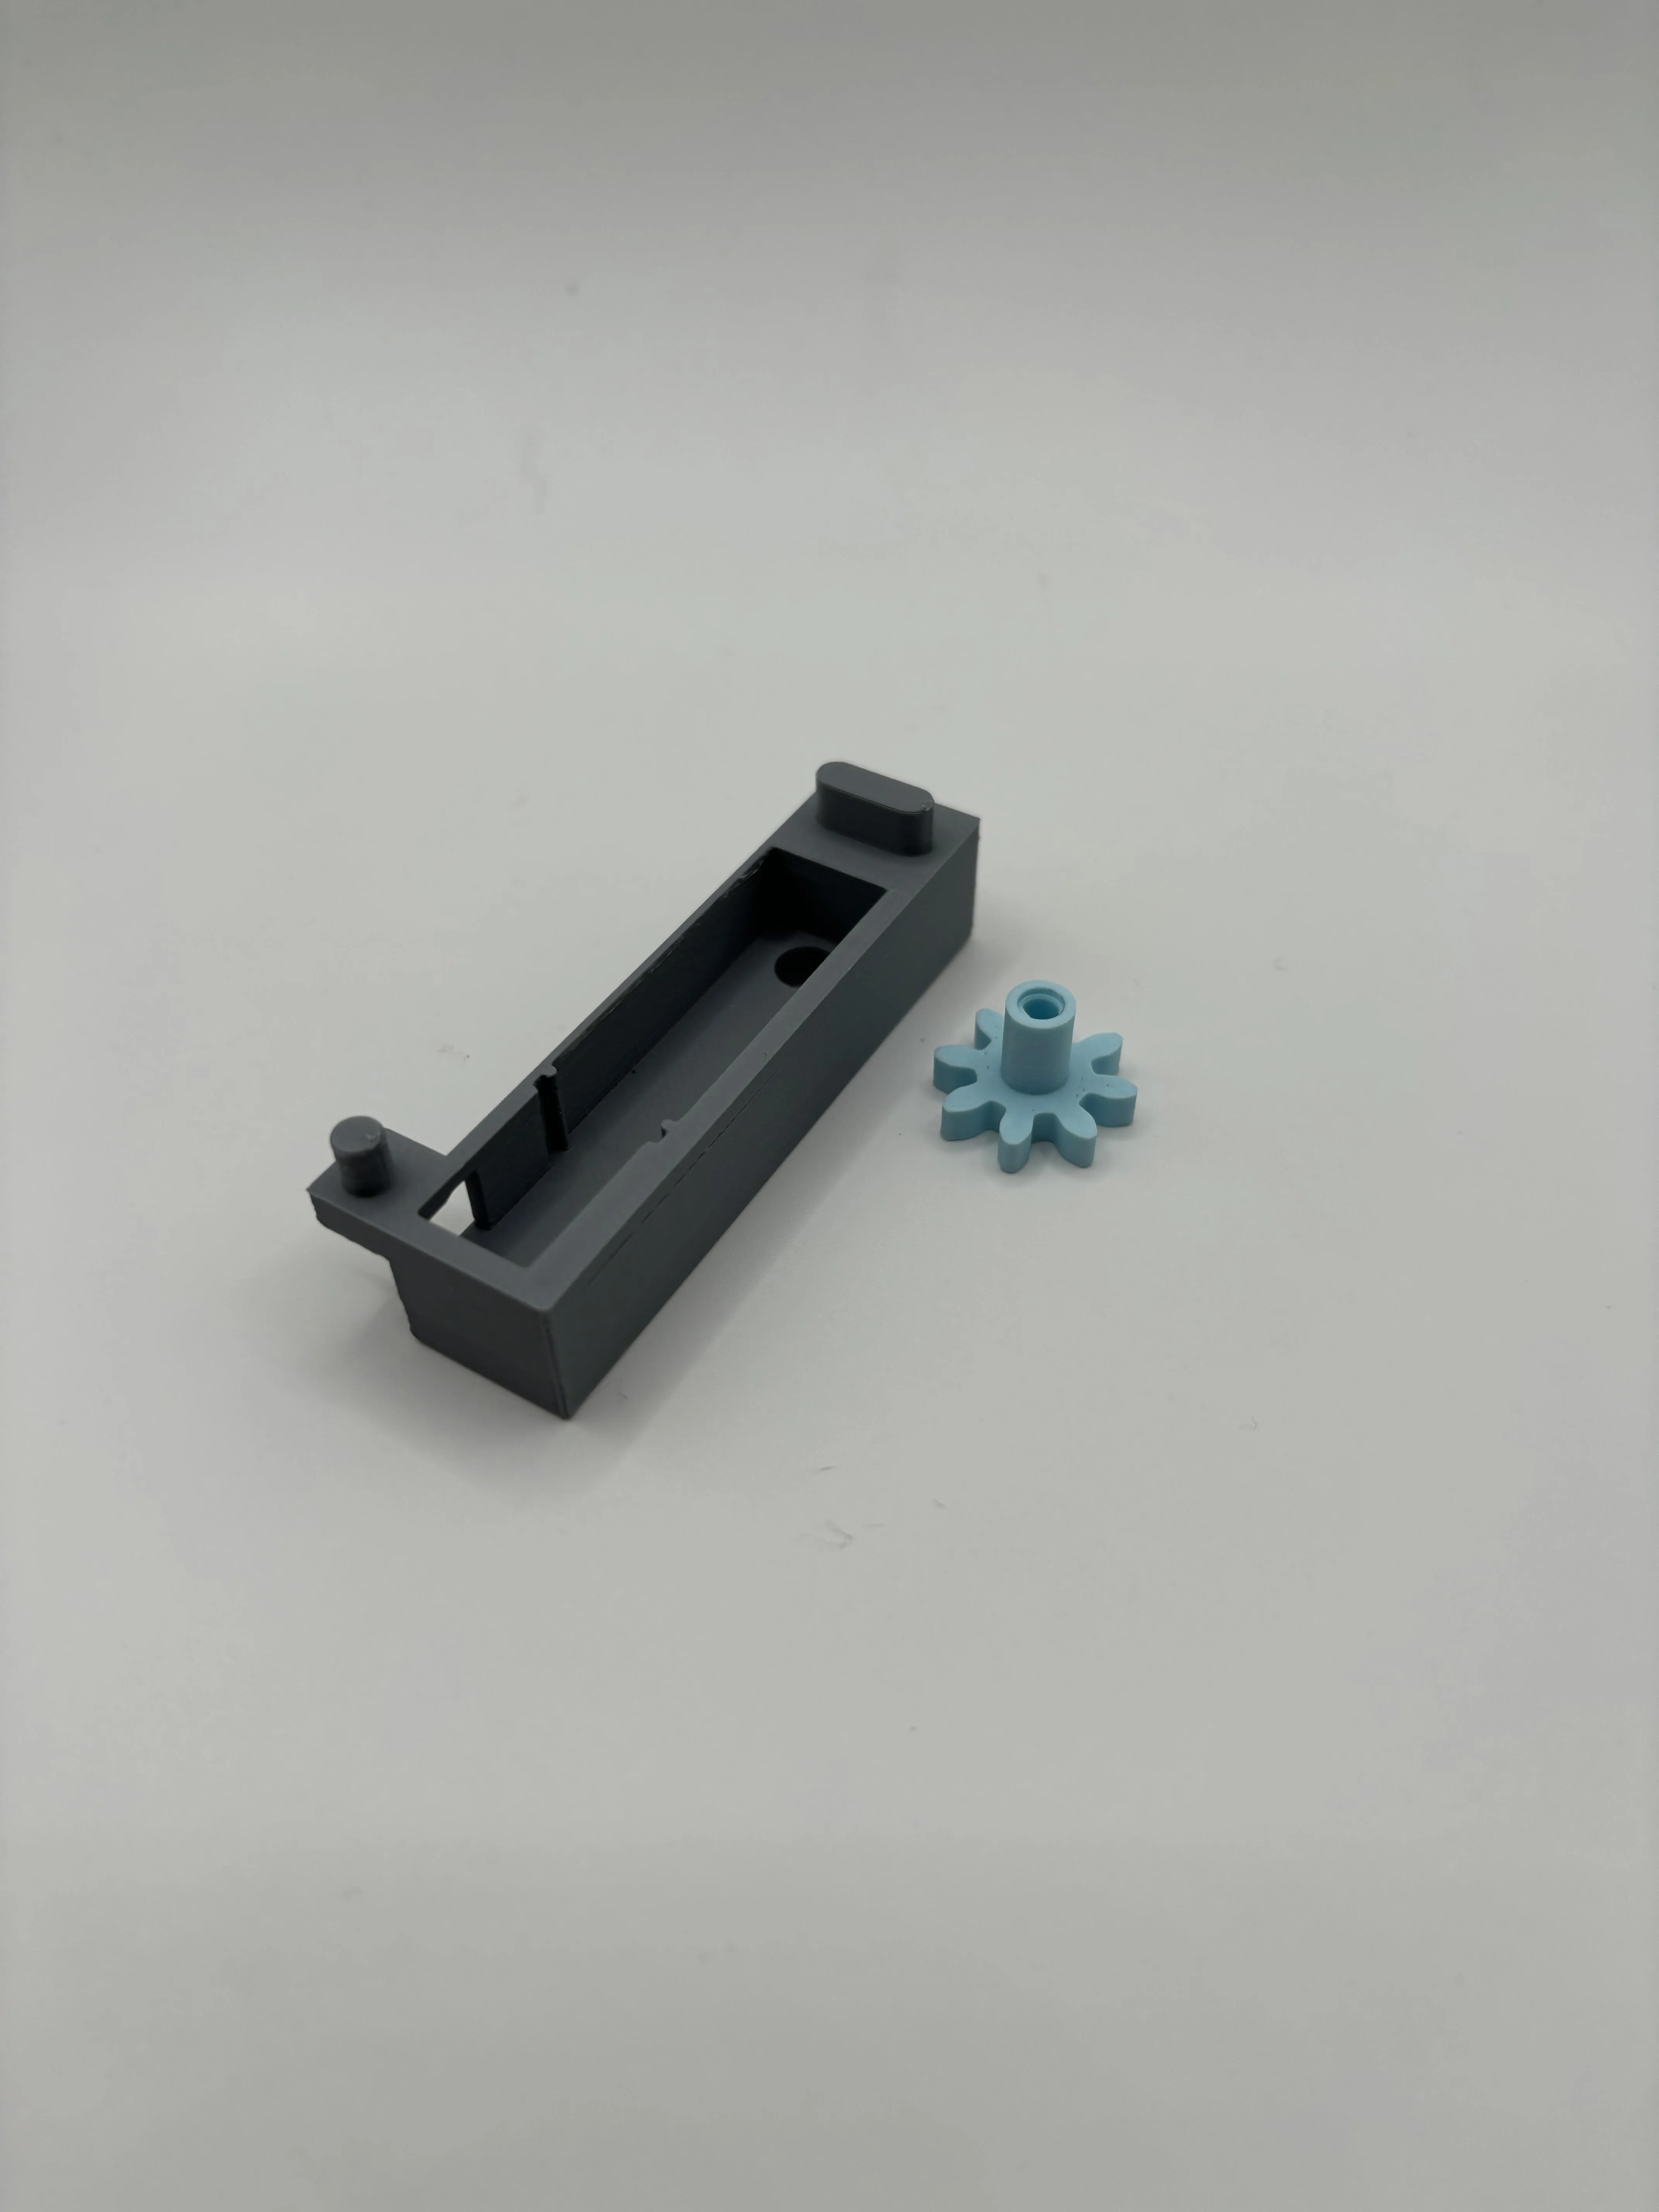
2 motor boxes
2 points
inner holder
big bowl
small bowl
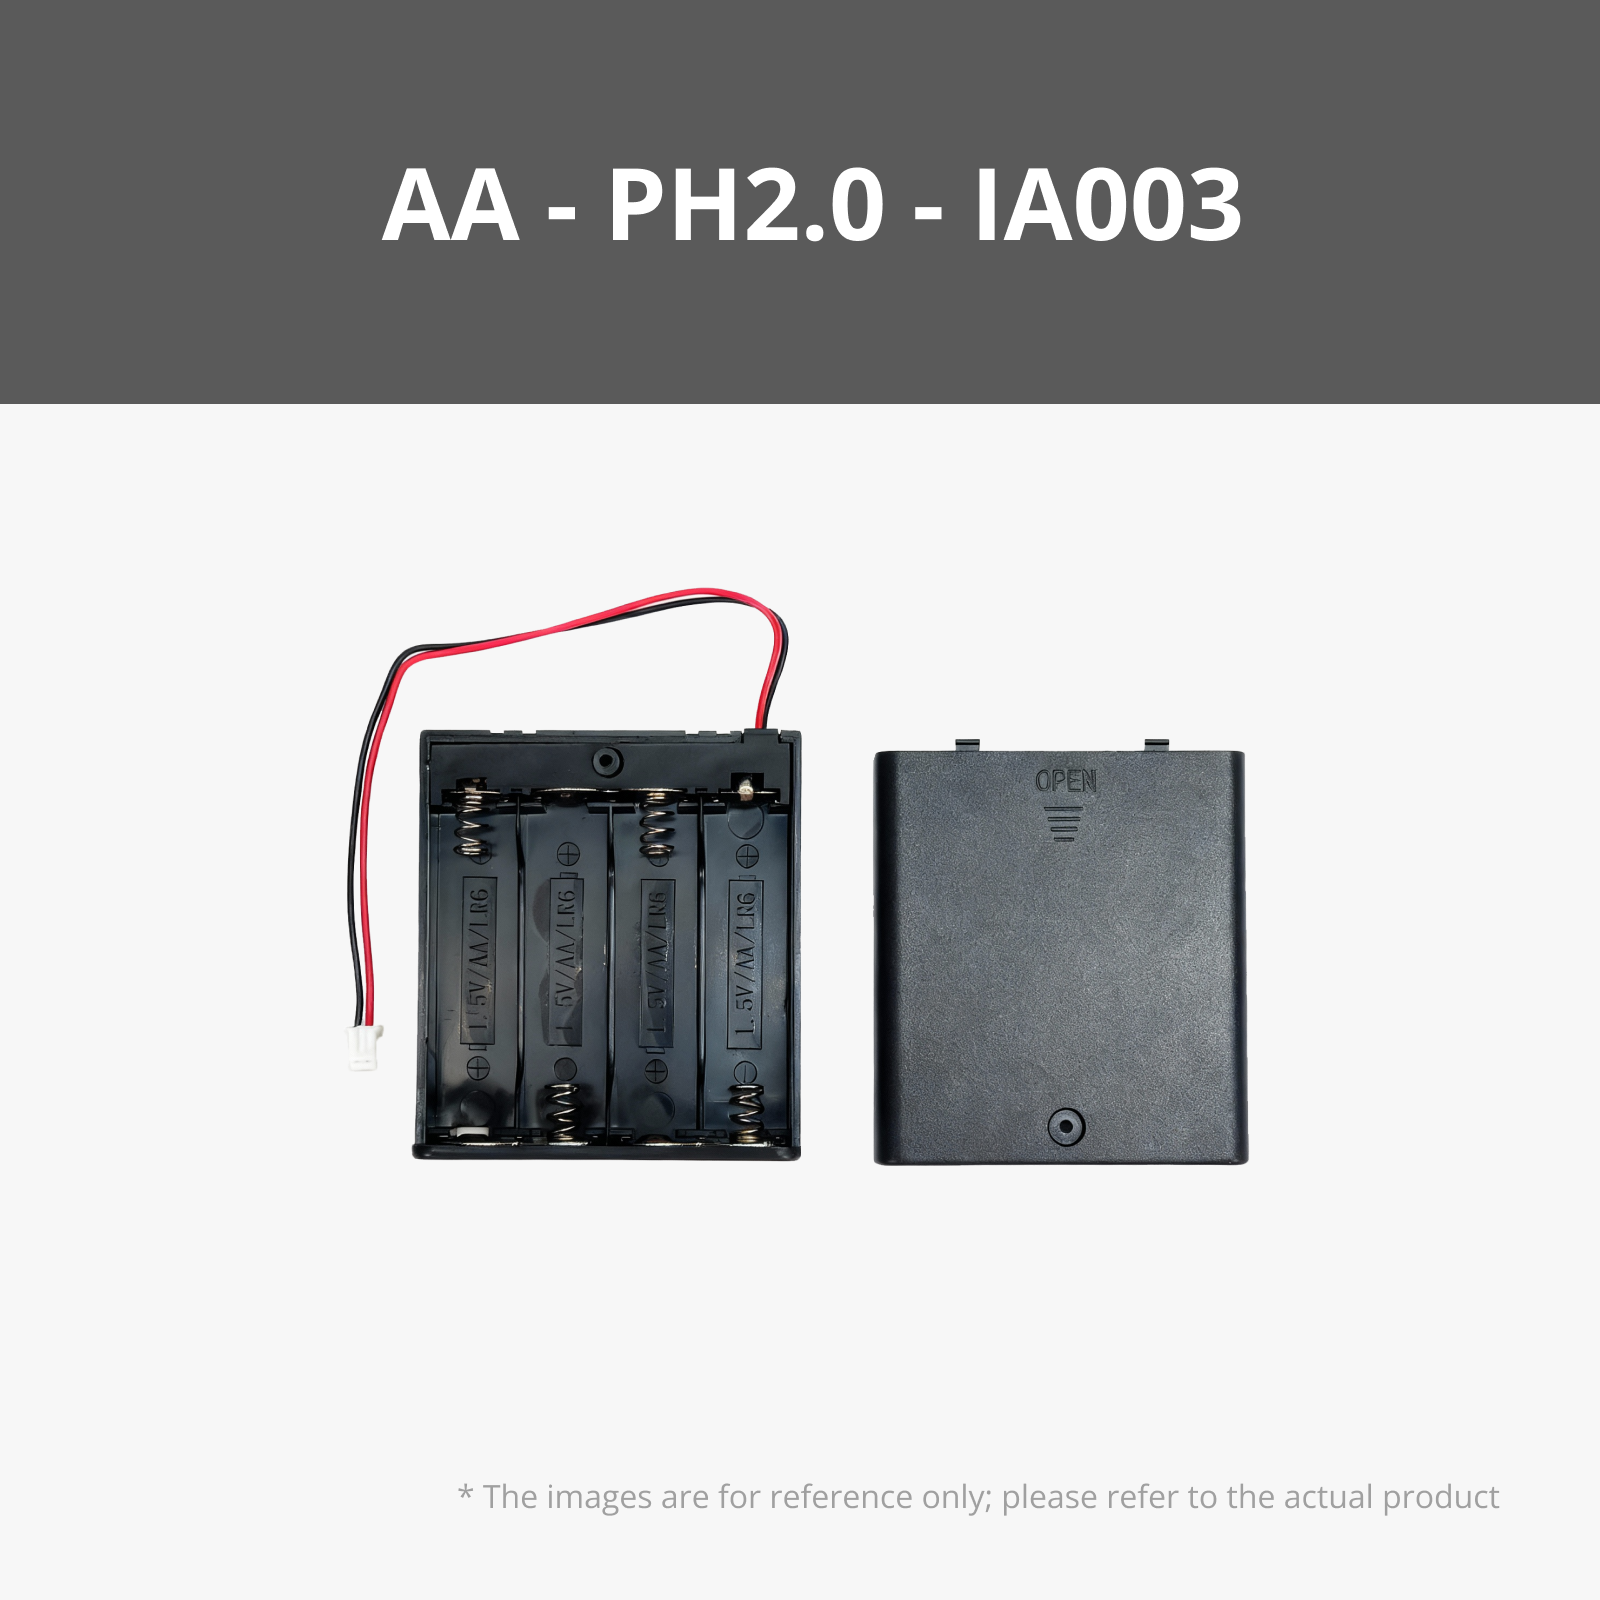
battery coverNow you need 2 motors and a battery compartment from Bambu lab.
Also 2x5cm long cables (recommended but not absolutely necessary).
And shrink tubingTool:
soldering iron
knife
tongs
superglueFirst, shorten the cable from the battery compartment by about 5cm. With the two cables you then solder the motors together as follows
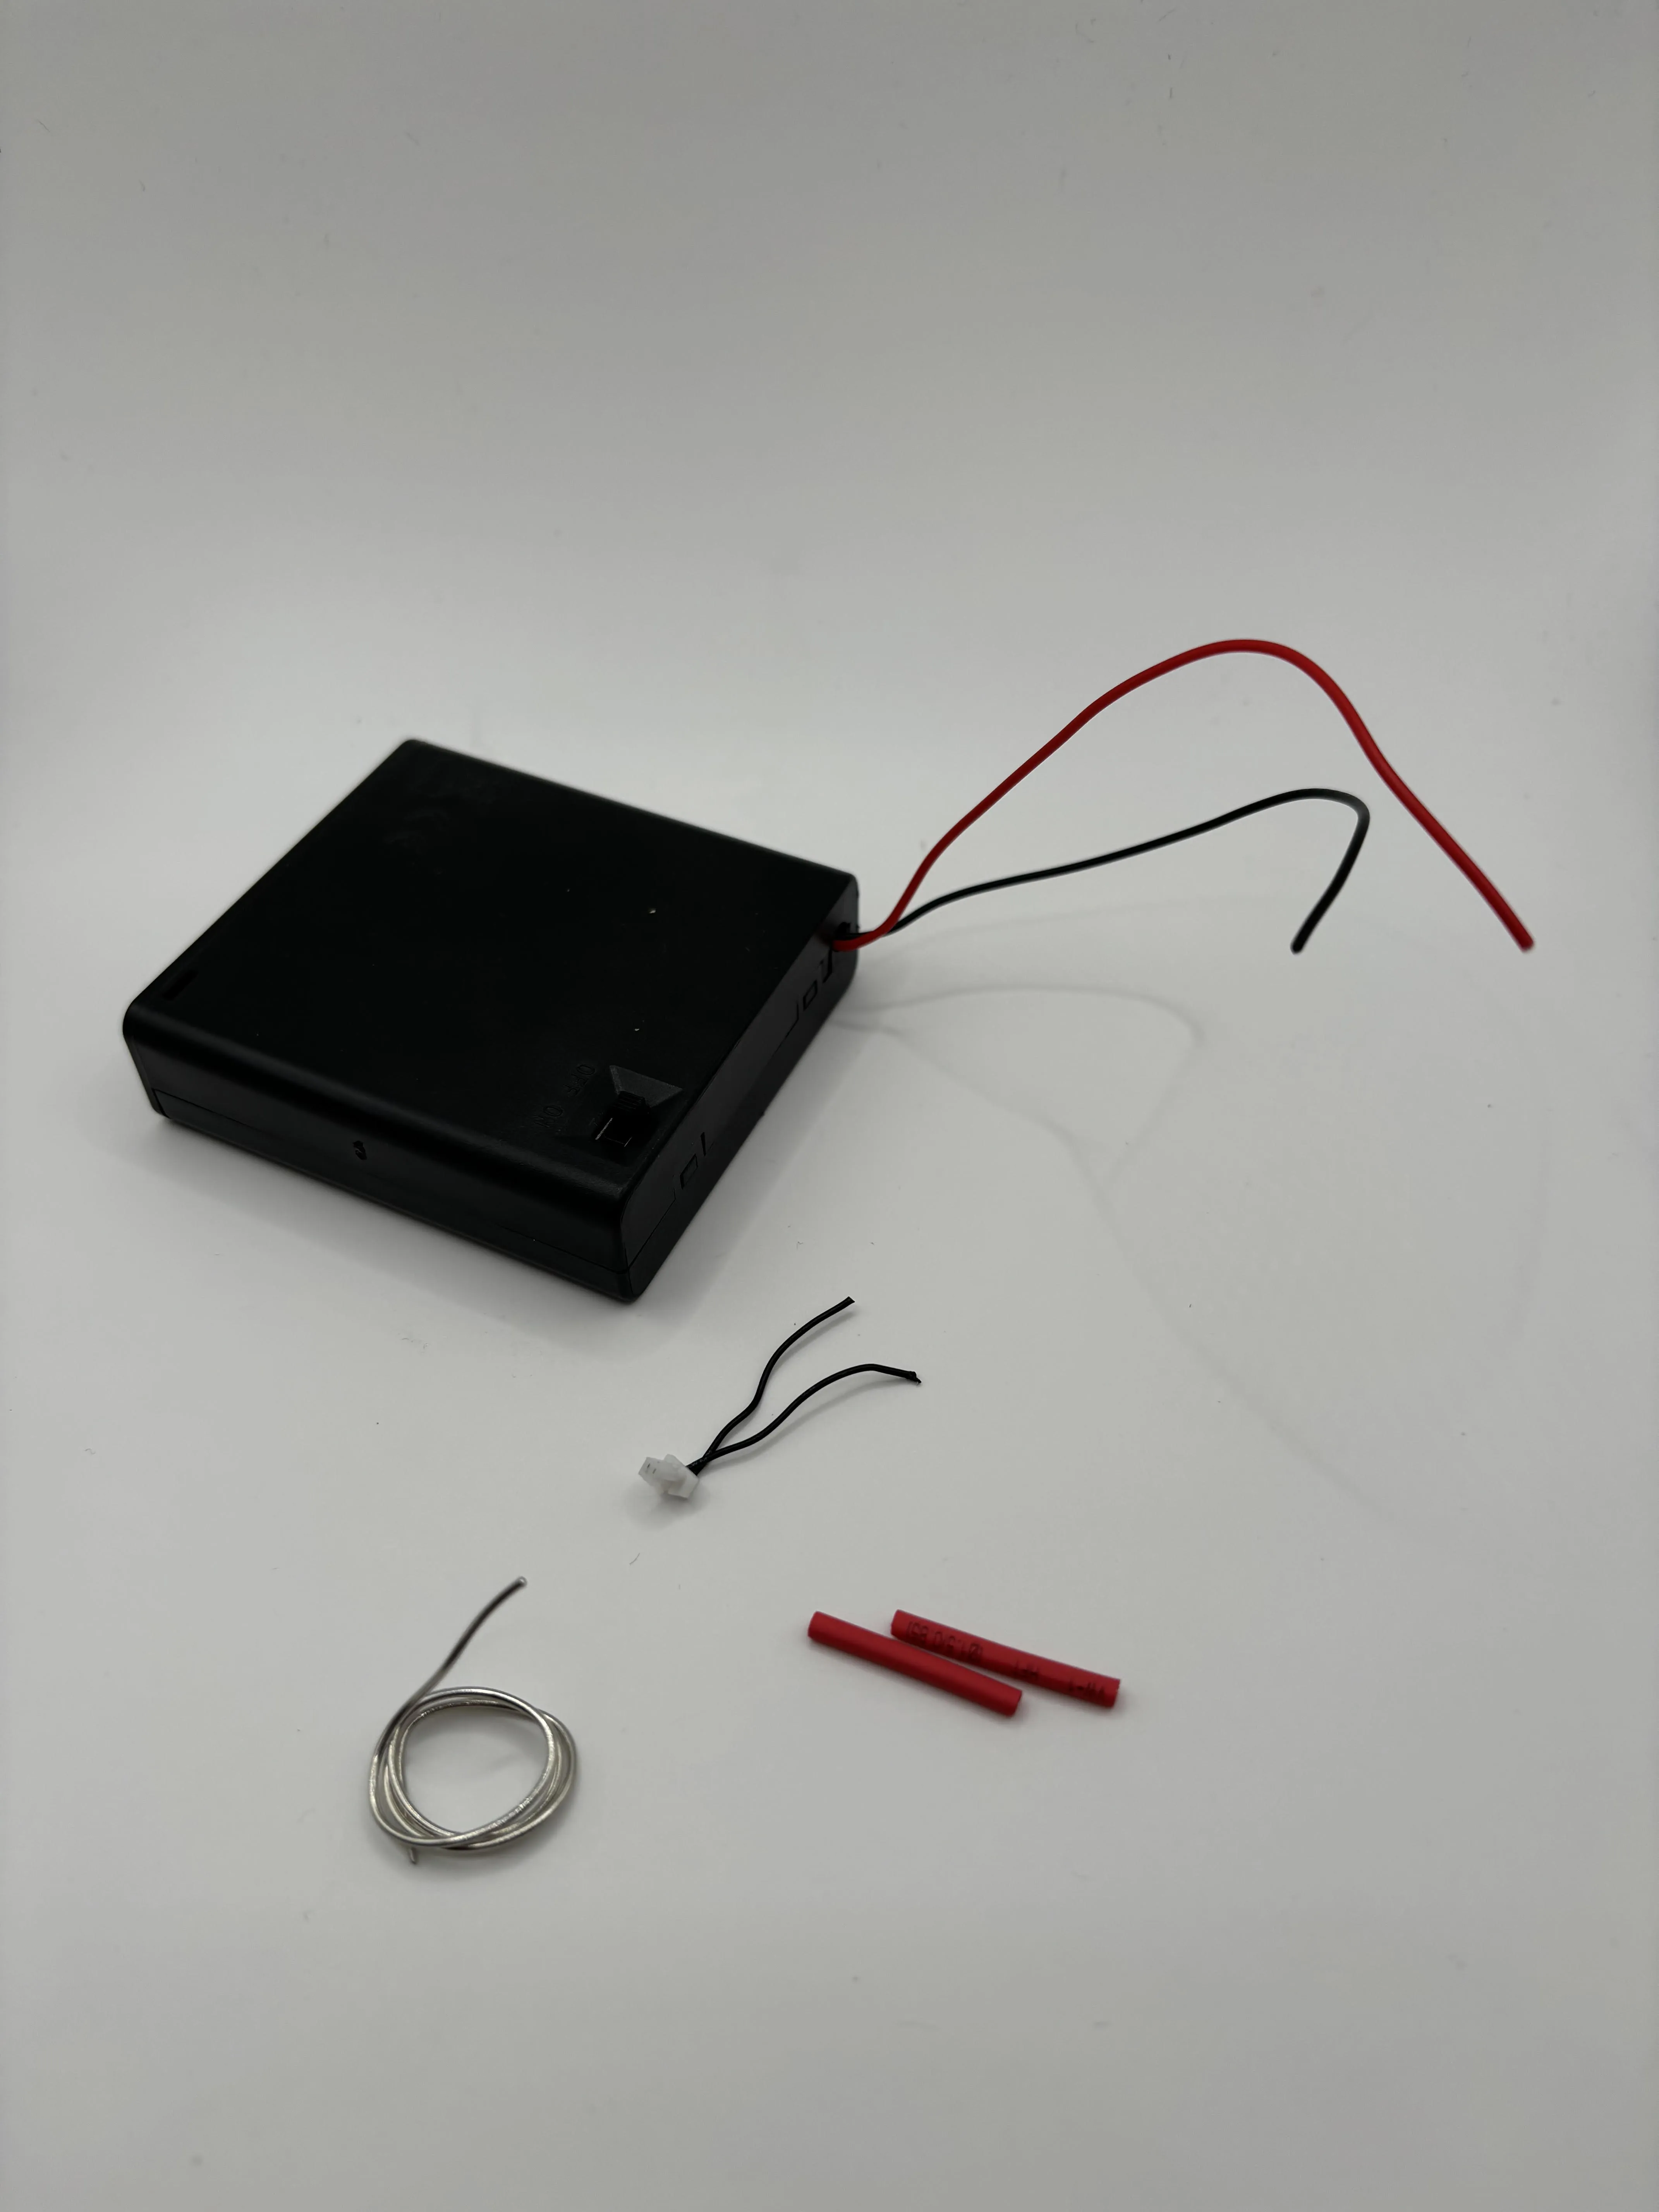
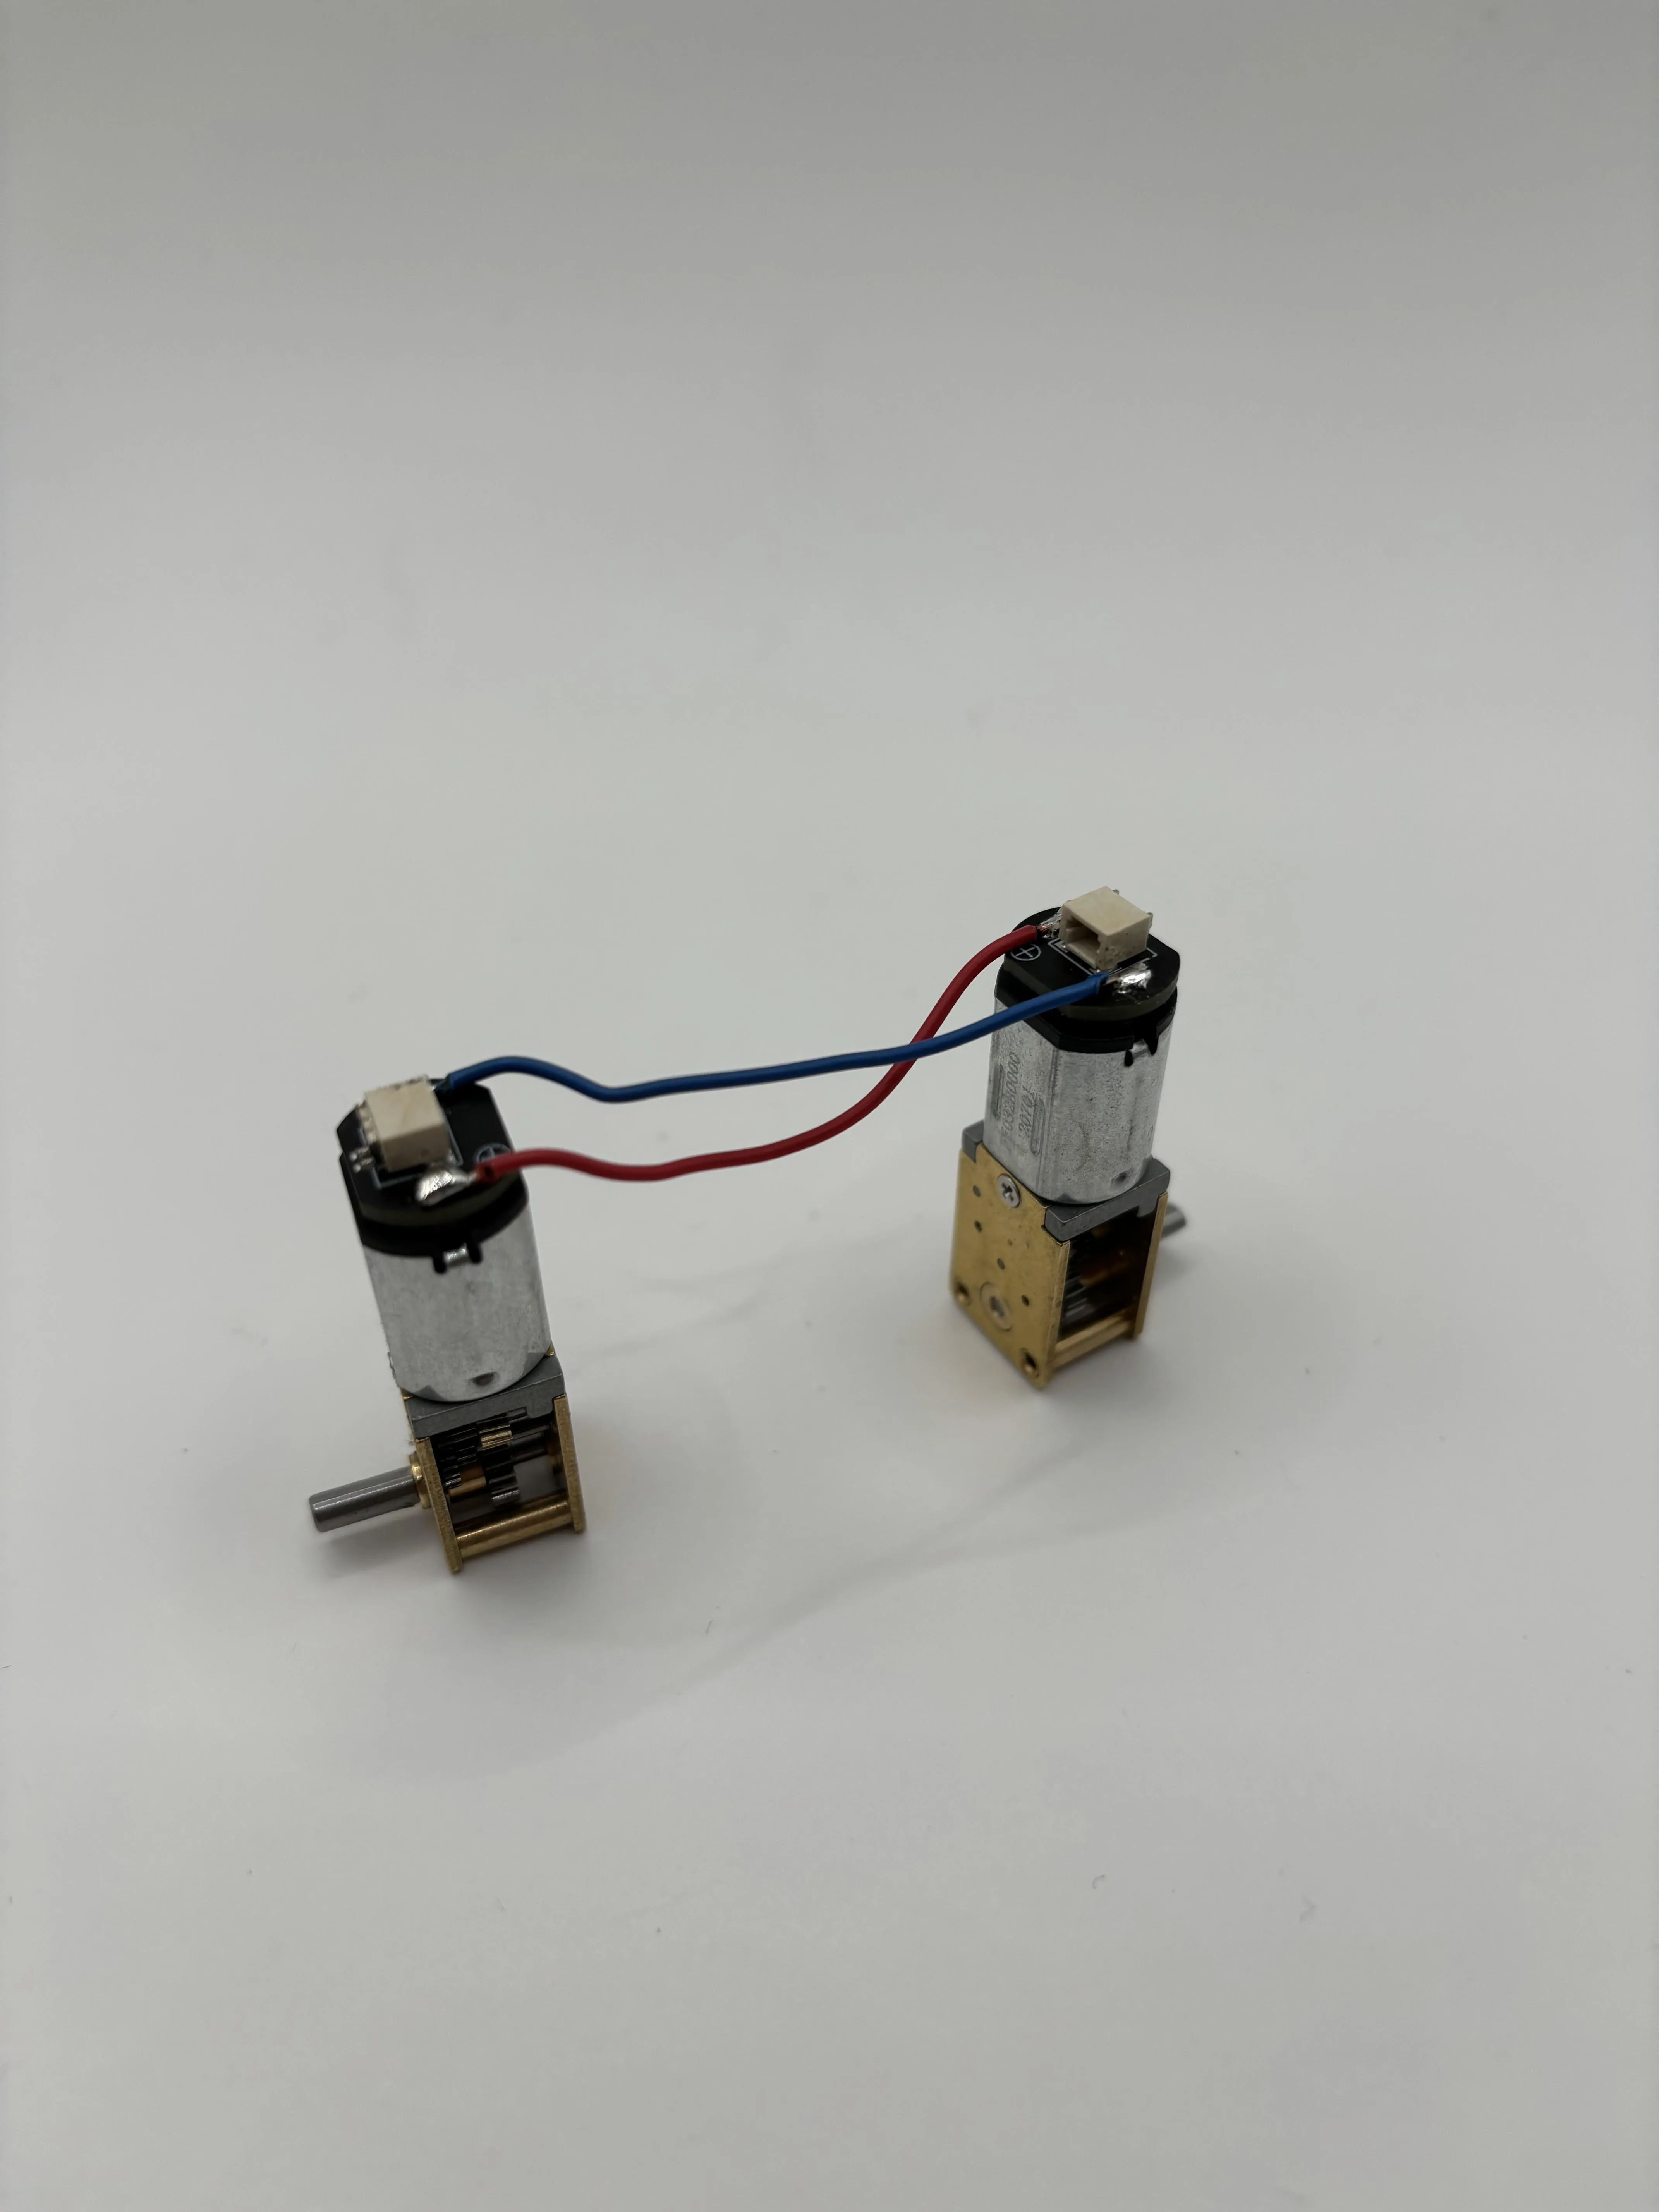
Then you solder the two cables cut off from the battery to the cable for the motor. You also have to cut off the plug.
Now the assembly begins:
The battery compartment goes into the bottom of the large bowl.
The line comes into the interior through the bowl.
I attached the battery compartment a little with superglue, which made further assembly easier.
Make sure that the switches are visible from the battery compartment and that you can operate them at any time.Then pass the cable through the base holder and make sure that the cable goes through the hole.
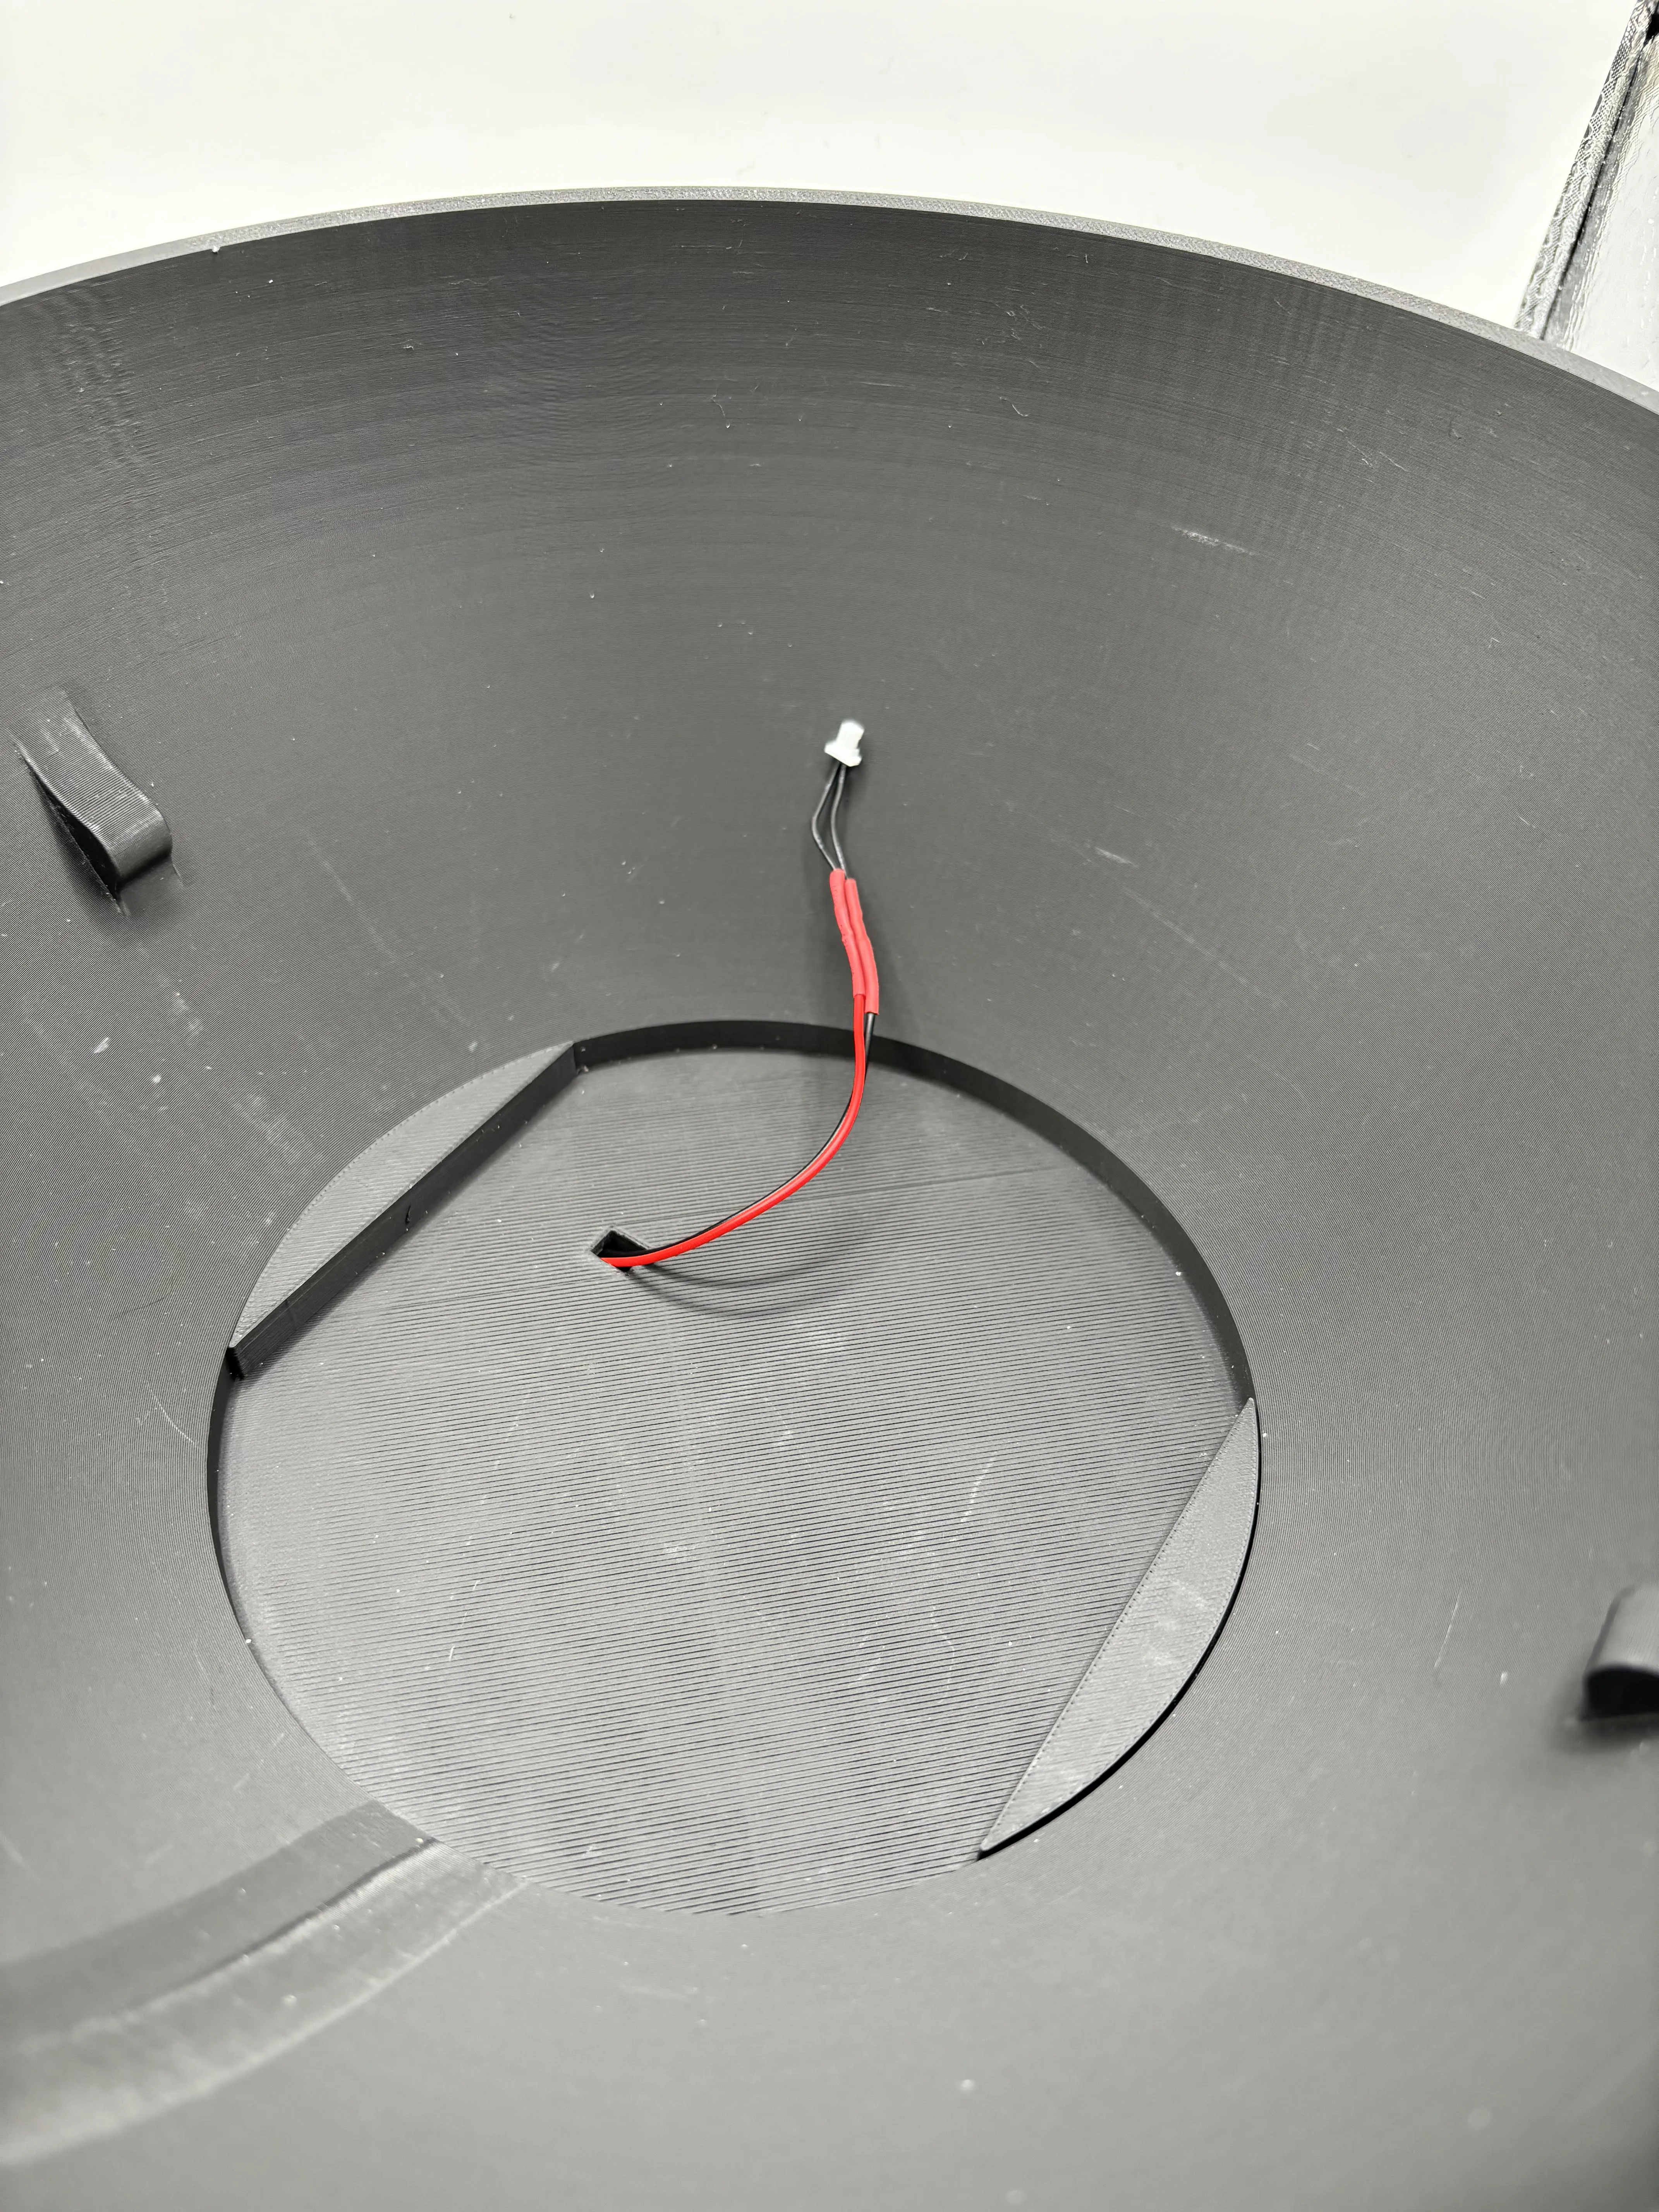
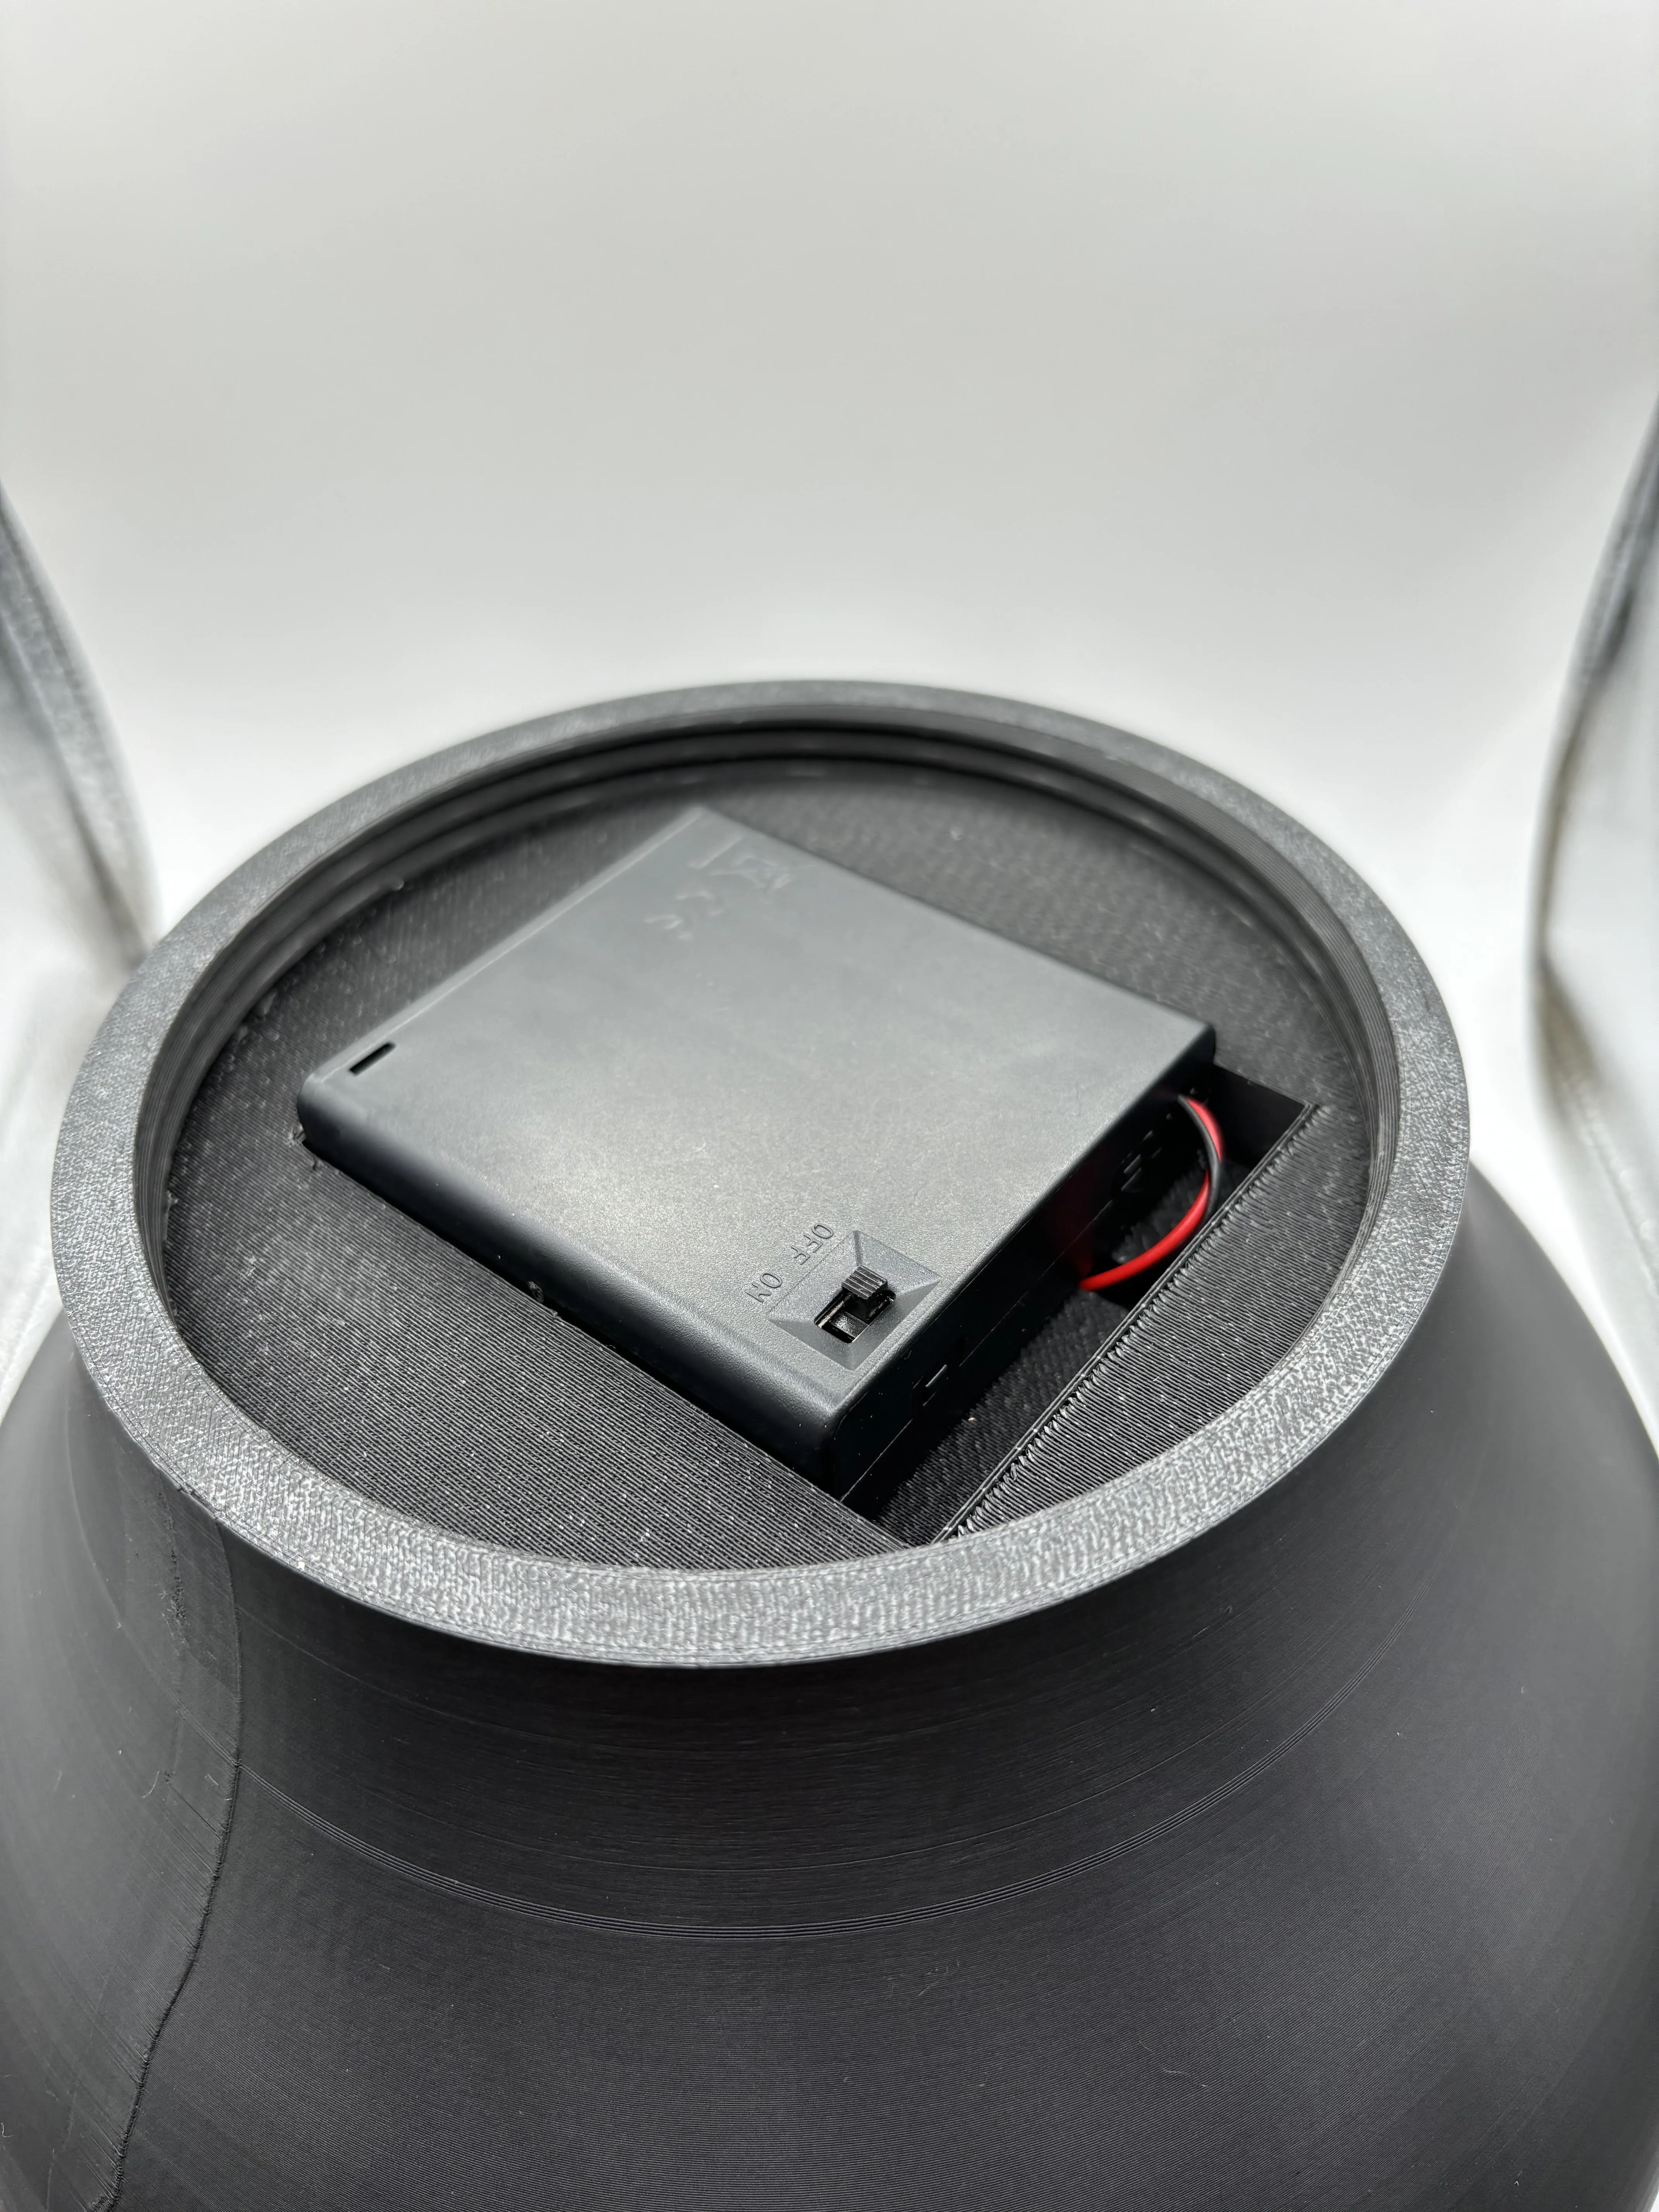
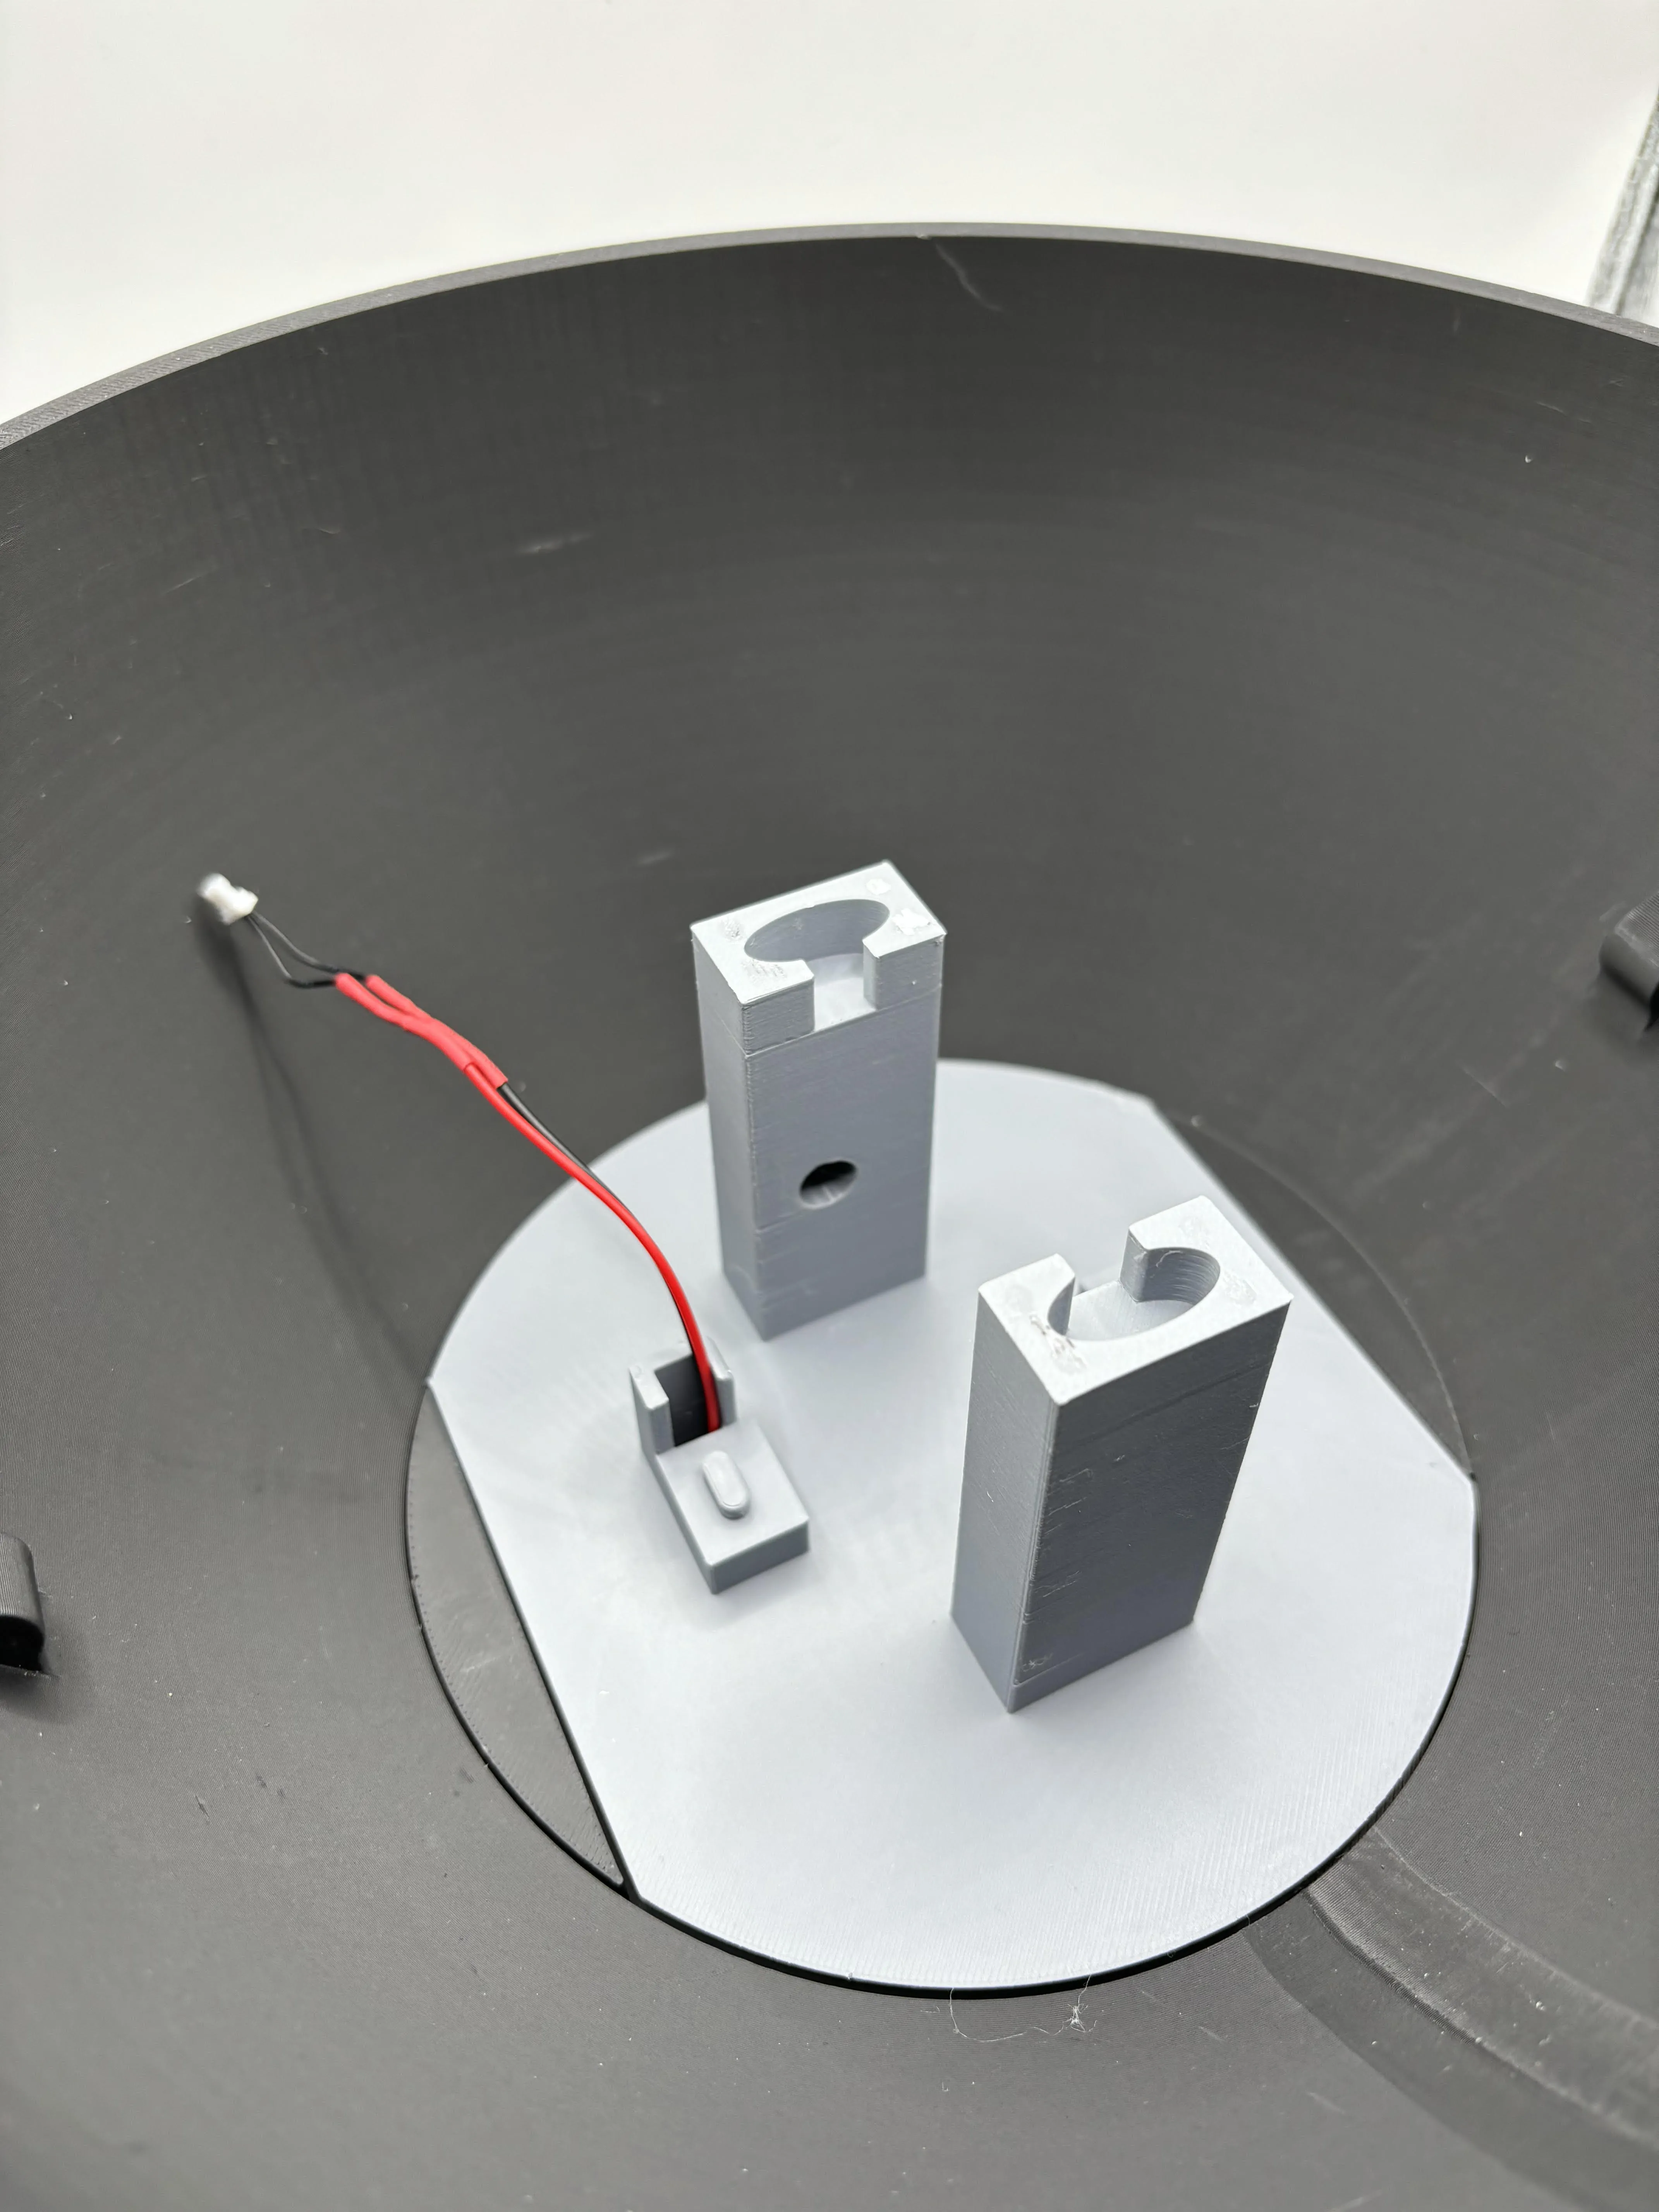
Inserted the large gears using the fasteners and the one gear at the bottom with the small hole in the middle.
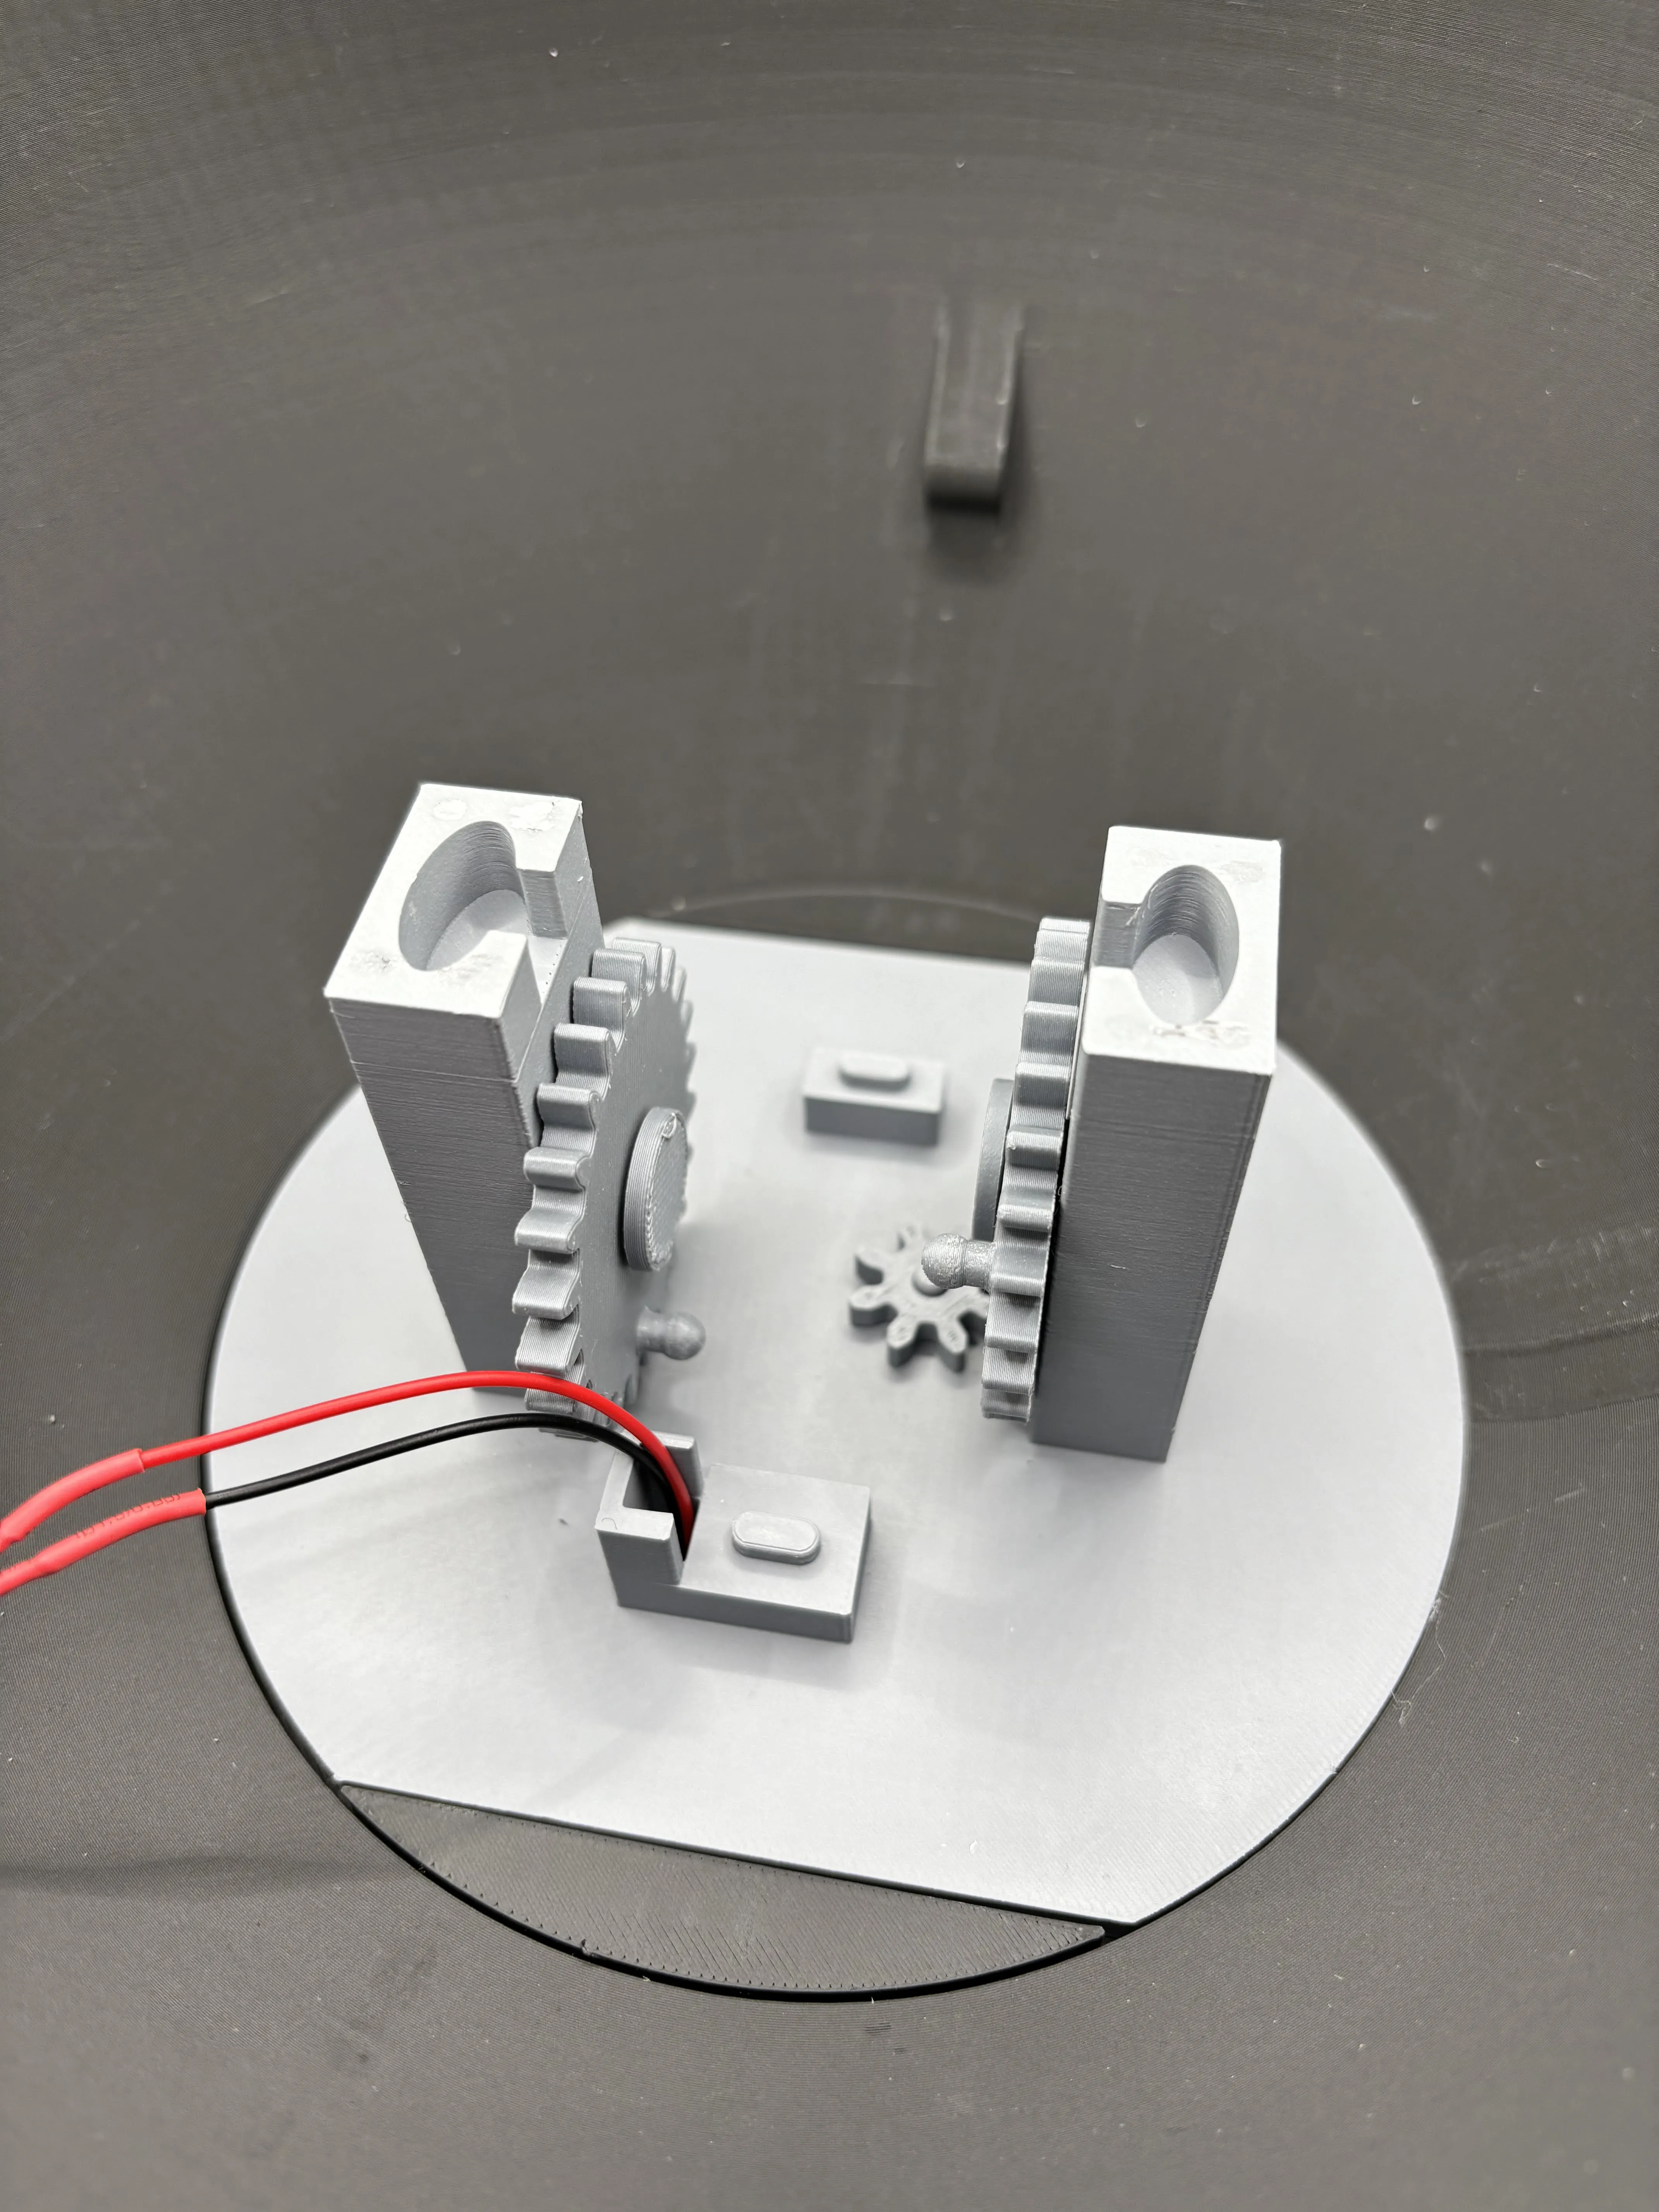
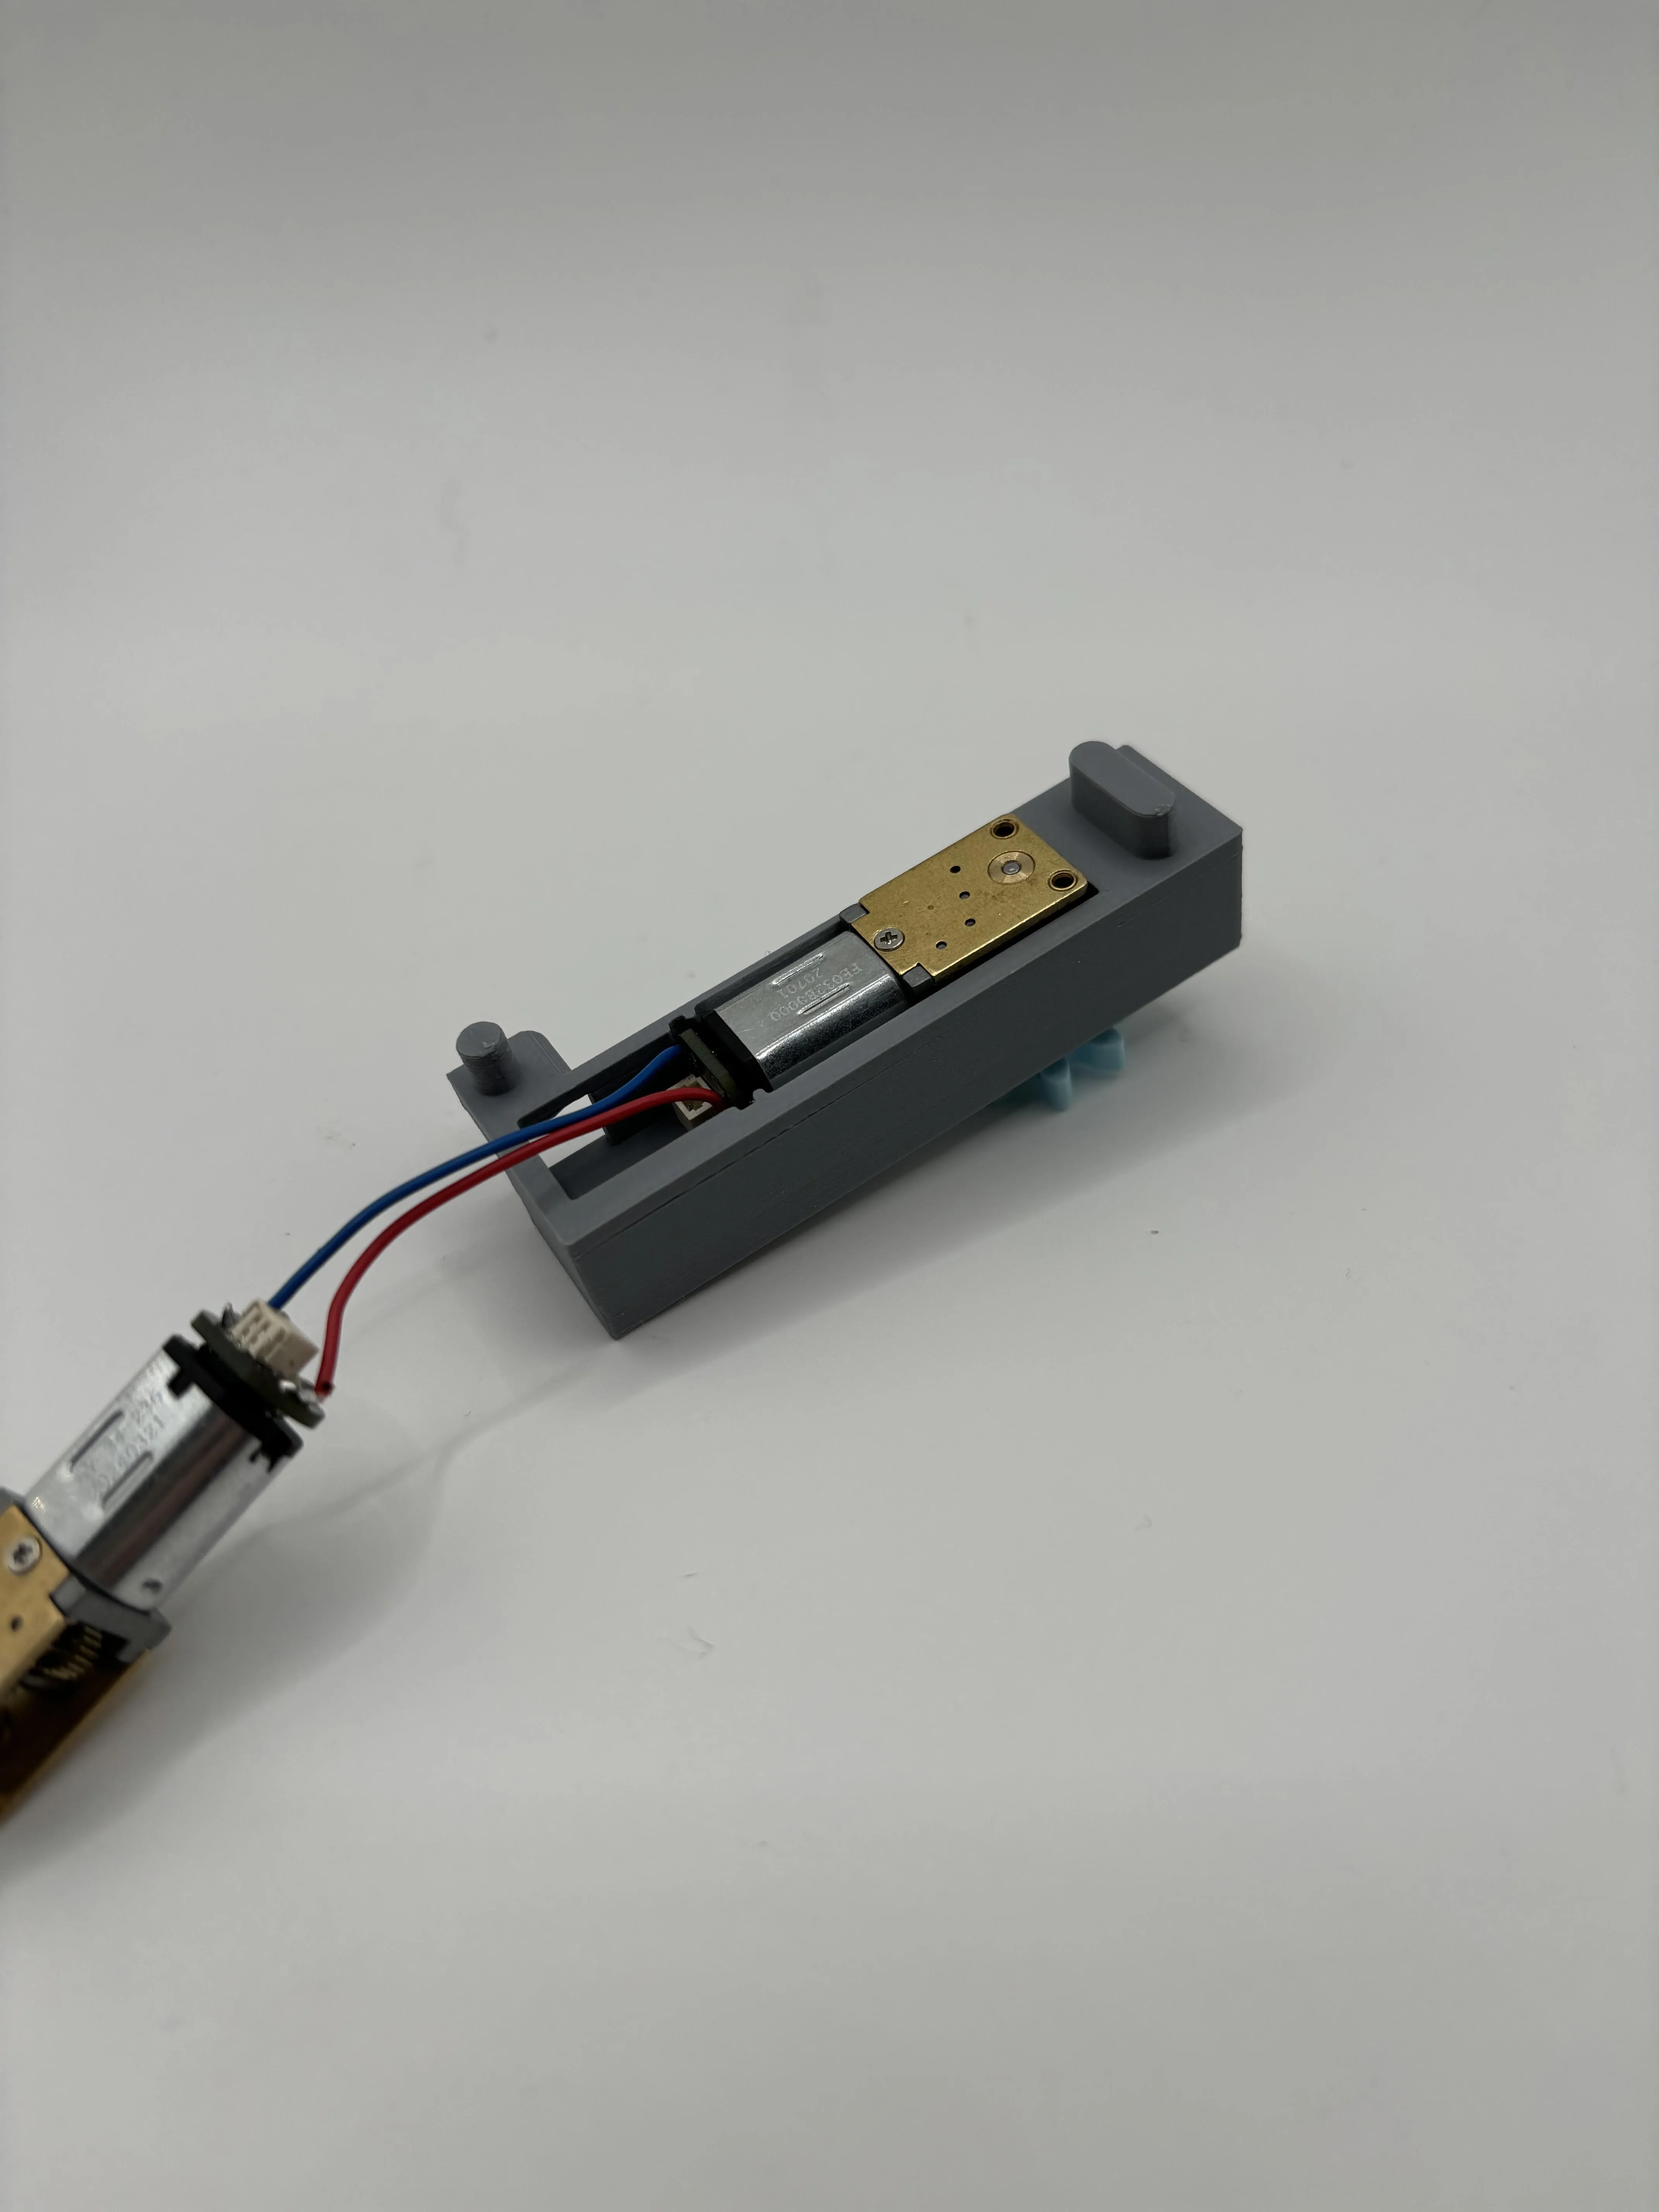
Next, one gear with the longer rod is inserted into one of the motor housings from below and one of the motors from above.
Then you fumble the cable from the battery compartment through the motor housing and plug it into the motor.
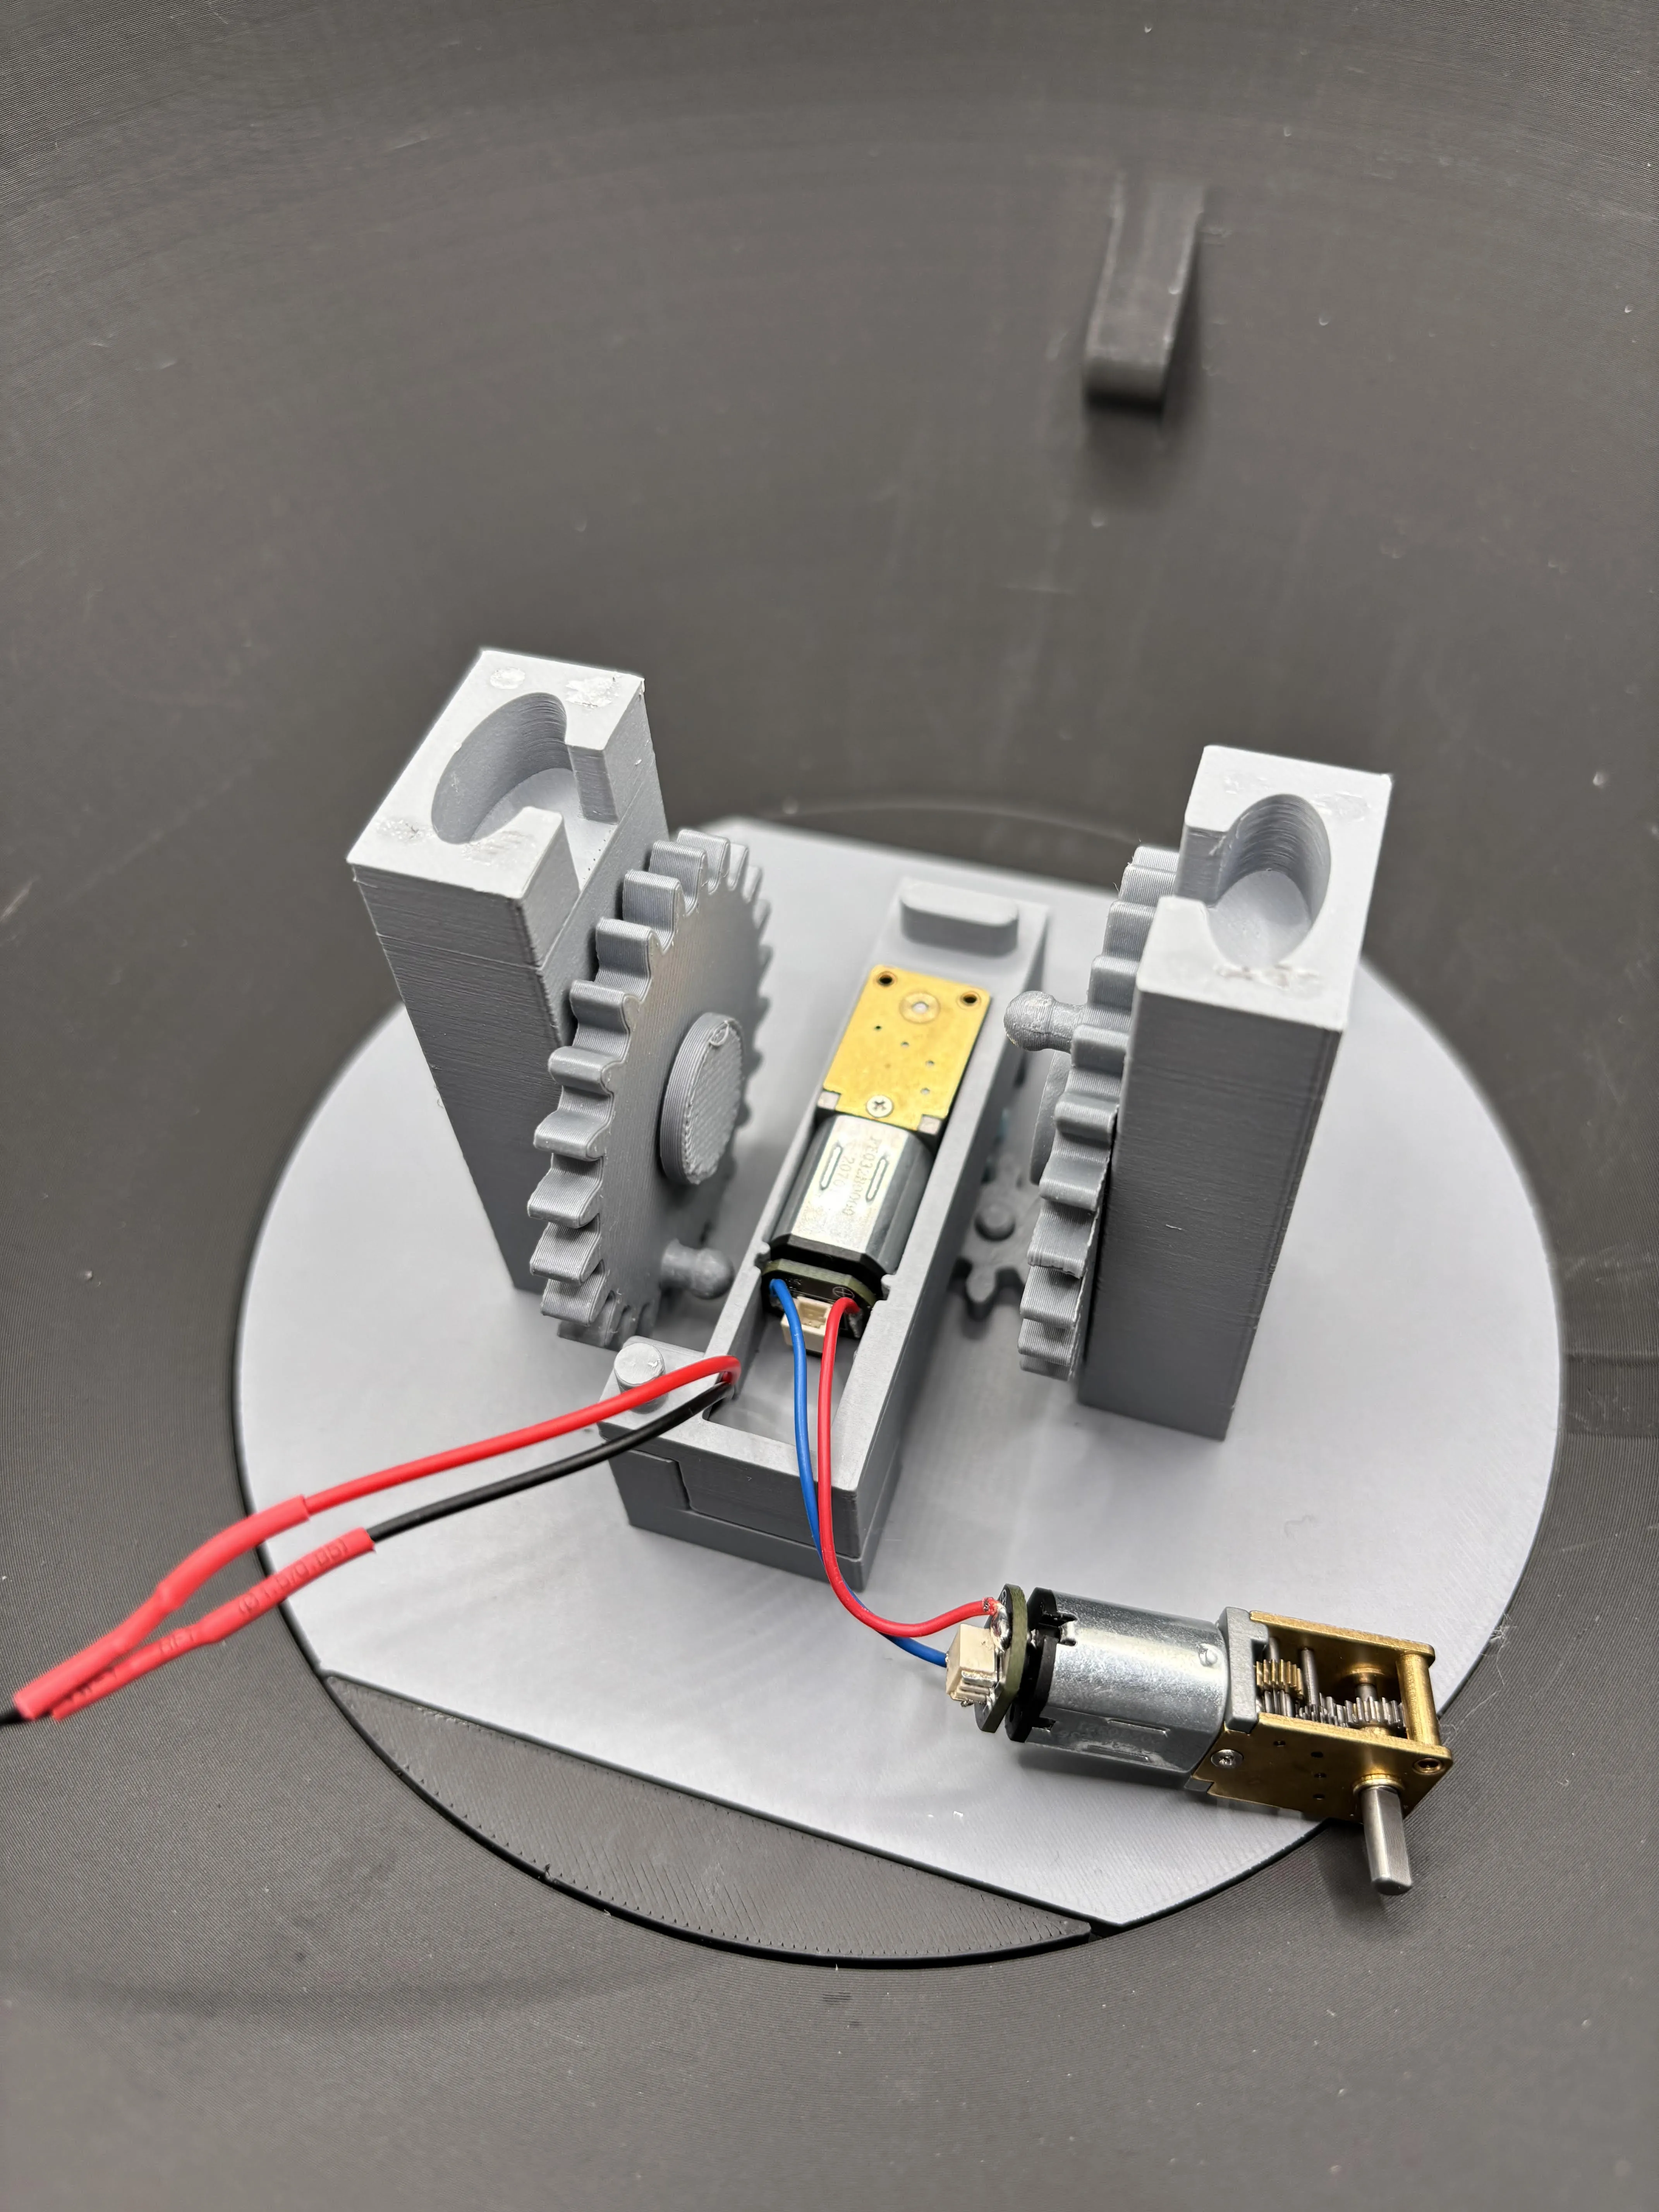
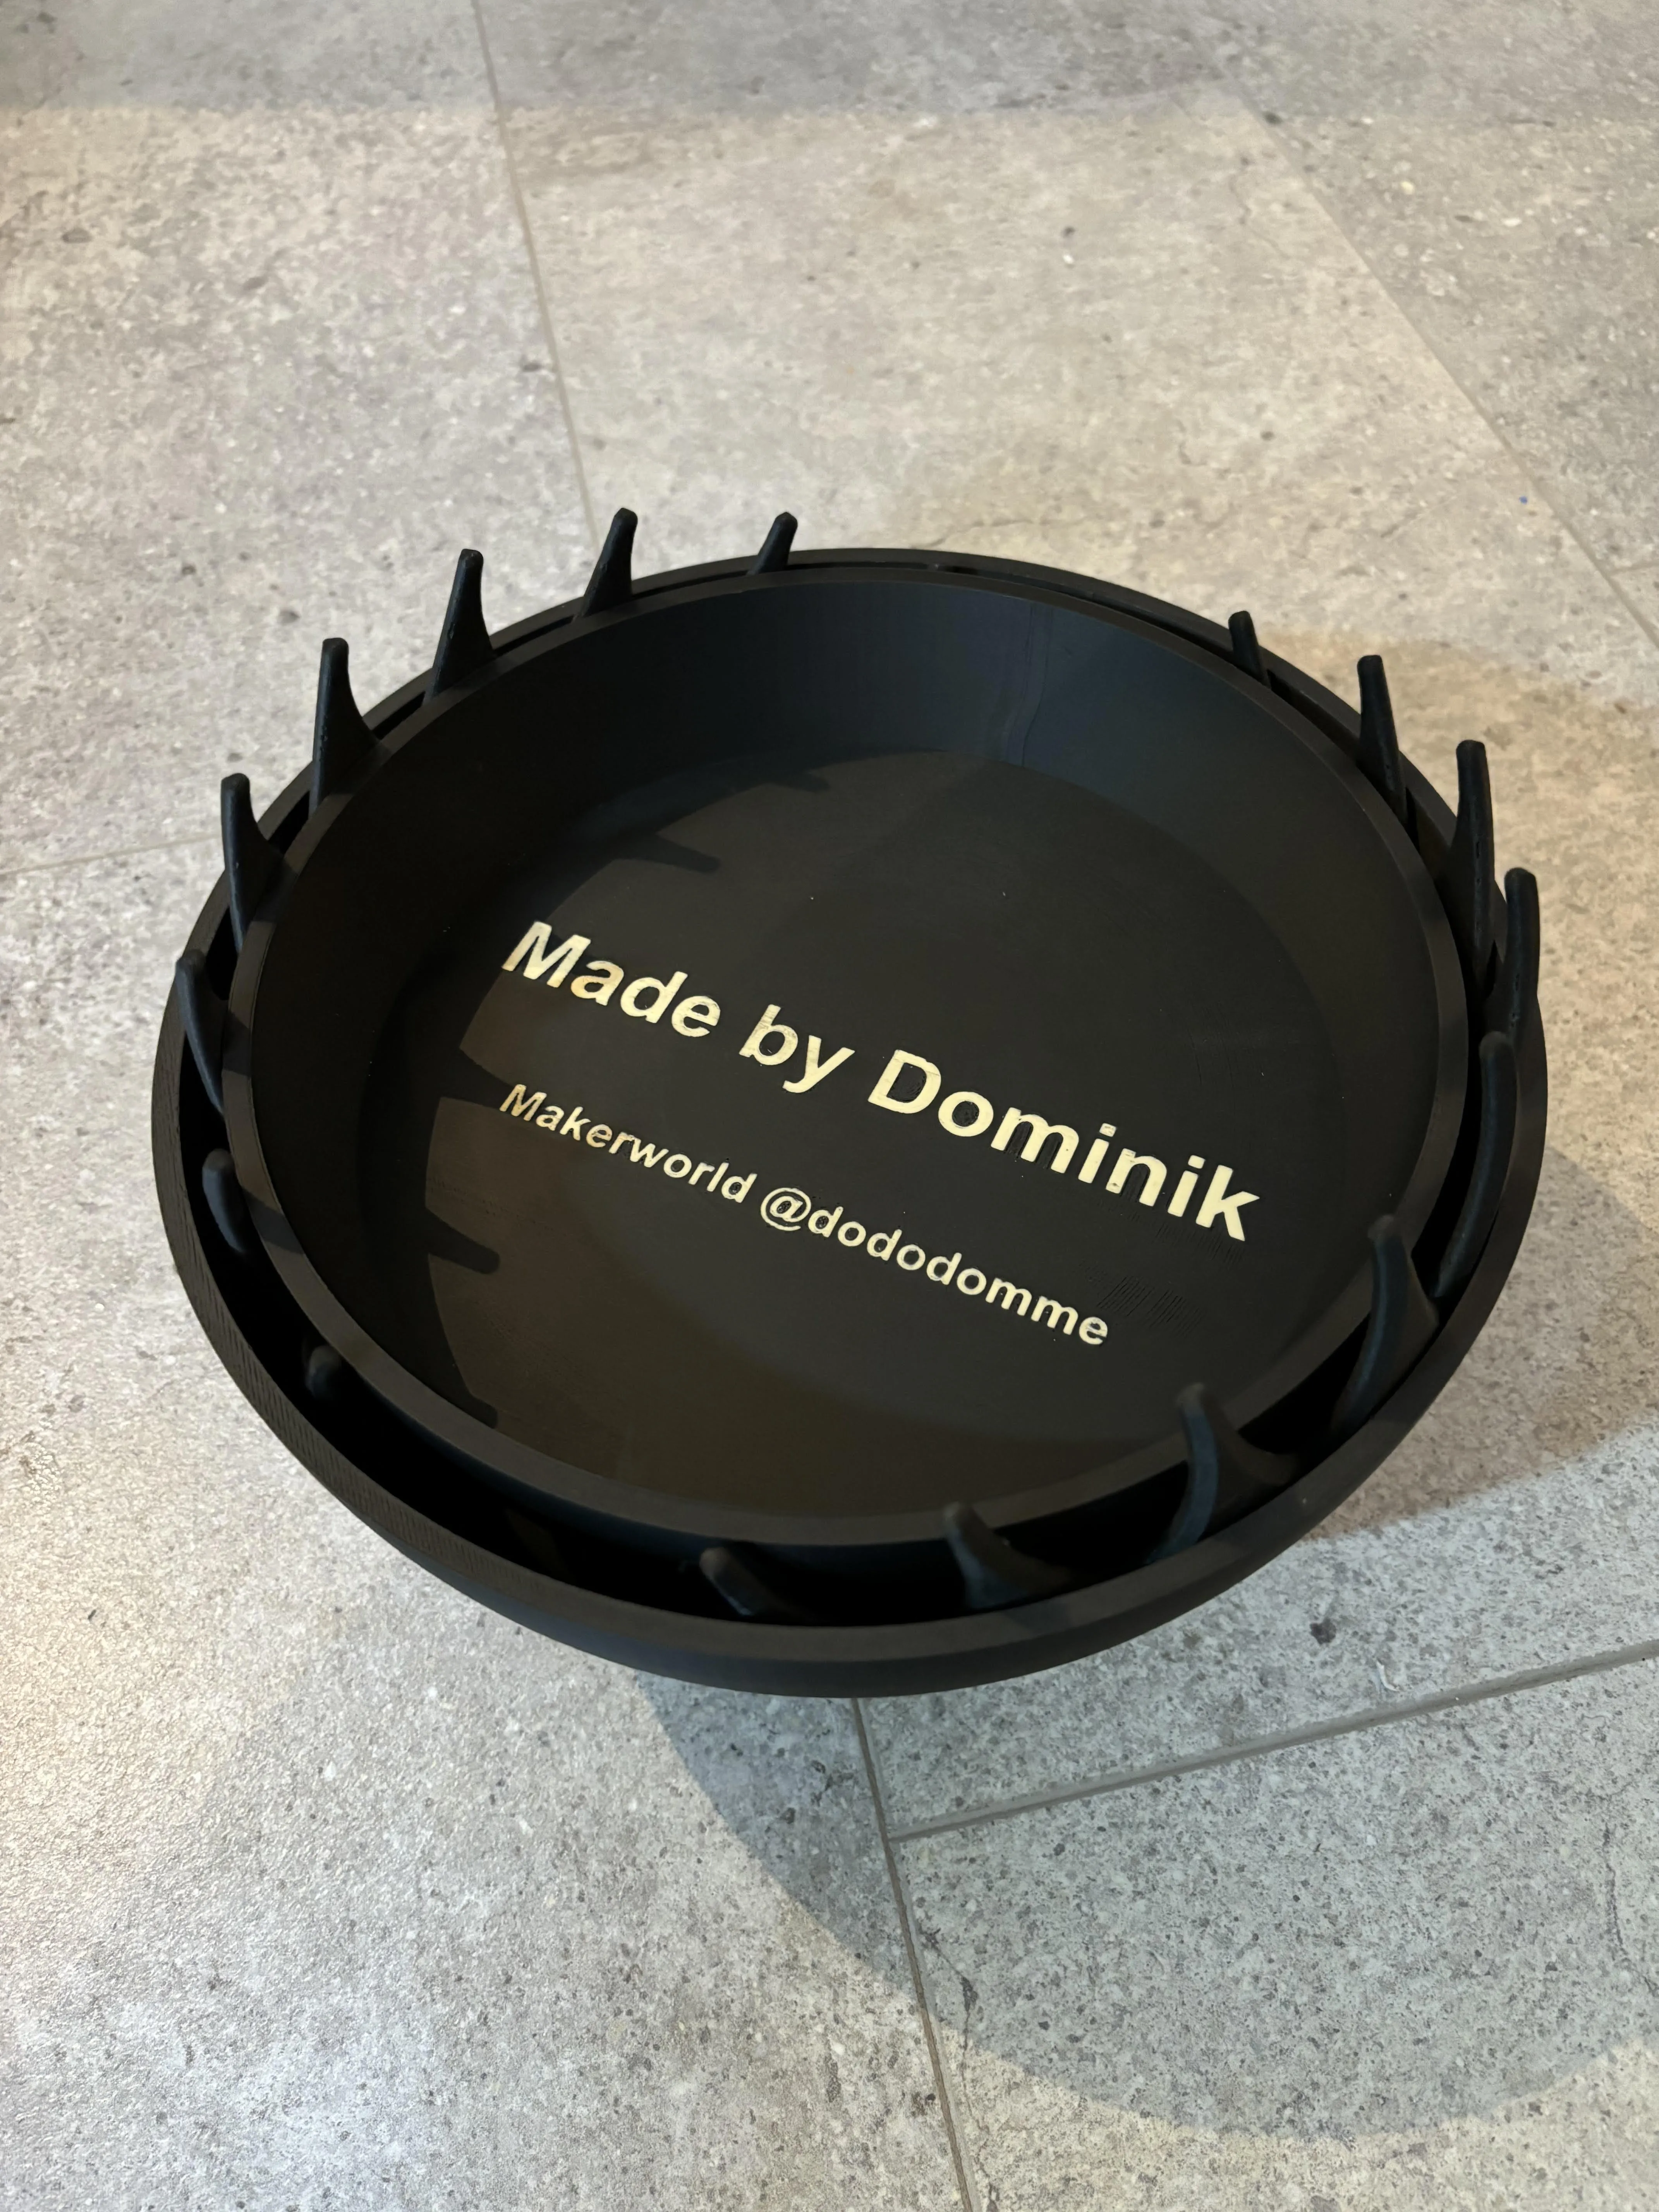
The articulated arms are made in such a way that they go in vertically into the prongs and are then turned horizontally so that they can no longer come out.
Then they are placed in the bowl and connected to the two large gears.
Make sure you do it slowly and tenderly otherwise they will break off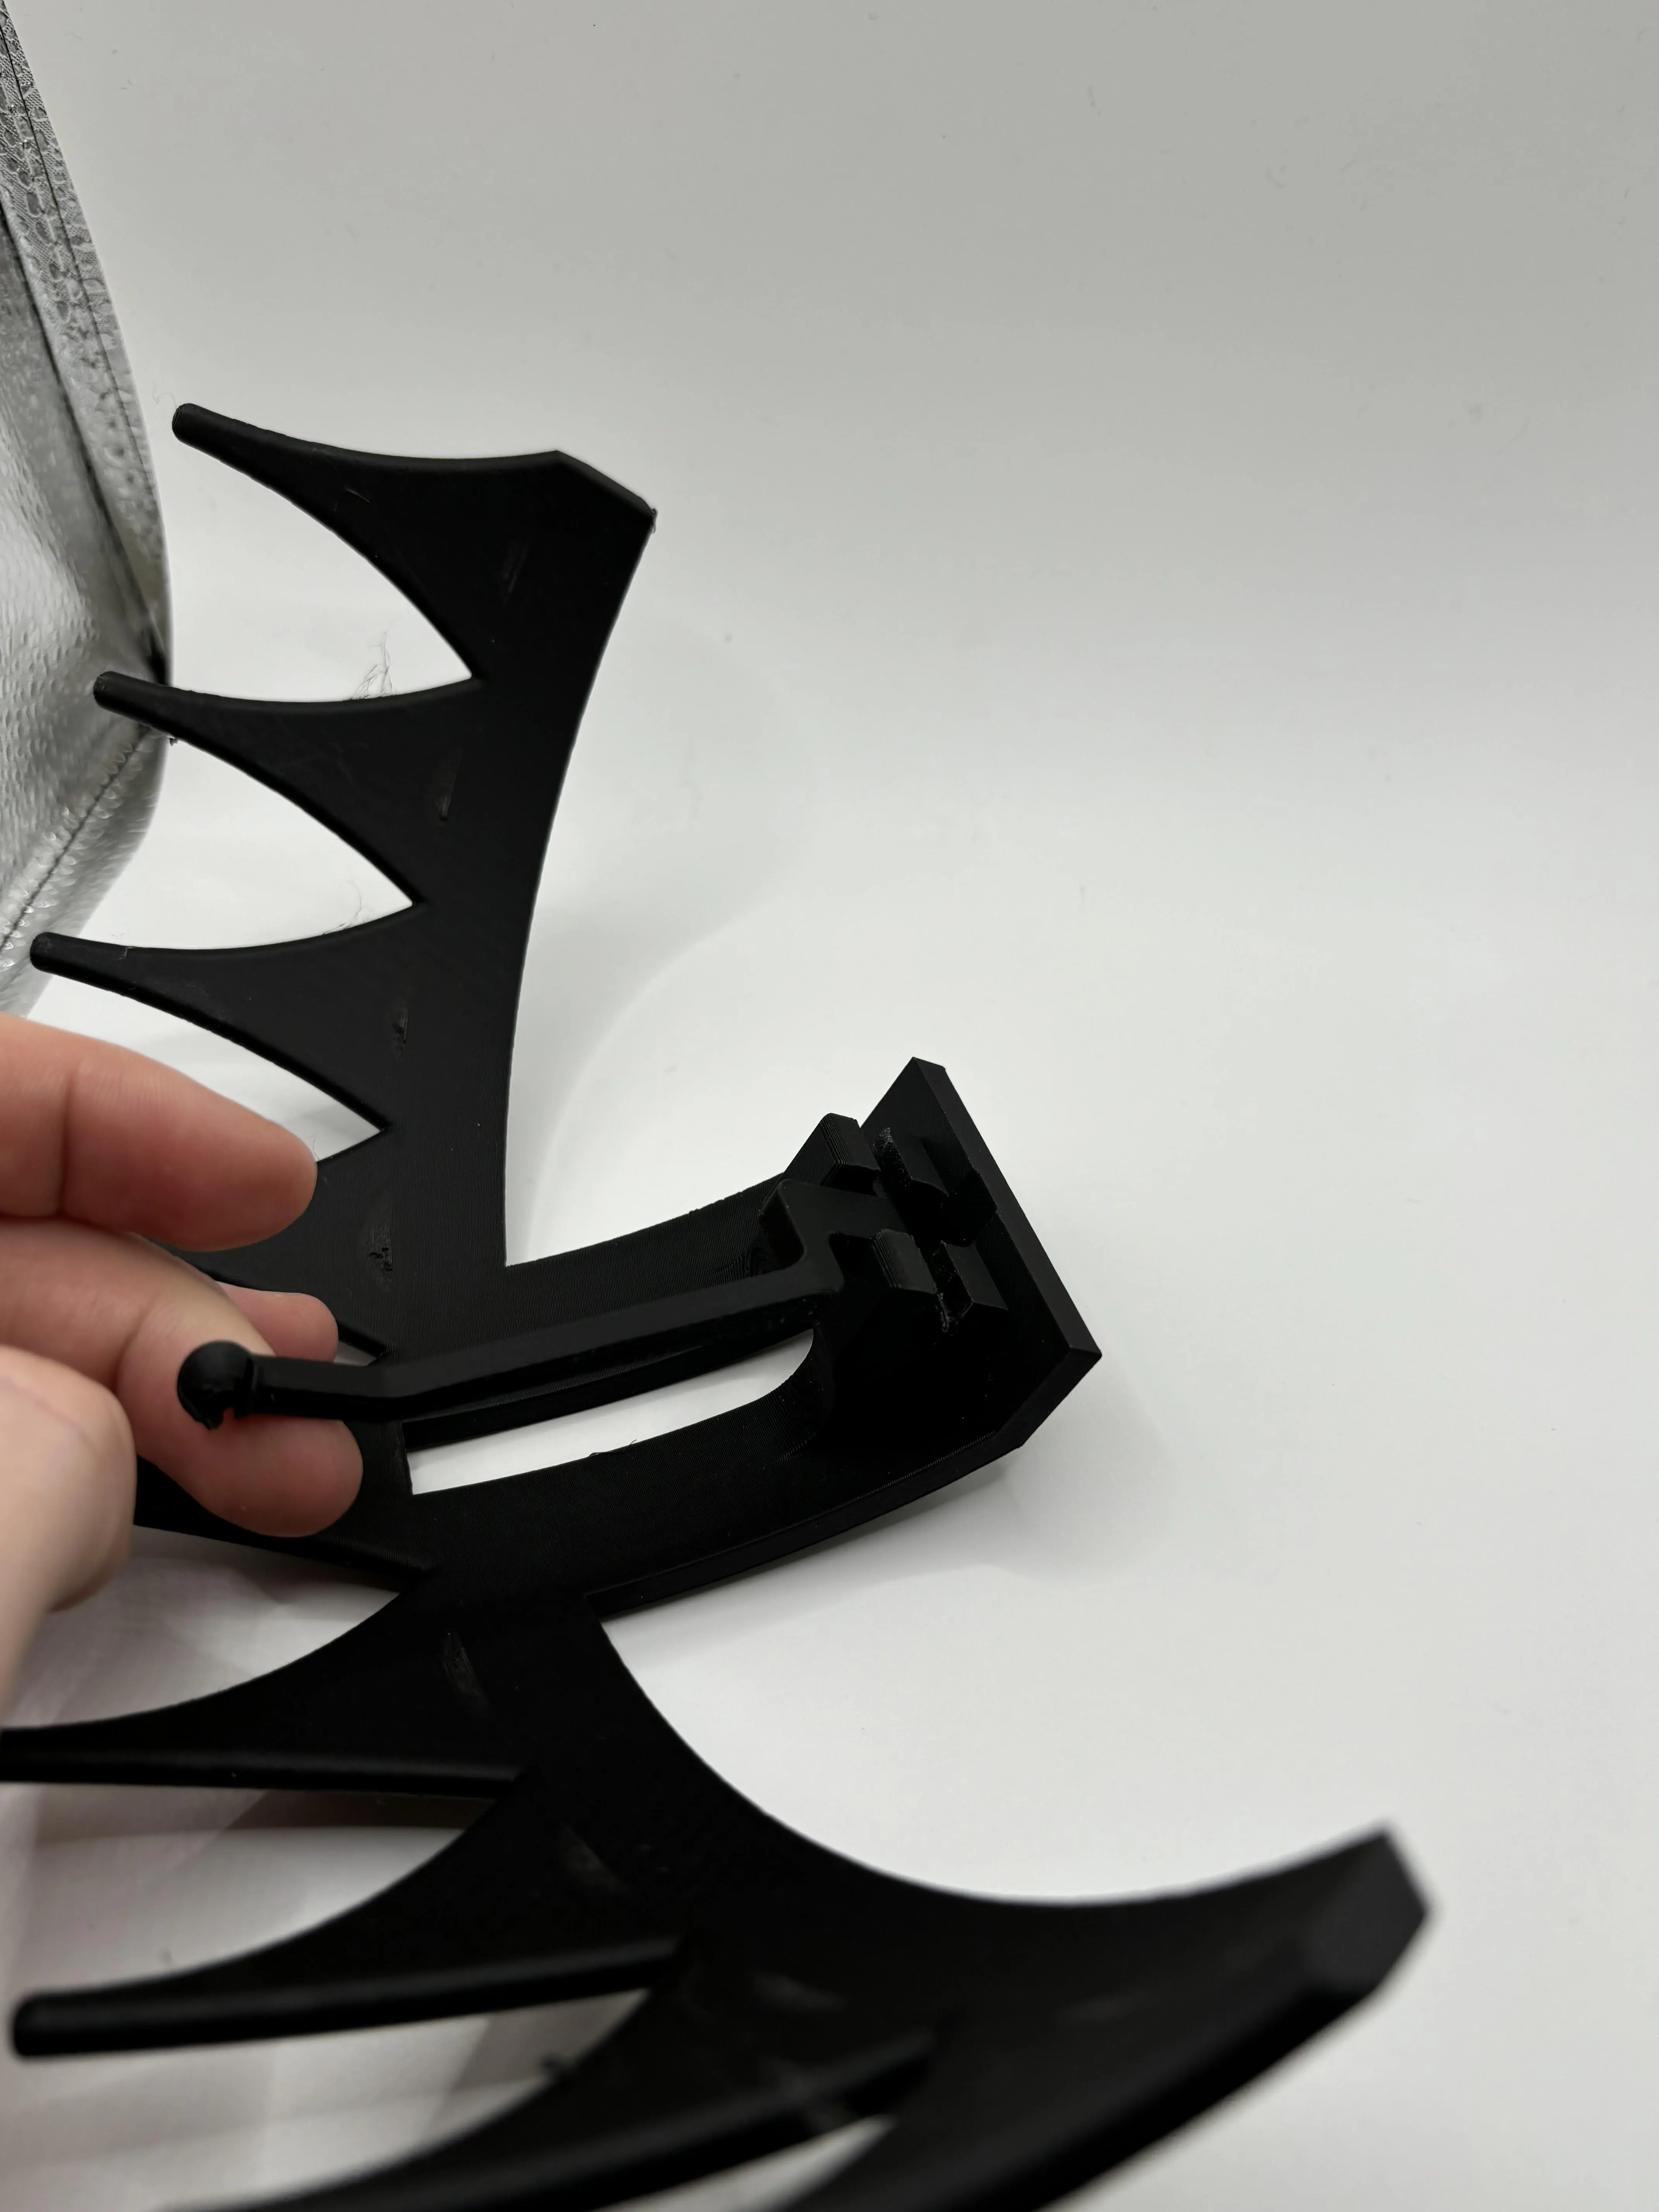
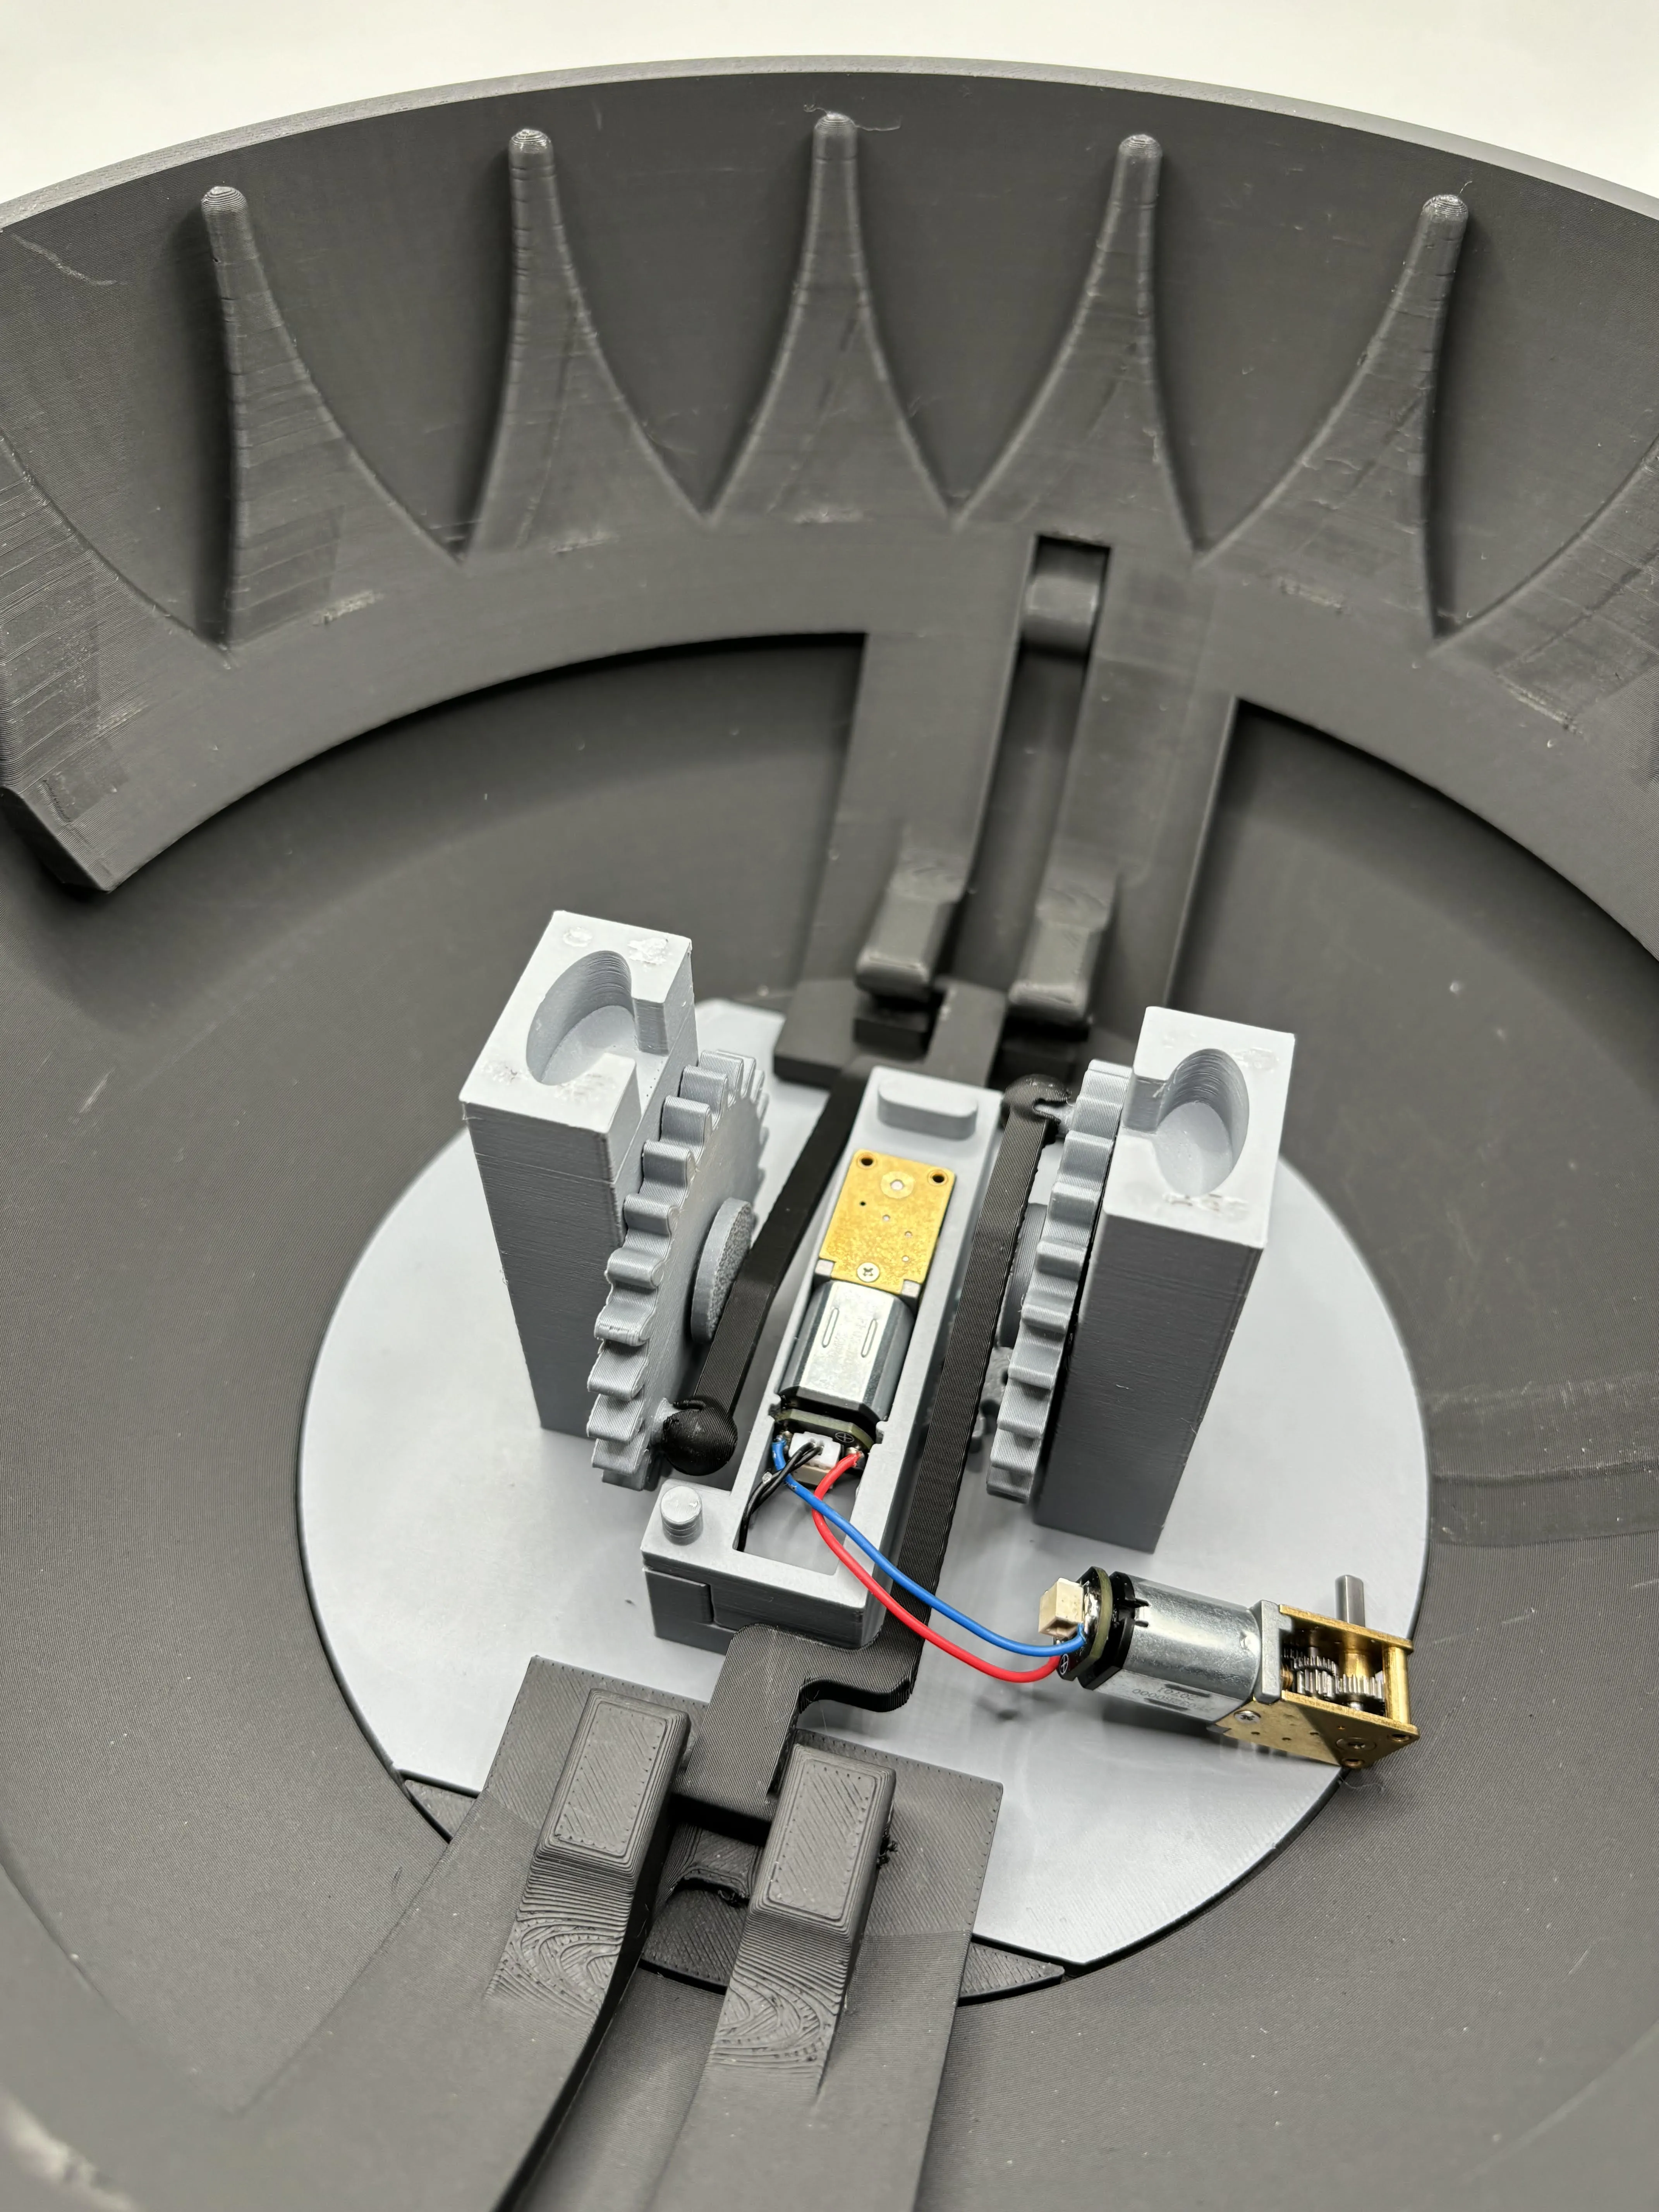
Now the slightly larger motor box is placed on top.
The two cables are guided through the slot and the motor is placed as shown in the picture.
Just insert the two gears and you could get started. But not too quickly my friends there is more.
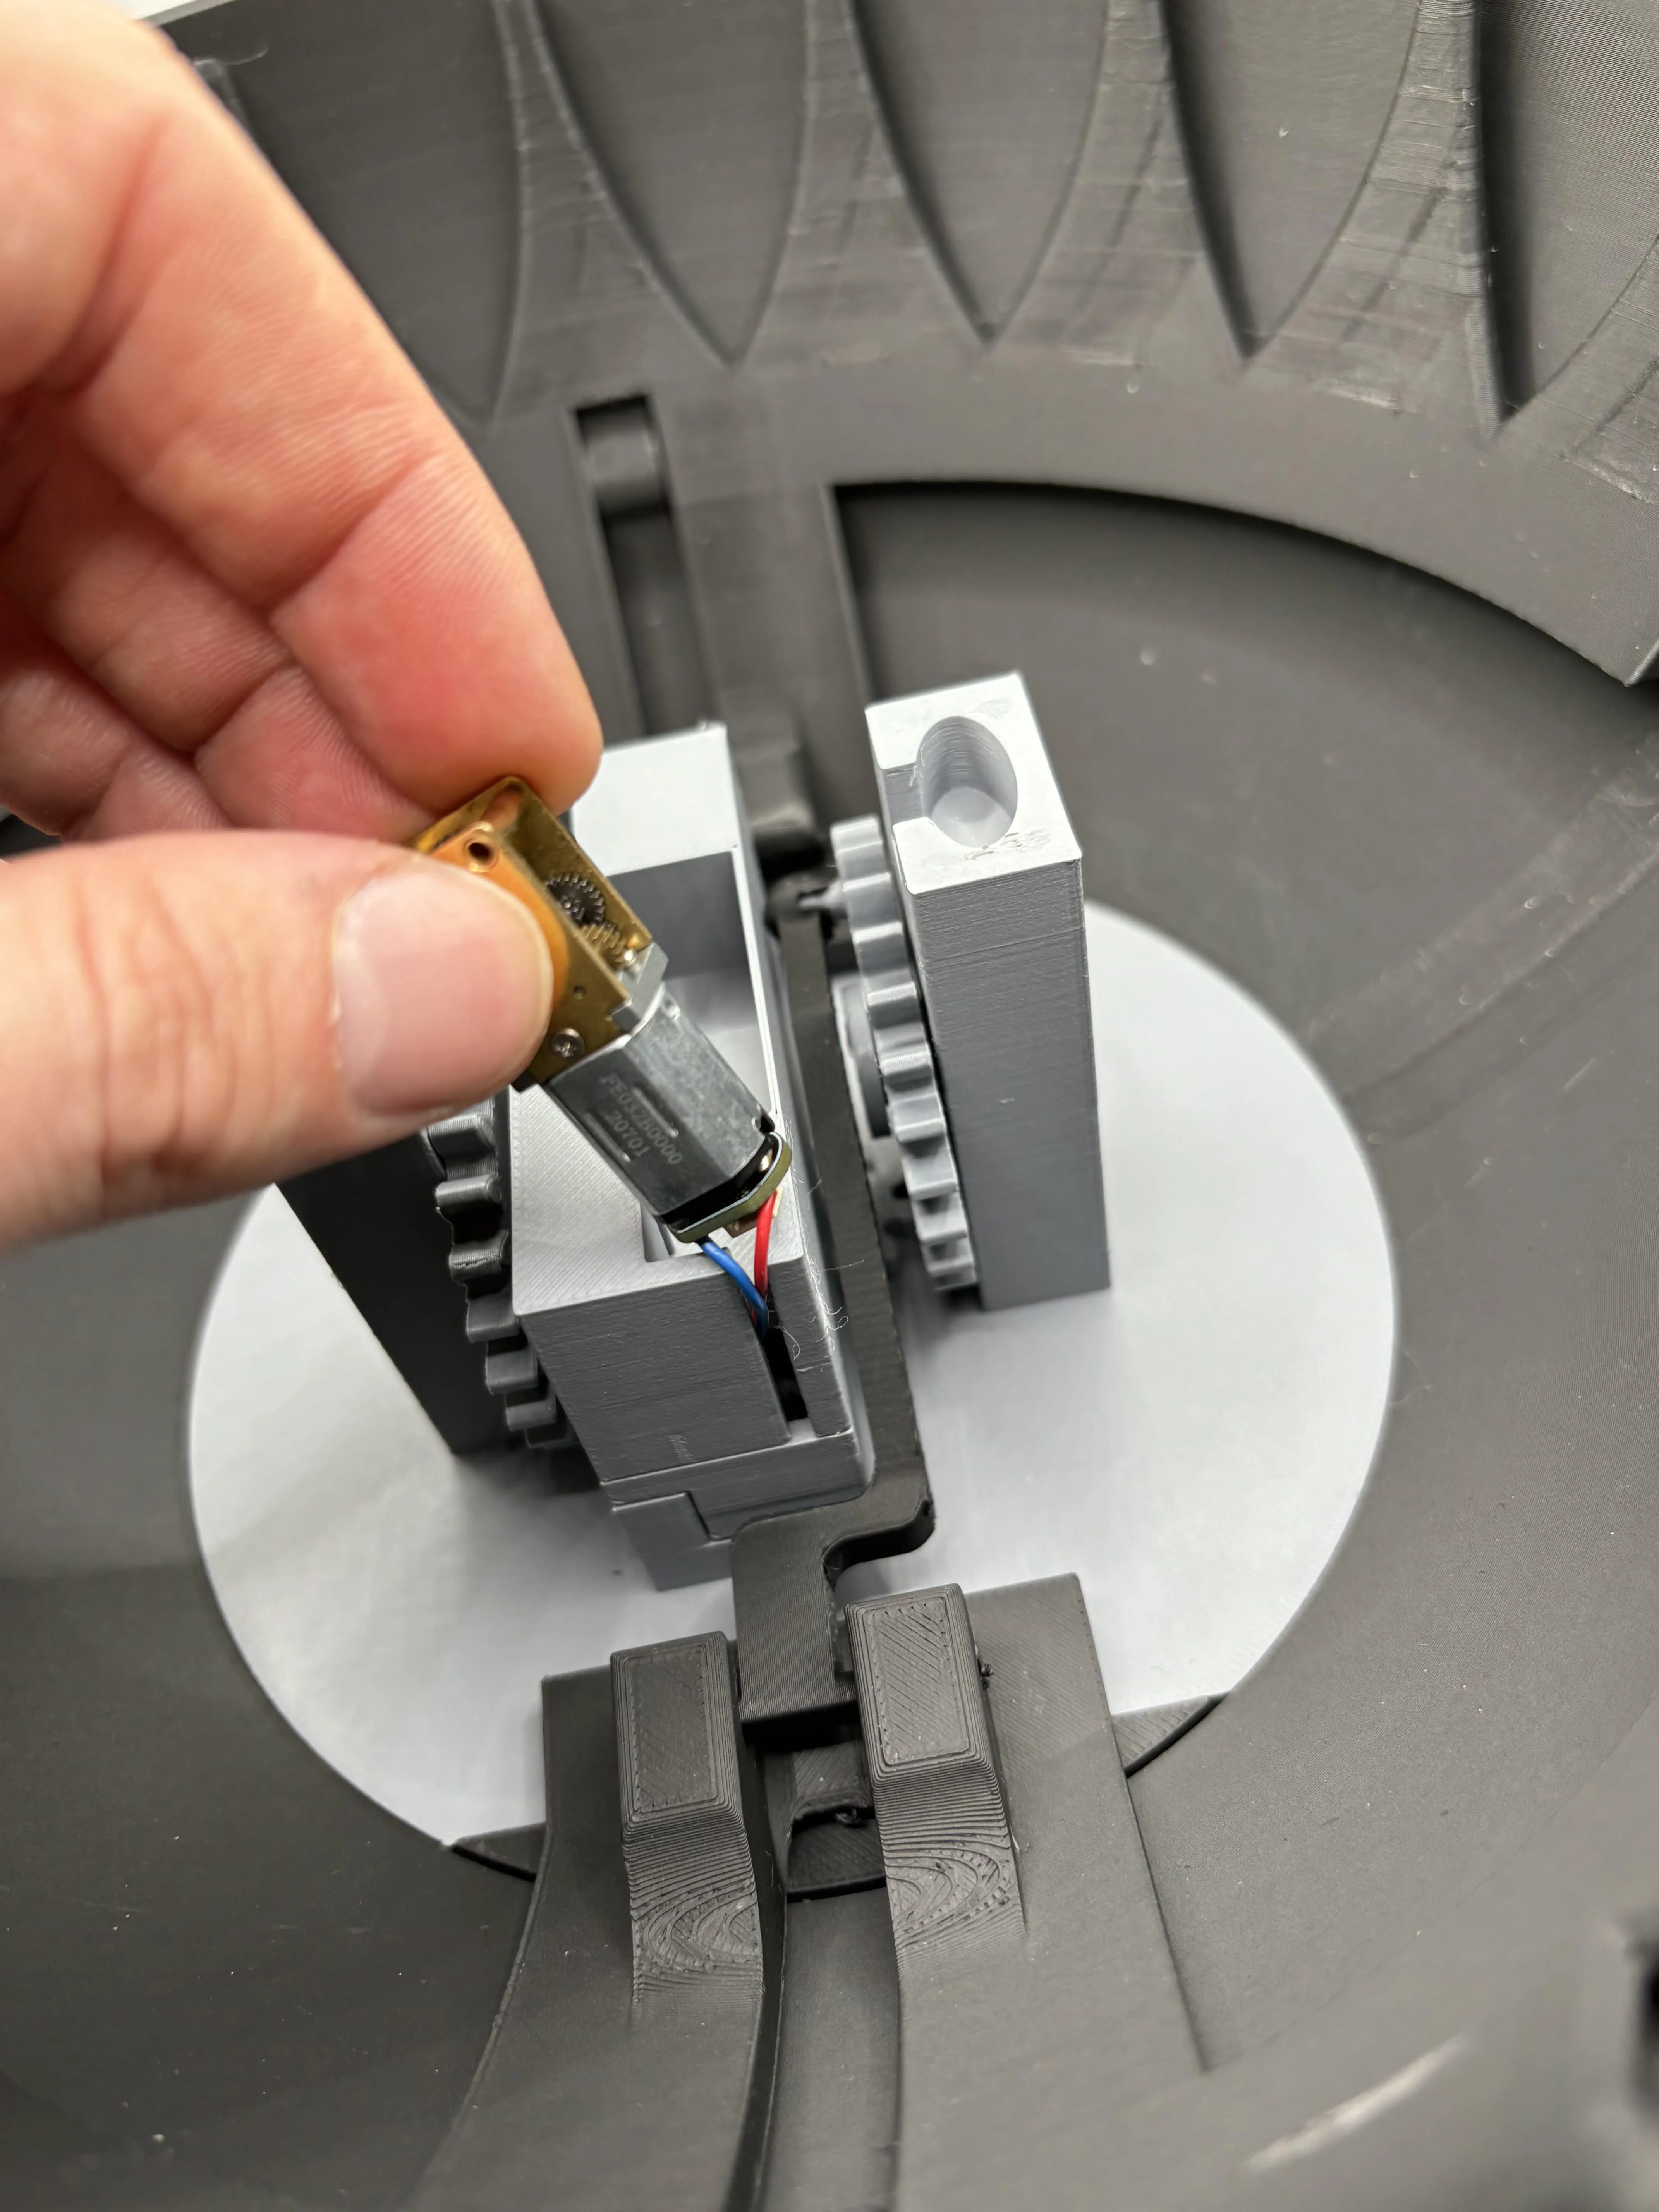
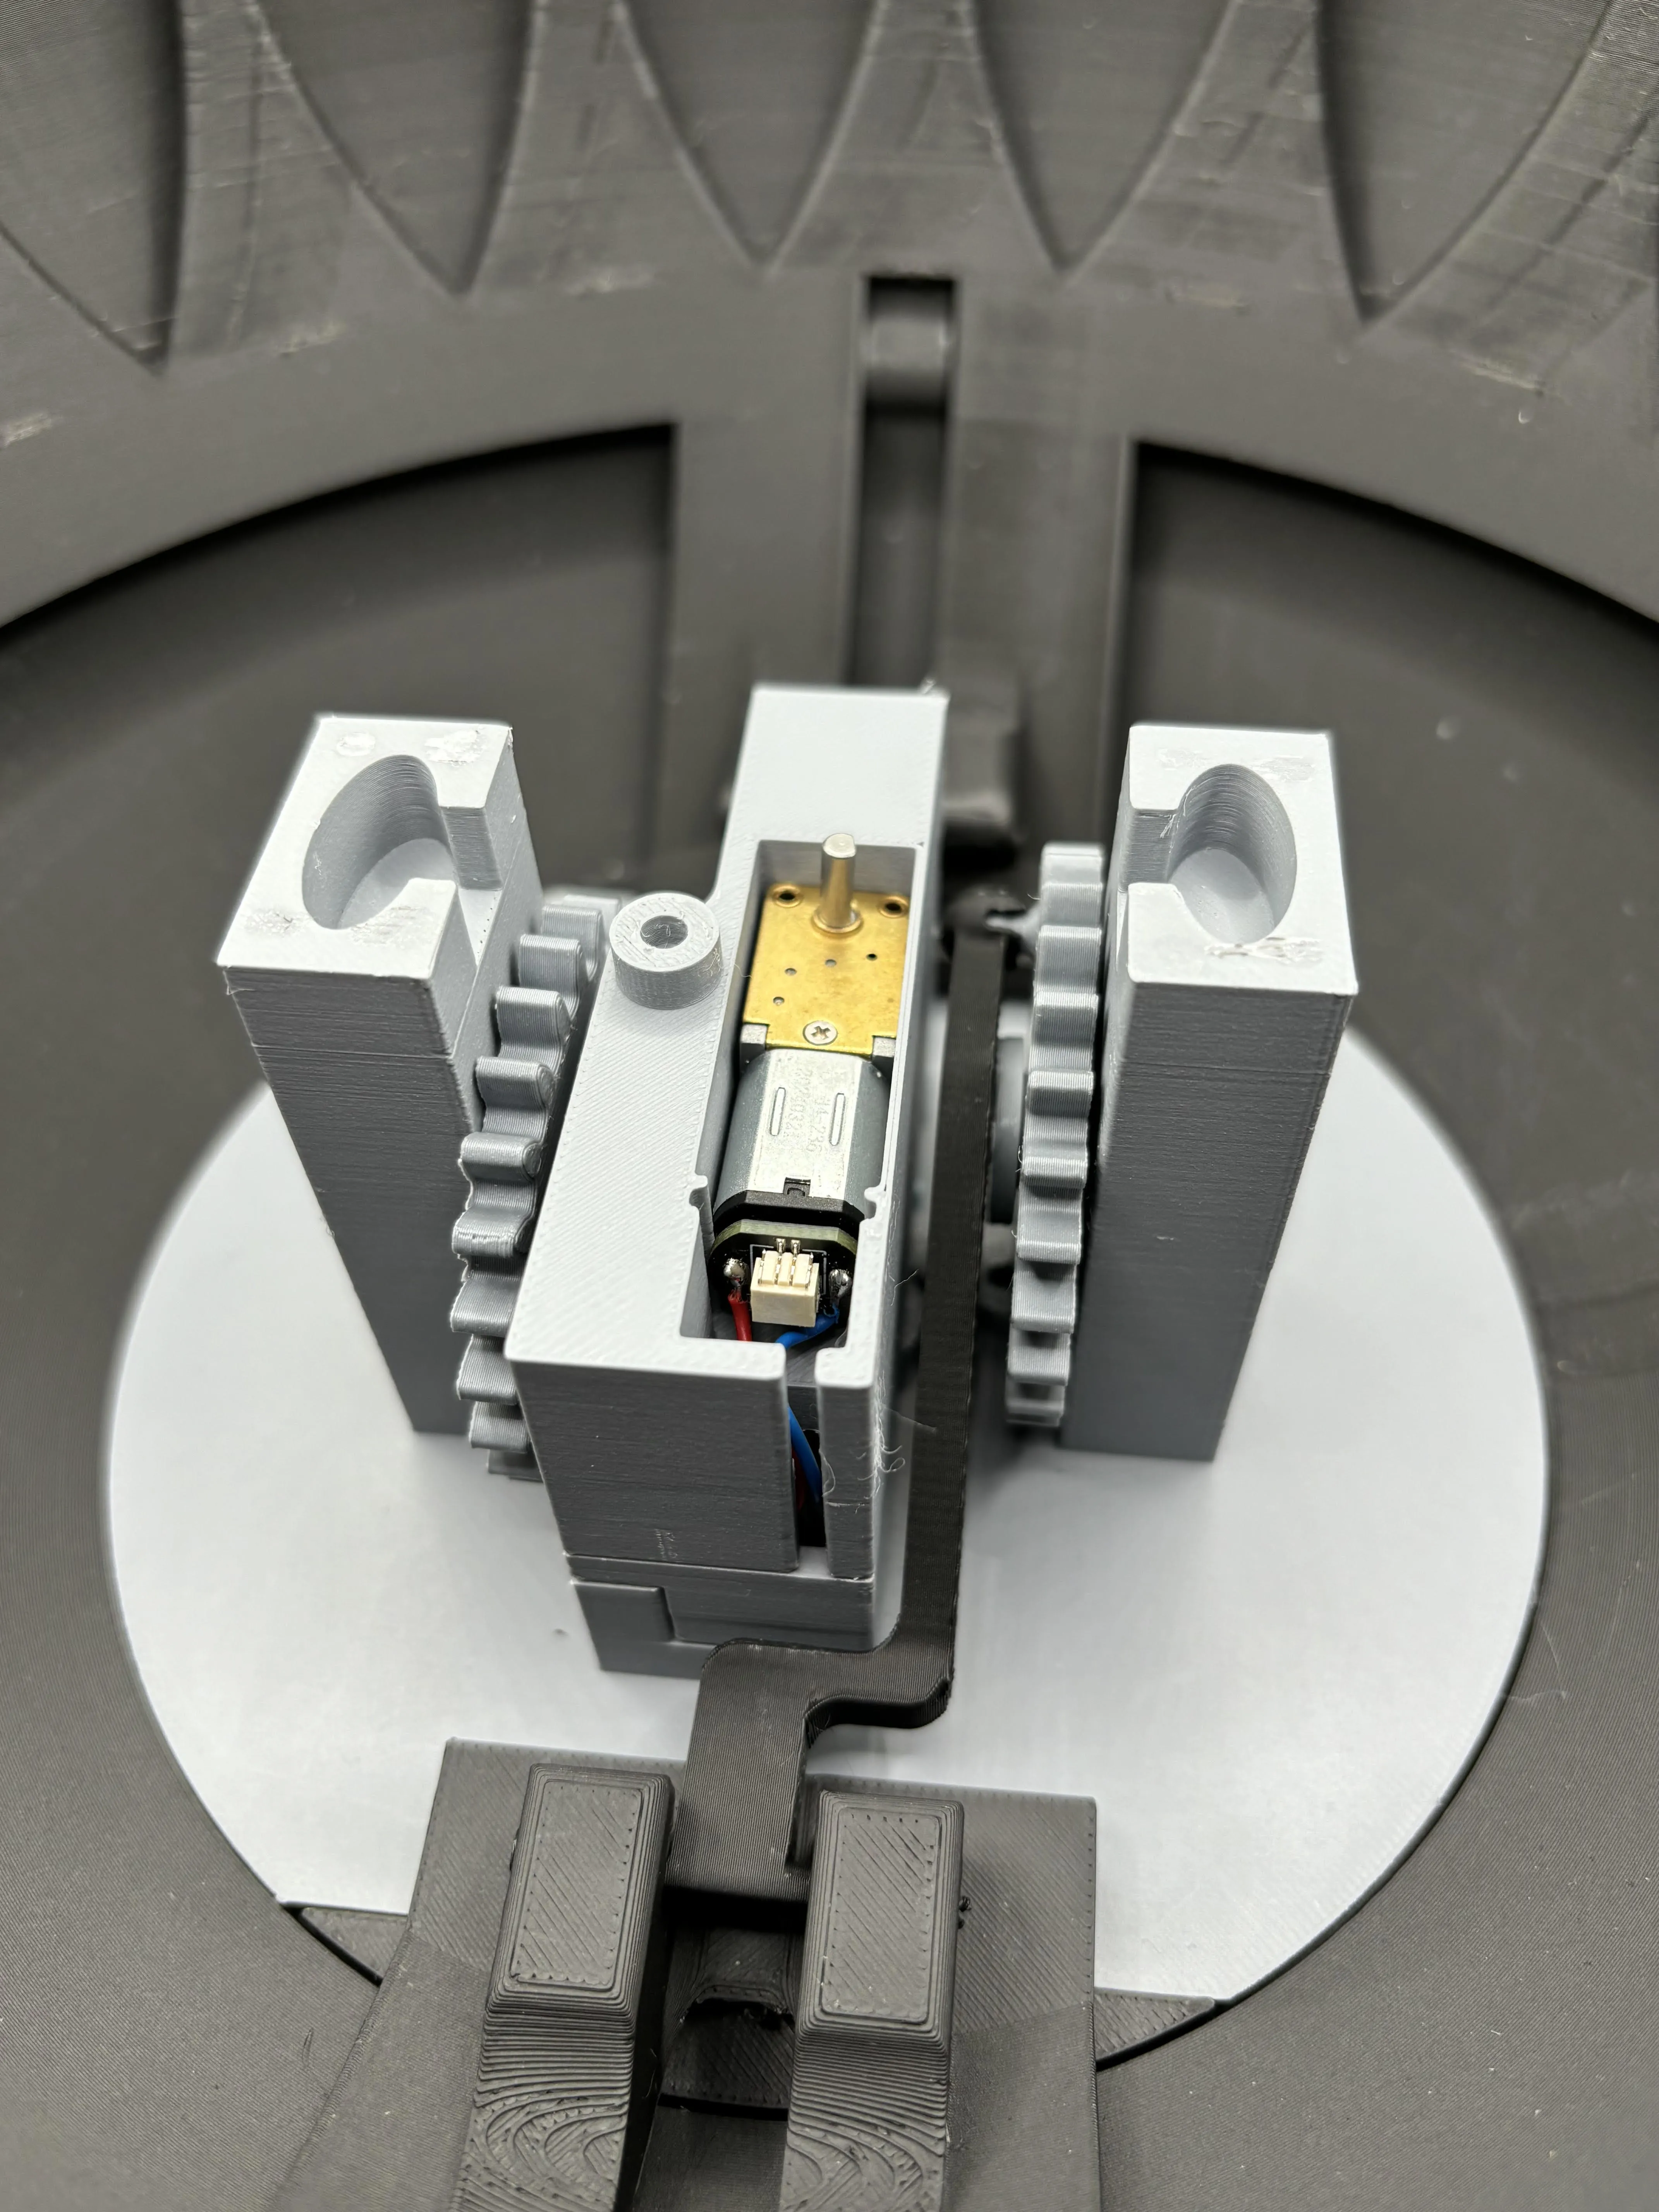
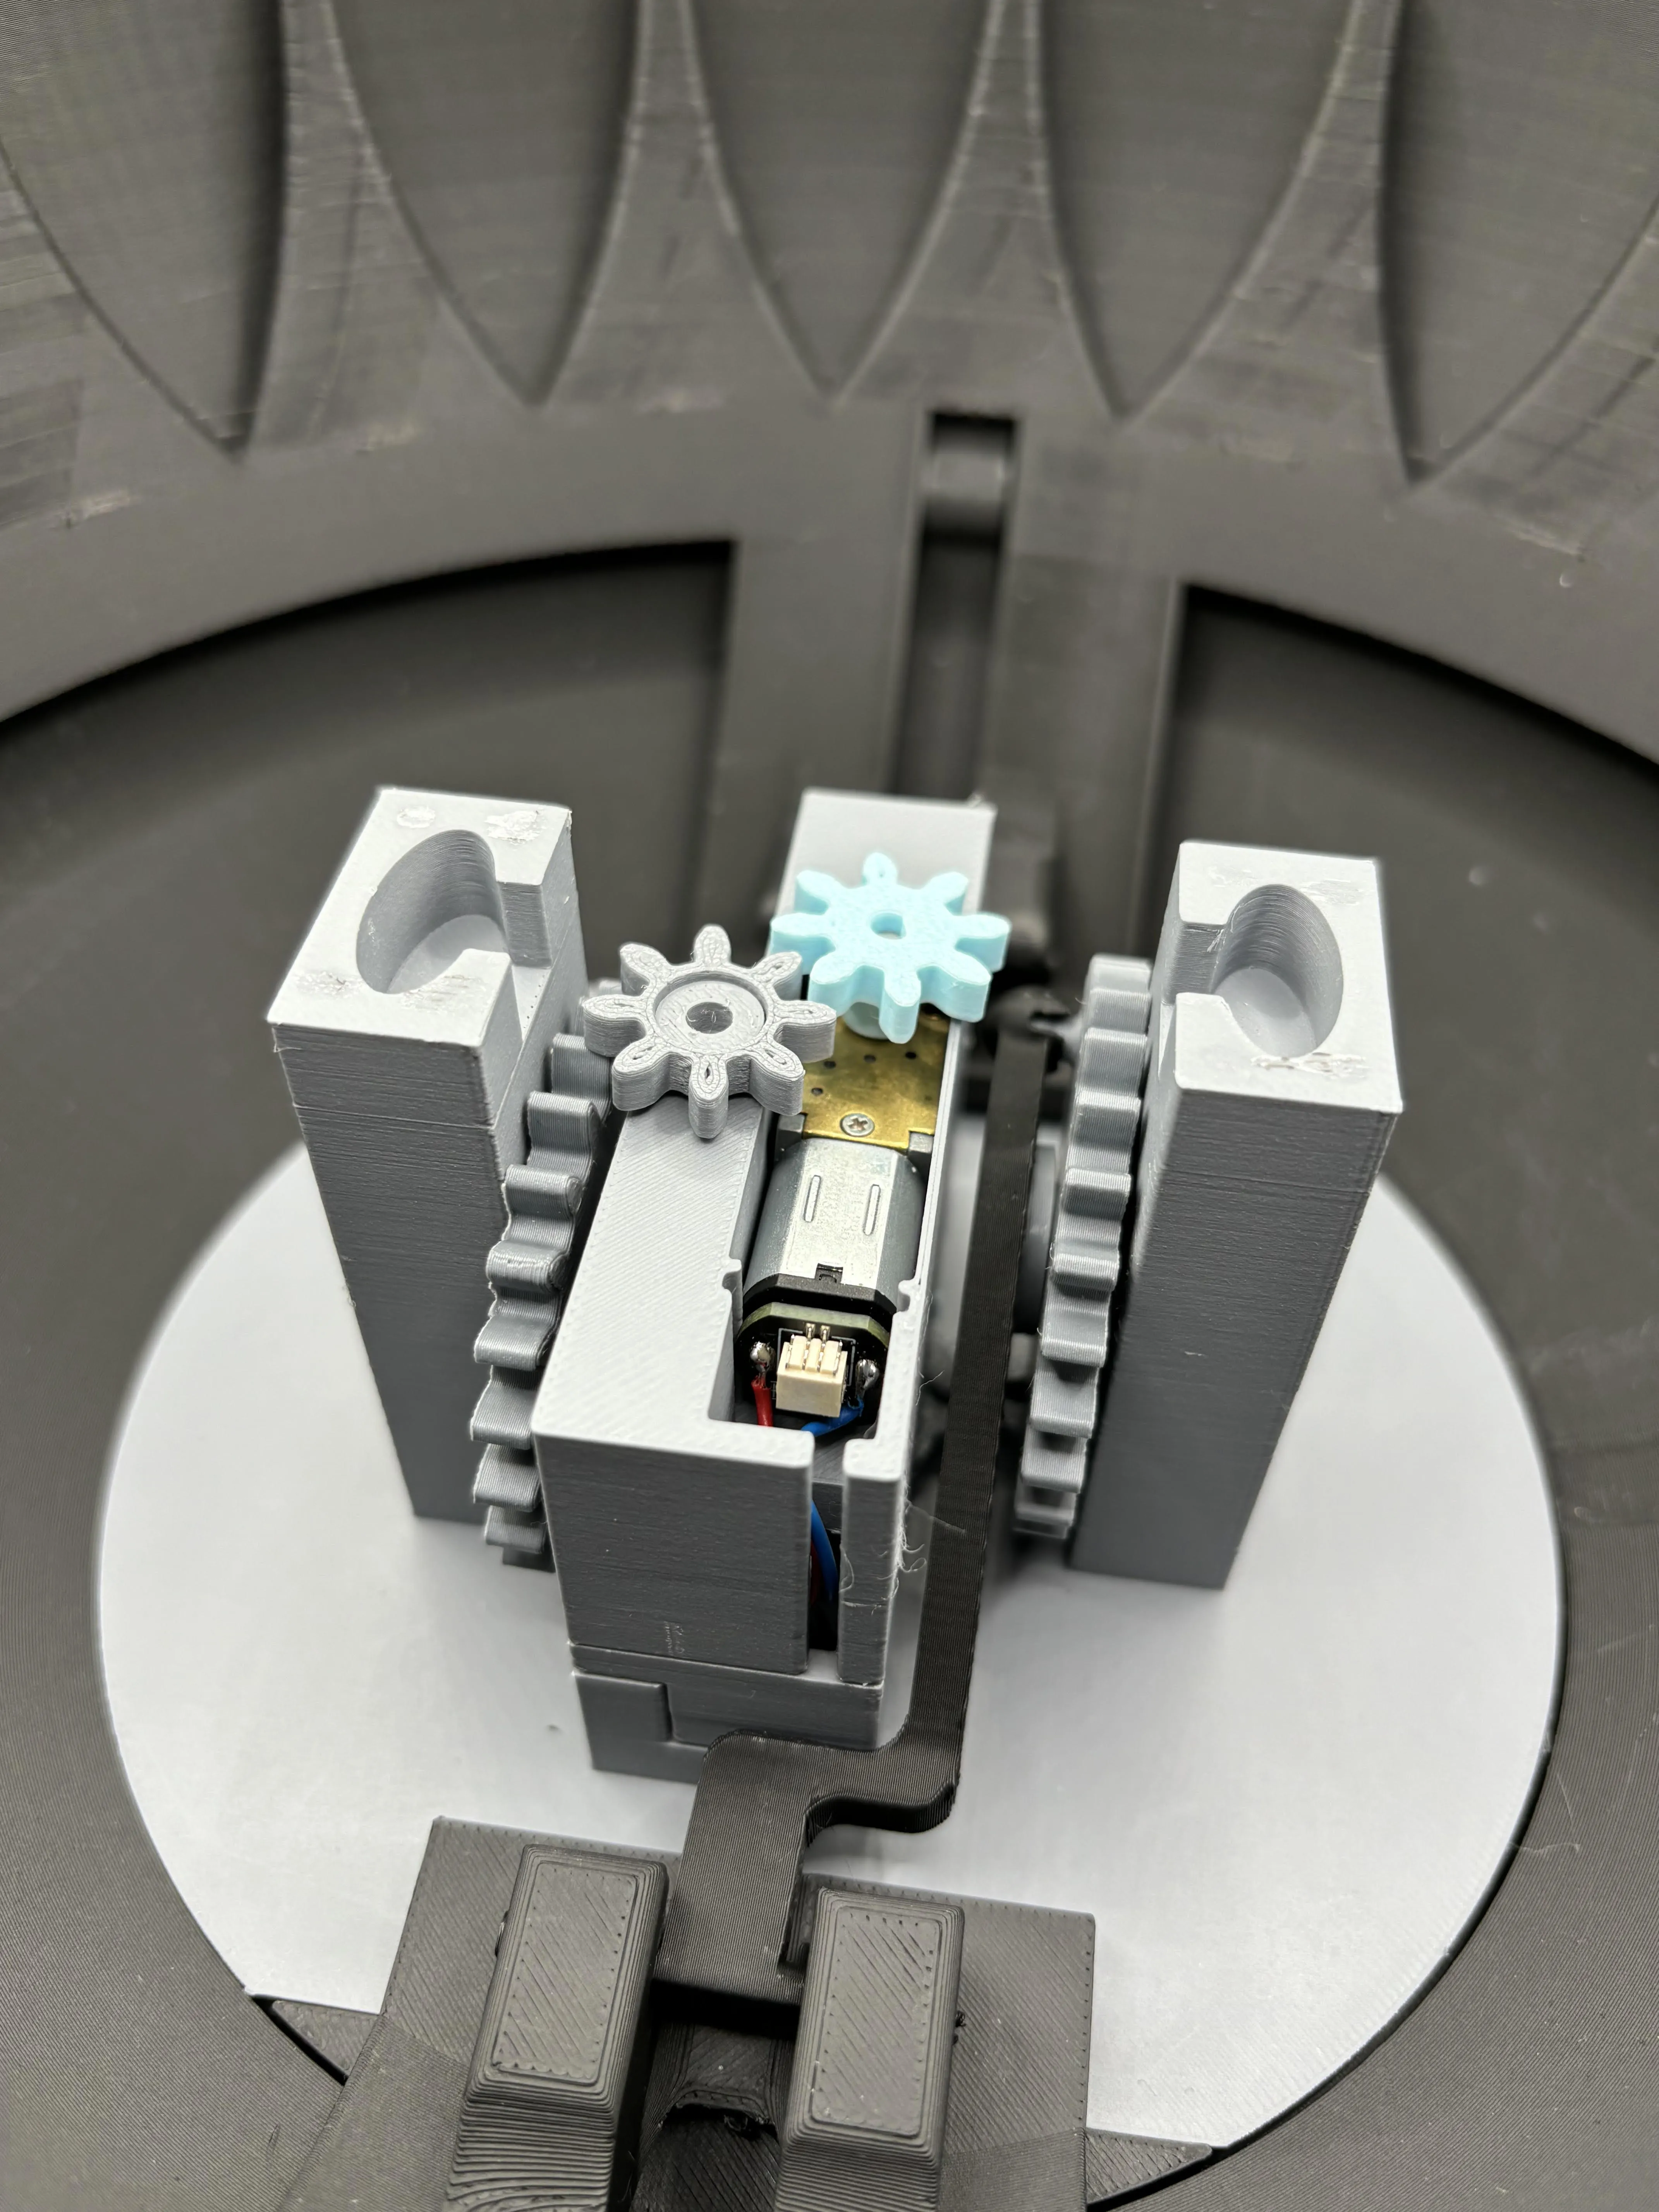
So that everything holds very well, now finally put the holder for the gear in at the top and the holder from right to left so that everything is stable when in use.
The two covers on it.
These things may need to be glued on depending on the print quality.For me it held up even without superglue. You might also have to glue the upper motor so that it doesn't move too much.
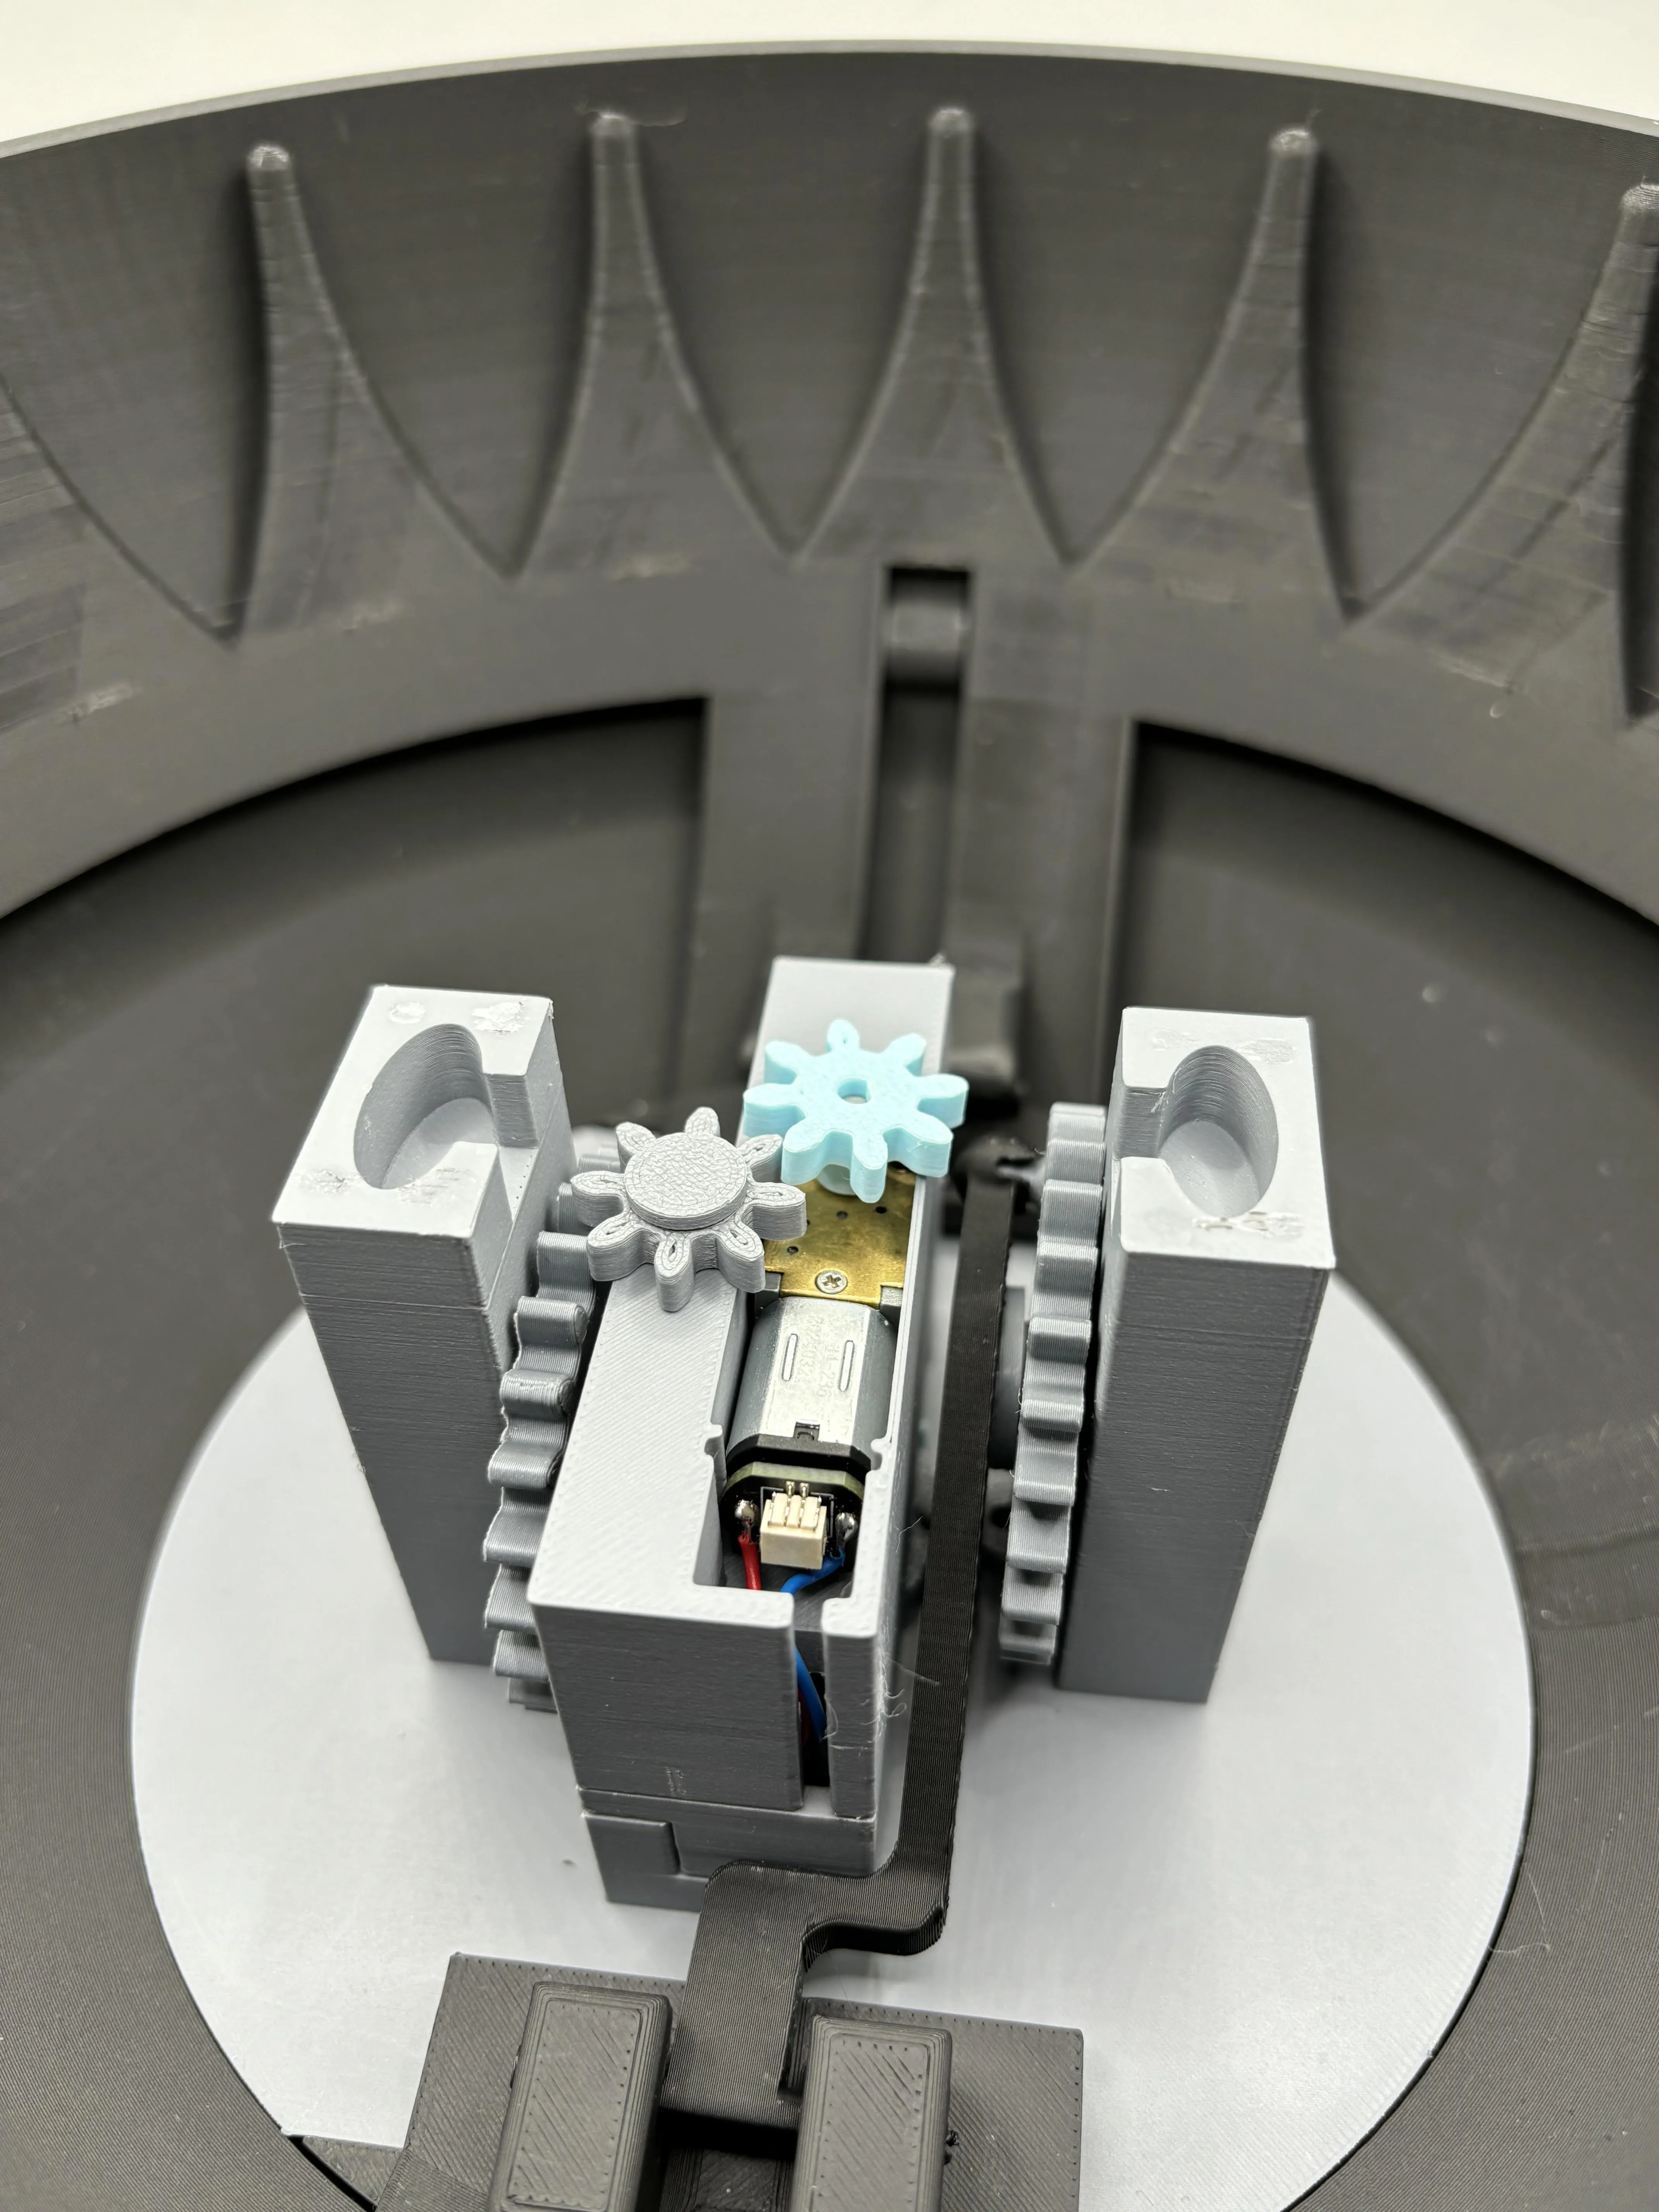
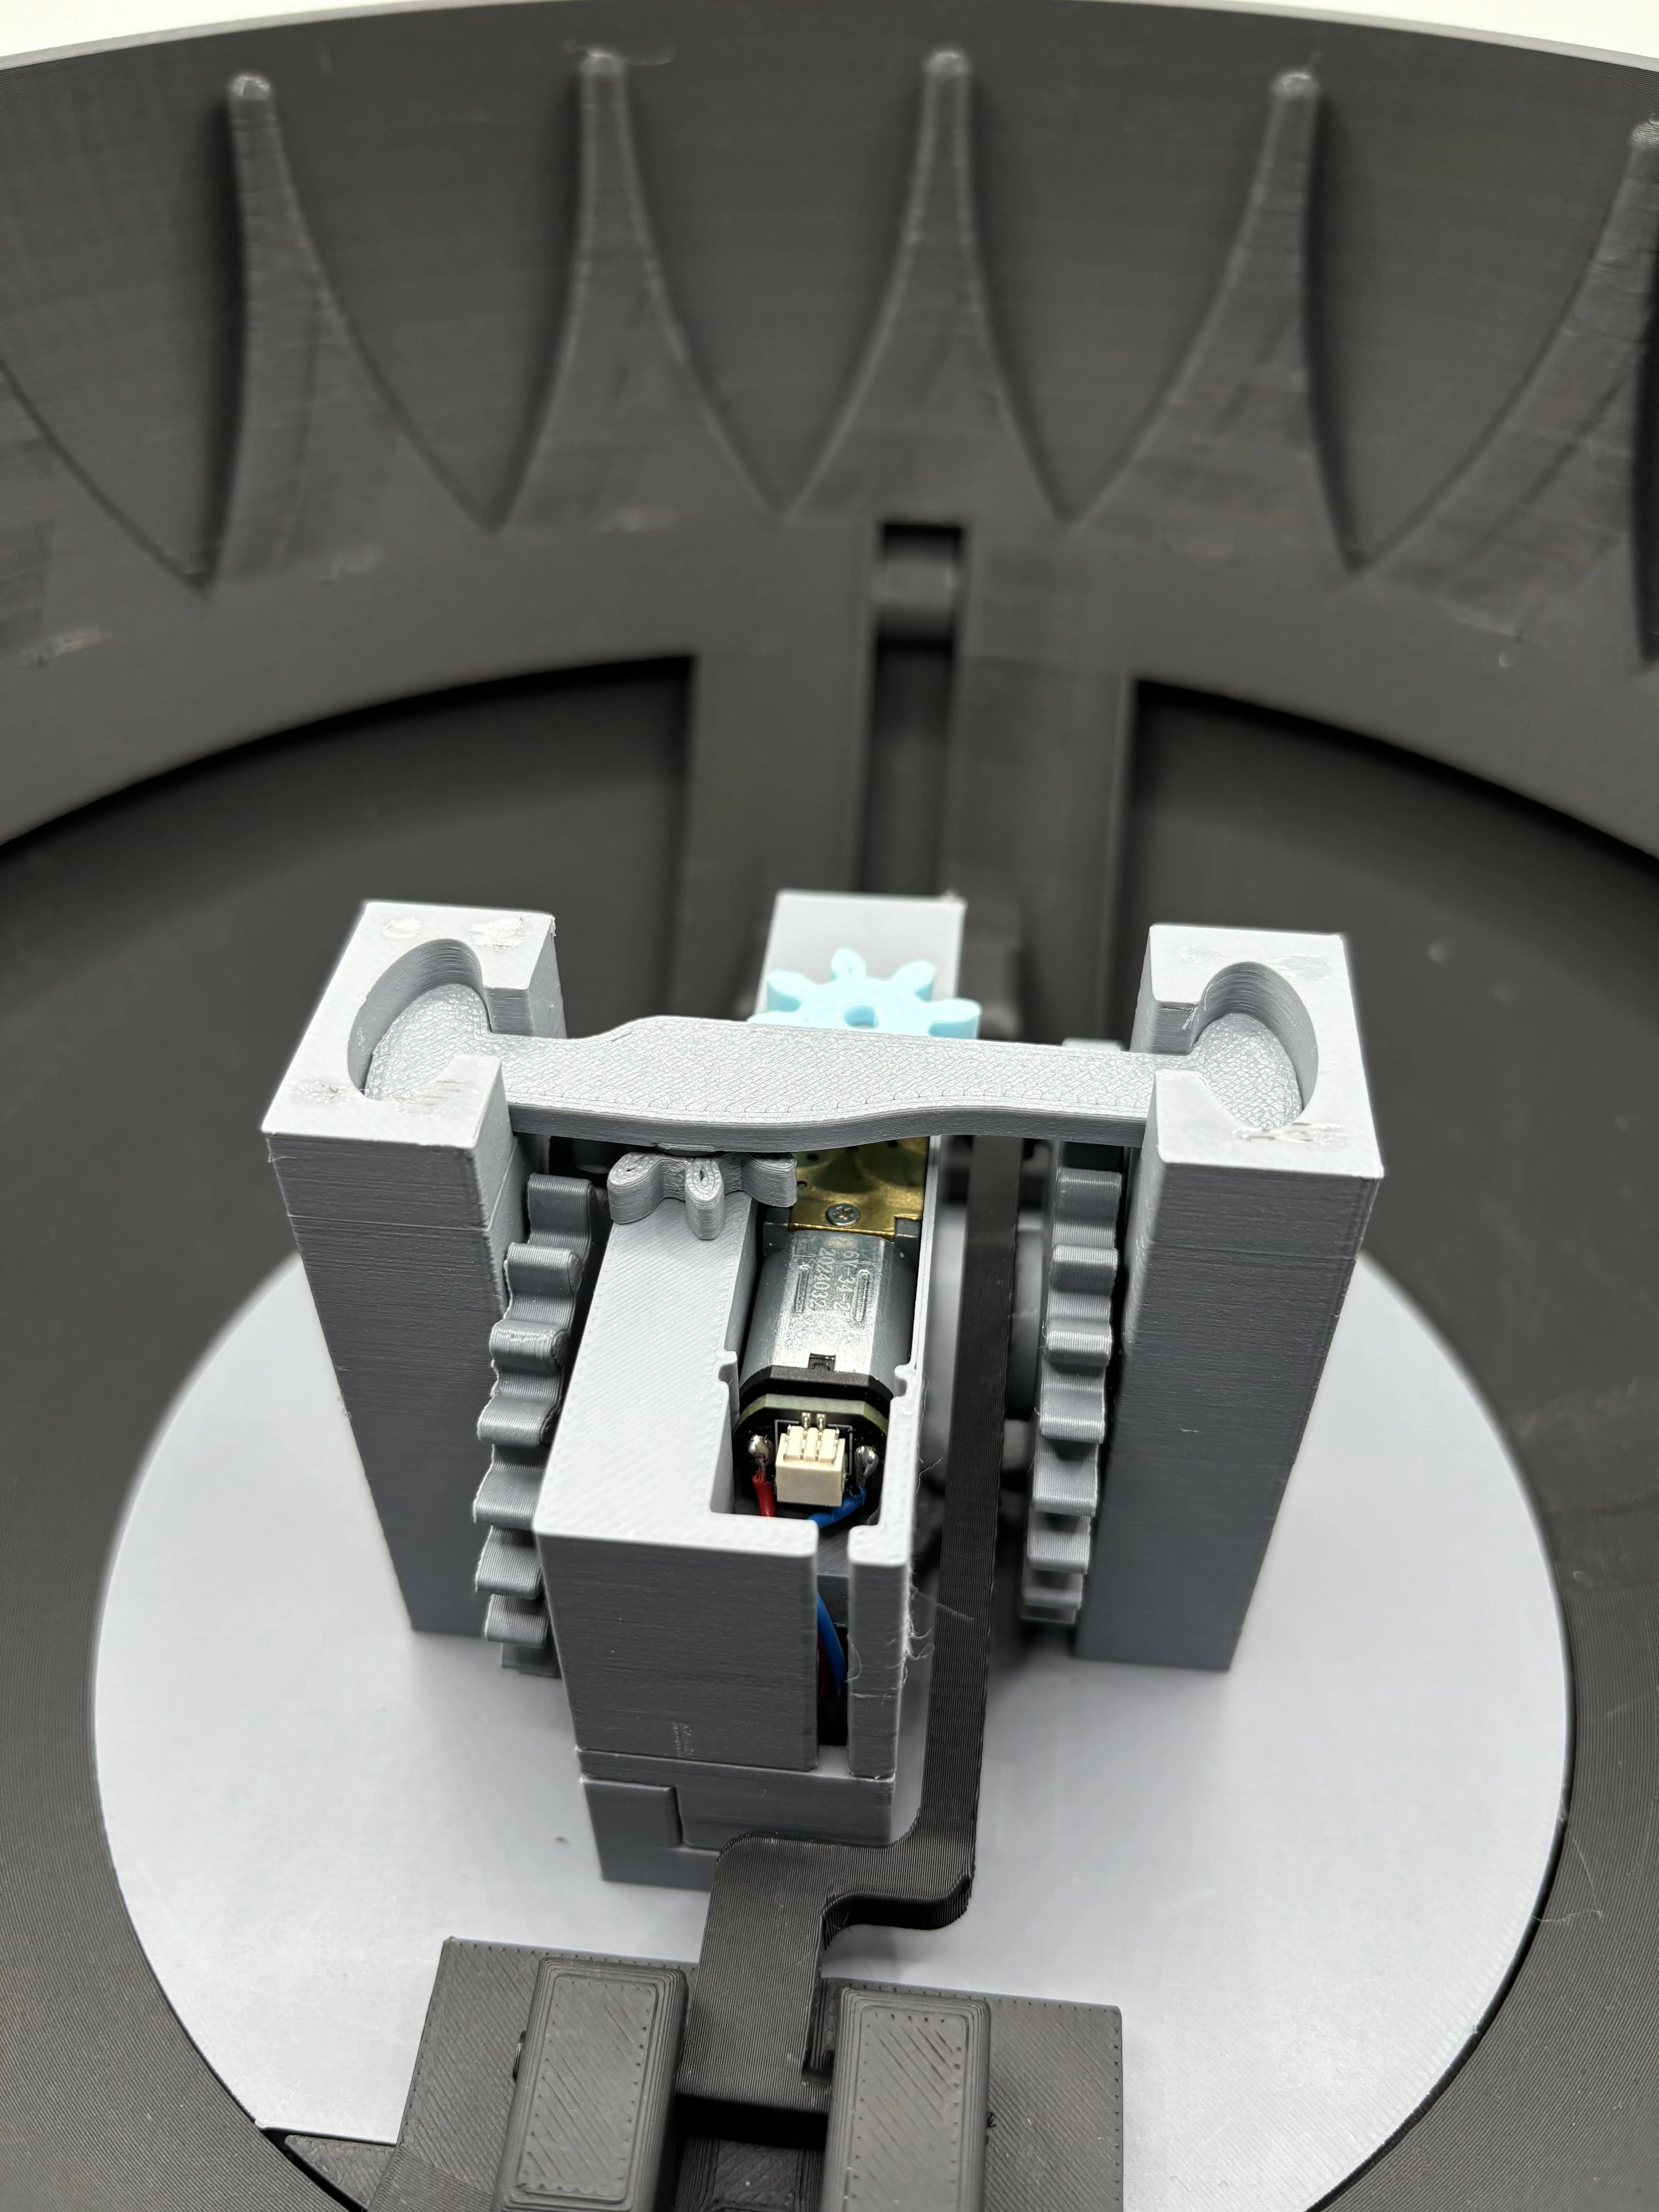
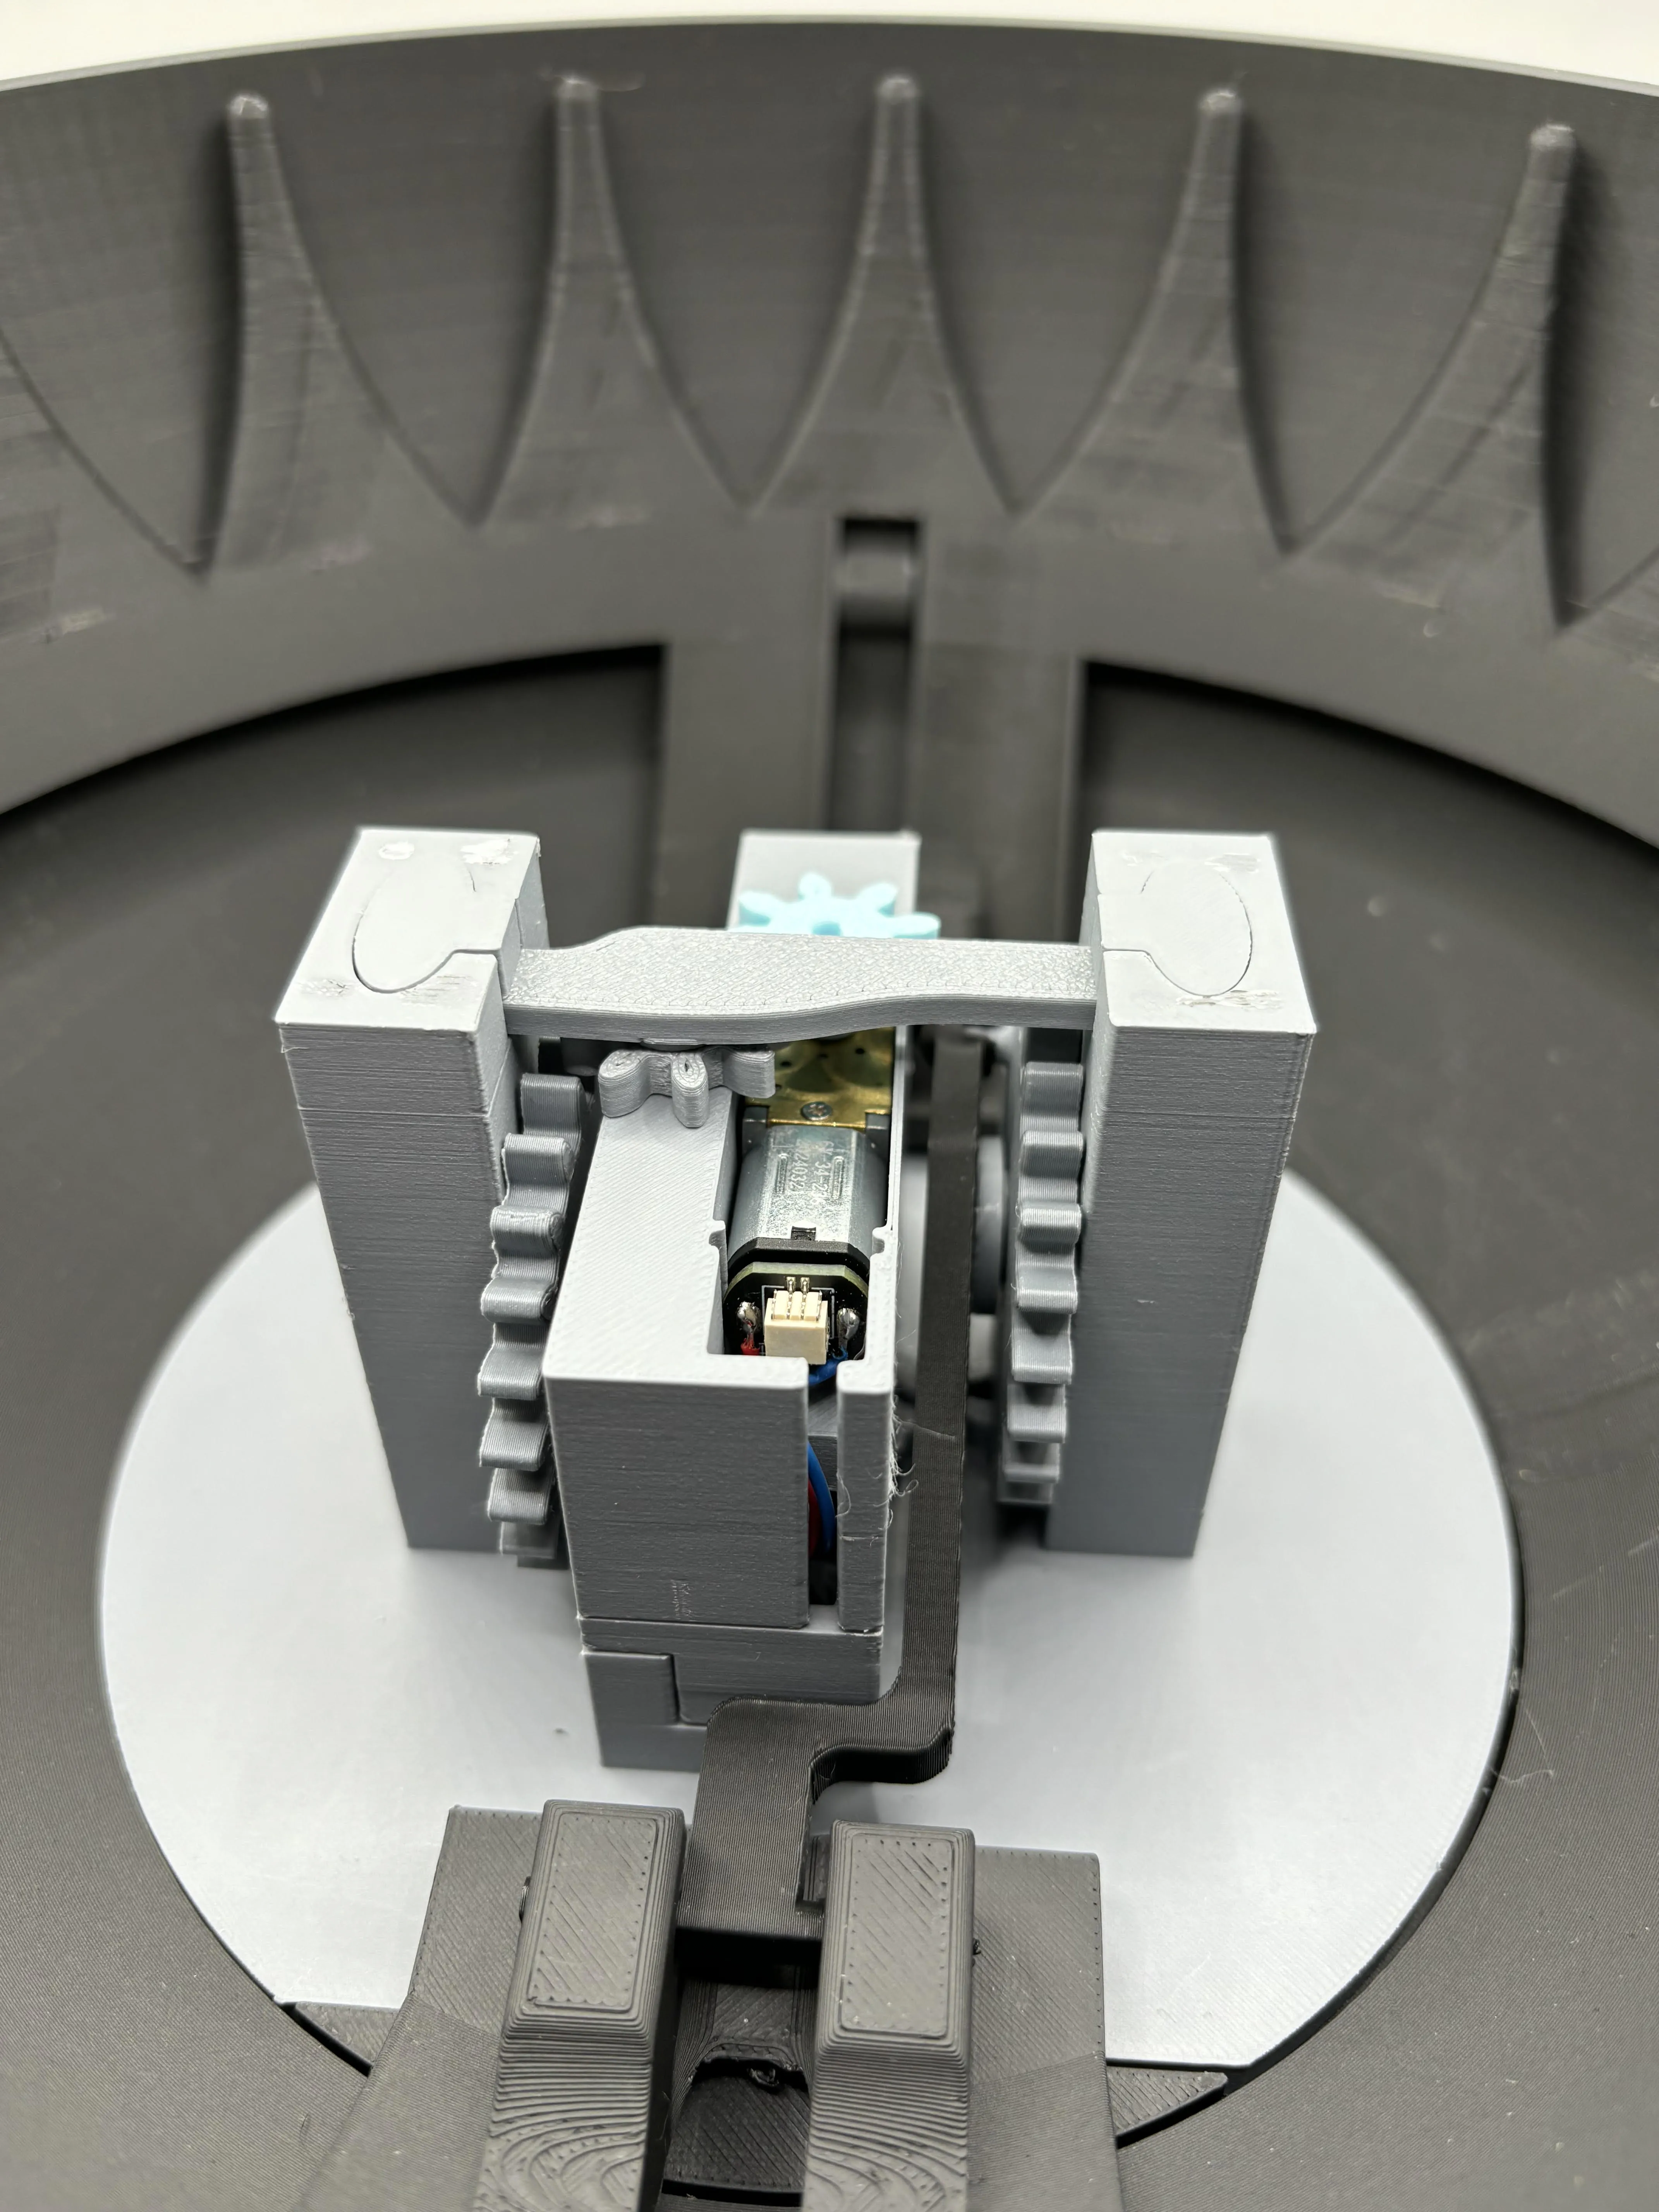
Don't forget the battery cover.
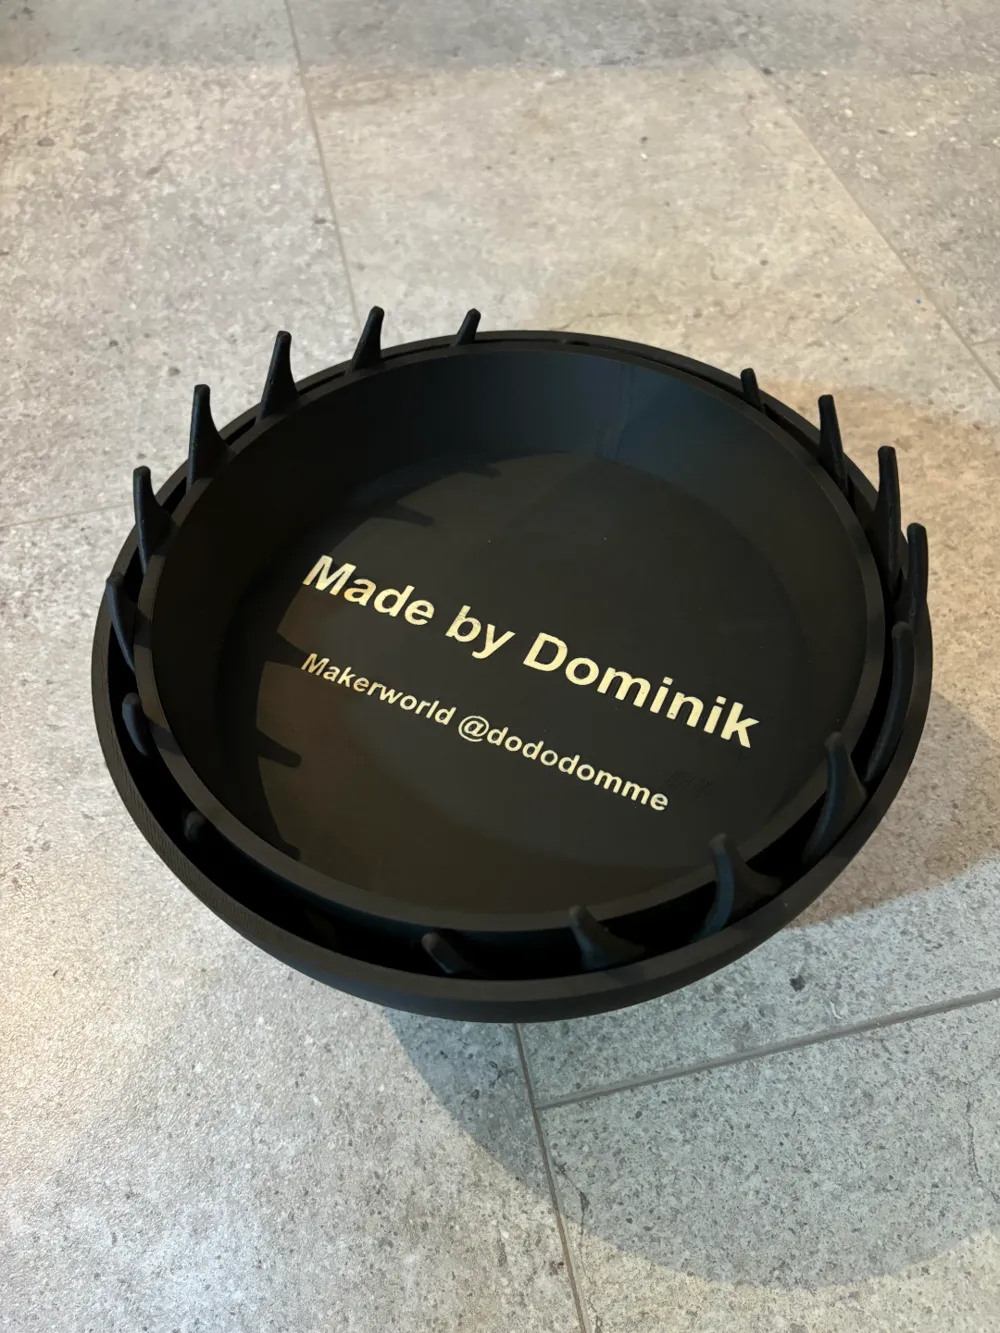
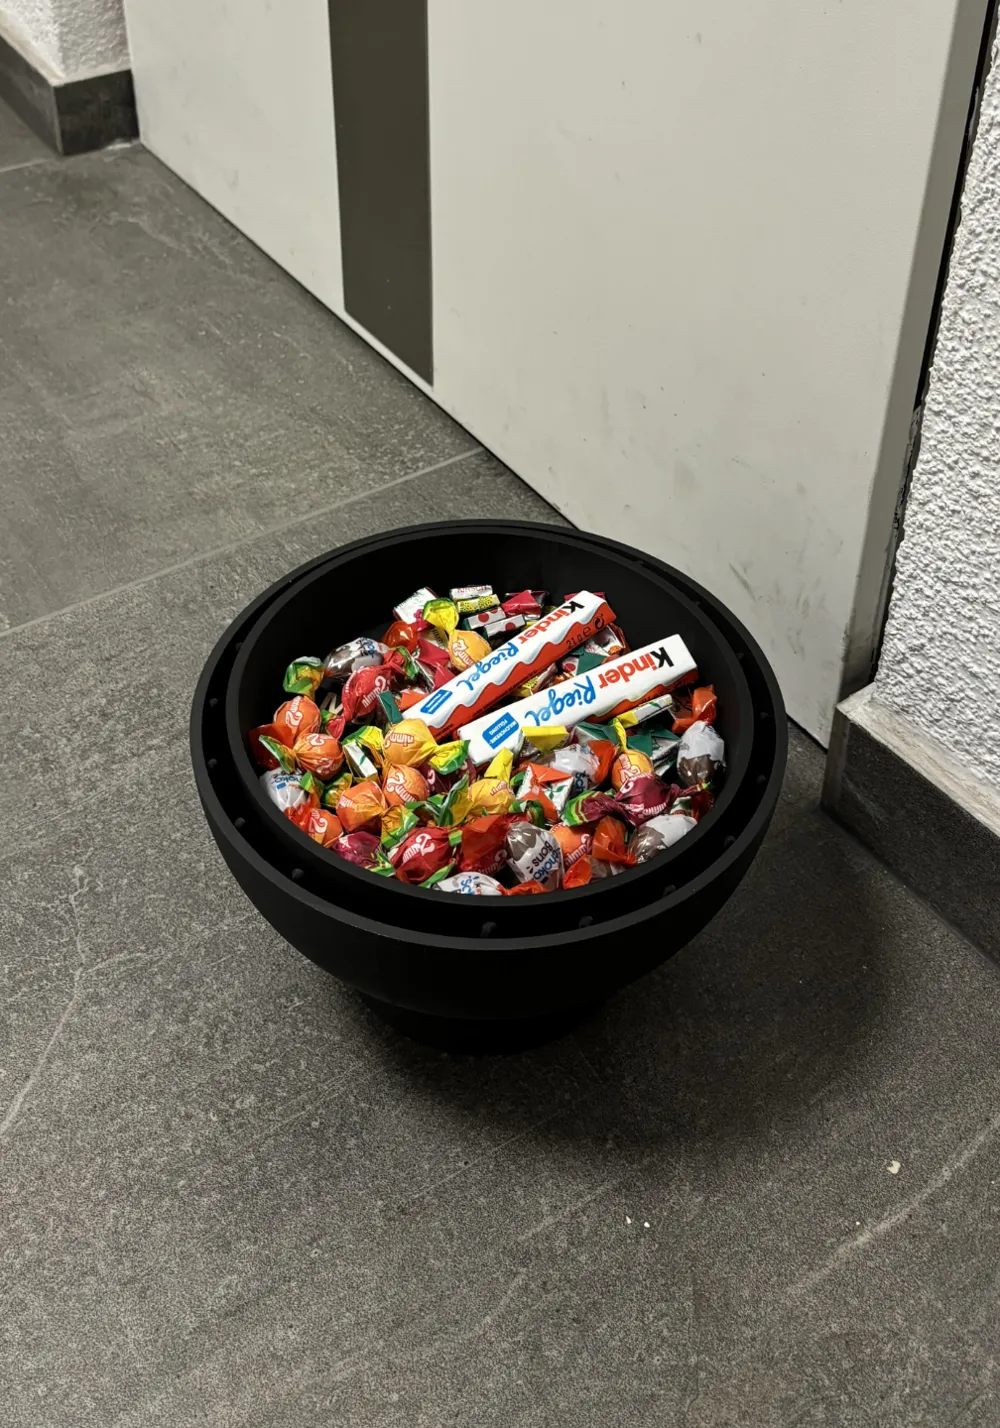
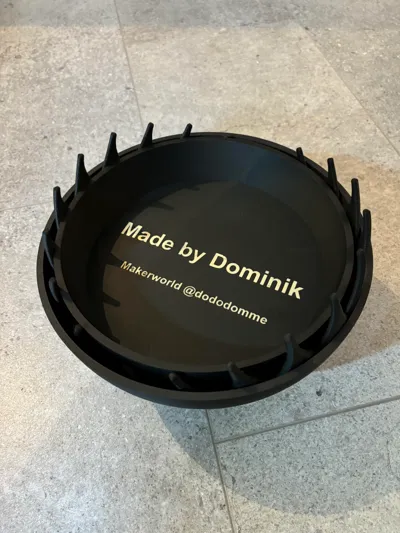
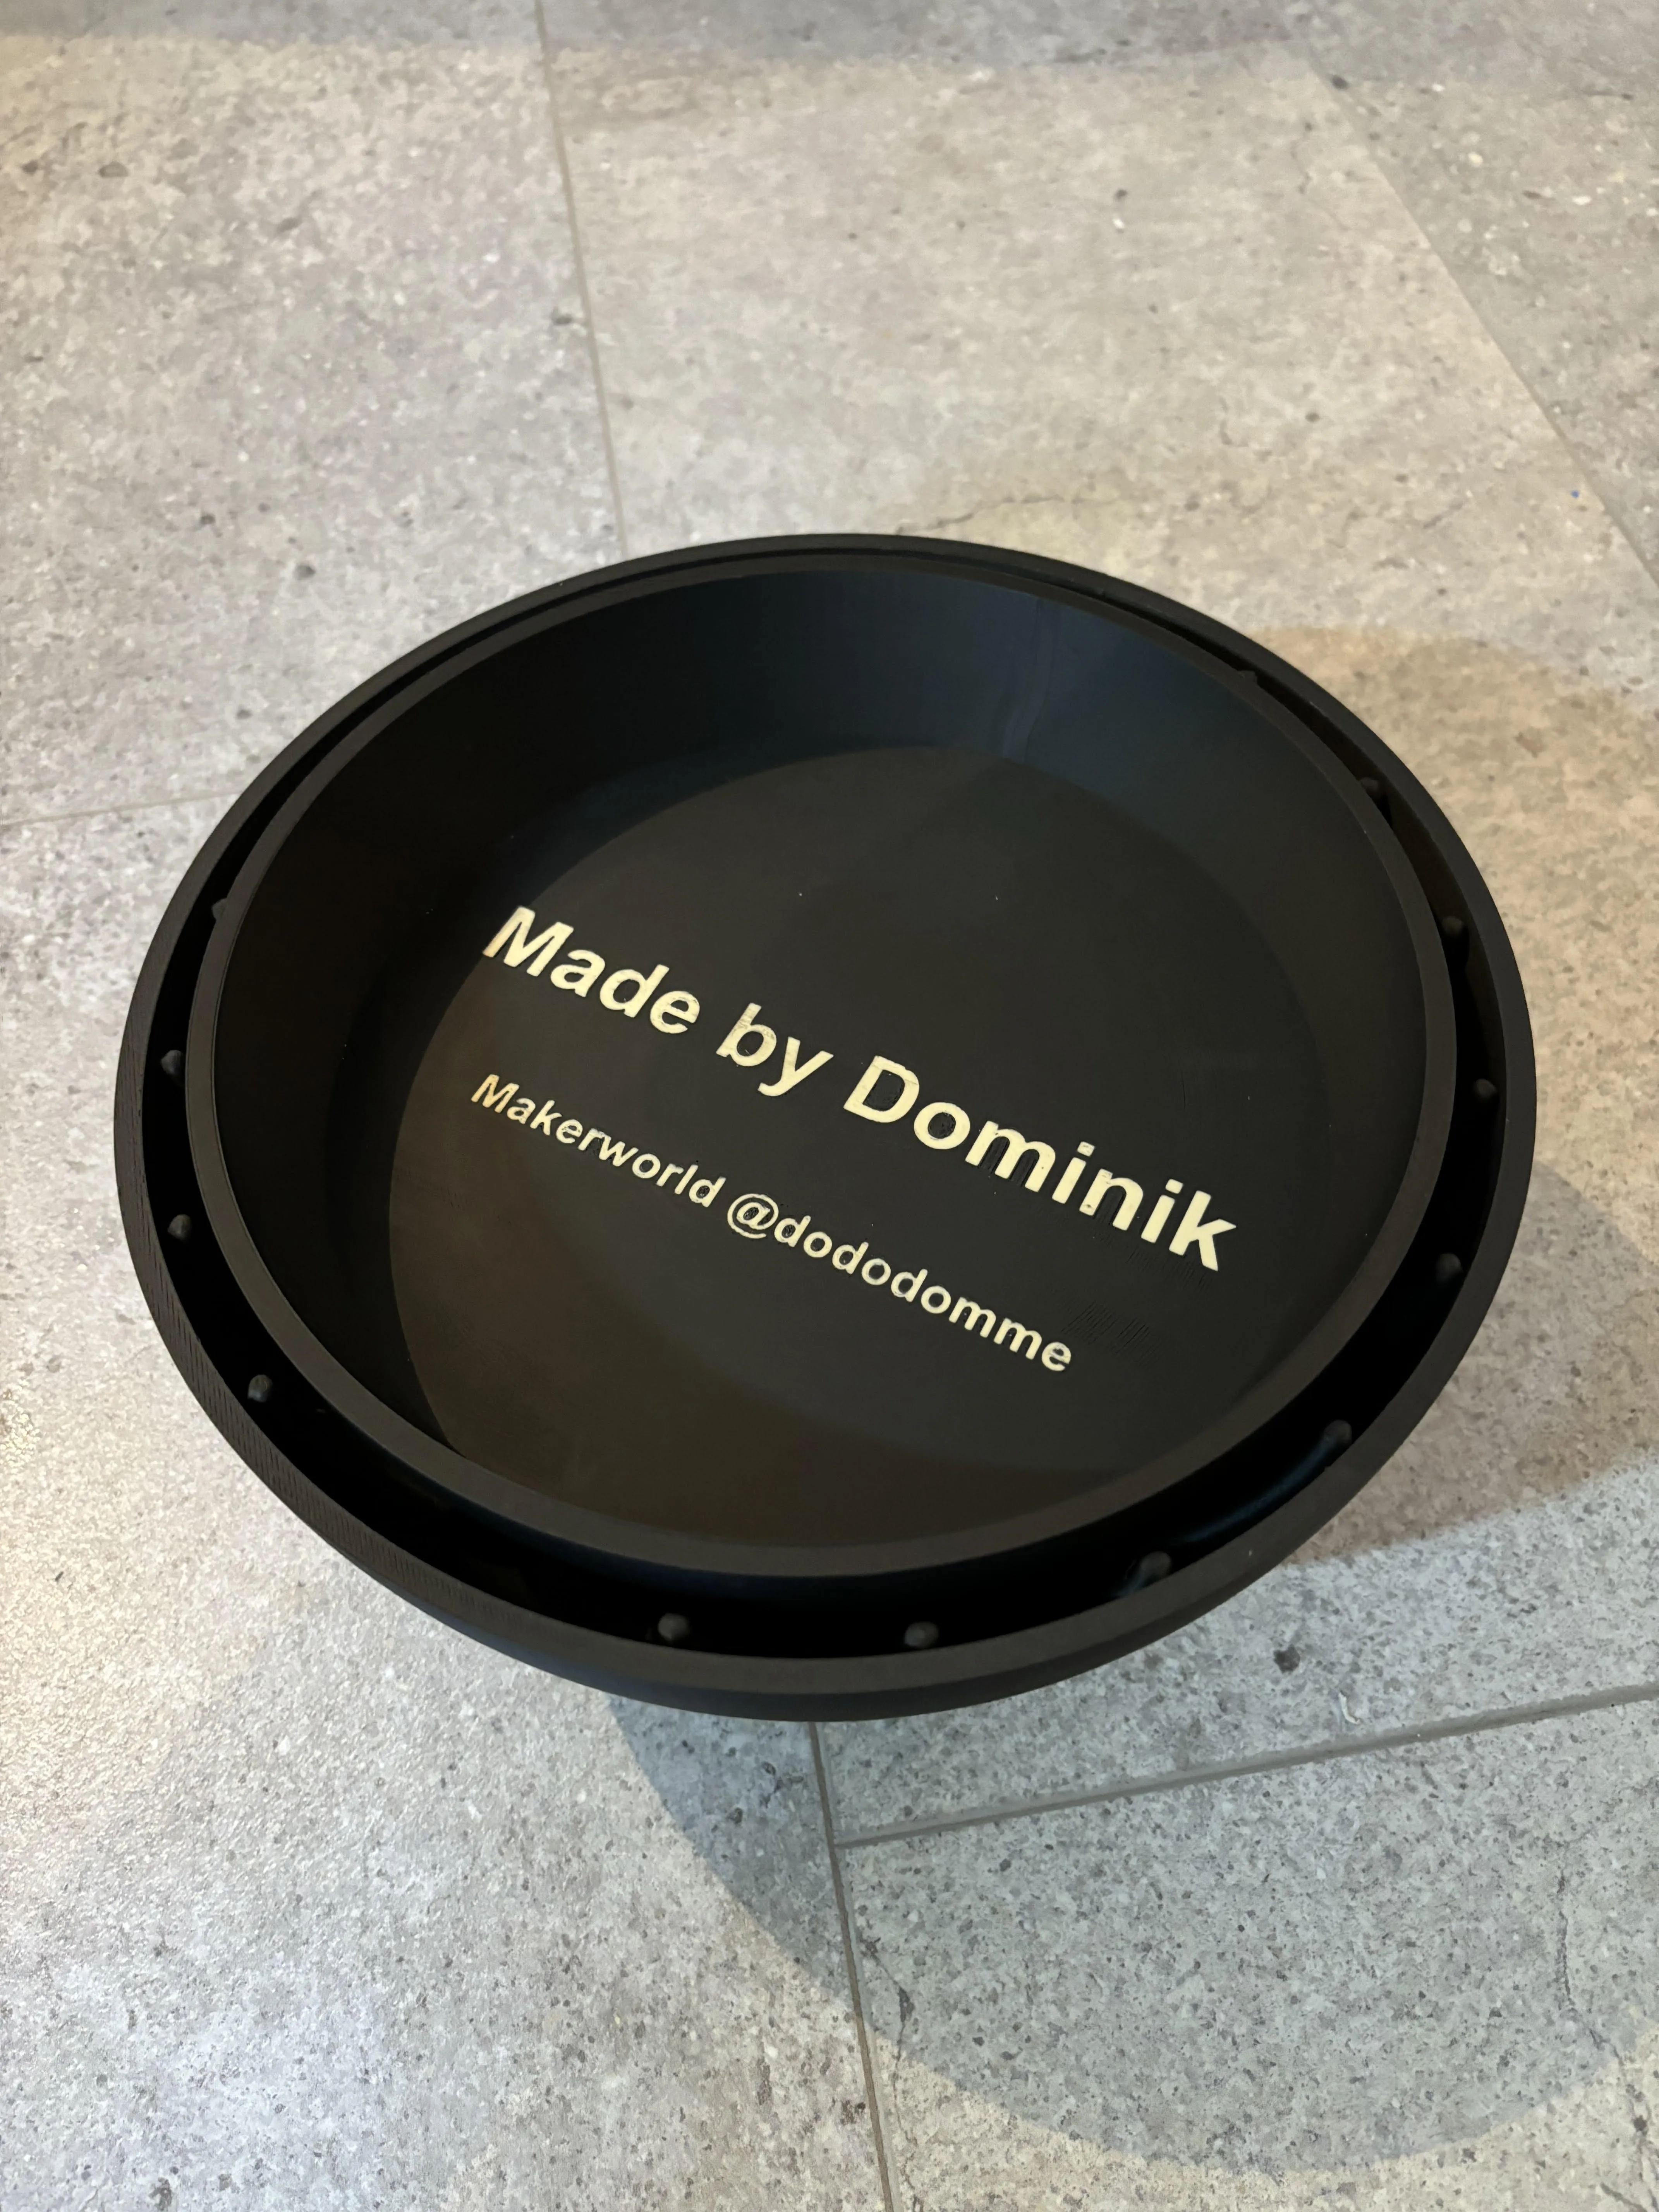
Last but not least, put the small bowl on top and the candy trap is ready.
The bowl is a little wobbly. which isn't dramatic at first because it can't go anywhere, but you could also stick it on.
But that is up to each individual
If you have any improvements or other suggestions, just let us know.
I hope you like it
Your Dominik
Boost Me (for free)
I would be very happy about a boost
License



Comment & Rating (2)