Bear Trap


Print Profile(2)

Bill of Materials


- vallejo game color special fx, Corrosion, 72.608 x 1:
Description
I created this one because I just thought is was cool :D
Edit 30/12/25:
- added a couple of 3d printable pins to the print profile. Many people have used filament, but I guess you can try and print the pins as well. Metal pins are still stronger off course.

- Combined everything into a single print profile
Feel free to boost me, its completely free ;)
Boost Me (for free)
ok thanks, now on with the bear clamp:
THERE ARE 2 VERSIONS (I recommend the rubber band version as its easier to assemble)
- my first version uses the springs and pins that come from the bambu lab essential-kit-a, see below for the individual parts.

For pins you could also use pieces of filament, or the 3d printable pins added to the print profile
- the other version uses a rubber band instead of springs. The rubber band version uses all the same components, except for the 2 flippers which have a pin sticking out for the rubber band:


DOES IT WORK?
Yes it works!
spring version:


rubber band version:

DOES IT HURT?
Not really… but I guess if a little child puts his/her finger in there they will probably start crying, if that makes sense…
ASSEMBLY INSTRUCTIONS:
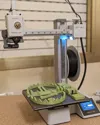
Start with the base part:

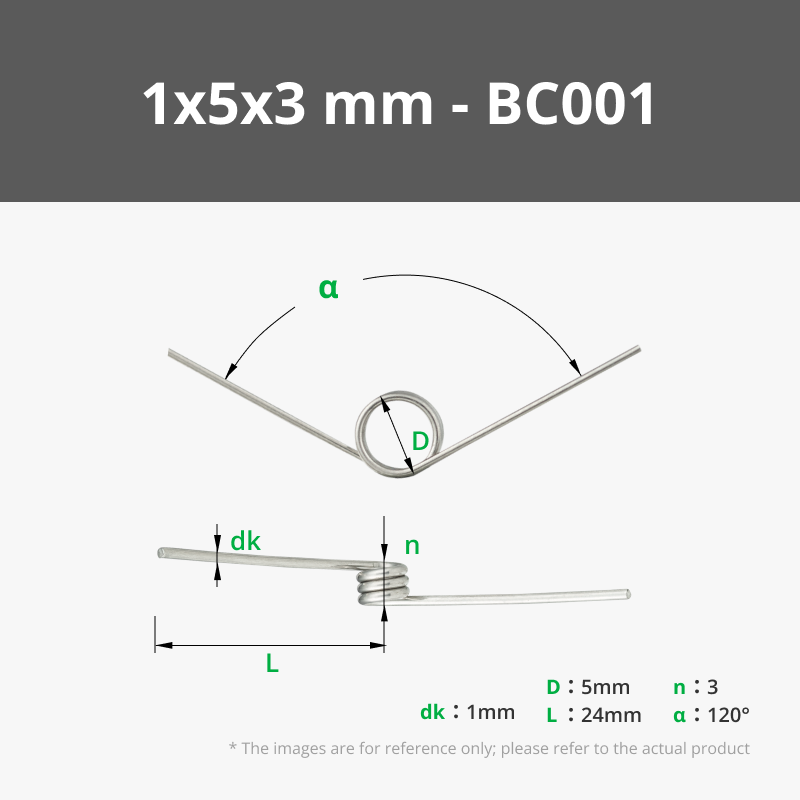
place one of the 2 springs inside the base part, like in the picture. The springs are 1x5x3mm 120 Degree Torsion Spring (5PCS) - BC001 from bambu lab (see bill of material below) (skip this step for the rubber band version)


install one of the flippers (remove the support first), like so:

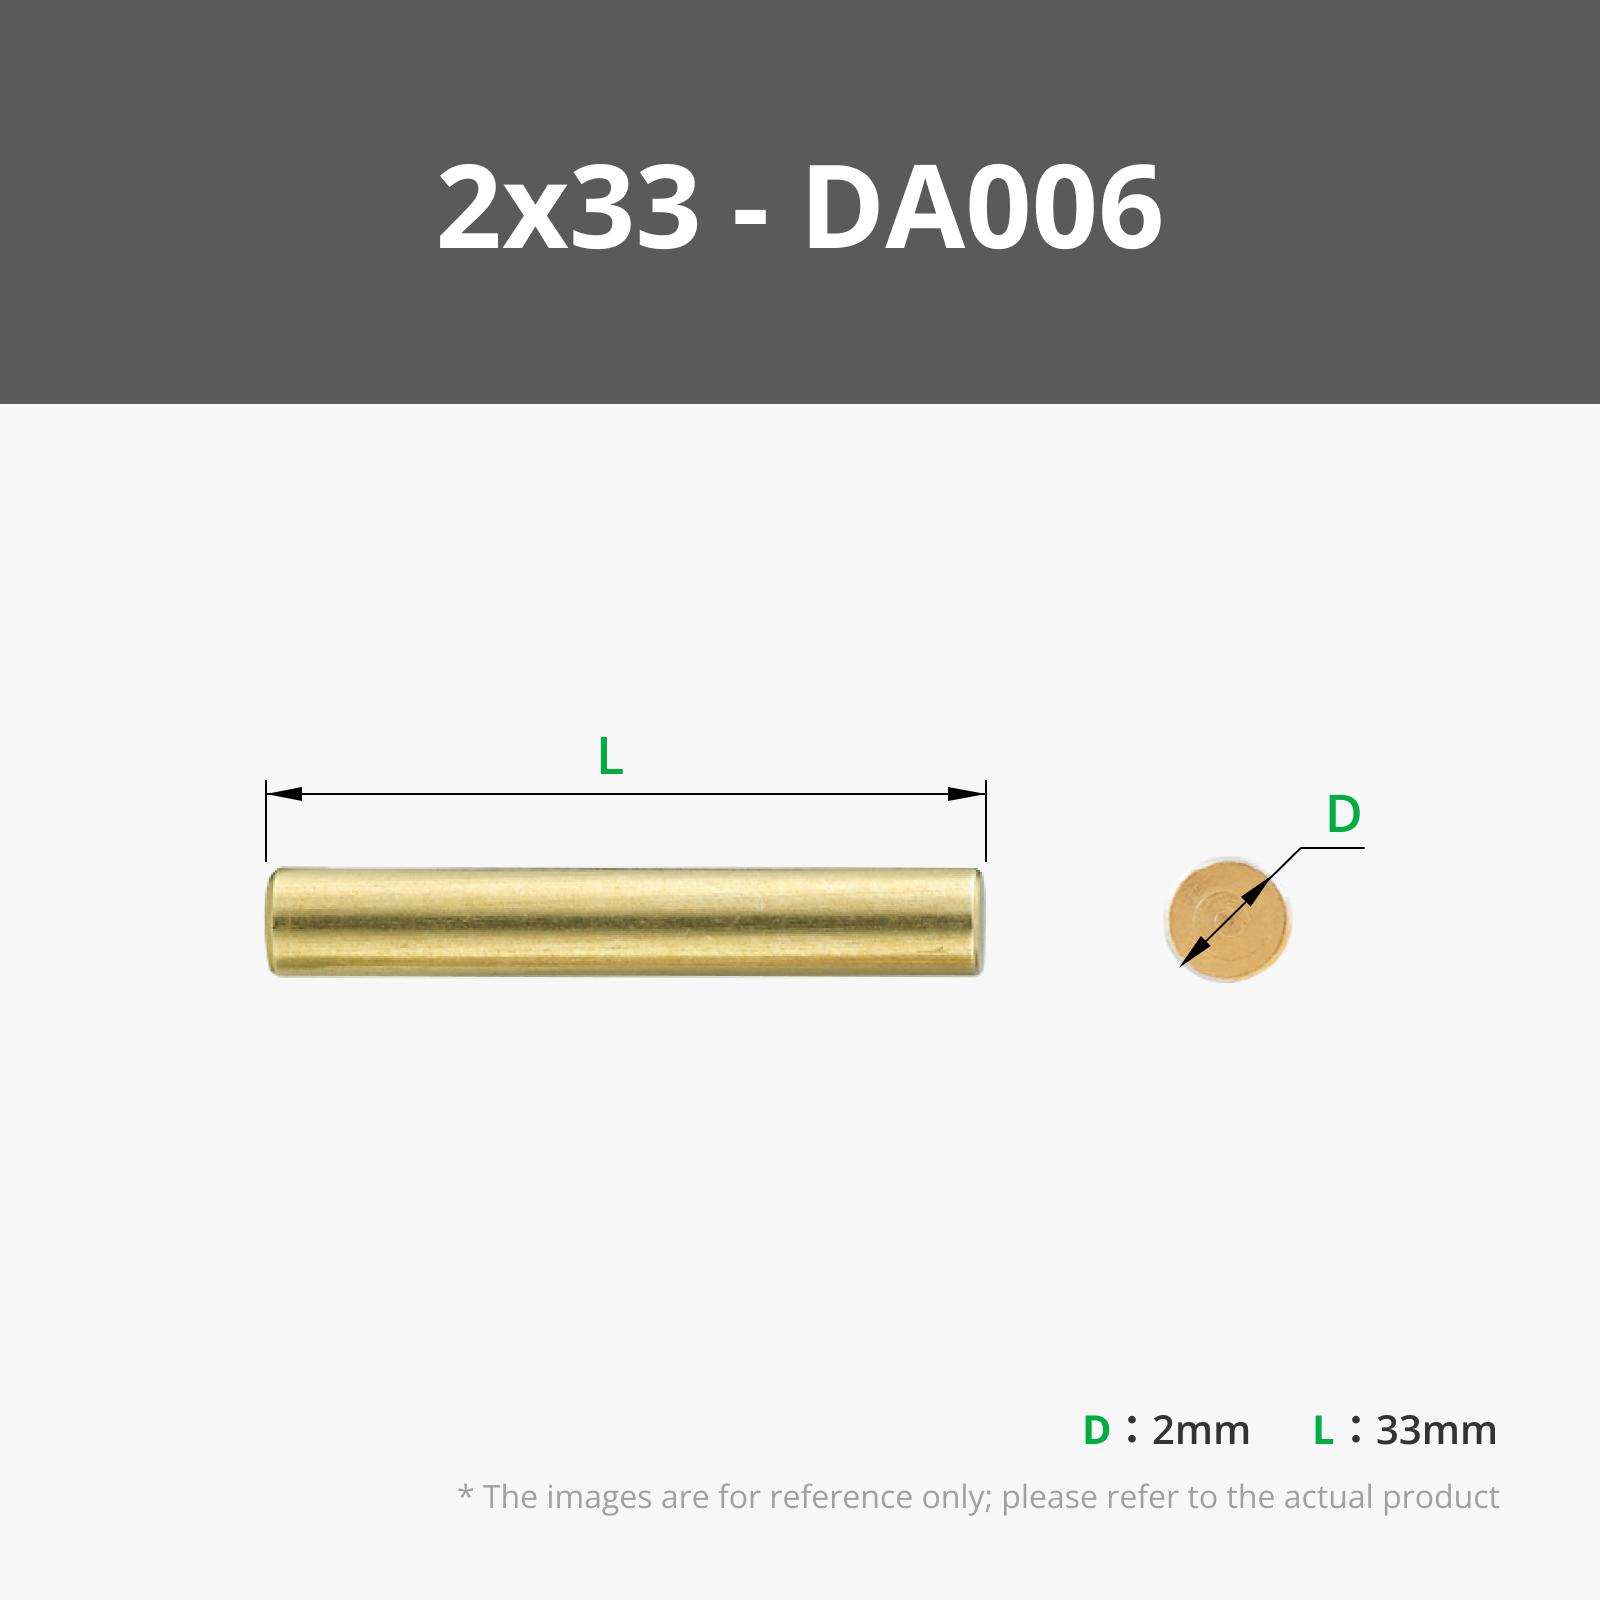
install a pin, 2x33mm length (brass or steel, doesnt matter). Make sure it goes through the coil of the spring. It should go all the way through the flipper part. (some people have also used a piece of filament, which I guess could also work but is less strong)


Now push the flipper down and install a pin (diameter 2, length 18mm) in the hole shown in the picture. This will keep the flipper down and makes it easy to install the other parts of the trap. (dont fully insert the pin, it needs to stick out and hold the flipper down) skip this step for the rubber band version


Do the same for the other side:

create the lever by gluing the round button on to the lever part:

install the lever part by aligning the holes and inserting a pin, 2x18mm:


place some 2x18mm pins inside the holes on the side. we will use them to assemble the 2 clamps:

Take the clamp with the little cut out in the middle. (this is where the lever holds it down)

fully insert the pins on both sides (just for that clamp):

same for the other clamp:

now activate the lever by pushing down the left clamp and tilting the lever up untill it holds down the clamp

remove the 2 pins that hold down the flippers:

For the rubber band version: now you can wrap the rubber band around the 2 pins:

done! the trap is now fully assembled:

you can also watch this video to see it assembled and working:
https://youtube.com/shorts/rAexcOGm9iw?si=NdqnLcWPnifpZ0nl
At the end of the video I applied some vallejo paint called game color special fx, Corrosion, 72.608
License
You shall not share, sub-license, sell, rent, host, transfer, or distribute in any way the digital or 3D printed versions of this object, nor any other derivative work of this object in its digital or physical format (including - but not limited to - remixes of this object, and hosting on other digital platforms). The objects may not be used without permission in any way whatsoever in which you charge money, or collect fees.
Comment & Rating (1163)