
ALL iPhones 11-16 + NEW CUSTOM FILE | ScottYuJan




Print Profile(12)


Description
A Christmas Update | V4 is Here! 🎄
12/07/2024
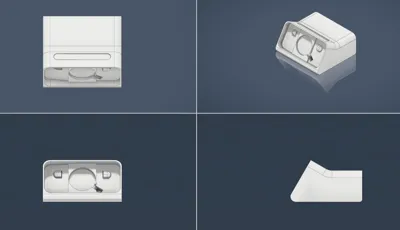
This update marks the final version of my iPhone Standby Dock Remix, and I couldn’t be prouder to share it with you all.
Creating this has been a monumental task—I went through and completely reworked this dock over and over and over. After I finally broke the code for this new model, I spent about 5 hours last night making models of every single iPhone model I offer.
Each one is now updated and re-uploaded as Version 4 (V4), featuring the perfect 3mm border!! To simplify things, I’m taking down the older versions, but don’t worry—you can still access them in a Google Drive archive here. These should all be moved over in the next couple of days.
Why This Is Special
This isn’t just an update; it’s a leap forward. I’ve finally created a fully parametric model that adjusts effortlessly to any phone size or case. And the best part? It doesn’t break, no matter how different your sizes might be! It has a limit, but a normal phone or case will not reach it! This task was no small feat, and I’ve poured countless hours into making it happen. If you go to the file downloads on this page, you will see just one f3d, Fusion 360 file. That's it! That's the one. I went ahead and did the same thing as before giving each phone model the Fusion file as well, but they are all the same just adjusted already.
A Thank You & A Gift
I couldn’t have done this without your kindness, feedback, and encouragement. Every comment, boost, and message has meant the world to me. I honestly was done with this model but then I thought I could take one more shot at it and see if I could fix the things that weren't perfect.
This final update is my way of saying thank you and wishing you all a Merry Christmas. Consider it my gift to this amazing community.
Enjoy the new V4 models, and as always, let me know how they work for you!
❖ ❖ ❖ ❖ ❖ ❖ RESOURCES ❖ ❖ ❖ ❖ ❖ ❖
❖ Remix Model Page on Printables
❖ Watch Charger Attachment: My solution for those who are having problems charging their watch. This is a clip-on accessory that does not involve printing another dock.
❖ New and HOPEFULLY final walk-through using the new Version 4 model I just uploaded. Use this to customize the Master Fusion 360 file (f3d). I have put each model's f3d files in their respective folders but it is the exact same model as the master so feel free to use either.
❖ Notion Instruction Sheet: If the video is not your jam (or my voice really annoys you), use this Notion page for written instructions.
❖ The table I created to help calculate everything with the REAL lengths and widths, plus what I believe to be the radiuses. I've posted a screenshot this link will take you to the latest Google Sheet.
❖ Fusion 360 & Apple Curves Explained: A really neat YouTube video explaining Apple's famous fillets and how to replicate them in Fusion 360. This guy is a hoot and I wish he'd come back to YouTube.
❖ Main Notion Page: This has everything copied into it including past updates and anything I've put online for this project. It's mostly for my record and archiving purposes but it might help if you are looking for something I've removed.
❖ Google Archive Folder: All past model files are here. I can't promise they'll be there forever, but I'm keeping them available for the foreseeable future.
SCOTT Yu-Jan and OVERWERKS Links:
❖ Scott Yu-Jan's Original YouTube Video That Started This Revolution
❖ Scott Yu-Jan's Original Model Page on MakerWorld
❖ Scott & OVERWERK Dock Ordering Page: If you want to skip the hassle of printing the dock yourself, Scott & OVERWERK are selling the physical dock. As of 12/9/24, I see two colors for iPhones 12-16 Pro Max sized for phones with or without an Apple MagSafe Case.
Disclaimer: I am not affiliated, sponsored, or partnered with Scott Yu-Jan, OVERWERK, or their media production team. I'm just an unpaid fan 😁.
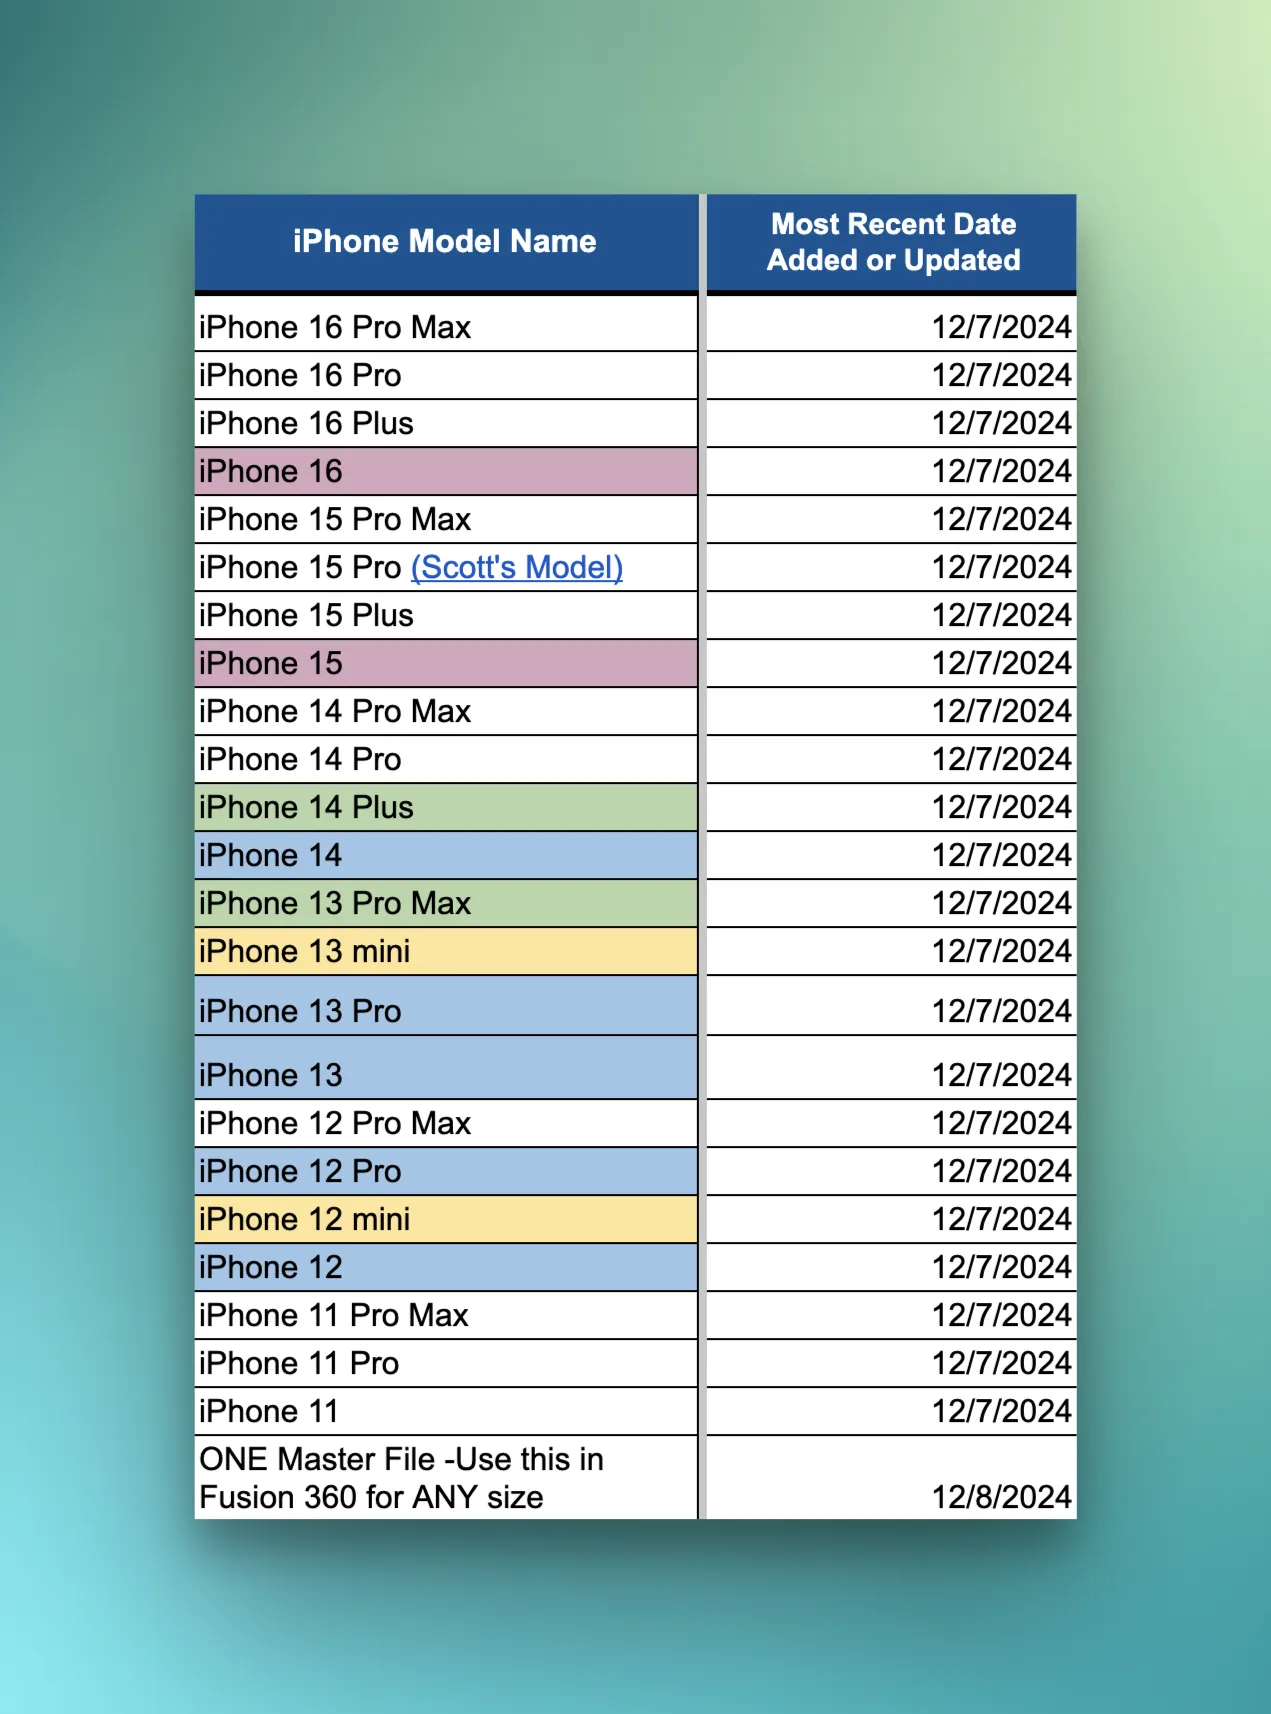
CURRENT MODELS AVAILABLE
Grouped in folders according to the iPhone Model.
If the phone models share the same dimensions, they are highlighted in the same color.
(For V4, I went through each model with Apple's Spec sheet and visually checked every model's corners/radiuses. Adjustments can be made in any of the Fusion 360 (f3d) files within each model folder or you can use the new Master Parametric File.)
This list and table are live on my Google Sheet if you want to see the most up-to-date version.
HOW TO CUSTOMIZE (FUSION 360 PARAMETERS)
======================
I created a Notion page and a YouTube Video to walk you through adjusting the new V4 model.
Here’s a cheat sheet for the parameters you can change:
phonelength: Enter your phone’s length with clearance.
phonewidth: Enter your phone’s width with clearance.
phonethicknessdepth: Input your phone or case thickness—an extra 1mm cushion is added automatically.
phonecornerradius: Adjust the corner radius in the timeline if needed, then input the final number here.
magsafediameter: Two MagSafe diameters (55.5mm and 55.9mm). Add clearance (e.g., 56.35mm for Scott’s default).
magsafedepth: MagSafe thickness (4.37mm or 5.3mm). Apple recommends no clearance; adjust here as needed.
EMOTIONAL RAMBLING
This model description was getting long and unruly so I've removed most of my past updates and emotional drawn out posts. If you want to read them (probably not any fun) you can find them on my main Notion page for this project.
Thank you guys for the support and for liking and boosting my uploads! I am new to 3D printing and Fusion 360 and I'm absolutely loving it. I had no idea what ‘boosting’ was and I can't believe people did that. I feel very welcome here. Thank you. ☺️
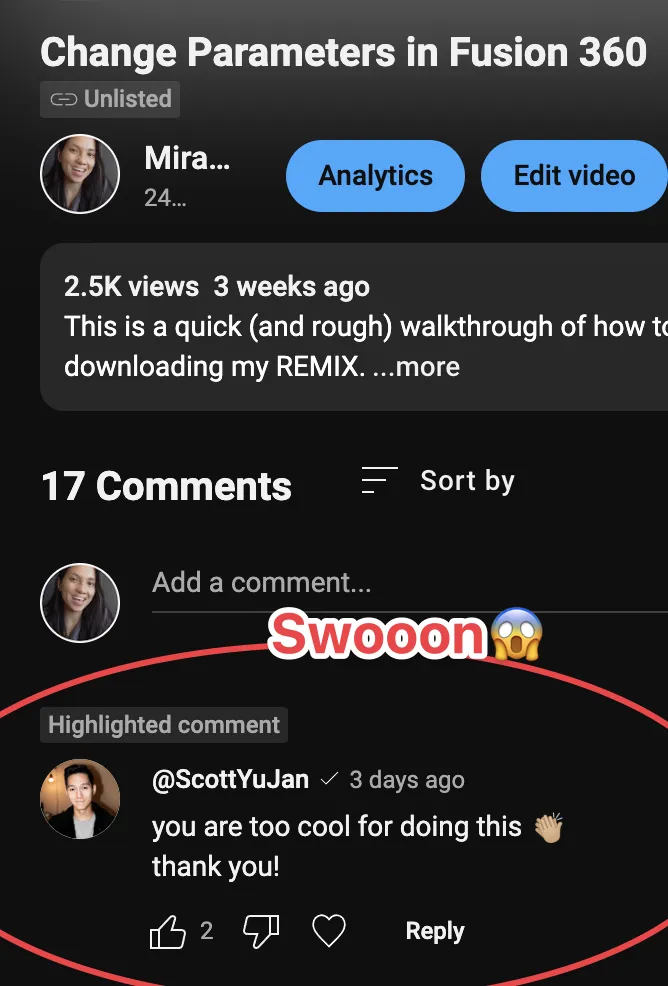
THANK YOU Scott Yu-Jan and OVERWERK for the beautiful phone stand, the fantastic lesson on design, and as always- for the gorgeous video. This stand is terrific and I loved the video so much. The only reason I was able to go through and change constraints was because the file they shared was so organized, neat, and easy to read. It was great seeing experienced designers flow and process. I could not have made this at my entry-level level.
THANK YOU SCOTT for making my day with your YouTube comment.
Boost Me (for free)
I'm new to boosting and WOW! It's a really fun (and addicting) reward system. Thank you guys! I truly am grateful every time I get a notification with a new boost 😍.
EXTRA TIPS & INFO
MagSafe Shenanigans

There are 2 sizes for the MagSafe chargers. I didn't know (and I don't think Scott knew) this until the model had been used a lot already, so I am sorry to anyone who might be having problems with it!
My most up-to-date models now have a diameter of 56.35 which is the same that Scott had in his original. If you are using Fusion 360 and editing the model, then you can change your diameter very easily. I show how to do this within my main YouTube tutorial (around 16:21).
Scott just released his pre-order for the dock and in his promo YouTube Shorts Video, he shows himself using 3M tape on the back of the charger. I know this is less than ideal, since you'll eventually have to rip it off or if you take your charger out regularly. But, it would solve the problem of a slightly loose MagSafe pocket. A commenter posted that they created a small filler with TPU and it made the charger stay in without tape.

Print Orientation
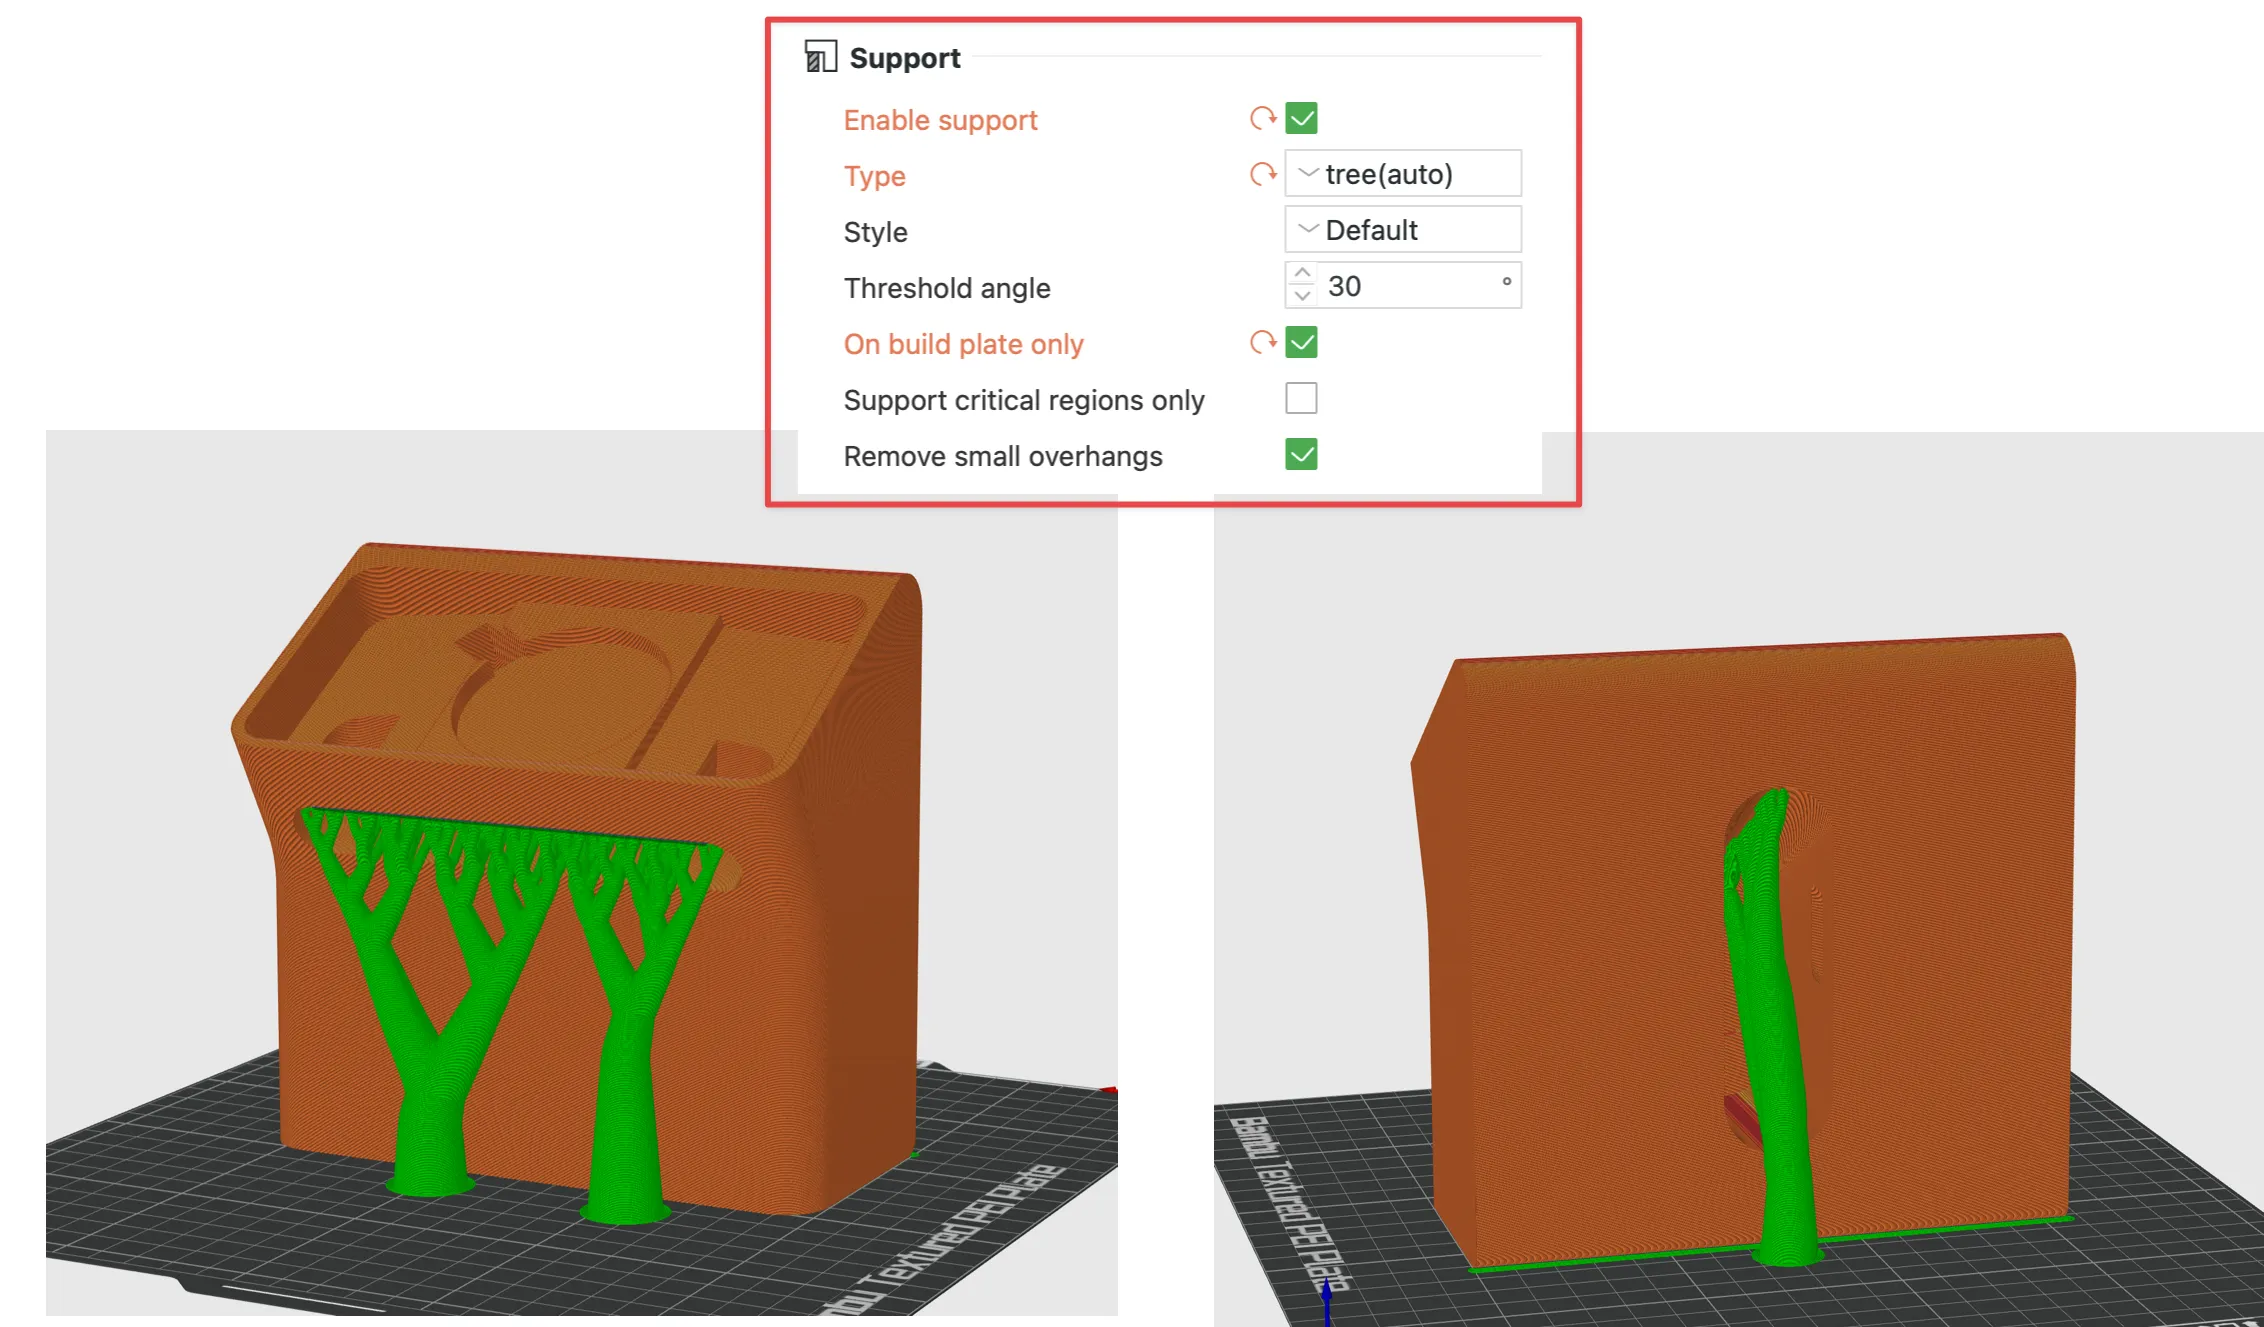
I copied what I saw in Scott's video for the model orientation. His original model is oriented correctly but some of mine may not be. For best results, print this on its back, use organic tree supports, and have supports “only touching the build plate”. I printed this A LOT and this seems to be the best way. When I didn't have the “only touching buildplate” setting, supports were created in the Clicker groove and were a pain to remove.
So I recommend turning that on so you don't have unnecessary supports in every direction. I'm attaching screenshots to show how I sliced it.
MY TABLE OF MEASUREMENTS

YouTube Walkthrough
======================
I made a YouTube video with a full walkthrough on using the new parametric model so feel free to check it out here or below. I'm sorry for the roughness of it! I'm not a YouTube star and I am learning all about my annoying ticks and my stuttering “ummmms” 😂.
Boost Me (for free)
I'm new to boosting and WOW! It's a really fun (and addicting) reward system. Thank you guys! I truly am grateful every time I get a notification with a new boost 😍.
This remix is based on


License



Comment & Rating (858)