Steel Sheet Holder with seesaw eject button mechanism REMIX'ed for the Bambu X1C (split)
Steel Sheet Holder with seesaw eject button mechanism REMIX'ed for the Bambu X1C (split)


Print Profile(0)
Description
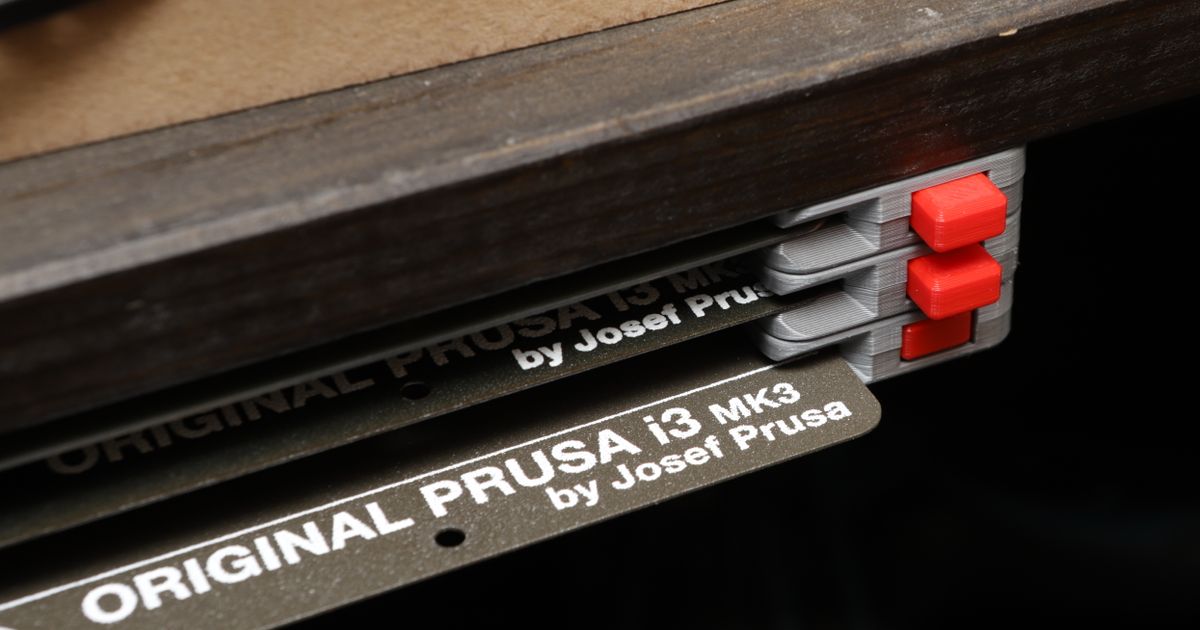
This is a remix of Chewey's Steel Sheet Holder with seesaw eject button mechanism, but remixed and split for the Bambu X1C. Chewey's model, and of course this model, are remixed from the Whity's OG design (so all credit for this goes to those folks).
These were lengthened by 20mm to better fit the X1C build plates. The split parts have a stencil label to help distinguish the parts (since there will be quite a few if making several holders). I also added four 5mm holes which are suitable to put a #8 wood screw through (after the parts are assembled). I mounted mine with 3M Command Strips, which seem to be more than sufficient for the four sets I have.
I'm also including the STEP file for remixing.
Print one set of these for each level (regardless if using the split or non-split remix models):
sheet_holder_slider.stl
sheet_holder_pivot.stl
sheet_holder_button.stl
sheet_holder_arm_v2.stl
These can mostly print without supports, however the “BOTTOM” models may need them due to overhangs of the pockets for the #8 screw heads.
There are 2 methods of assembly:
Method 1:
To assemble, you can add (staggered) M3 nuts to each layer, and using M3x16mm screws every 2 layers. You can stagger the nuts between each layer, so you can pass through one layer and hit the nut on the next. I had a mm of the screws poking out the top layers when I was done, which is why I made the included 2mm high shims (however the extra poke out may have been due to overtightening the M3x16 screws as well).
Method 2:
Thanks to Darryl Luther who used an alternative method of assembly, when using the wood screws to attach the modules. The method is to first assemble the top and bottom layers using M3x6 screws, and then use the wood screws to consolidate additional (in between) layers together. Additional bottom layers can be added after the wood screws are installed, which will allow the wood screw heads to be hidden between layers. To add additional layers to the bottom, after the wood screws are installed, M3 nuts must be installed on the bottom layer (where the #8 screws were installed), so subsequent layers can still be attached below it. This method also has the effect of insuring none of the screws poke out the top, so the shims will not be needed.
I added some 2mm “shims” which may help if you find that the screws poke out just a mm or two after assembly. Theses can be used between the assembles modules and whatever they will be mounted to.
Bambu Sheet Holder Remix4A_RIGHT_2MM_SHIM.stl
Bambu Sheet Holder Remix4A_LEFT_2MM_SHIM.stl
These were printed in Duramic PLA (white) and Overture PLA Pro (gray buttons).
If you find these models useful, please post a like or a comment with some pics of your prints.
You can find the other things I'm working on at my blog here. You can also follow me here or on Printables to see what new stuff I post.
Thanks for looking!
Comment & Rating (2)


This remix is based on