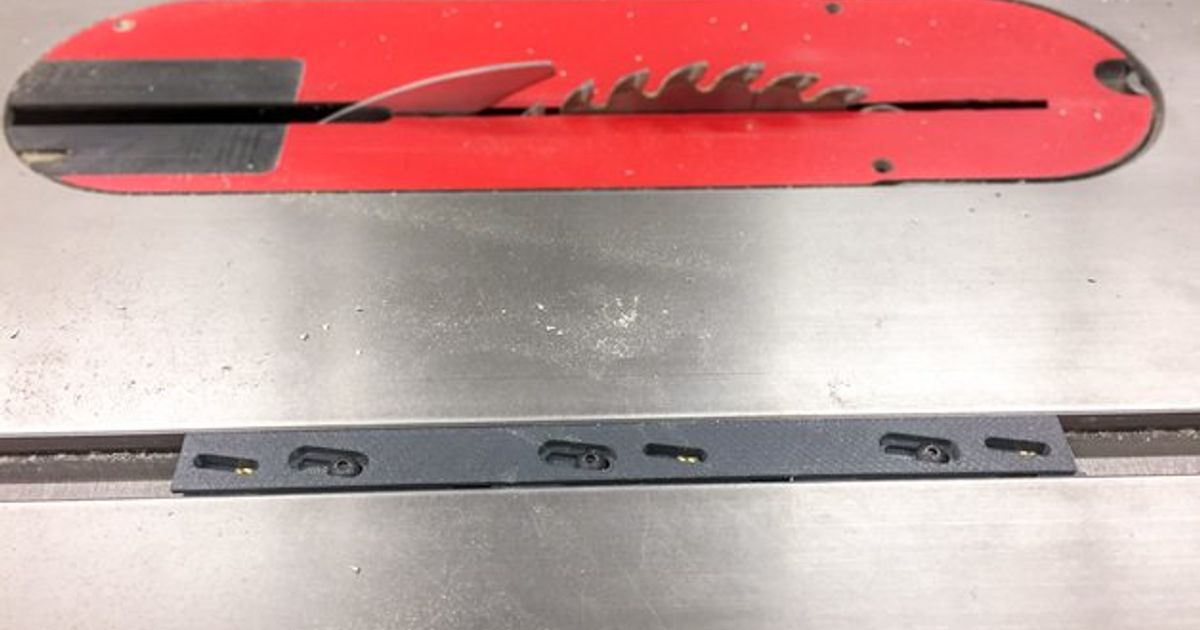
Zero Play guide Bars for Table Saw - tool
Zero Play guide Bars for Table Saw - tool
Print Profile(1)

Description
First off, I don't take credit for this design. It was made by Bwolfey on Printables https://www.printables.com/model/1060-zero-play-guide-bars-for-table-saw-miter-slot
What I did was print these and find out they are great. I used his hex nut configuration but he also has a heat-set version as well. I only printed the hex nut version so that's all I can confirm works and all I'll share. What I'm really doing is sharing the .3mf file with all pieces needed on a single plate for ideal settings for your enjoyment and ease of printing. Consider visiting his print on Printables.
I recommend PETG
Description:
The zero play guide bar system is a huge benefit for anyone making and using jigs in a climate where conventional wood guide bars will expand and contract. I will use this with my table saw miter slot but you may find it useful with your band saw or router table.
Microjig has devised a nice solution https://www.microjig.com/products/zeroplay
User manual relied upon to inform the design and hardware choices.
https://www.microjig.com/user-manuals#zeroplay see “ZEROPLAY User Manual”
This current model has adjustability to fit slots from 0.688-0.774in (17.5-19.7mm)
--- For Assembling the bars for hex nut configuration ---
12 - 8-32 thread size Narrow Hex Nut
(https://www.mcmaster.com/#90760a009/=1ccrera)
6 - 8-32 thread 1/4" long button head hex drive screw
(https://www.mcmaster.com/#91255a190/=1ccrmoc)
--- For attaching the bars to your specific jig ---
6 - 8-32 thread 1/2" long* pan head screw (mcmaster https://www.mcmaster.com/#91735a194/=1c5hman)
6 - #10 flat washer (mcmaster https://www.mcmaster.com/#92141a011/=1c5hmtj)
To adjust, you will need a 3/32" allen wrench
Follow the user guide (linked above) for the setup/installation. I did NOT create a stop piece for setup, as you can easily use a clamp and scrap materials to the same effect.
After printed parts were removed from printer, I used some sandpaper to touch-up the long faces of my prints (there was a little deformation around the knit line). I also suggest that you flatten the bottom face after installing the inserts as material will swell around the holes on the underside.
*This length with change depending on how thick the base plate of your jig is or how deep you're counterboring into that material.


