Dummy13 K9 Parametric


Print Profile(2)


Description

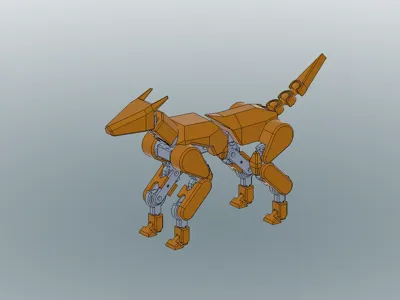
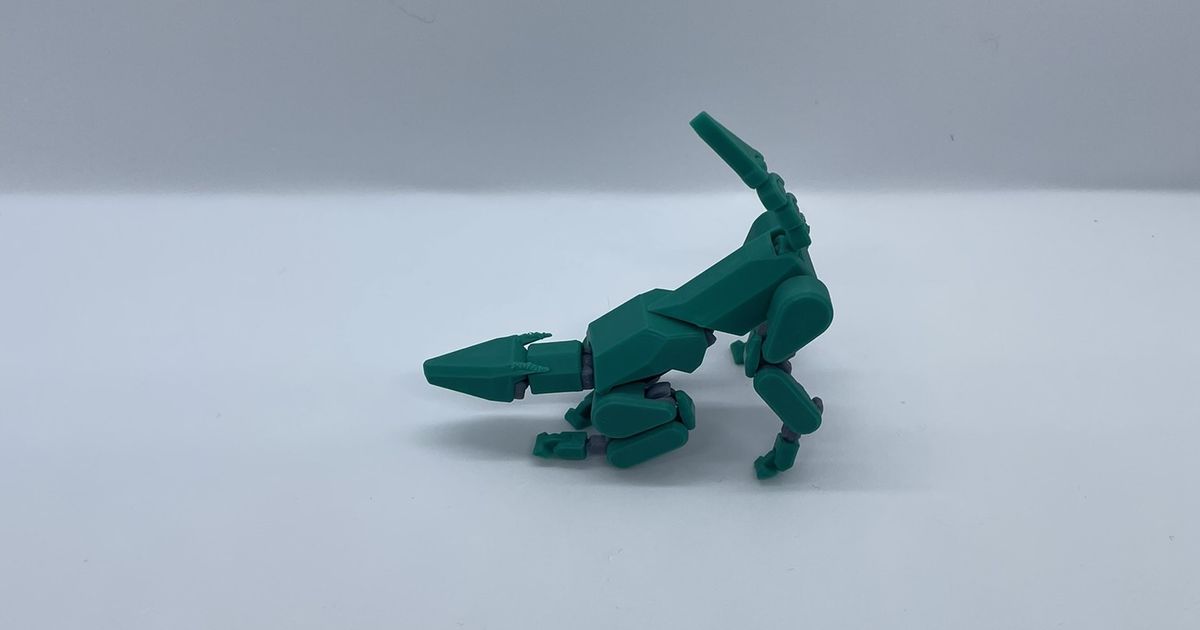
Is your 600% Dummy13 feeling lonely? Does he need a friend? Why not print him a 600% K9!
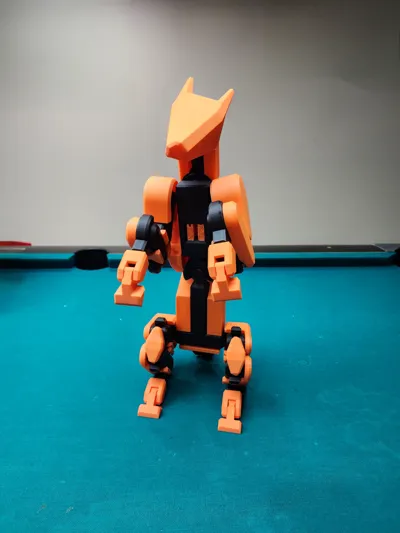
Using my same Dummy13 Joints+ system, I remixed TClears Dummy13 K9 model from printables to be printable at larger scales. I printed mine at 600% scale using half Glue and Half Bolt Parts. It used 600g Black Pla and 900g Orange Pla. No joints snapped when I first assembled them however throughout a few failed versions of assembling and disassembling, I noticed the joint did snap slightly. Not enough to see and it did not affect the joint's tension. All the joints are stiff enough to hold up the model's weight.
Fusion360:
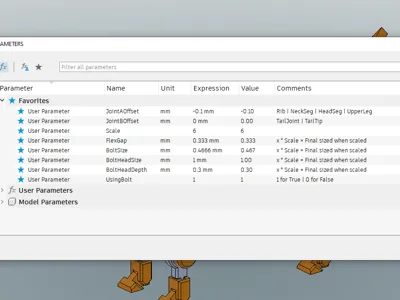
To use these parameters, open the F360 file > go to modify > change parameters.
If you plan to modify the model, drag the timeline marker past the Scale Icon. This will set the model to 100% scale and Show only the main joints.
Parameters:
- JointAOffset is for the Rib, NeckSeg, HeadSeg, and UpperLeg joints. Increase this value if you get gaps in the joints when slicing.
- JointBOffset is for the TailJoints and TailTip. Increase this value if you get gaps in the joints when slicing.
- Scale is the scale of the model. 1 = 100% 6 = 600% Change this to whatever scale you desire.
- FlexGap is the gap that is present in the joints. Adjust this as needed with a smaller number giving a tighter joint that is harder to connect.
- UsingBolt is if you plan to bolt together or glue together the model. 1 to Bolt together | 0 to Glue together
- BoltSize is the M size of the bolt you are using.
- BoltHeadSize is the size of the head of the bolt.
- BoltHeadDepth is the depth or length of the head of the bolt.
Assembly:
- Depending on what you choose, you will either need bolts or glue.
- Follow TClears Instructions PDF. You can get it Here.
- The only difference is to slide the LowerLegArmor onto the lower leg before snapping on the Ankle.
Comment & Rating (49)