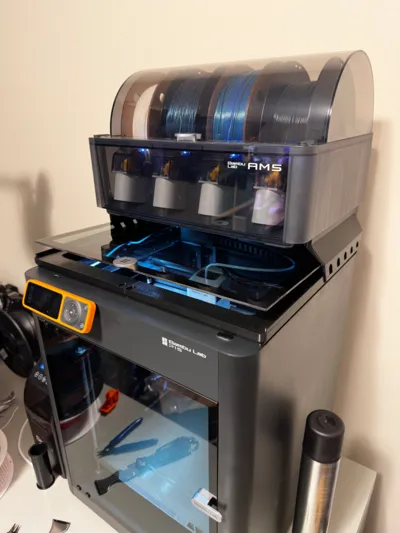
Riser AMS P1S or P1P with led strip
Riser AMS P1S or P1P with led strip


Print Profile(2)

Description
As already explained in the summary, the project is developed by two other existing projects, which were combined to be able to turn on the led light of the riser with a button

The link to the projects are these:
https://www.printables.com/it/model/555782-ams-glass-separation-led-riser
https://www.printables.com/it/model/494647-bambulab-p1pp1s-usb-led
This design is only compatible with P1P or P1S, as the X1 does not have a hole to position the button, if you are interested in the riser for X1 follow the link above
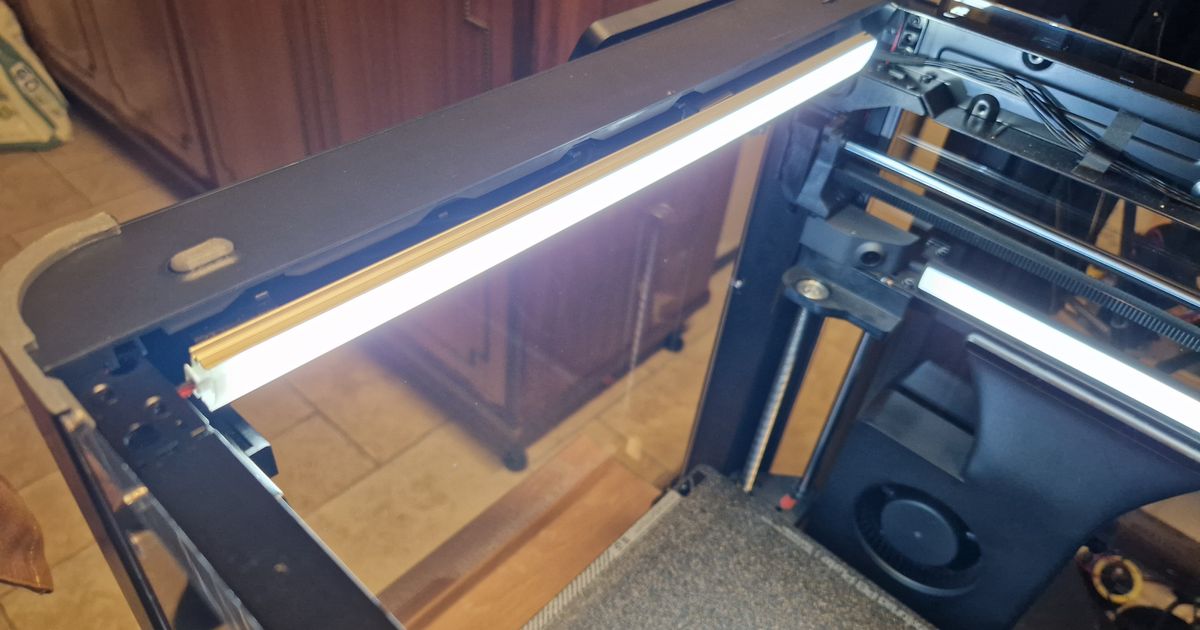
I started by modifying the pre-existing design, removing the output hole of the cable on the back of the riser, so as to completely close the print chamber
With the help of a dremel I made a small burglary on a corner of the riser to allow of the led cable to be able to connect to the button and the usb inside the printer

The materials used are already reported in existing projects, but for simplicity I report them below
MATERIAL:
- n. 1 - 5V Led Strip (https://amzn.eu/d/87XyiYa)
- n. 1 - Switch (https://amzn.to/3qhcPMa)
- n. 1 - Rubber gasket (https://amzn.eu/d/1rCqIO8)
ASSEMBLY:
For fairness to the above projects, I recommend following the instructions given by them
The only step I will report will be the one I did to be able to combine the two projects
Remove the wire insulator along the entire length of the riser until you reach the button.
This process is done to hide the wire below the led strip.
With the insulator there would not be enough space.

For the wiring and mounting part of the push button mount please follow the instructions of the original design above.
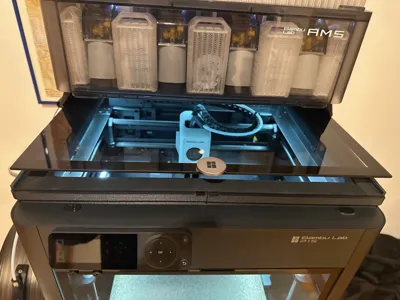
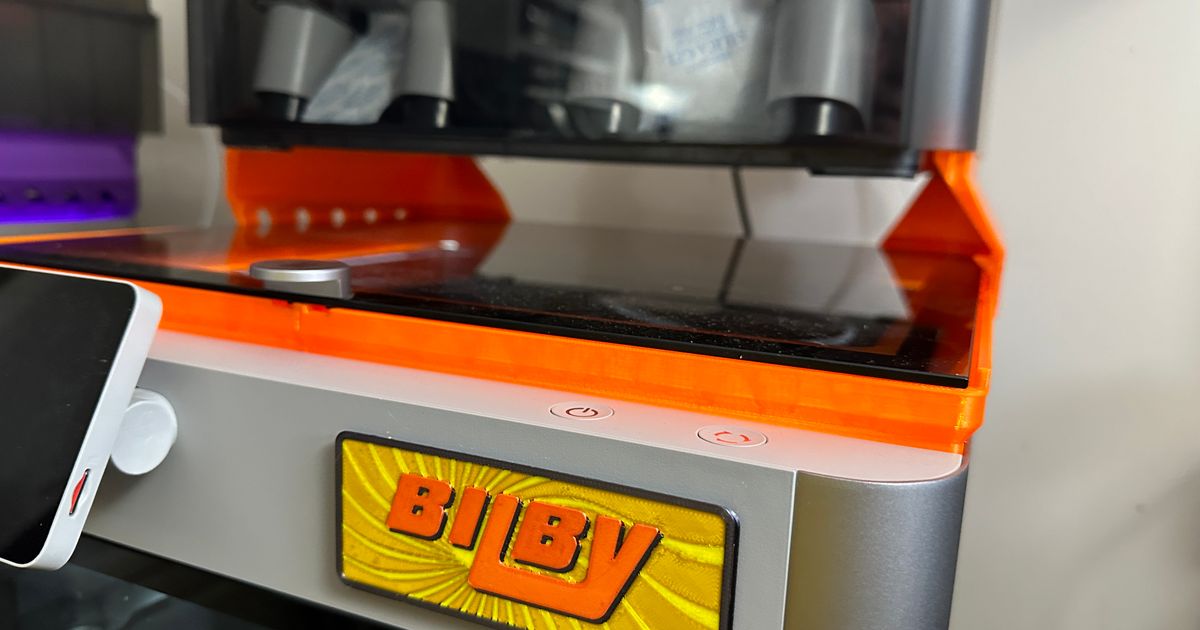
If you followed all the steps correctly the end result should like this

All parts were printed in PETG, but as specified in the original design can be printed in any other heat resistant material
If you want to print it in PLA remember that the only material you can use on the printer will only be PLA
This is due to the amount of heat released during closed chamber prints, which could deform the riser
I also attached the .3mf files in case you want to print them directly
The files related to the button and switch support can be downloaded directly from the original project
Otherwise, a 15% infill may already be enough, but nothing prevents you from doing it more resistant
I thank the two guys, @SpectreGadget and @NicolaGurrado_892663, for the creation of the two projects, I remember that you can find all the assembly and wiring procedures on their profile
Comment & Rating (17)