
Mini-METAR-Display
Print Profile(1)
Description
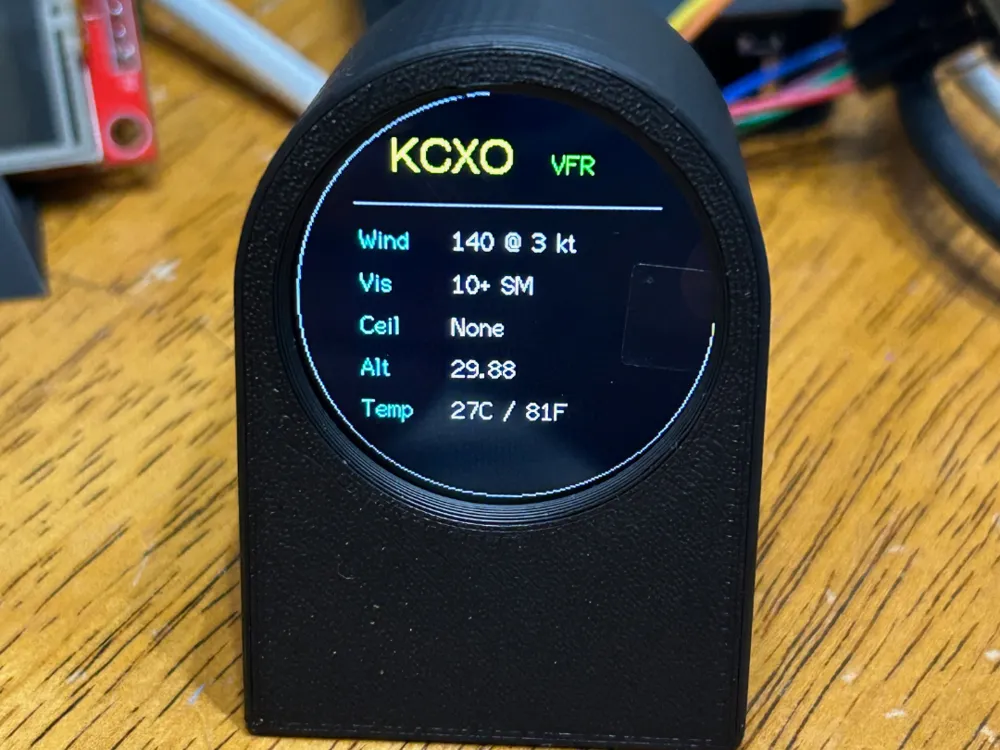
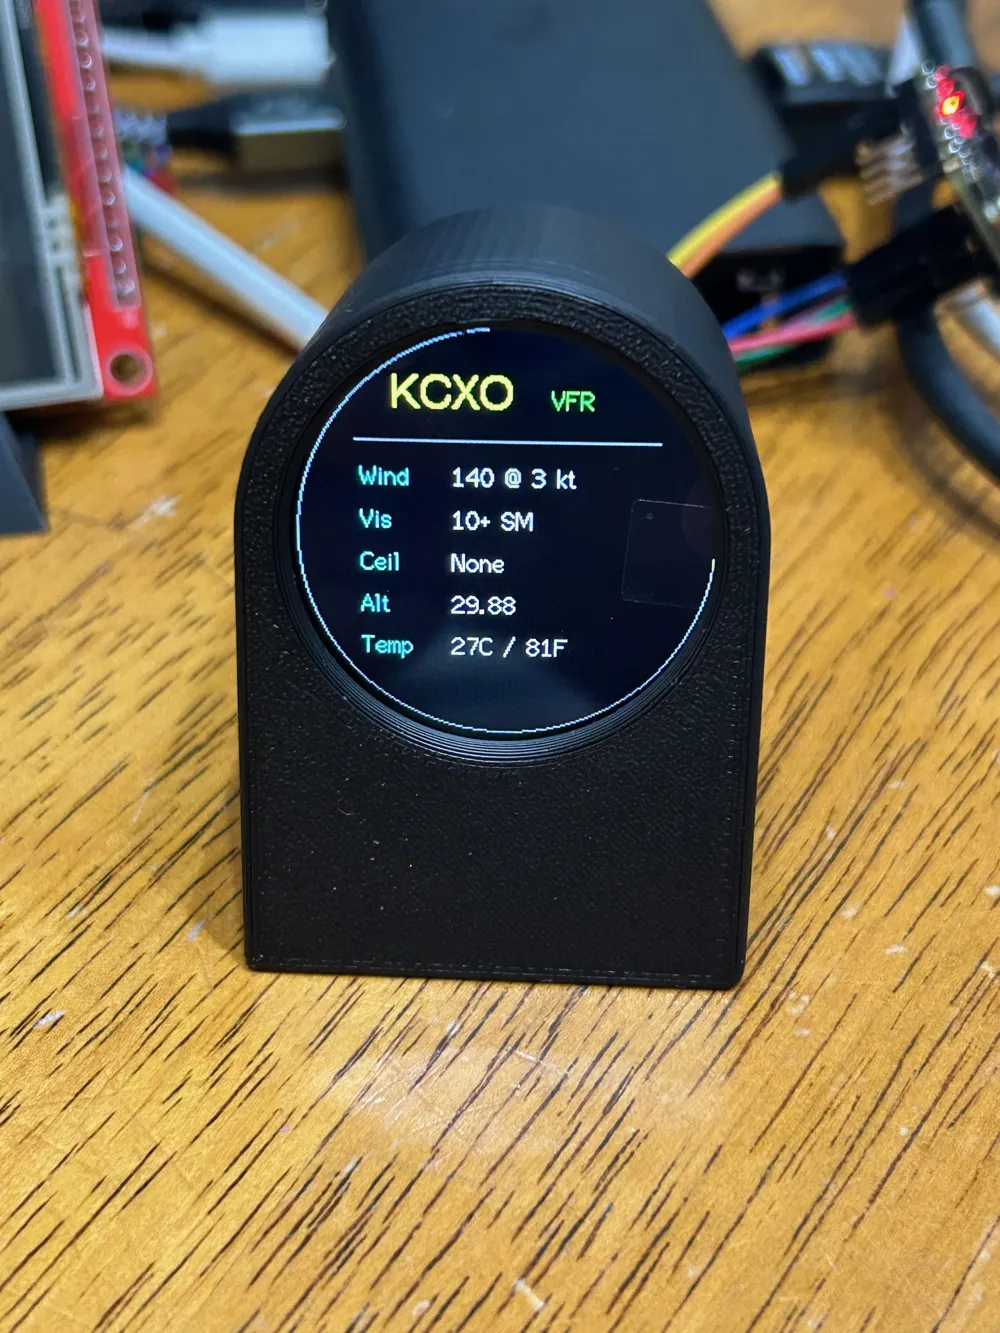
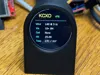
Mini METAR Display - ESP32-C3 Aviation Weather Display
This project is a compact Wi-Fi aviation weather display built around an ESP32-C3 Super Mini and a 1.28 inch round GC9A01 240×240 TFT display.
It connects to Wi-Fi, asks the user for an airport ICAO code, and displays live METAR information from AviationWeather.gov. It is designed as a small desktop aviation weather display for pilots, A&P students, aviation enthusiasts, makers, and electronics hobbyists.
Features
- Live METAR data over Wi-Fi
- Airport ICAO code setup through a Wi-Fi configuration portal
- Saved Wi-Fi and airport settings
- Automatic METAR refresh every 5 minutes
Displays:
- Airport code
- Flight category
- Wind
- Visibility
- Ceiling
- Altimeter
- Temperature in Celsius and Fahrenheit
- BOOT-button reset support for reconfiguring Wi-Fi and airport settings
- Designed for the ESP32-C3 Super Mini
- Designed for a 1.28 inch round GC9A01 240×240 TFT SPI display
Typical Uses
- Aviation desk display
- Pilot weather reference
- A&P student project
- Electronics learning project
- ESP32-C3 display project
- Wi-Fi IoT dashboard
- Small aviation-themed desktop gadget
Hardware Used
- ESP32-C3 Super Mini
- 1.28 inch round GC9A01 240×240 TFT SPI display
- USB-C cable
- Jumper wires
- 3D printed enclosure
Firmware / Source Code
The firmware and build instructions are available on GitHub:
https://github.com/jasonmarquette/Mini-METAR-Display
The GitHub repository includes the PlatformIO project, wiring information, build/upload instructions, Wi-Fi setup details, and live METAR display code.
Notes
- The display backlight pin must be connected to 3.3V or the screen may appear black even if the firmware is running.
- The ESP32-C3 only supports 2.4 GHz Wi-Fi, so the Wi-Fi network used during setup must be a 2.4 GHz network.
- This is a DIY electronics project. Basic soldering, wiring, and PlatformIO/Arduino experience are helpful.
License



Comment & Rating (0)