
Modular Dice
Print Profile(3)



Description
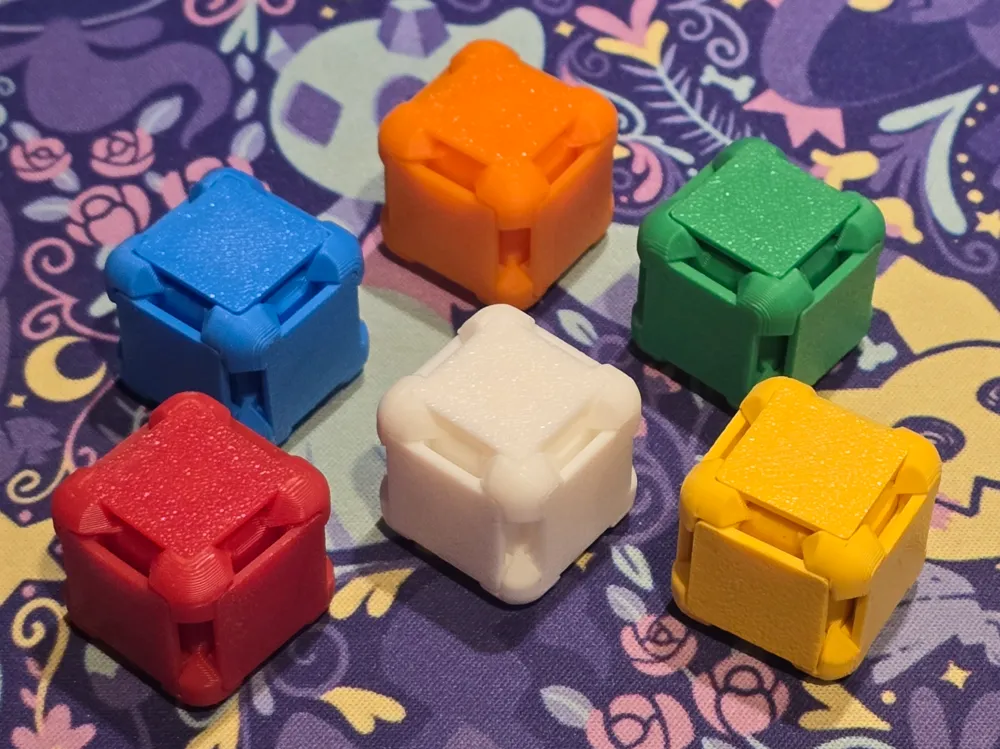
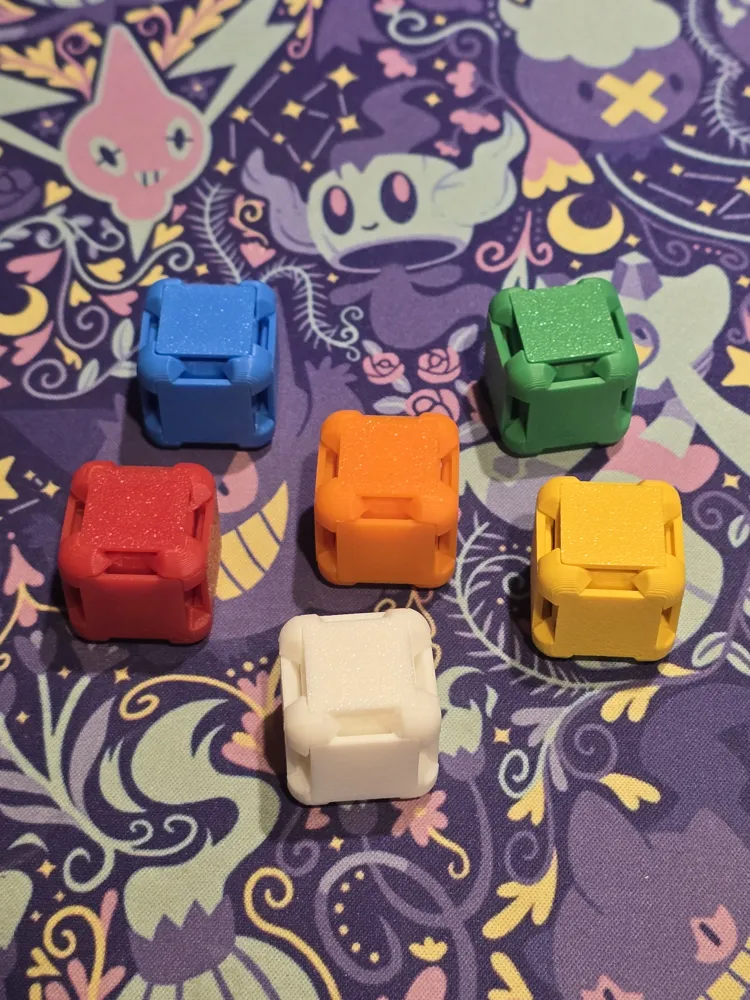
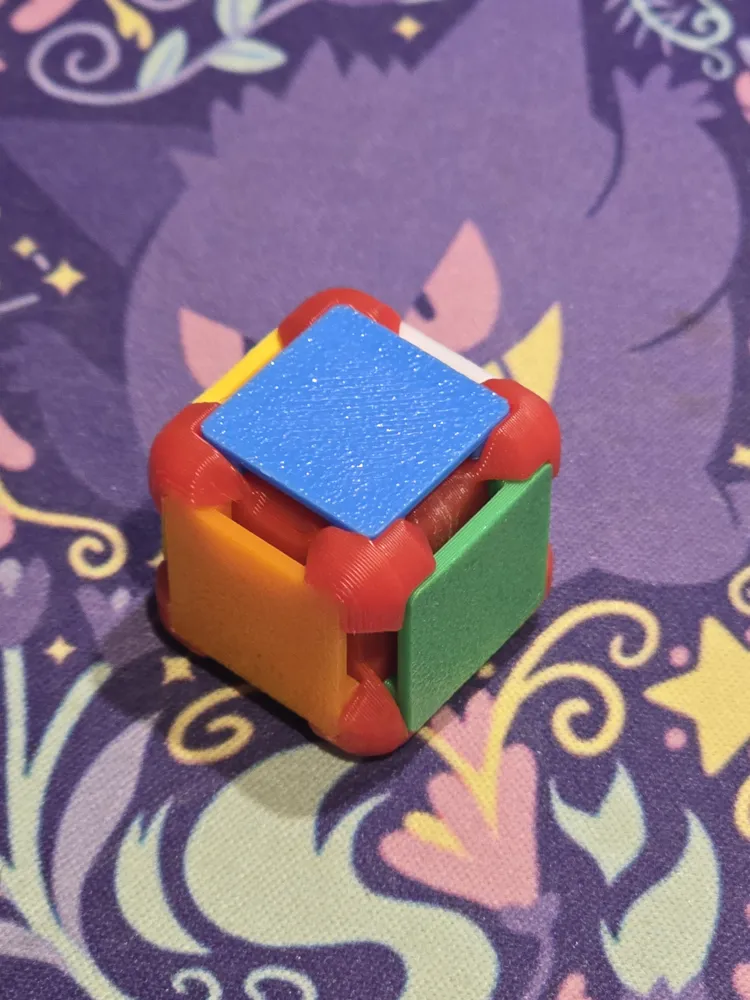
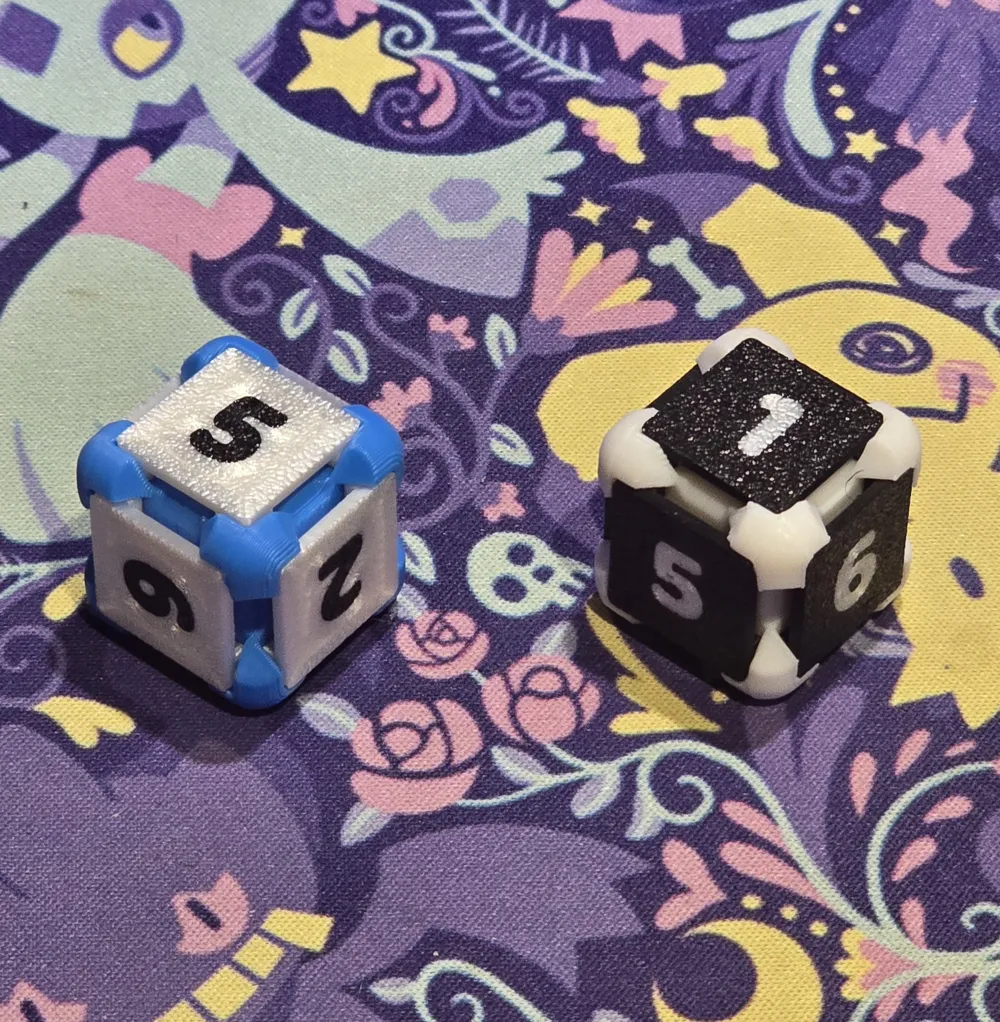
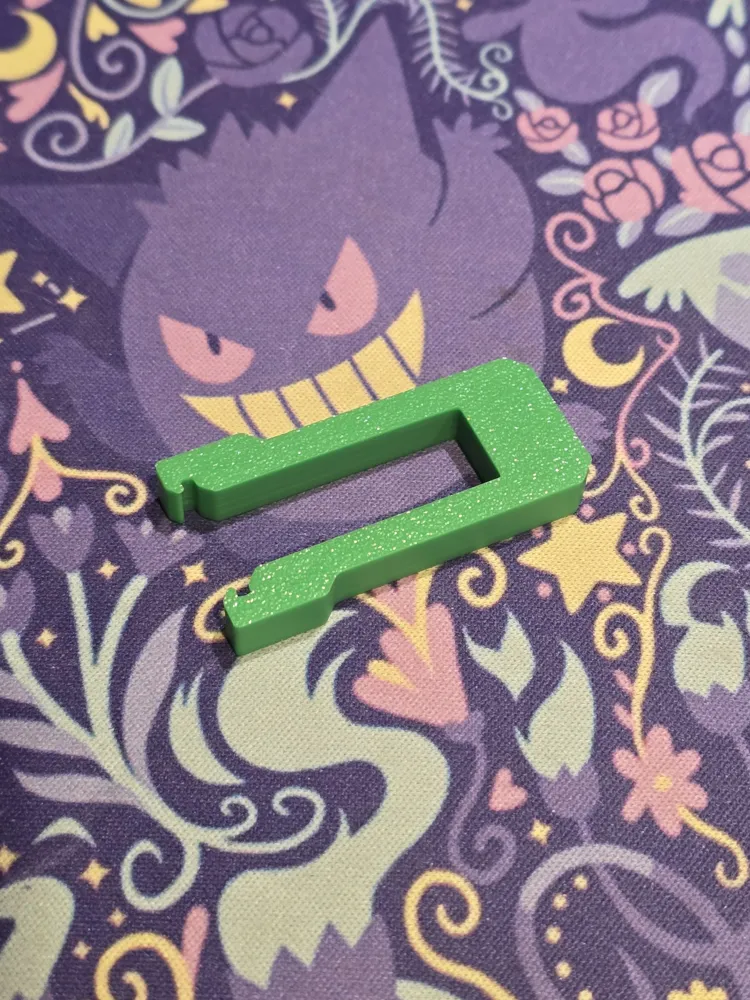
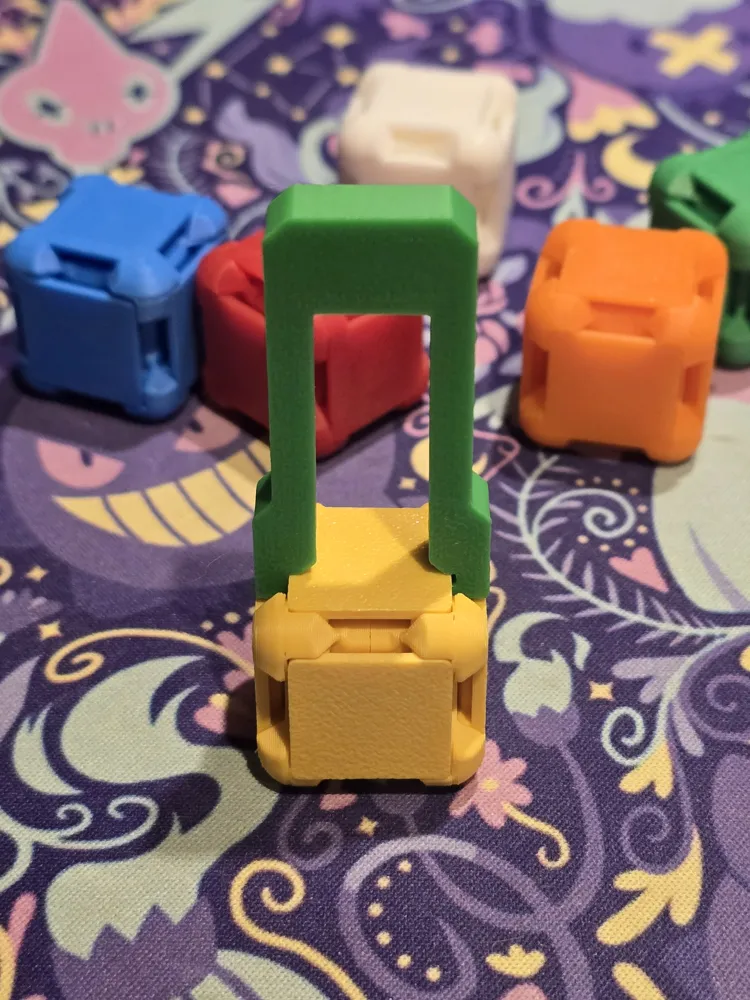
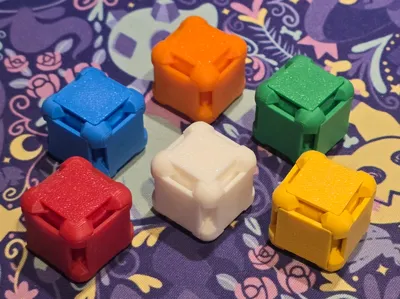
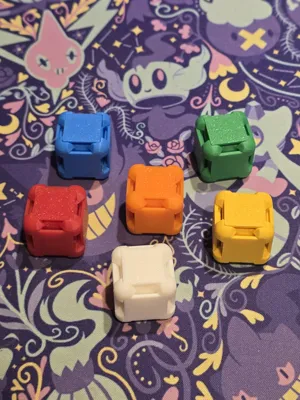
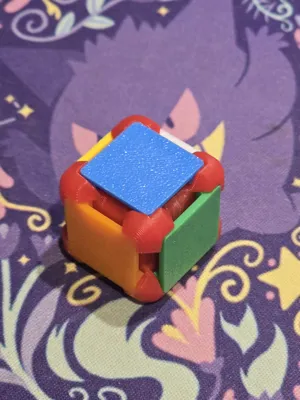
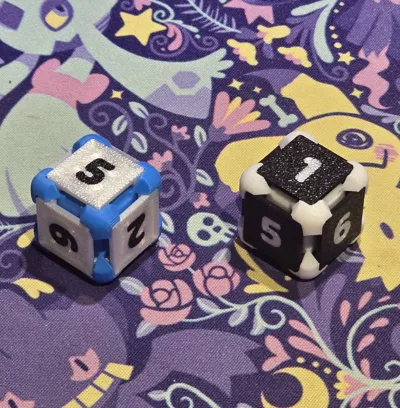
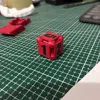
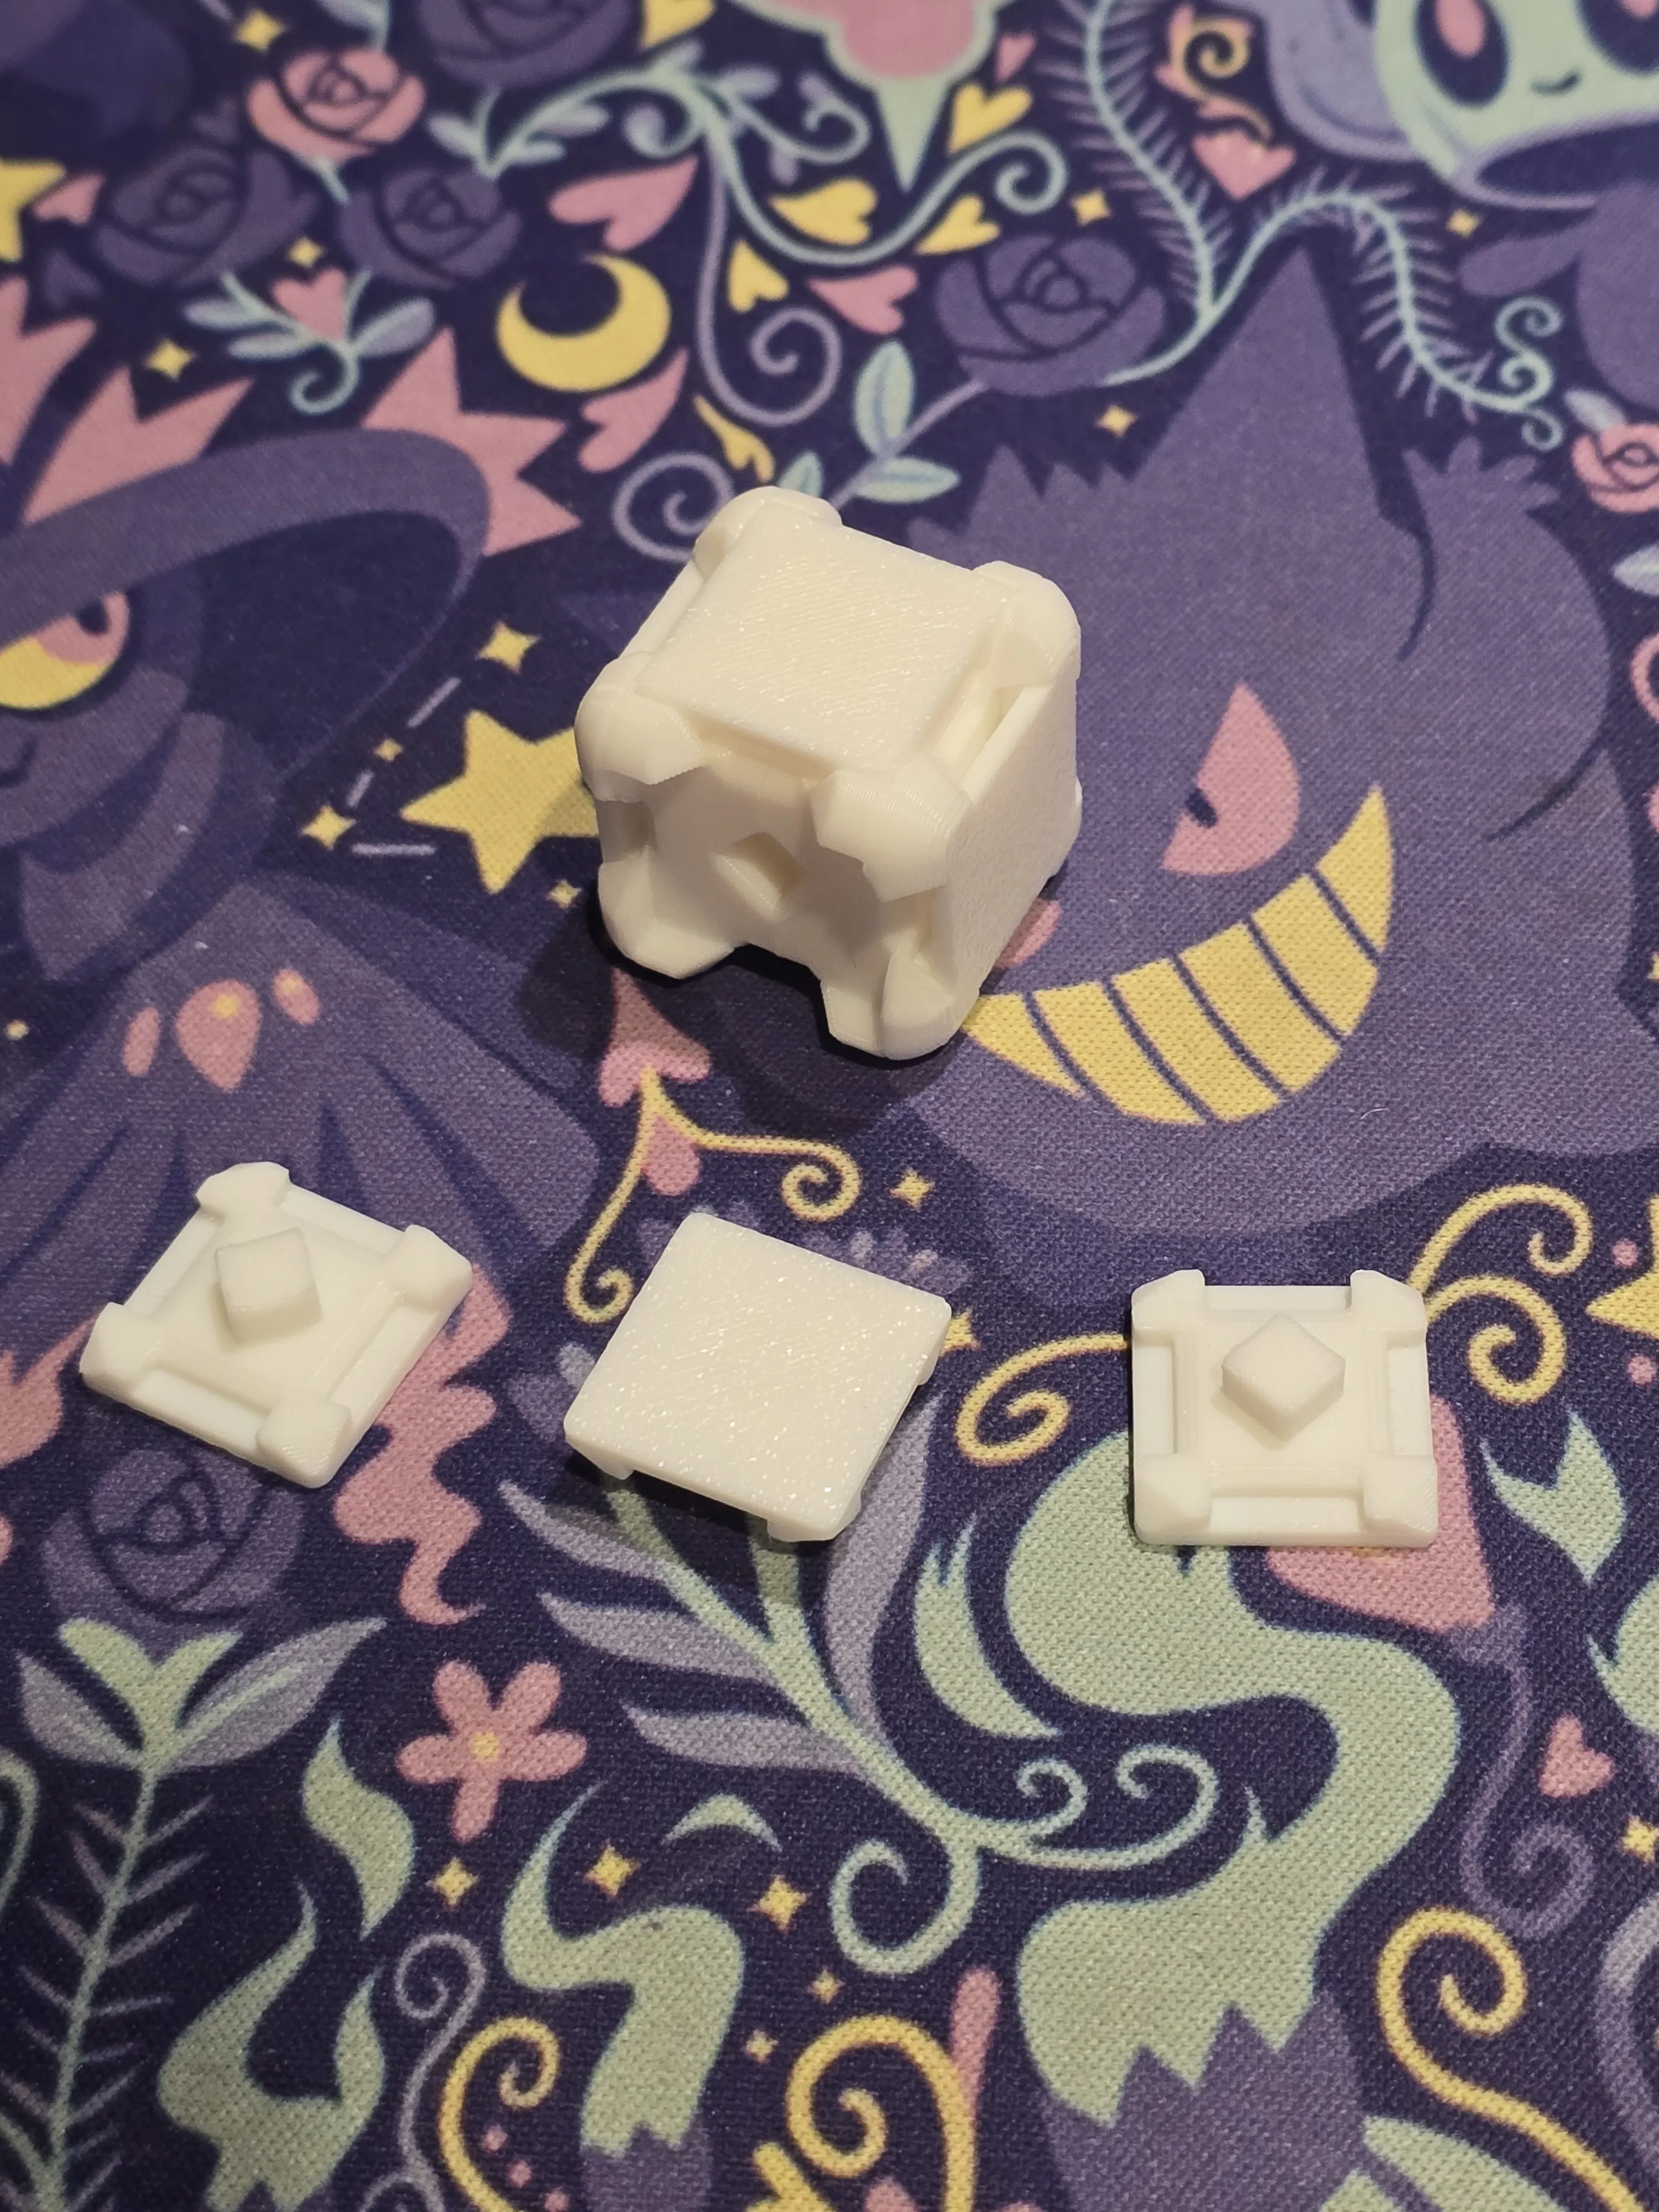
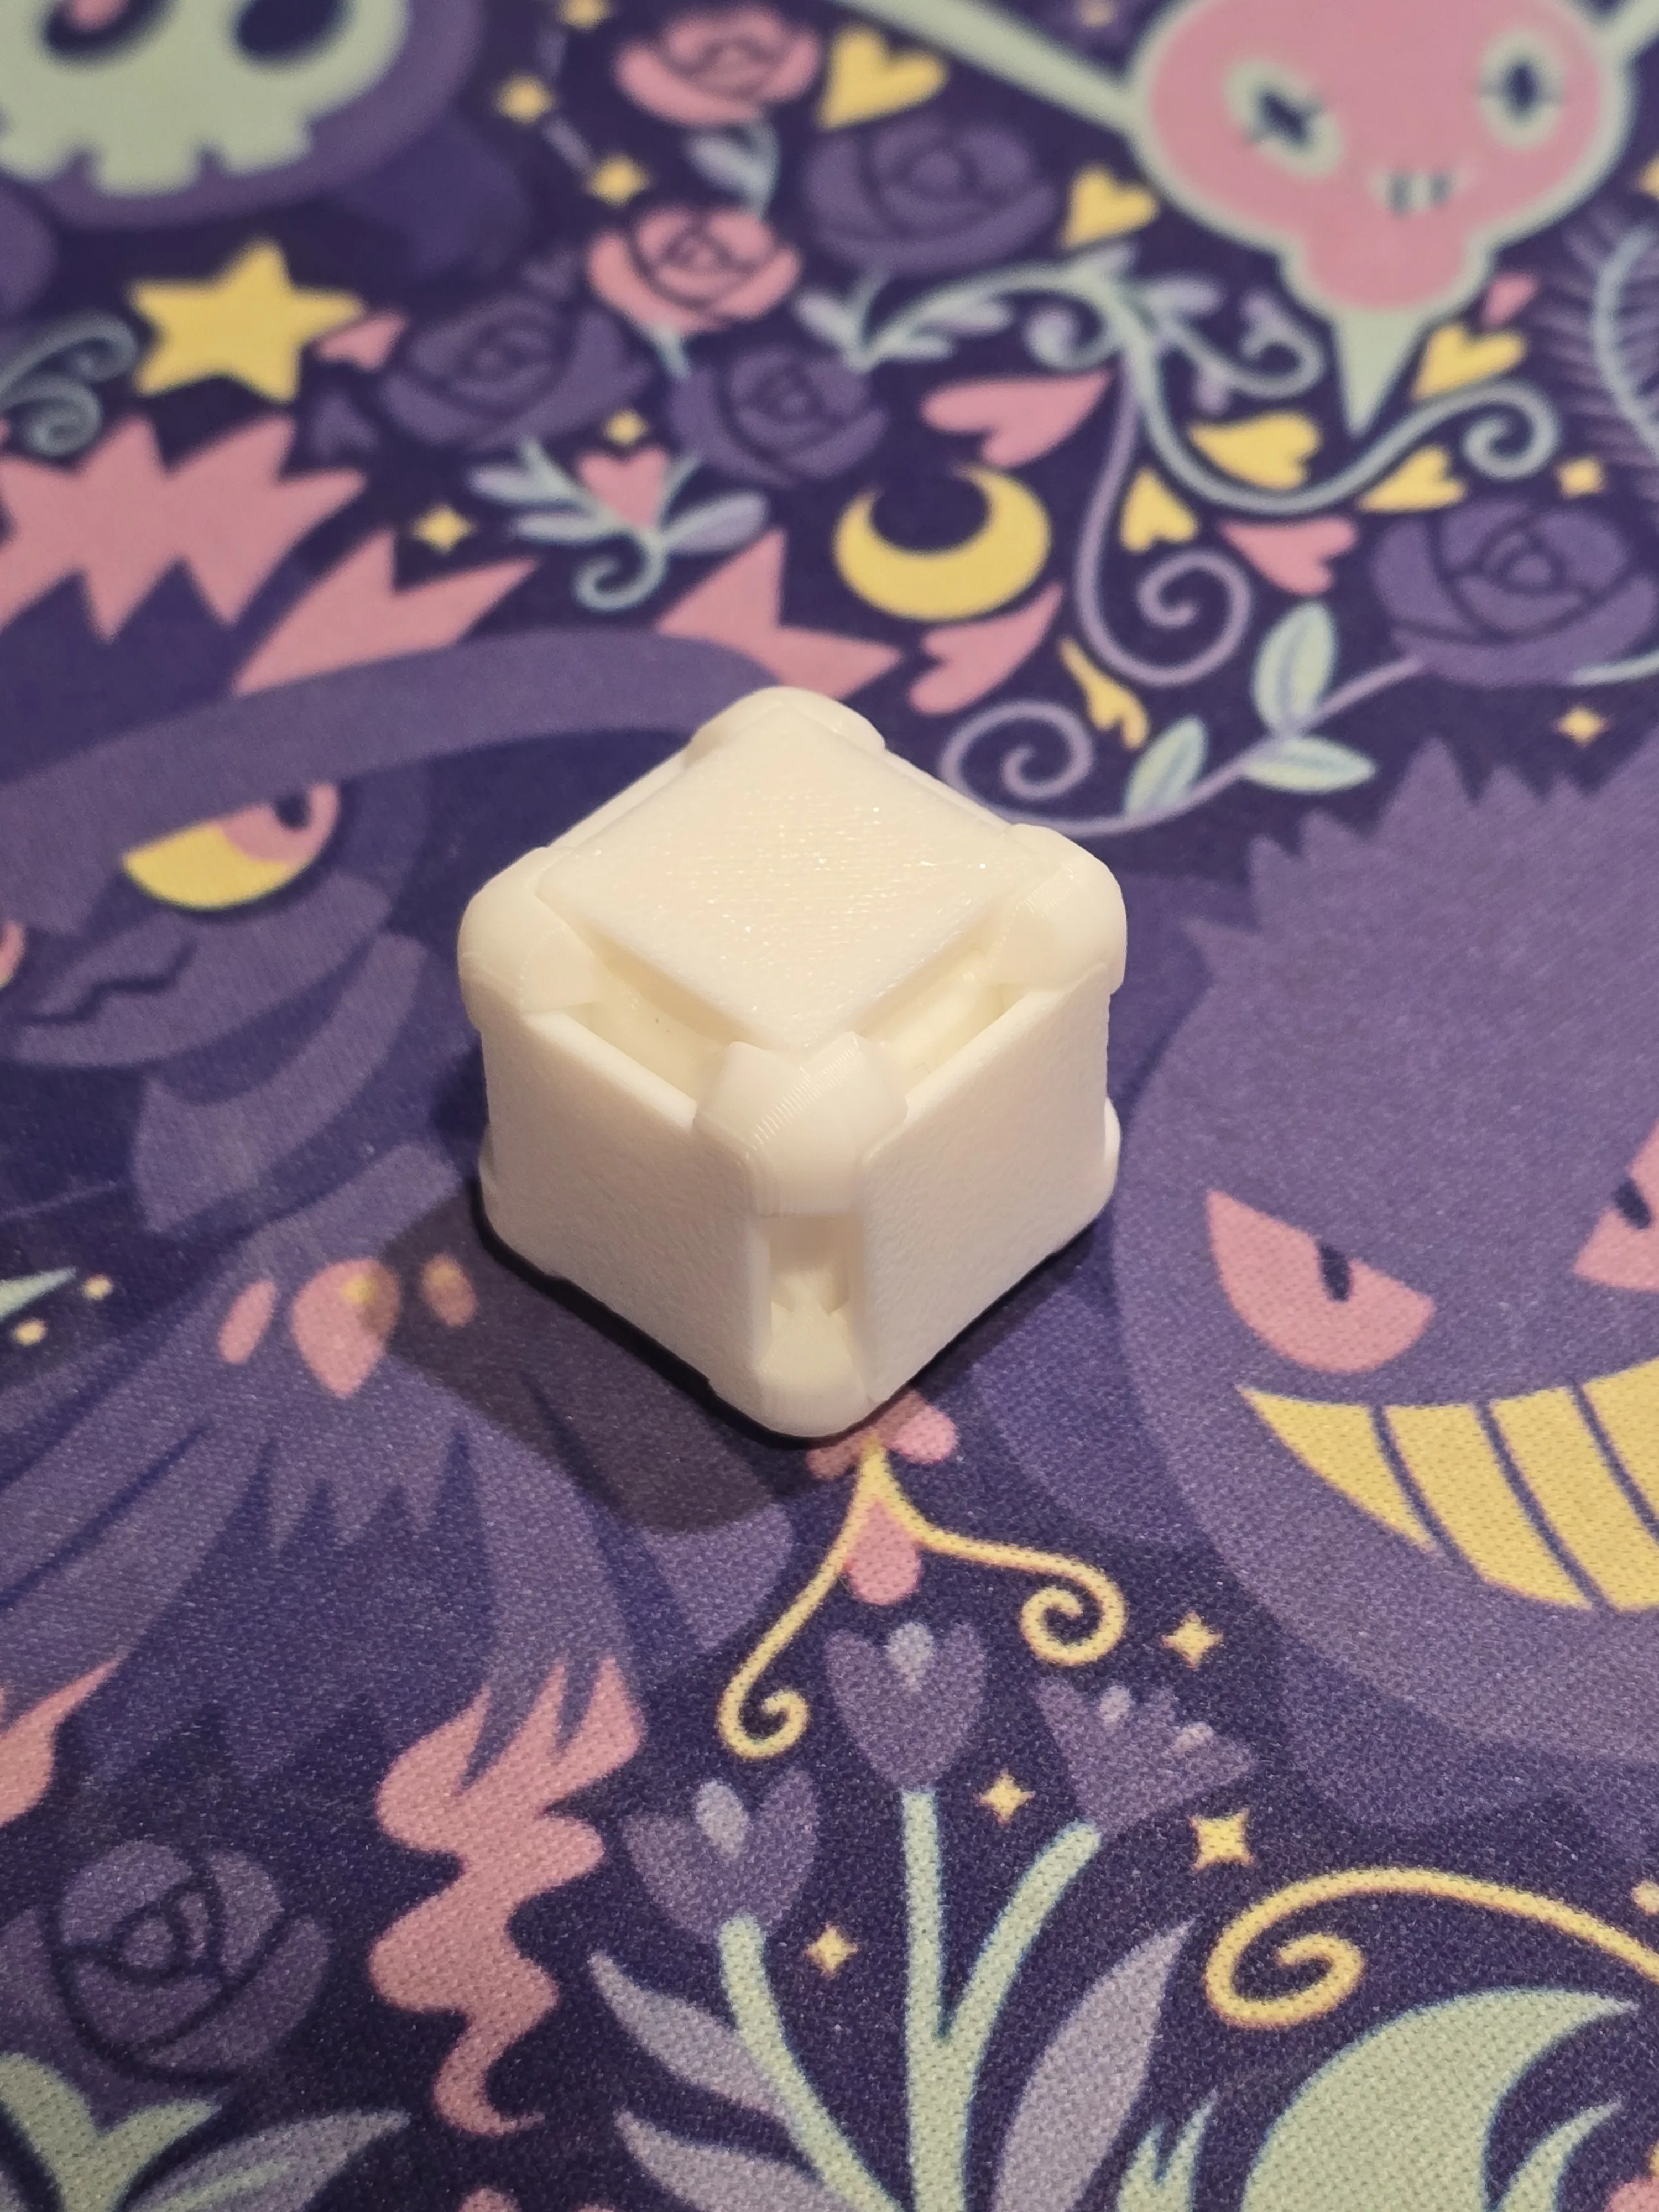
The goal of this project was to create an easy-to-print, modular die for board game designers and prototypers. This die allows you to swap faces as needed, eliminating the need to reprint an entire die during the design process. It also opens up possibilities for creating dynamic games where players can change die faces during gameplay. While the photos show blank faces, you can easily print or hand-draw your own symbols.
To print a symbol on each face, I recommend using an AMS system with contrasting filament colors. You'll only need a few layers of the symbol's color to get a clean result and reduce filament waste.
Important (Please Read):
The die faces are designed to fit snugly within the Die Core. This is important to prevent them from coming loose during gameplay.
I found that printing with different filament colors can cause slight variations in size. To account for this, I've included two different plates with a pre-adjusted die face size. The Die Core, however, is a universal size to ensure any face fits any core.
To get the best results, follow this order:
- Print your Die Core first.
- Start with the "Normal Size" plate. Print one die face from this plate and test the fit in your Die Core.
- If the fit is too tight, print one die face from the "Scaled Down Size" plate instead and test the fit.
- If neither size works, simply adjust the scale to suit your needs.
The following are the findings of the test prints I performed with many different colors:
- Bambu PLA Basic Jade White (10100)
- Normal Size faces fit properly
- Bambu PLA Basic Green (10501)
- Normal Size faces fit properly
- Bambu PLA Basic Cyan (10603)
- Scaled Down Size faces fit properly
- SUNLU PLA+ Vivid Yellow
- Normal Size faces fit properly
- SUNLU PLA+ Orange
- Scaled Down Size faces fit properly
- SUNLU PLA+ Red
Scaled Down Size faces fit properly
Conclusion: Since filament type and color can affect the final tolerances, you might need to make some adjustments. If the two included die face sizes aren't a perfect fit, a quick scaling should get you the snug fit you need.
Assembling:
REQUIRED: You will need super glue to combine the two die core halves. I used Loctite Professional Liquid for my prints.
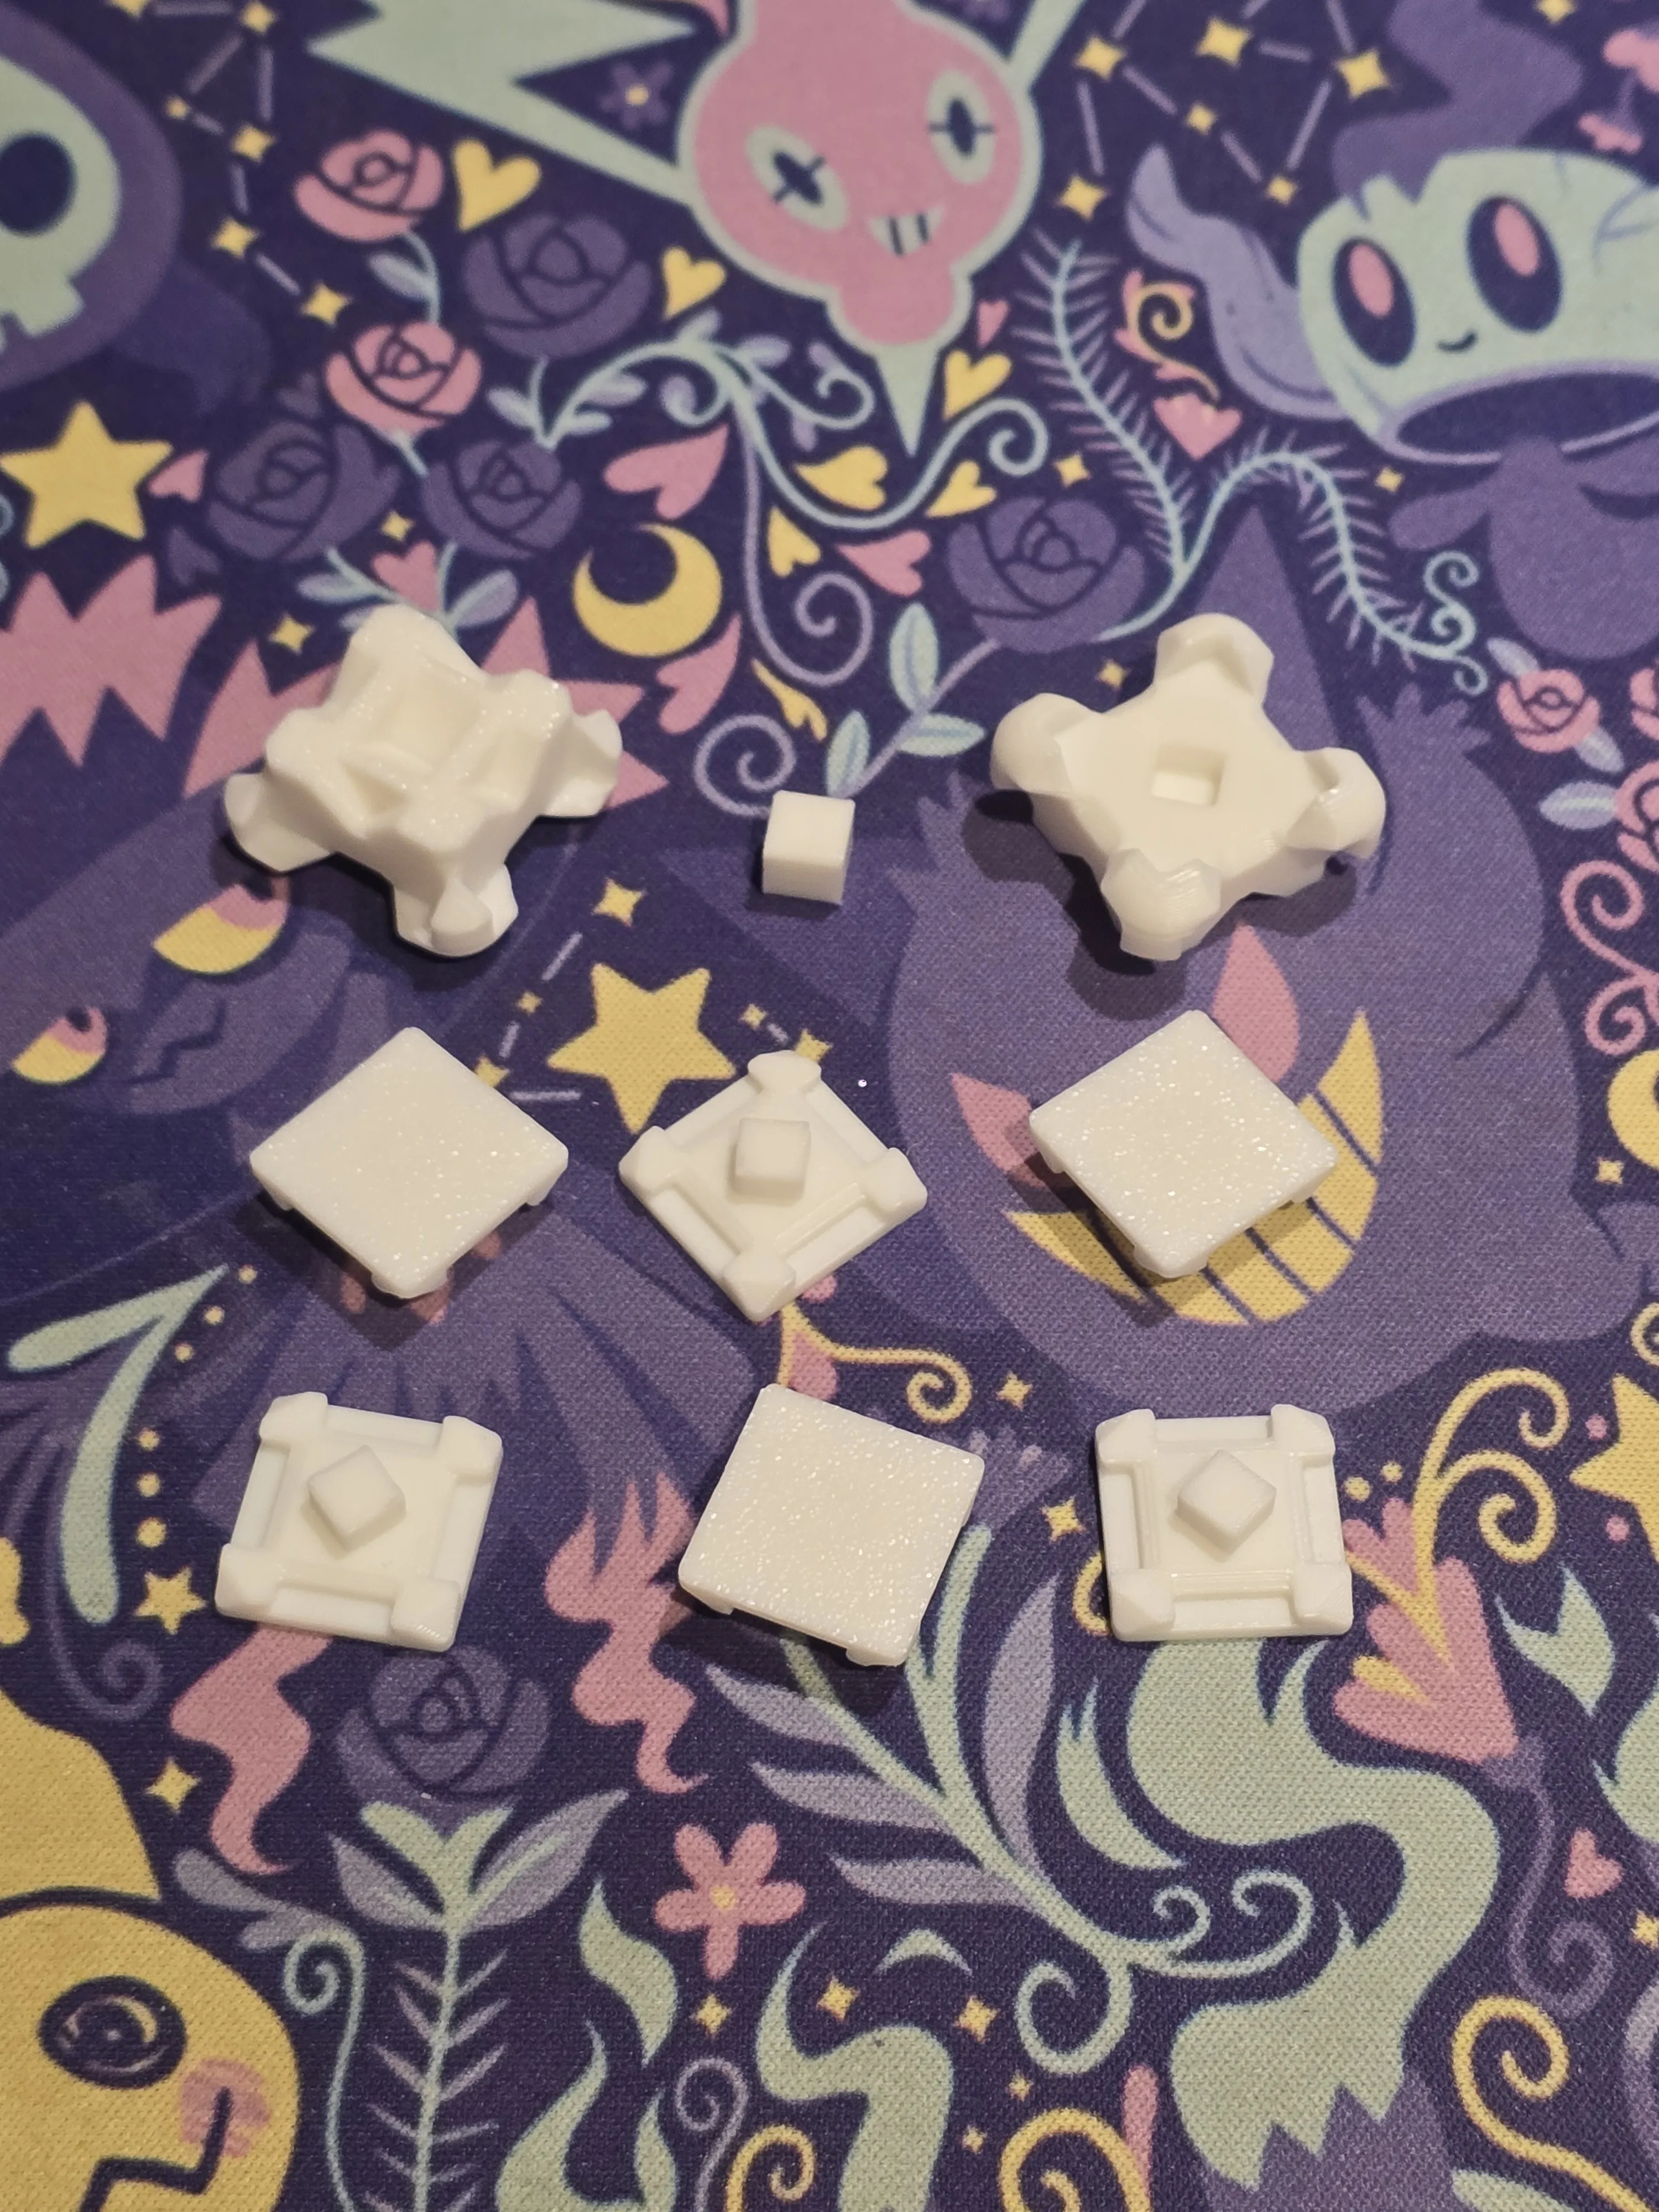
Place a small joint cube into one of the Die Core halves. Do not use super glue for this step.
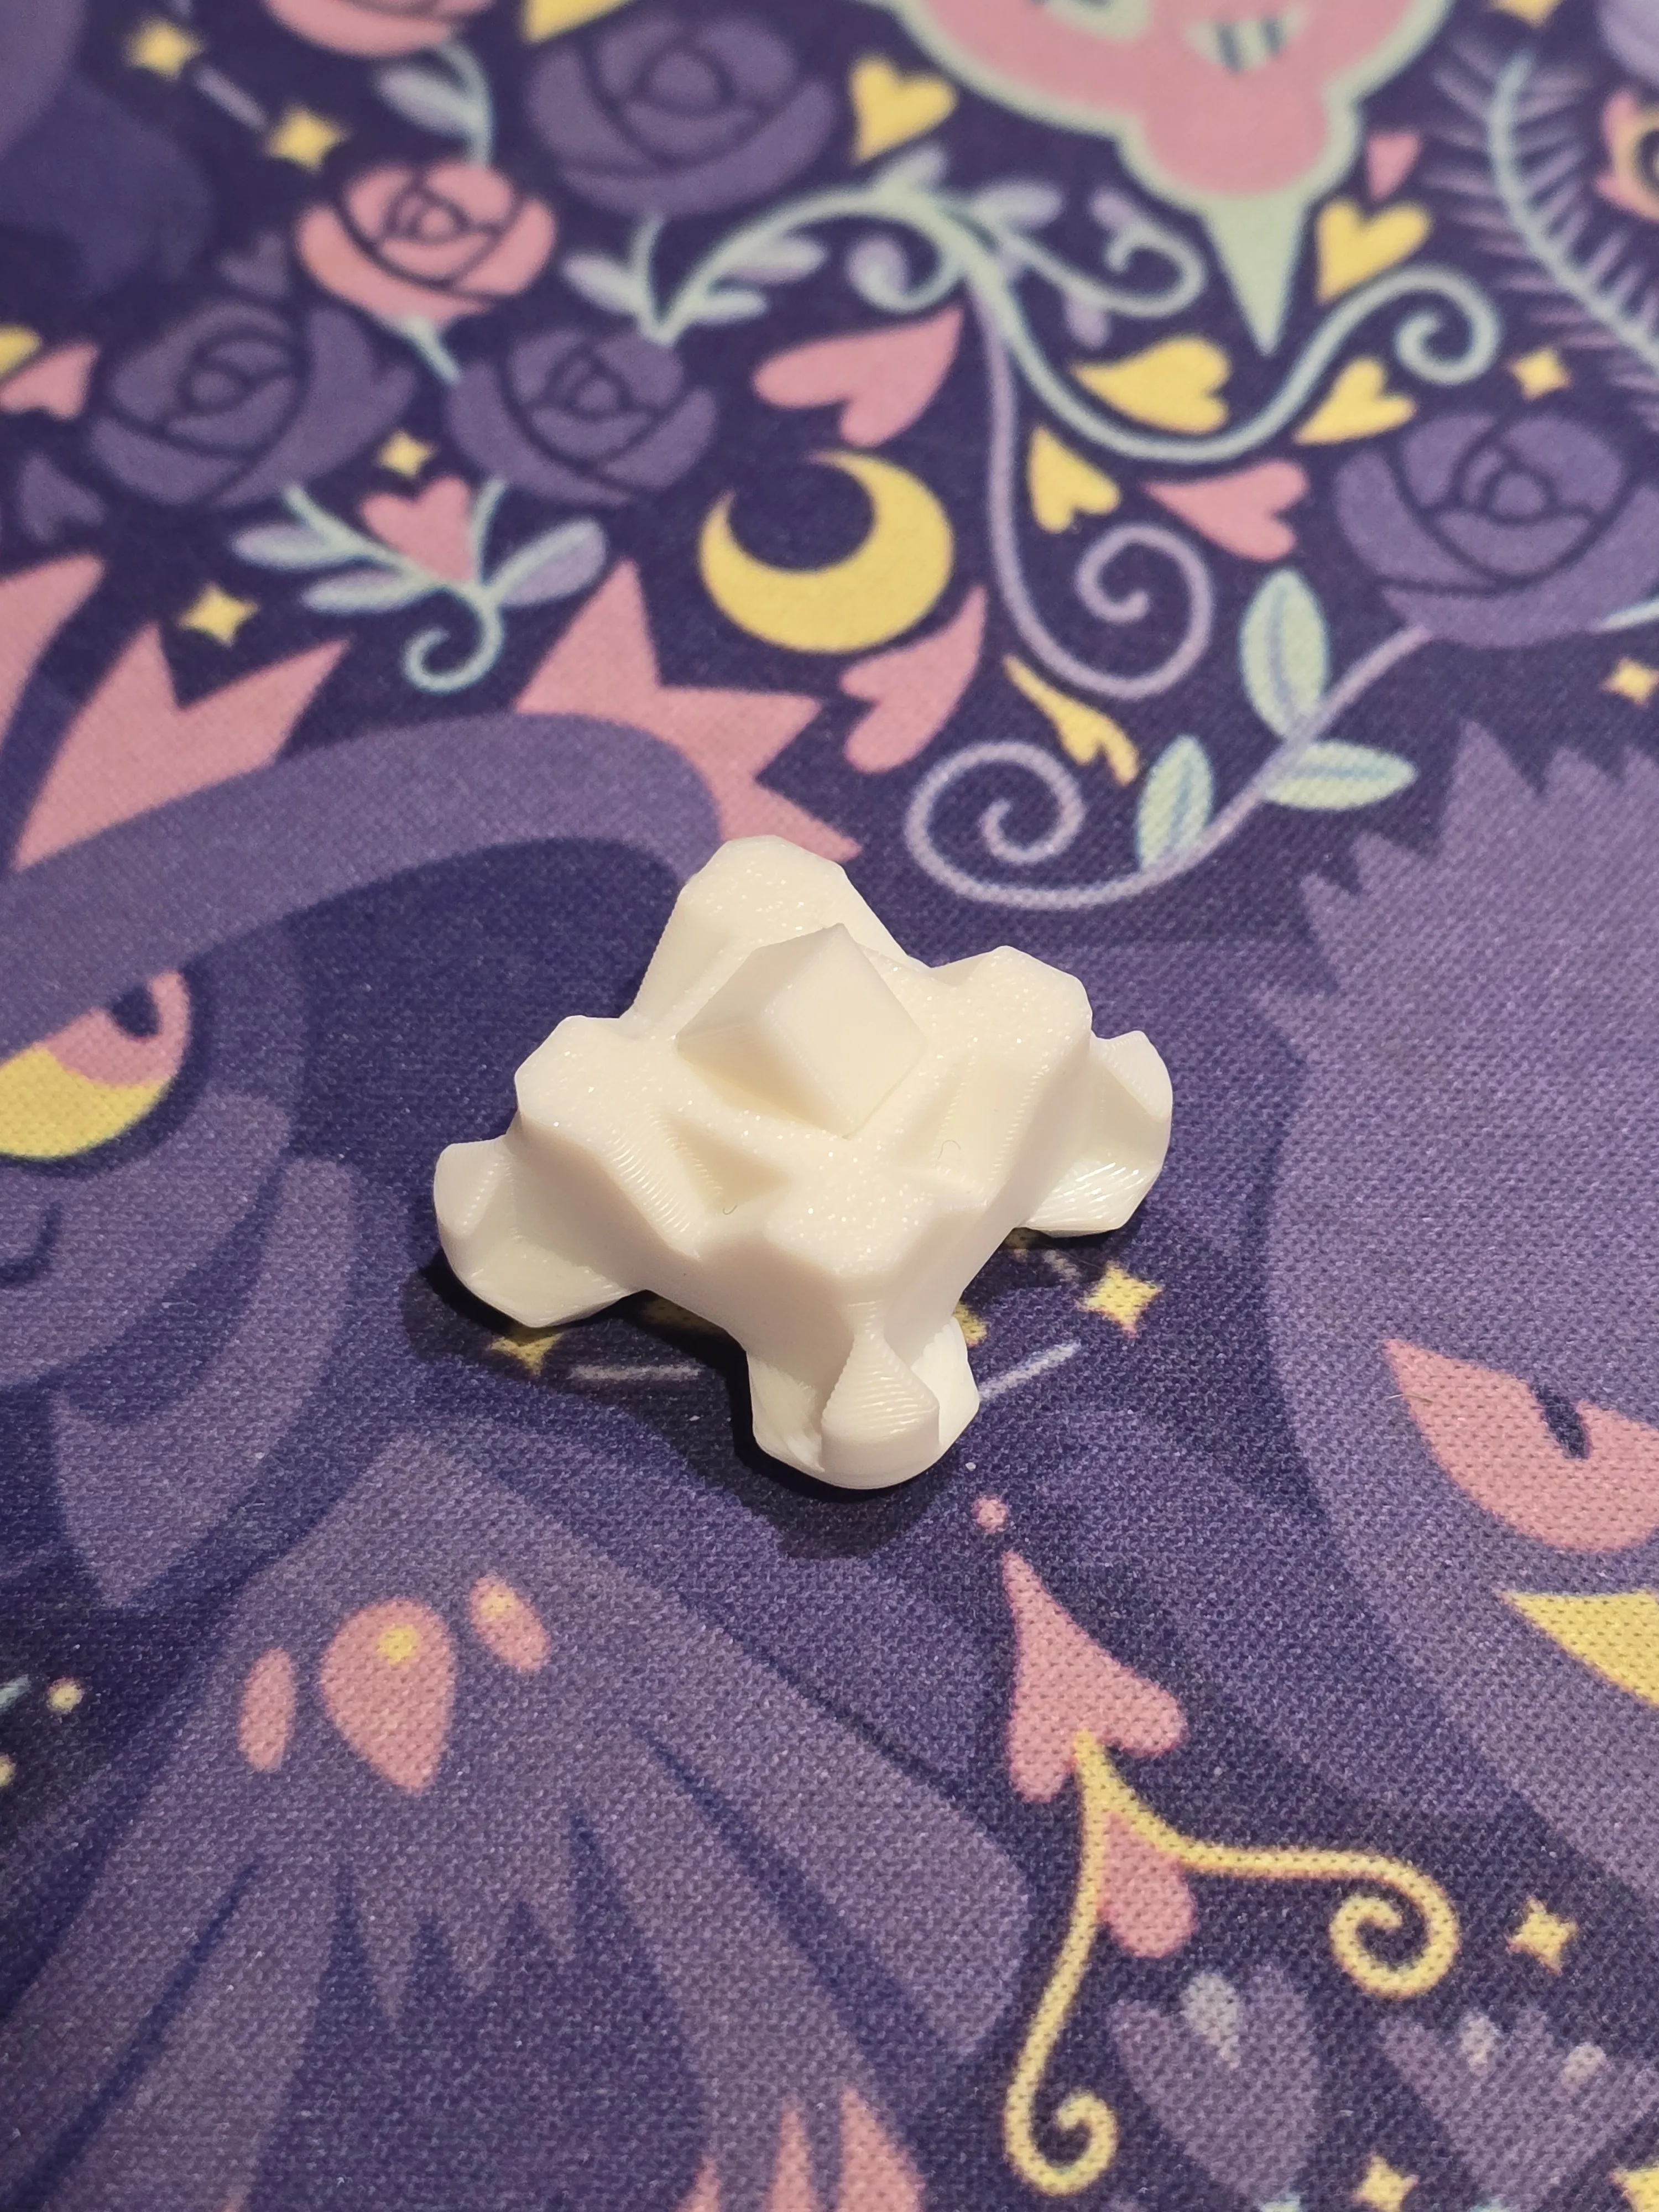
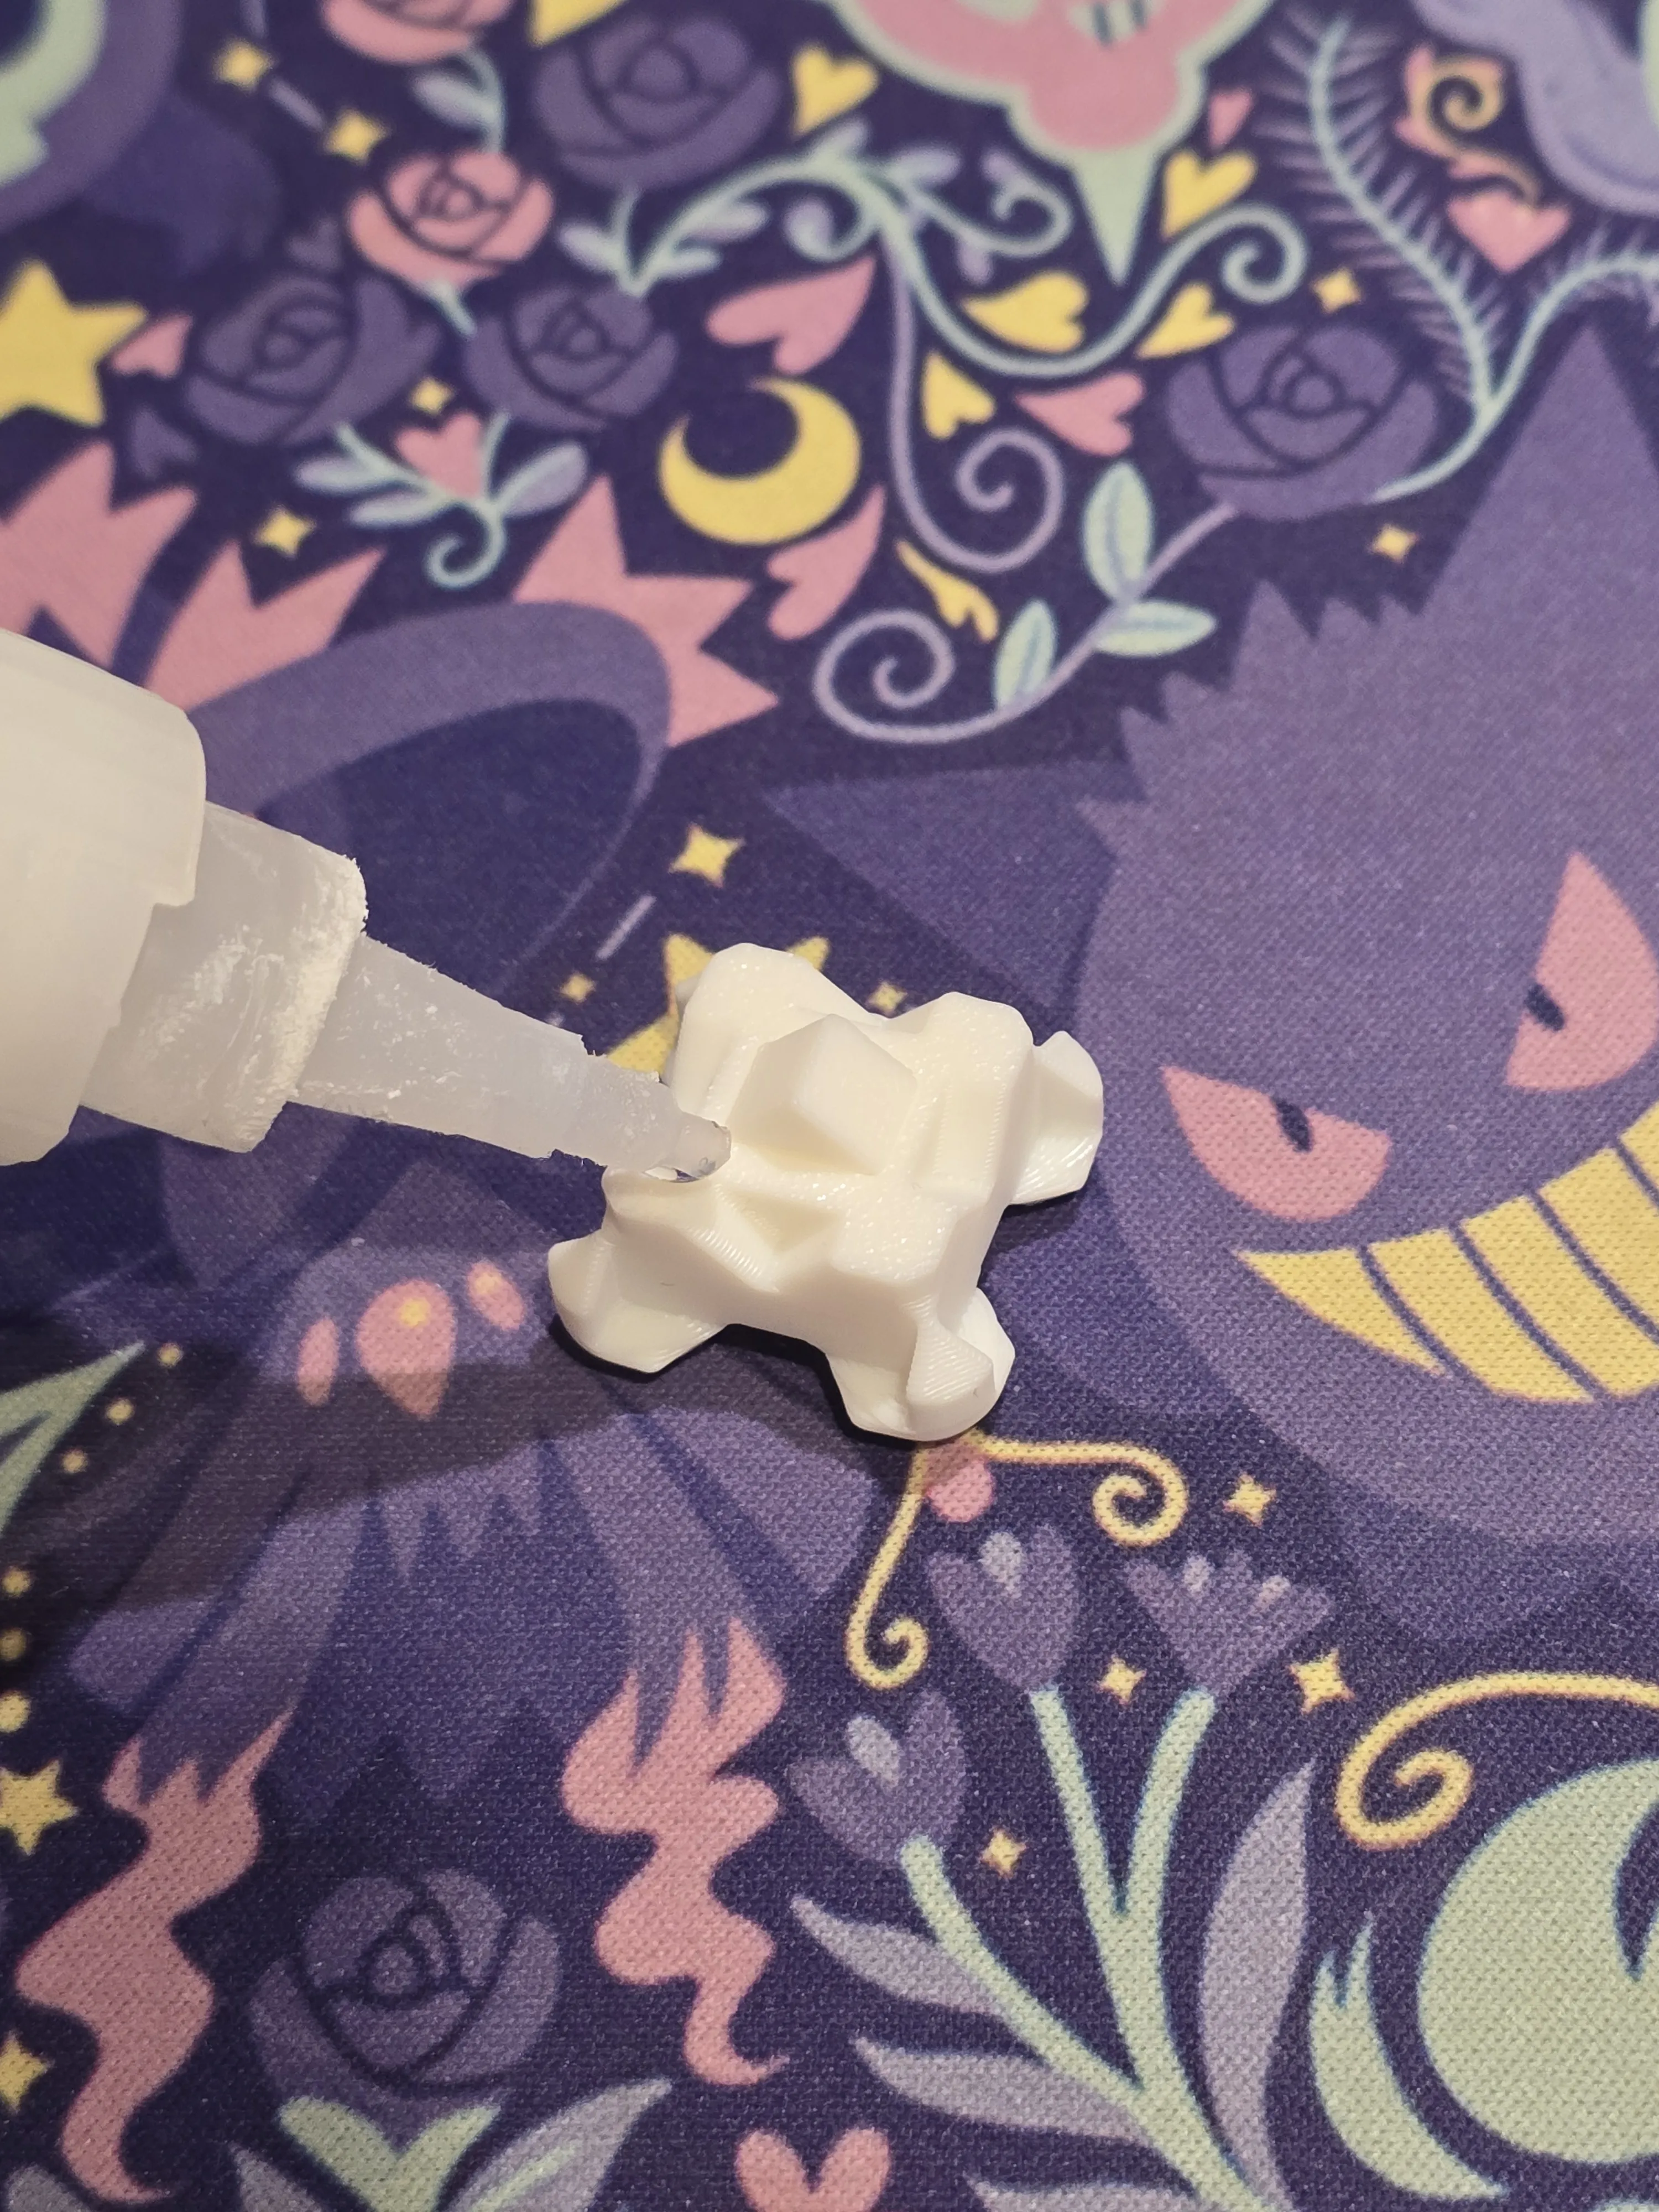
Apply super glue to the edges of the Die Core, starting from around the joint cube and continuing out to the corners.
Place the other Die Core half over the joint cube and press firmly to combine the two halves. Apply good pressure to ensure the super glue sets properly and that the die faces will have the right tension on all four sides.
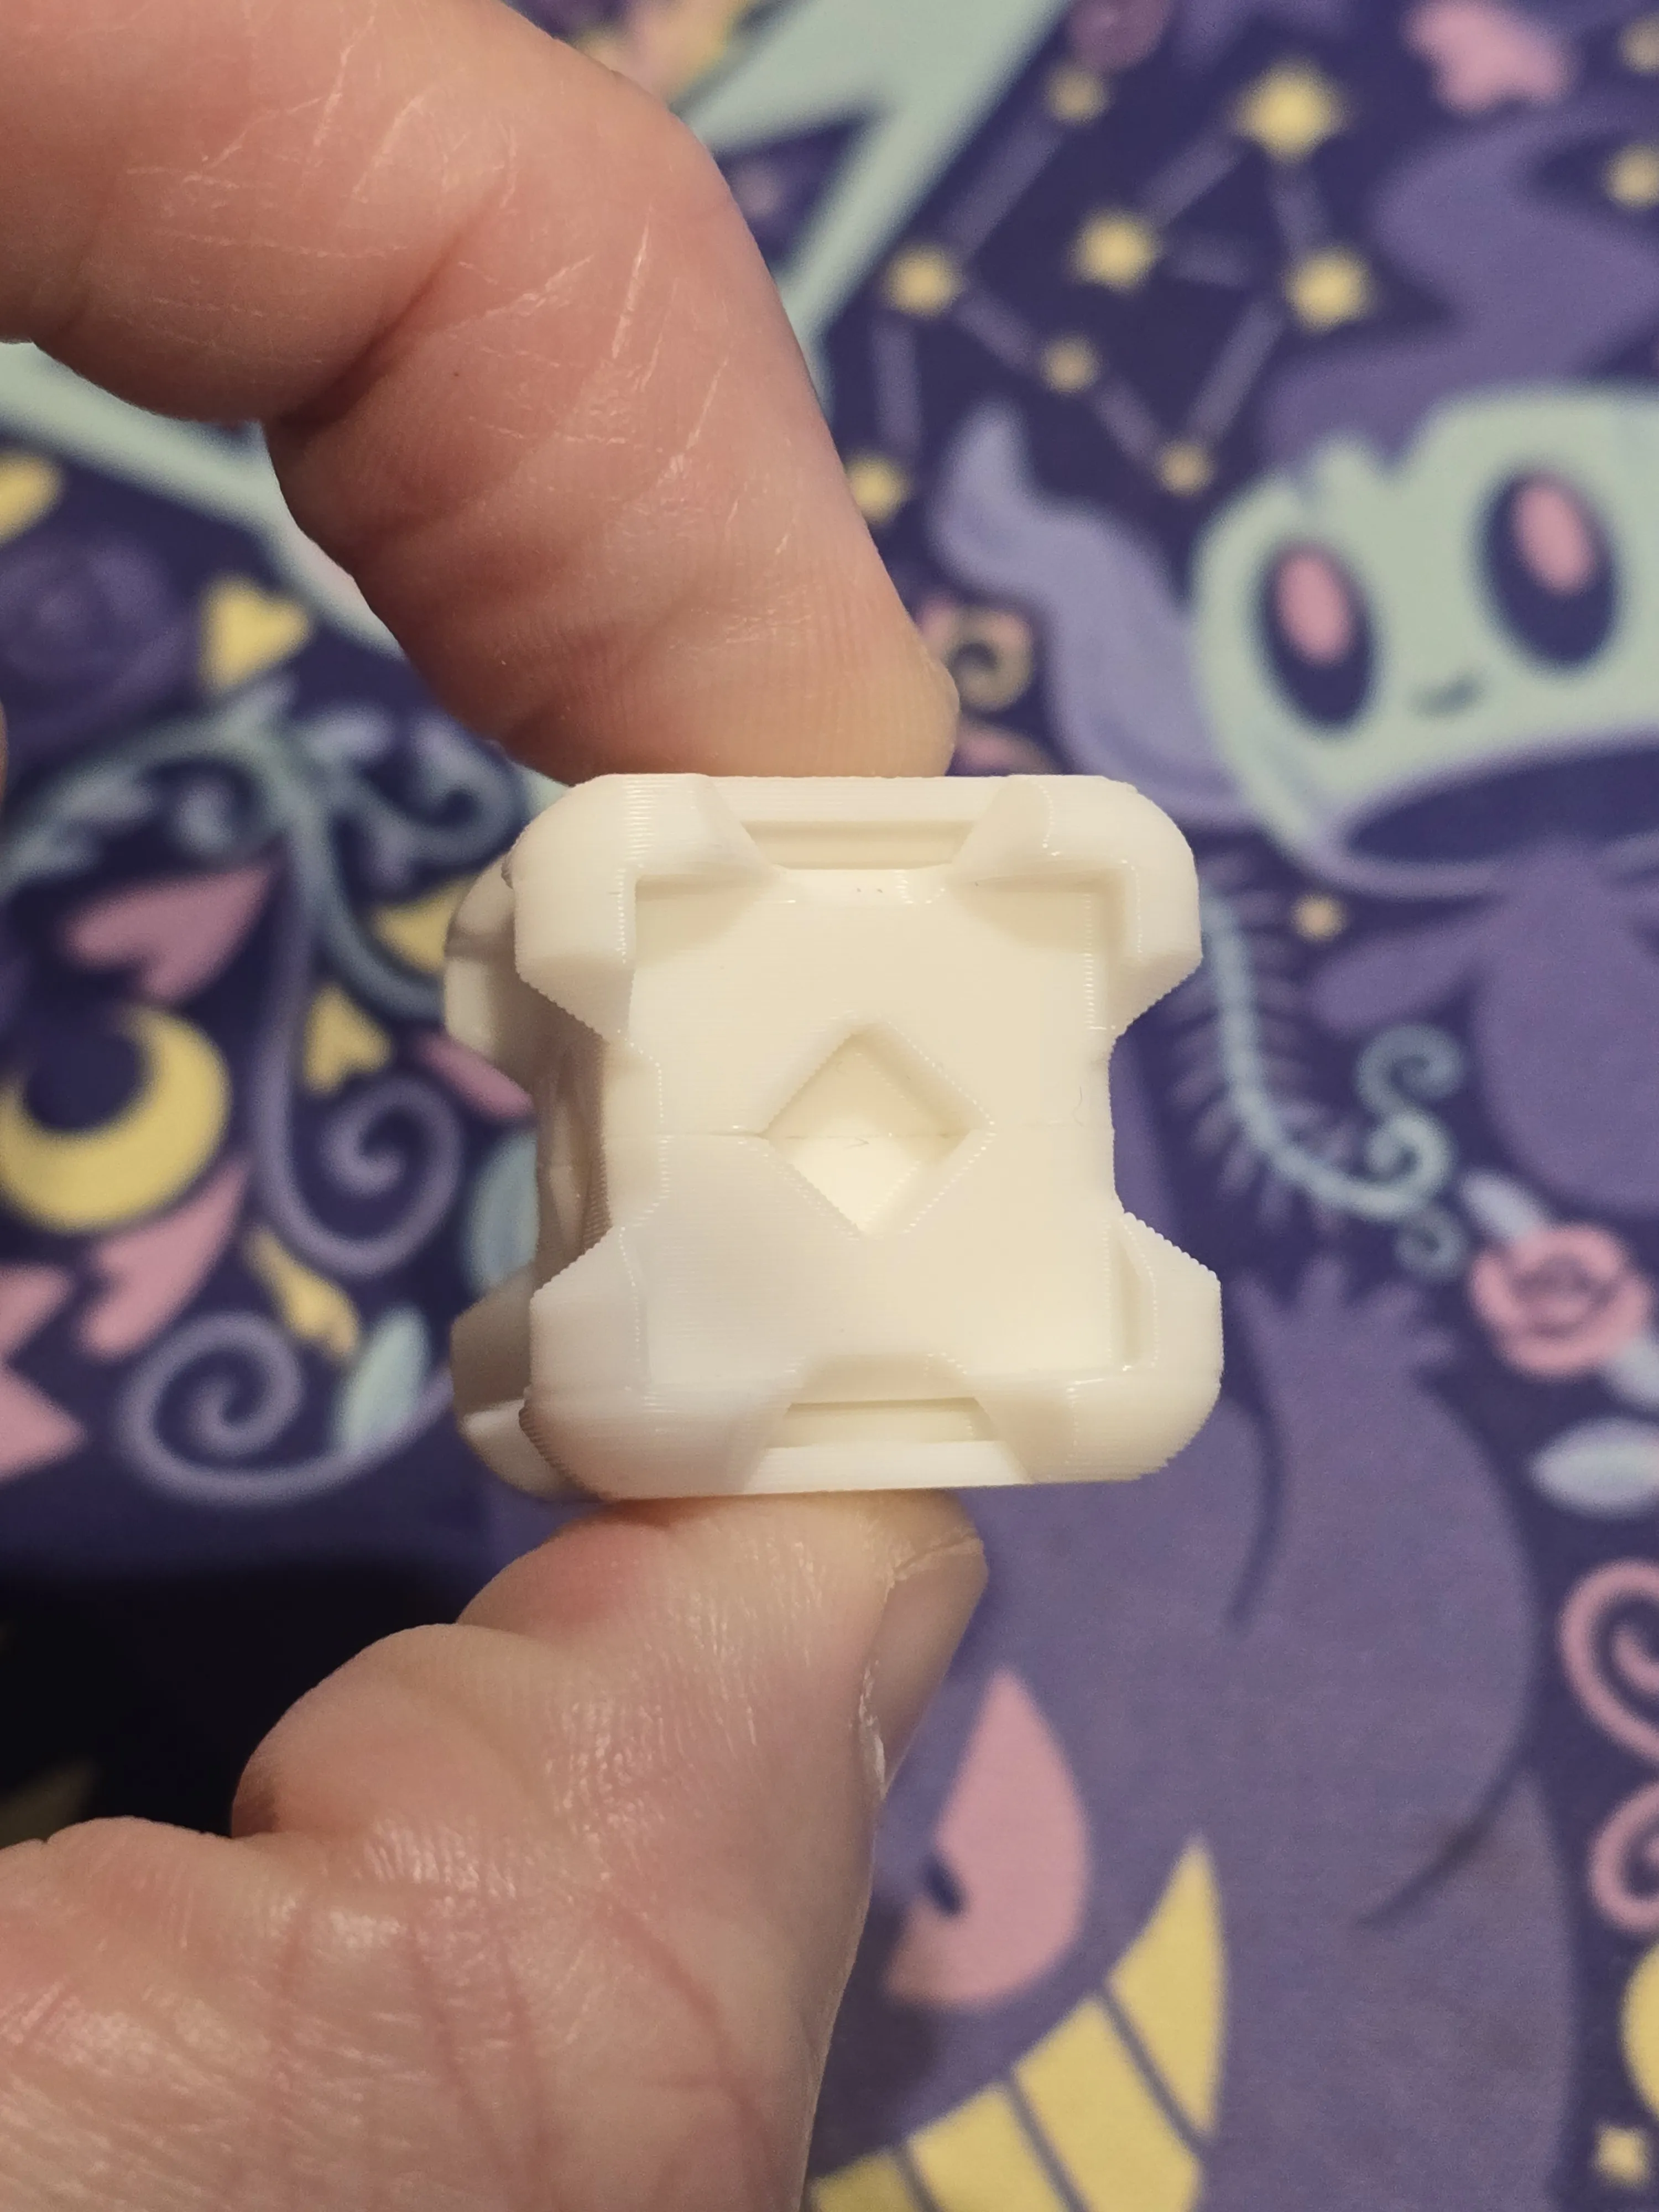
Once the glue has set, you can attach all the die faces to the Die Core.
Boost Me (for free)
If you're feeling generous, any boosts you send my way are super appreciated. They directly help me buy more filament, which means I can keep creating and uploading even more models for everyone to enjoy. Thanks for your support!
License

You shall not share, sub-license, sell, rent, host, transfer, or distribute in any way the digital or 3D printed versions of this object, nor any other derivative work of this object in its digital or physical format (including - but not limited to - remixes of this object, and hosting on other digital platforms). The objects may not be used without permission in any way whatsoever in which you charge money, or collect fees.


Comment & Rating (7)