
A1 mini & A1 PCB Face


Print Profile(2)


Description
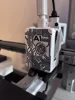
The front of the extruder as a PCB.
I tested several color variants and it turned out that the path and the background must have a high contrast so that the paths can be seen best. In my case, the best colors were matte black as the background and gold as the paths.
There are of course two versions for the A1 mini and A1.
there are two versions of the rotating center in the project (I couldn't decide which one is better - you decide)
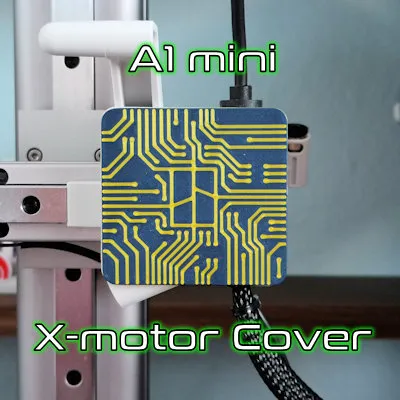
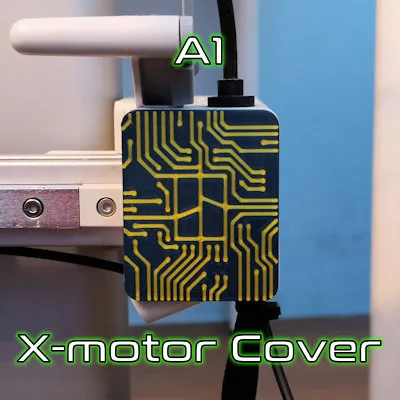
I encourage you to download the x-axis motor cover in the same style.
Before you start printing, make sure you have a clean plate (Wash it in warm soapy water or IPA). The first layer has a lot of small elements that must stick well to the plate.
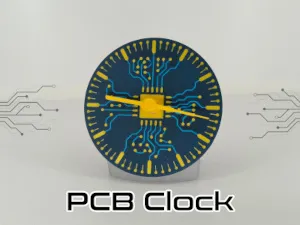
I designed the Clock in the style of a PCB board, if you like this style then please check it out.
If you have printed it, please leave a rating.
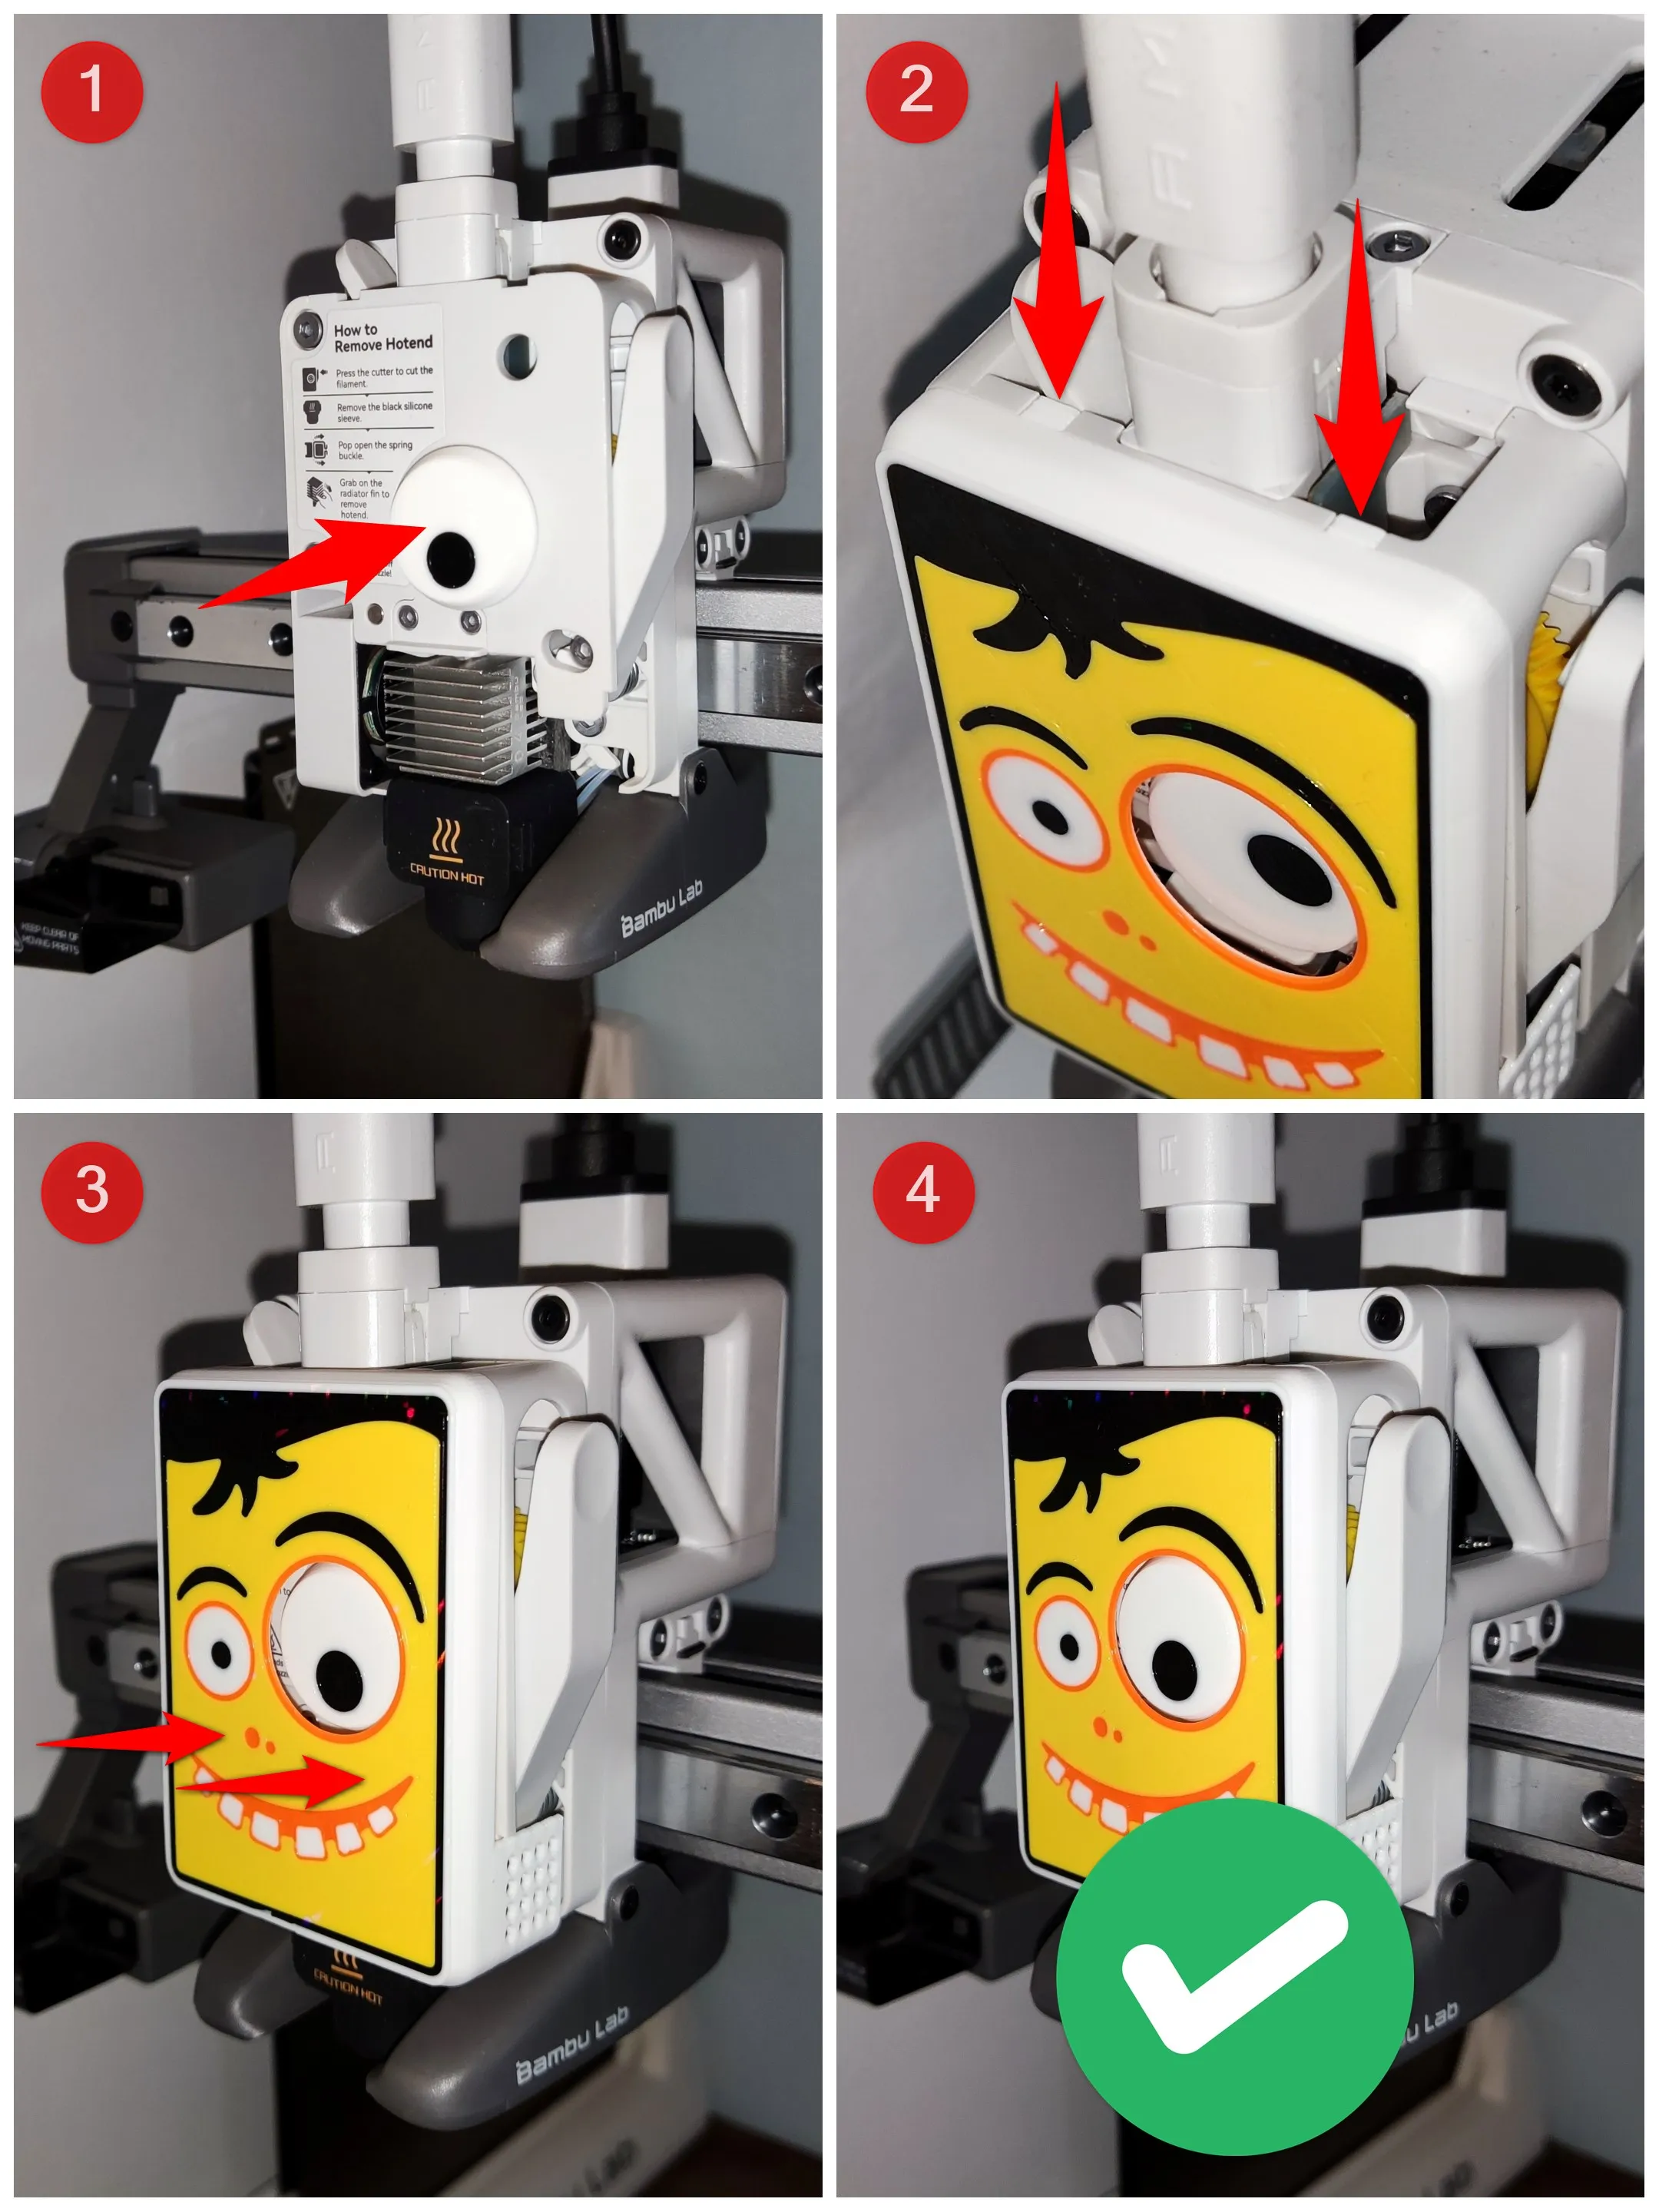
Before installation, the original front and the rotating element must be dismantled.
During installation, the eye should be pressed as far as it will go. After putting the face, the eye should be flush with the face or deeper.
When assembling, make sure that the top latches are flush with the top edge before pressing from the front.
Boost Me (for free)
Hey! If you like my 3D models, I’d really appreciate it if you hit Boost! 🚀
It’s a big motivation for me to keep creating and sharing new projects with the community.
Every Boost shows it’s worth it – thank you! 🙏
Assembly instructions below.
License



Comment & Rating (601)