
Print Profile(2)


Bill of Materials


Description
Crouching Dragon – Fantasy Lamp
Overview
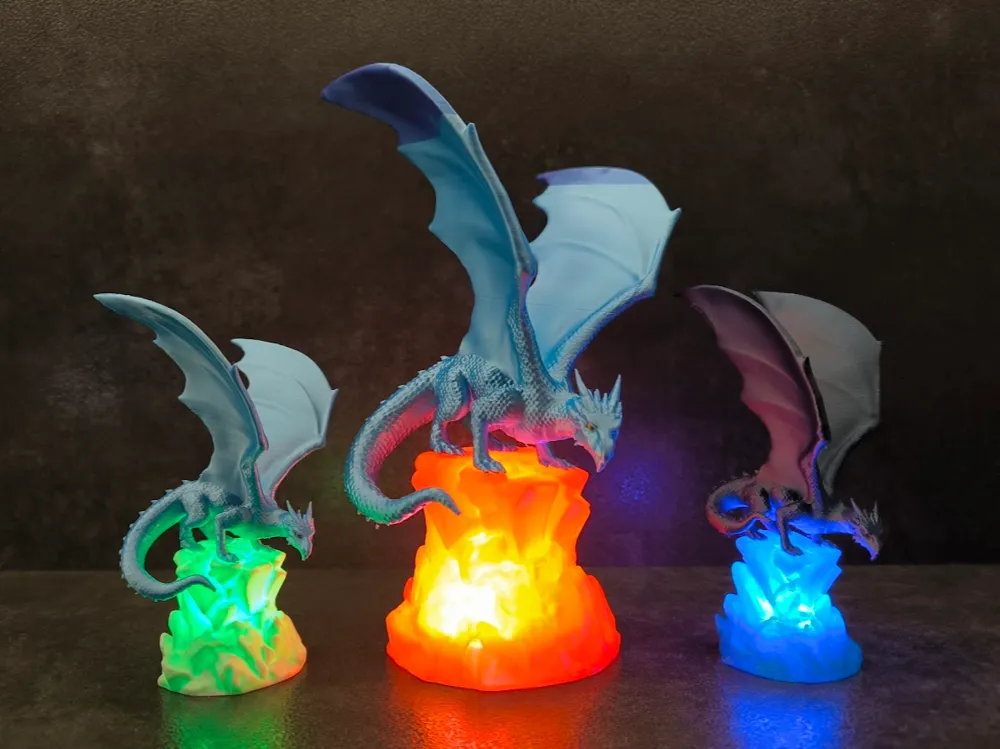
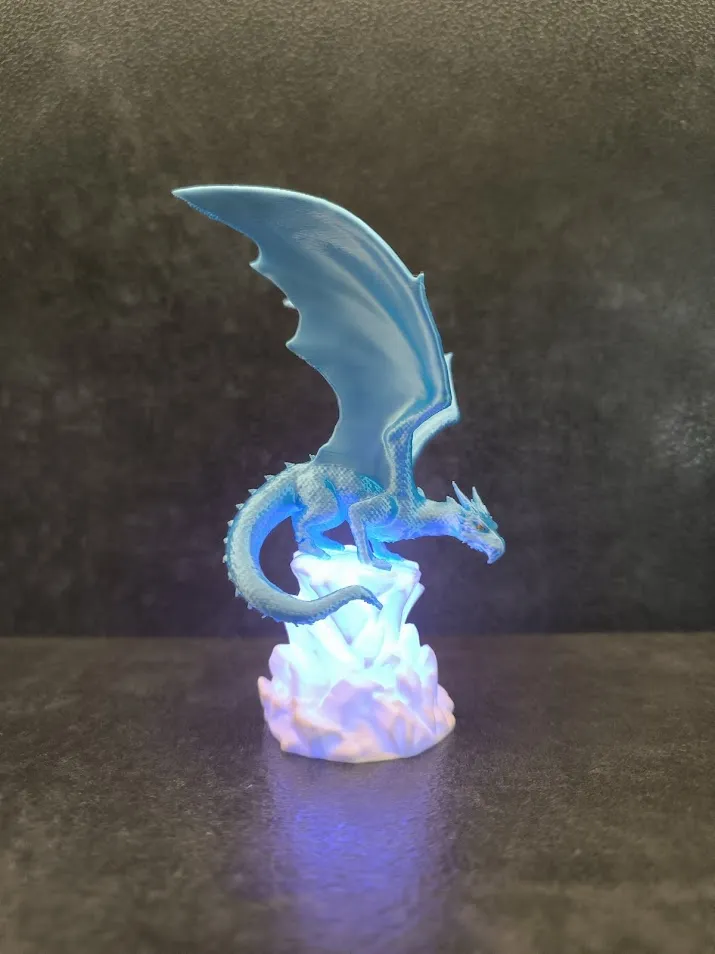
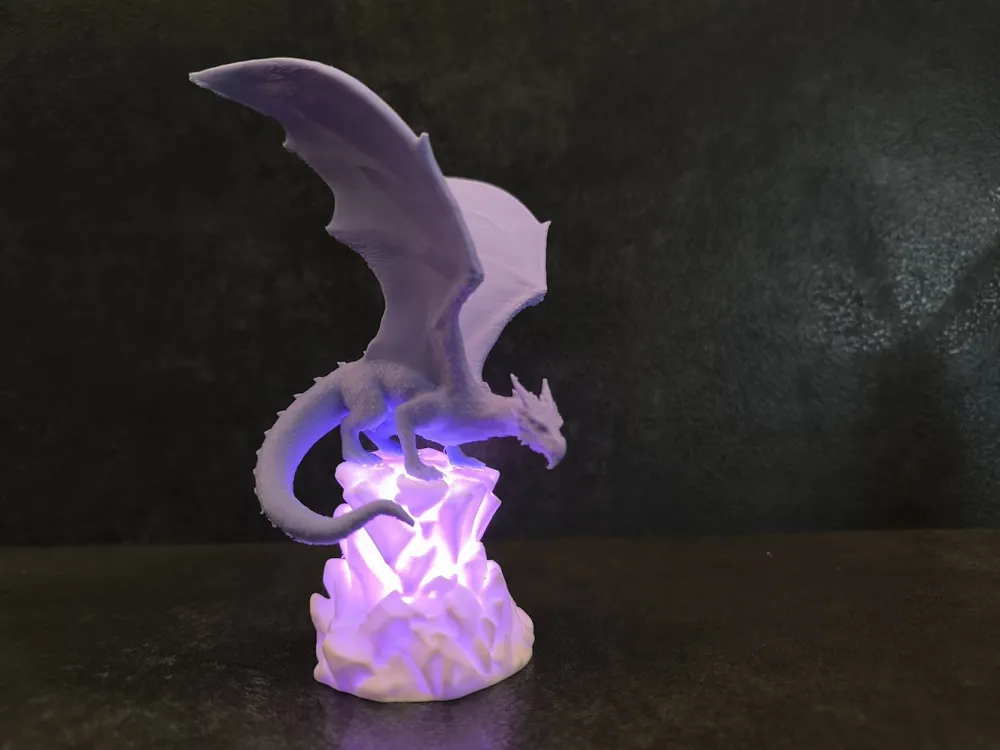
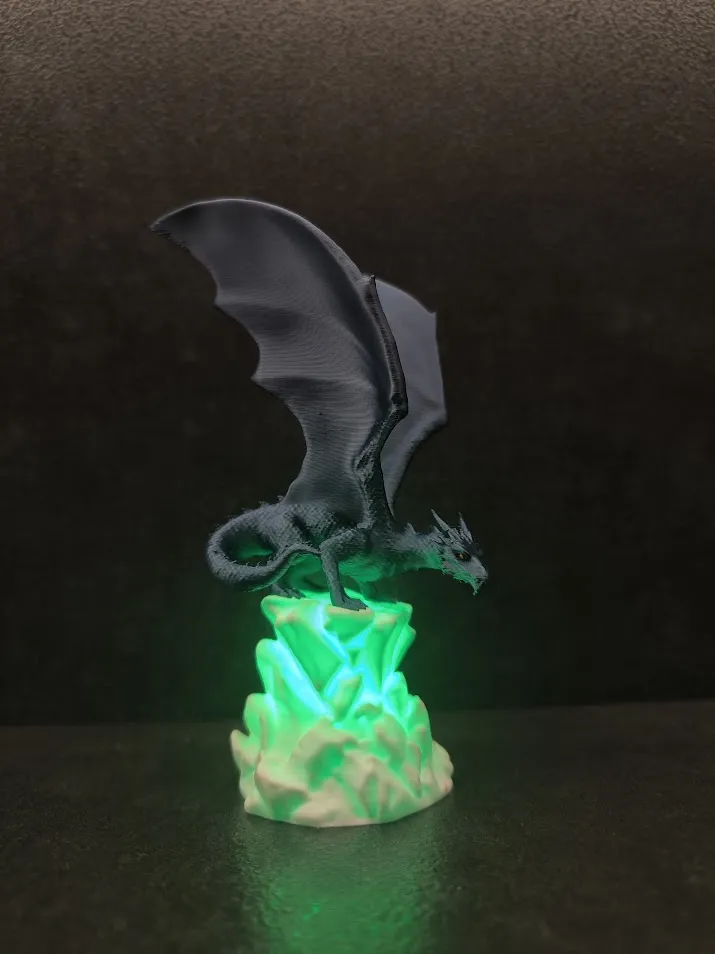
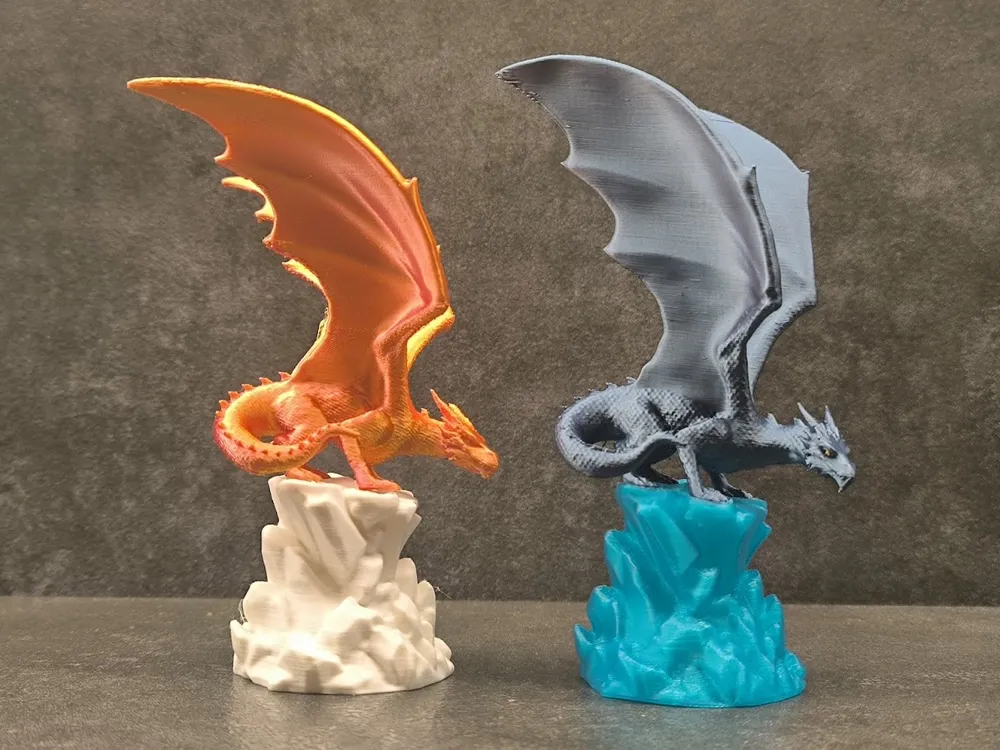
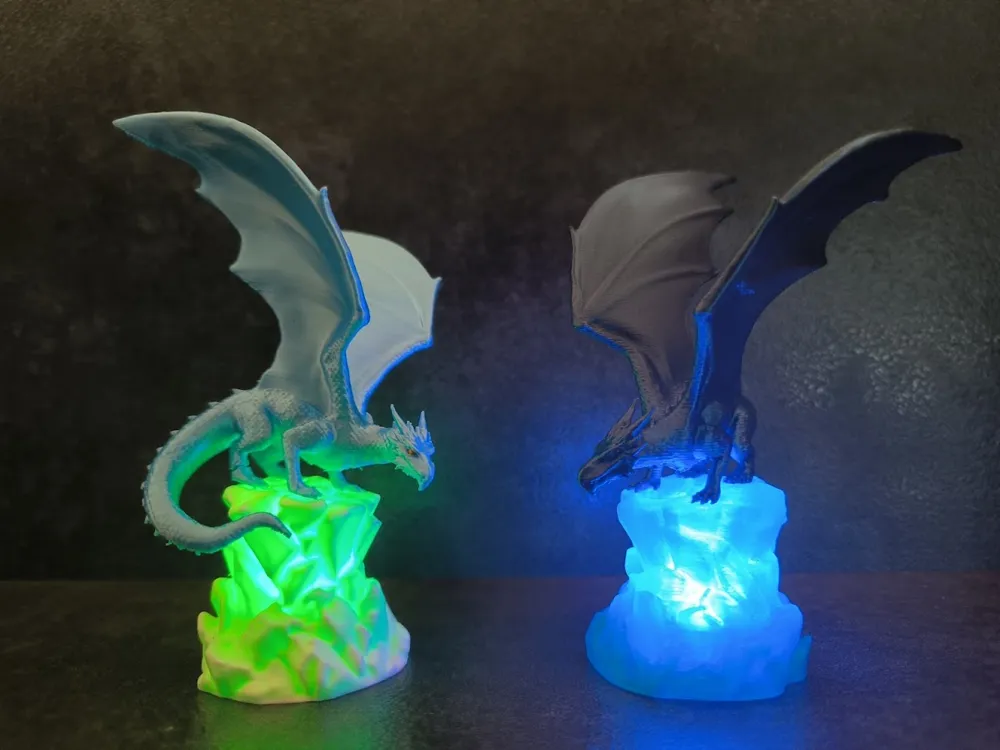
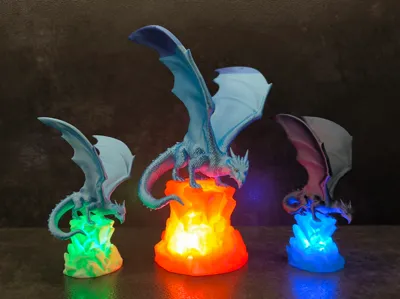
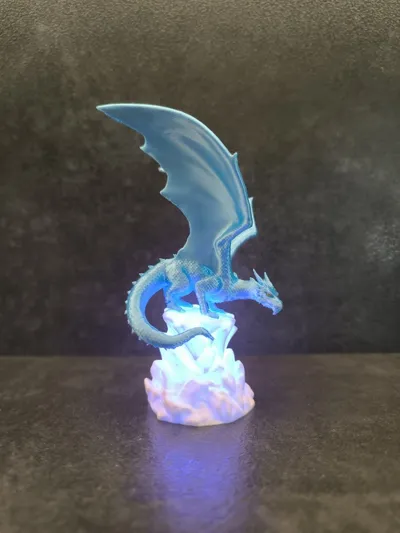
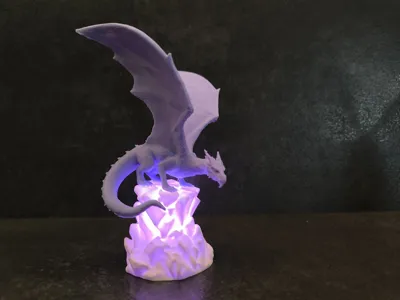
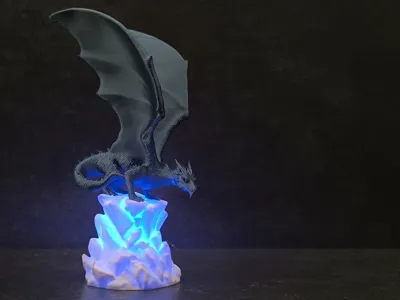
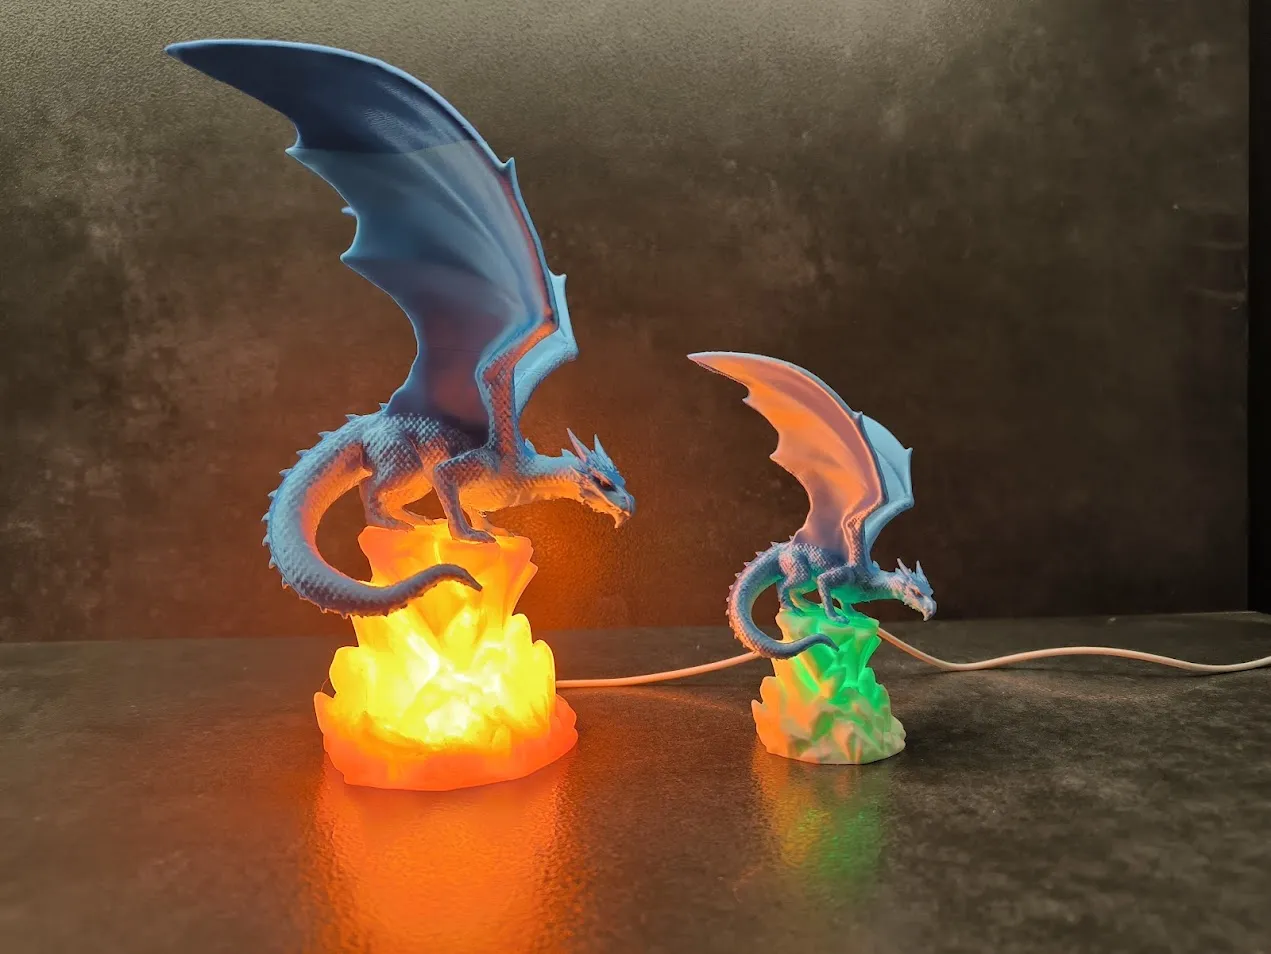
This unique model features a dragon crouching on a rocky cliff, illuminated by a mysterious glow. Sculpted with attention to detail, the dragon spreads its wings and glares fiercely, as if ready to strike.
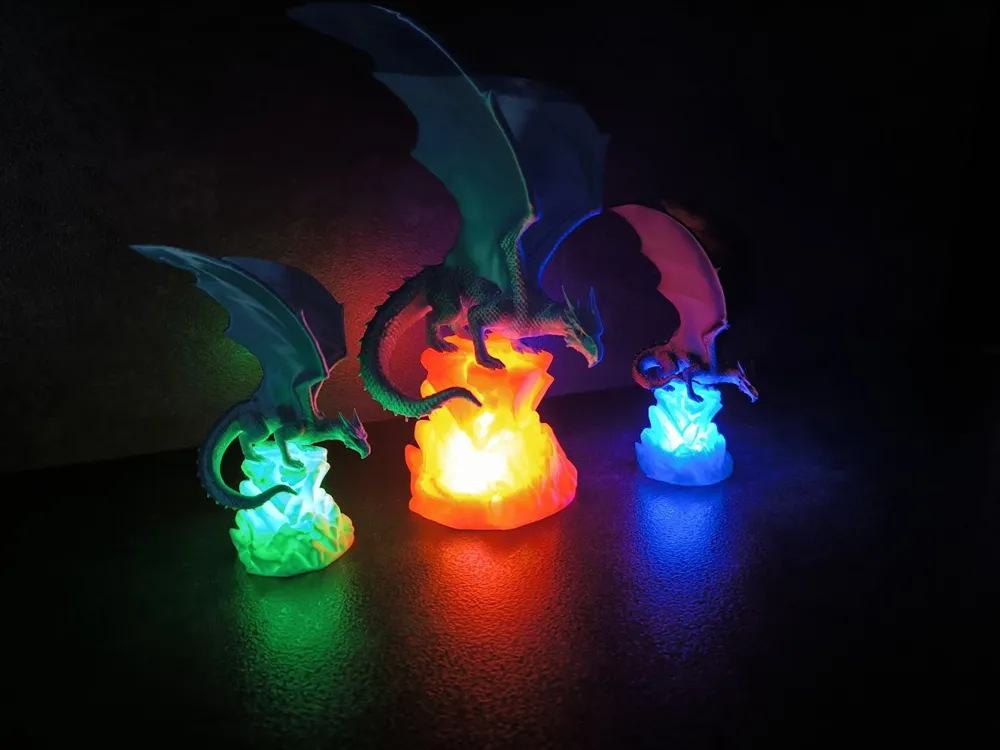
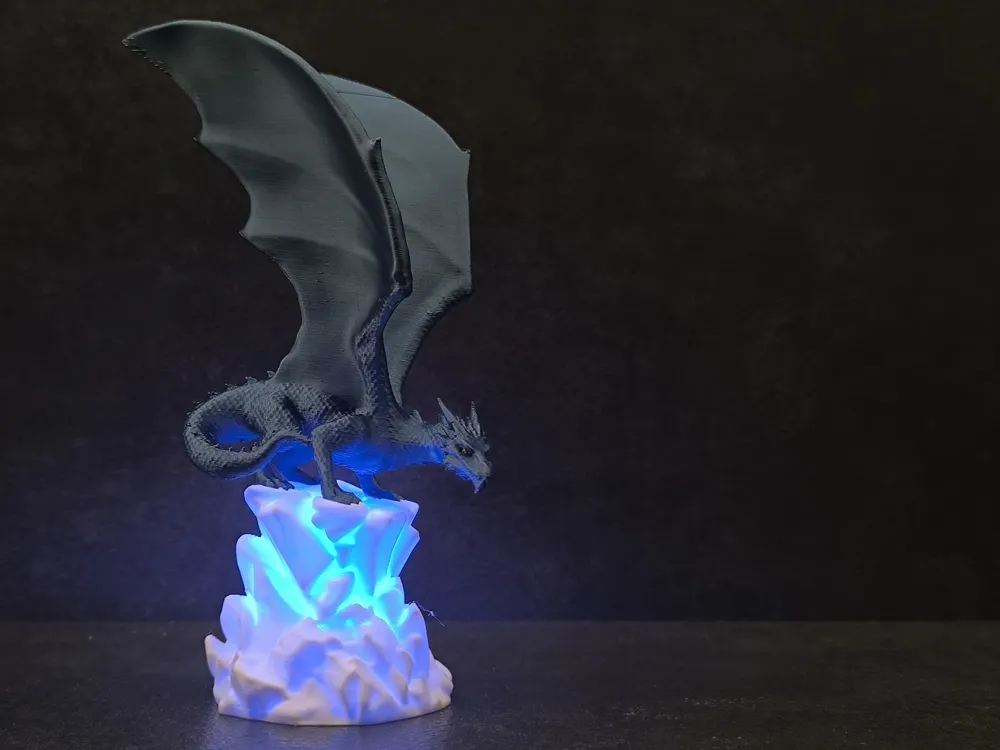
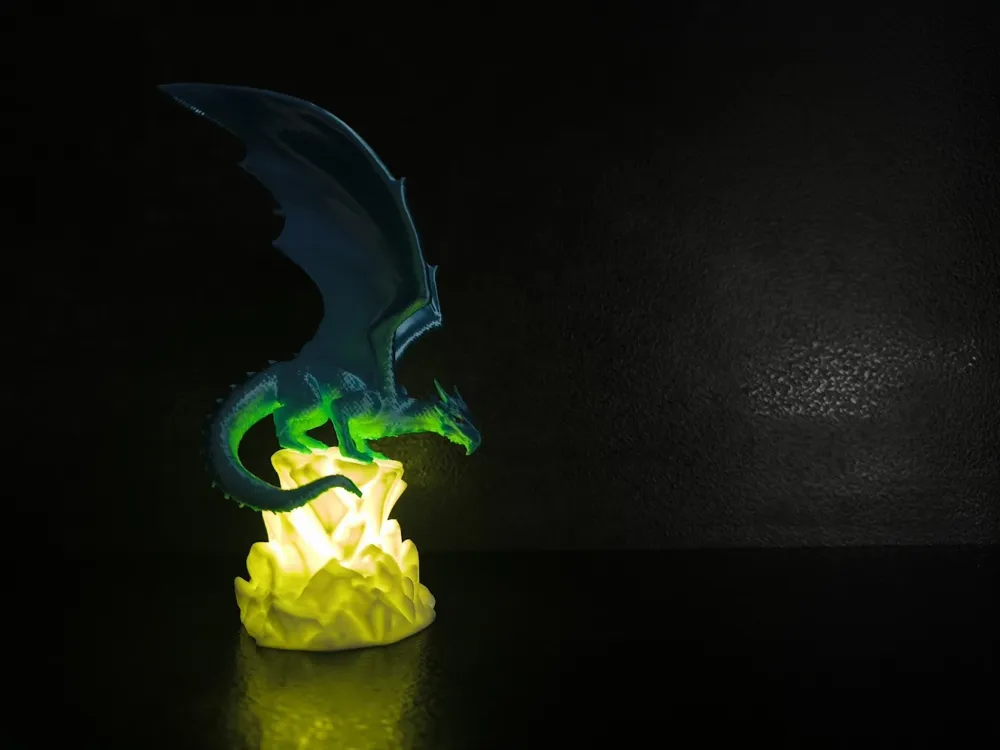
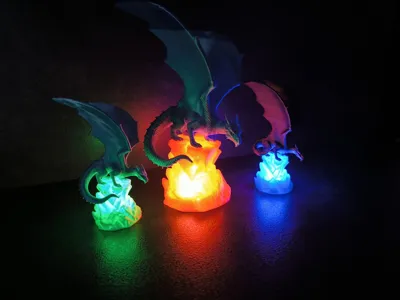
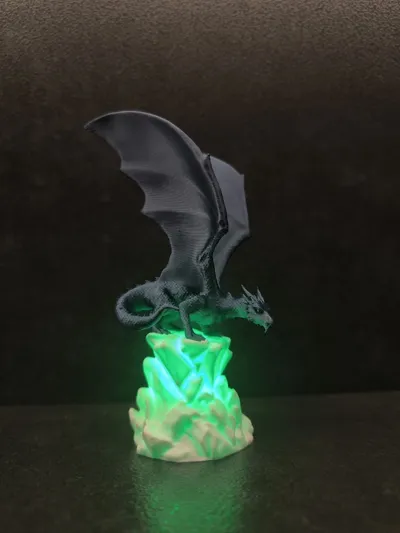
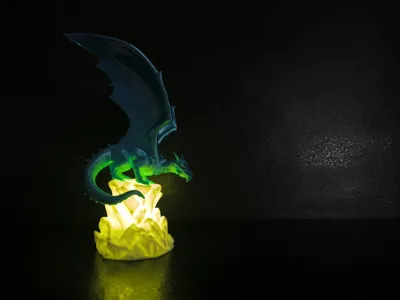
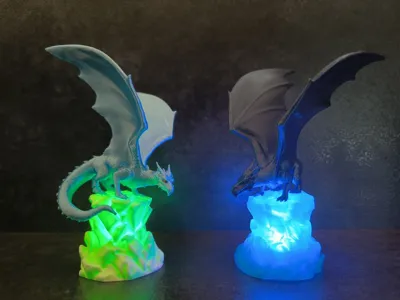
The rocky base hides an LED light source that, when turned on, creates a magical and atmospheric illumination. This makes the model not only a decorative piece but also a functional one, serving as an original night lamp or mood light for any room.
Instruction
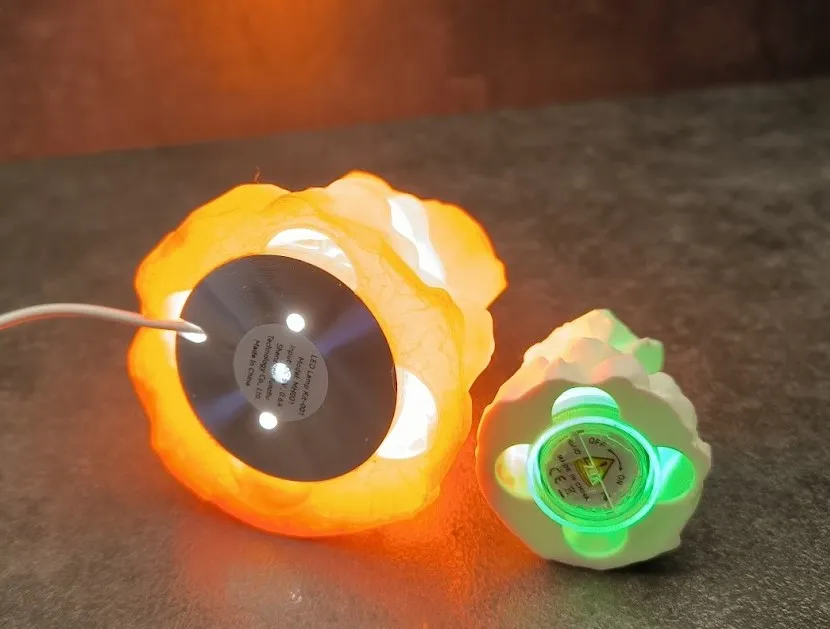
After print you can use Waterproof RGB LED Light to illuminate the rock.
In the print profile I cut the hole in the rock with negative object. You can scale this object as you want and fit it to your source of light.
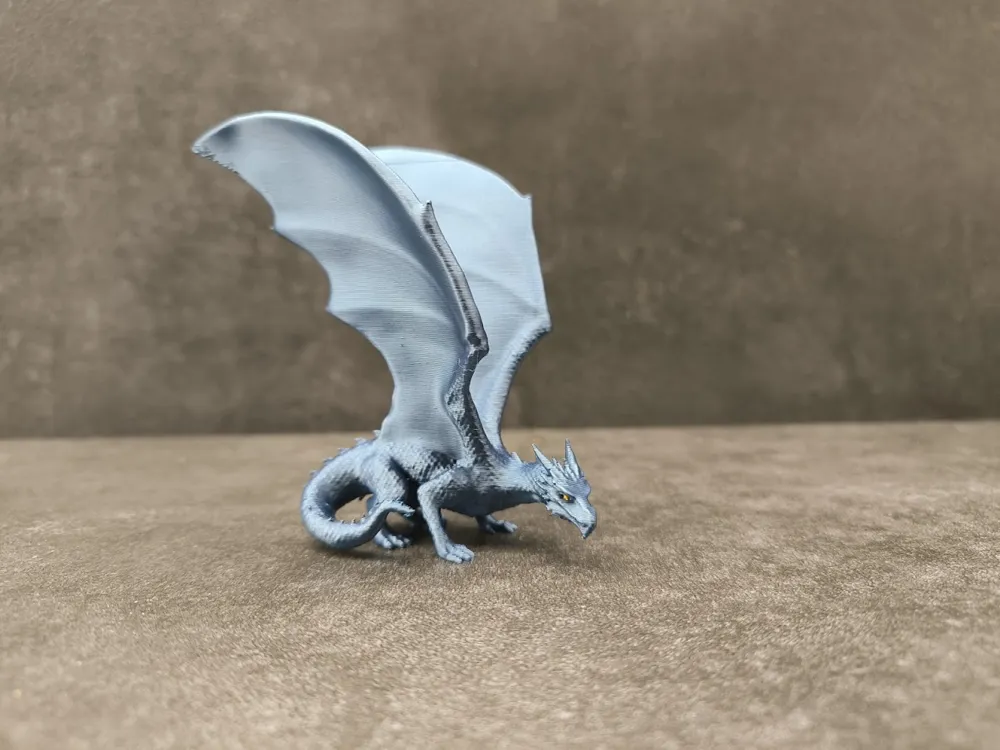
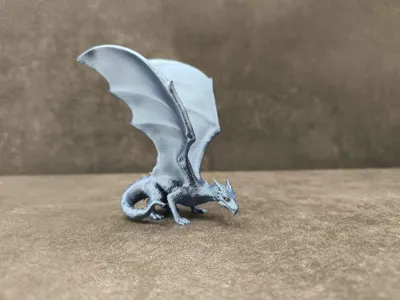
Of course you can print only dragon. It can stand on its own feet.
Advice in cause of problems
Use dry filament.
Open the printer door for better cooling when printing PLA.
If you have problems with print imperfections, try reducing the printing speed.
If you have problems with supports, try using Strong supports in Bambu Studio or increasing the support angle.
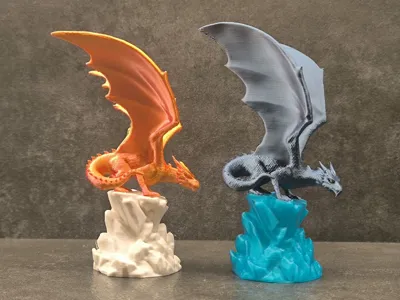
Be careful with PLA SILK filaments. I had a lot of problems with them when printing this figure. I tested a lot of settings and there were always some imperfections. Below is an example of how much I printed.
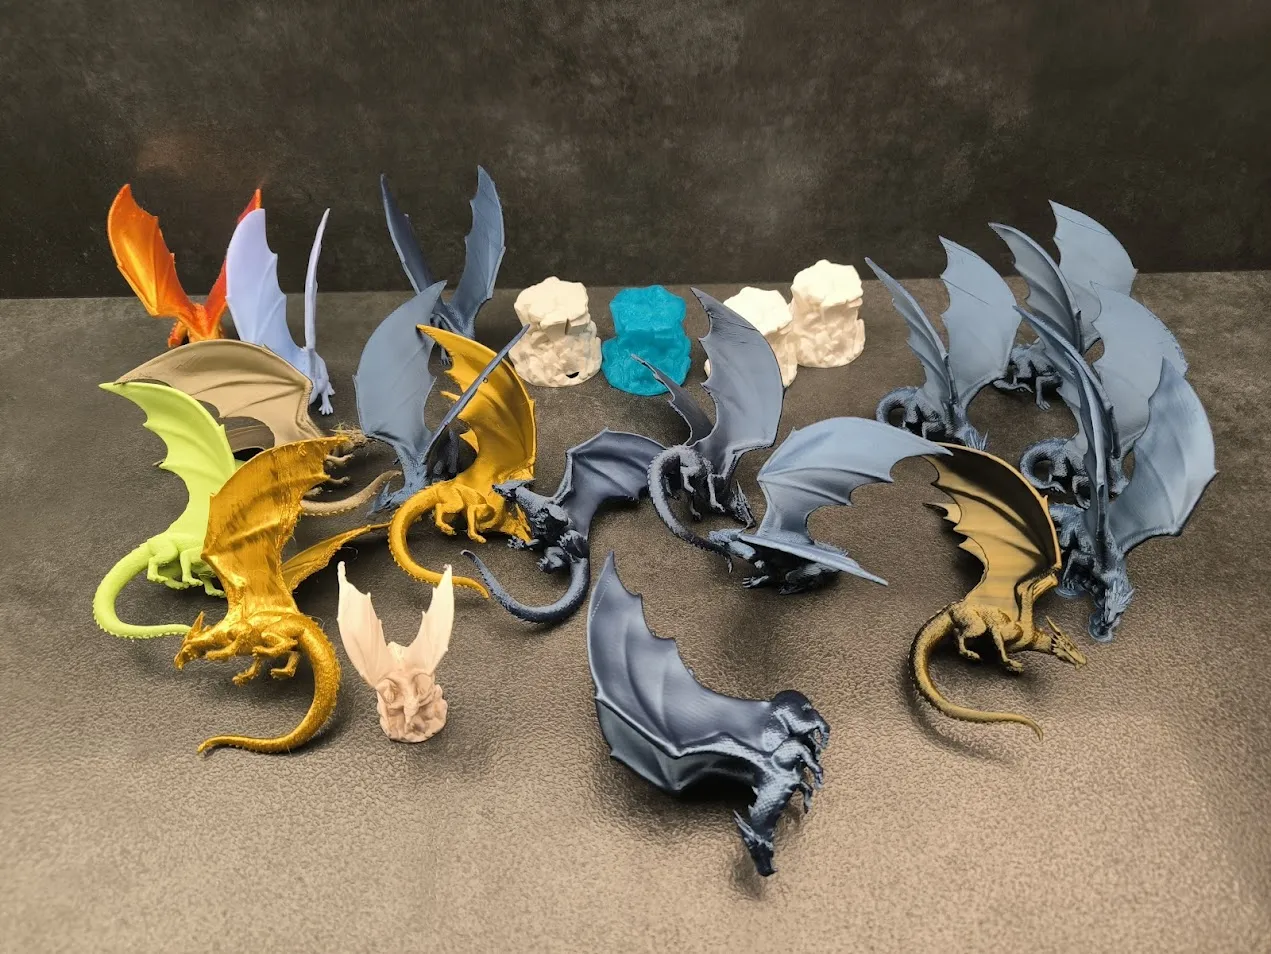
Ultimately, it turned out that the problem was simply wet filaments. After trying another one, all the problems disappeared.
However, during tests I managed to get good prints even on problematic filament, but at the expense of a slightly less dynamic position of the dragon. (Dragon 3)
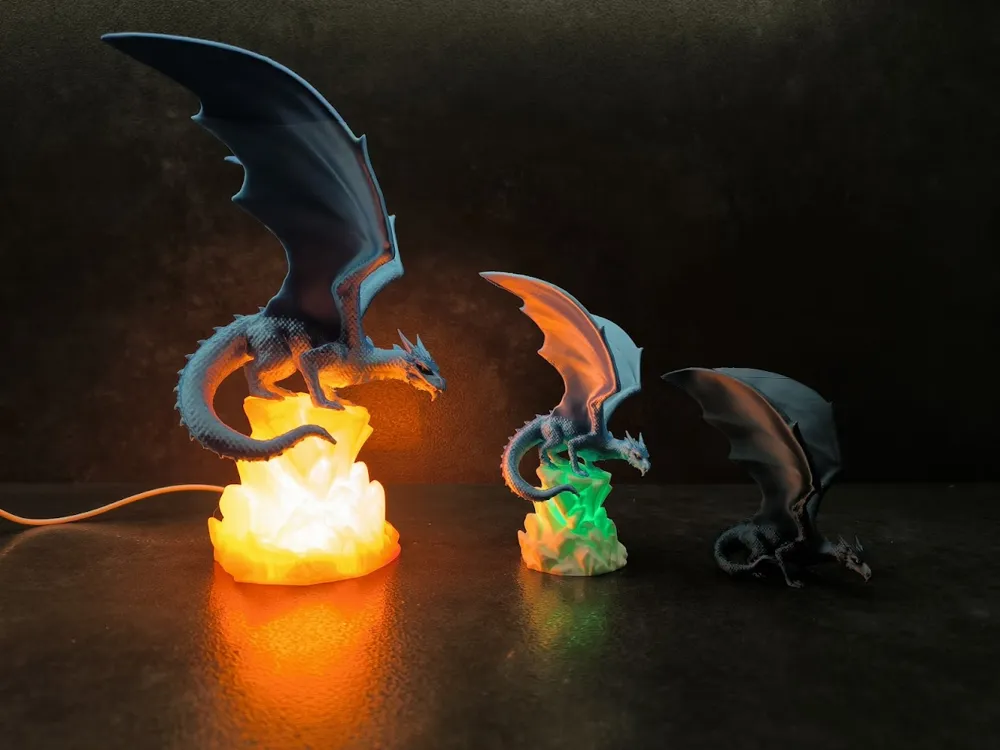
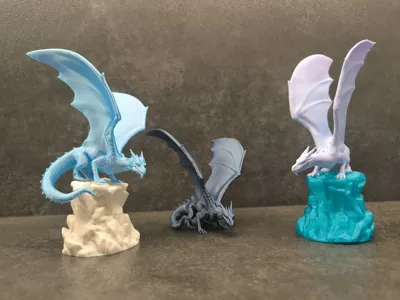
Dragon versions
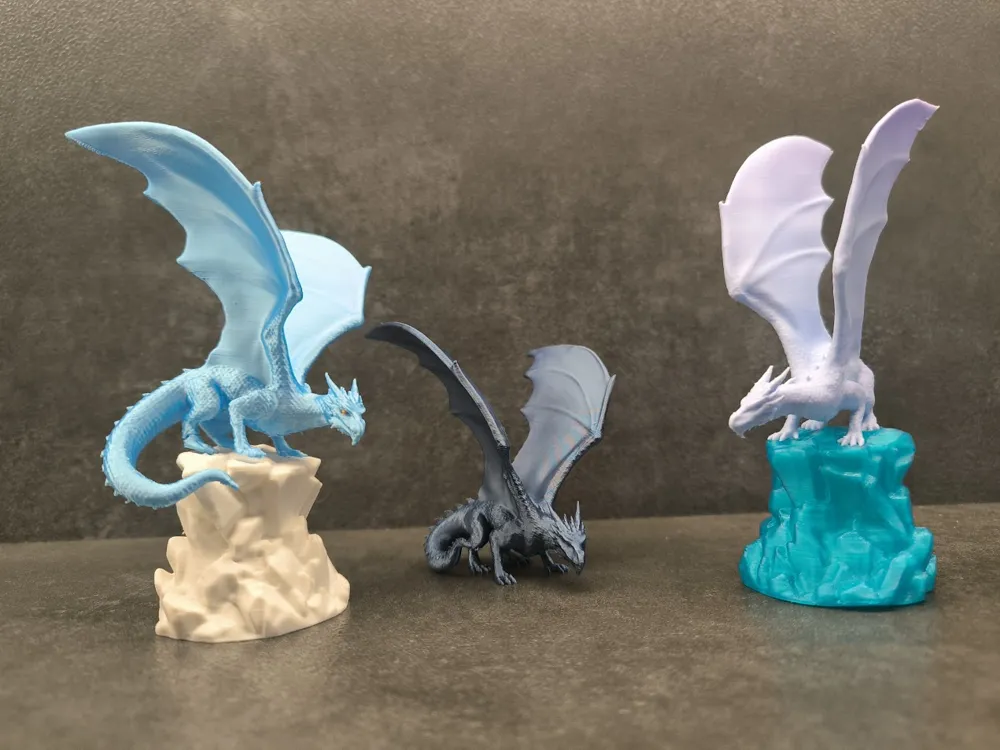
When printing so many figures, I slightly modified their appearance for better print quality. The changes mainly concerned the wings and tail.
Below is a description of the version:
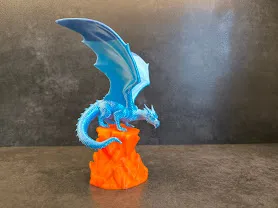
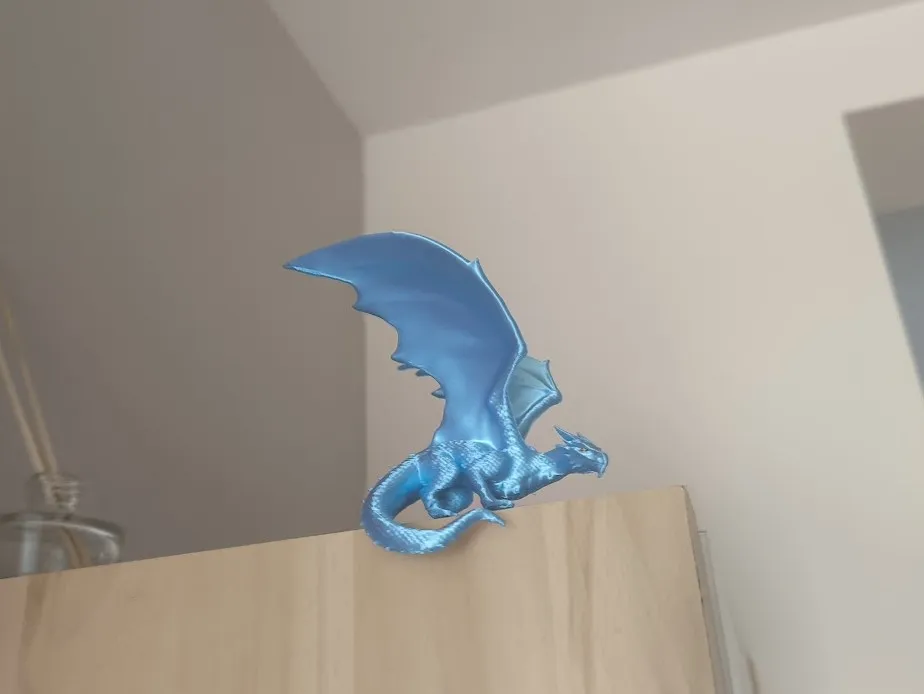
Dragon 1
A dragon without compromise, with the tail in the down position and the wings spread out to the sides. It looks good on a rock and on the edge of a cabinet. Use with proven filament and on a well-calibrated printer.
Dragon 2
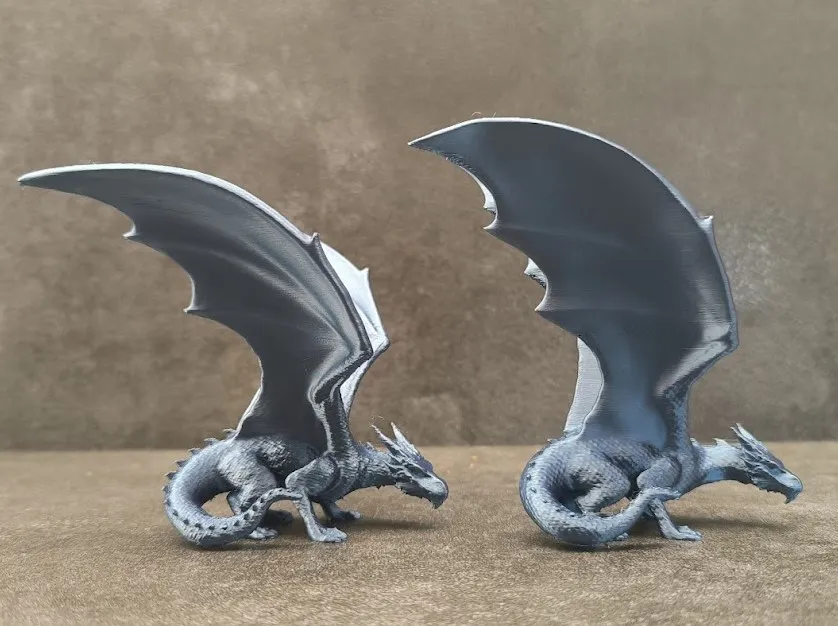
The wings are spread, but the tail is raised so it can stand on any flat surface. Spread wings can still cause some printing issues.
Dragon 3
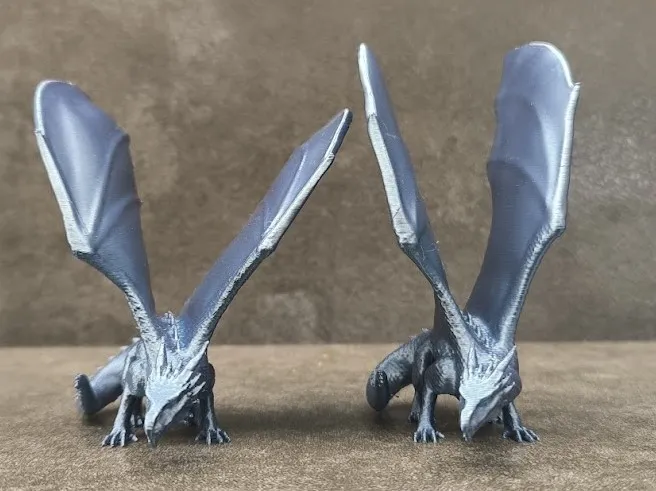
The wings are more vertical, making them easier to print even without supports. The tail is raised like in version 2, so it can stand on a flat surface. I also reduced the print speed.
Below is the difference in the wing arrangement between model 2 and 3.
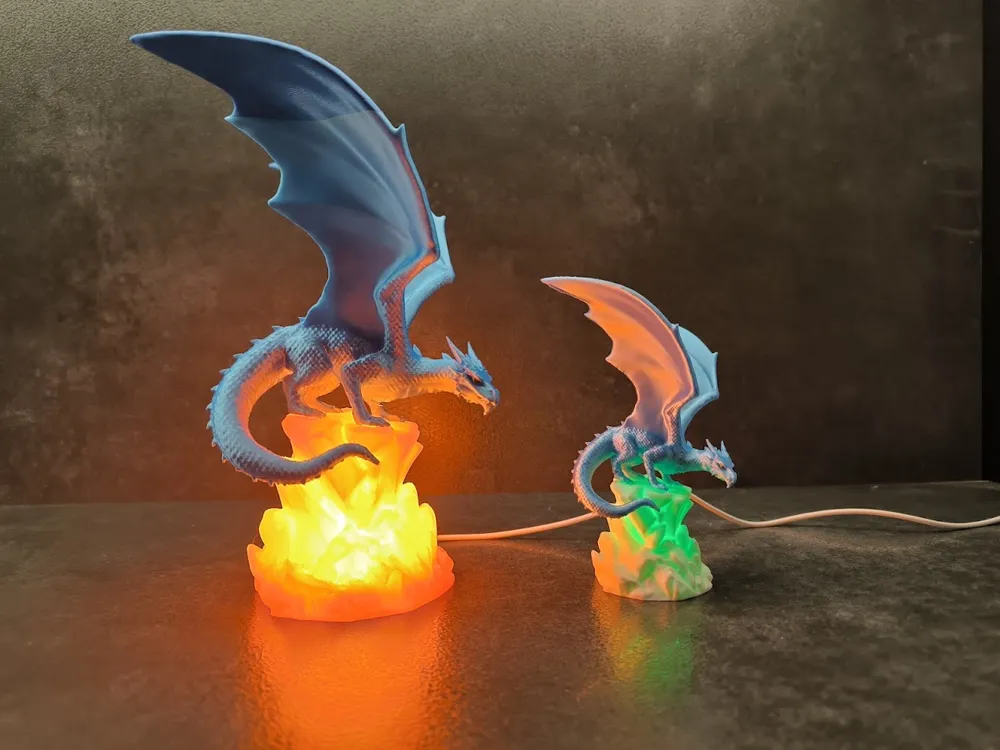
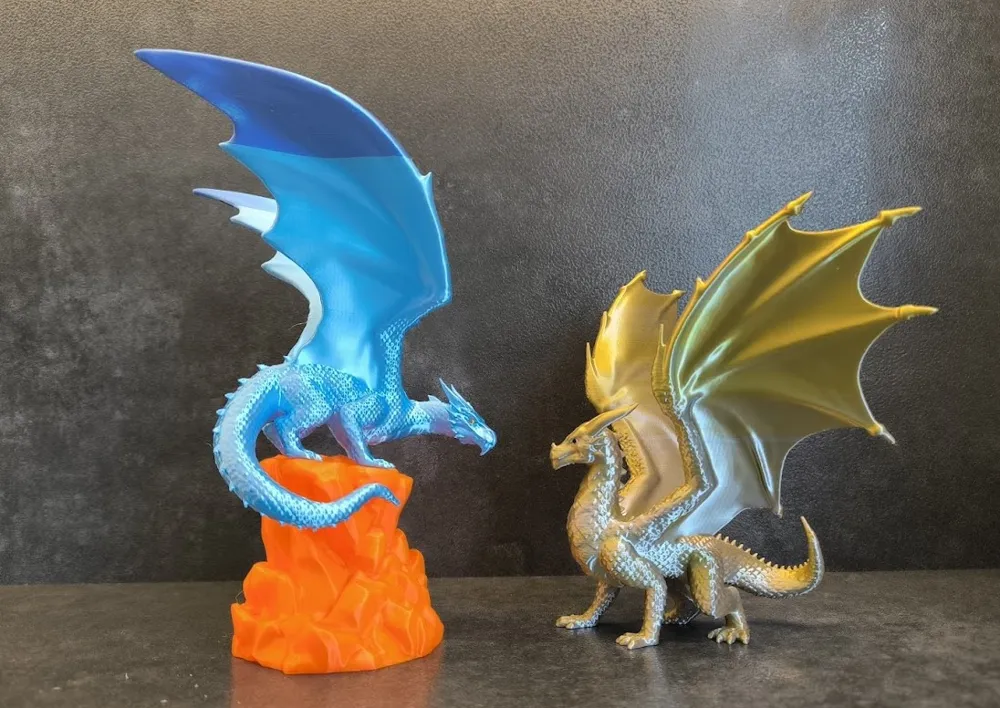
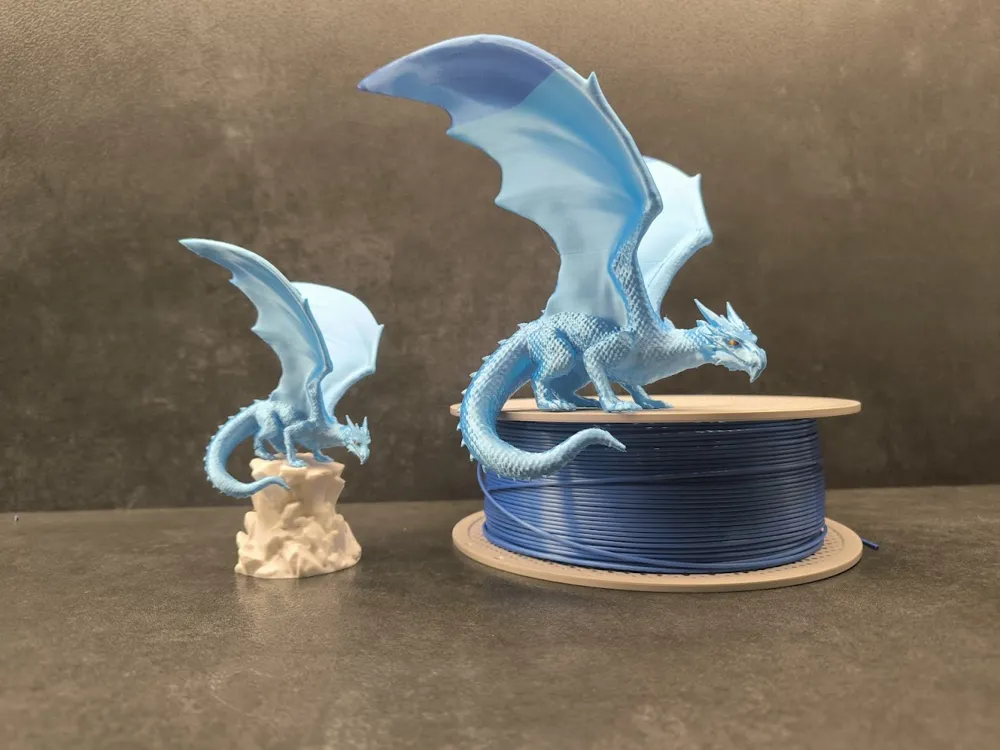
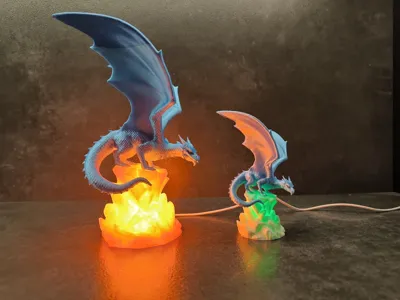
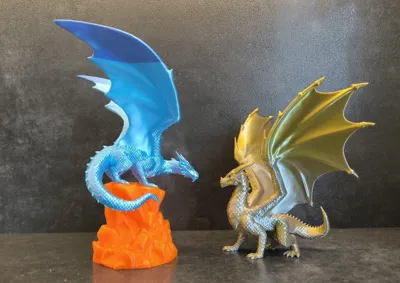
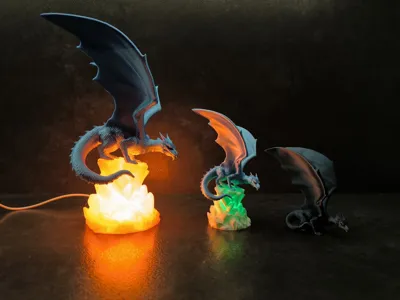
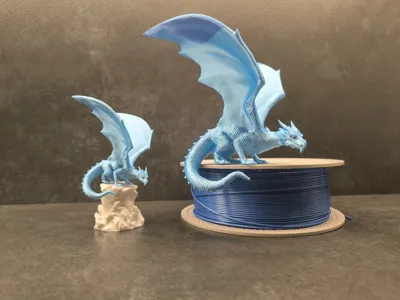
Dragon Large
You can make the dragon as large as you want.
In second print profile I enlarged it by 170% (until I ran out of filament) and made it compatible with second source of light LED Lamp Kit - MH001
All light sources should fit tightly to the base.
If you like this dragon check also my Majestic Dragon
https://makerworld.com/en/models/1146491-majestic-dragon?from=search#profileId-1149812
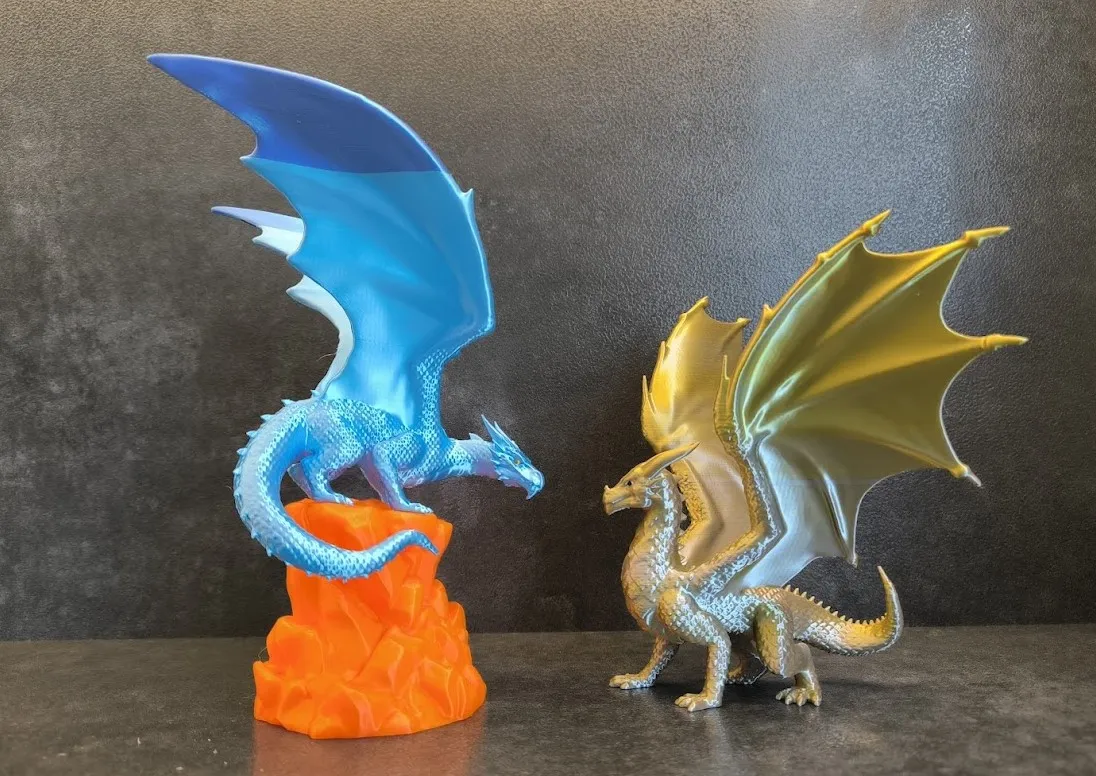
That's all. Have Fun
License

You shall not share, sub-license, sell, rent, host, transfer, or distribute in any way the digital or 3D printed versions of this object, nor any other derivative work of this object in its digital or physical format (including - but not limited to - remixes of this object, and hosting on other digital platforms). The objects may not be used without permission in any way whatsoever in which you charge money, or collect fees.


Comment & Rating (62)