Racks4All - BuildPlates for H2D, X1,P1 and A1


Print Profile(6)


Bill of Materials


Description
Boost Me (for free)
I usually don’t ask for this, but I’ve noticed that many creators actively encourage it on other platforms—and it makes sense, as it helps increase visibility. So, if you can follow me, it would make difference. It’s a great way to support my work and show appreciation. For more insight subscribe my blog at: https://designrepcom.com/ This design is freely available for the community, but if you enjoy my work and would like to show your support, you can boost this project. Thanks!
Instructions
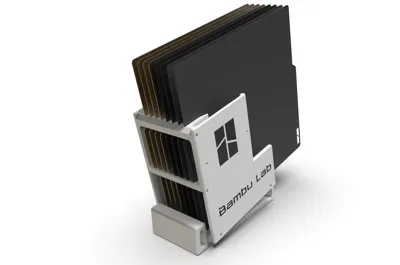
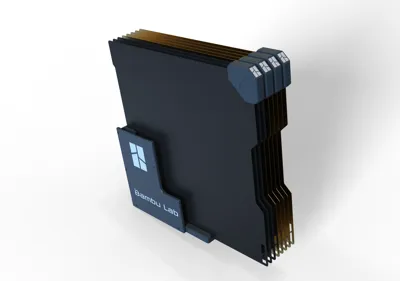
What is this?
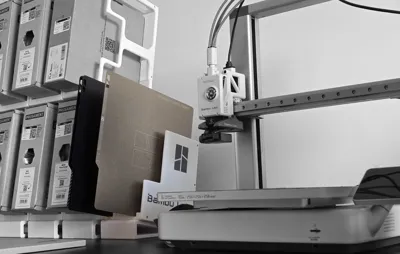
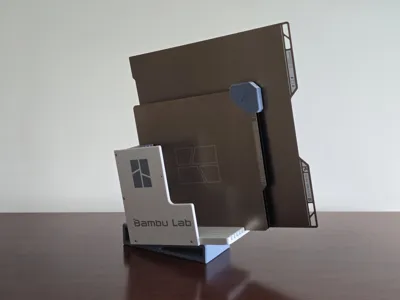
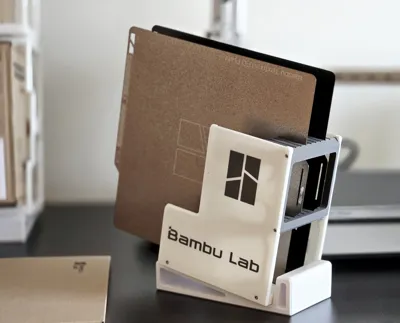
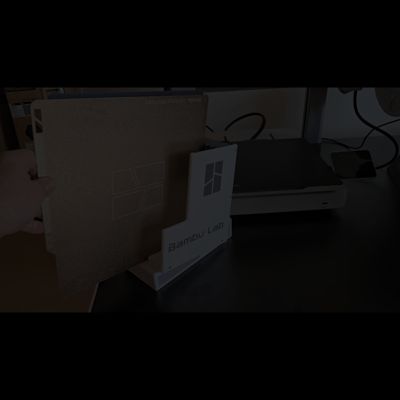
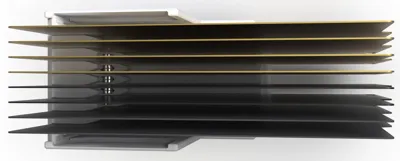
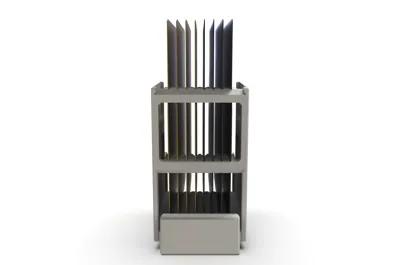
This is a dedicated build plate storage module, designed as a brand-new addition to the Racks4All system. It’s intended for magnetic build plates up to 350x350 mm, making it compatible with Bambu Lab, Prusa Mk series, and other similar-sized plates. The module can be used as a terminal element on the side of your rack, or as a standalone storage solution.

Membership
This model is available for personal use. To obtain a commercial license, please check the available options
Key Features & Compatibility
- Compatible with most magnetic build plates up to 250x250 mm, and now with the new H2D print profile can go to 350x350 and more… (Bambu Lab, Prusa Mk series, and others).
- Can be used as a terminal (end) module in the Racks4All system.
- Closed side panels for extra protection and a clean look (open-sided version coming soon).
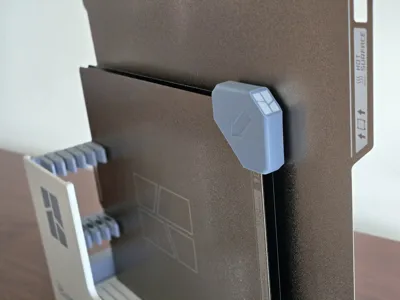
- Optional neodymium magnets for secure, guided plate placement.
- Modular design language matches the rest of the 4All Modular system.

So, the system is evolving beyond just filament spool storage, aiming to offer a truly modular and adaptable solution for a wide range of 3D printing accessories and tools. This build plate module is just one example of how the system can be expanded to meet different needs, and it demonstrates the flexibility that’s at the heart of the project.

Assembly Details
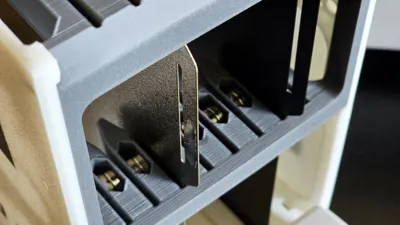
- If you choose to install the magnets, ensure that each pair attracts when placed together in the pocket, but that the pairs themselves repel each other. This ensures the steel build plates are attracted as intended.
- Test the polarity before final installation. Only insert the magnets once you are certain the polarity is correct.
- If you make a mistake, there is a hole underneath the pocket to help you remove the magnets easily.


Materials
- x16 (8x2) - Round Neodymium magnets 10x3mm
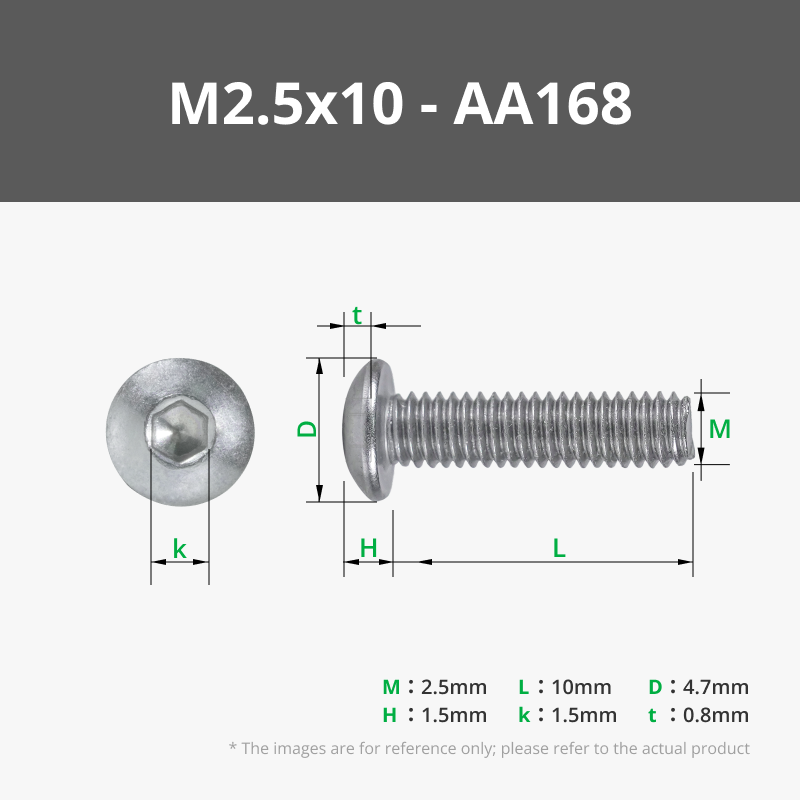
- x8 - BHCS M2,5x10 Bolts
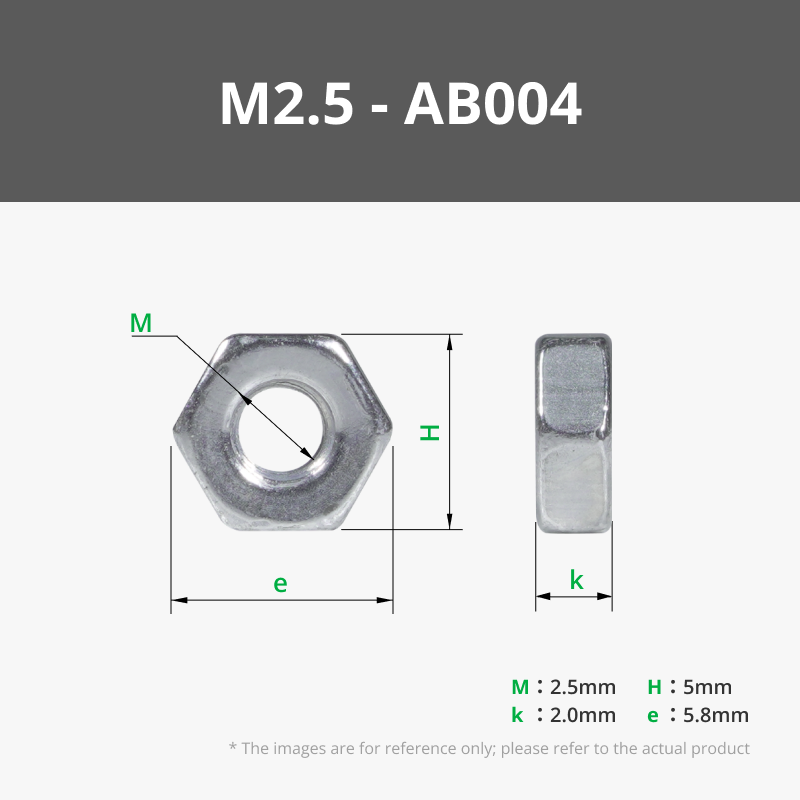
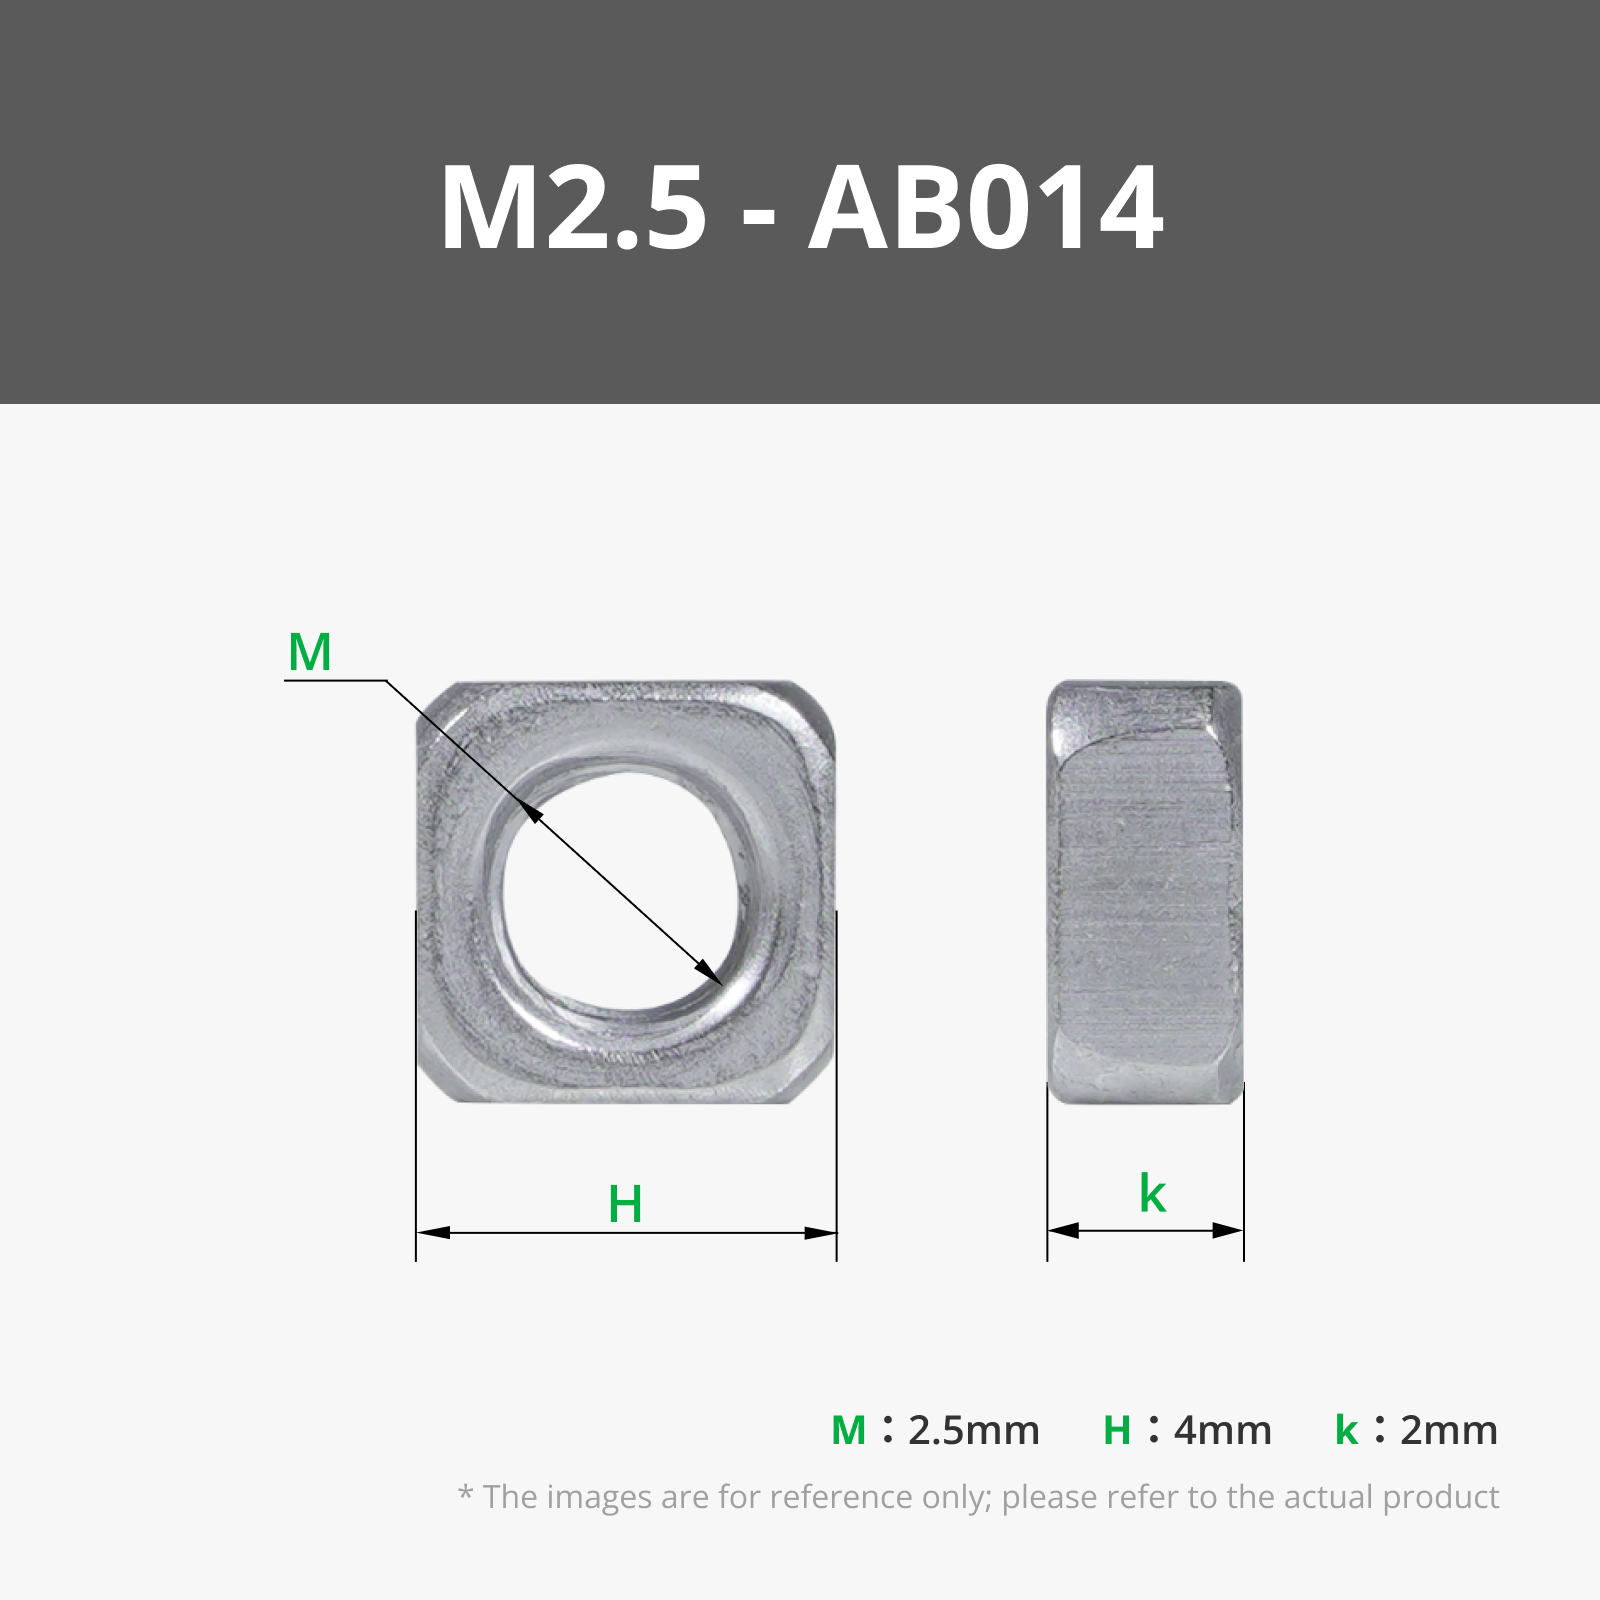
- x4 - M2,5 Square or Hexagonal nuts (M2.5 square nuts have been out of stock at the European store. Square nuts are always preferable when working with plastic.)
- On the new compatible with H2D profile, you can add a 10x20x3 magnet on each spacer.
If you have a H2D laser combo, you can do some nice things with EVA Foam, like some anti-vibration feet's and dampening arrows for this spacers

Non-Functional Sections
Design Philosophy & System Vision
This build plate module follows the same modular design language as the rest of the Racks4All system, allowing seamless integration and expansion. While it was initially designed for Bambu Lab build plates, the goal was always to create a solution that could adapt to a variety of brands and user needs.
The project reflects the broader vision for Racks4All: moving beyond filament spool storage to offer a truly modular and adaptable system for a wide range of 3D printing accessories and tools. The optional use of neodymium magnets is a small but meaningful detail, adding both functionality and a satisfying user experience.
A lighter, open-sided version is already in development for those who prefer a more minimal look, further demonstrating the flexibility and ongoing evolution of the system.
Curious About My Tools? Check This Out!
For those of you who often ask about the tools I use to bring ideas to life, this article, The Journey From Idea To Object (Part I), offers some insights into the initial stages. It highlights the use of various tools, including software like Autodesk Fusion for CAD design, Blender for render and Bambu Studio for 3D printing preparation, and other... So, if you're curious about the software and hardware too, that I've incorporate in my workflow, take a look at the link for more details!" – Visit https://designrepcom.com/ for much more.
Change Log
- (25-04-2025) - This update adds the 10º inclined base to the print profile, purely for convenience, following a request from one of the members. I would also like to mention that there is a slightly more inclined base available in the extra files for download (Download STL/CAD files) see the image above for more help.
- (25-05-2025) Added feet's to the bases of the Rack4All modules, with 2 options:
- TPU (already on the base print profile and on the 13º Base variation)
- EVA Foam, for does with laser capable machines. You can find the laser and material profile here: https://makerworld.com/en/models/1452620-rack4all-eva-foam-feet-s#profileId-1513518

(05-06-2025)
IMPORTANT UPDATE
Thank you all for the incredible feedback! As many of you requested, I've just added a brand new print profile fully optimized for the Bambu Lab H2D.
Now, Bambu Lab users can print this model with settings perfectly tuned for their machine. This profile is compatible with all printer from bambu lab except the mini, since some part are larger than the build plate, but for sure, you can store the smaller build plates here.
Choose the correct profile for this updated version, now compatible with the H2D printer - “Rack4All - BuildPlates for H2D-X1-P1-A1.3mf”


For those who wish to upgrade, you only need to print the new base and, if you find it necessary, the new spacers. All other parts remain unchanged.
Modules available for the 4All Ecosystem

Please refer to the 4All collection at: https://makerworld.com/en/collections/6004654-4all
You can find this variation following these instructions:
- Sometimes I update or add more print profiles, they can be found under the section “Download STL/CAD Files”

Curious About My Tools? Check This Out!
For those of you who often ask about the tools I use to bring ideas to life, this article, The Journey From Idea To Object (Part I), offers some insights into the initial stages. It highlights the use of various tools, including software like Autodesk Fusion for CAD design, Blender for render and Bambu Studio for 3D printing preparation, and other... So, if you're curious about the software and hardware too, that I've incorporate in my workflow, take a look at the link for more details!" – Visit https://designrepcom.com/ for much more.
Documentation (1)
License
You shall not share, sub-license, sell, rent, host, transfer, or distribute in any way the digital or 3D printed versions of this object, nor any other derivative work of this object in its digital or physical format (including - but not limited to - remixes of this object, and hosting on other digital platforms). The objects may not be used without permission in any way whatsoever in which you charge money, or collect fees.
Comment & Rating (179)