
Wall fixation module

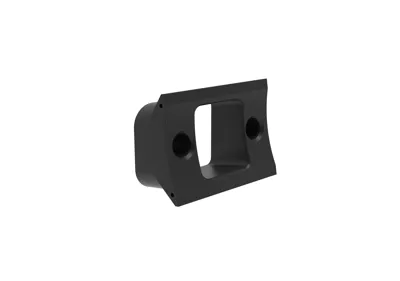
Print Profile(1)

Description
Boost Me (for free)
I usually don’t ask for this, but I’ve noticed that many creators actively encourage it on other platforms—and it makes sense, as it helps increase visibility. So, if you can follow me, it would make difference. It’s a great way to support my work and show appreciation. For more insight subscribe my blog at: https://designrepcom.com/ This design is freely available for the community, but if you enjoy my work and would like to show your support, you can boost this project. Thanks!
Functional Sections
What is this?
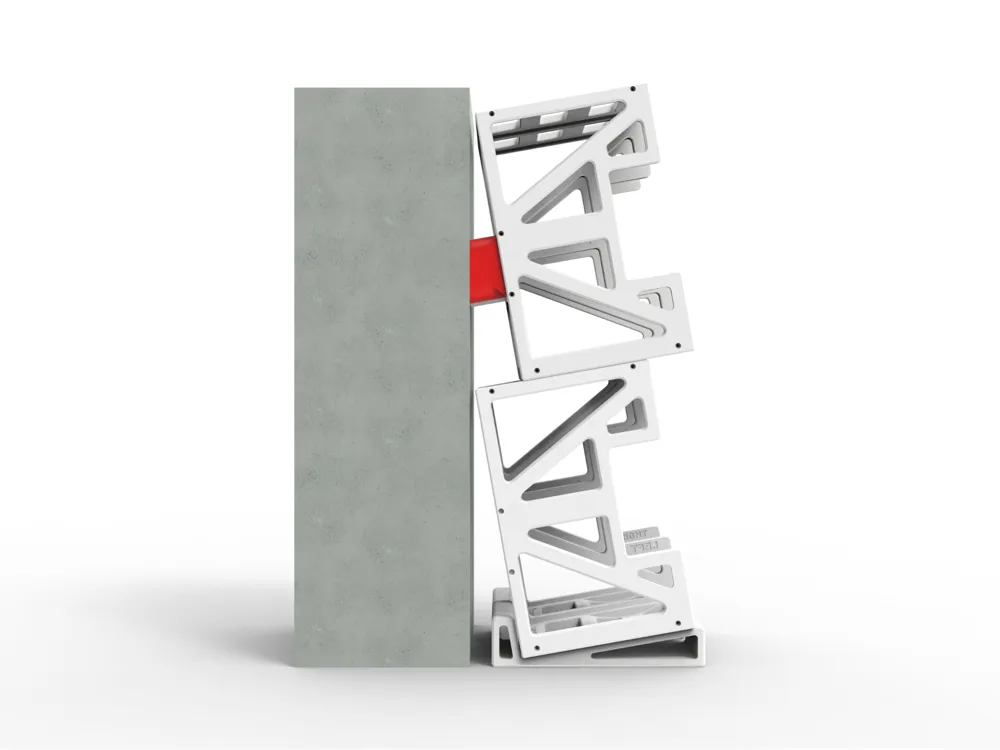
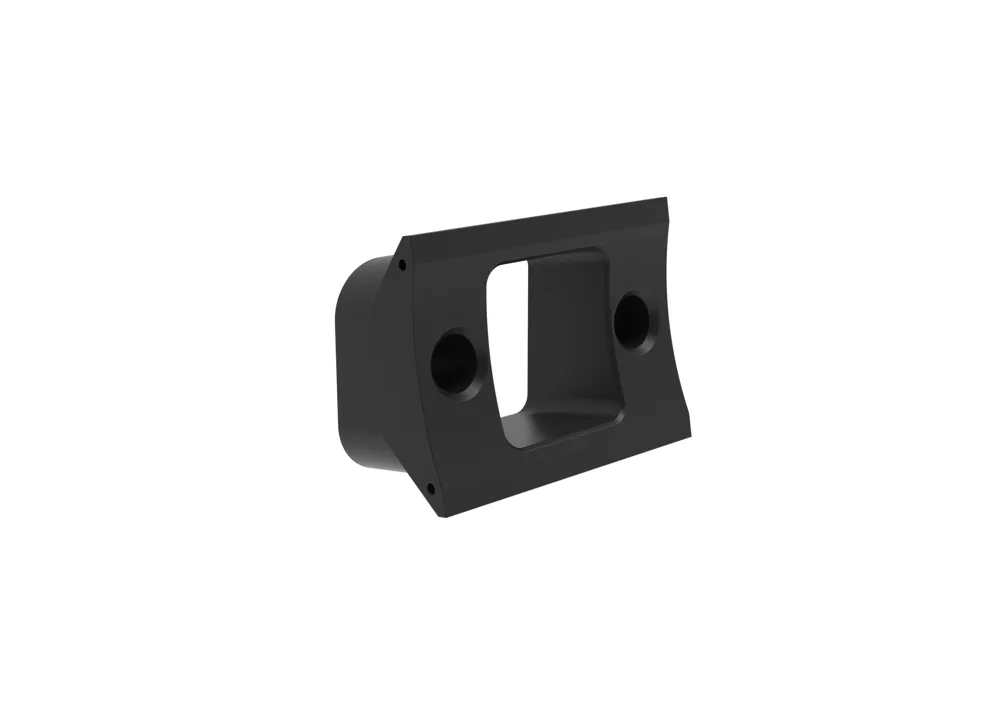
This is the Wall Mounting Module, a part specifically developed for the Rack4All system.
What does it do?
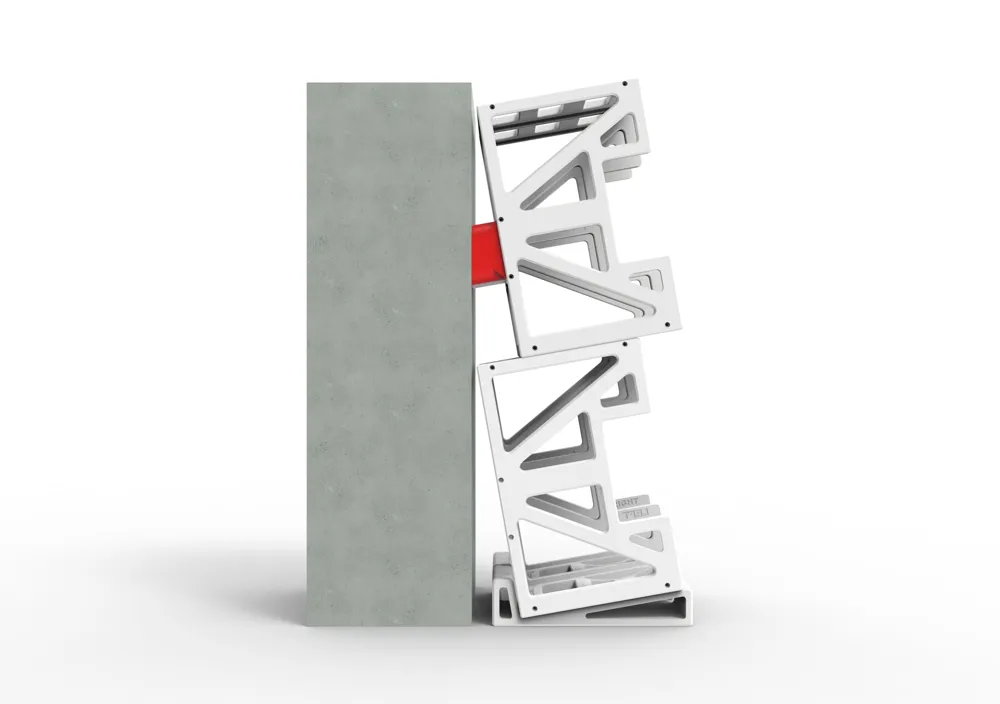
Its main function is to help stabilize the structure by allowing one or more modules to be attached to the wall. This counteracts forward bending or tilting in taller assemblies.
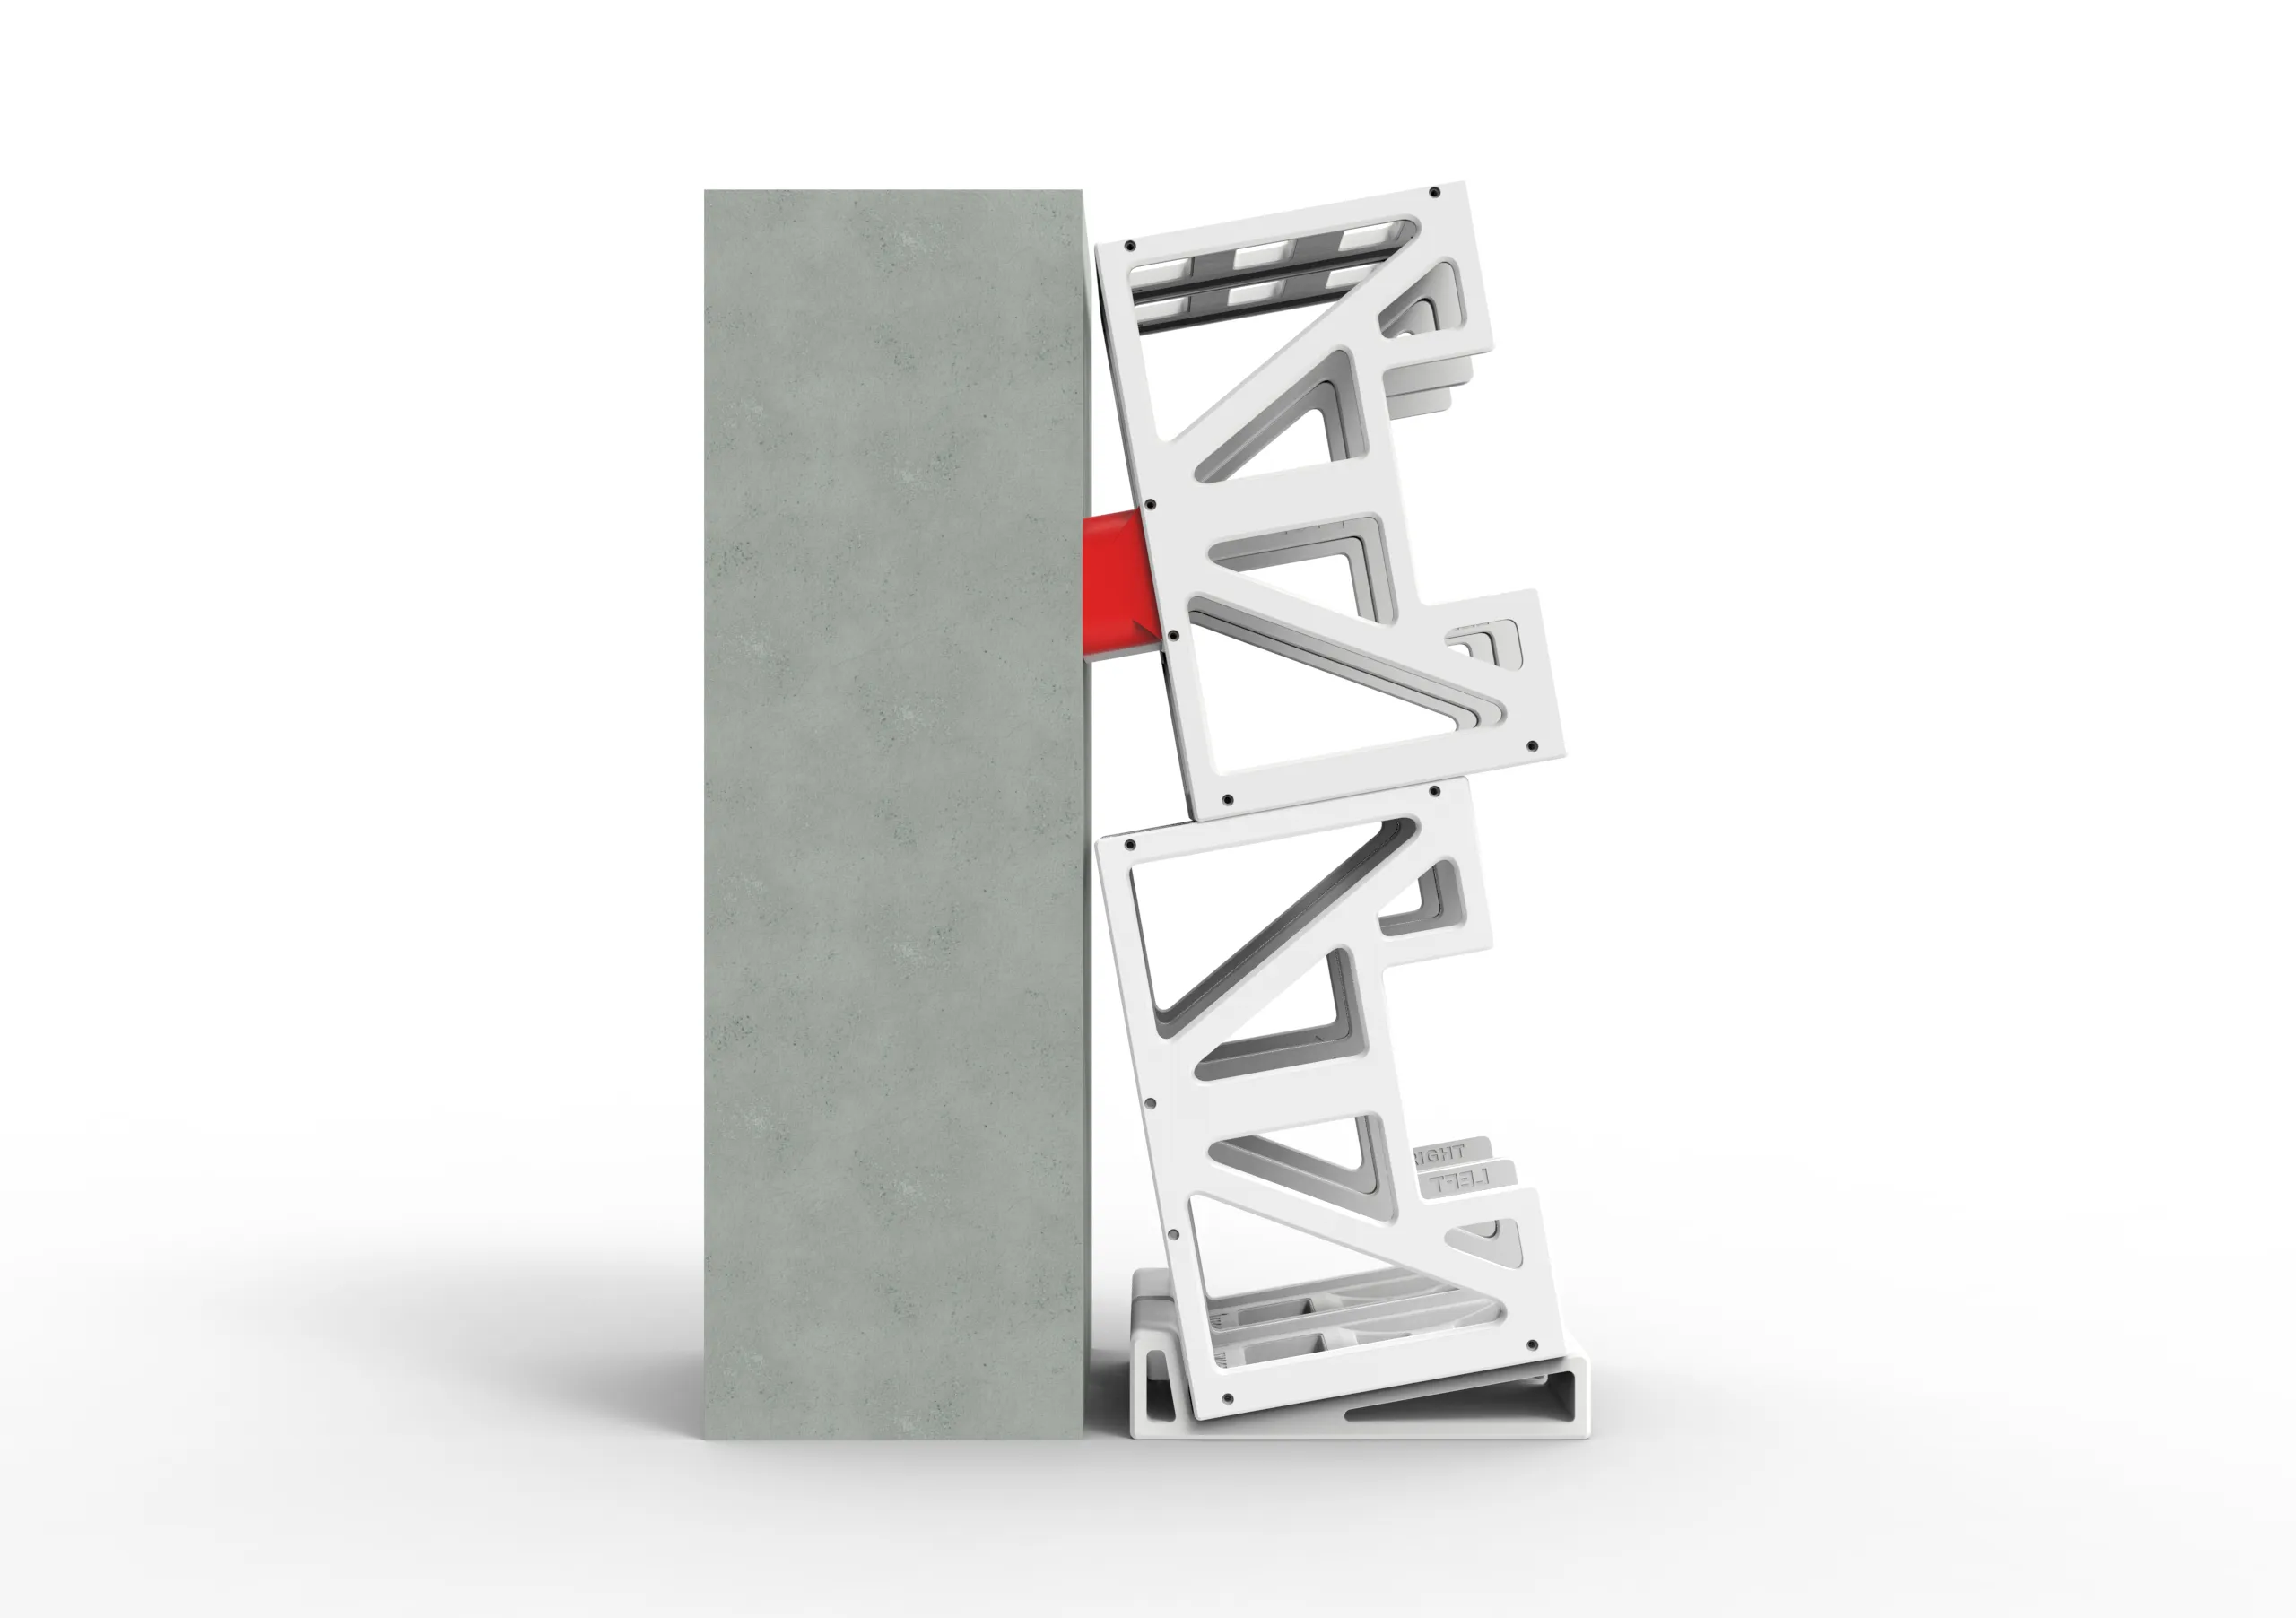
How does it work? The module is fixed to the wall using appropriate screws and if necessary plugs. Then, a Rack4All module is connected to this wall-mounted module, providing additional stability to the overall structure.
What are the key features?
- Designed to integrate seamlessly with Rack4All system modules.
- Offers a direct solution to increase the vertical stability of tall stacks.
- Requires the use of screws and if necessary plugs (wood wall will not need it) suitable for the type of wall where it will be installed.
What materials are required? 3D printing filament (PLA, PETG, ABS are generally recommended for Rack4All). Screws and plugs appropriate for your wall type.
What tools are required? Drill and screwdriver.
- Important: Please note that I am not responsible for any material or personal damage that may result from this work. If you do not know how to do it, it is best to call a professional.
What skill level is required to assemble it? Intermediate (due to the need to drill and fix correctly to the wall).
Modules available for the 4All Ecosystem
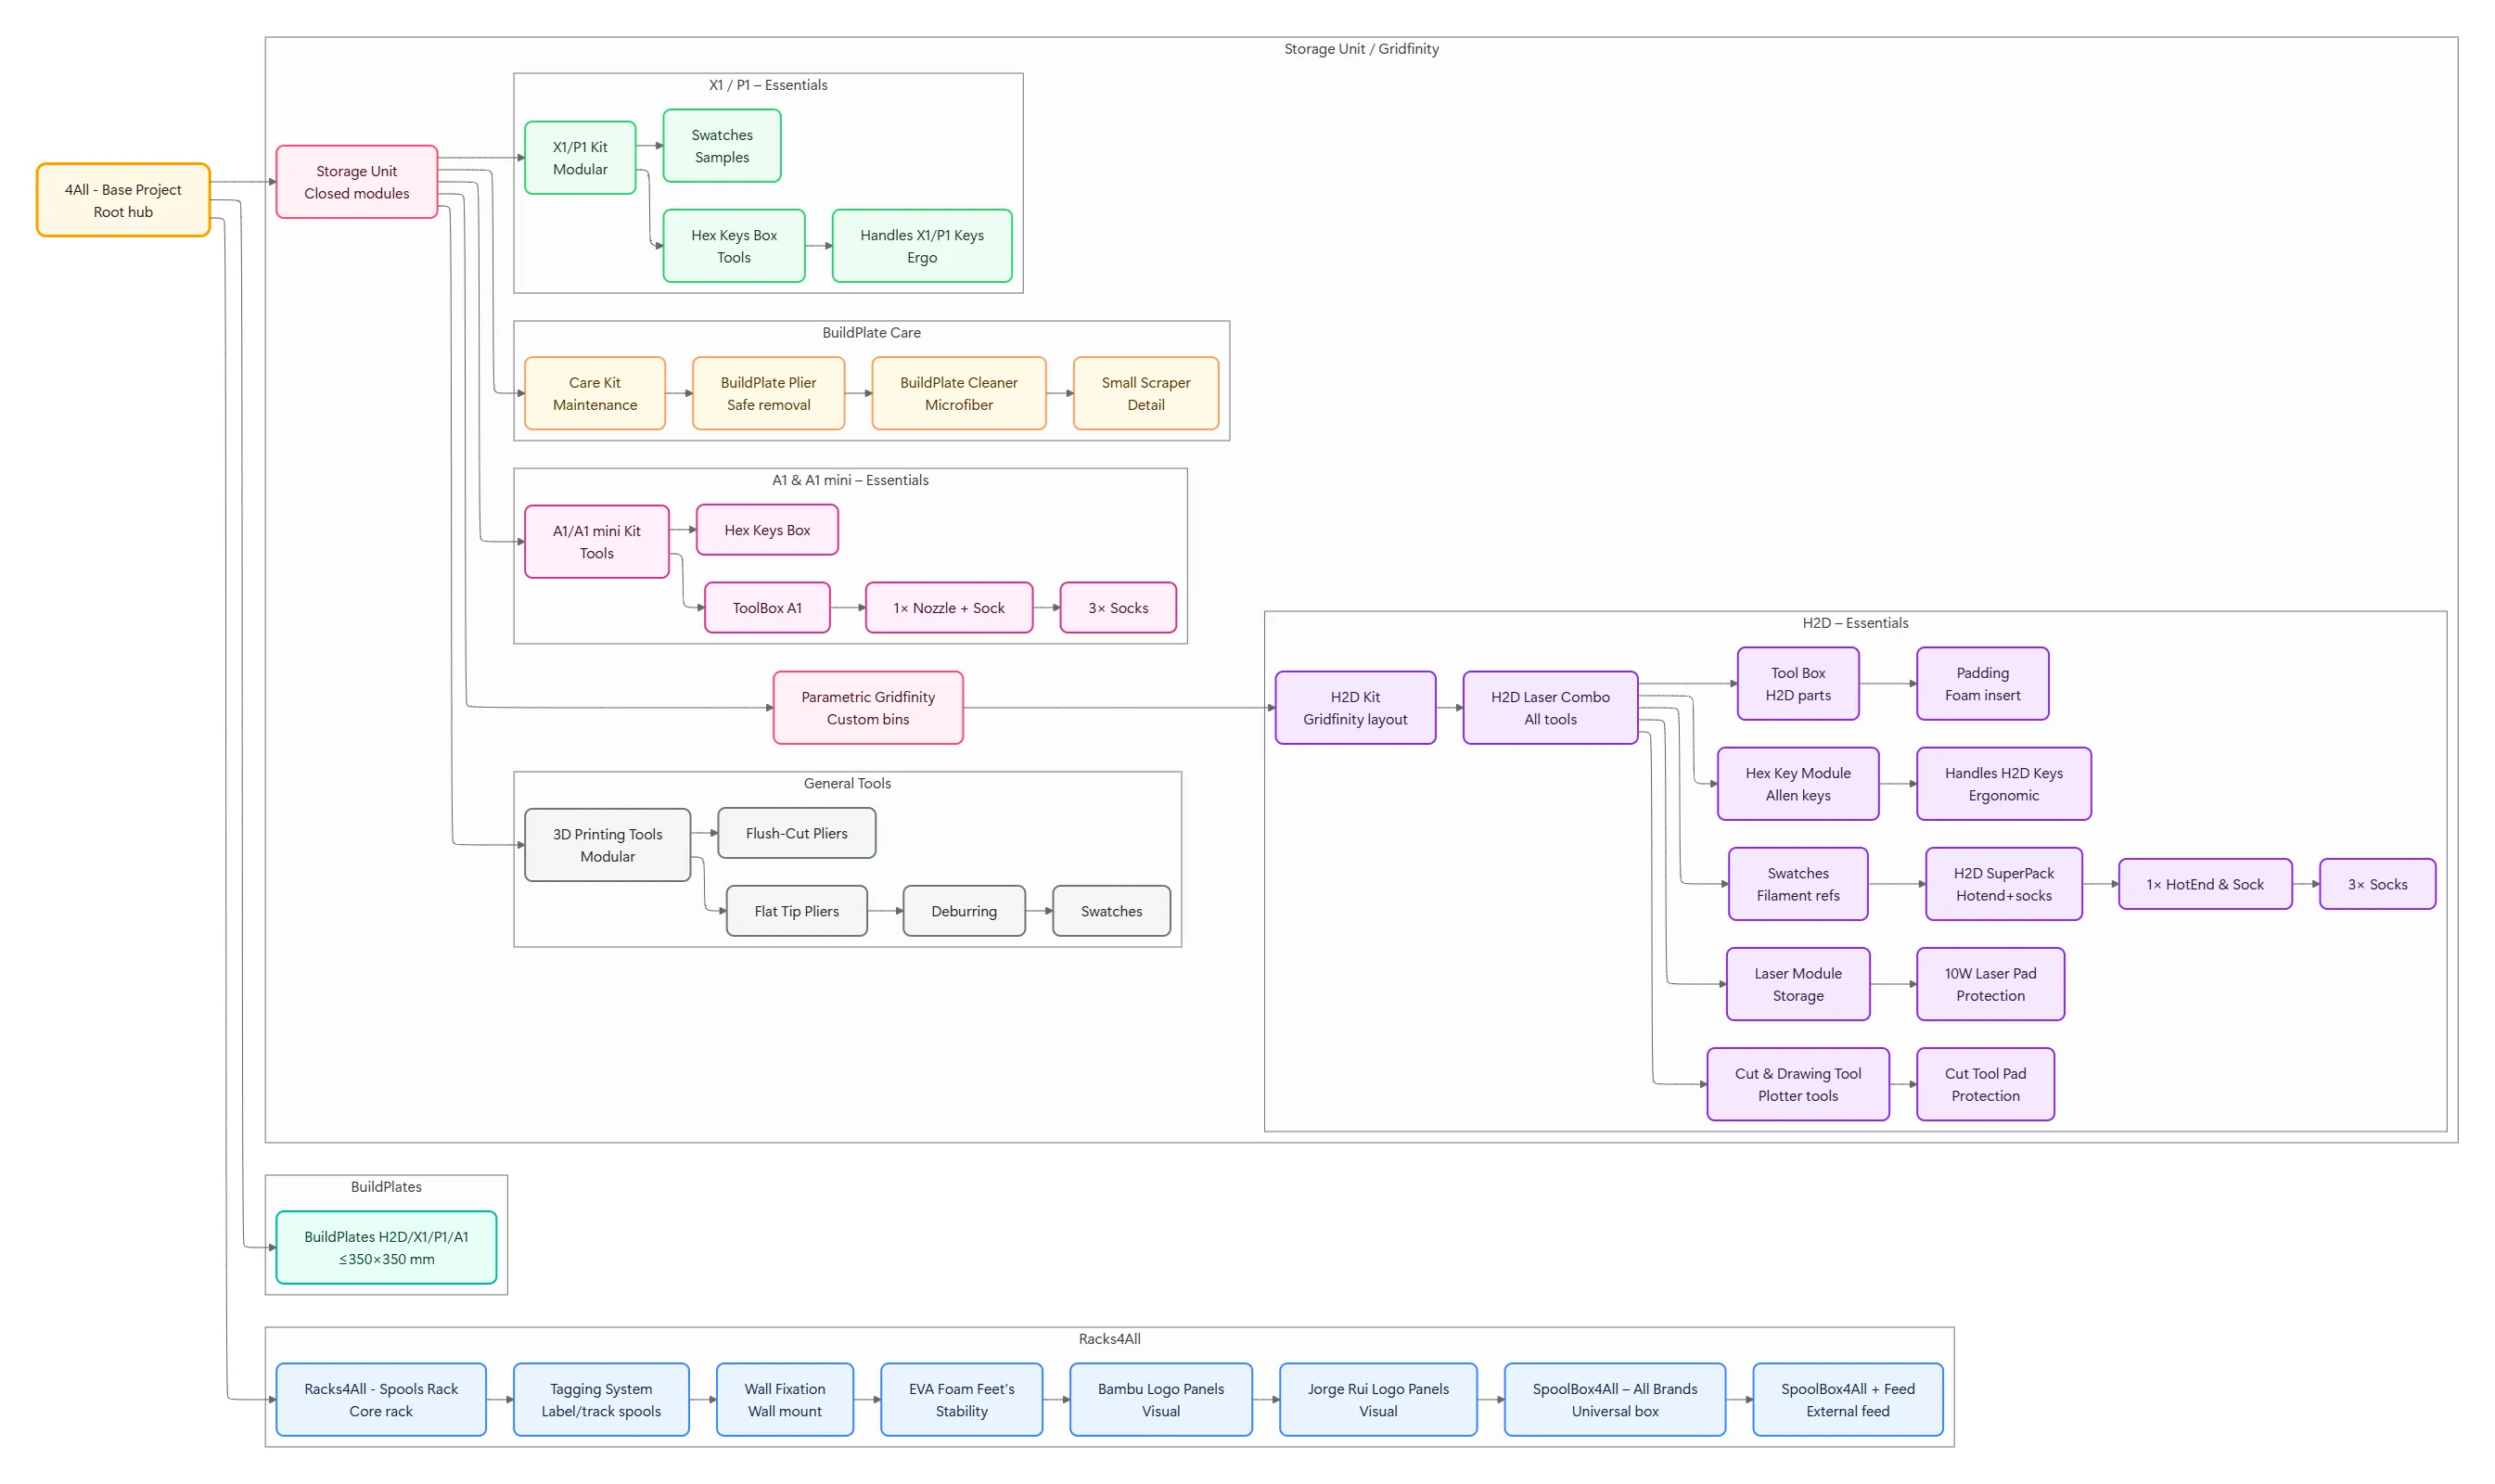
Please refer to the 4All collection at: https://makerworld.com/en/collections/6004654-4all
Curious About My Tools? Check This Out!
For those of you who often ask about the tools I use to bring ideas to life, this article, The Journey From Idea To Object (Part I), offers some insights into the initial stages. It highlights the use of various tools, including software like Autodesk Fusion for CAD design, Blender for render and Bambu Studio for 3D printing preparation, and other... So, if you're curious about the software and hardware too, that I've incorporate in my workflow, take a look at the link for more details!" – Visit https://designrepcom.com/ for much more.
License

You shall not share, sub-license, sell, rent, host, transfer, or distribute in any way the digital or 3D printed versions of this object, nor any other derivative work of this object in its digital or physical format (including - but not limited to - remixes of this object, and hosting on other digital platforms). The objects may not be used without permission in any way whatsoever in which you charge money, or collect fees.


Comment & Rating (4)