
Yet Another Drybox for Ams Lite (YADAL)
Print Profile(2)


Description
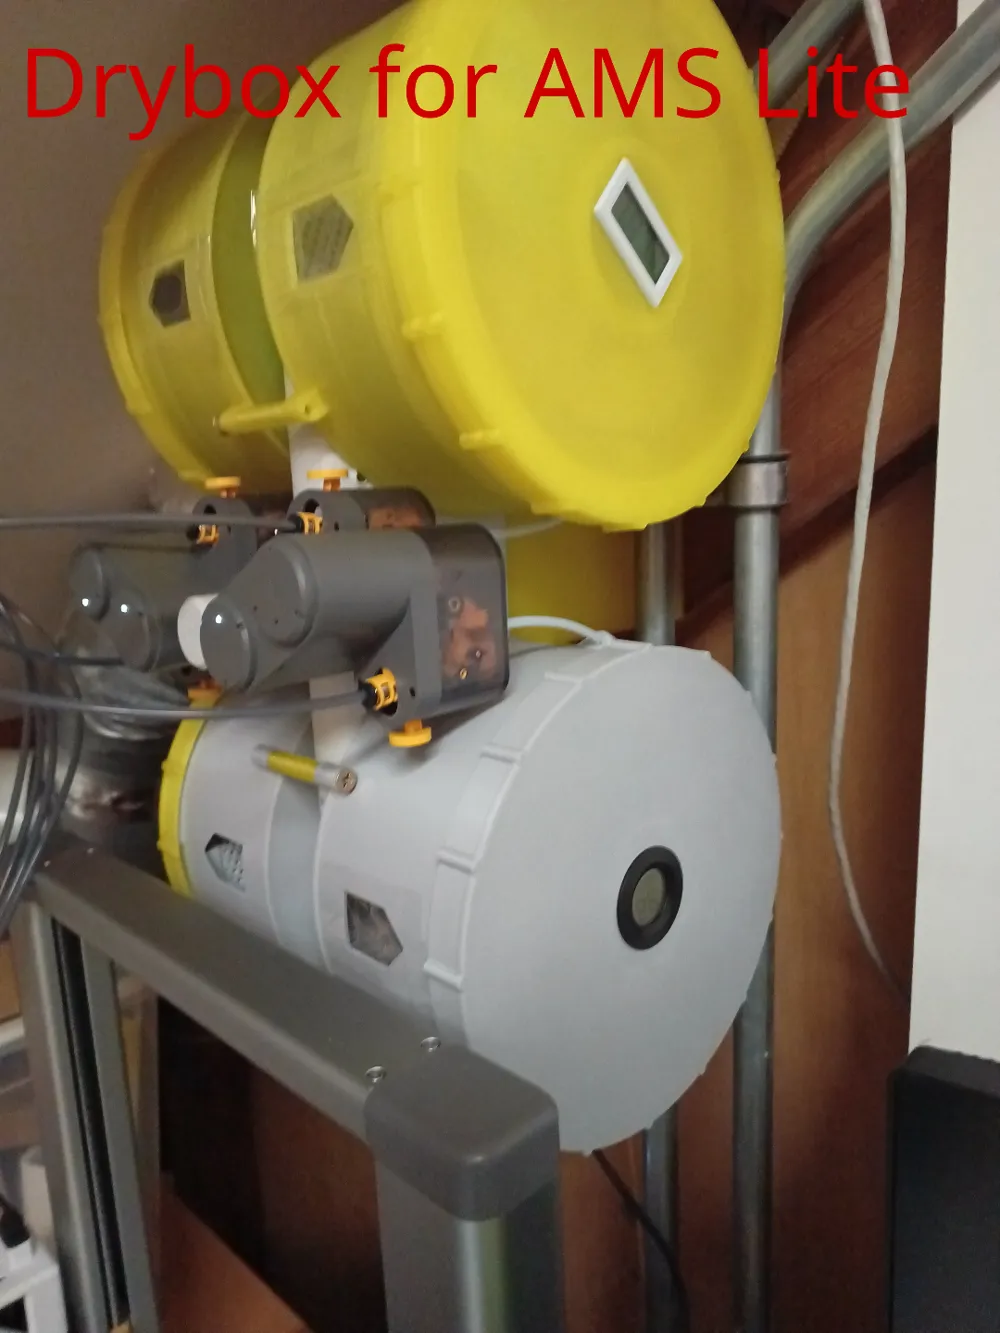
Yet Another Drybox for Ams Lite (YADAL)
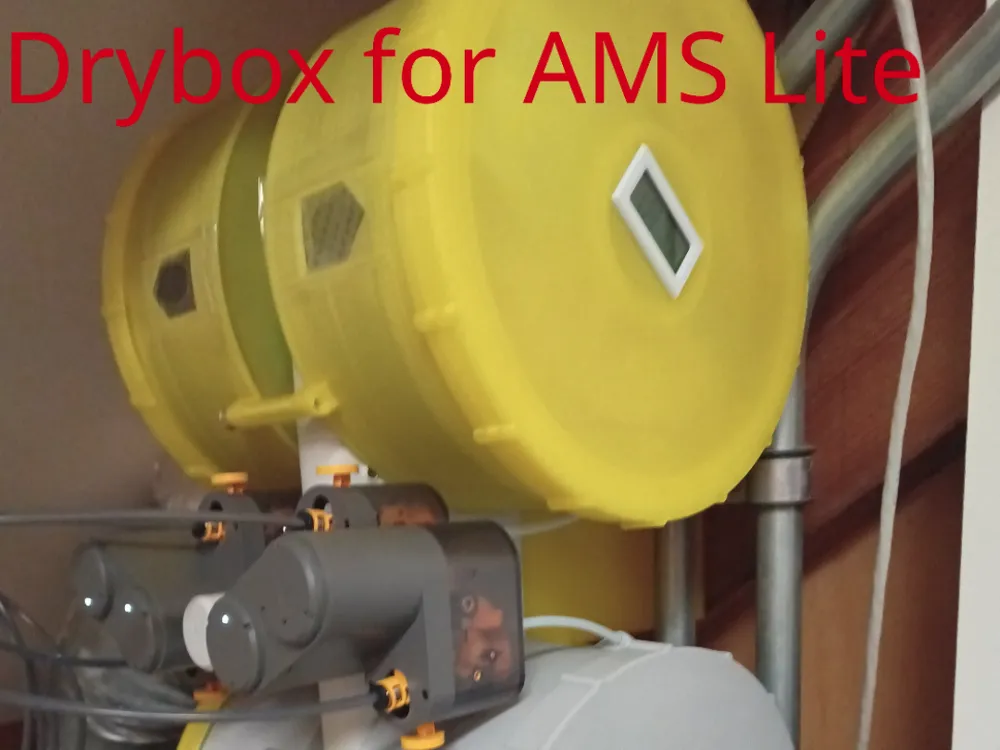
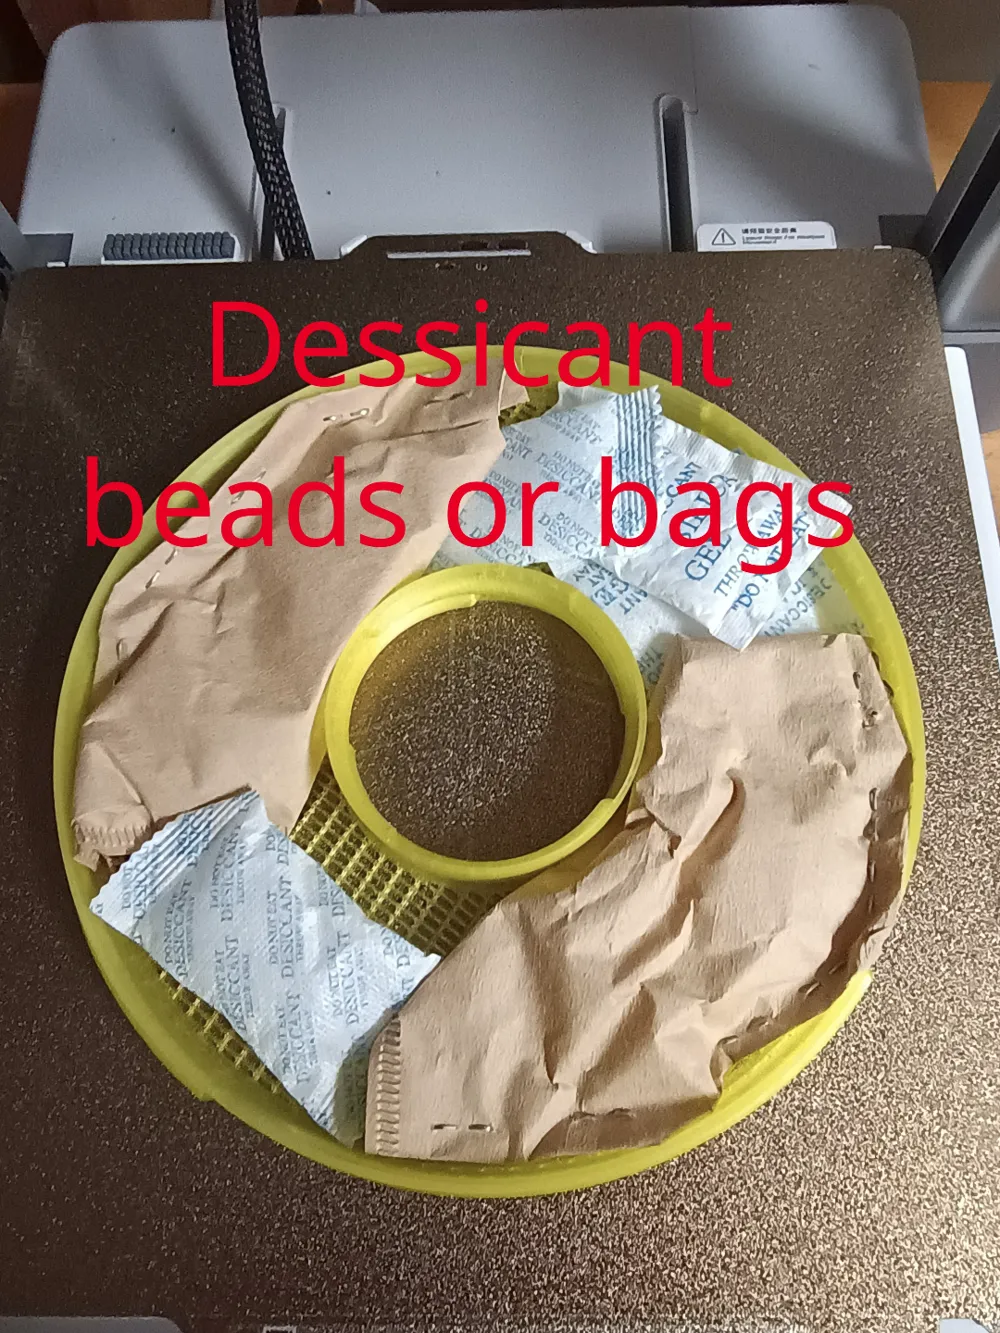
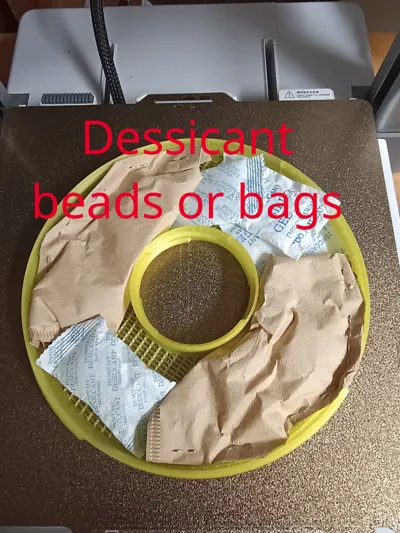
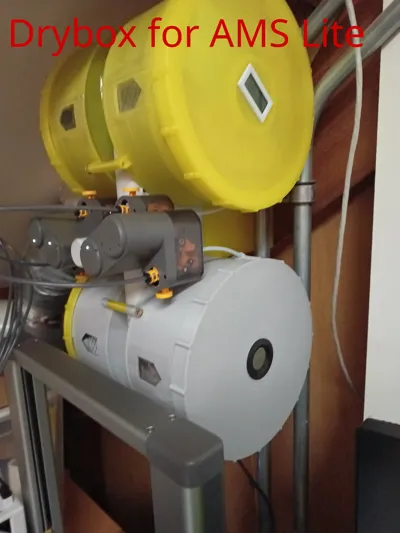
This is a system to keep your filament dry while it is on the AMS Lite. Each box has plenty room for desiccant. (As loose silica beads or preferably in paper-wrapped packets.)
This system protects each spool individually against moisture. All opening/closing works with threads. Meaning you can just twist it on or off, no clips needed.
You can try with just one box (print either box 2 or 4) and use the bracket from the last plate from the print profile.
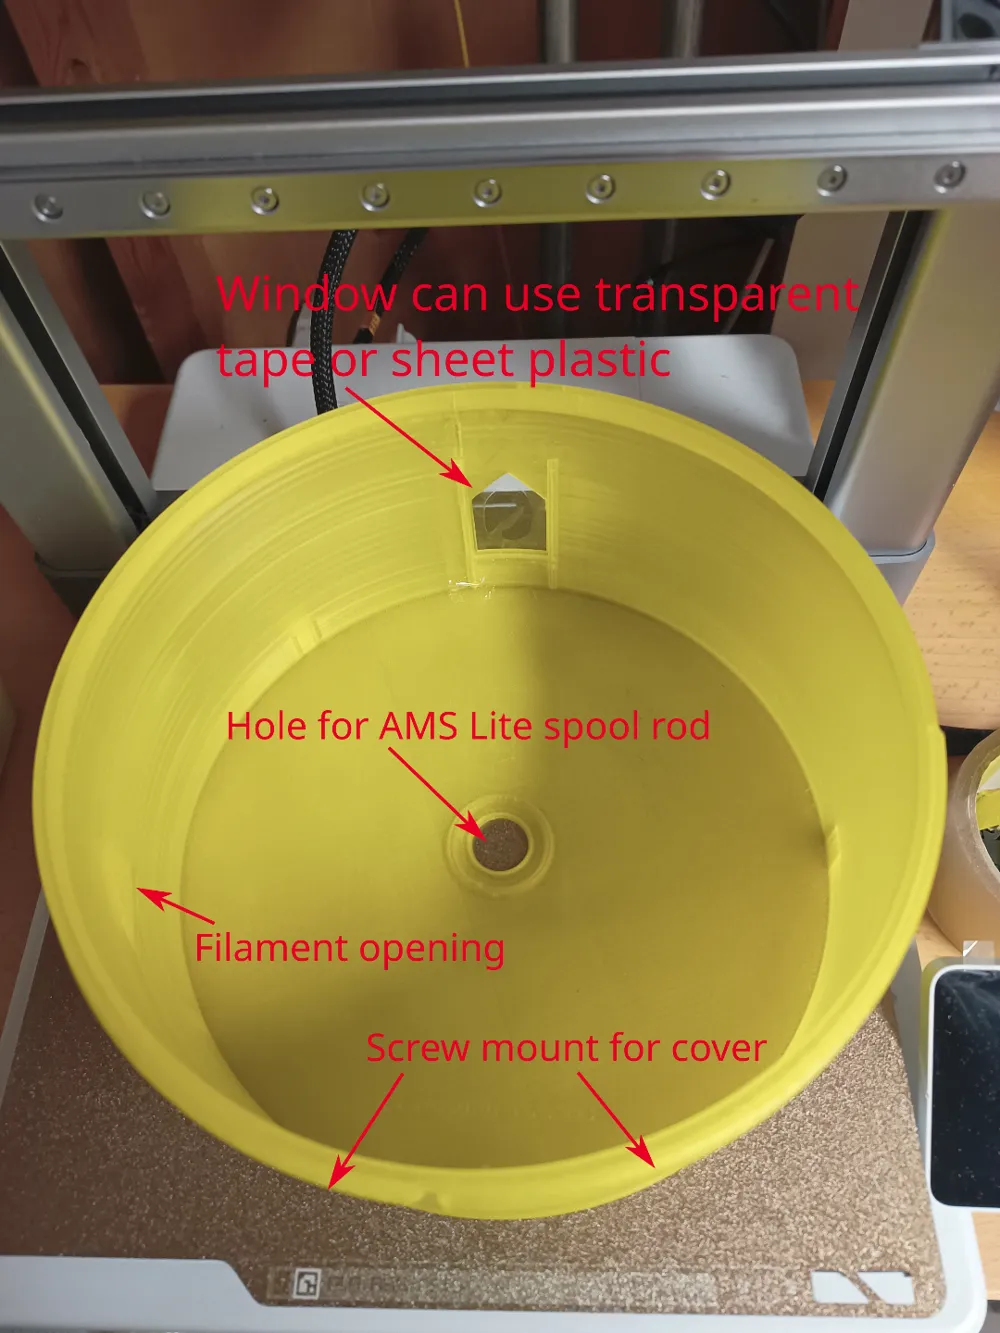
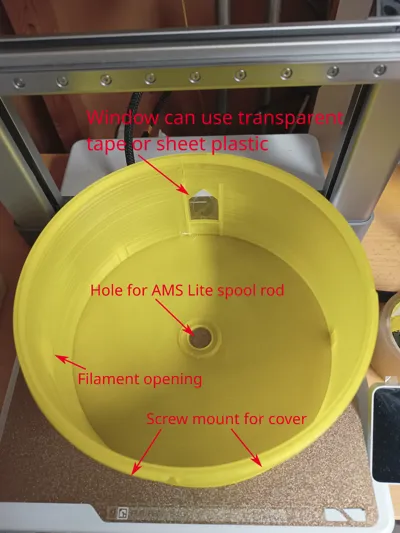
All 4 boxes have a number printed on the inside between the window and the hole for the rod from the AMS.
Warning
These boxes have an issue with the top mount from @Supergrapher; the boxes are too deep so if you mount them on the front positions the printer calibration will crash into the boxes. (I tested this and even made an longer version but cannot release it because of licensing. And even with that longer version I had issues with printing artifacts and had to do full re-calibrations after changing spools or printing 500 grams or so.) So you would have to mount them on the back or switch to a different top mount system. (Preferably a more rigid one.) There are a few others but I have not tested them.
Personally I use my XXL wall mount. The default AMS Lite stand from Bambu Lab should also work.
What you need
- 6 wood screws 5.0x70mm, core diameter about 3.65mm. Alternatively use 6 tie wraps of about 3mm wide
- screwdriver for the screws
- Glue that stays a little bit flexible but still adheres to PLA or PETG
- some PTFE tube, 4mm Outer Diameter, at least 2.5mm Inner Diameter. 50cm should be enough for 4 boxes I think.
- a sharp hobby knife to cut the PTFE tube
- Clear packing tape or some flexible transparent plastic (0.5 to 1mm I think)
- Optionally: 1mm silicone wire to seal a square hygrometer. Maybe a rubber band could also work.
- Optionally: 2mm silicone wire for the front cover
- Optionally: 32mm sealing rings, 2mm thickness (or use 2mm silicone wire)
- You should have something to remove a spool from the drybox.
Printing
- Make sure your printer is fully calibrated (Settings -> Maintenance -> Calibrations). And make sure your buildplate is clean.
- Per spool, you need one Box. The number on the inside of the box corresponds to the numbering from the AMS Lite spools. The number can be a bit difficult to see because it is only one layer thick.
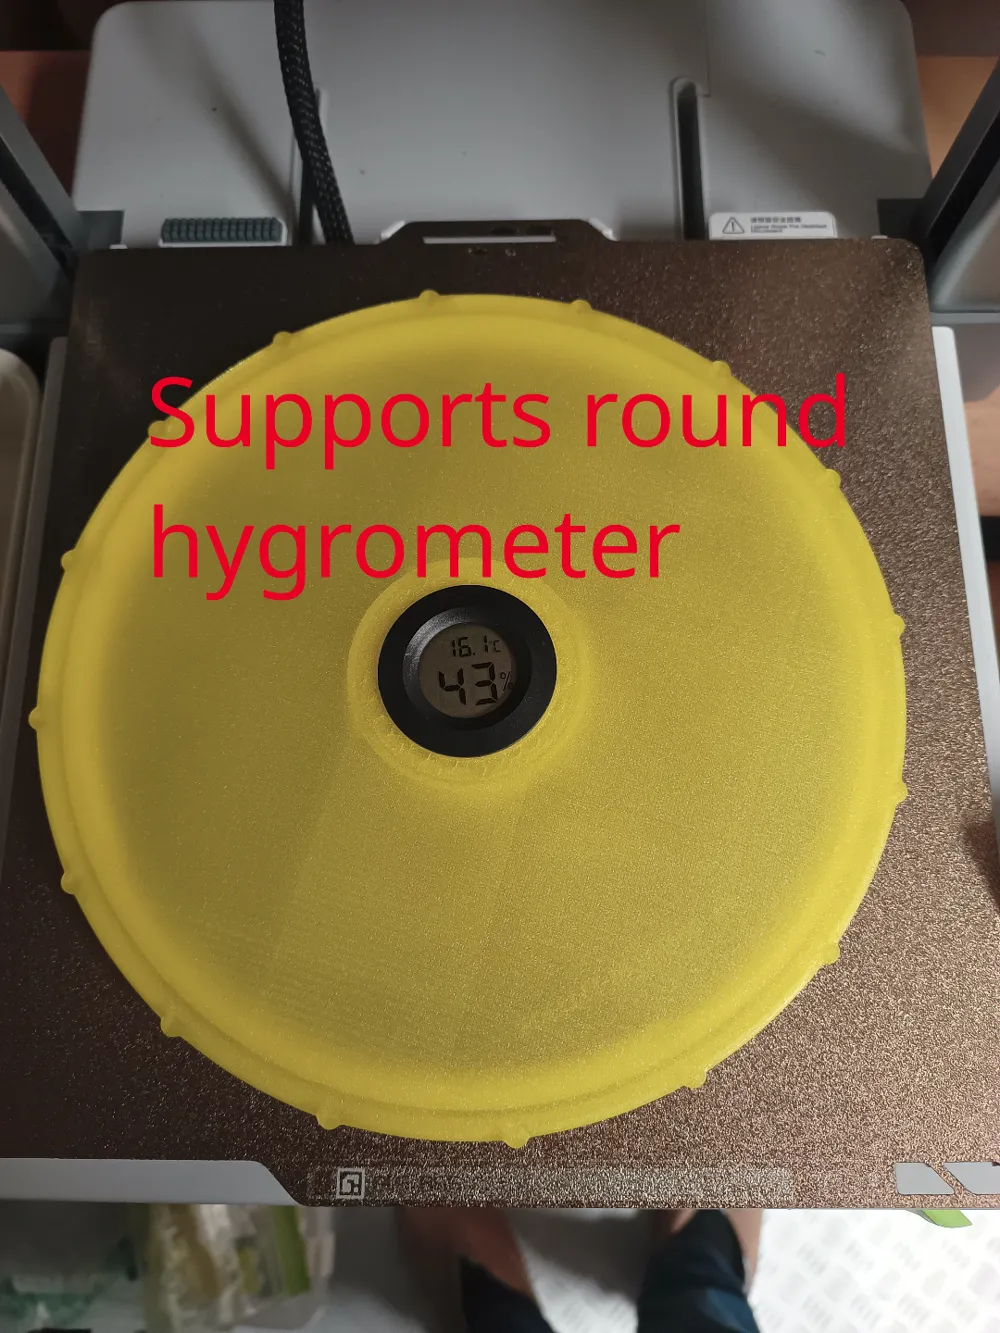
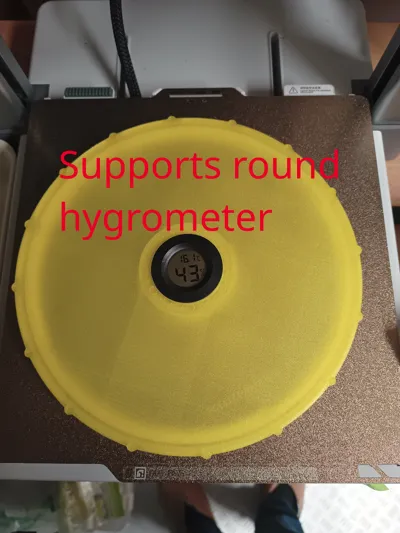
- Per box you need one Front cover. You can choose between round and rectangle hygrometer variants.
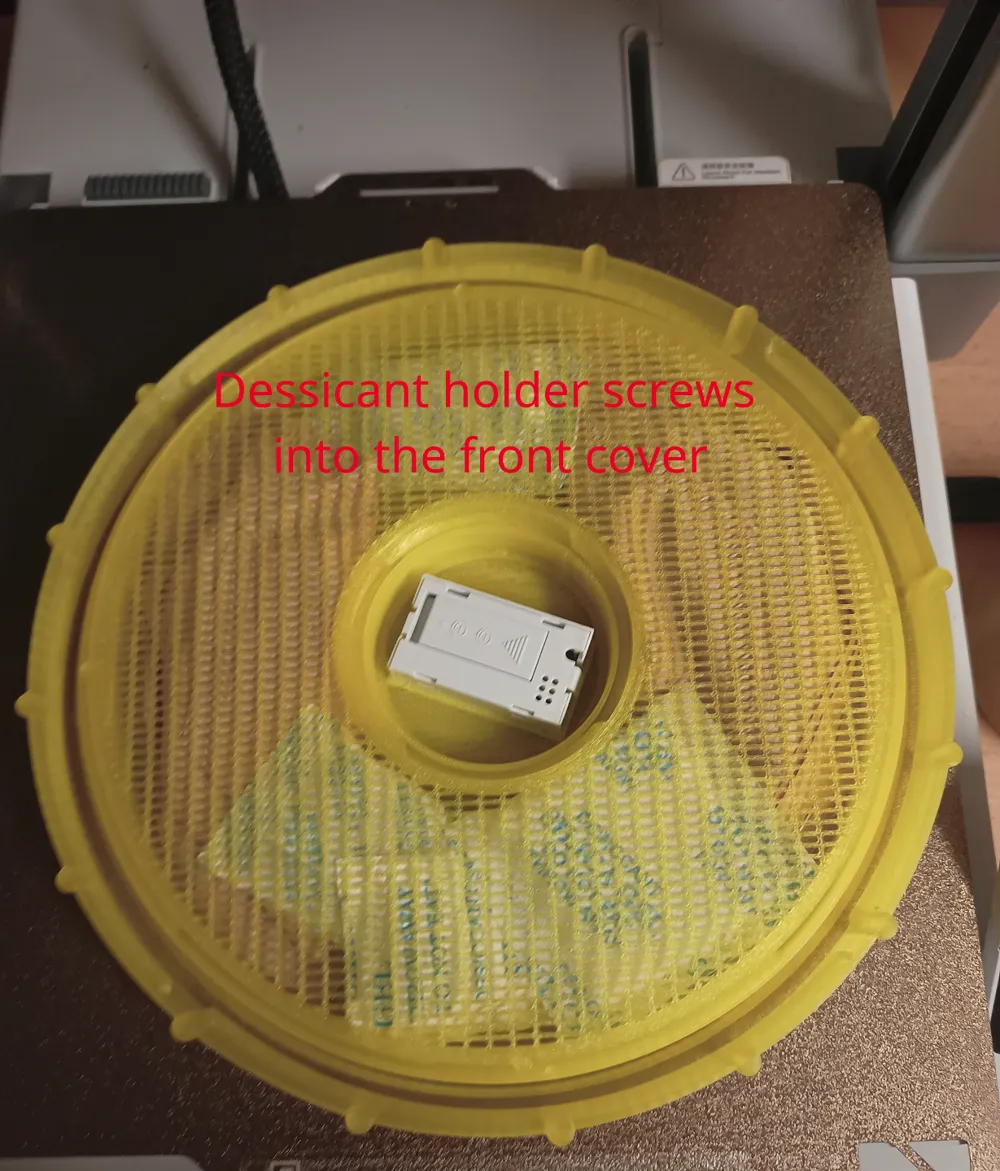
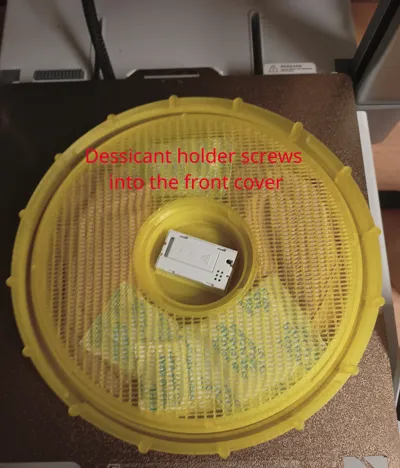
- Per Front cover you need a Desiccant holder.
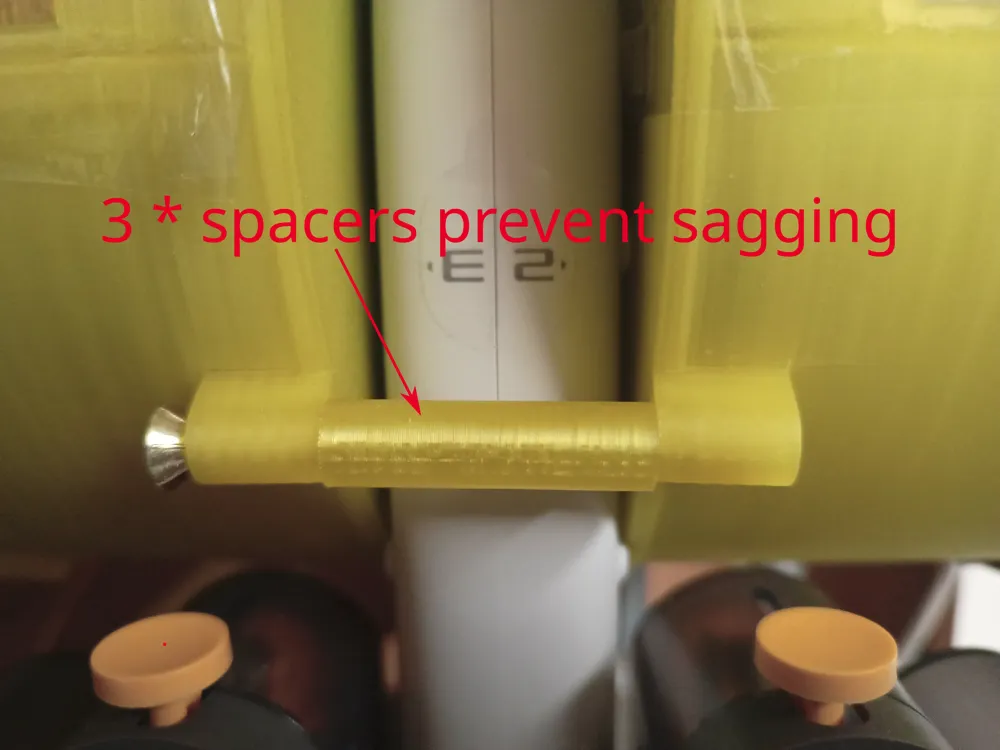
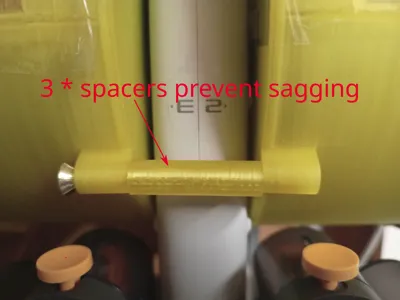
- To mount a box, you need spacers, to prevent it from sagging. 2 boxes on positions 1 and 4 need 3 spacers and 2 boxes on positions 2 and 3 also needs 3 spacers.
- If you want to try with only one box: Print box 2 or 4 + the bracket from the last plate. And 3 spacers. Otherwise you will not need to print the bracket.
Assembling
Before proceeding make sure that the printed threads are clean, there is no debris in the opening where the cover is screwed on the box, and that that there are no tiny holes from under-extrusion on the outside. That would make the desiccant be saturated quickly! (Happened to me once with BL PETG HF filament.) Should you have those, you can use some glue to fill them.
The desiccant holder:
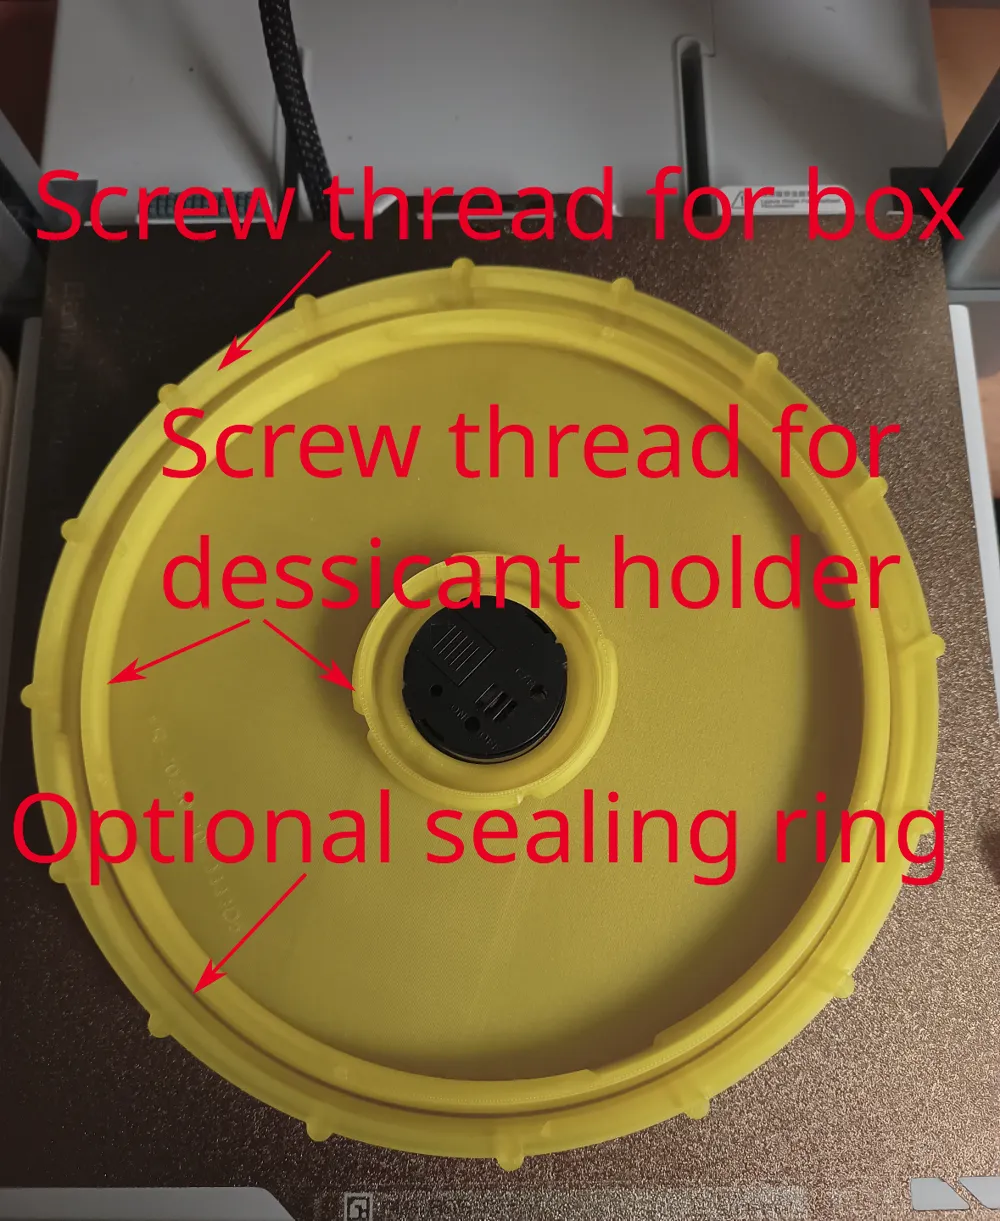
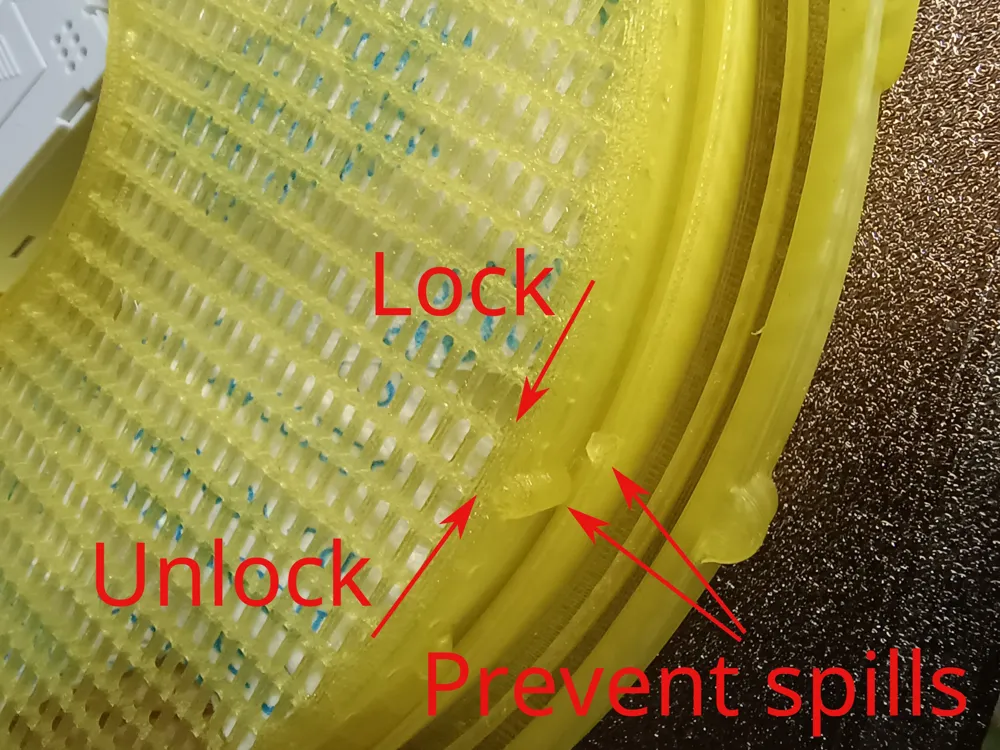
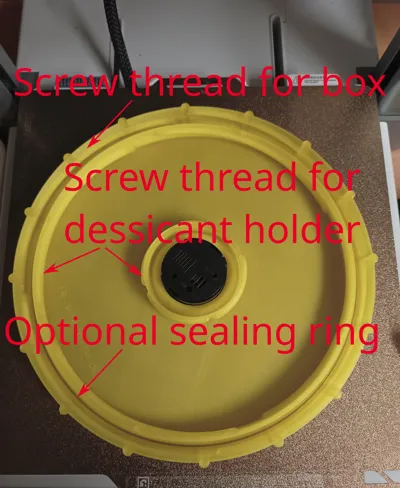
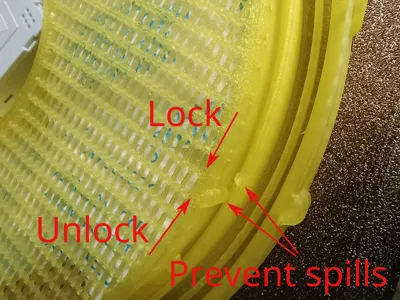
It screws into the front cover by rotating it to the right. There are 2 tiny bumps on the holder and the front to keep the desiccant holder (90 degrees apart) from accidentally opening and spilling the desiccant. (See close-up photo.) You may need to push down on the holder on those bumps while rotating it. It is a bit tricky to get the required force ‘just right’ because there is a lot of variation between printers and filament. If you find it takes too much force you could make those bumps a bit smaller by sanding or filing it down one or both a bit. And if they are too ‘light’ then I recommend putting some hotglue to the left of the bump(s) on the front part.
Putting in the hygrometer:
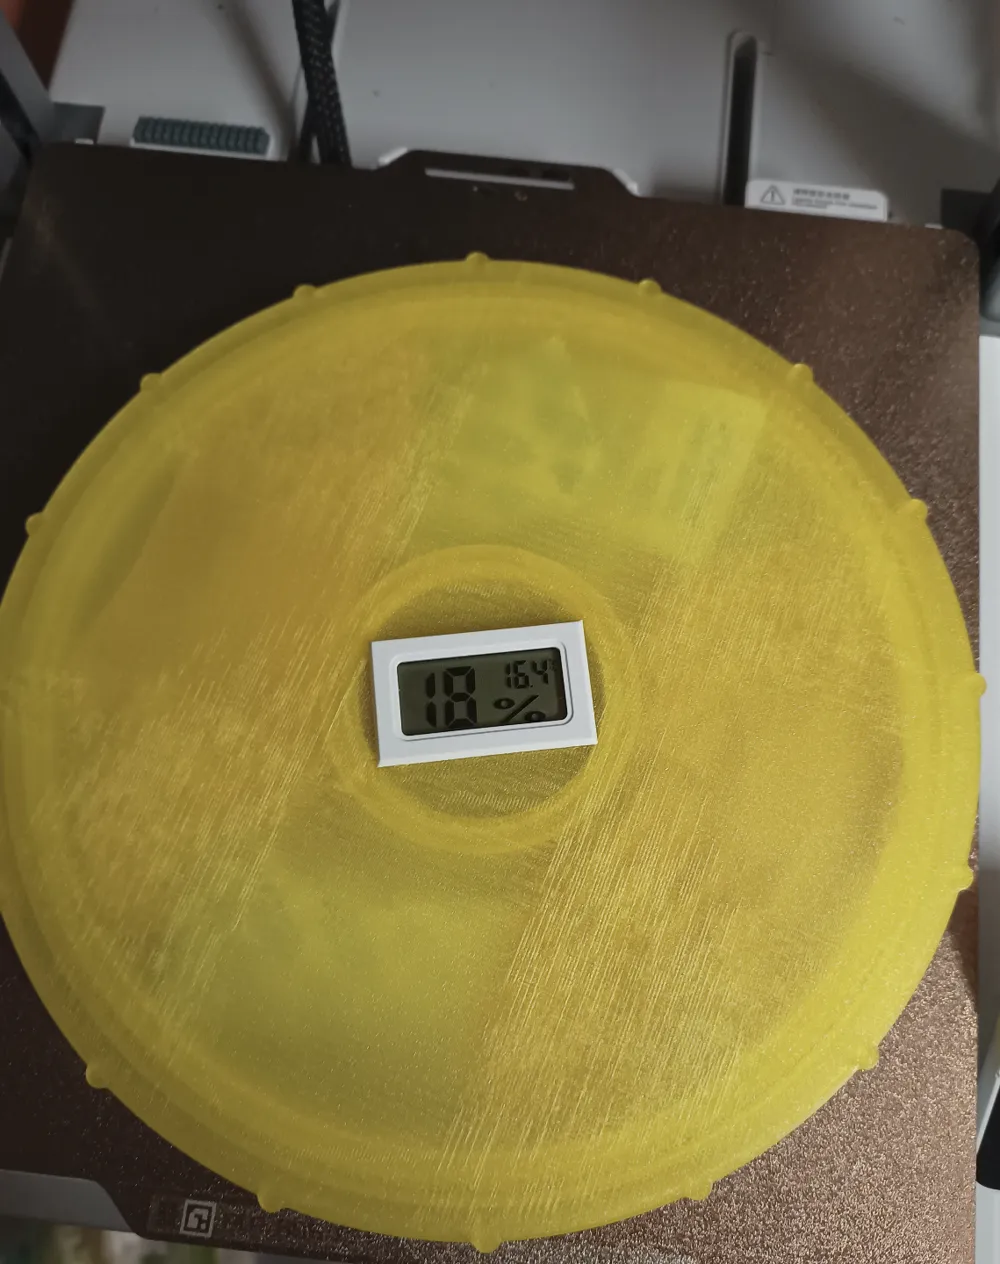
- The round ones I had snapped in securely after carefully applying some force, first on one side near the latch and then the other. You could add glue to make it more airtight but for me that did not seem necessary.
- The rectangular ones I had in 2 variants. The old one I had from years ago fits very well but the newer was a bit loose and I made a ‘rubber band' from 1mm silicone wire to seal the gap between the hygrometer front and the drybox cover. Alternatively you could use some glue to seal it.
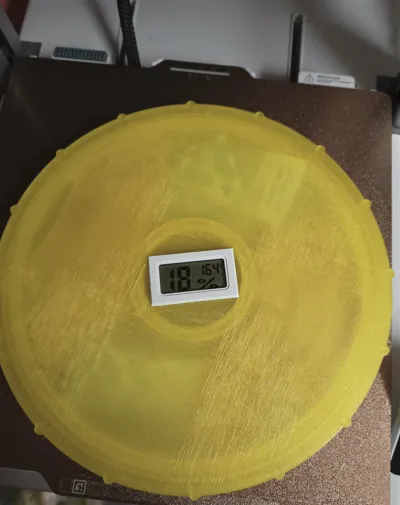
Between the hygrometers I tried the rectangular ones seemed more accurate and reliable. But it is nearly impossible to align them to look ‘right’ on the outside.
Optionally you can put in 2mm silicone wire in the front cover for extra sealing but I have no instructions for that yet. I did a few covers and it took much more effort than I expected. I might make a tool to make it easier later.
The box itself:
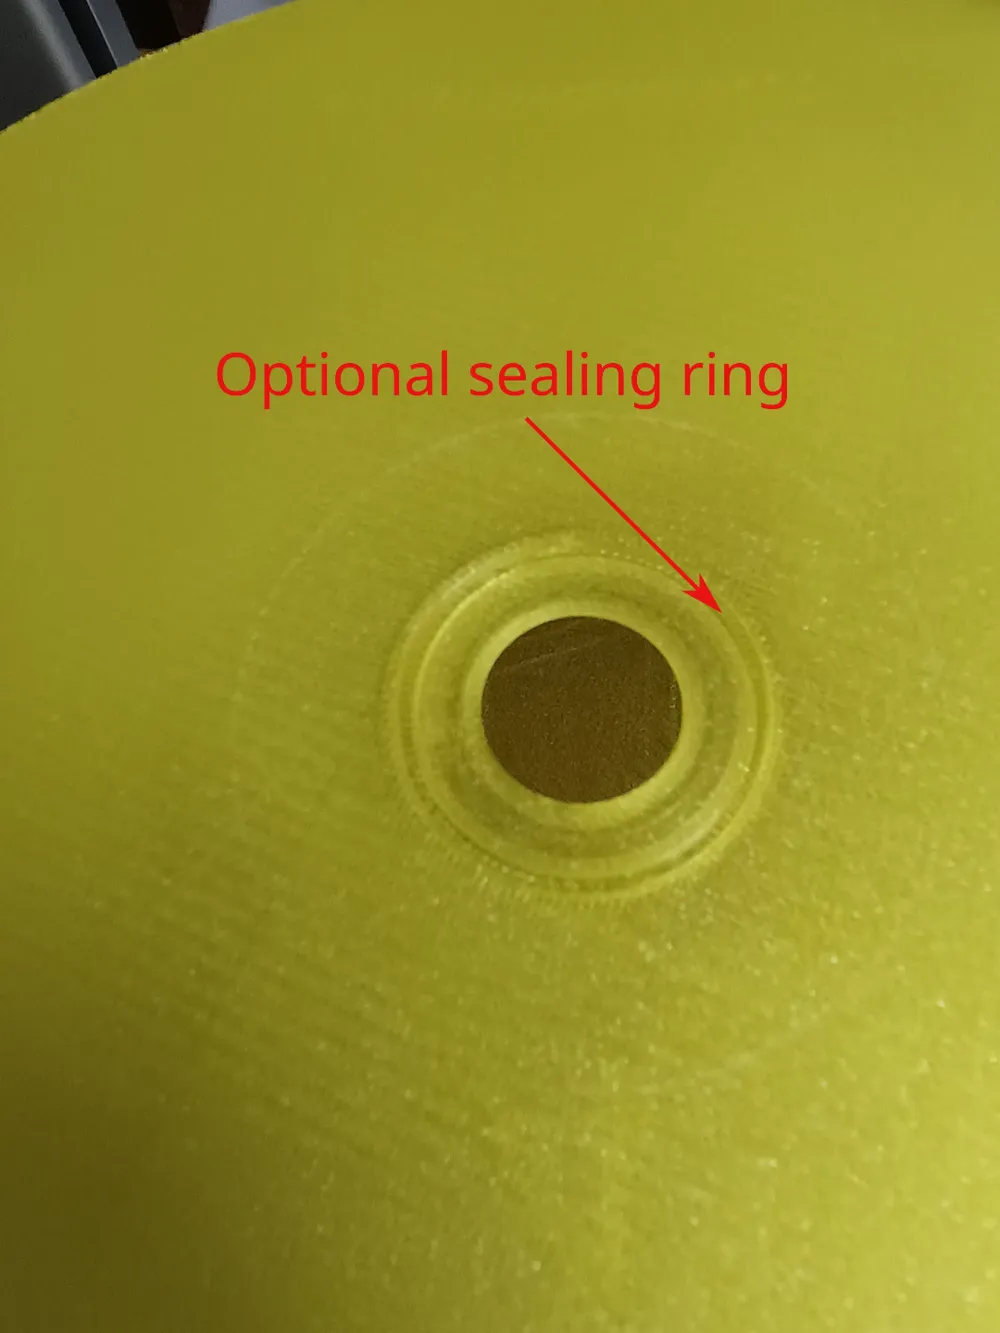
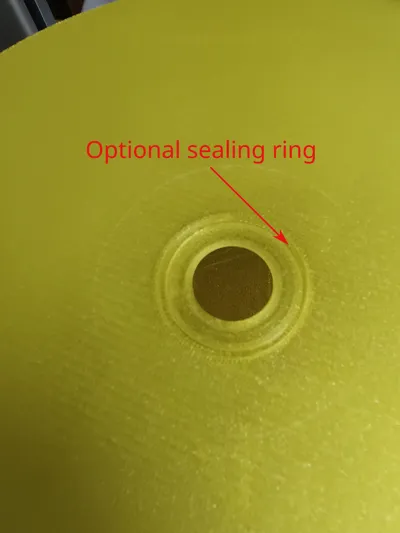
- On the back there is room for a 32mm diameter sealing ring (thickness 2mm) but it will work fine without this. I have one where I put in 2mm silicone wire and used some glue to secure it. (Do not use superglue but some glue that stays a little bit flexible.)
- The window: Either put clear packing tape 50mm on the inside and outside or get some transparent plastic of 0.5mm (maybe 1.0mm?) cut it so it will fit into the ridges on the inside and then glue it in. (Do not use superglue here because it will leave white stains on the plastic!) The window is small on purpose because normal thin plastic like tape will (very) slowly let water vapor through.
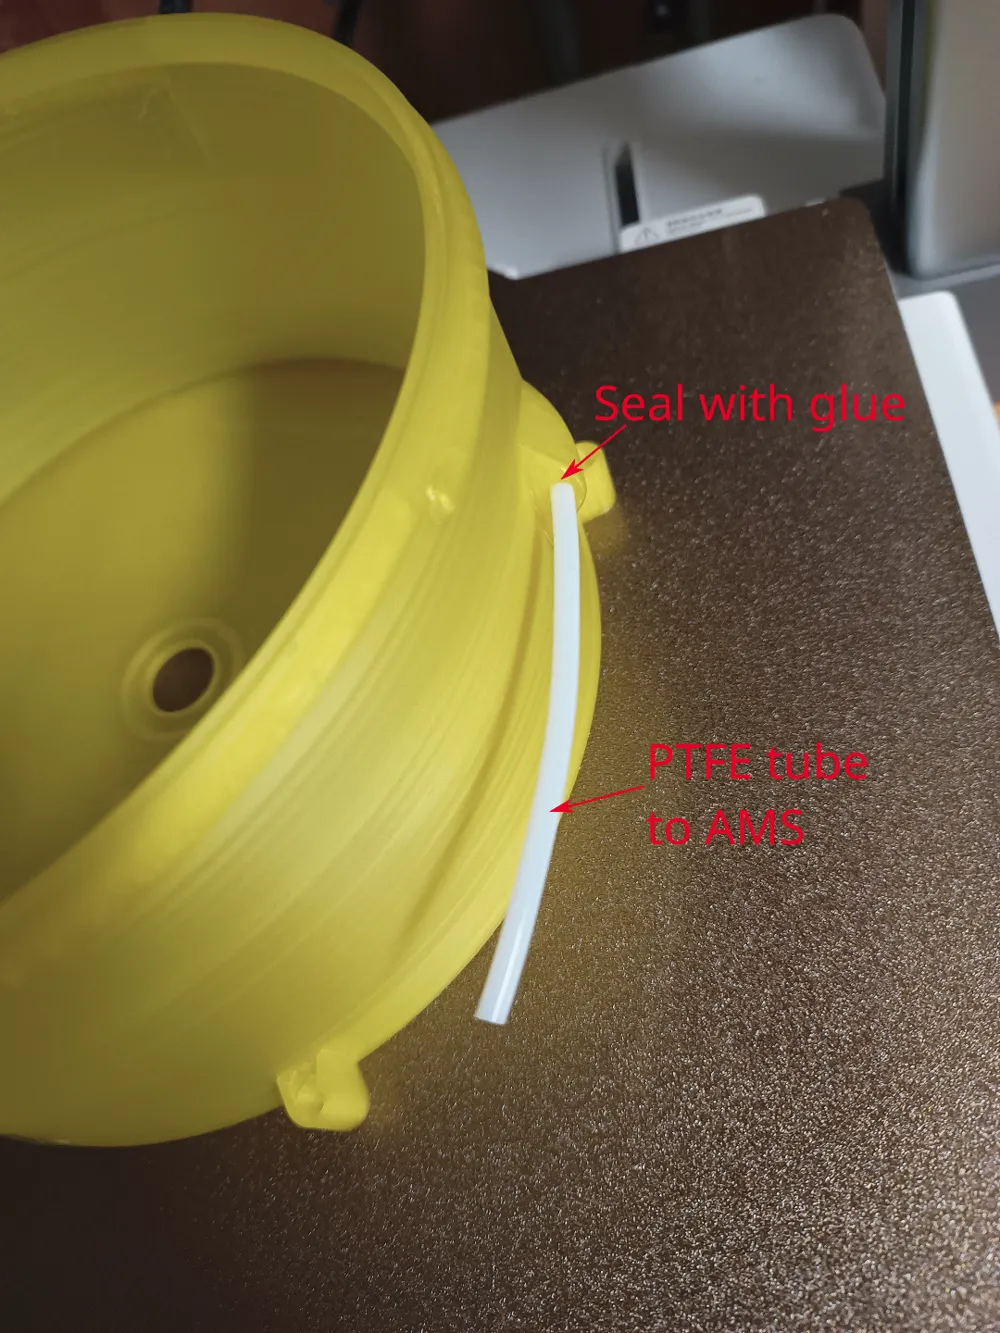
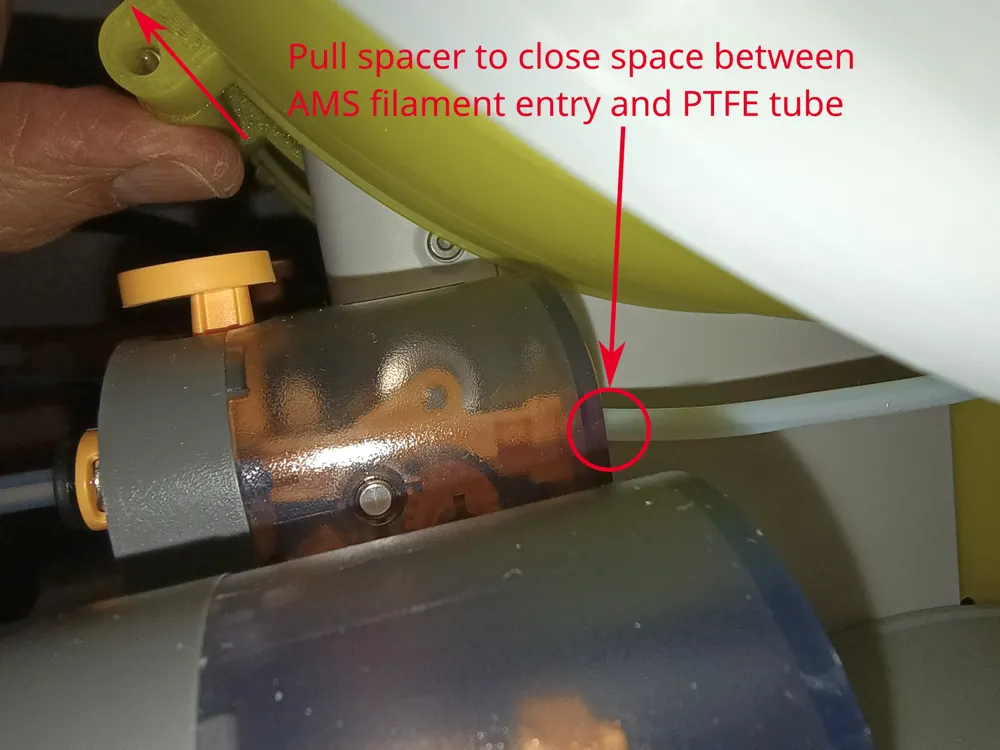
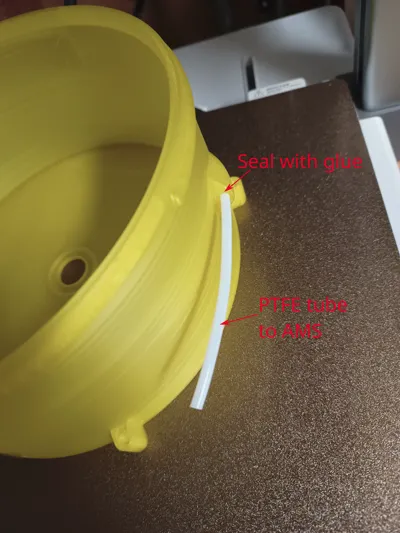
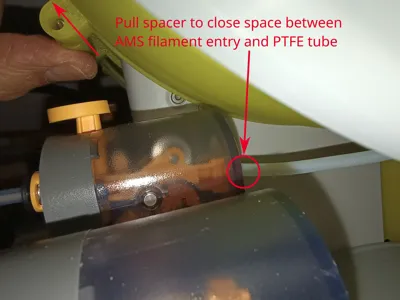
- The filament opening: You will need some PTFE (not PU) tube of 4mm Outer Diameter and at least 2.5mm Inner Diameter and some glue. Put the tube through the hole. To measure the correct length you need to have the box fully mounted and pulled up the spacer on top. (See photo with ‘Pull’ text.) Then the top of tube needs to reach the AMS Lite filament entry (orange) and on the inside of the box you need about 5mm. Cut the top of the tube near the AMS orange part. (Temporarily put a spacer around the tube to make cutting easier if you have no tool for it.) At the other end a diagonal cut kind of along the edge works best, as long as it leaves a few mm inside the box. Then once measured, cut and mounted use some glue to seal the opening where the tube leaves the box. (The glue will only need to stick to the box; the PTFE will likely just ignore the glue.)
- Each box has 3 screw holes on the outside that match with the holes from the box on the other side. Put a spacer between them and preferably use a 70mm wood screw to join them. There is threading on the holes that should accept the screw without needed any force. You can also use a tie wrap. Do not over-tighten the screws because the boxes will need to be able to move a little bit.
Other Stuff
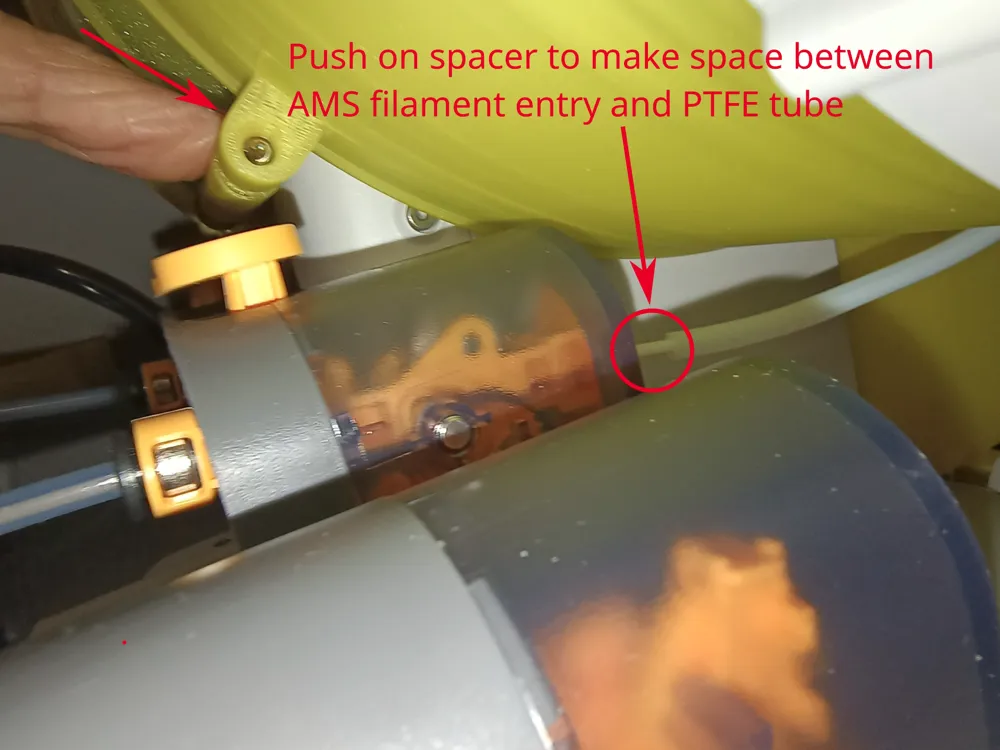
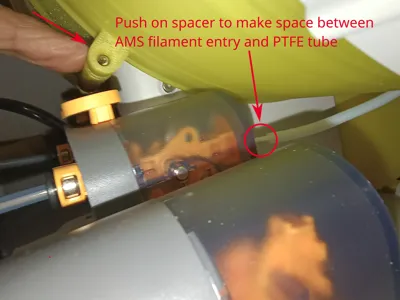
- The boxes should not be so tight that you cannot move them at all. When you want to replace filament rolls it can be very convenient to have a bit of room between the PTFE tube and the AMS Lite ‘orange bit’ so you can grab the filament. (See photo with the ‘push down text’.)
- After replacing filament check that the front cover has a good seal. Push down a bit at the edges and if you find it snaps down then try and turn it a bit more.
- Check out my spool removal tool, the Spool Removal Spoon to help you remove spools. It also lists some other tools you might find useful.
- Let me know what you like/dislike about this system!
Boost Me (for free)
Boosts appreciated!
License

You shall not share, sub-license, sell, rent, host, transfer, or distribute in any way the digital or 3D printed versions of this object, nor any other derivative work of this object in its digital or physical format (including - but not limited to - remixes of this object, and hosting on other digital platforms). The objects may not be used without permission in any way whatsoever in which you charge money, or collect fees.


Comment & Rating (1)