
AMS Lite wall mount XXL internal screws
Print Profile(2)


Description
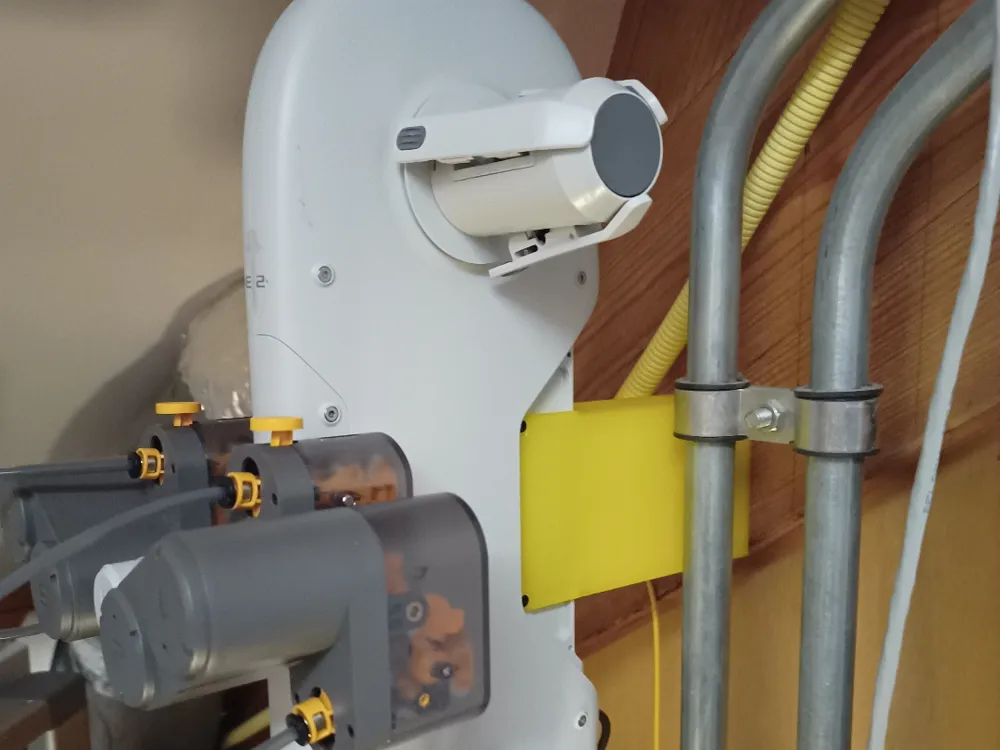
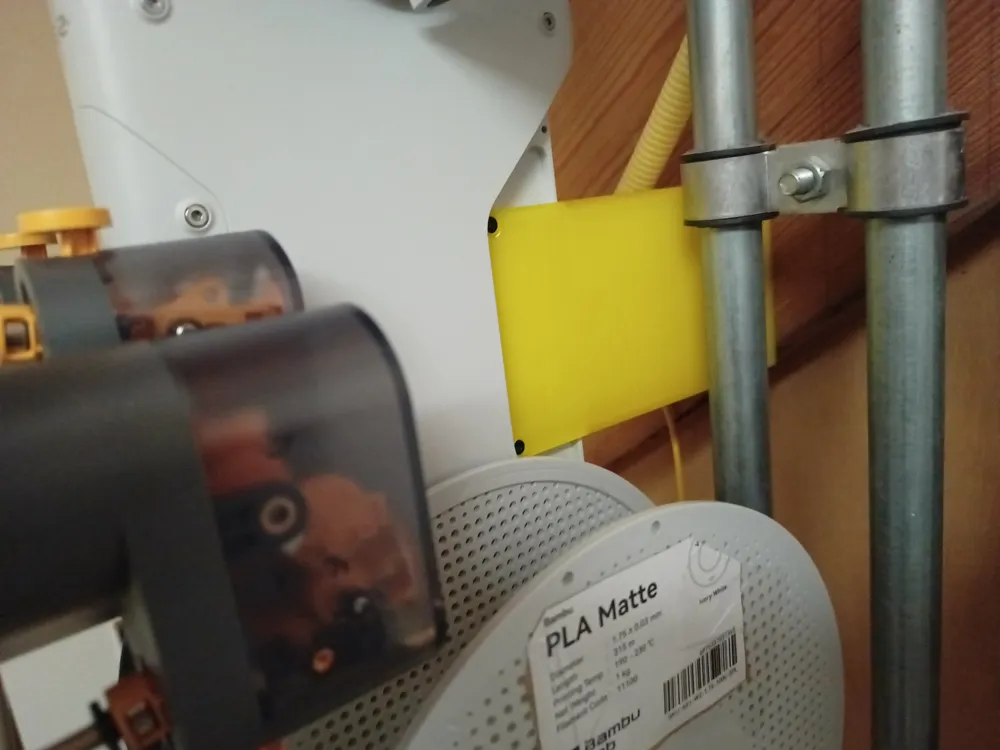
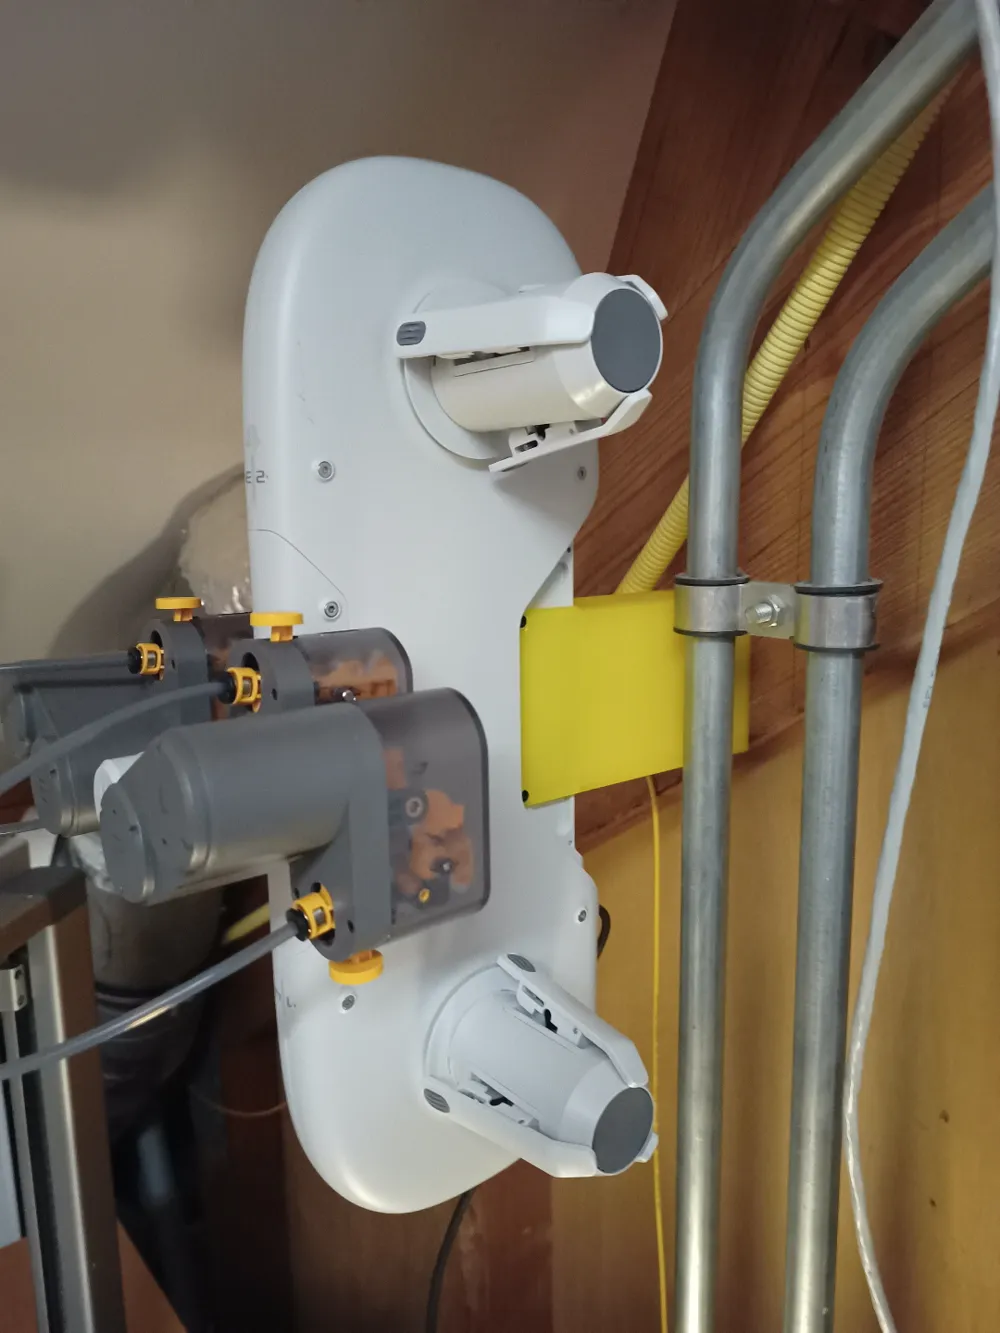
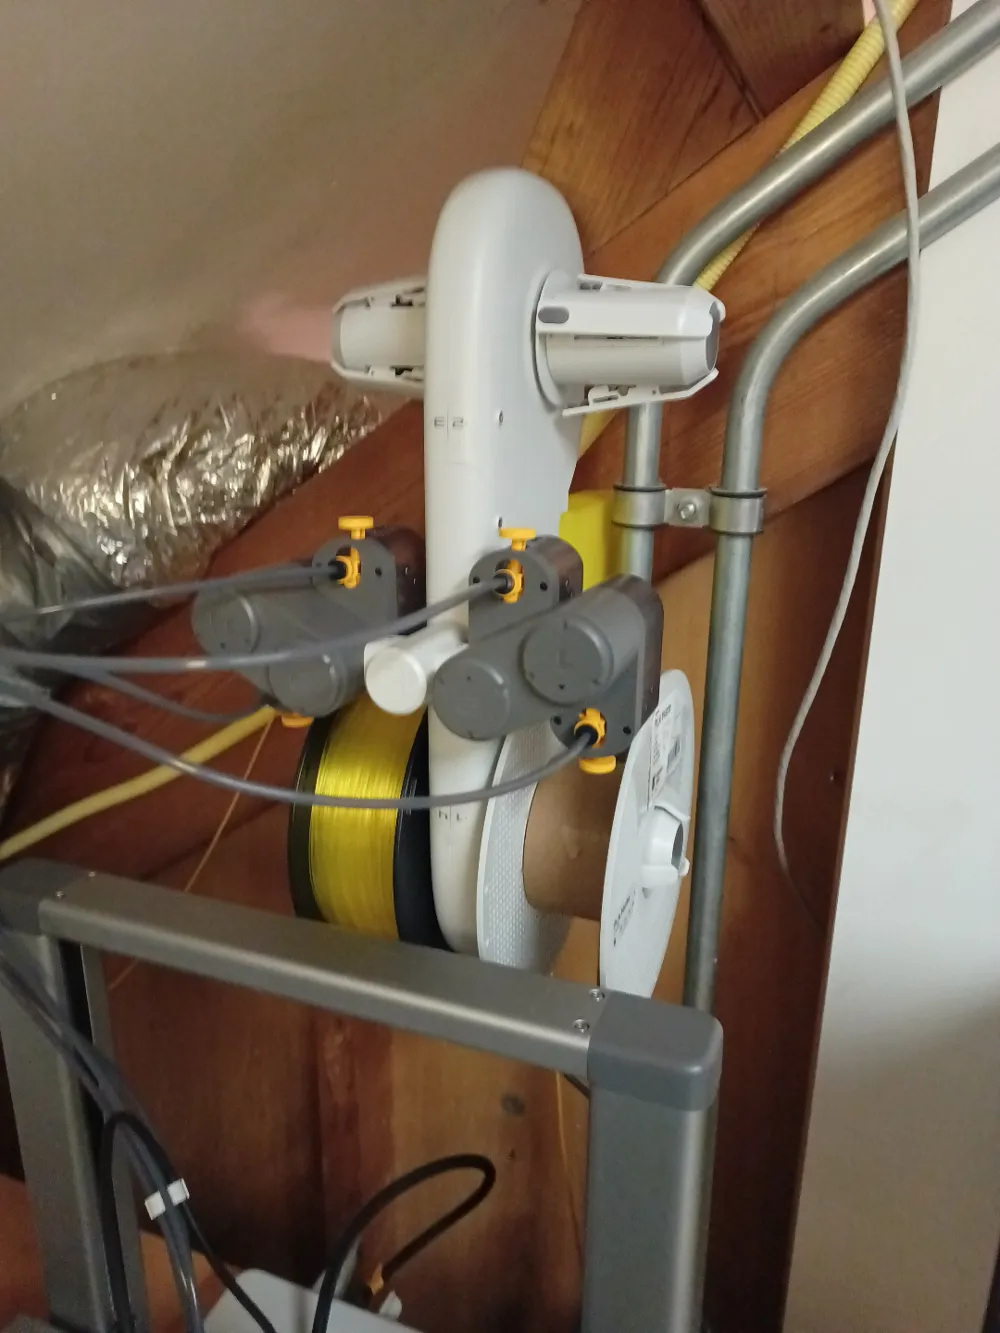
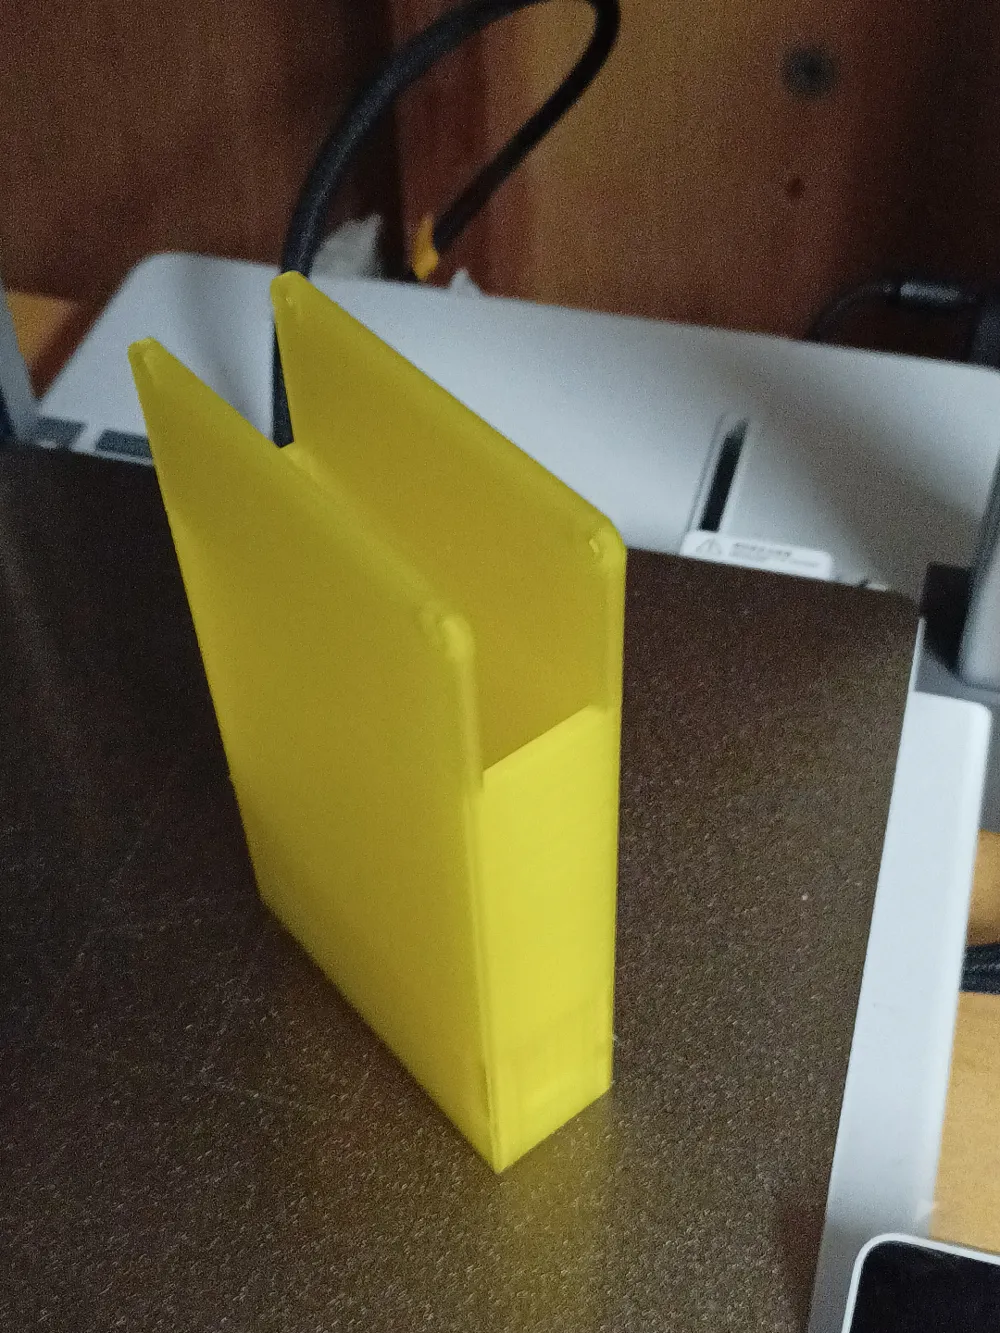
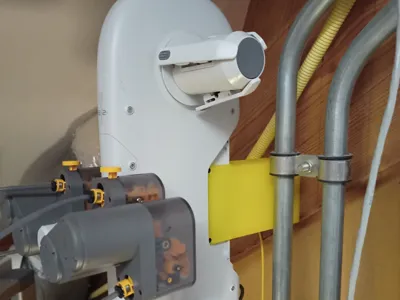
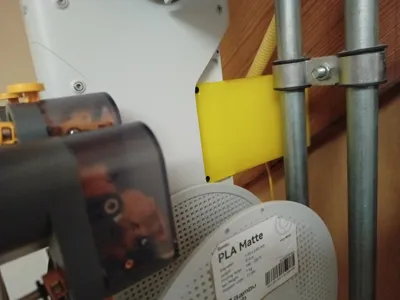
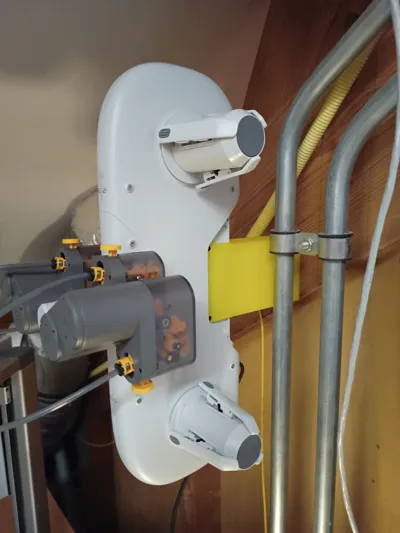
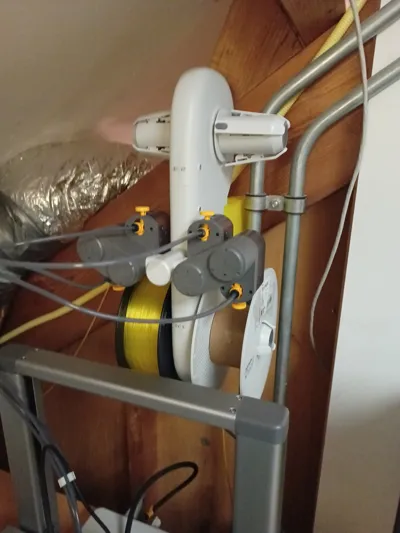
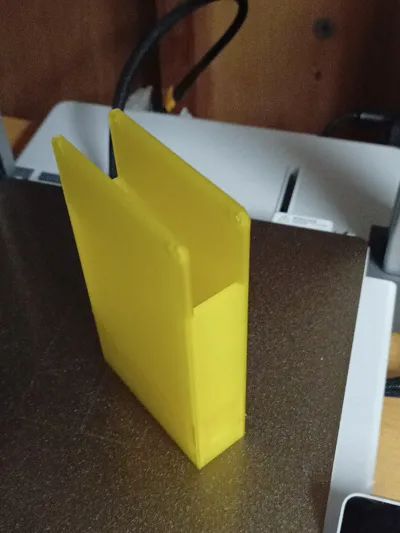
A wall mount for the BambuLab AMS Lite that is slightly longer (about 5.5cm) to leave more room for cables and other things running underneath.
Before this I used a topmount on my A1 but found I sometimes had to recalibrate the printer after adding/removing spools.
Want smaller? Click here!
Printing:
If you are unable to use the provided profiles and want to make your own:
- No supports are needed. I did multiple prints without support in BL Matte PLA and in eSUN PLA and the screw holes were good. I did one print with support enabled and the supports did more harm than good.
- Use at least 4 wall loops (maybe 5 for softer materials)
- Top thickness: 2mm
- Bottom shell thickness: 3mm
- Bottom shell layers: 4
- I advise against using a nozzle less than 0.4mm because it will take ages and will be less strong
Assembling:
Total height of this model is 154mm. This should give about 5cm extra room below a spool vs a ‘normal’ wall mount. In my case I needed the extra height because of heating pipes.
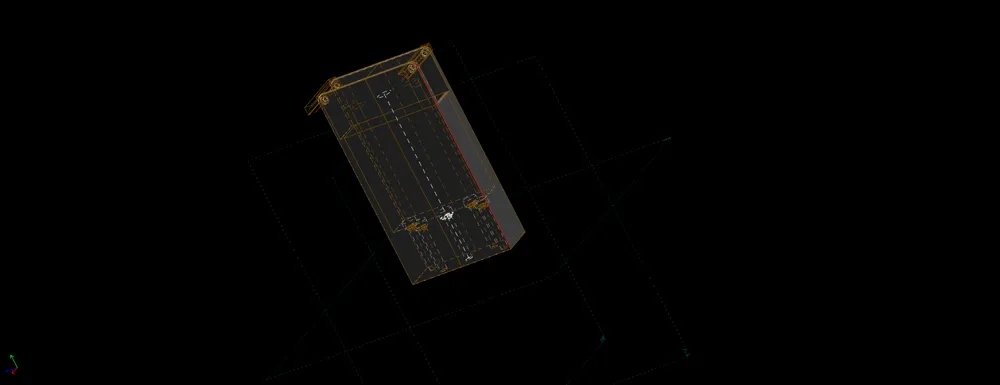
There are 5 mounting holes inside the wall mount that should accept most common wood-screws. About 3cm of the screws upper part will remain inside the wall mount.
You will need 2 or 3 wood-screws of at least 5cm long. The screw head should be max 10mm in diameter and the thread ('major' size) should be max 5mm in diameter. Also, because of the height, you will need a long screwdriver. 13cm shaft should be enough.
If mounting on wood, you will probably need to pre-drill the holes for the screws with an appropriate drill bit.
Once the wall mount is secured, attach the AMS Lite using the 4 screws from the original AMS Lite stand. Remove all spools before starting. You will need to use the H2.0 hex key that came with your A1/A1-mini.
Do not over-tighten any of the screws! The goal is to keep it in place, not crush the plastic! :-)
Boost Me (for free)
Boost appreciated!
License



Comment & Rating (0)