
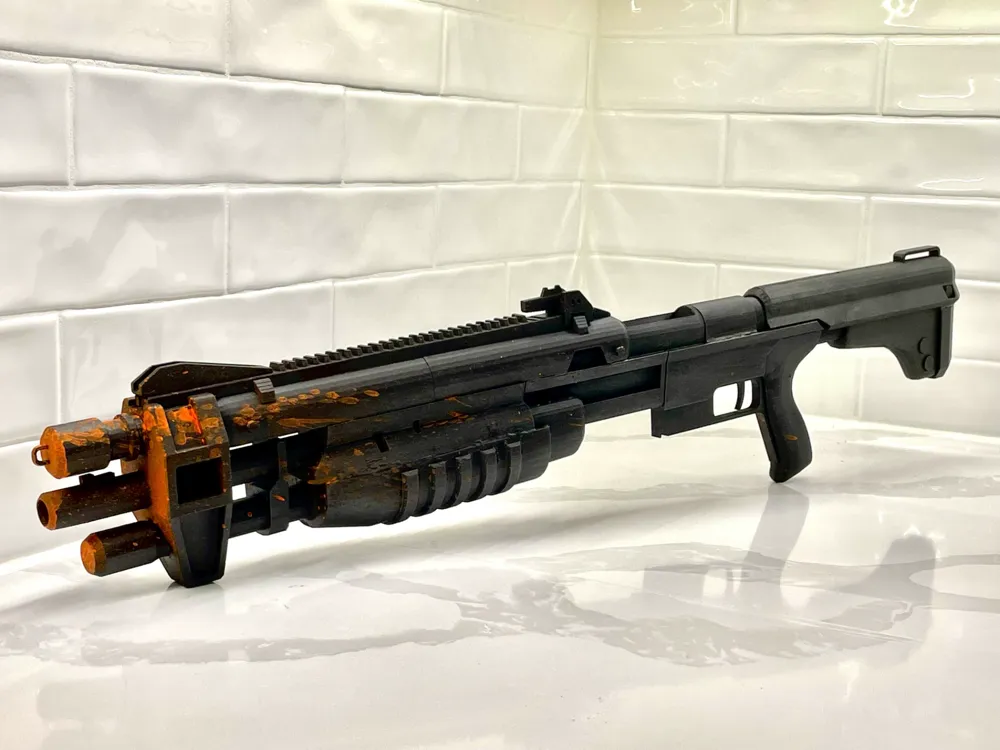
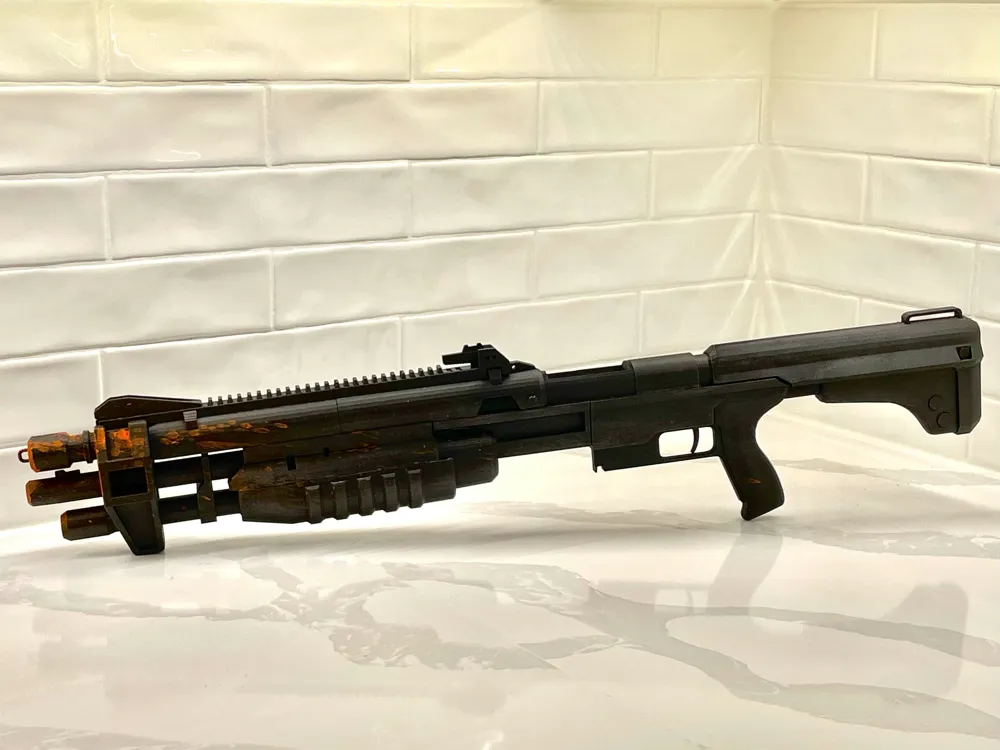
Halo: Reach M45E Tactical Shotgun UNSC Weapon

Print Profile(1)

Bill of Materials

Description
This Halo M45E Tactical Shotgun does not require an AMS.
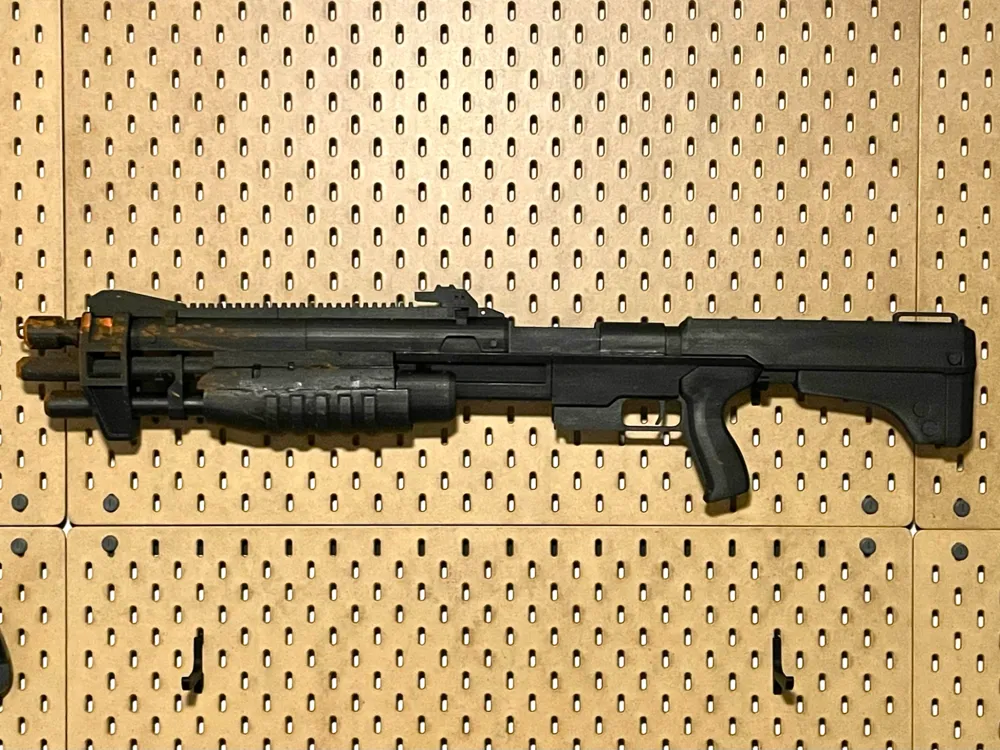
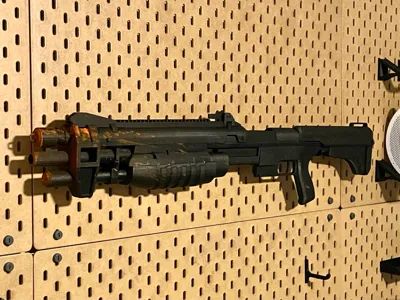
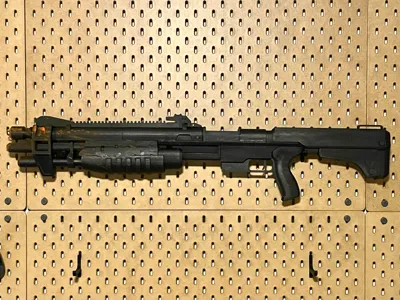
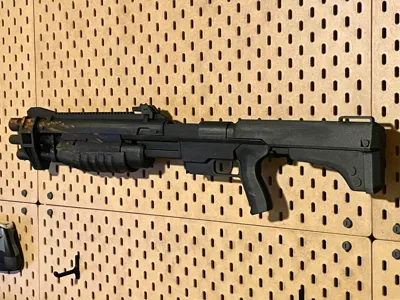
There are X parts split onto 4 plates. The color I used for my print is Matte Charcoal (11101) with a bit of paint work at the end [I'll discuss this more below].
You can find the filament I used in the Bill of Materials beneath this description.
How do I assemble my M45E Shotgun?
Just scroll beneath the ‘Boost Me’ widget to find the full length instructions.
How do I print the M45E with an A1 Mini?
As of today [1.19.2025], there is no A1 Mini option available. I am currently working on one, and will complete it soon.
Will the gun stay together?
The tolerances have been loosened up on this build due to feedback on previous builds. The structure is solid, but you will need a 2-part epoxy for large contact points / a strong adhesive for cracks & edges.
What kind of epoxy/adhesive did you use?
I use J-B Weld Pro Size ClearWeld 5-Minute Set Epoxy for large contact areas, J-B Weld Superweld™ Light Activated Instant Glue for edges/cracks, and Gorilla Super Glue Gel for small contact areas.
Is this a hard project?
This is another plug-n-play project with zero power tools or hardware. However, there are a few pegs/barrels that require impressive grip strength and/or a mallet/hammer.
How much filament will I need?
~1000-1100g Charcoal
How long will it take to assemble?
I believe you could knock this out in one full day. I'll have to run the numbers and see what my timeline looked like to give you a better answer.
Timeline:
1/18/2025: Original Model
10/10/2025: Replaced w/ Simplified Model
Can I use a bed slinger for printing?
If you're going to use an A1, or an A1 Mini, please slow down your prints and double check supports so your items don't fall/fail.
What kind of epoxy/adhesive did you use?
I used J-B Weld Pro Size ClearWeld 5-Minute Set Epoxy for large contact areas, and J-B Weld Superweld™ Light Activated Instant Glue for topical touches.
If you plan on printing my builds in the future, consider picking up the larger sizes to get the best bang for your buck. The M41 SPNKr also requires a good bit of J-B Weld.
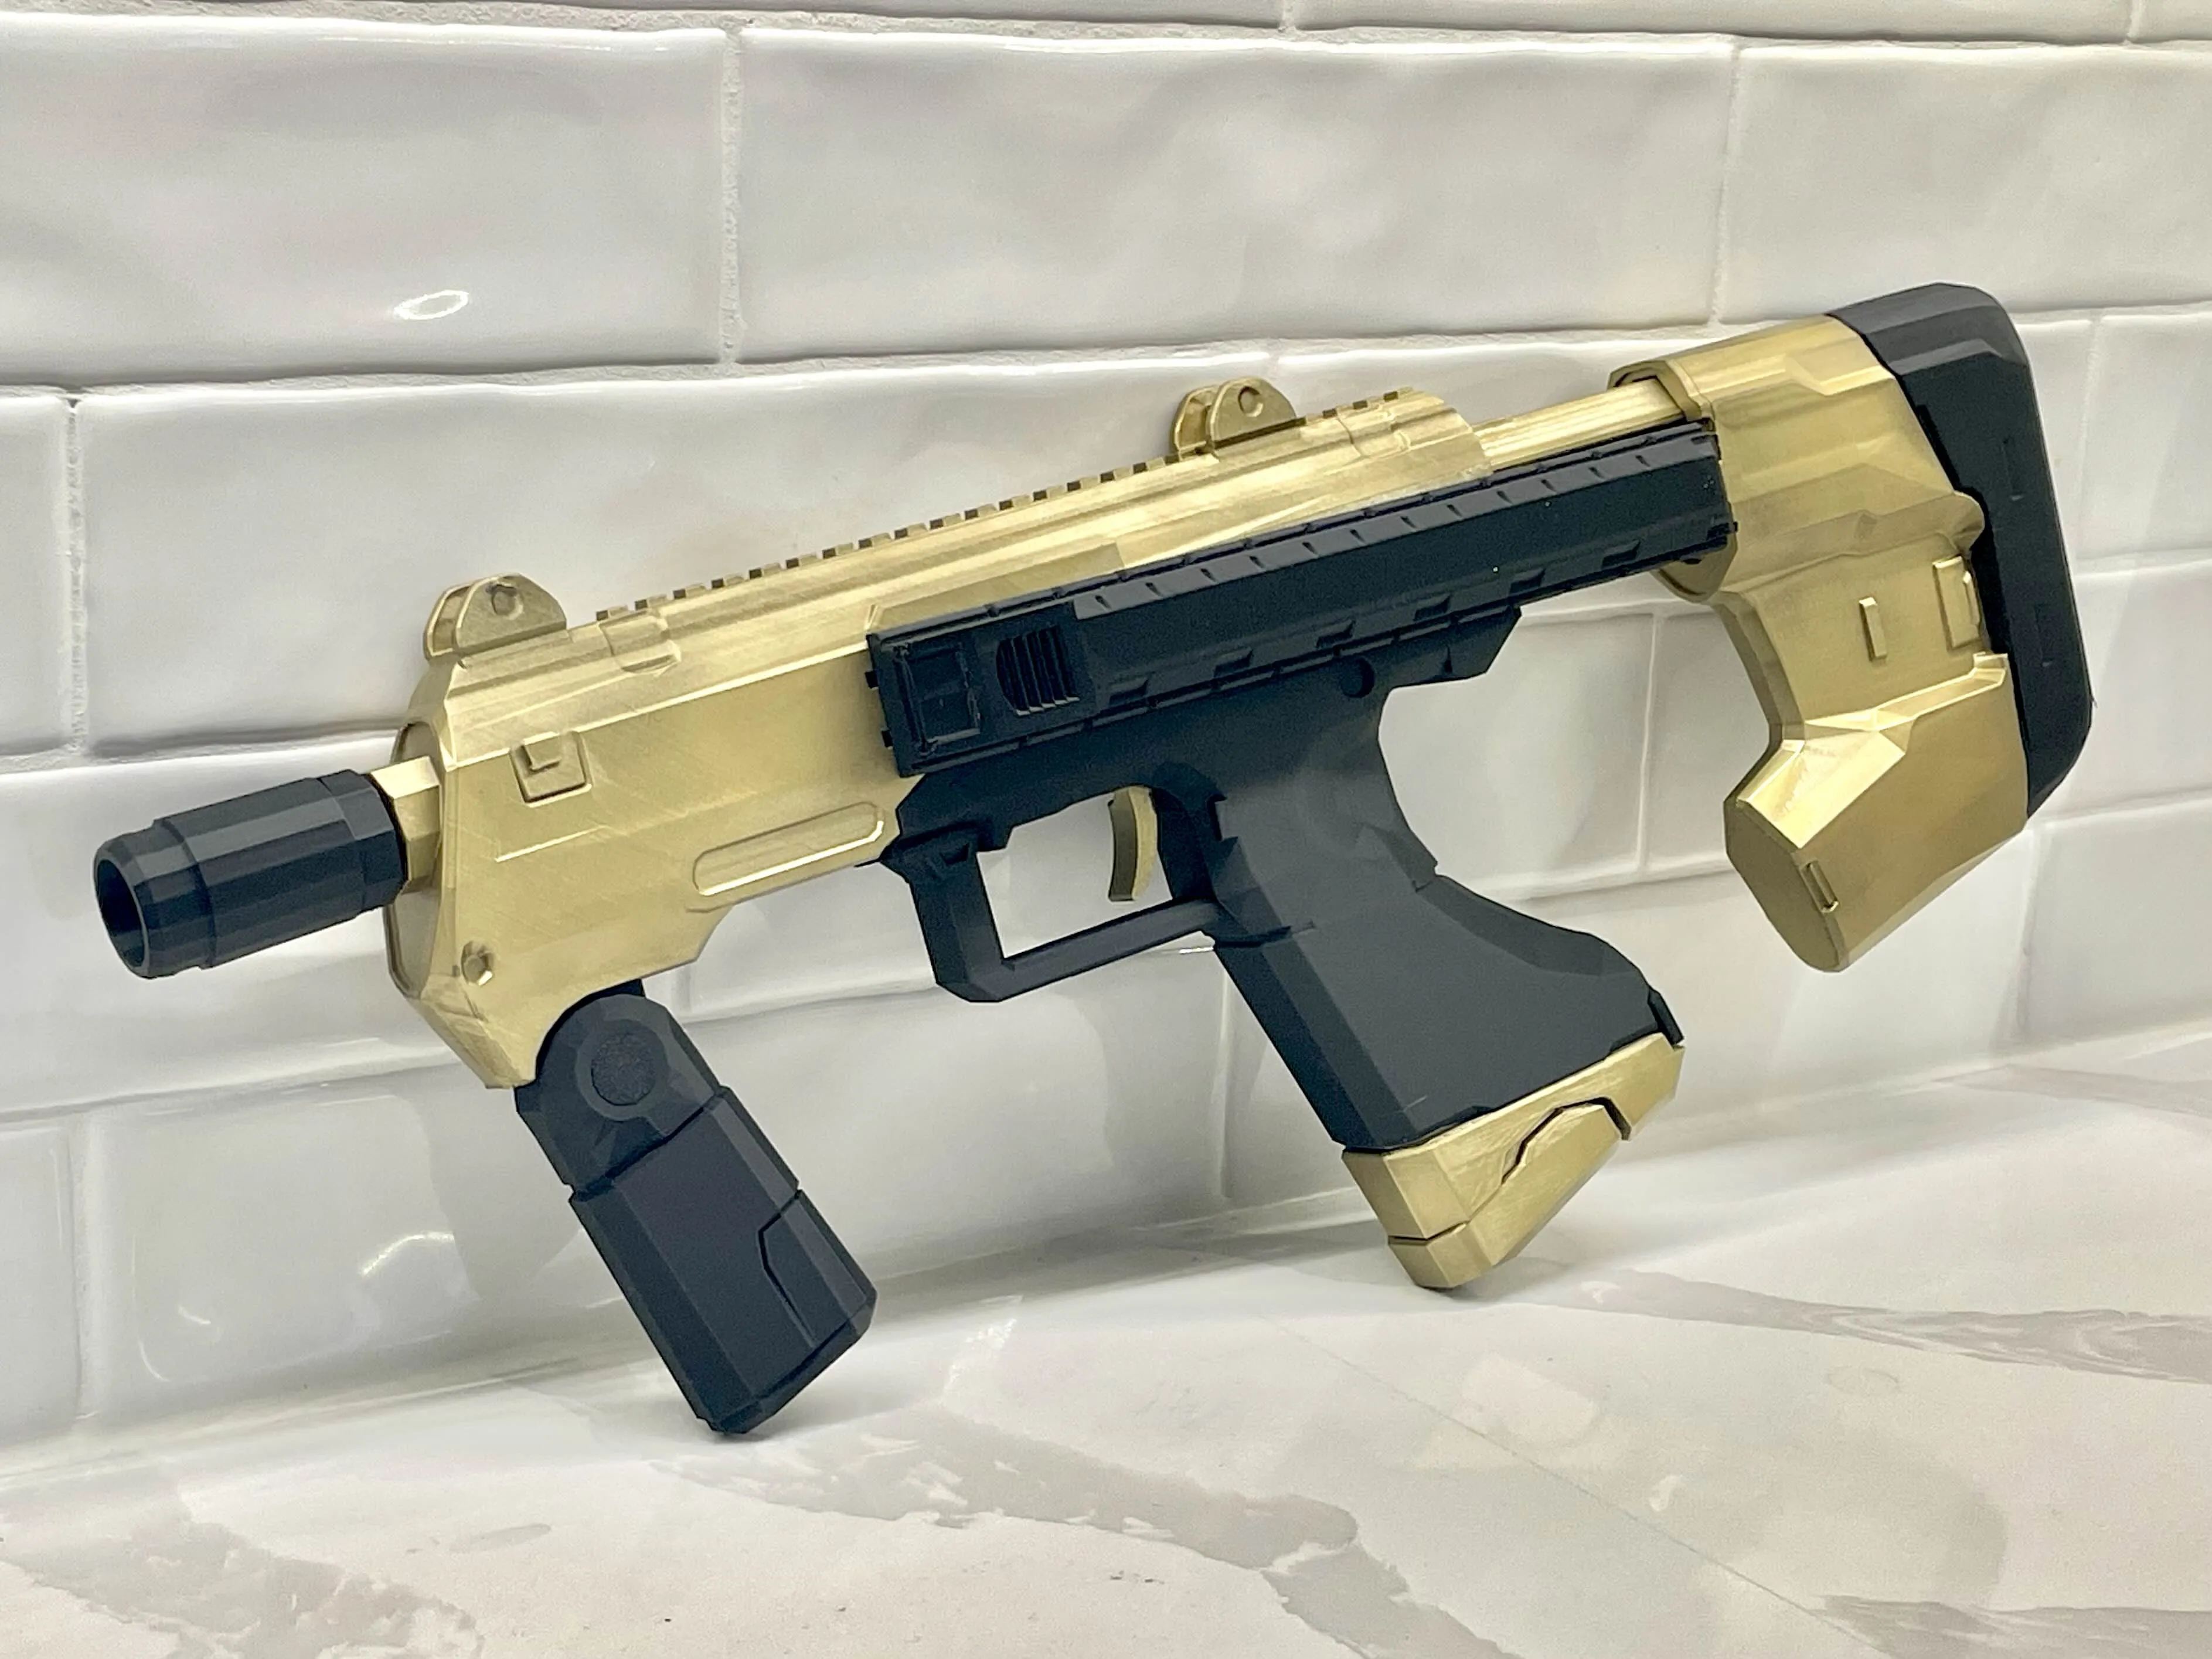
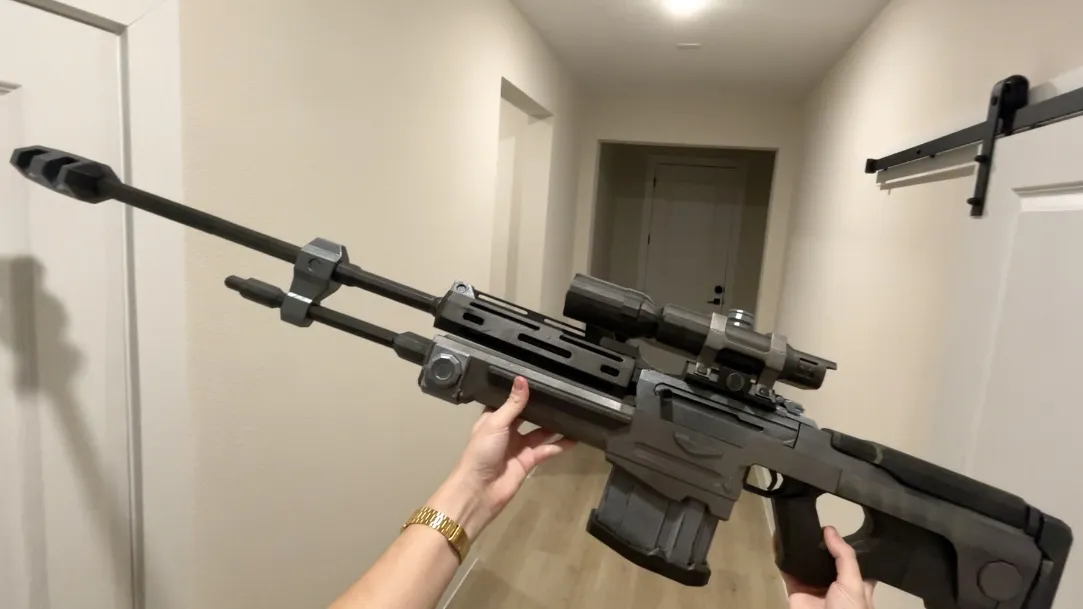
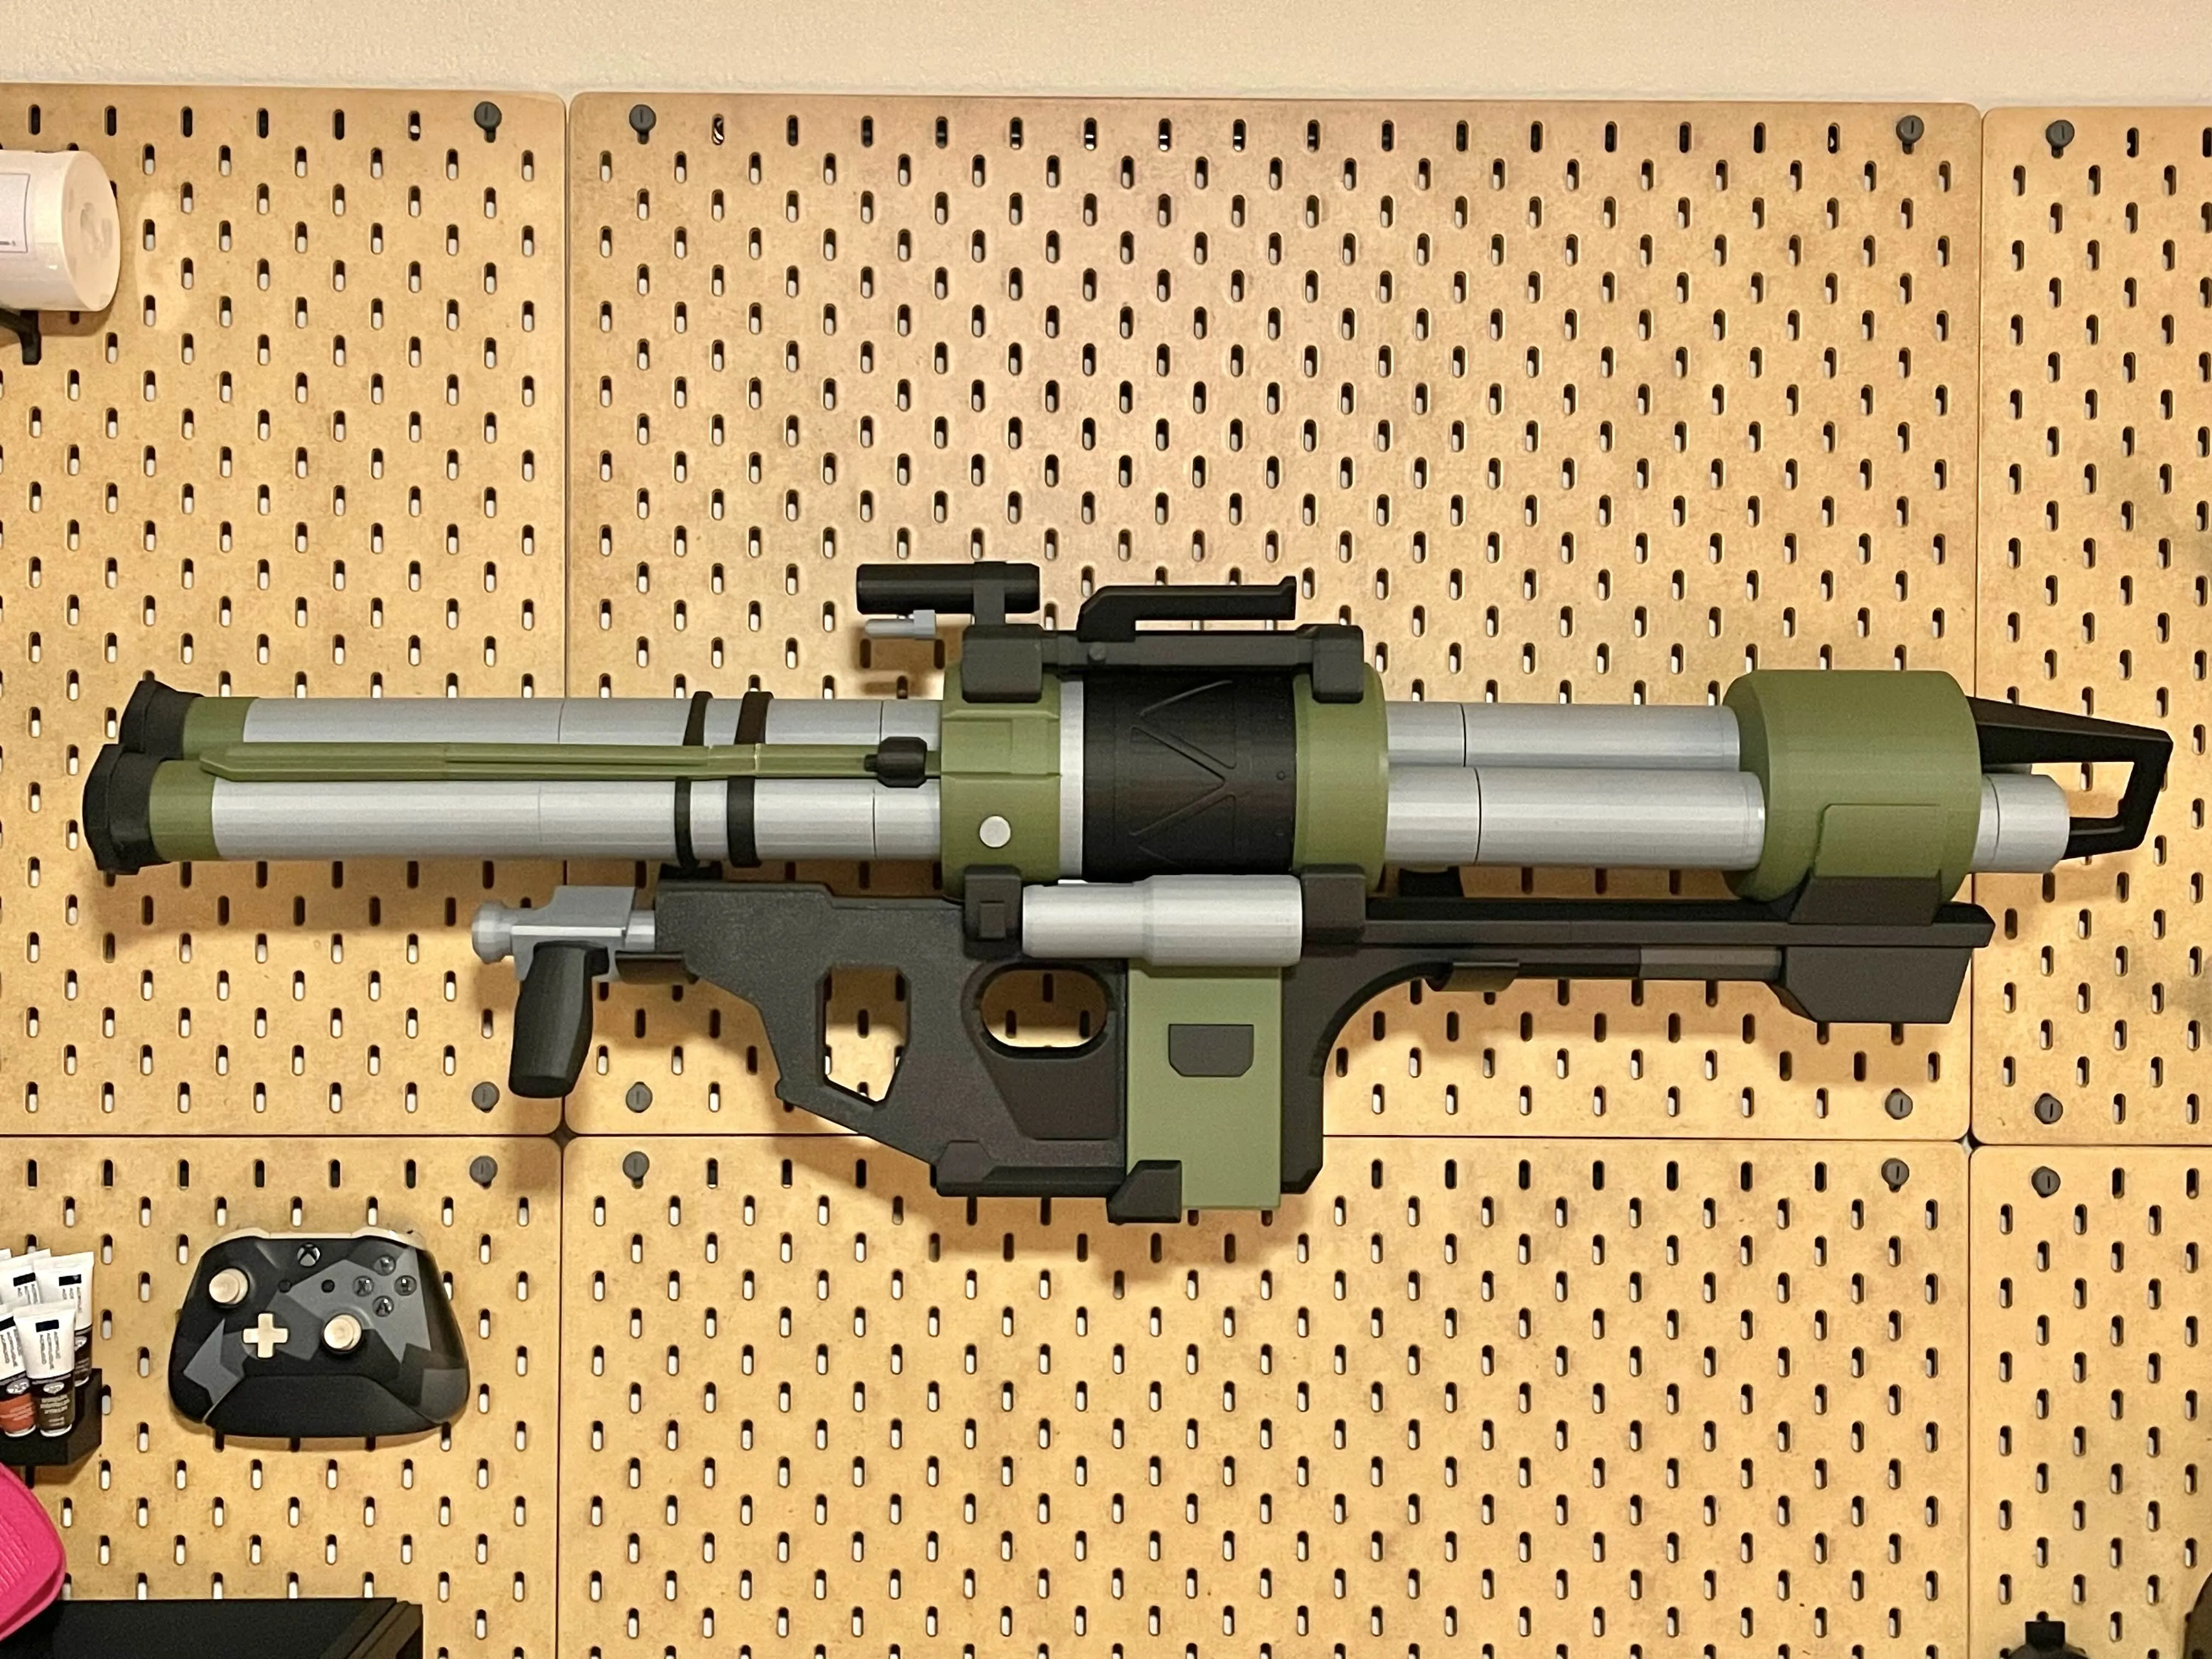
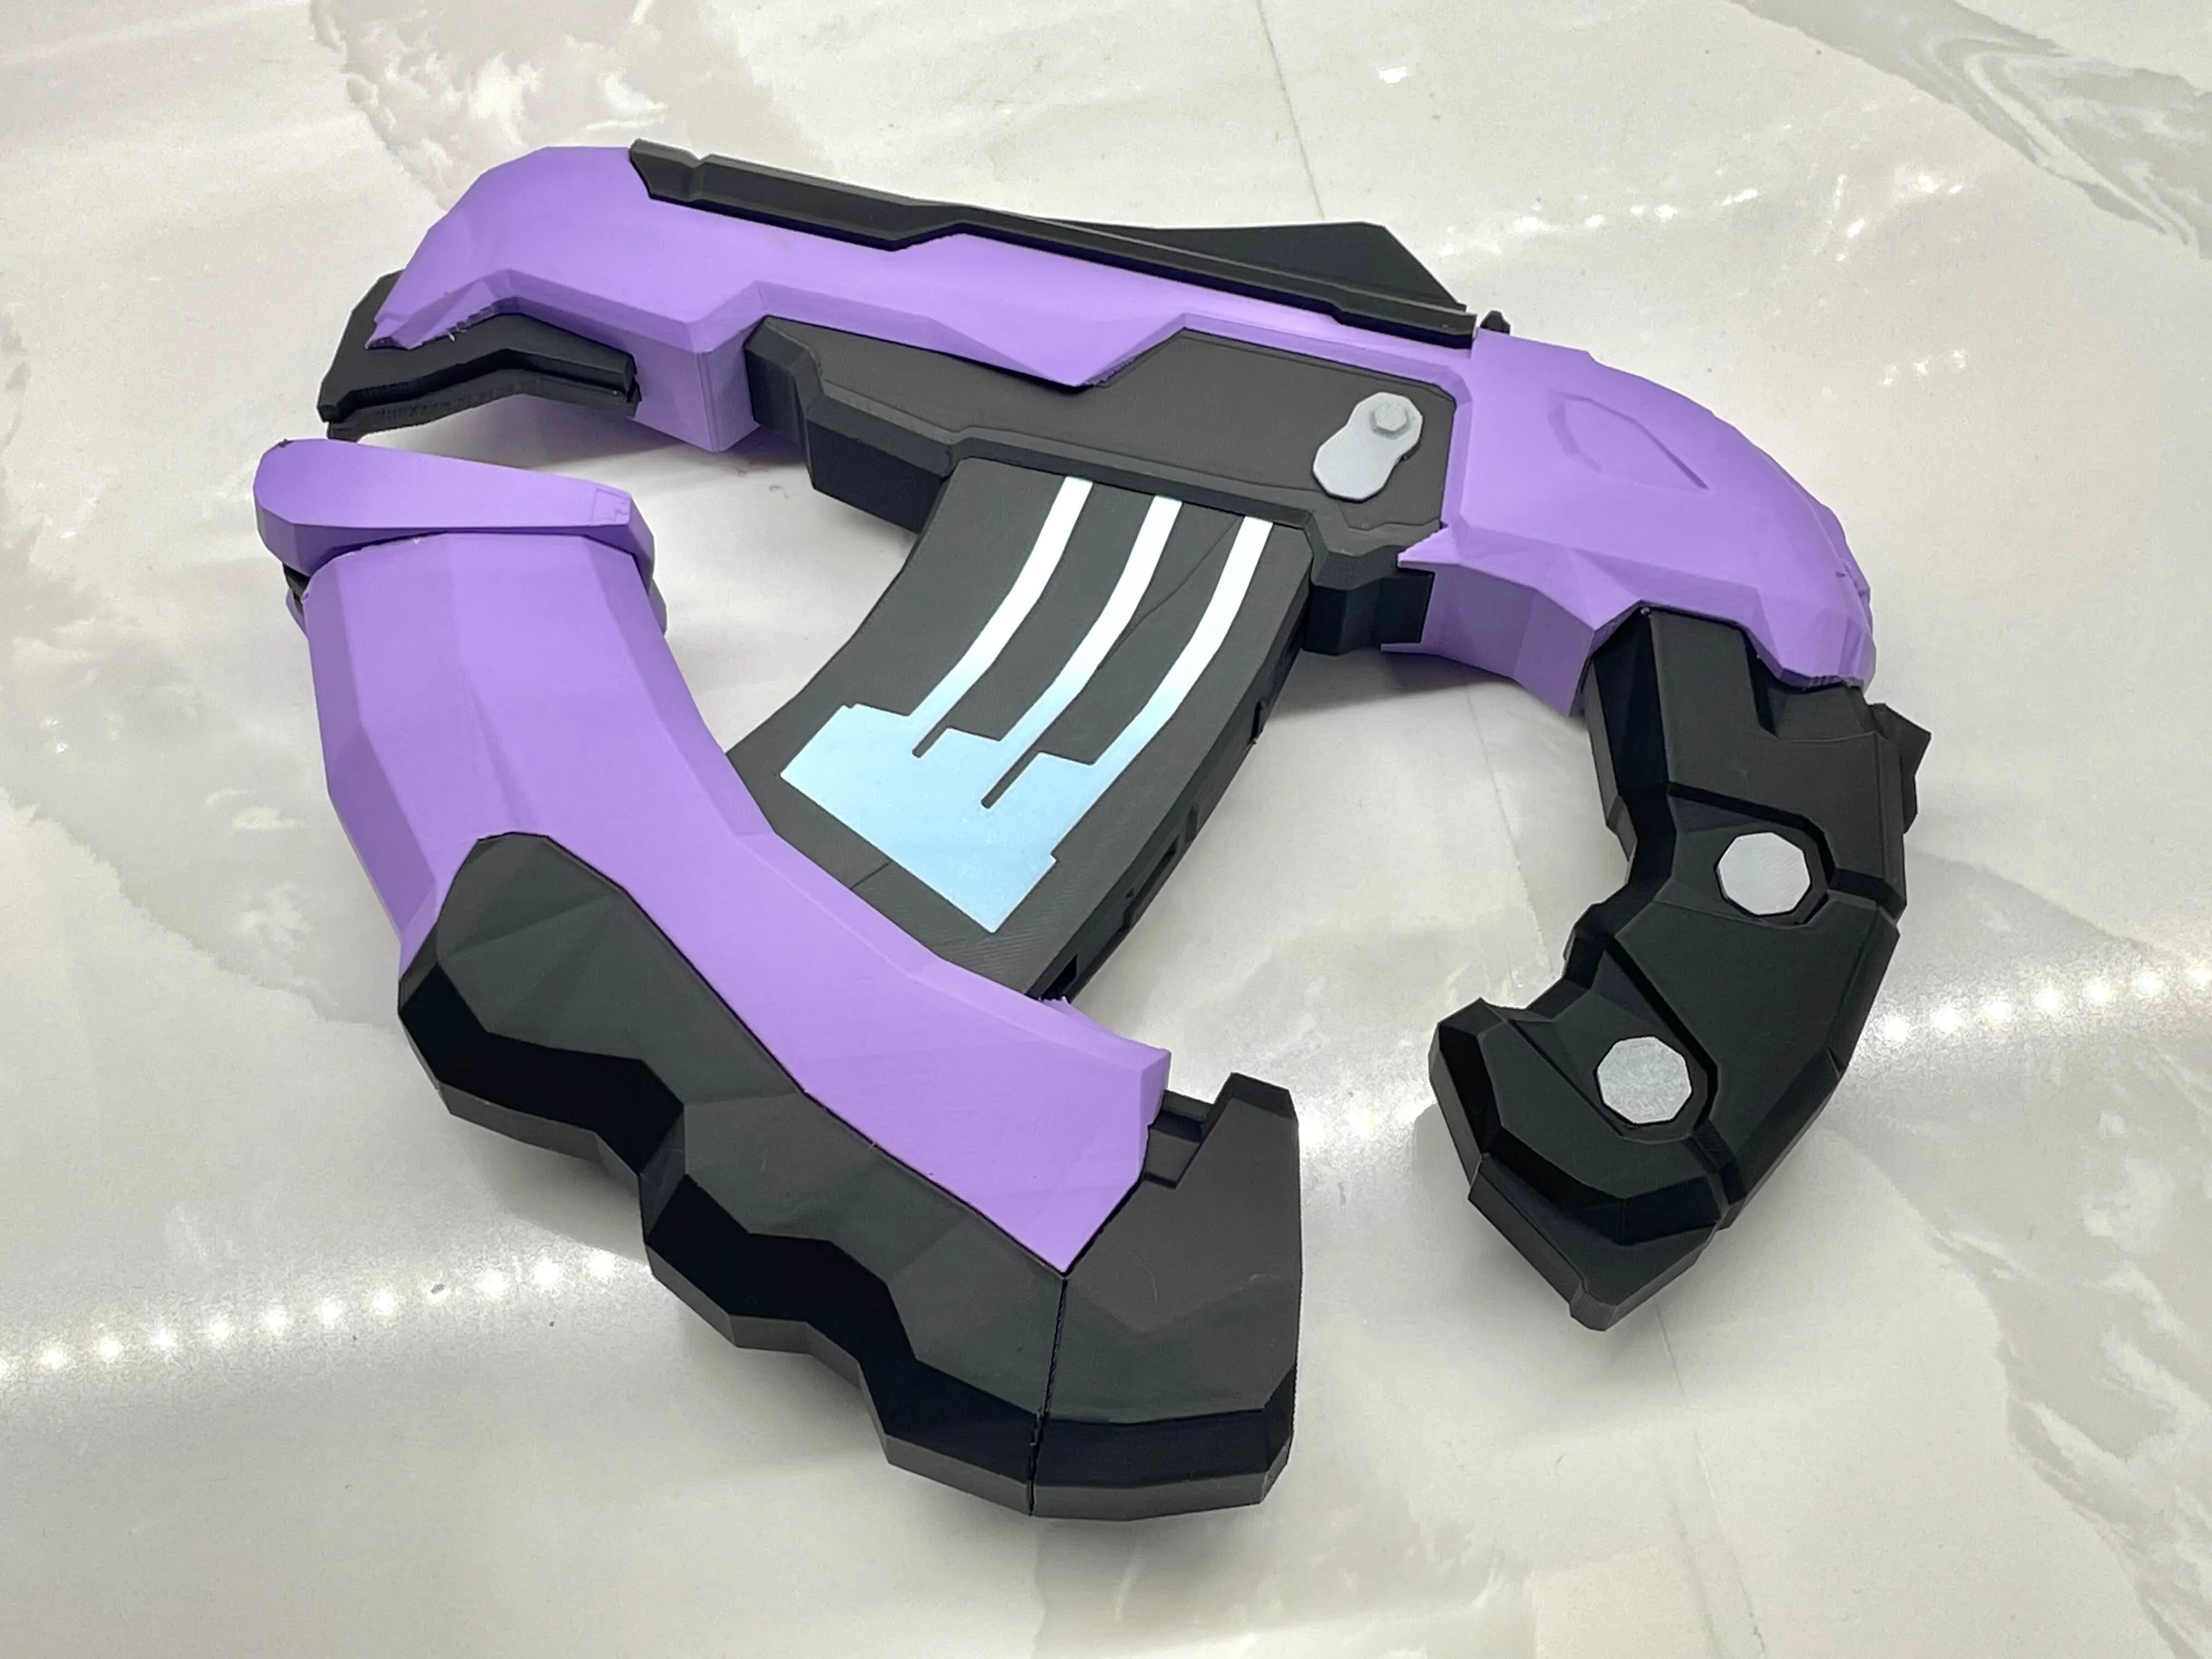
What color is the shotgun in the pictures?
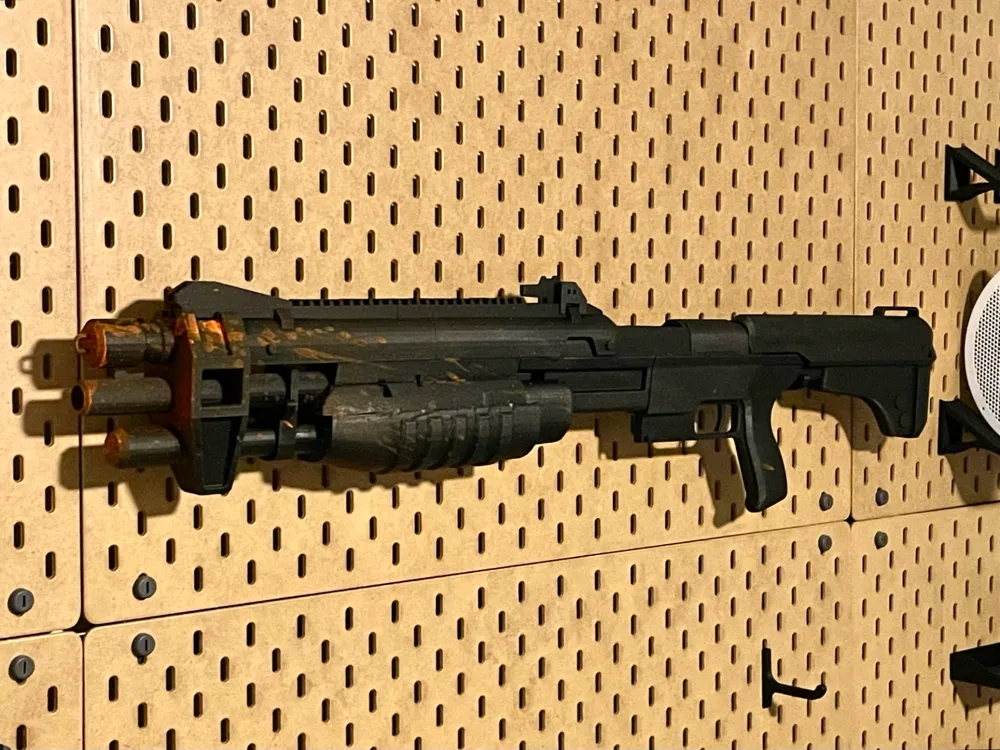
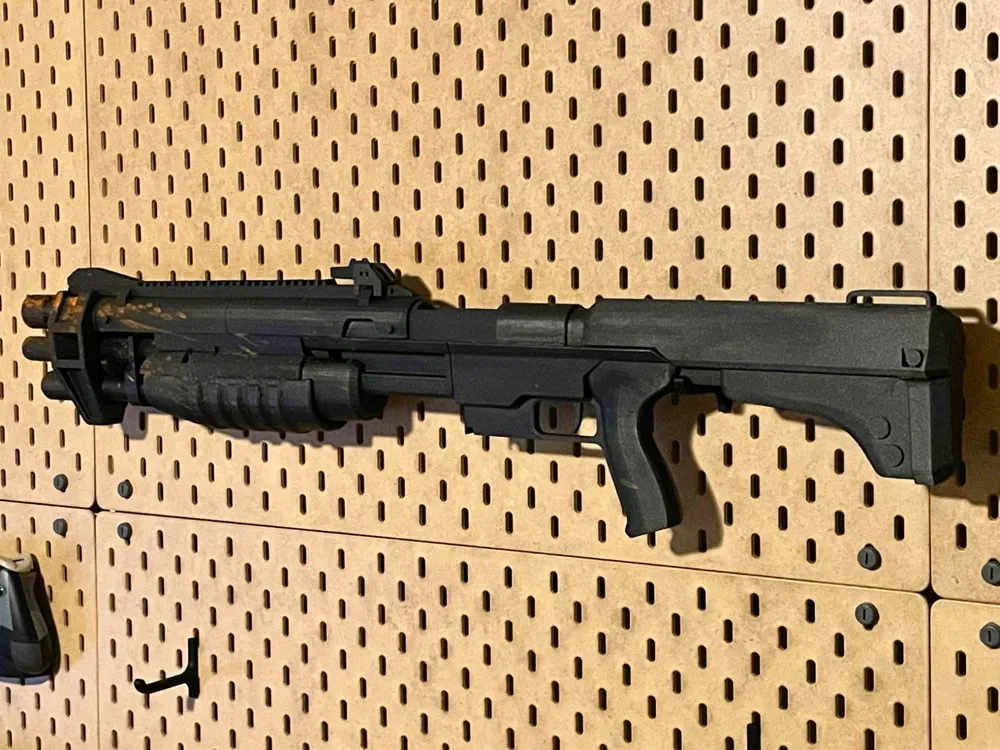
My M45E was hit with a single coat of BEHR Premium Oil Rubbed Bronze, and then, the front was splattered with Rust-Oleum Fluorescent Orange Spray Paint [Hunter Blood] using a small paint brush & Compressed Canned Air Duster. I sprayed the orange paint into a paper plate until it accumulated, dipped the paint brush until heavily coated, and sprayed the condensed air into the brush from a foot away at the front of the gun to simulate backsplash.
Membership
Drop a monthly donation to fund new designs OR unlock full access & exclusive rights to sell, edit, & remix my models by becoming a member!
Boost Me (for free)
Are you happy with your print? Would you like more models like this one? Boost your favorite designs, so I know what to make.
Building Your M45 Shotgun
Key
* = Use superglue on the cracks/edges.
** = Use epoxy adhesive on the contact point.
Recommended Equipment
- Big Printer [required]
- 2-Part Epoxy Adhesive [required]
- Super Glue [epoxy alternative]
- Flush Cutters
- Rubber Mallet [highly recommended]
- Needle Nose Pliers
Support me by listening to my music: https://spoti.fi/3Yg7XoH
License

You shall not share, sub-license, sell, rent, host, transfer, or distribute in any way the digital or 3D printed versions of this object, nor any other derivative work of this object in its digital or physical format (including - but not limited to - remixes of this object, and hosting on other digital platforms). The objects may not be used without permission in any way whatsoever in which you charge money, or collect fees.


Comment & Rating (47)