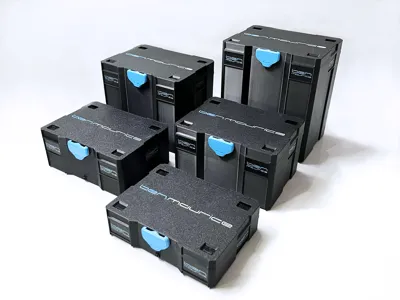
Systainer T-Loc Mini SYS1 - SYS5 (15cm Version)


Print Profile(10)


Description
Systainer T-Loc Mini SYS1 - SYS5 (15cm Version)
Community-Addons
organizer accessory box Bambulab A1 by @legnamee_rf
organizer accessory box Bambulab X1 - P1 by @legnamee_rf
Systainer T-Loc Mini SYS2 - Insert 6 Hotend (24mm) by @Cookie_Monster
I created a remix of my SYS2 model for the inserts by @legnamee_rf and uploaded it as a new print profile
The print profile “SYS2, ABS, + Insert support edges, Bambu Lab Edition” includes 2 bodies with integrated support edges,
so the rectangular spacer blocks are not needed
Print Plate 2: Body with 24mm deep edge for organizer accessory box Bambulab X1 - P1
Print Plate 5: Body with 20mm deep edge for organizer accessory box Bambulab A1
So you only need to print the insert from @legnamee_rf, saving some material and print time, and gaining more storage space under the insert
Additionally, I added logos and lettering to the lid and labels, for everyone with AMS
Divider insert by @user_188488513 :
Warpaint insert for Systainer T-Loc Mini by @Armadiaboli
Screw register insert for Systainer T-Loc Mini by @Armadiaboli
Measuring tool insert for Systainer T-Loc Mini by @Armadiaboli
A1 Tools insert for Systainer T-Loc Mini by @Armadiaboli
A1 tool organizer insert for Mini Systainer by @flummer
10x screw register inlay for Systainer T-Loc Mini by @Armadiaboli
14x screw register inlay for Systainer T-Loc Mini by @Armadiaboli
5x3 register inlay with label by @Leinich3D
IKEA Skadis tray for Systainer by @Leinich3D
SYS2 screw insert by @RamboRamjad
Systainer SYS screw bit organizer insert by @Nomad_
Dividers Systainer T-Loc Mini SYS2 by @freedzio
Creation
As a carpenter owning Festool tools and recently my first 3D printer (P1S), one of the first models I searched for on MakerWorld was a mini Systainer
Then I came across the model Simple Printable Mini Systainer (Beta) by Siganberg
After my first print of Siganberg's Mini Systainer, I boosted the model, like many others, hoping he would design and release more sizes, such as SYS2, SYS3, etc
Unfortunately, this has not happened to this day, and as you can see, I couldn't wait and designed my own model from scratch
In all sizes from SYS1 to SYS5!
For now, in a 15cm wide version
Further versions (10cm, 20cm, and 25cm) are planned with optimized wall thicknesses and tolerances
Update on further versions:
Instead of a 10cm version, I designed a Systainer³ SYS3 XXS in three sizes XXS 33, XXS 48 and XXS 64
These models seemed more sensible to me as they are compatible with the current original SYS3 XXS
Next, I'm venturing into a larger model
Since a Systainer Mini in original size has often been requested here, I've come up with something that would also be more sensible and hopefully make many people here happy
Please be patient and let me surprise you
Description
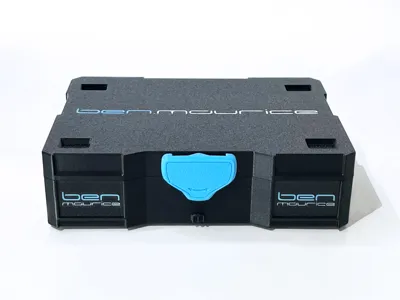
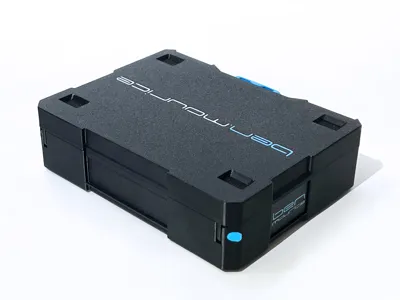
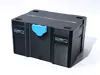
I kept the proportions of the original Systainers and left a bit more detail for increased stability and a look closer to the original, but still easy to print
My logos on the Systainers in the pictures are for example only and are not included in the print profiles
This way, you can immediately design the Systainers with your own custom logos and designs
Important Print Settings
I have made the most important settings in the object and print plate settings, and they should not be changed
Supports:
All holes of the body and lid can be printed without supports
The recesses for the feet must be printed with supports
I tested all support structures available in Bambu Studio and the best surface after removing supports was achieved with the following settings
Supports:
- Type - Normal (auto)
- Style - Grid
Strength:
- Bridge direction - 90°
Speed:
- Bridging - 10 mm/s (for ABS)
- Bridging - 40 mm/s (for PETG HF)
Furthermore, the support on the body for the upper locking hook is very important!
Without this, the most important part of the hook would be printed in mid-air, and consequently, the lid would not stay firmly closed later
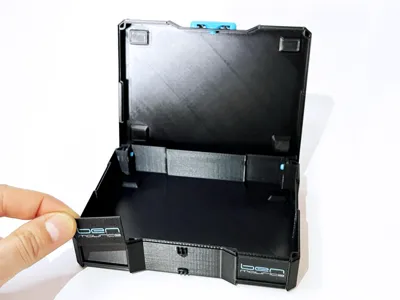
Assembly
Lid
For the holes in the lid's hinges, I opted against supports to save print time and material
The holes become flat at the top, which can cause the lid to be stiff at first and even lock when half-open
It's best to check the holes in the lid again before the first assembly and, if necessary, carefully scrape out the flat spots at the top of the hole with scissors or similar, without applying pressure, so that a round hole is created
If you were to print the holes with supports, you would also need to check the holes and remove any support remnants
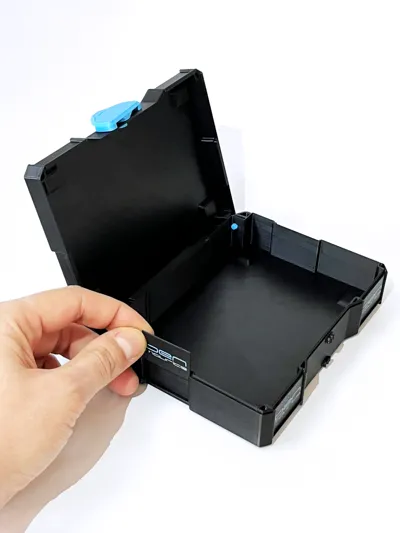
T-Loc
Around the hole for the T-Loc, there is a ring that reinforces the lid's wall and also serves as a guide for the T-Loc
After printing without supports, recheck this ring and, if necessary, clean up the top outside edge a bit
It is best to carefully push in the T-Loc, rotated 45°, with a bit more forceful pressure, while simultaneously twisting it back and forth a little
I designed the T-Loc's bolt from solid material for maximum stability. This means it won't go through the hole easily
However, this is necessary so that it doesn't wobble later and the usage feels high-quality, thanks to a slight resistance when turning the T-Loc
Bolt
When assembling, it is important that the flat side of the bolt is perfectly aligned parallel to the flat wall in the hole before pushing the bolt all the way in!
If it's not flush with the box after pushing it in, do not force it further, but push it out again from the inside, align it parallel, and push it in again
Feet
No glue is needed for assembly
The chamfers on the feet must face outwards and the vertical/right-angled side inwards
The two feet with "two teeth" (the smaller ones) go to the back, and the larger ones with "one tooth" go to the front
The textured surface of the feet faces inwards and is no longer visible after assembly
Once all support material has been completely removed from the recesses for the feet, the feet will snap into place with firm and slightly diagonal pressure
If they still don't go in, you might try gently tapping them with the handle of a screwdriver or similar. But do not use a hammer! That is too extreme
I did that once, and it cracked


Note:
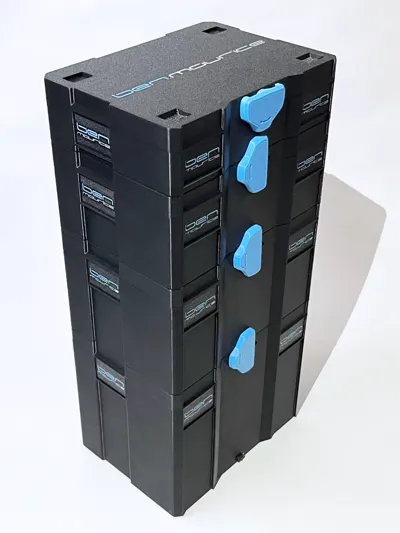
I was able to lift an 80cm high stack of Systainers with approximately 4-5kg of contents by the top box and swing it back and forth a bit, without any foot detaching or the stacked boxes separating
If you want to load the Systainers much heavier and still stack them high, then you might want to glue the feet in
But remember that these are still 3D prints and will never be as sturdy as the original Systainers!
The biggest weak point of this model is probably the lid's hinges, as they are printed vertically
That's why I designed them significantly thicker than the wall thickness
If you think these should be designed even thicker, please feel free to leave your opinion in the comments
Also, if you have other suggestions, feel free to write them in the comments
Happy printing!
License
You shall not share, sub-license, sell, rent, host, transfer, or distribute in any way the digital or 3D printed versions of this object, nor any other derivative work of this object in its digital or physical format (including - but not limited to - remixes of this object, and hosting on other digital platforms). The objects may not be used without permission in any way whatsoever in which you charge money, or collect fees.
Comment & Rating (794)