Handheld UConsole Case


Print Profile(1)
Description
Overview
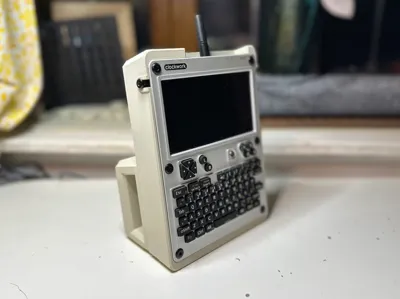
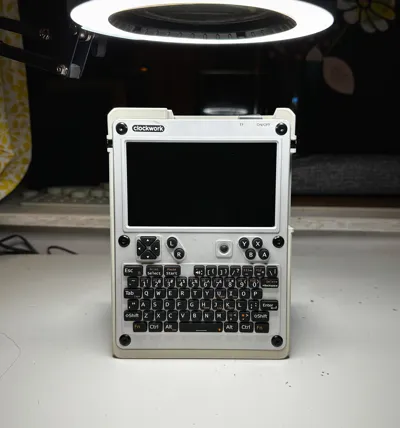
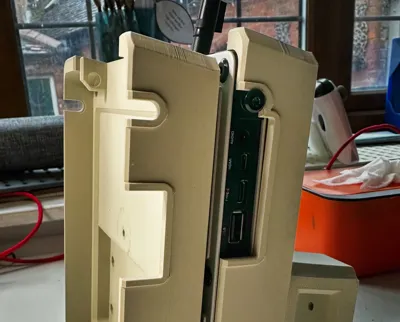
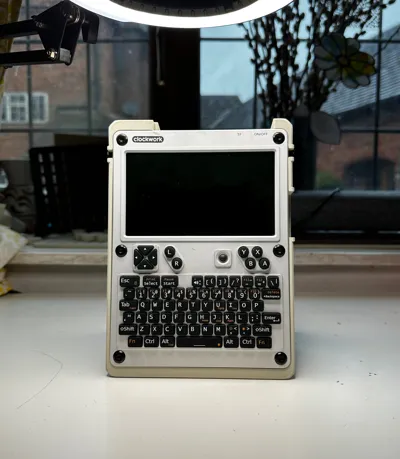
Retro Inspired Case for Clockworkpi uconsole, for handheld use!
UConsole now supports Raspberry Pi CM5, I felt a new case design was in order to celebrate!
This is the 4th, and best iteration of cases I've worked on for the uconsole. It's a bit chunky, a bit boxxy, looks good, feels great, well worth a print.
Boost Me (for free)
Support me designing more uconsole accessories!
Printing
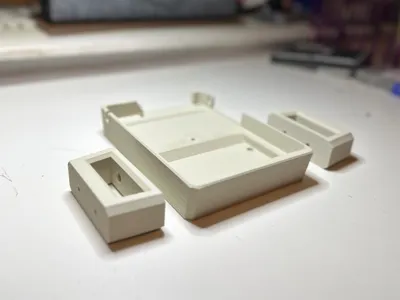
Parts to print
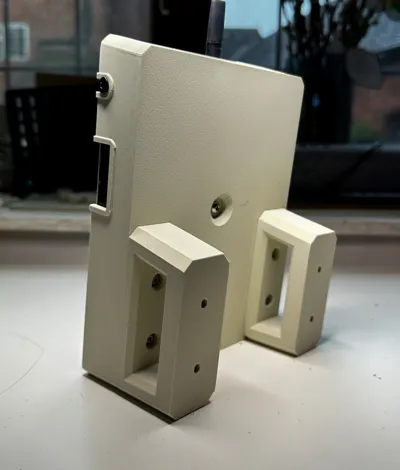
Print two handles, they are identical but have separate step files for the fun of it.
Print one case variant:
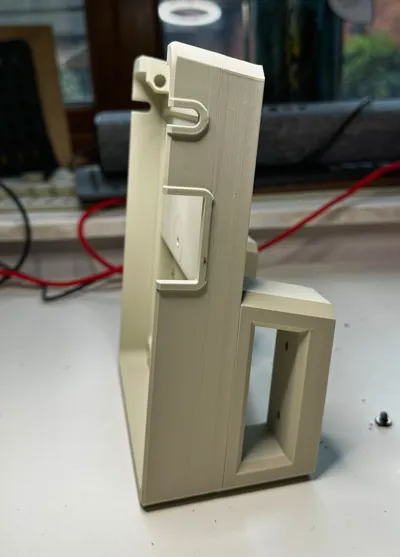
- Case: Full case with opening for audio Jack, hdmi and USBs.
- No HDMI: Covers up the Audio jack and HDMI port, I use this one cause I don't use the jack or HDMI port often, and this part of the model is stronger.
Filaments
Matte finish beige filaments work best for the 90s computer feel! Pictured filament is eSun Upgraded Matte PLA in Light Khaki.
Slicing Yourself
Orient as in the 3mf file, use supports on the bolt holes, luckily any mess will be hidden well by the bolts!
Do whatever necessary to avoid Warp!
The case part will definitely try to warp on you, it's a big rectangle box.
I found that adding a brim and turning off the fan for the first 15-20mm worked really well, you can do that in your filament settings.
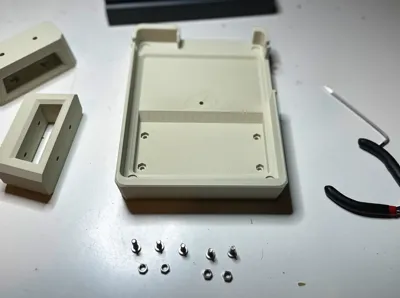
Parts
- m4 x 10mm bolt, button cap x4
- m4 x 12-16mm bolt, button cap x1
- m4 nut x4
I used this set: https://amzn.eu/d/06talcVd
Assembly
- Bolt the handles to the case using the m4x10mm bolts and secure with the m4 nuts.
- Attach any external antenna mount you have to the antenna holder.
- Remove the original uconsole stand (the metal bar), and bolts.
- Slide in the uconsole into the case
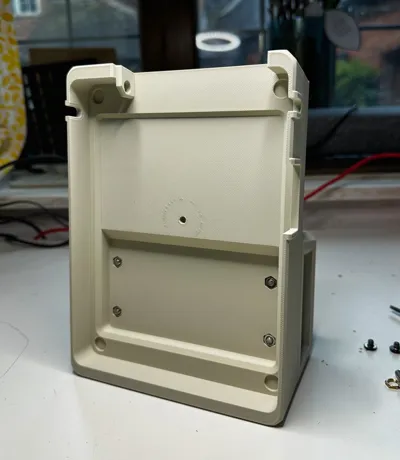
- Secure the uconsole to the case using the hole at the back and an m3 bolt that fits and holds it well (I used an m4 x 14mm).
- Replace the bolts for the original uconsole stand.
License
You may create derivative works based on this object, provided that all such derivative works are published exclusively on the MakerWorld platform and include proper attribution to the original creator. You may not share, upload, host, distribute, or publish this object—or any derivative work of this object—on any other digital platform, marketplace, or distribution channel. Commercial use of this object and any derivative works is strictly prohibited. This includes, but is not limited to, selling, renting, sublicensing, or using the object in any context in which you receive monetary compensation or other financial benefits.
Comment & Rating (7)