
IKEA Skadis 5mm (A1mini Printable) IKEA Pegboard Infinite Splicing Version 5mm Thick


Print Profile(10)


Description
Model Update Content on 2024.03.13:
The combination connectors and support legs of the pegboard have been uploaded. For details, please jump →→→ https://makerworld.com/zh/models/227562#profileId-245176
If you want a pegboard that can be infinitely connected and expanded on all four sides, please directly print this configuration in the middle position ↓ ↓ ↓

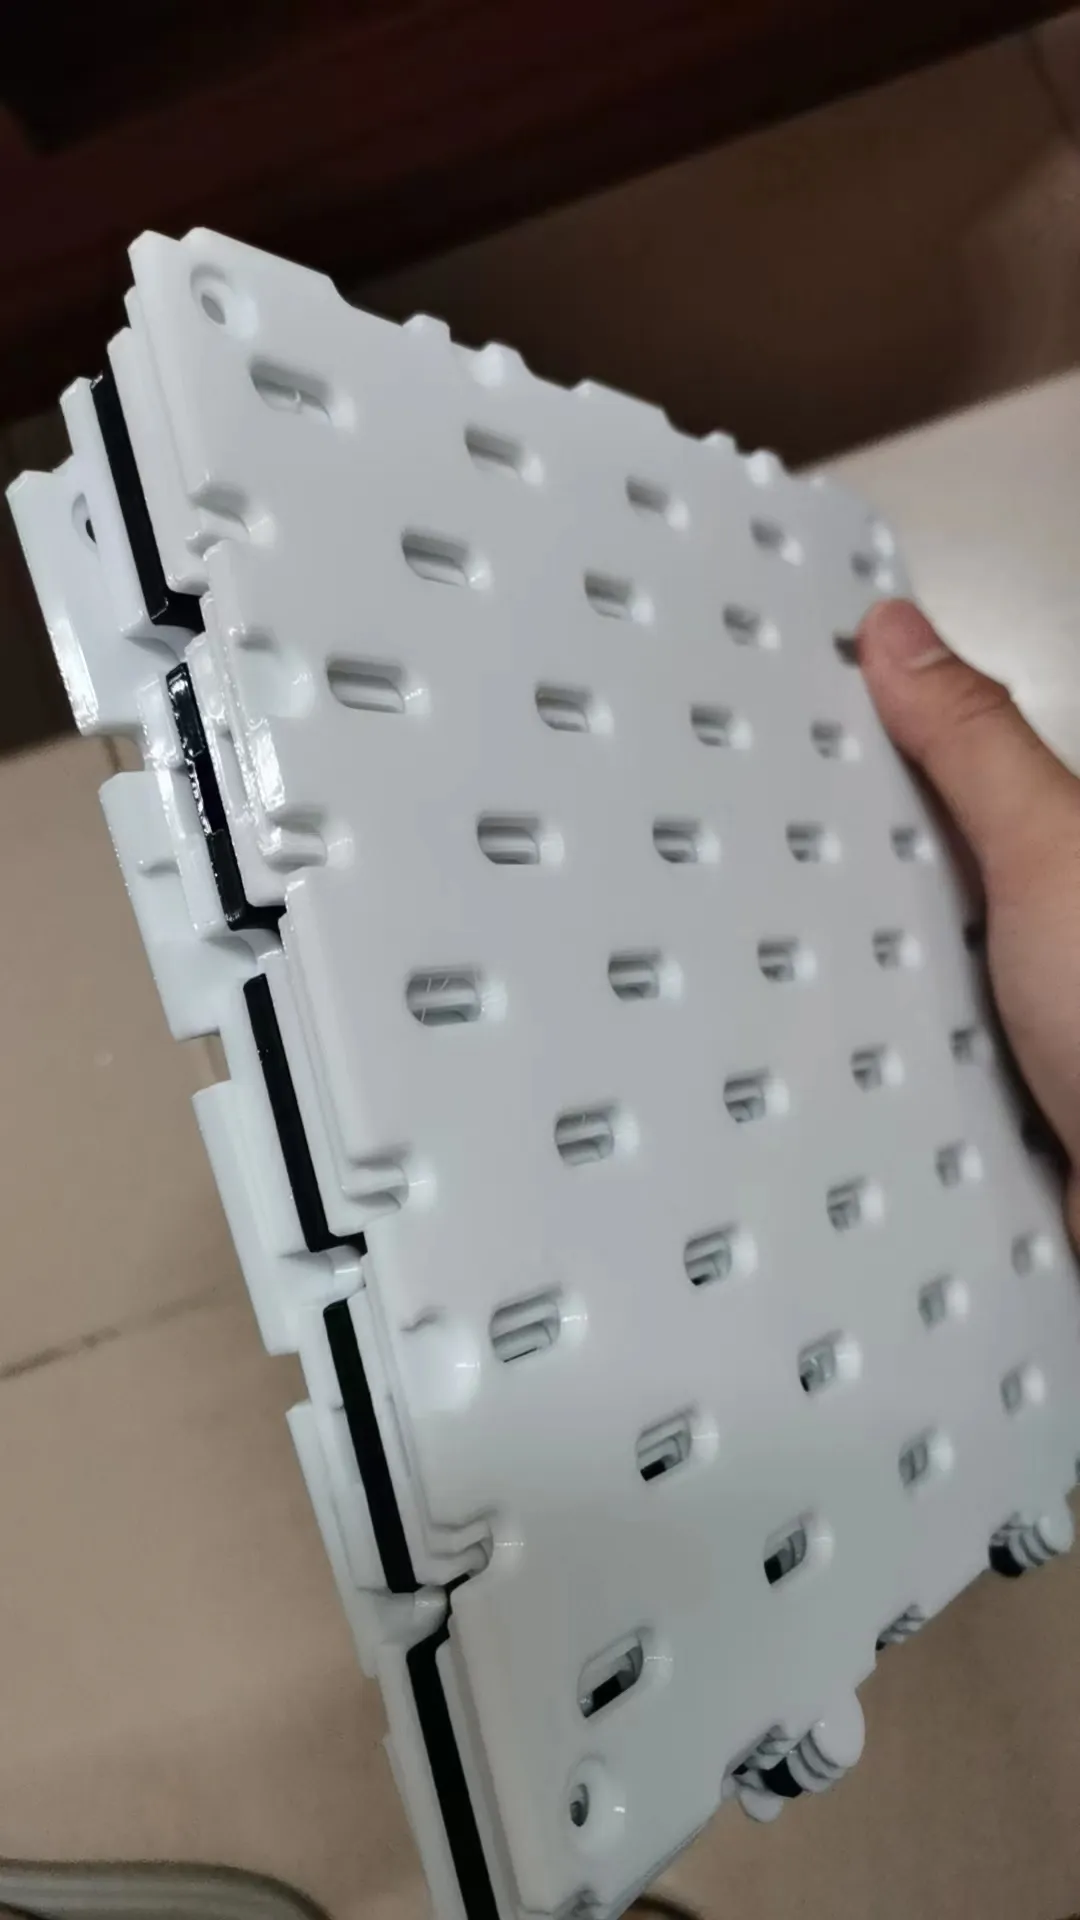
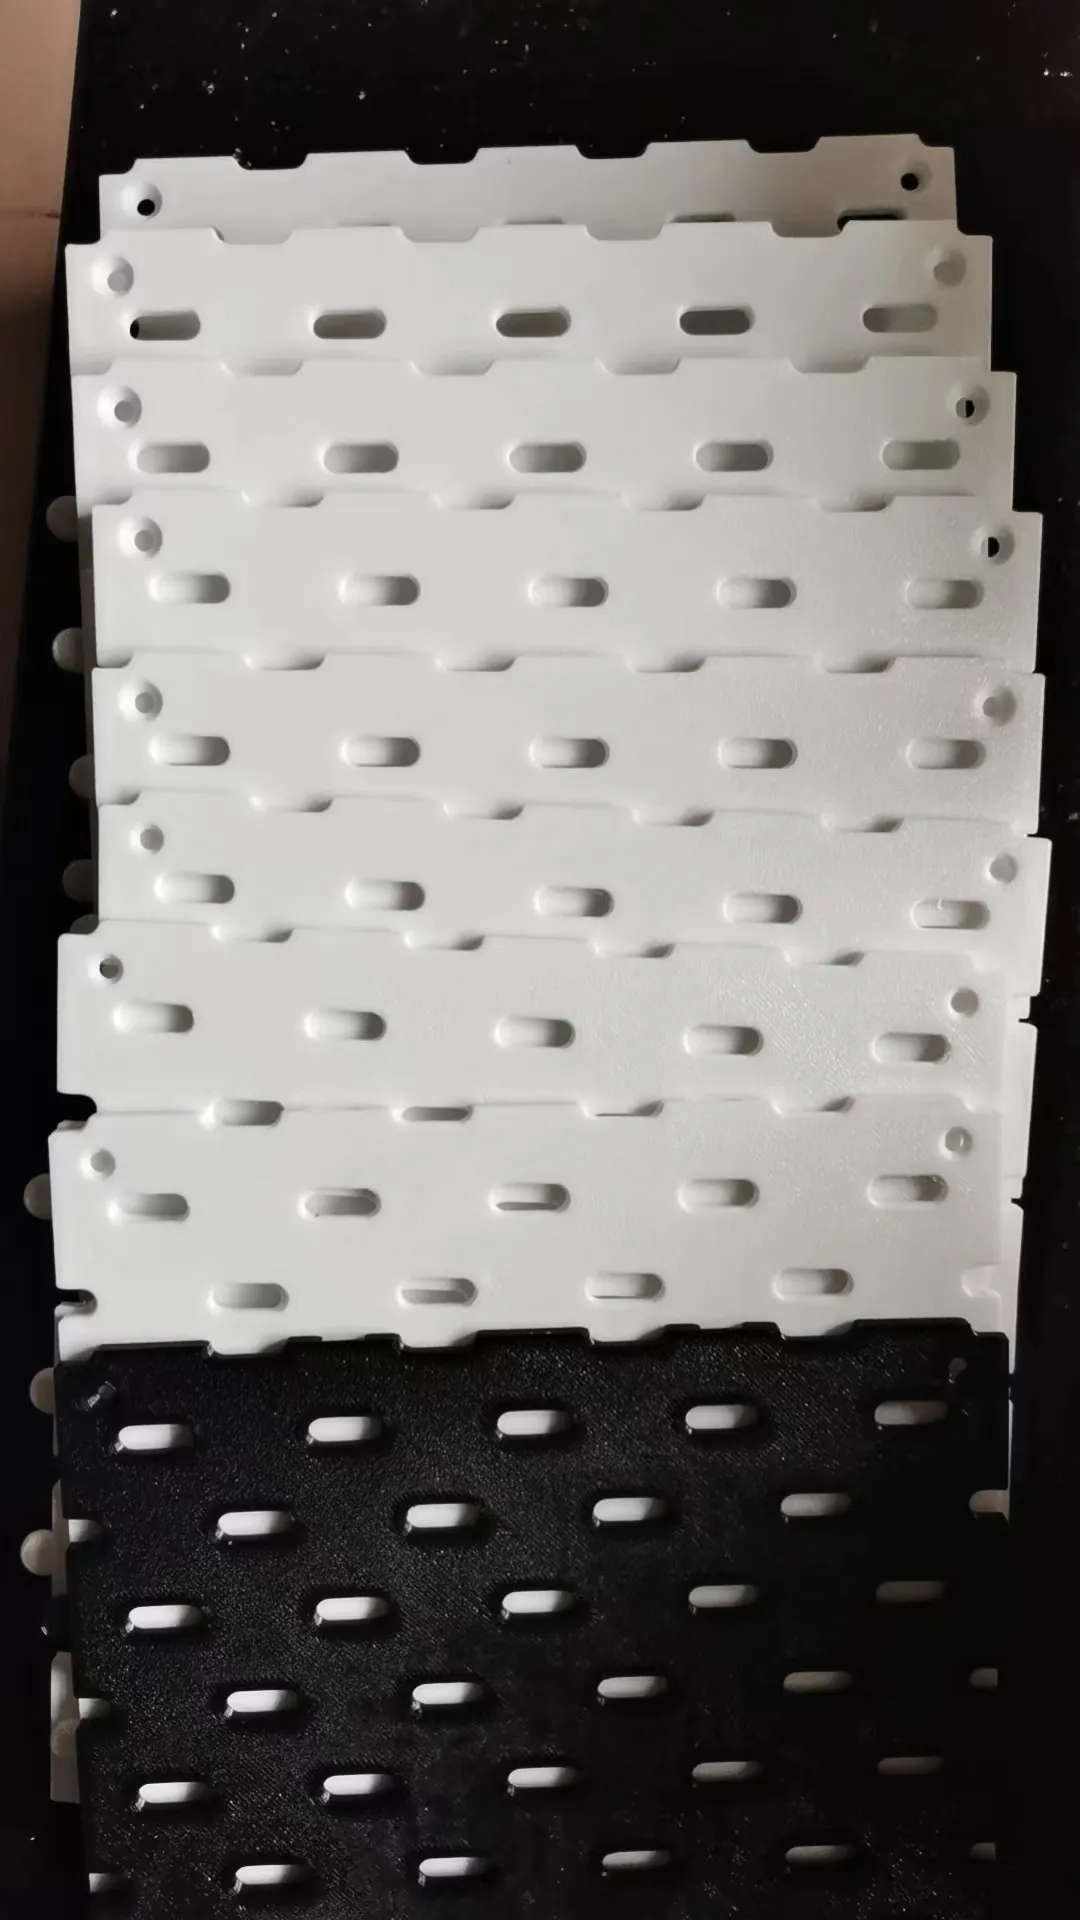
This model is mainly for the A1 mini's printing area, so it's a re-cut pegboard. The printed area is 16x16.
Due to the printing area limitation, the pegboard connection hole position has changed, so it's not compatible with the previous 20x20 large board connection hole position.
Pegboard thickness: 5mm, easy to adapt to the accessories of IKEA pegboards currently on the market.
Pegboard screw hole diameter: 4.6mm.
※ Every two boards can be assembled together, and you can freely add middle pegboards to splice into a larger area of pegboard.
※ Some people have reported that the supporting legs are not strong enough after being separated. After my actual measurement, fixing the pegboard and the support legs with self-tapping screws does not affect the bearing capacity.
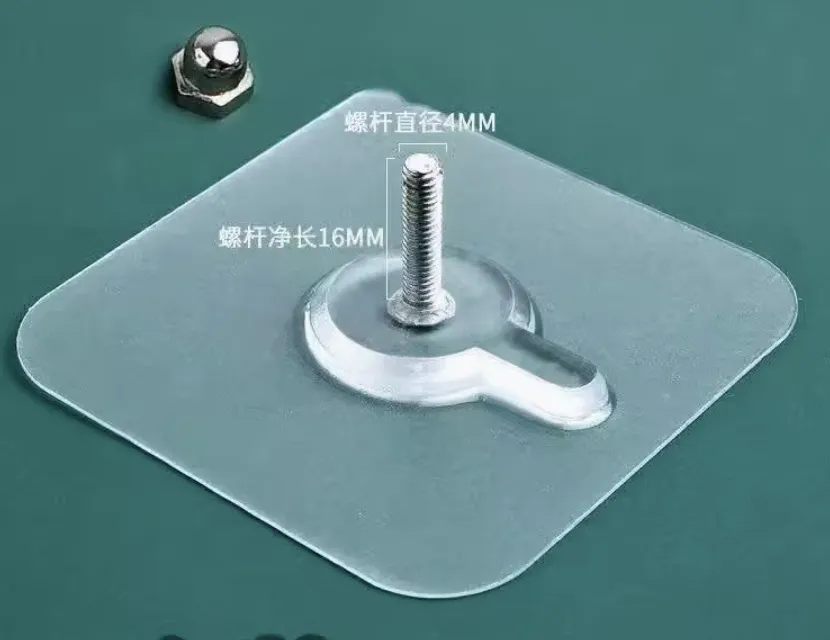
※ The main bearing capacity of the pegboard depends on the different fixing methods. Here, I recommend the following three fixing methods: fixing with holes on the wall; fixing with glue without nails; fixing with trackless screws (see the picture below). The bearing capacity ranking from high to low is: fixing with holes on the wall>fixing with glue without nails>fixing with trackless screws (see the picture below).
If you have X1/P1/A1 machines, you can print larger area pegboards:
24*20 pegboard → → → https://makerworld.com/zh/models/396635#profileId-297954
20*20 pegboard → → → https://makerworld.com/zh/models/208330#profileId-228370
License



Comment & Rating (110)