


Print Profile(5)


Description
Boost Me (for free)
If you find it useful! ..Thank you & have a great day! :)
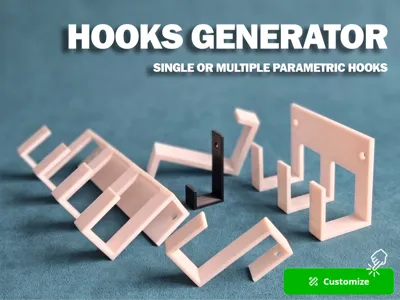
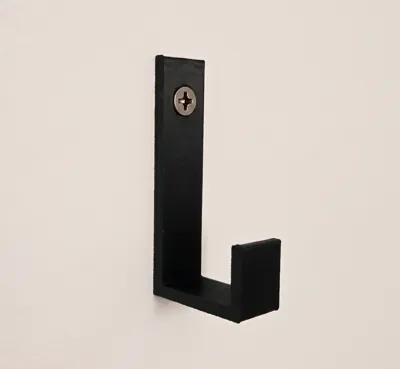
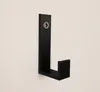
Hi! This is a parametric hook generator, whether you need a tiny key clip, a heavy-duty garden tool mount, or an over-the-door organizer, you should be able to generate the exact geometry you need.
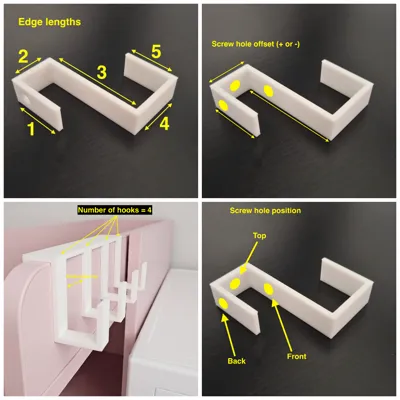
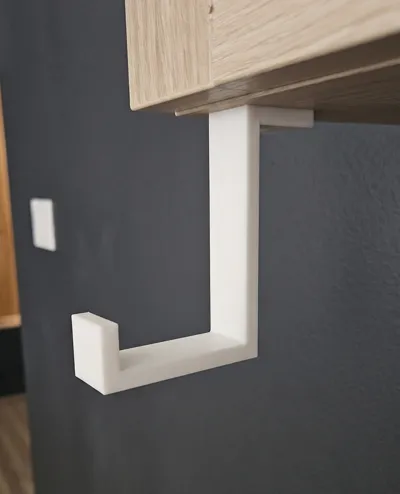
It uses a 5-segment "arm" system so you can shape it to fit over doors, over furniture edges, under shelves, or just flat against a wall. It’s designed to be printed on its side so the layer lines don't snap when you hang something heavy on it.
Examples:
 | 
| 
| 
| 
|
How to configure it
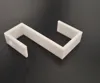
The hook is broken down into 5 segments (Arms 1–5). If you want to get rid of a segment, you can just set its length to 0
 | 
|
There are two parameters to change the thickness and the width of the hook(s)

|  |
Mounting:
- Set “screw hole radius” to whatever hardware you have. If you're using command strips, set this to 0.
- The “screw hole position” lets you toggle between mounting it to a wall (back), a ceiling/shelf (top), or a weird front-mount.
- The “srew hole offset” lets you move the screw hole by +/- a specific offset (make sure it's inside the arm length)
 | 
|
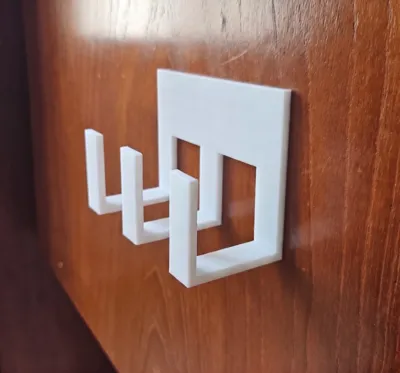
Multiple Hooks: If you change numbers of hooks parameter to anything higher than 1, the script automatically adds a support bar (Joiner) to keep them all aligned and spaced correctly. You can also set the hook spacing parameter to set the distance between hooks. The script automatically adds 2 screws holes at the right and left edges, if you don't need them (for example if you use double-sided tape) just set screw hole size to 0
 | 
|
Print Settings
- Orientation: The script already rotates the model 90 degrees. Keep it that way. Printing it on its side is the only way to make sure the hook doesn't delaminate under load.
- Strength: Don't bother with 100% infill. Just increase wall loops. That’s where the actual strength comes from.
- Material: PLA is perfectly fine for most stuff
- Supports: Use supports for printing multiple hooks
License
You shall not share, sub-license, sell, rent, host, transfer, or distribute in any way the digital or 3D printed versions of this object, nor any other derivative work of this object in its digital or physical format (including - but not limited to - remixes of this object, and hosting on other digital platforms). The objects may not be used without permission in any way whatsoever in which you charge money, or collect fees.
Comment & Rating (2)