Parametric Minecraft lamp


Print Profile(0)
Description
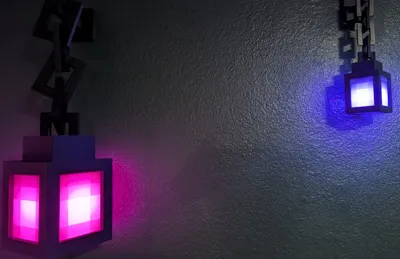
This lamp is my first attempt at building something with parameters. For each piece, you'll want to ensure you use the same “pixel” size. A “Pixel” is a square of color in Minecraft. A single block in minecraft is 1 meter cubed and 16x16x16 pixels. This means, by size, a pixel would be 62.5mm. This is way too big. My suggestion is to use 30mm at the biggest for a pixel. The lamp is 6px X 6px X 10.5px, this makes for a 180mm x 180mm x 315mm assembled print (not including the wall mount & chain links).
**Chose a pixel size and stick with it for all of the subsequent models or it won't fit together.
If you stay at or above 15mm for a pixel, threading for an E26 bulb is generated. I'm using this battery powered bulb in my pictures. For smaller prints, I suggest using the model without a bottom panel and placing a tea light within.
Here's my suggested print parameters:
Filament:
- Bambu Labs Basic White PLA printed at 100% infill for the window panels
- Bambu Labs Basic Black PLA for everything else
I recommend using support on the top, just for the corner centering/magnet holes. Nothing else should need support.
Infill: Use a default 15% for all black parts. Use 100% infill for the window panels. This is super important which is why I've now stated it twice! The thickness differences is what give the pixelated effect!
It's heavy. You can try command strips, which may work on a smaller print, but mount with a screw for bigger prints.
Assembly:
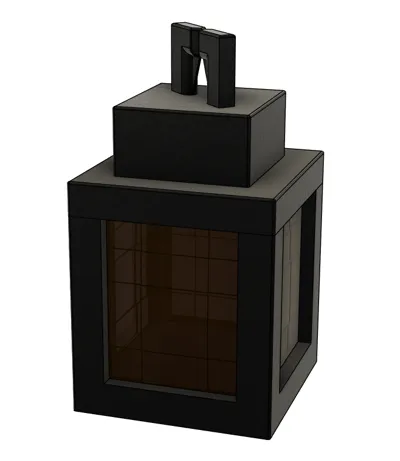
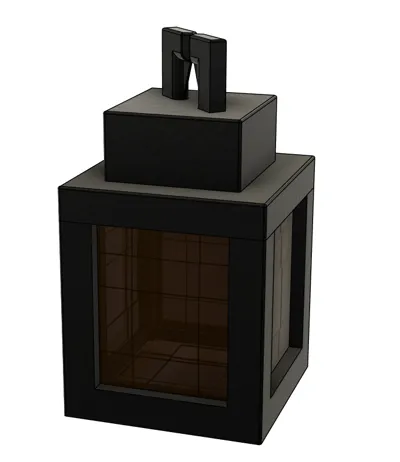
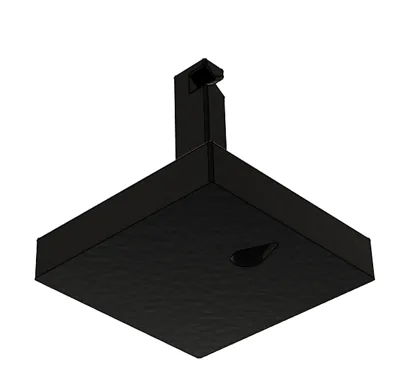
- TOP: Glue in magnets. If your pixel size is >20px, I strongly recommend using epoxy. The two triangles within the top chain loop are built-in support and should just snap out. If they are giving you any trouble, try using your snips, upside-down, at the top of one of them. I found the angle of the snips' blade, alone, was enough to get it to pop when it was being difficult.
- BOTTOM: Magnet prep, just like the the top - glue in magnets, use epoxy for larger builds.
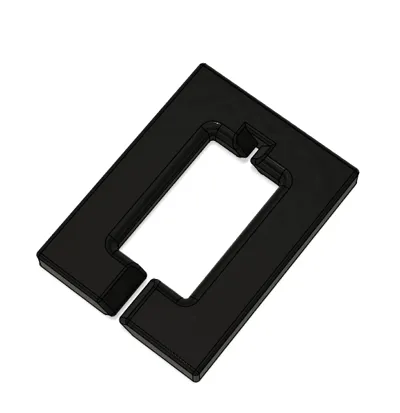
- WINDOW PANELS: These just slide into the bottom. Add them AFTER gluing in the magnets. Flat side goes out, thicker rim goes down. A spot of hot glue in the corners can help if you don't like the rattling.
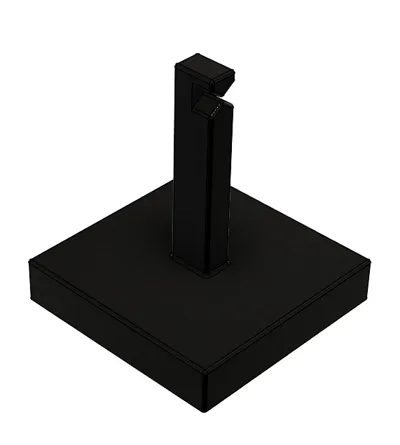
- WALL MOUNT: Place it on the wall at your desired height/location. Because everything is centered/balanced, the mount only uses a single screw/hook to hold it. Only use adhesive strips with smaller prints, and please test the strength of it first before hanging the lamp. I just hung a shopping bag off if it, laden with about 25% more weight then the lamp will be.
- CHAIN: The chains link together by pushing the the gap on each piece together. Start by connecting a link to the top of the lamp. Rotate the link so that the connection gap is pointing up. Add subsequent links the same way, always leaving the gap up. Finish by looping it over the wall mount. Each link, the lamp, and the wall mount all have a notch to center each link. This notch is even deeper on the wall mount, locking the top link in place. These allow for the chain links to center, but also reduces torsional stress which will translate to greater stress on your wall mount. If you're using adhesives to mount it (e.g. 3M strips) it's important to reduce the strain on it as much as possible.
Comment & Rating (0)