
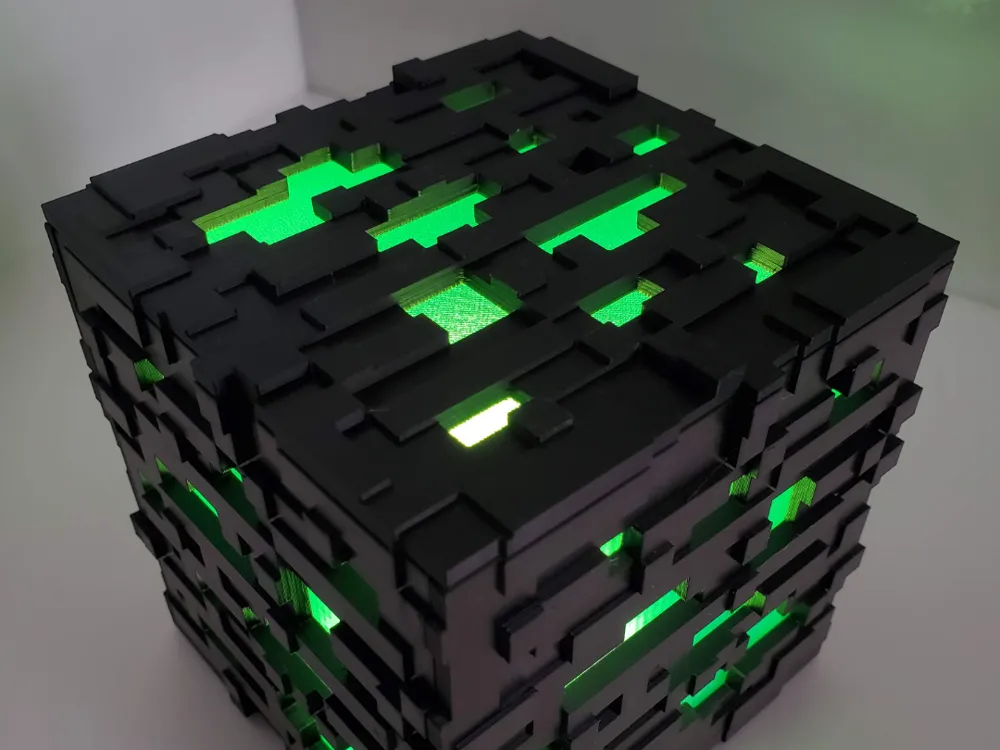
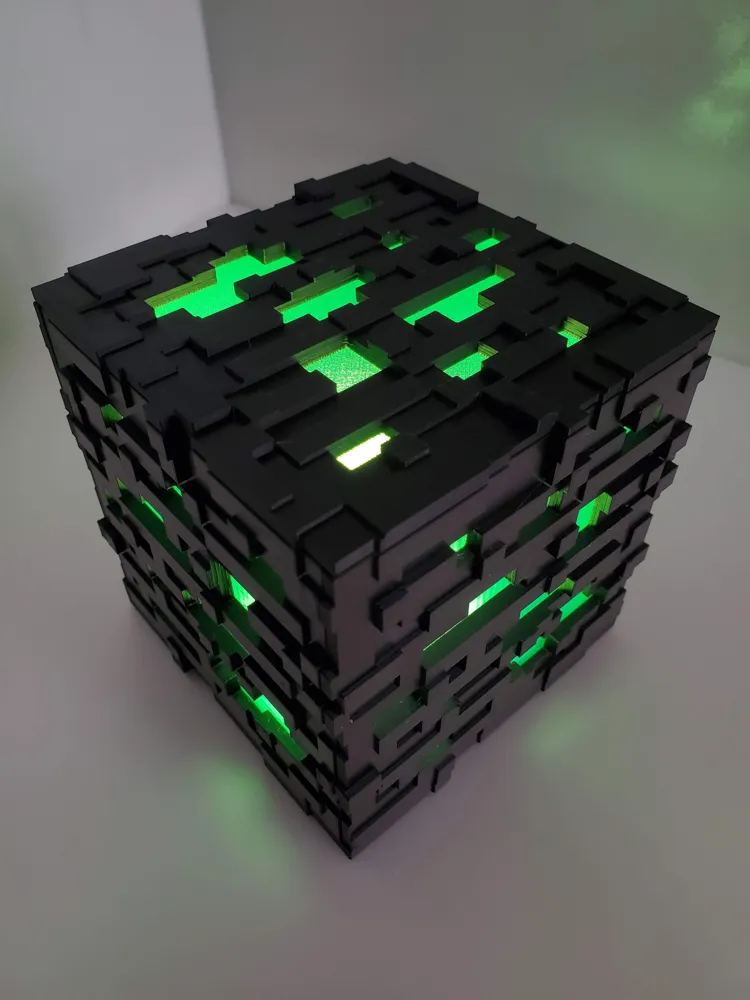
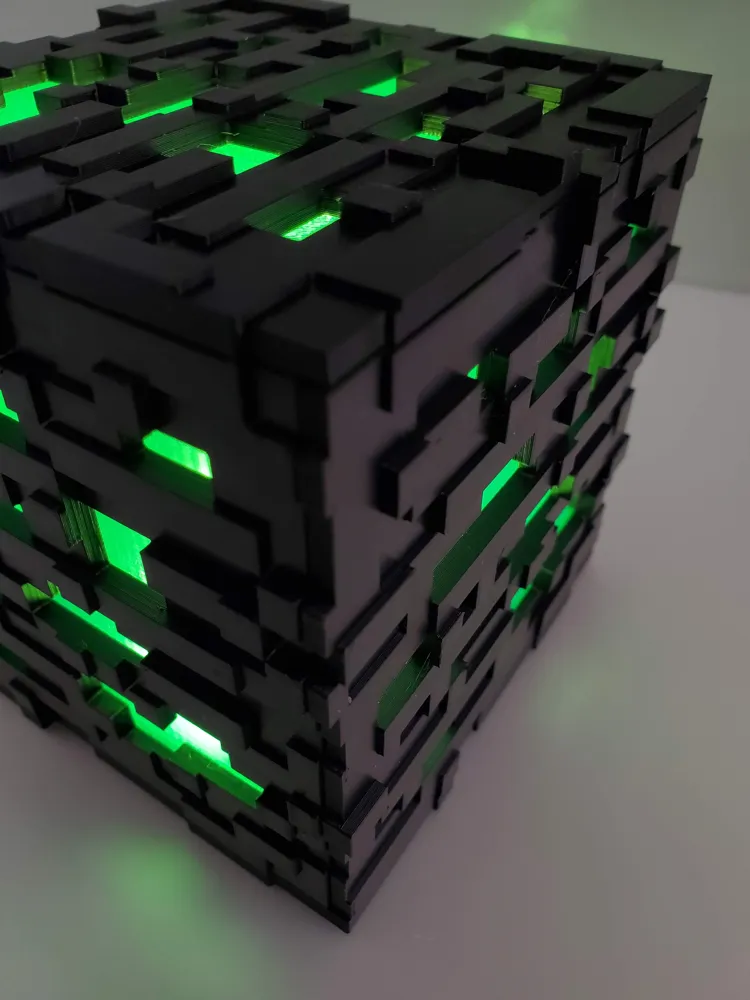
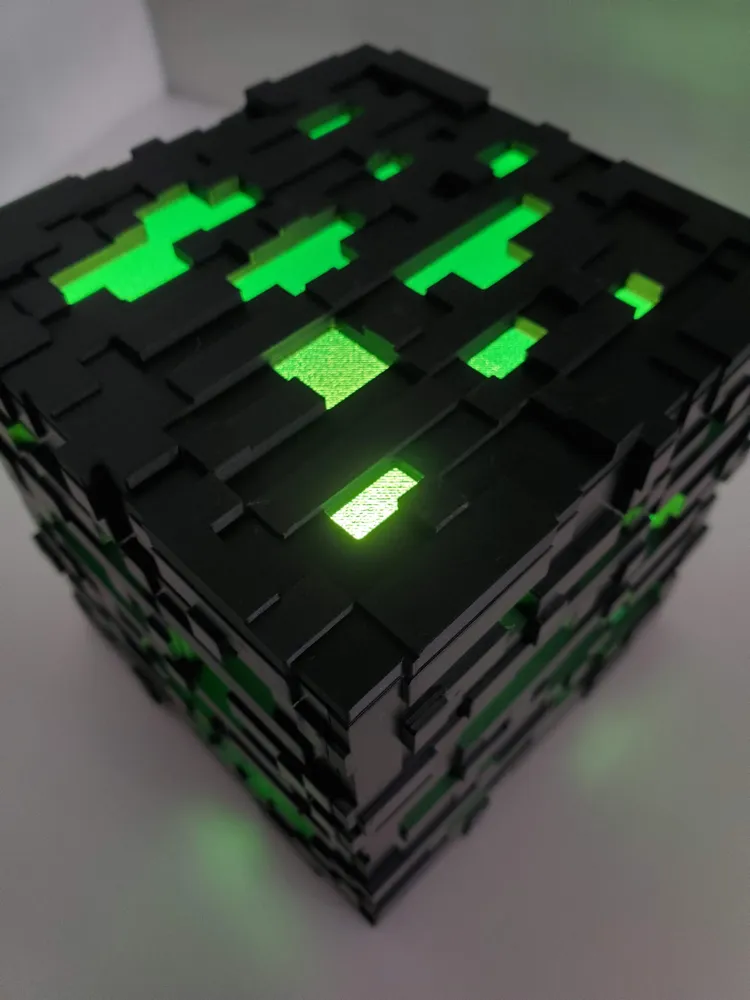
Minecraft Lamp
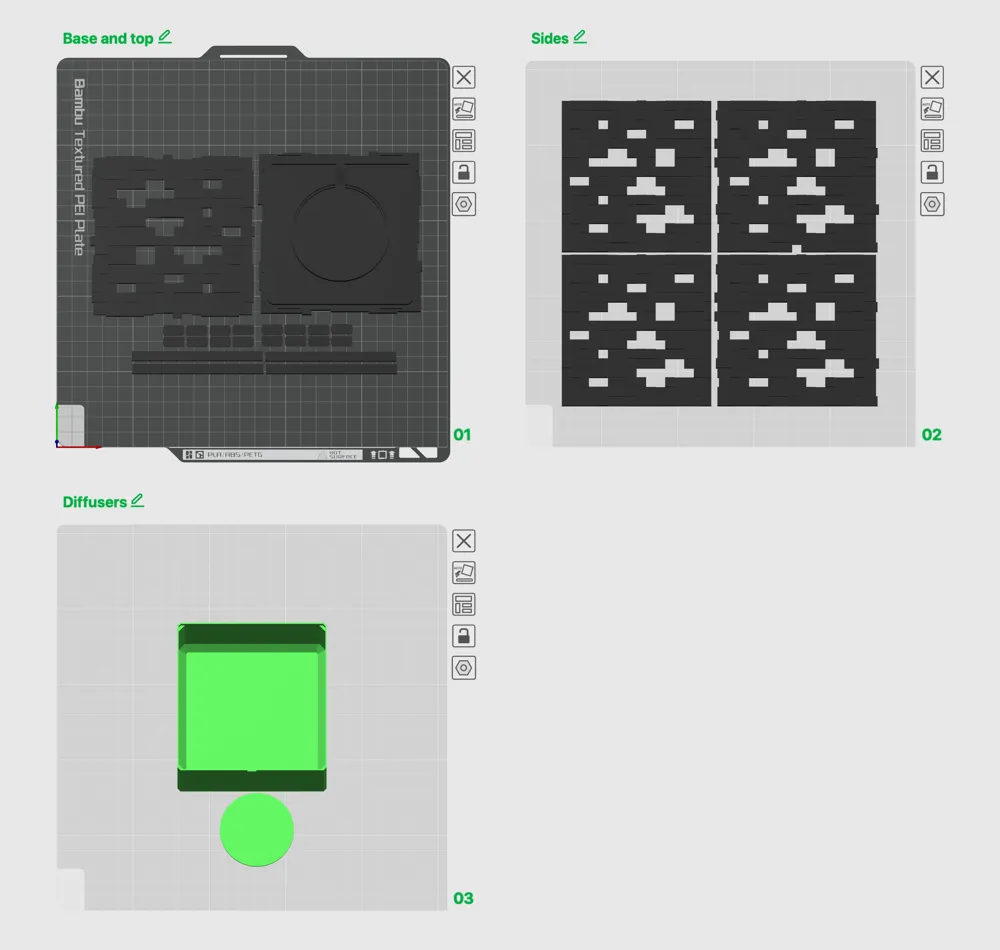
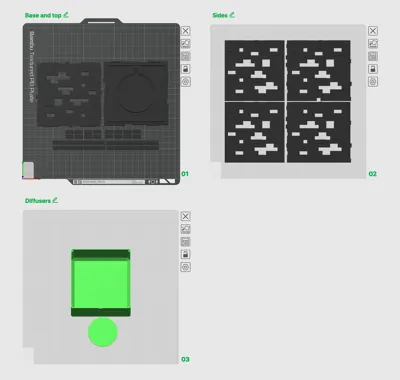
Print Profile(4)



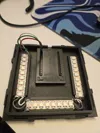

Bill of Materials




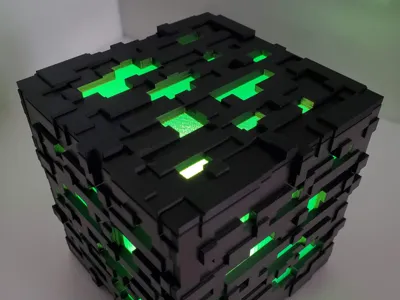
Description
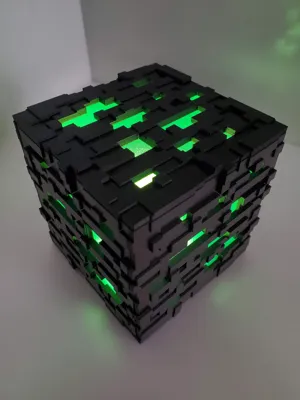
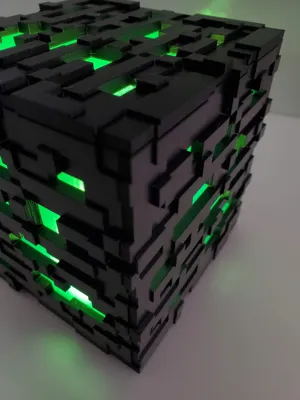
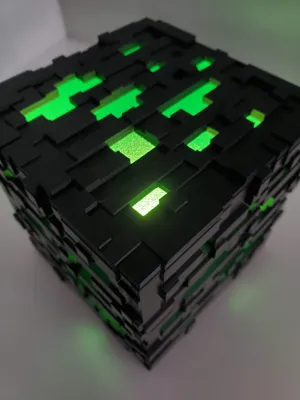
Minecraft Lamp
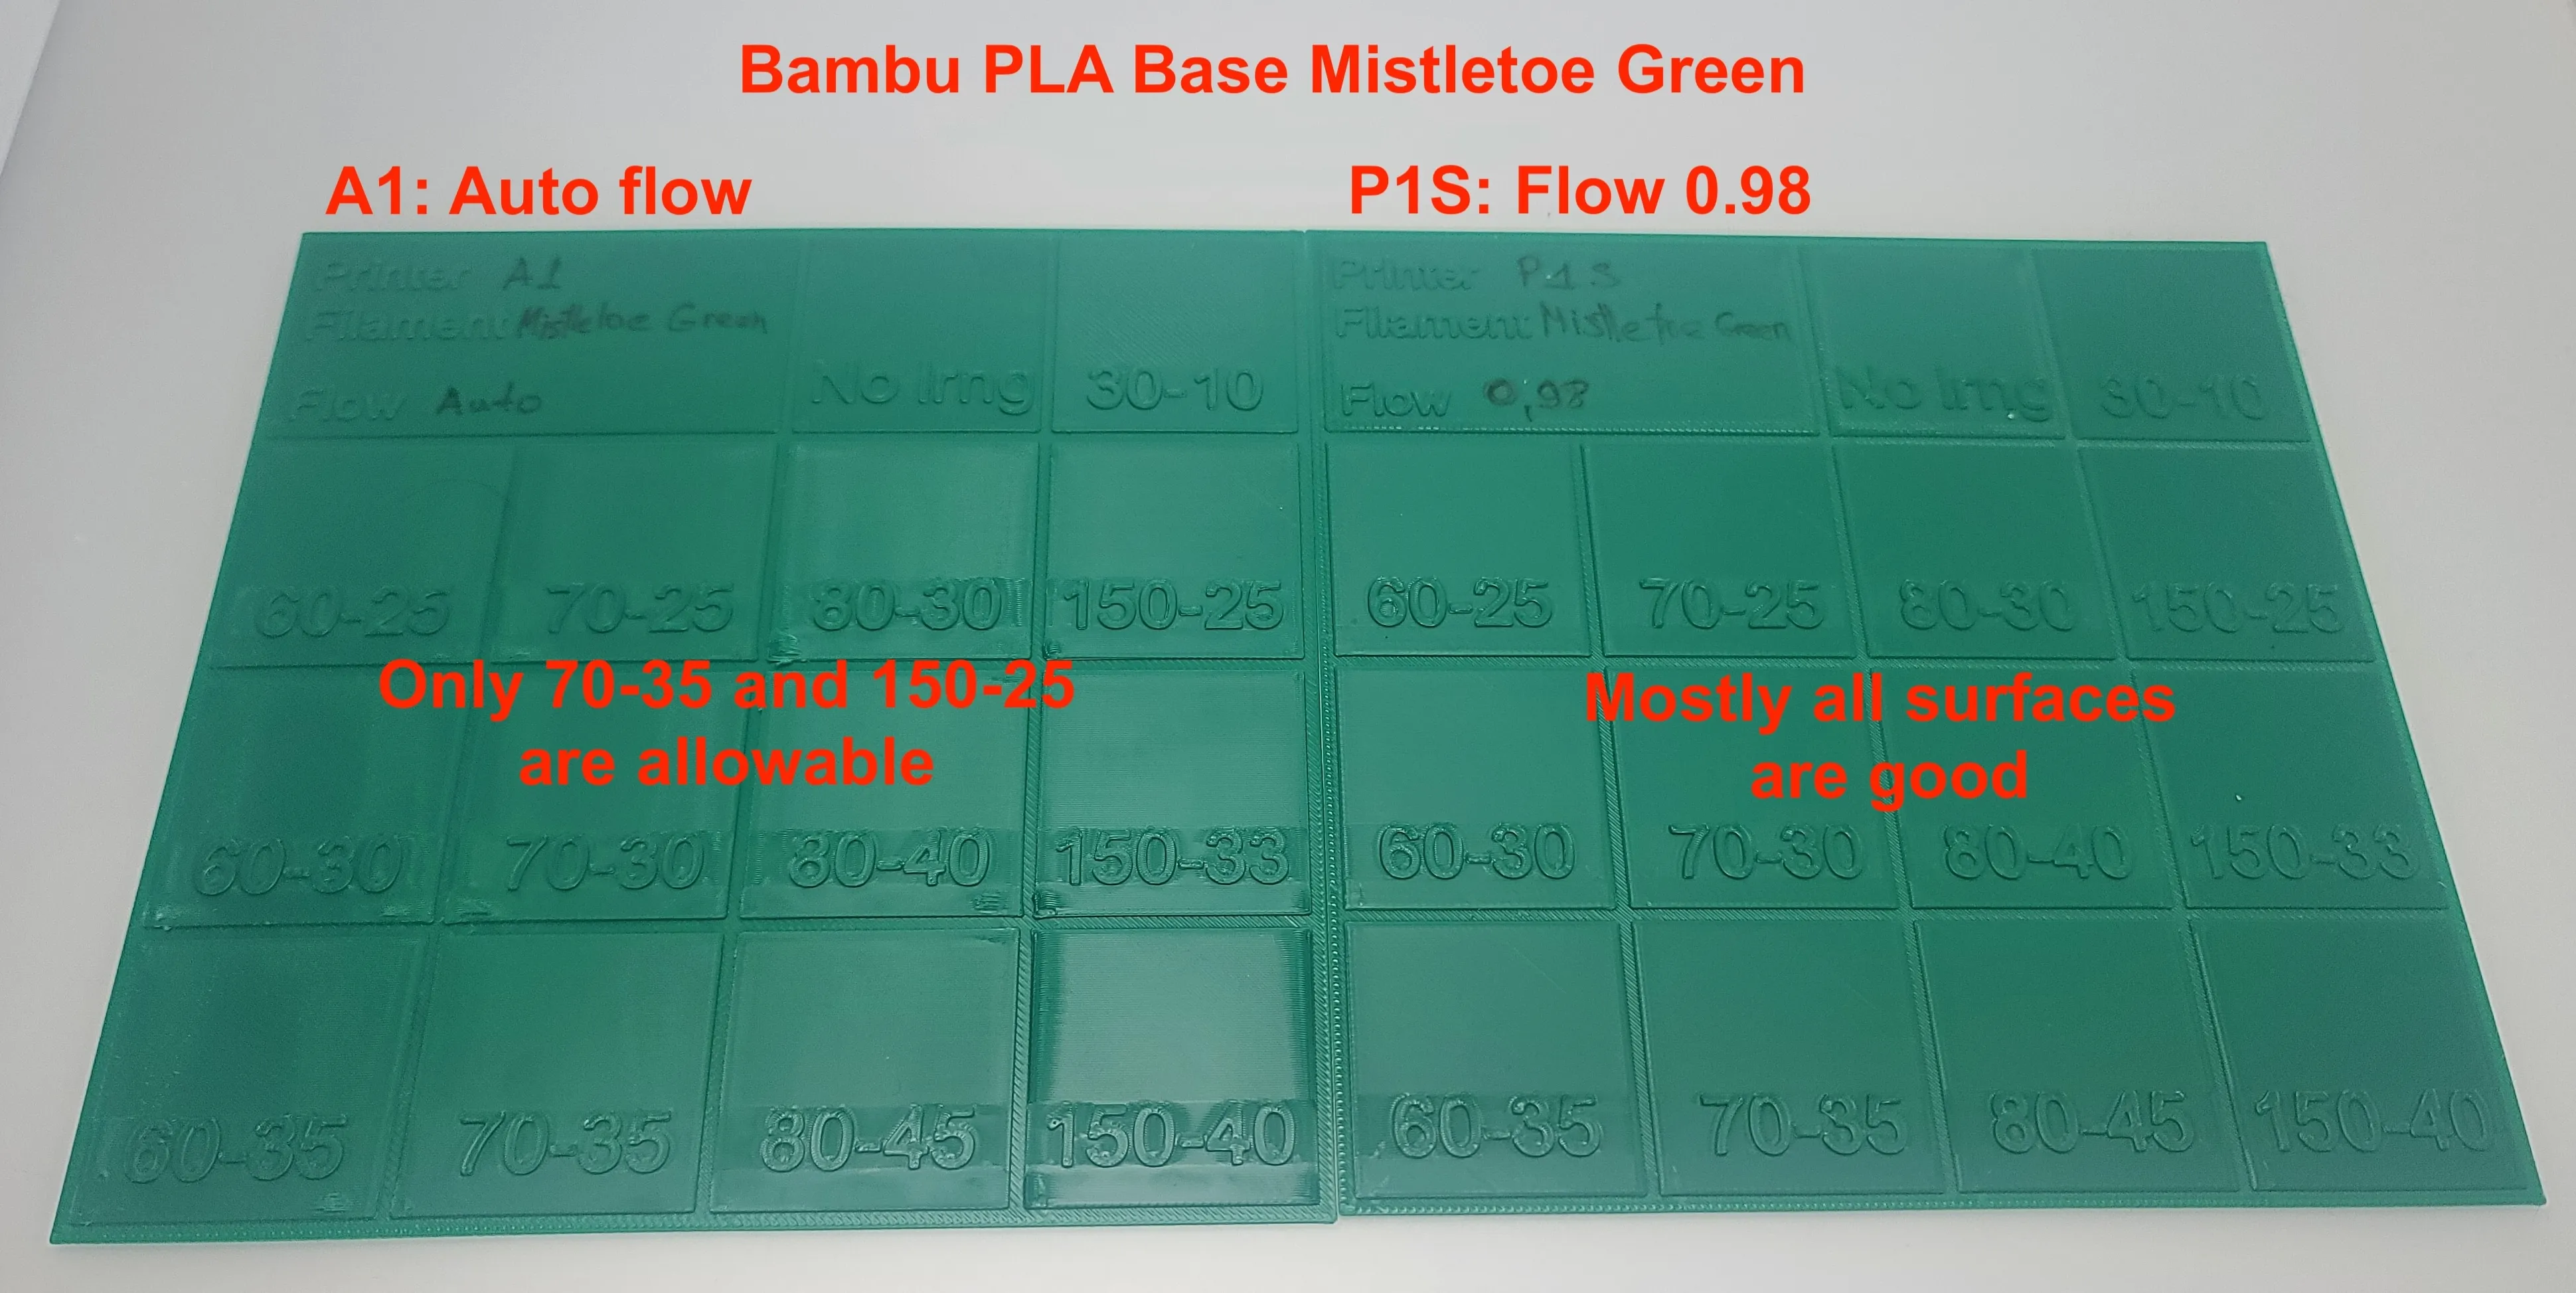
⚠️ Before printing, please do the Ironing test: https://makerworld.com/en/models/2267663
Why Ironing Calibration Matters: Ironing behavior varies significantly between printers and even between different PLA brands due to differences in extrusion, cooling, and filament formulation. Calibrating ironing settings for each filament on each printer ensures the smoothest possible top surfaces and prevents over- or under-ironing artefacts. Even the same filament can produce different results on identical printer models due to mechanical tolerances, wear, environmental conditions, and calibration differences.
Print diffusers in any transparent colour you want.
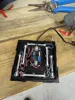
Can be used with 2 types of Bambu lights:
- https://uk.store.bambulab.com/products/led-lamp-kit-001?id=41123227435068
- https://uk.store.bambulab.com/products/remote-controlled-16-color-rgbw-puck-lights
NOTE: For a white colour light, use an additional internal diffuser for a better colour. I printed diffusers with PLA and PETG and the PLA rectangular shape is much better in the same time PETG loses its original shape and has wawes.
Boost Me (for free)
Did you like the model? Consider boosting, as it helps my models get seen and supports my work to bring you more models. Its free and I Thank you in advance!
Assembling:
Place the light (and diffuser) and stick it with double-sided tape or hot glue
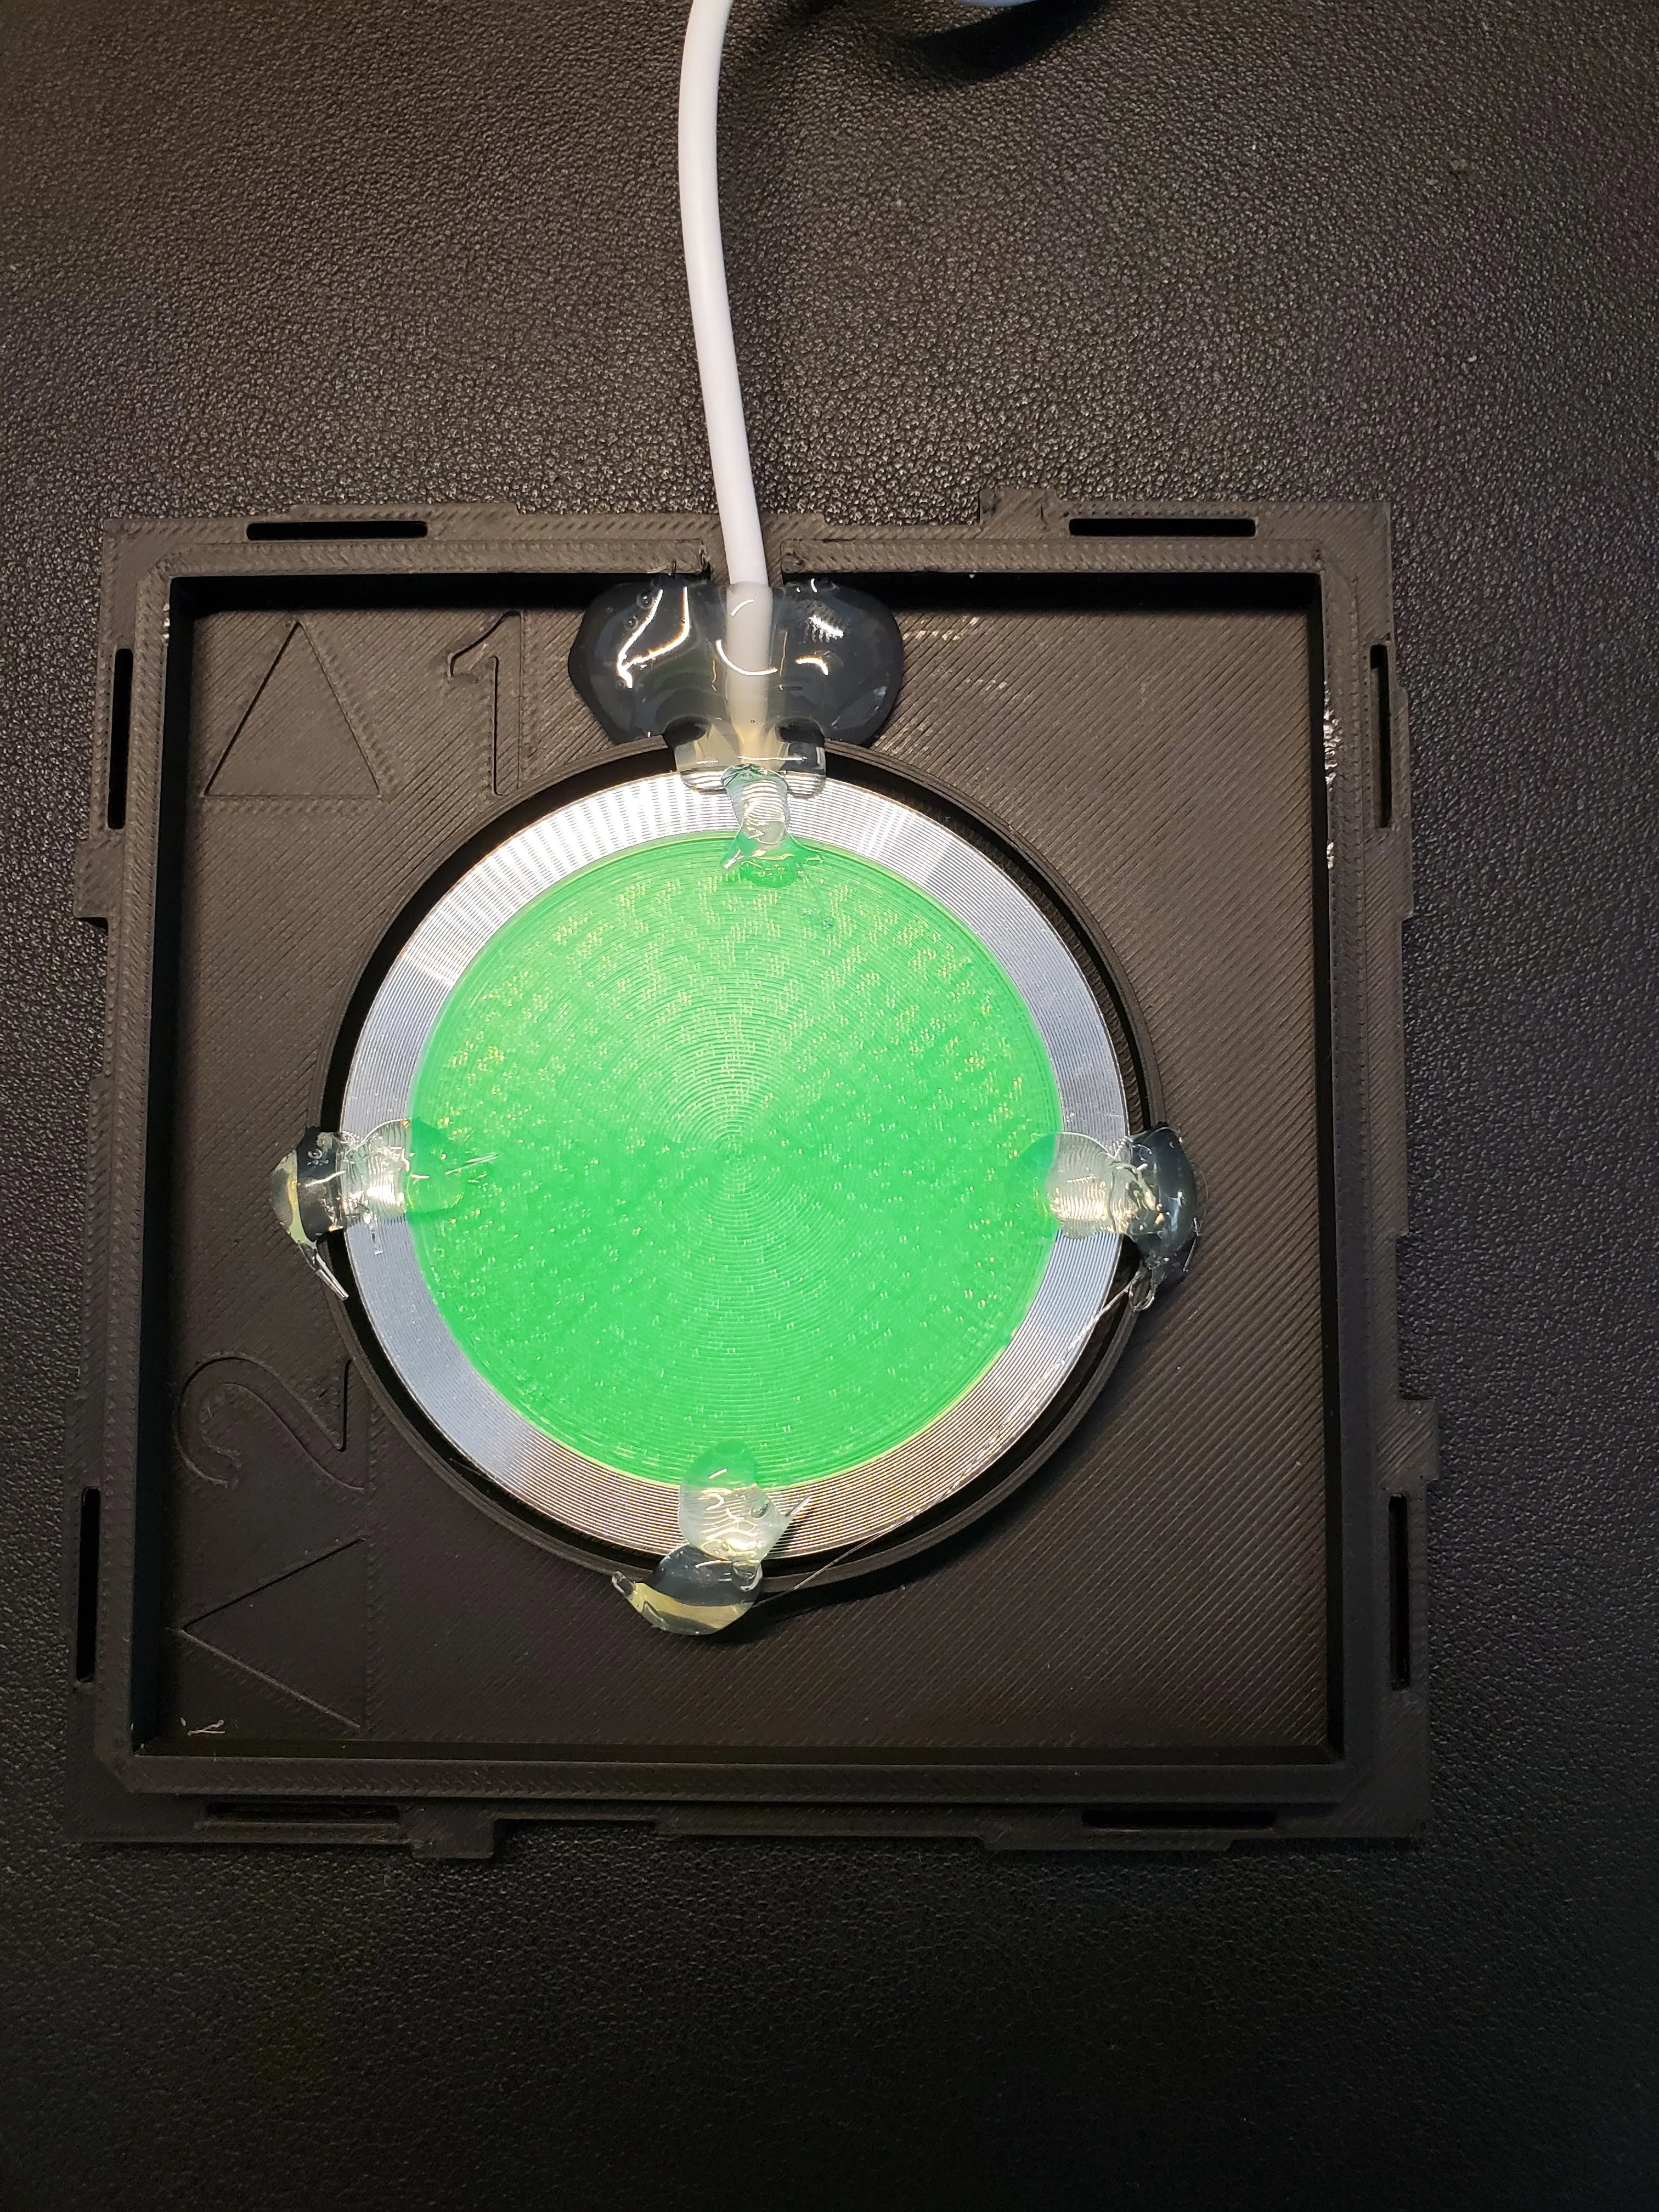
Glue angle shadows
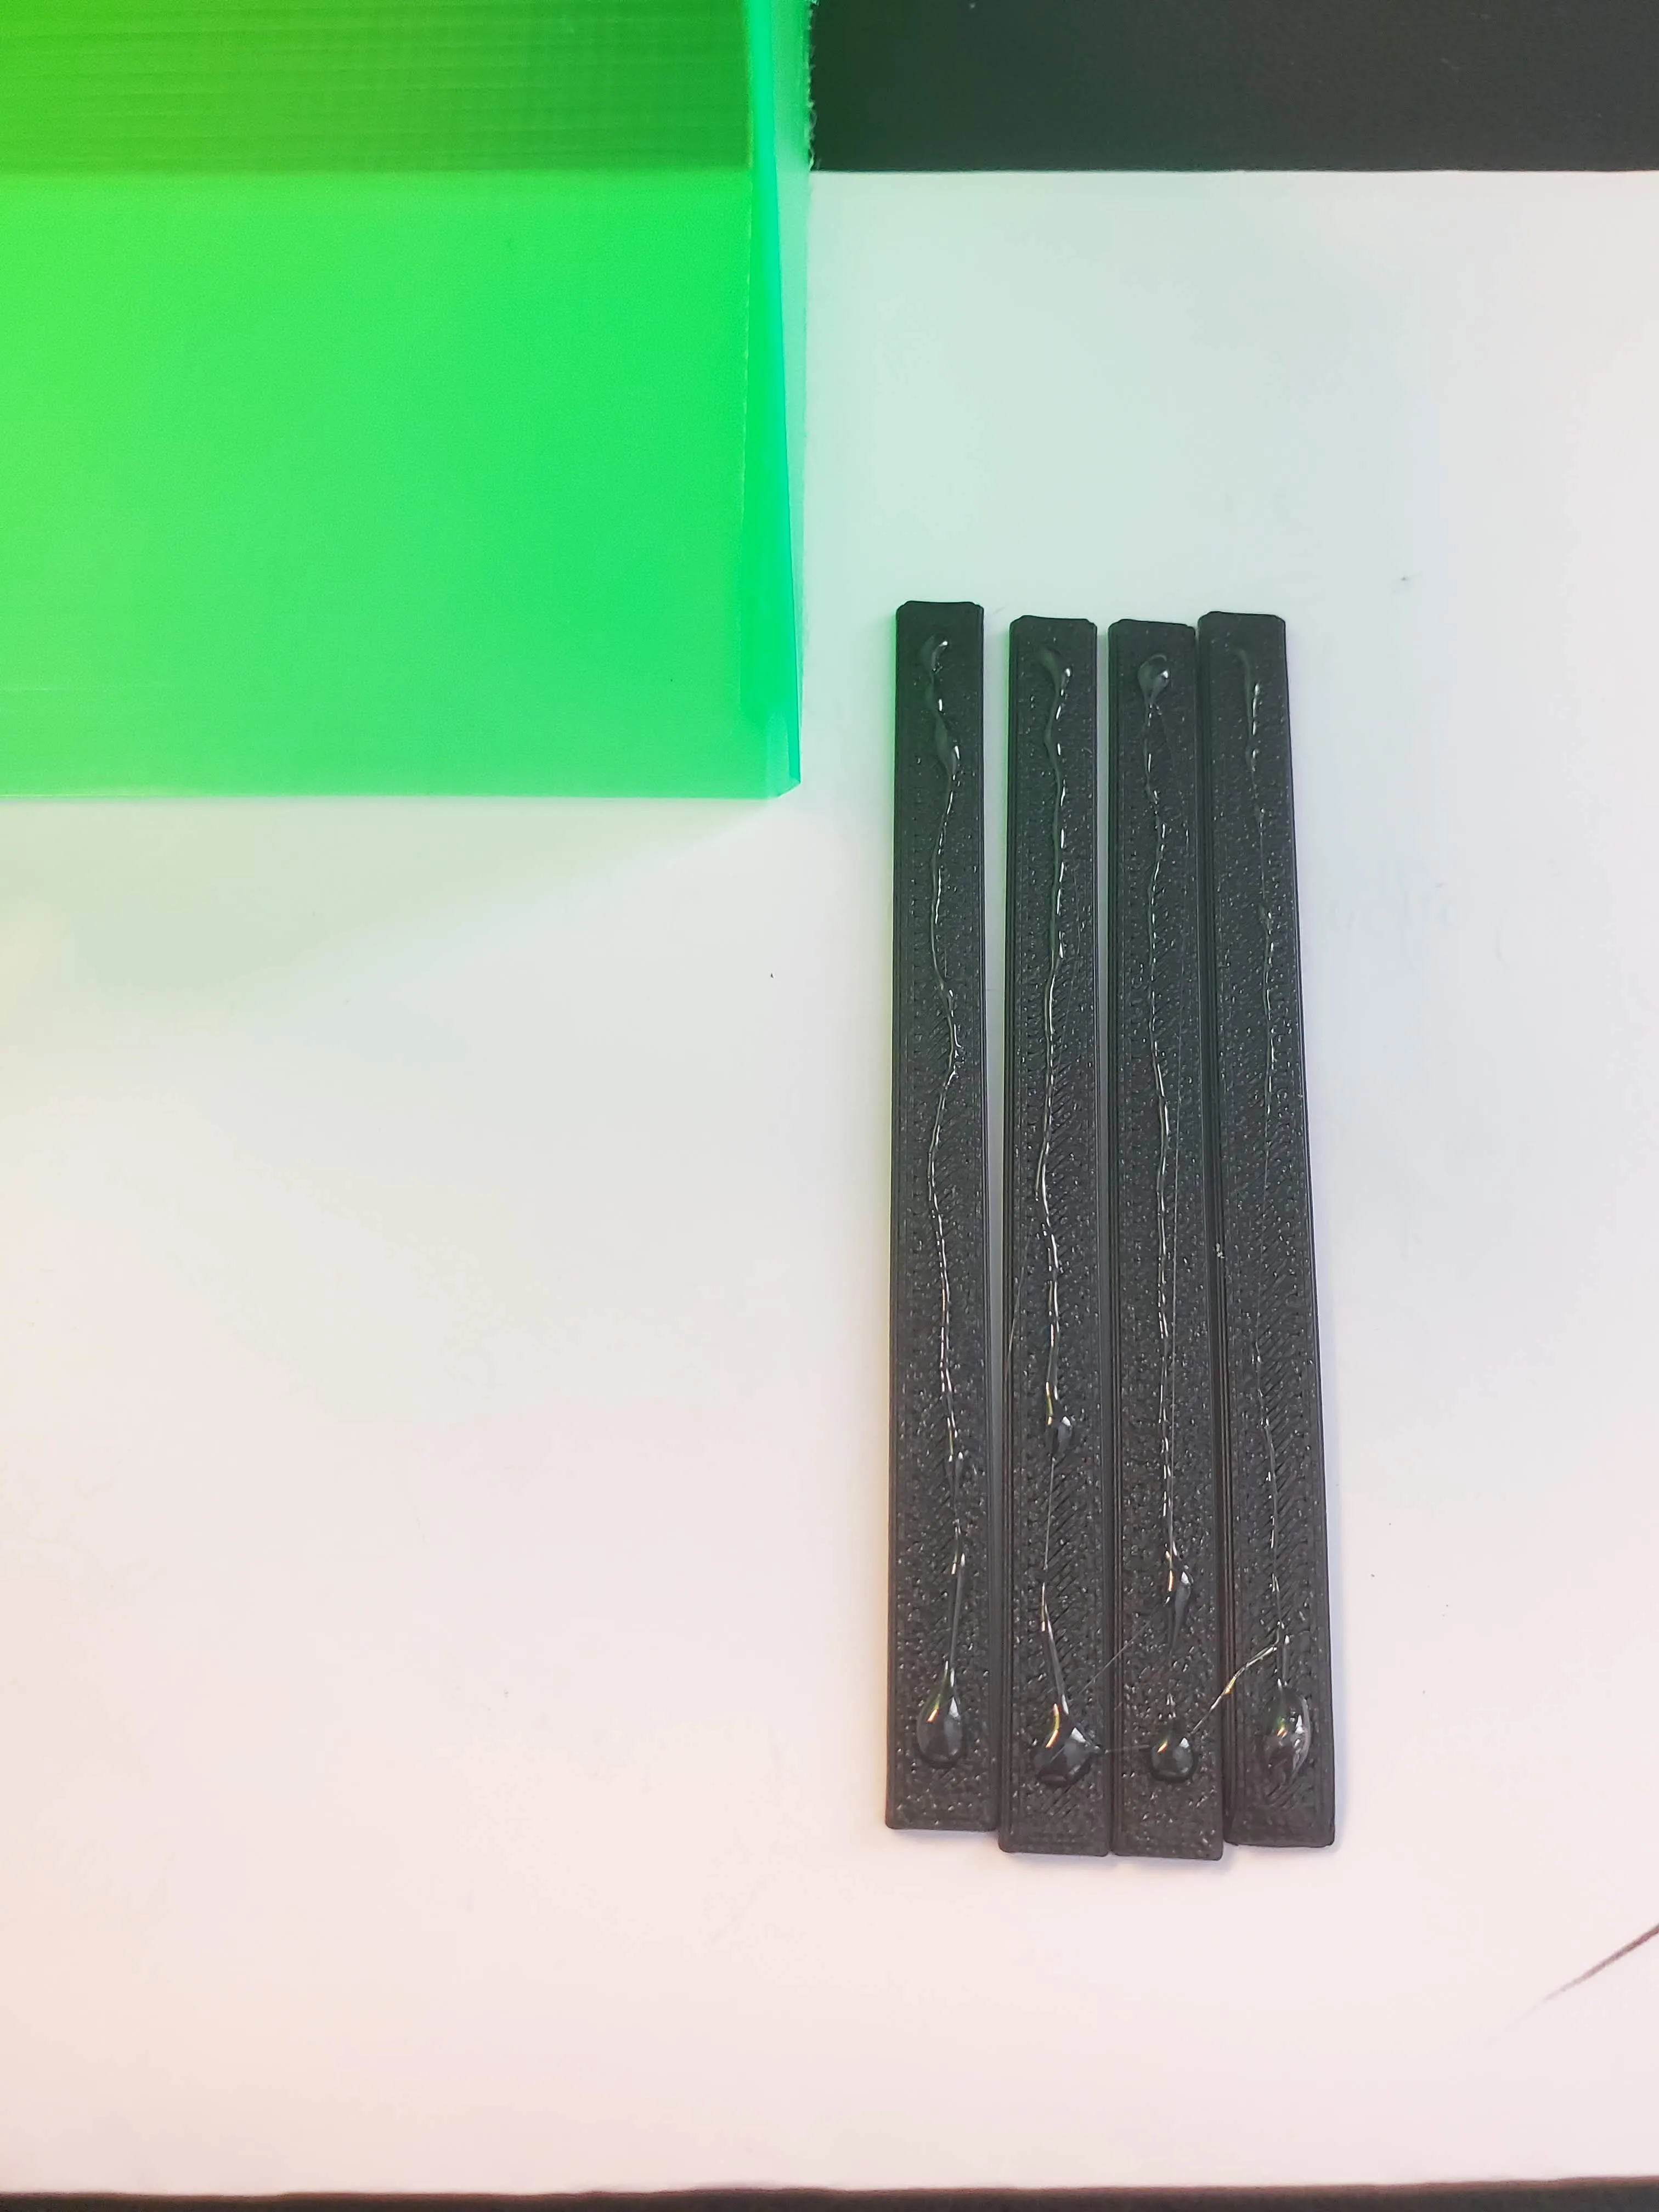
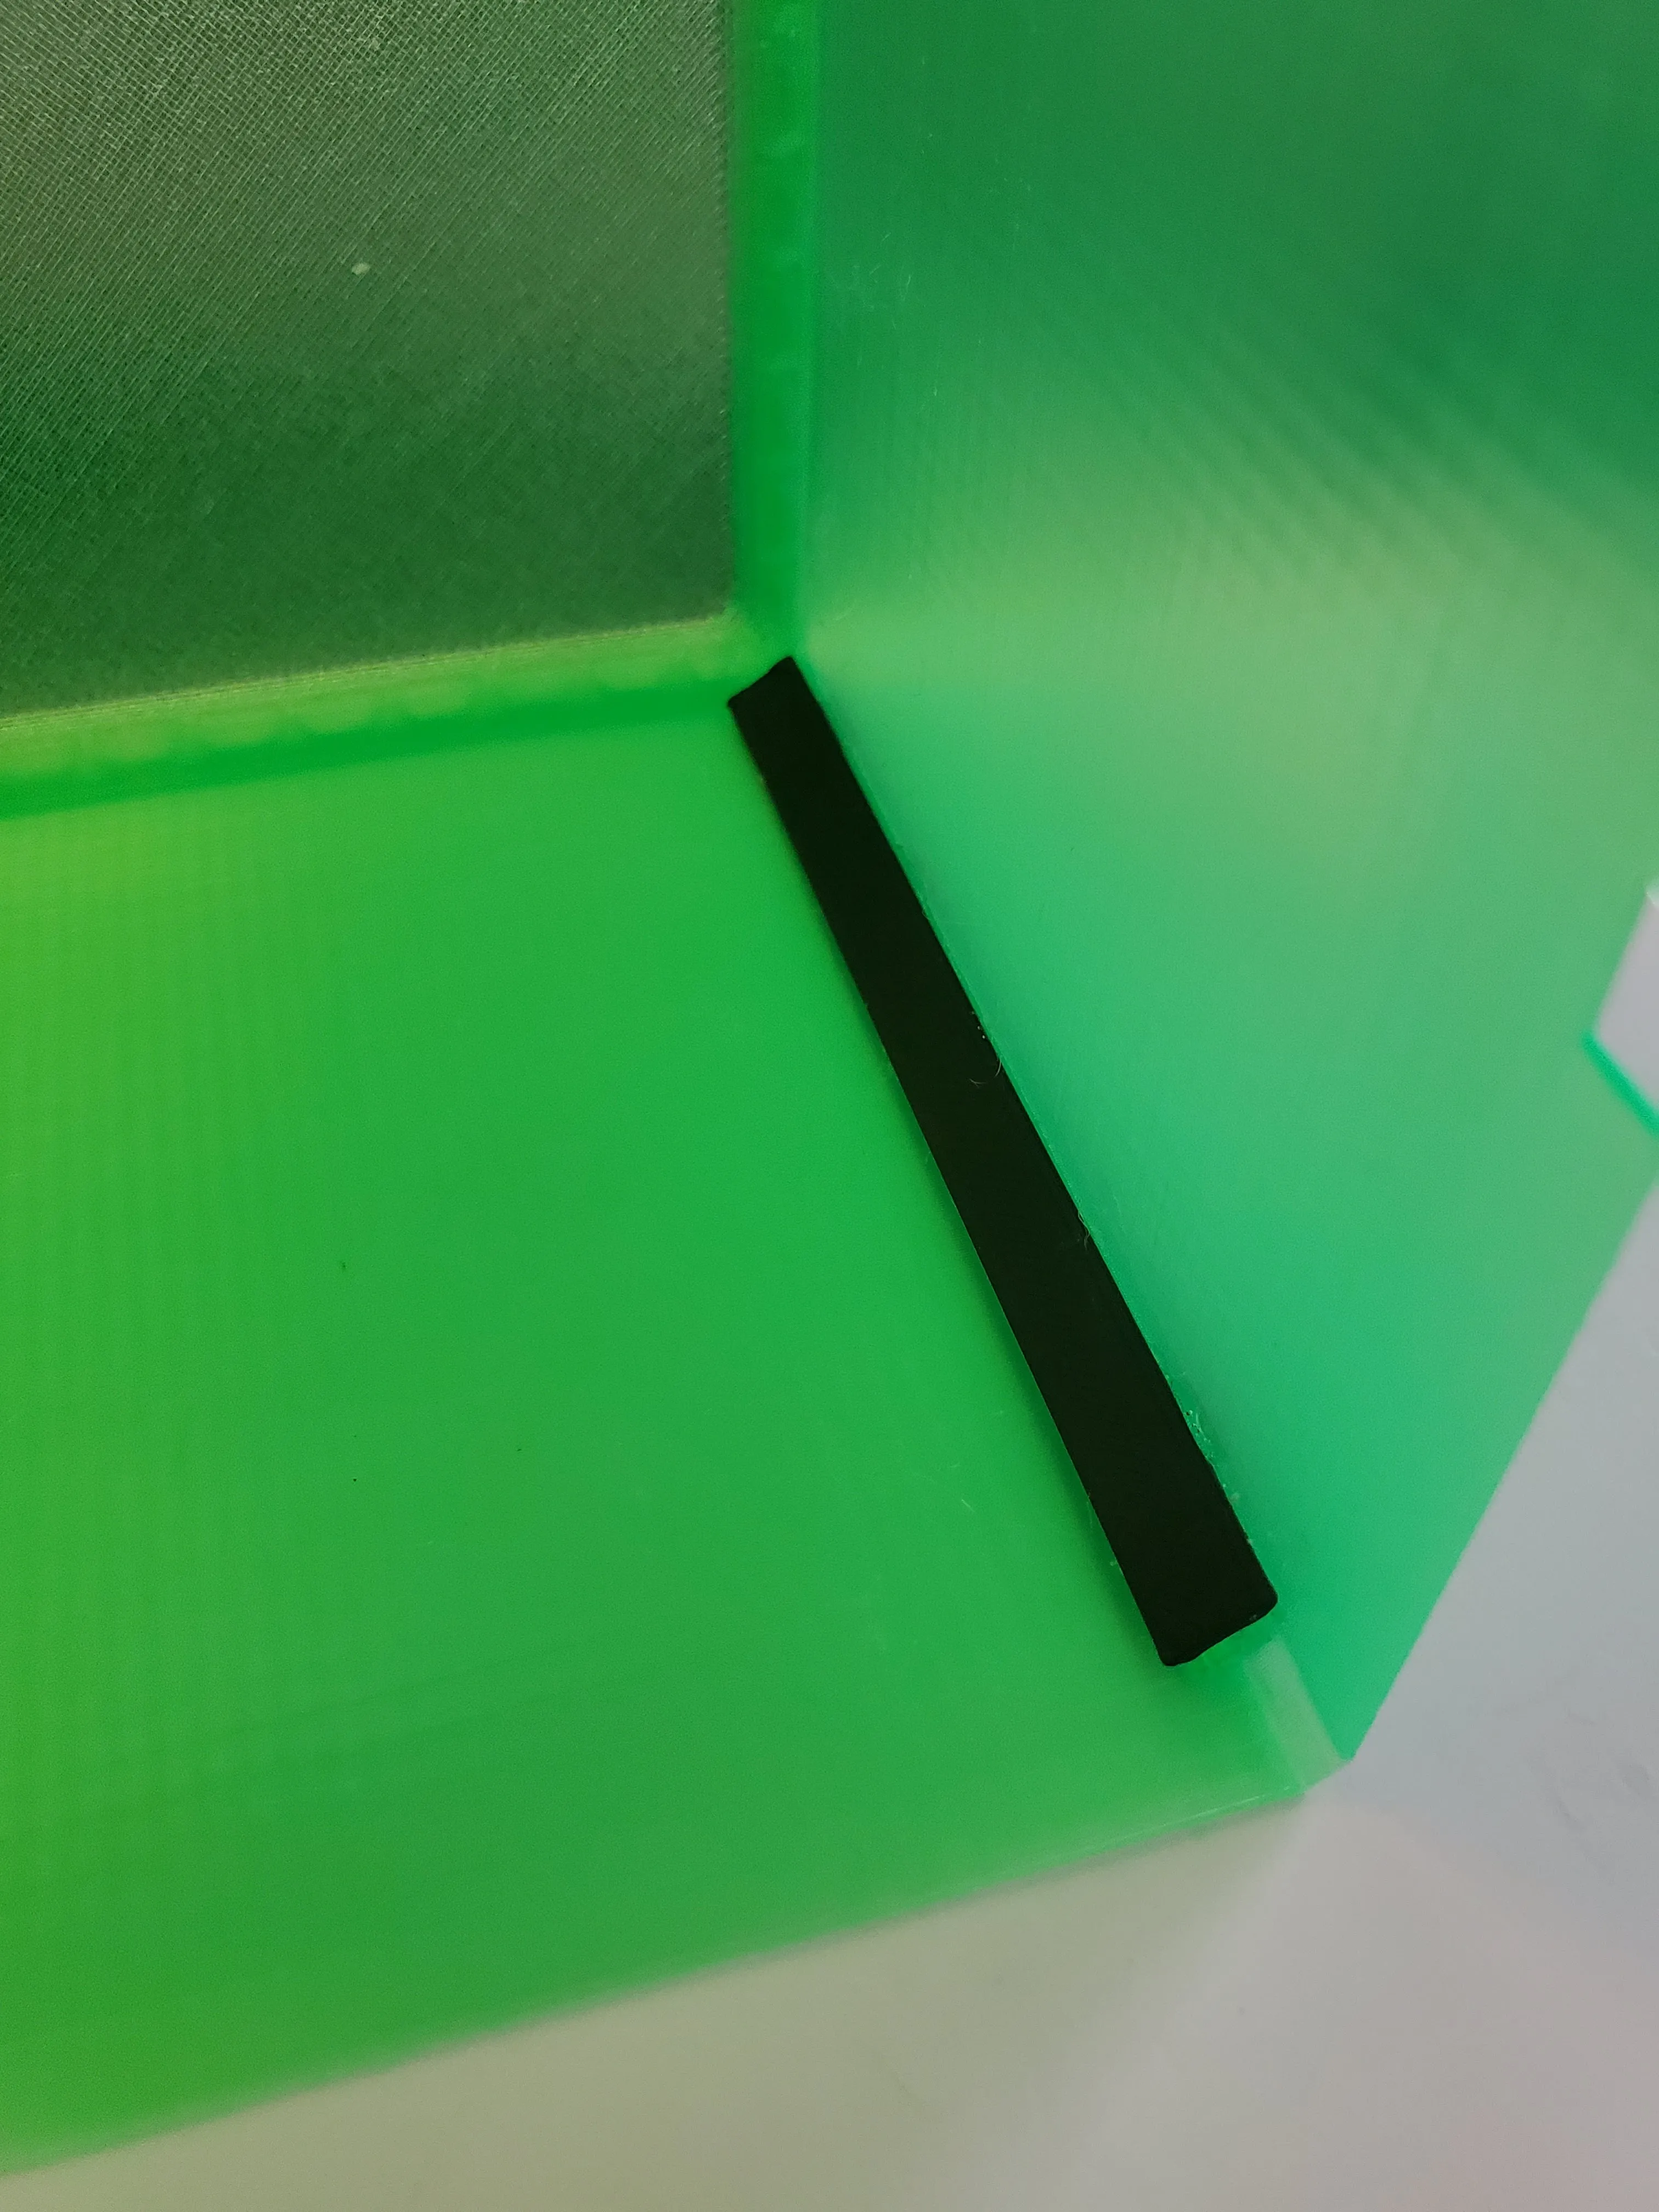
3. Insert pins only to the bottom side of the side elements
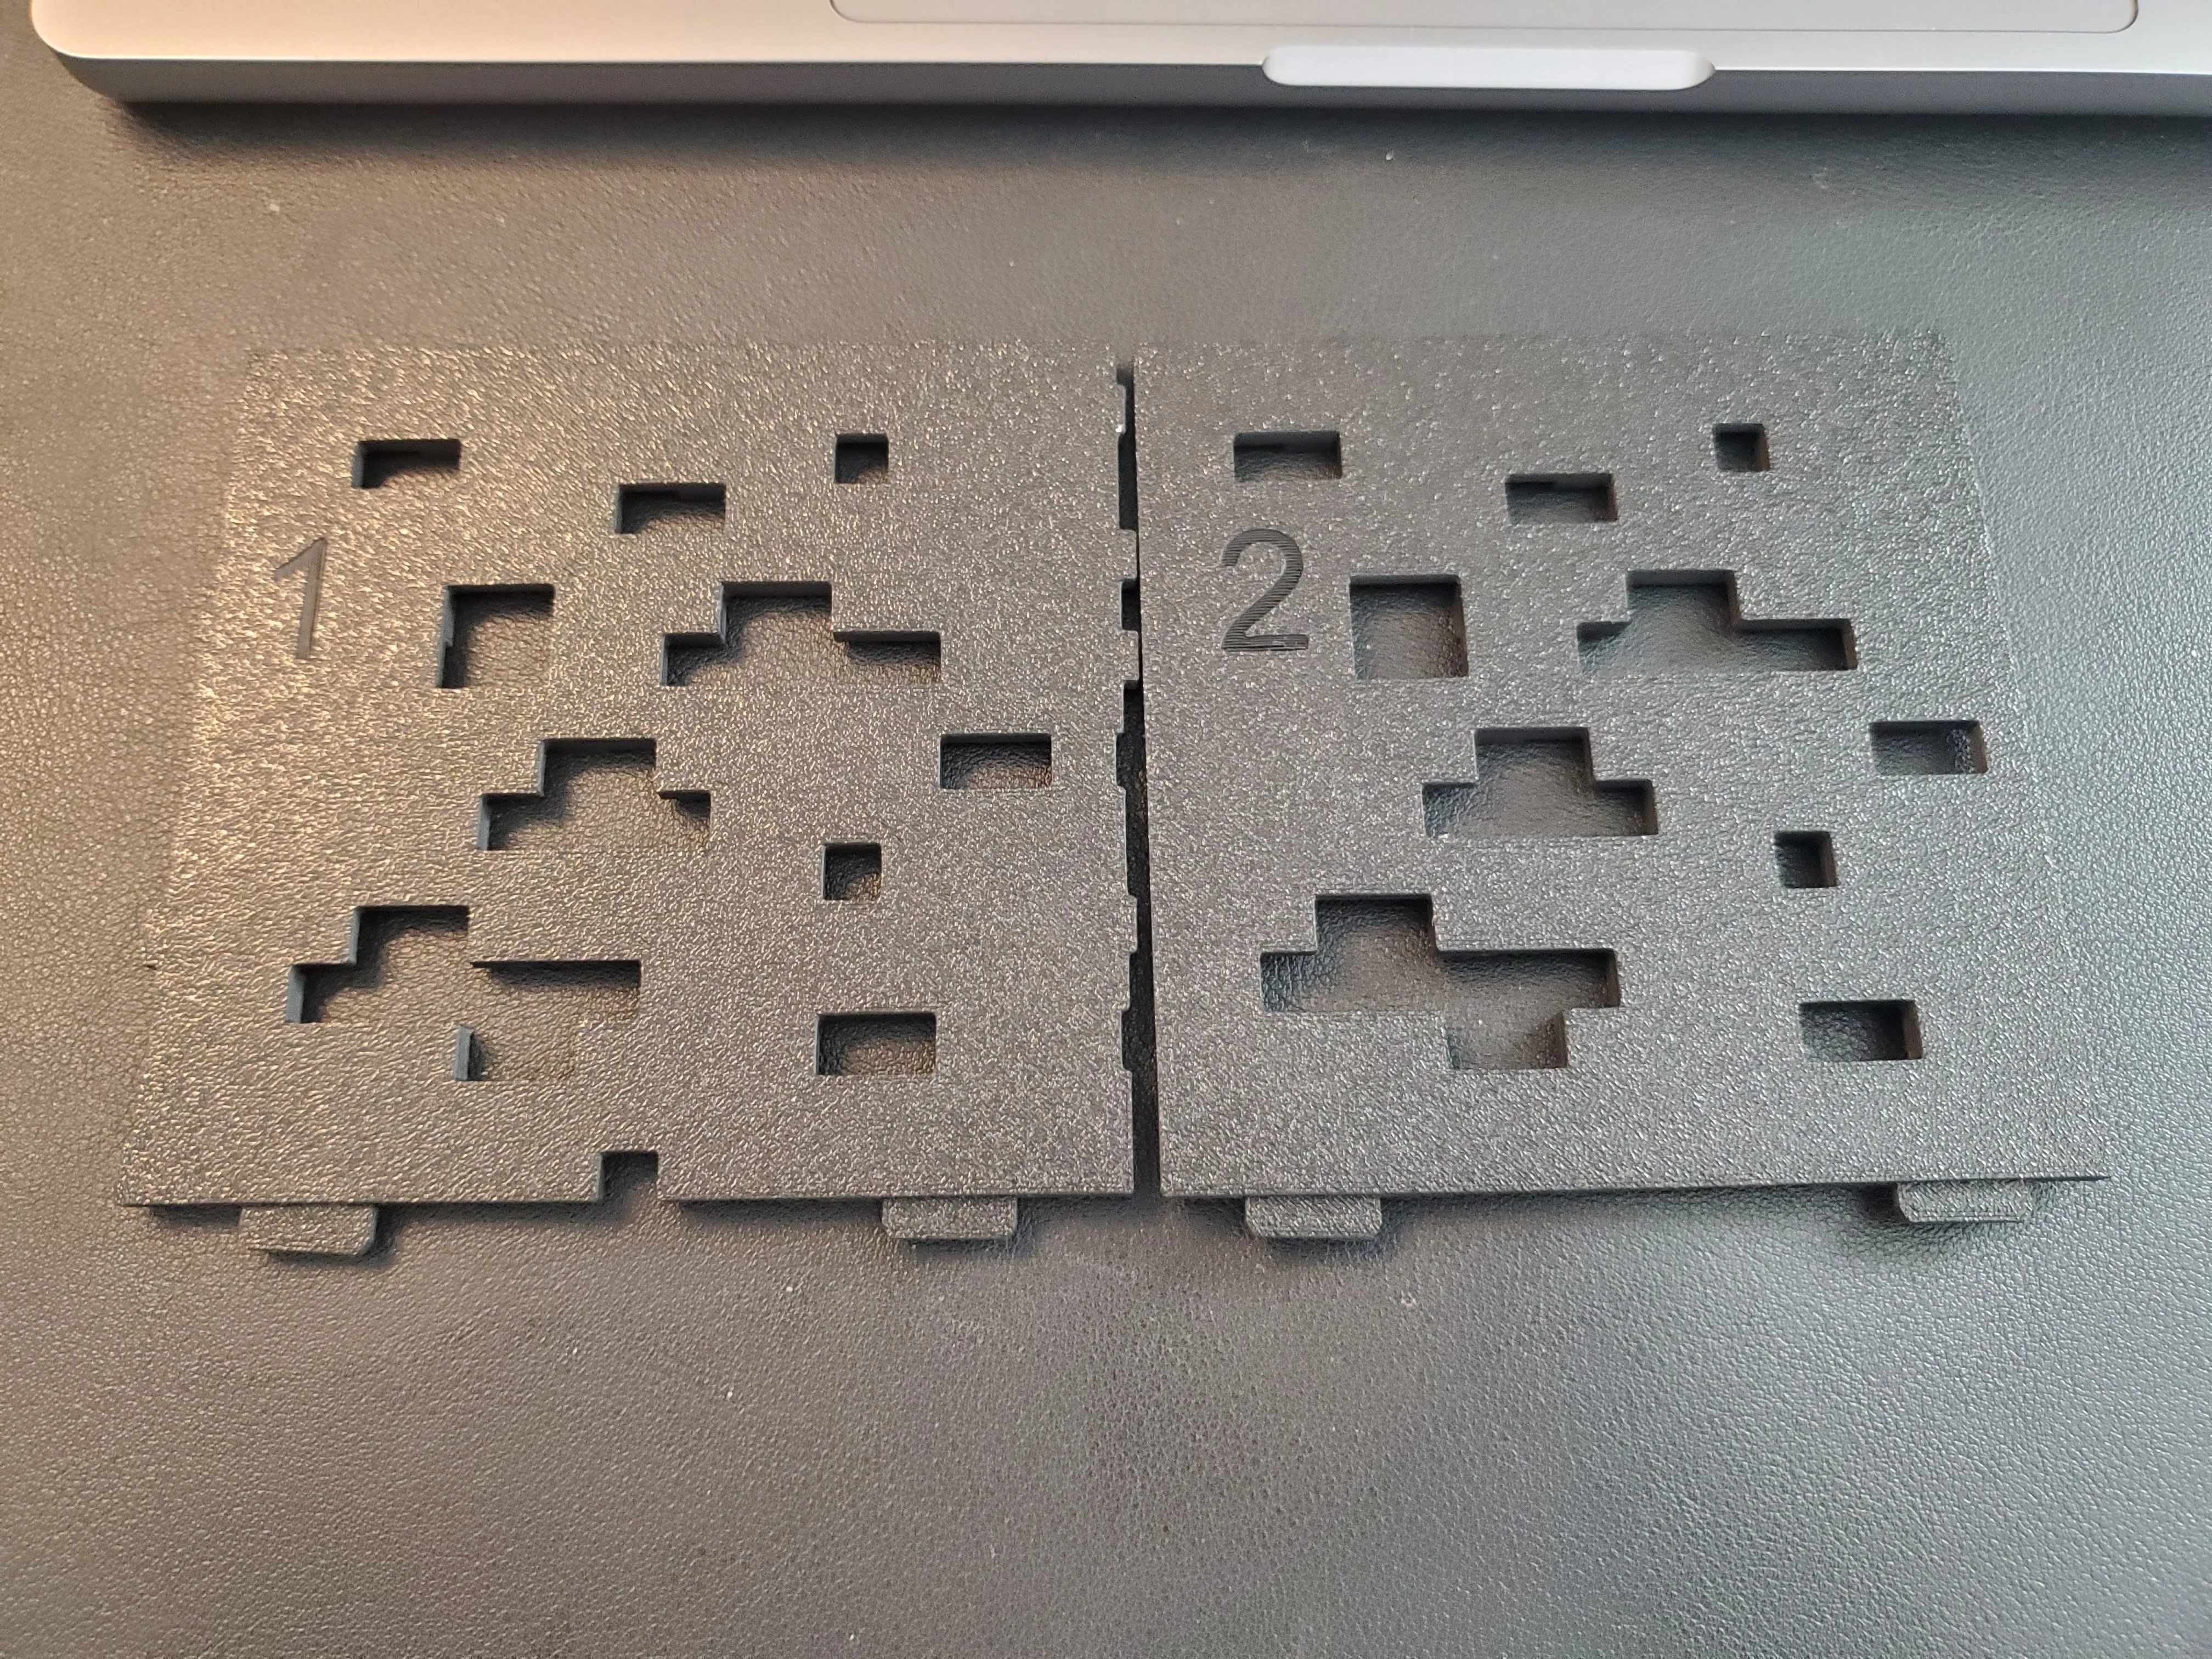
4. Insert pins to the Top side, place it a paper and write sides on the paper
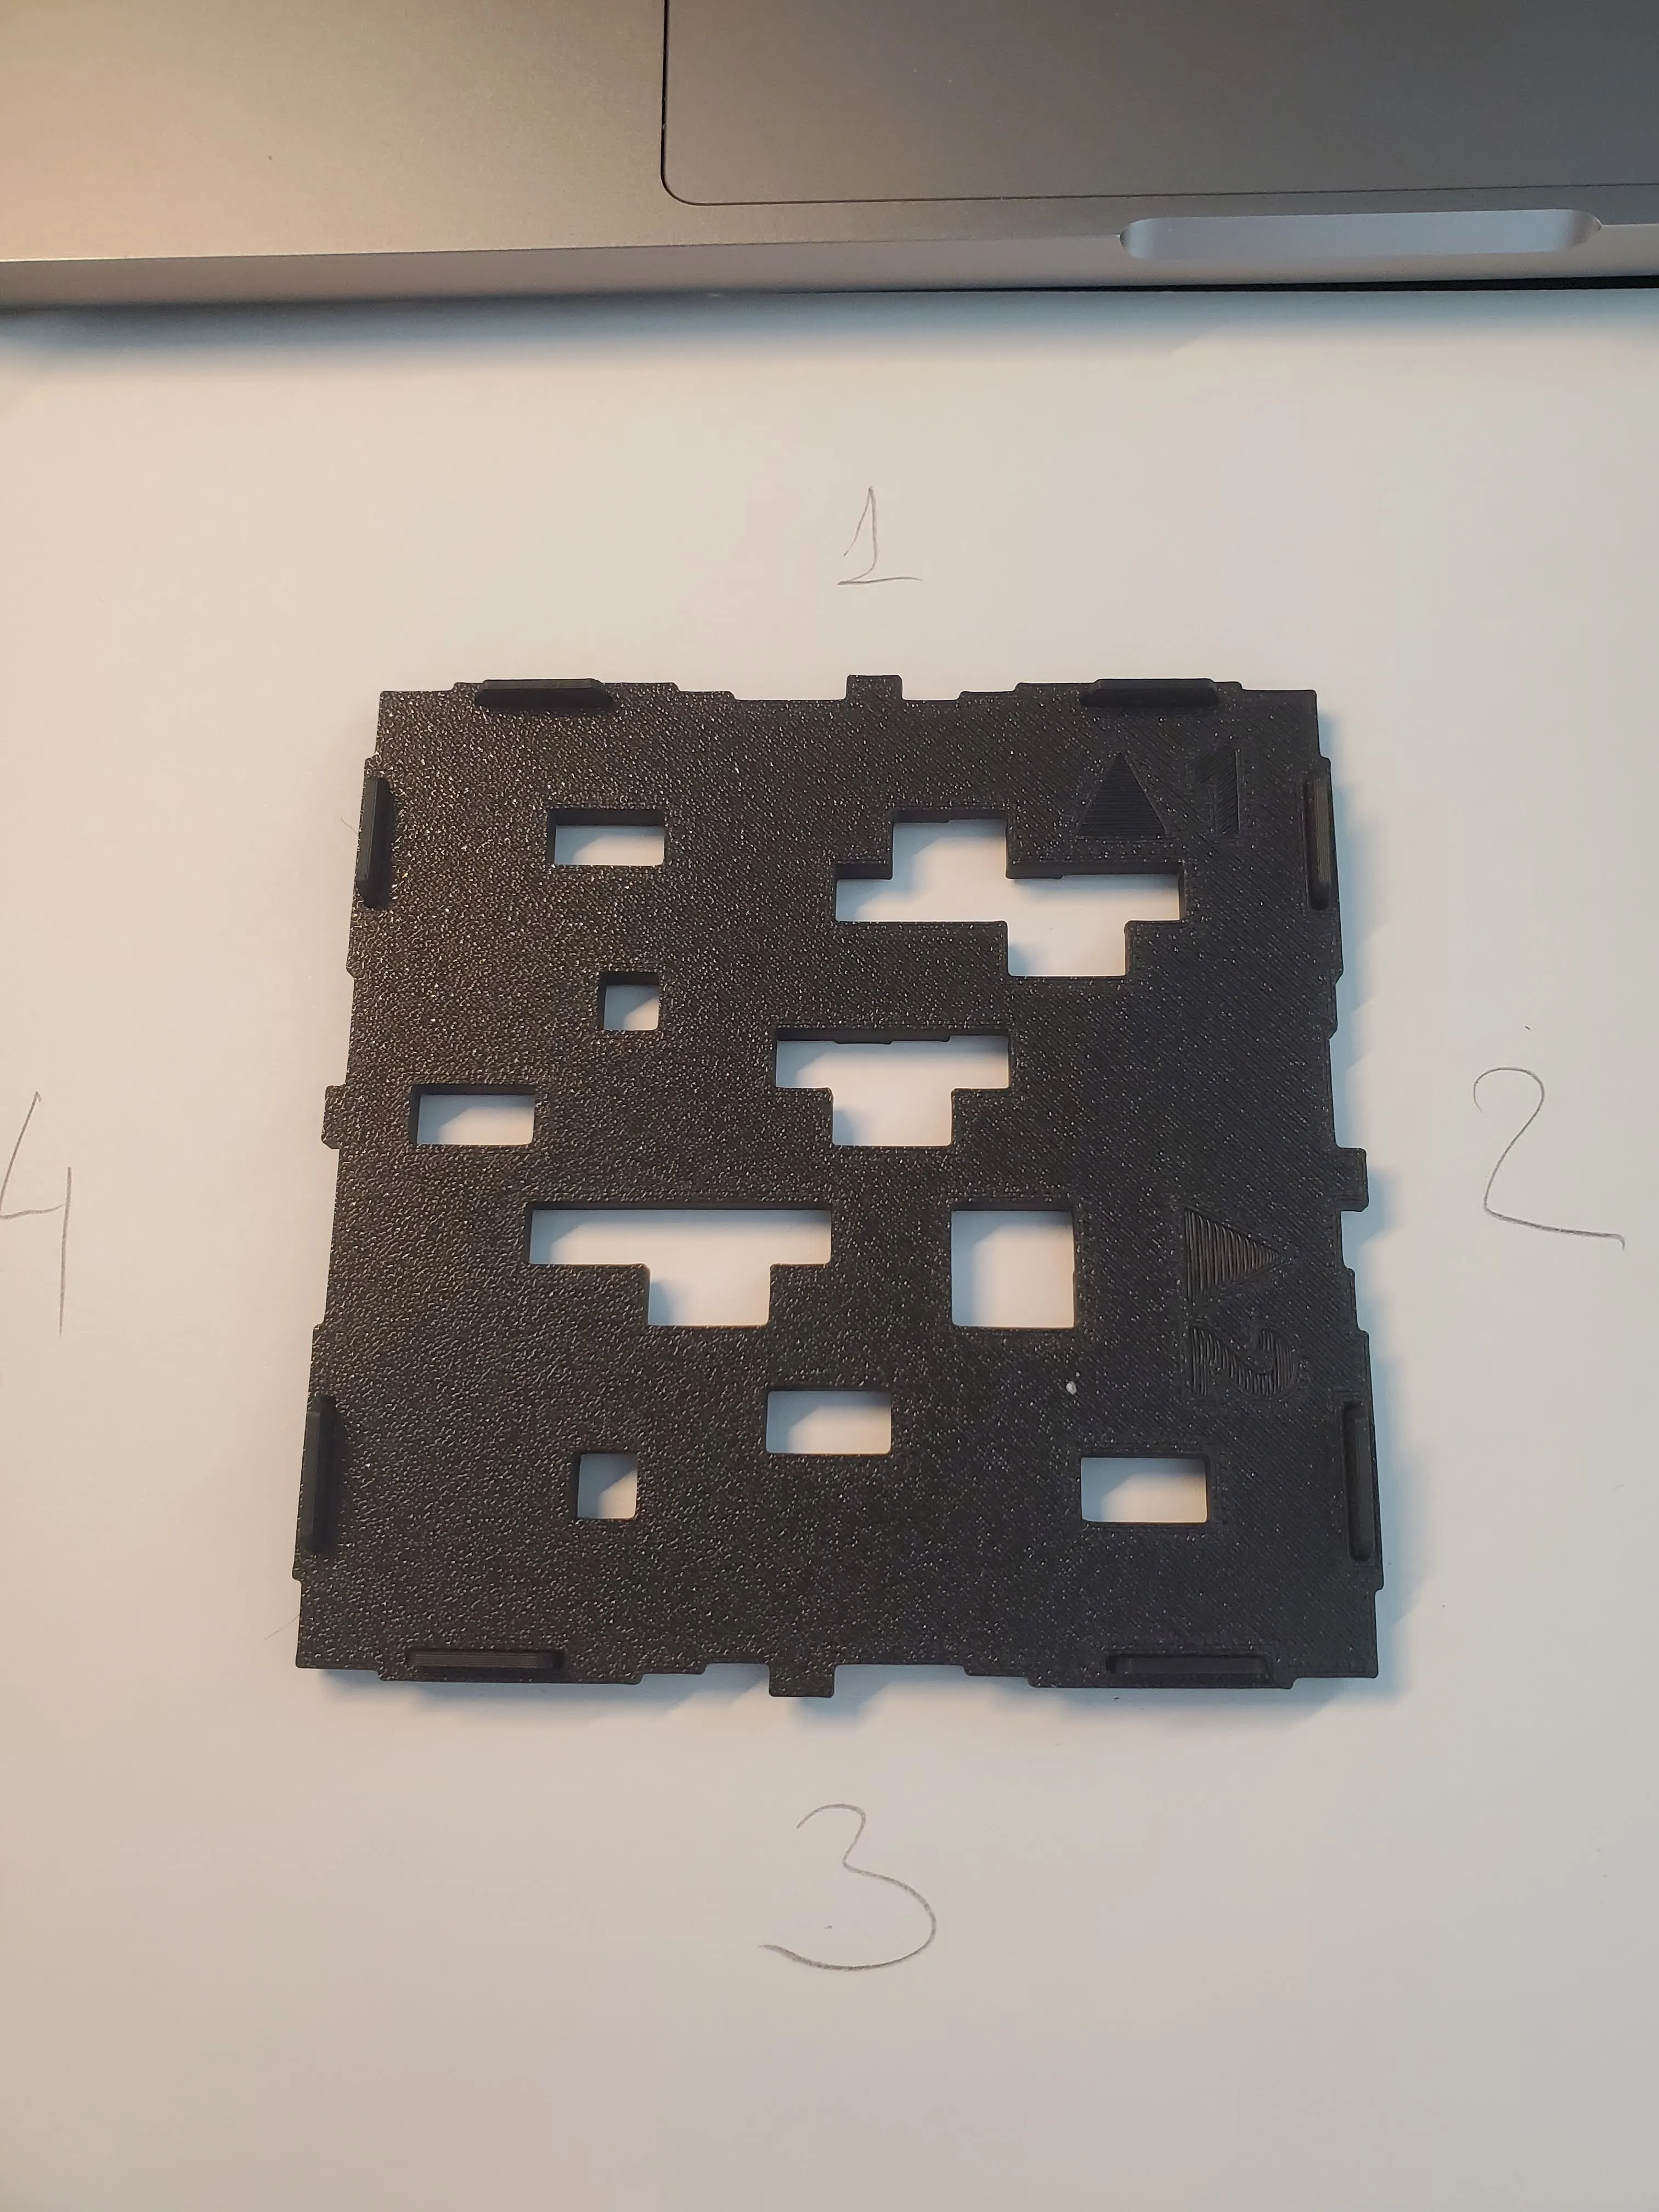
5. Glue the diffuser and centre it by the sides according numbers on the paper. Don't glue sides on this step!
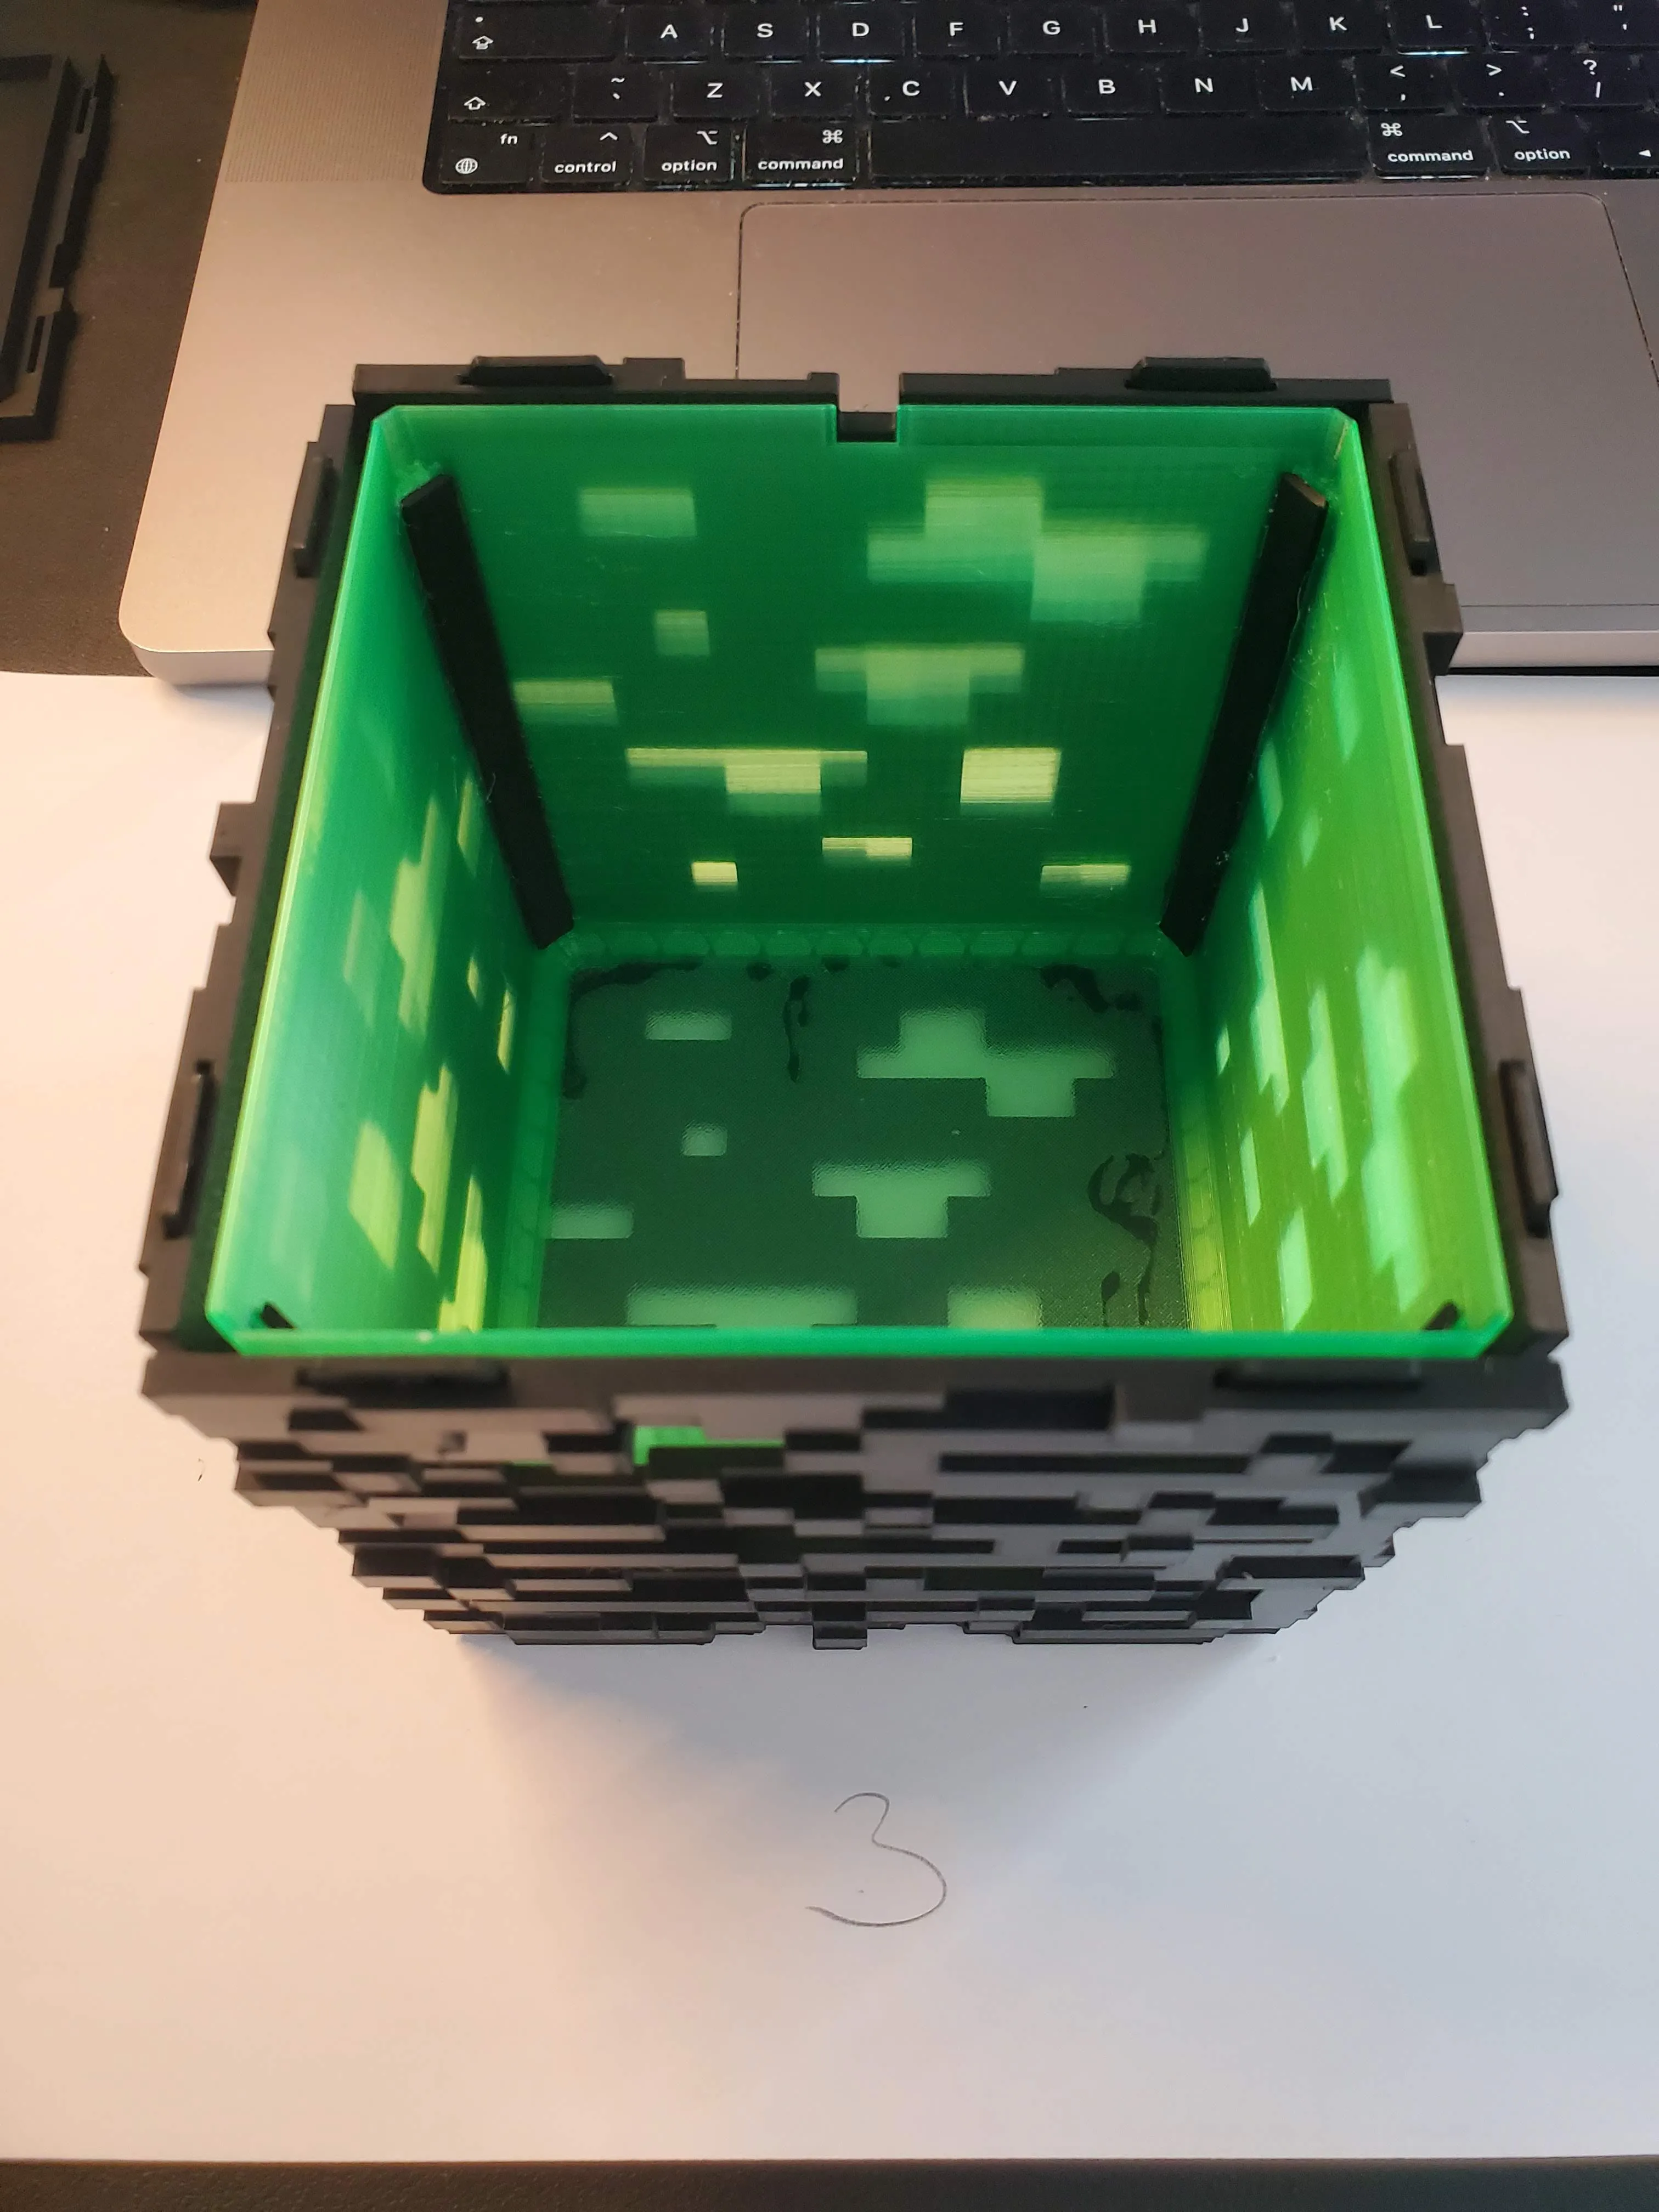
6. Glue the sides one by one.
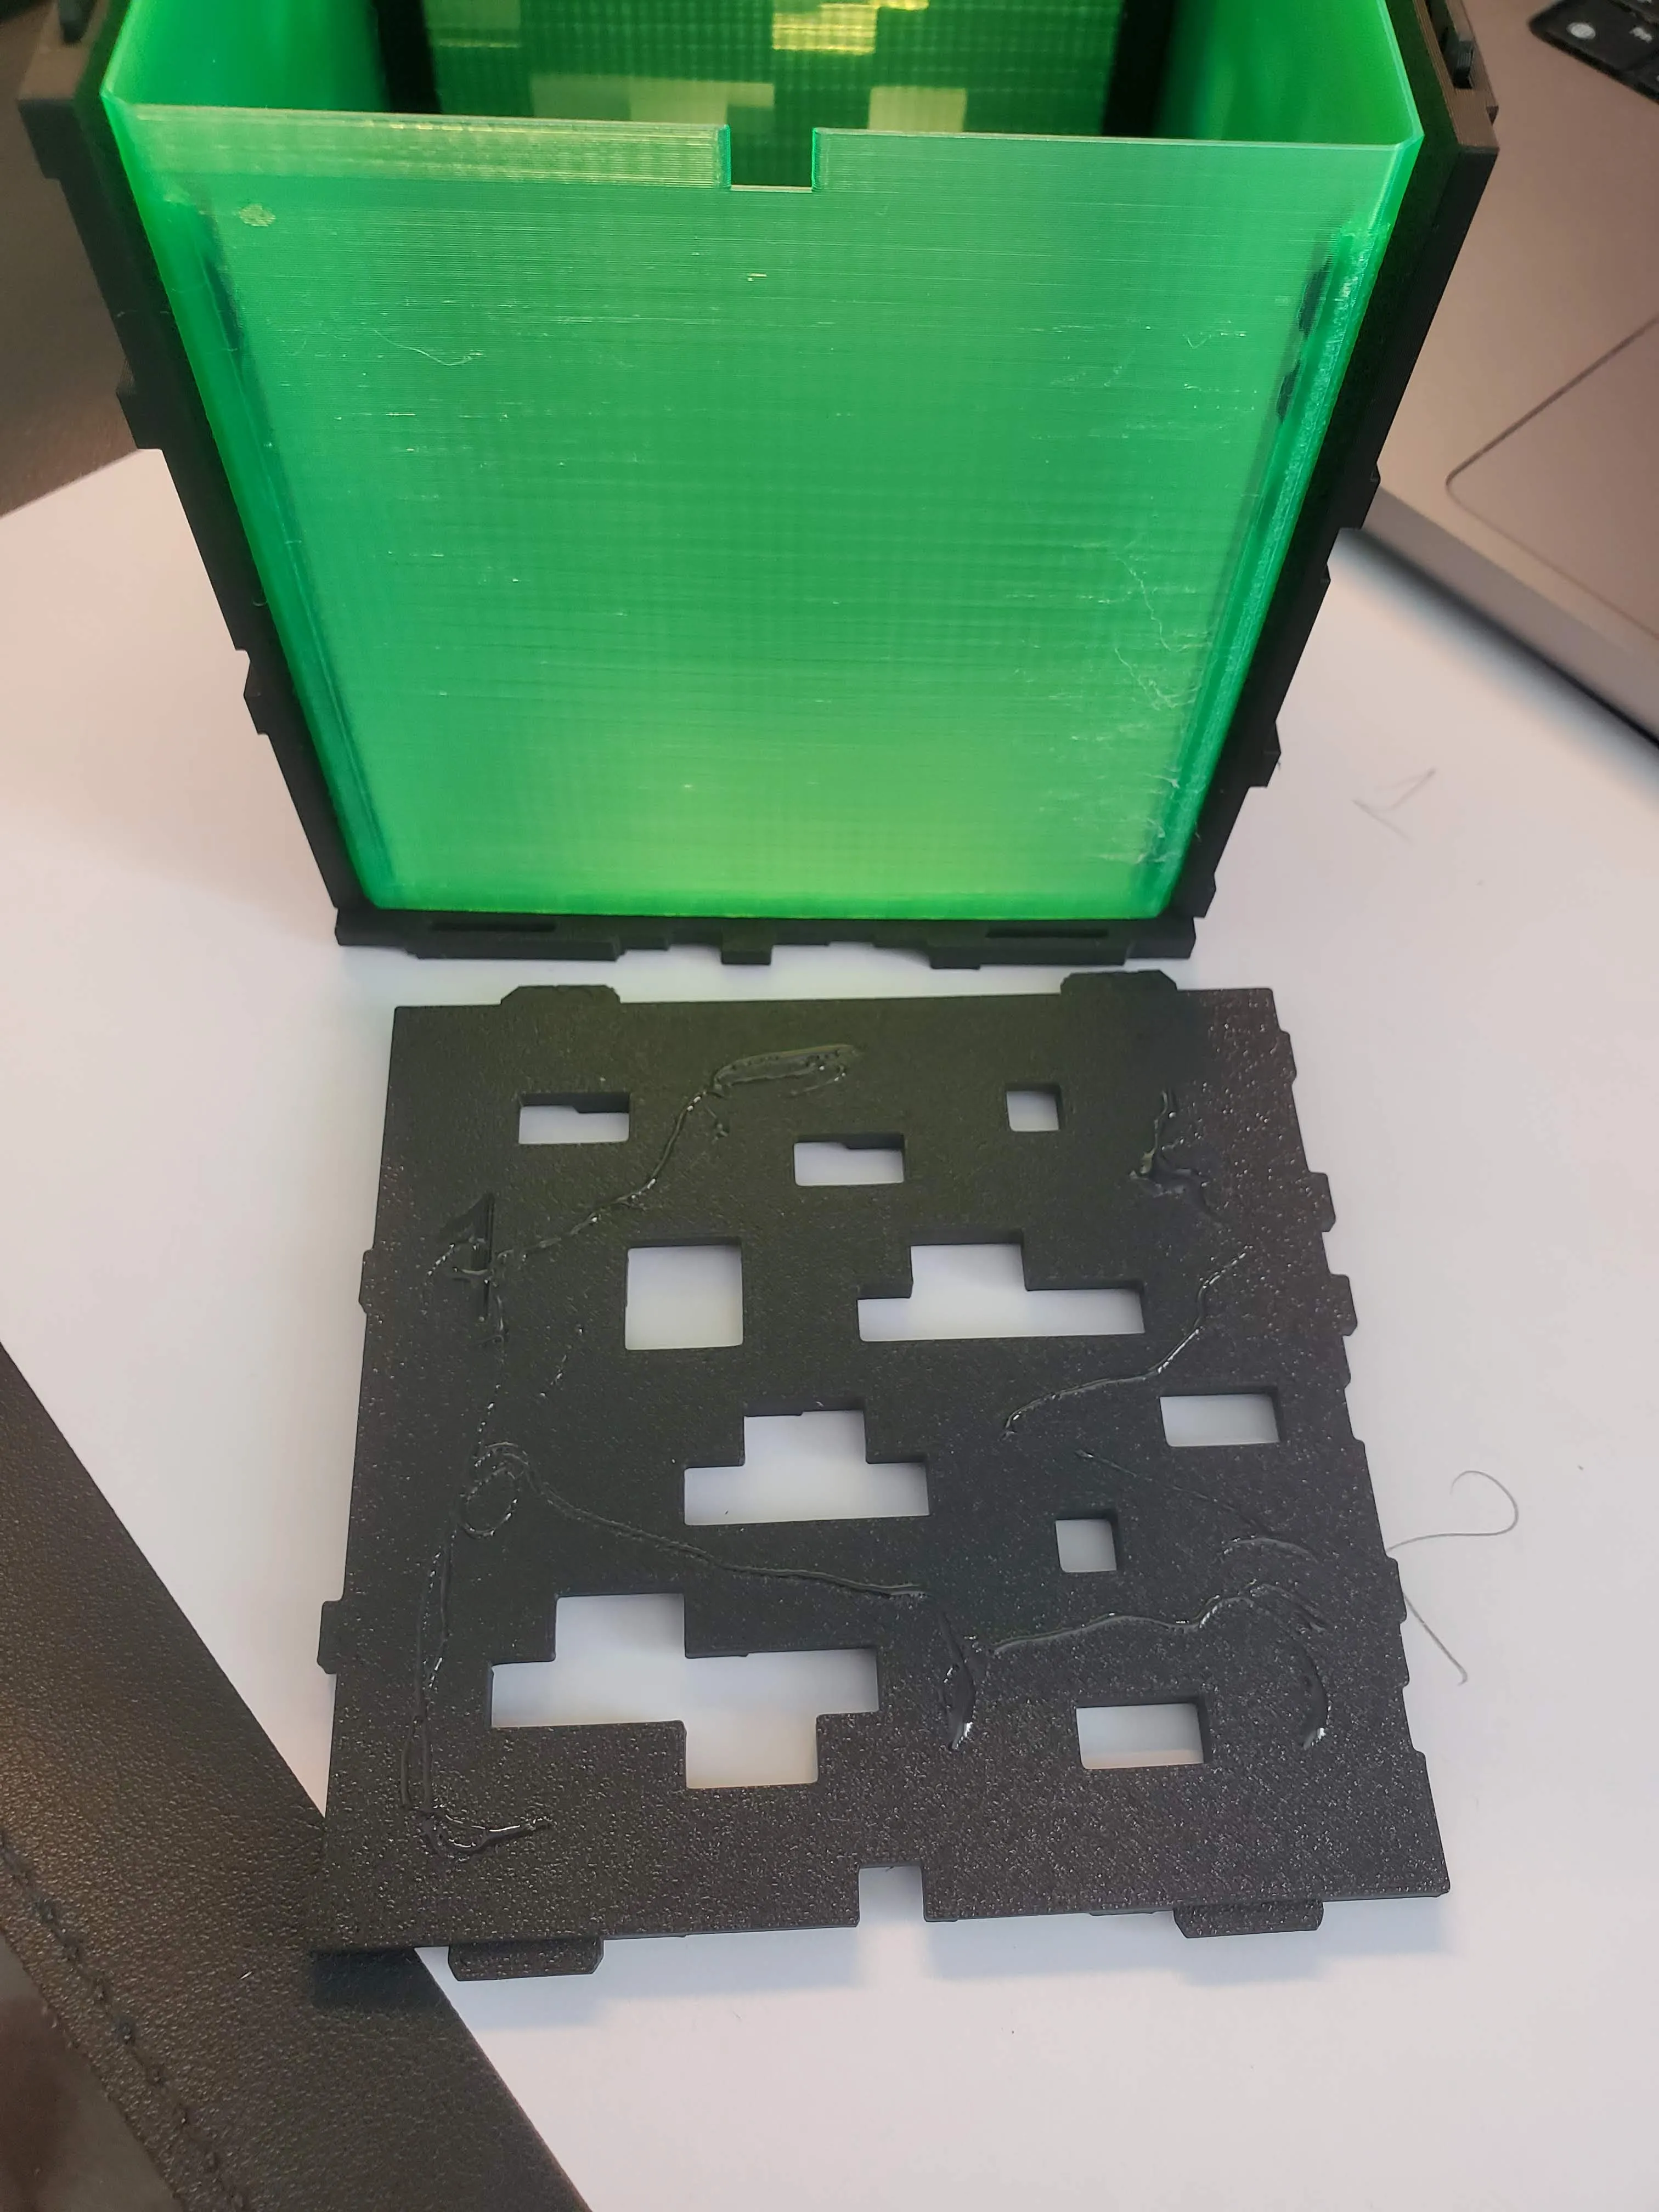
7. Add the bottom part and apply some weight for a while. You don't need to glue the bottom part, it should hold together well, but if you want you can.
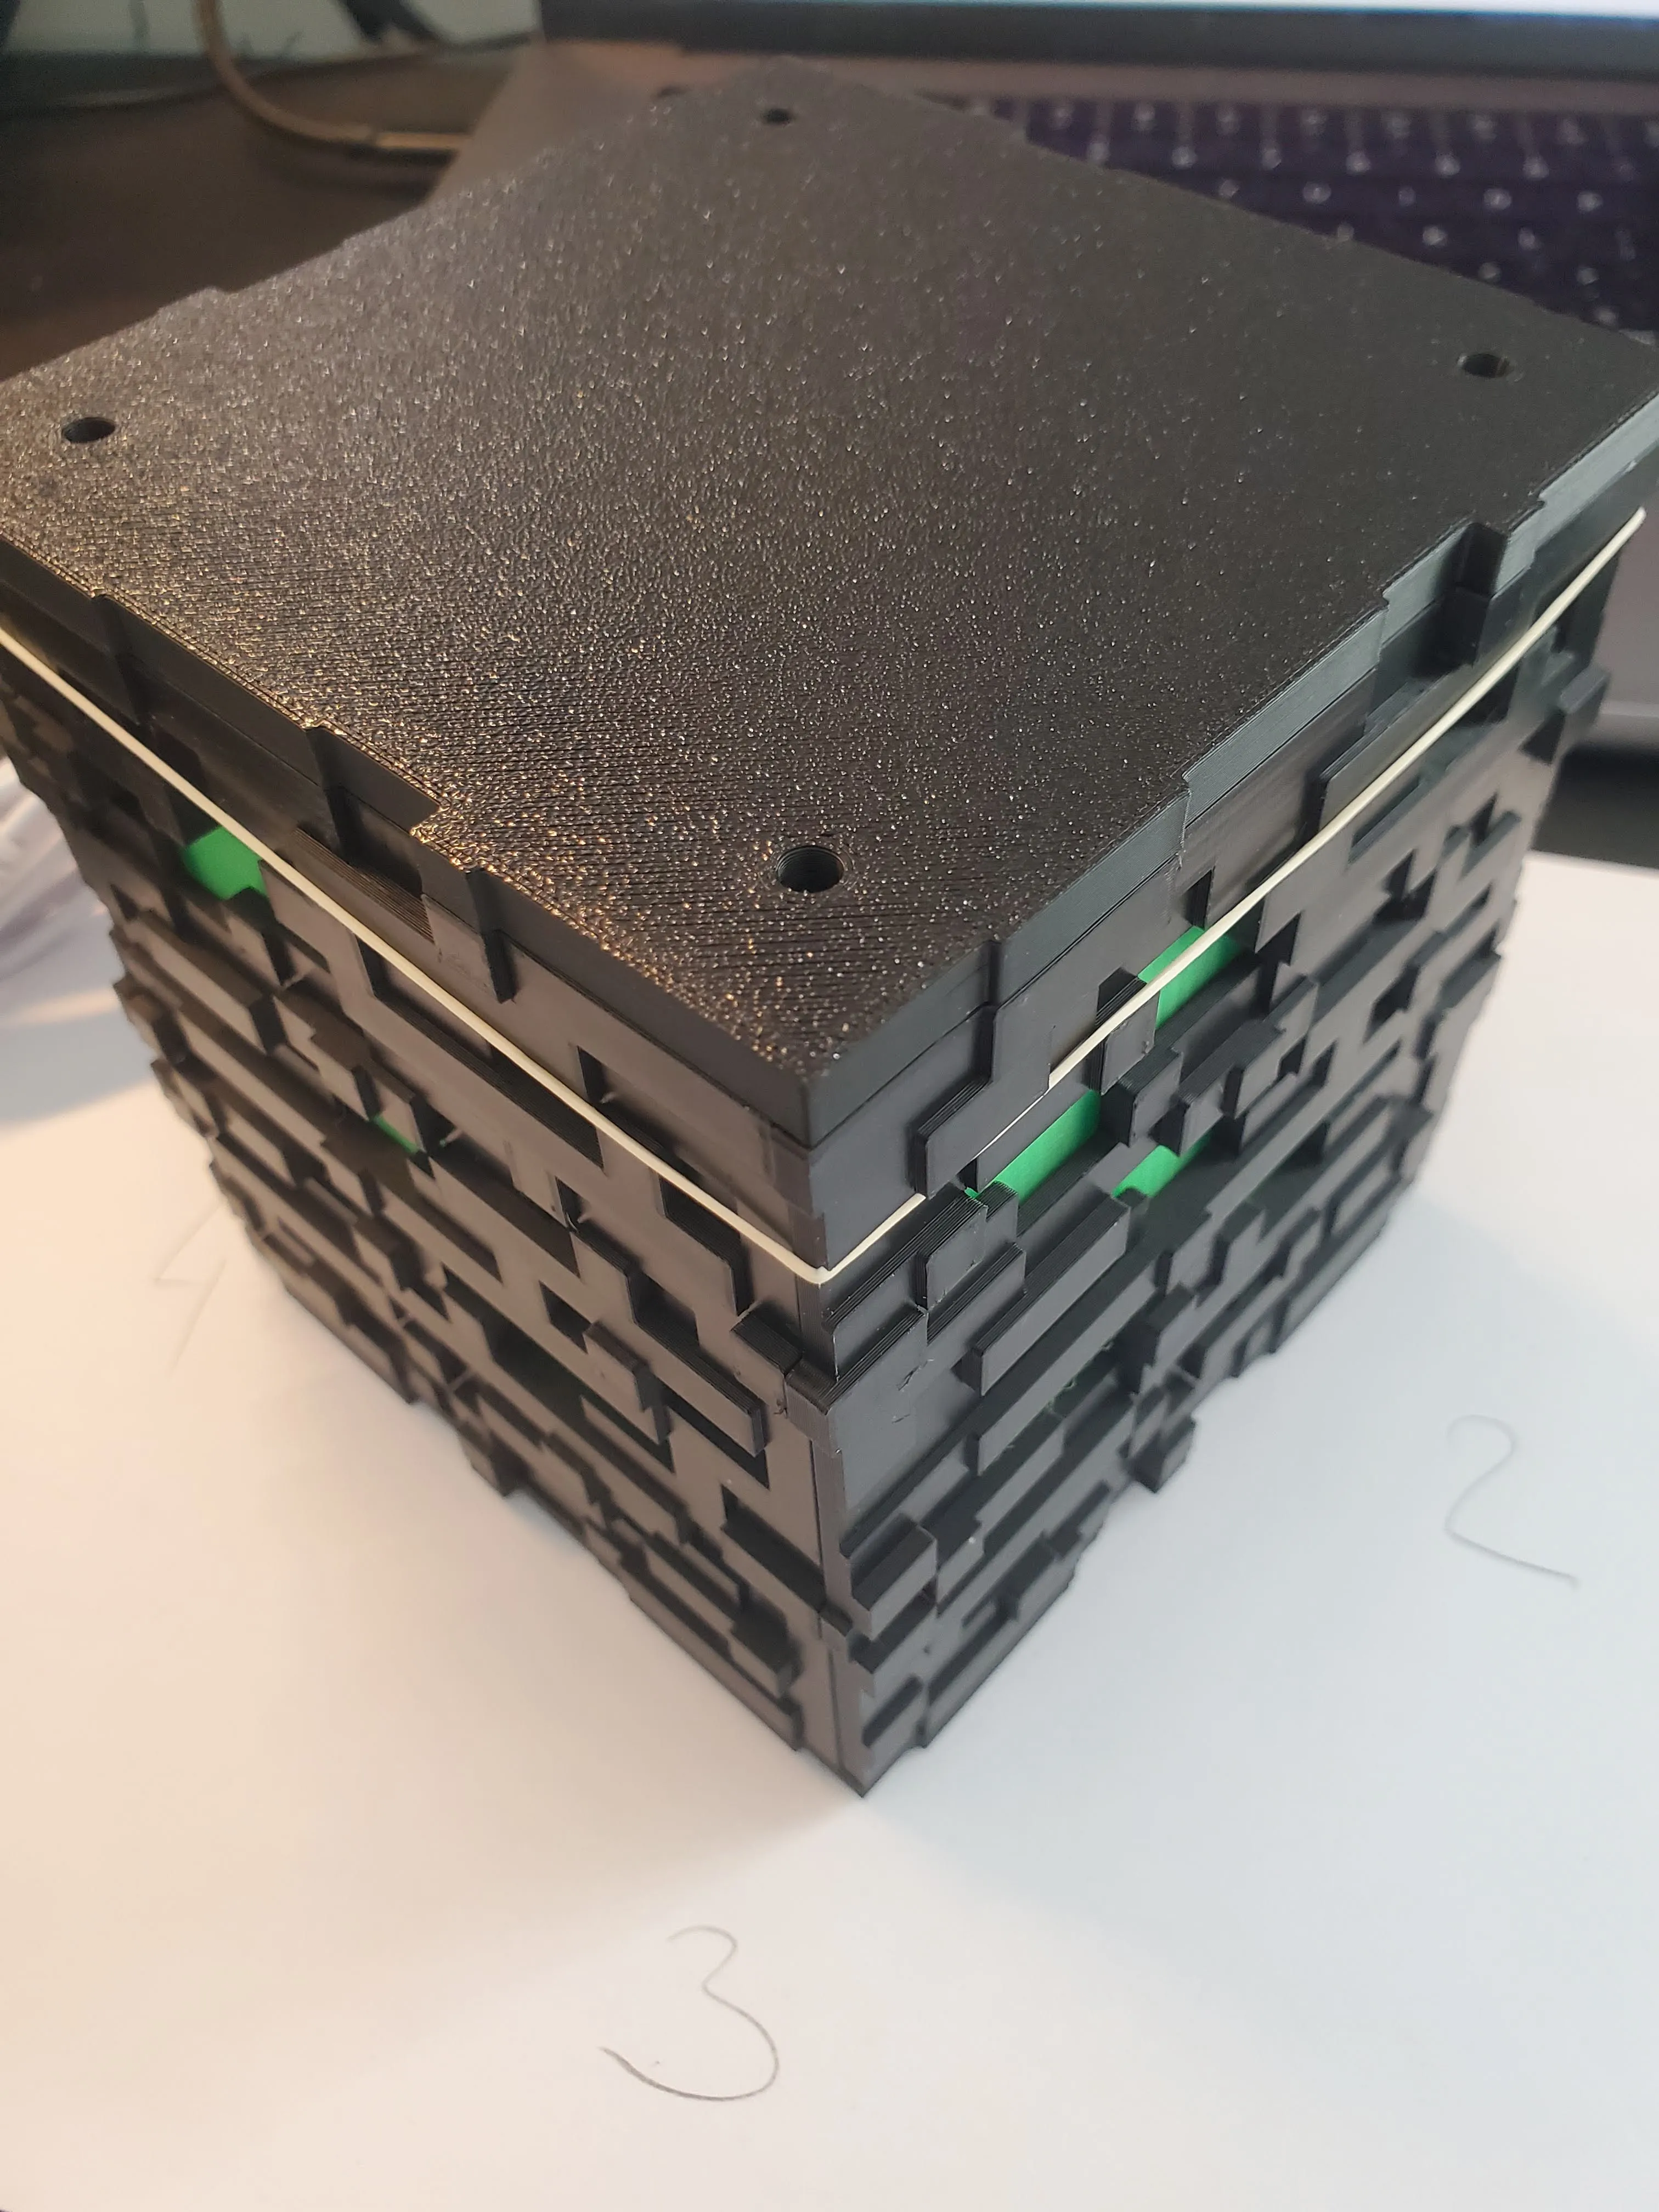
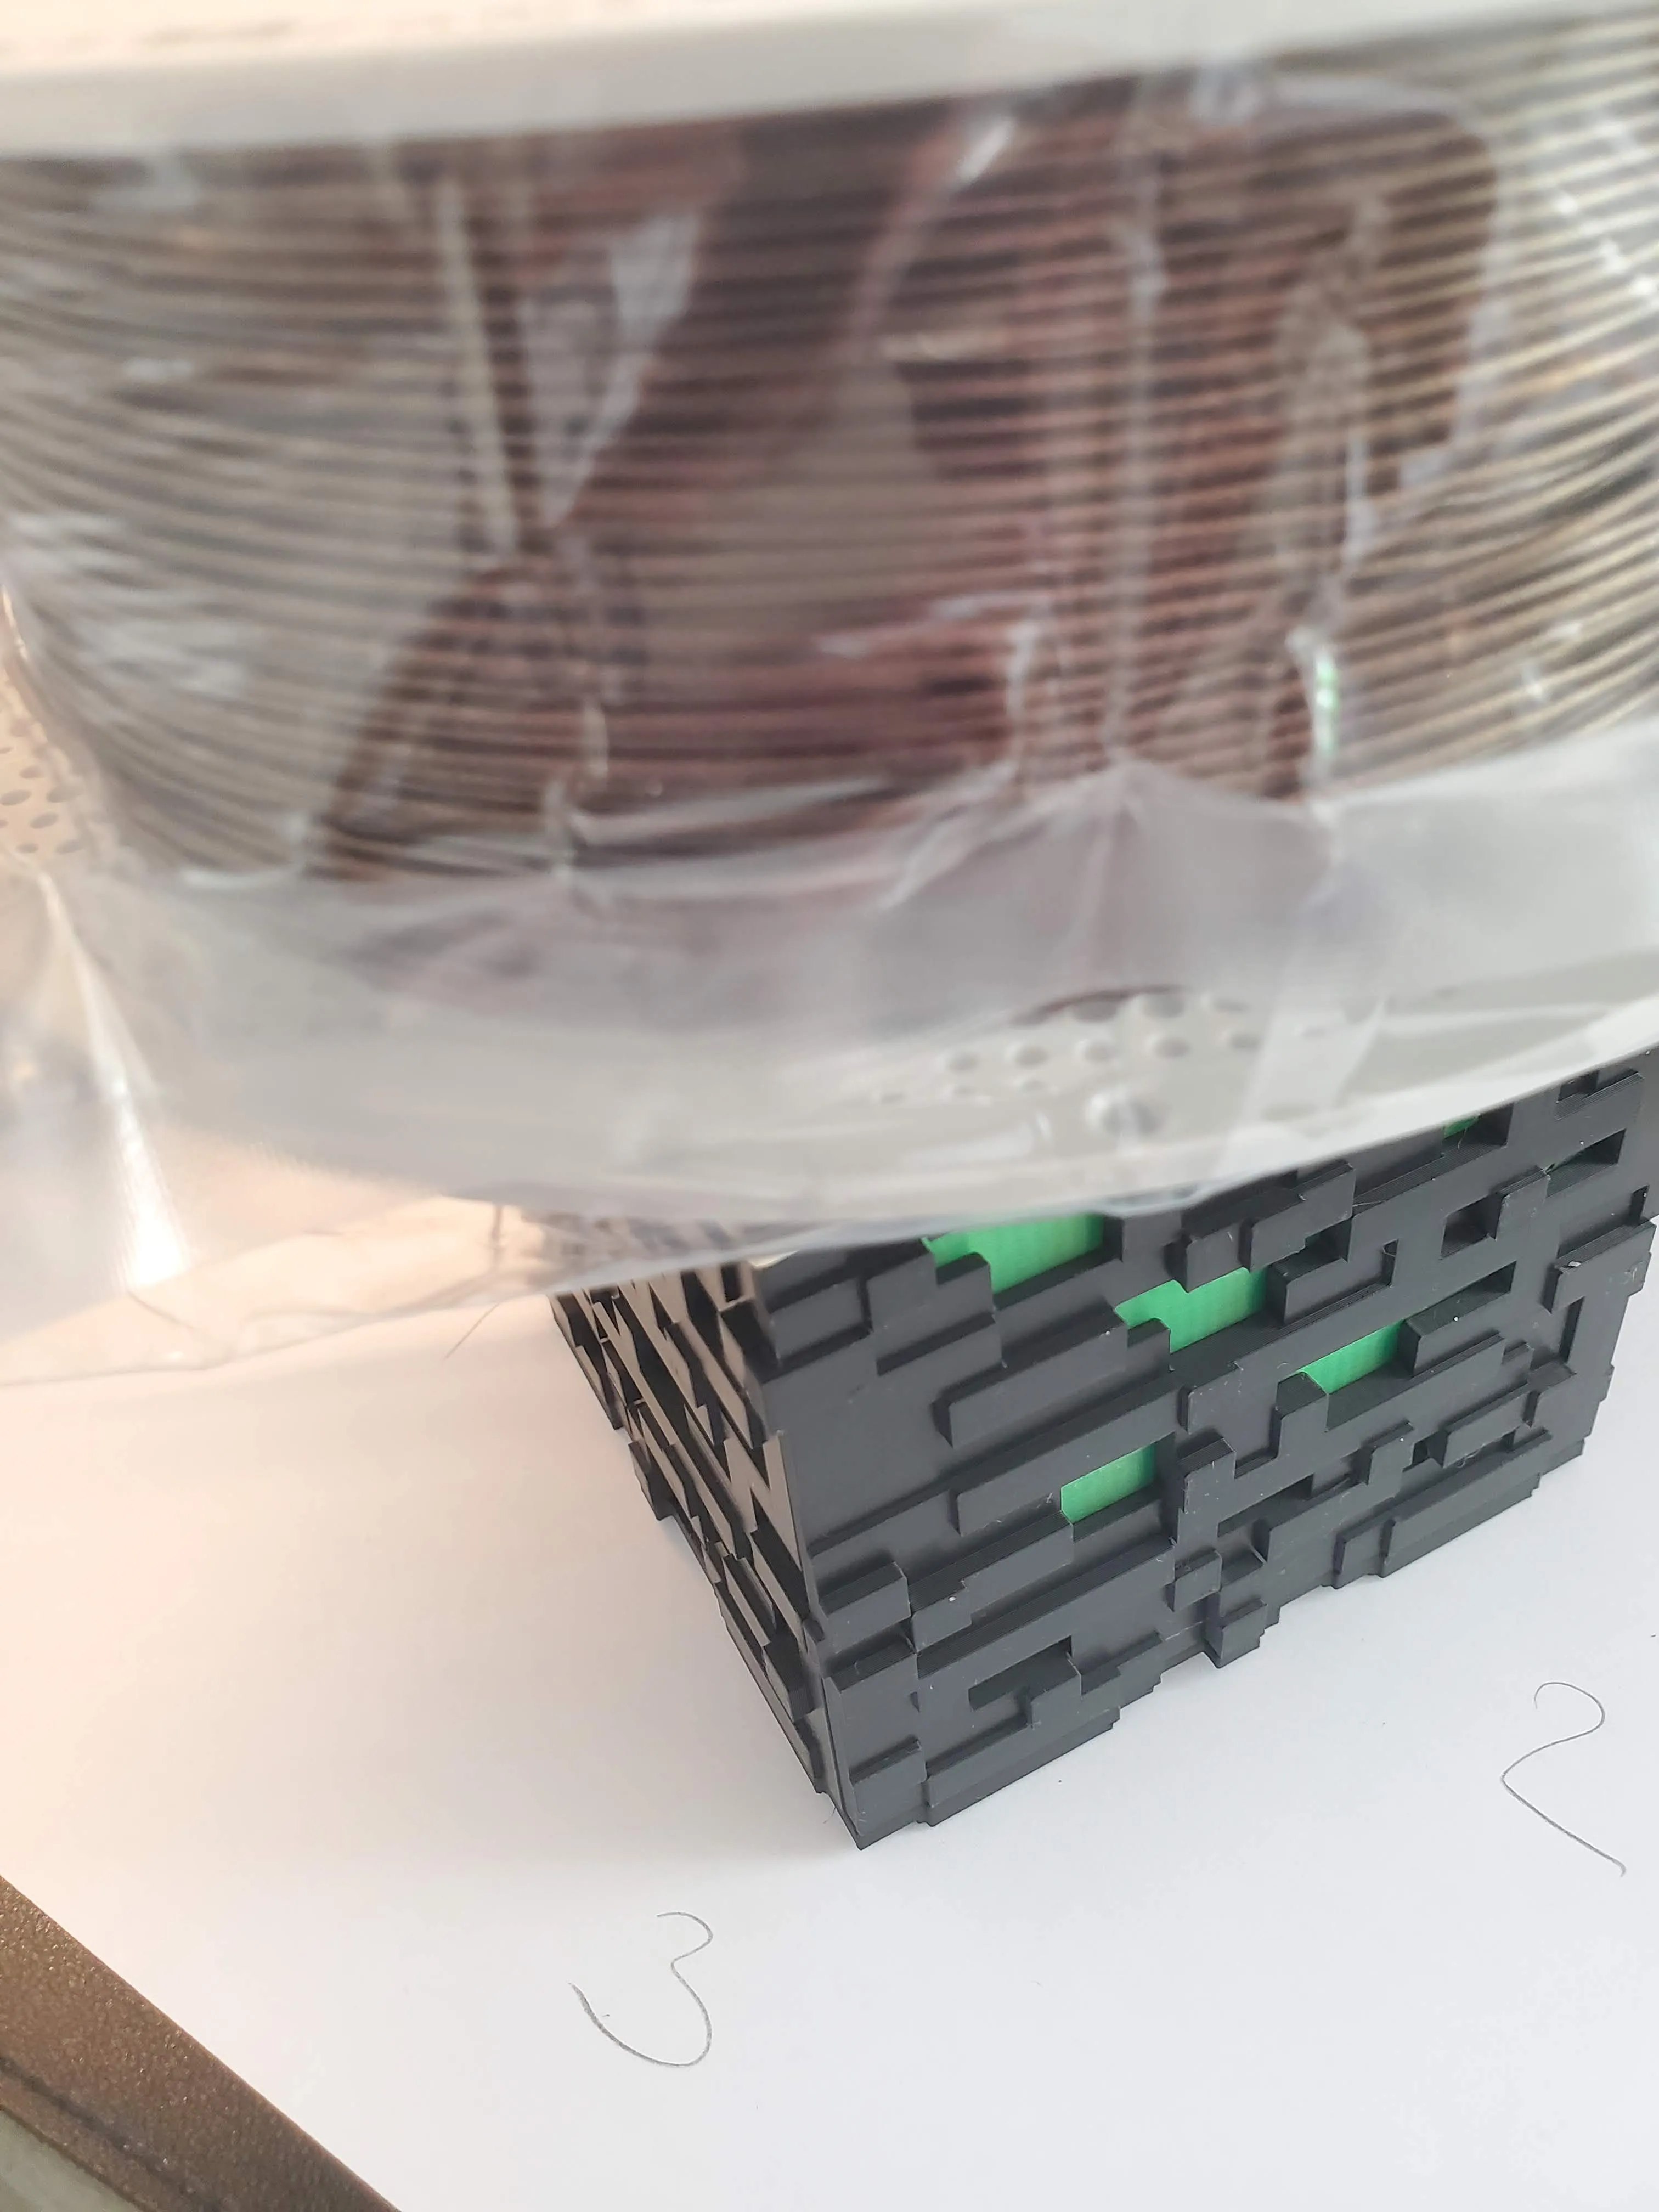
License

You shall not share, sub-license, sell, rent, host, transfer, or distribute in any way the digital or 3D printed versions of this object, nor any other derivative work of this object in its digital or physical format (including - but not limited to - remixes of this object, and hosting on other digital platforms). The objects may not be used without permission in any way whatsoever in which you charge money, or collect fees.


Comment & Rating (274)