Aura-Snap Windwheel


Print Profile(1)
Description
Boost Me (for free)
If you have a boost token left, I would be honored if you use it for this model.
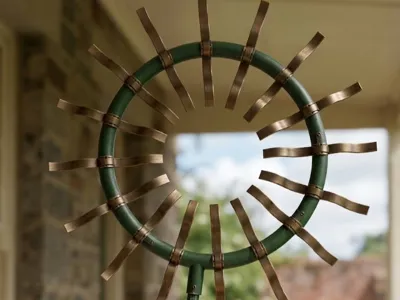
Aura-Snap Windwheel – The Modular Wind Chime for Modern Gardens
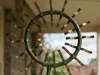
Bring movement into your outdoor area! The Aura-Snap Windwheel is not just a garden decoration, but a kinetic work of art that impresses with its clever plug-in system and versatility. Whether as a radiant sun in gold or a high-contrast eye-catcher in red and white – you decide how your wind chime rotates.
Why the Aura-Snap Windwheel belongs in your garden:
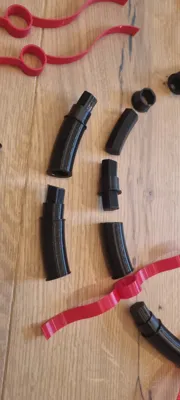
- Complete Modularity: Thanks to the innovative snap-fit system, the wind chime can be assembled completely without tools in just a few minutes.
- Individual Design: The propeller elements are interchangeable at any time. Adapt the look to the season or your personal taste.
- Precision from the 3D Printer: Each component is optimized for maximum smoothness, so that the wheel majestically turns even in a gentle breeze.
- Weatherproof & Robust: We recommend printing in high-quality PETG or ASA so that your wind chime withstands sun, rain, and wind for years.
Technical Details & Assembly
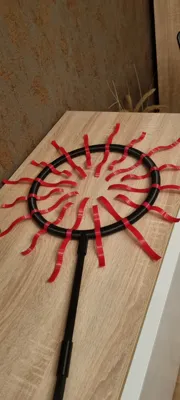
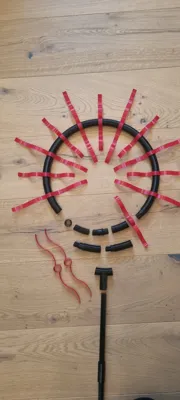
The design has been developed so that even 3D printing beginners can achieve perfect results. Assembly is intuitive: the individual ring segments are simply plugged together until a stable circle is formed.
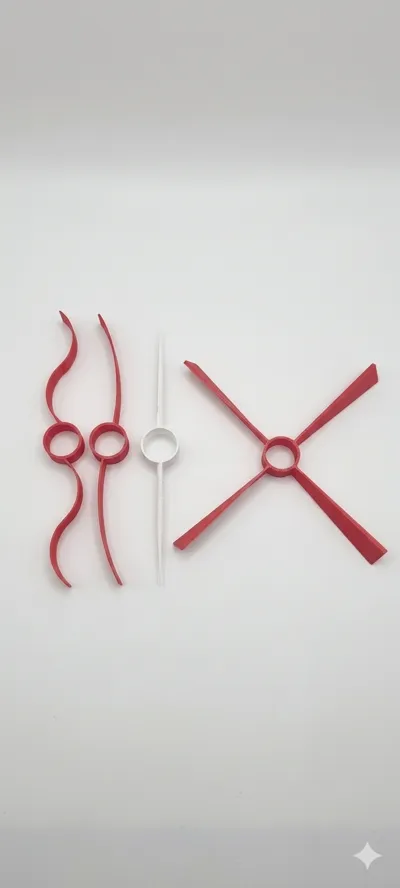
Important Assembly Note: > When inserting, pay attention to the small marking on the propeller bearing. This must absolutely point inwards (towards the center of the ring) to ensure optimal rotation and aerodynamics.
Assembly Instructions (Short Version)
- Print: Produce all parts according to the enclosed print profile.
- Ring Assembly: Push the arched segments together using the connectors to form a circle.
- Insert Propellers: Click the desired propellers into the bearings. Important: Marking points towards the center of the ring!
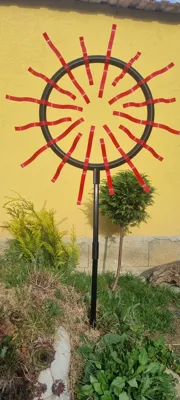
- Set Up: Insert the support rod into the T-connection and place it in the garden (flower bed or pot).
- Enjoy: Lean back and watch the wind play.
License
You shall not share, sub-license, sell, rent, host, transfer, or distribute in any way the digital or 3D printed versions of this object, nor any other derivative work of this object in its digital or physical format (including - but not limited to - remixes of this object, and hosting on other digital platforms). The objects may not be used without permission in any way whatsoever in which you charge money, or collect fees.
Comment & Rating (2)