Dragon Torch


Print Profile(1)

Bill of Materials


Description
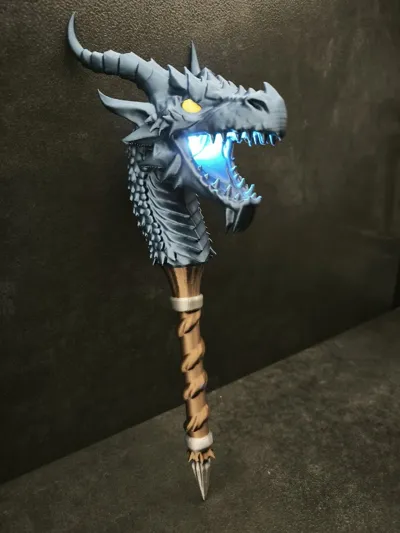
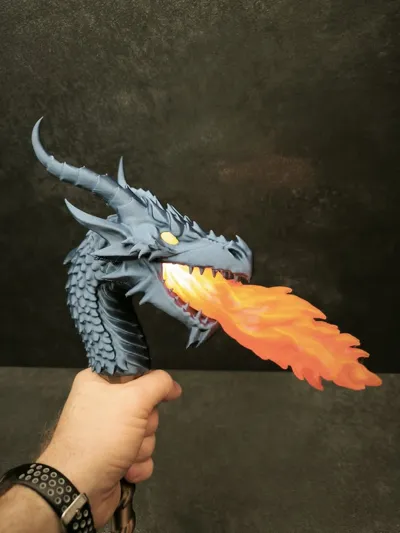
Dragon torch. My entry for the torch design contest.
Print profile
The print profile is slightly non standard. Each part uses different settings.
The dragon head is printed with gyroid infill and uses a minimal amount of supports. I enabled only critical supports and manually added a few extra ones. If you experience issues you can disable critical supports which will result in more supports being generated automatically. In the photos the model was printed using only critical supports and some spikes show small imperfections due to insufficient support, which is why I later added more supports manually.
The handle is printed with a higher layer height of 0.28 for faster printing. When printing the handle you can disable the prime tower. It is not needed, but unfortunately this option cannot be set per plate as it is a global setting.
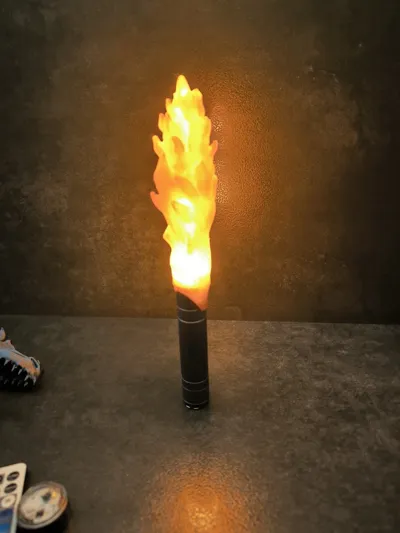
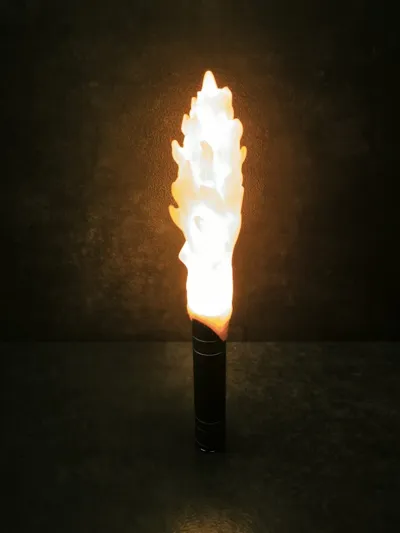
The flame is also printed with a 0.28 layer height using translucent PLA. I added custom supports to ensure stability during printing.
Assembly instructions
After printing the head insert the pin into the hole and glue it to the handle. The flame does not need to be glued. It is press fit and can be inserted and removed. Insert it as shown in the photo with the notch facing upwards.

To fully insert the flame you need to overcome initial resistance and push it firmly into the mouth.
Lighting
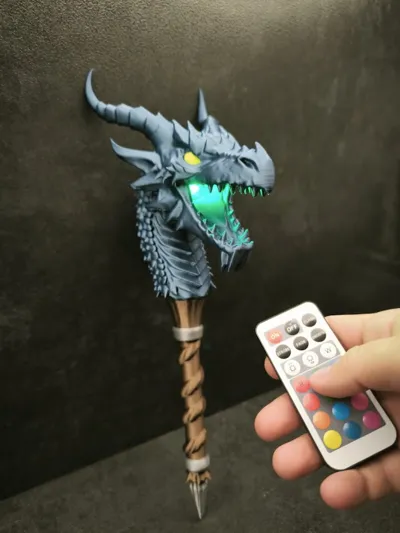
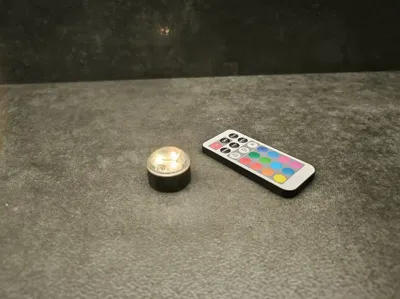
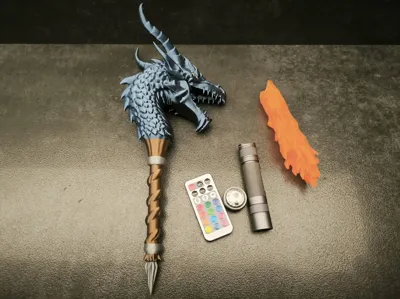
The torch works with two light sources.
The first light source works both with and without the flame. Its main advantage is color changing. To prevent the light from falling out slightly increase its diameter using tape as shown in the image.

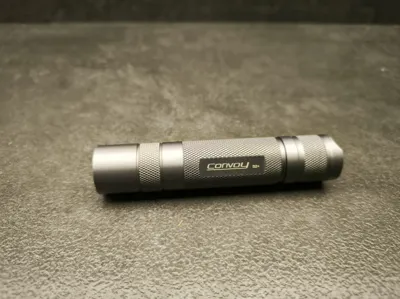
The second light source is a powerful Convoy S2+ flashlight.

It works only with the flame because it is inserted directly into the flame.

This flashlight provides a lot of light but may heat up over time. If you plan to use it for longer periods I recommend printing the flame using PETG.
Have Fun :)
Media:
License
You shall not share, sub-license, sell, rent, host, transfer, or distribute in any way the digital or 3D printed versions of this object, nor any other derivative work of this object in its digital or physical format (including - but not limited to - remixes of this object, and hosting on other digital platforms). The objects may not be used without permission in any way whatsoever in which you charge money, or collect fees.
Comment & Rating (29)