Heater Dial


Print Profile(3)


Description
Boost Me (for free)
Please leave a boost if you find this helpful and find yourself having a few getting ready to expire. Thank You
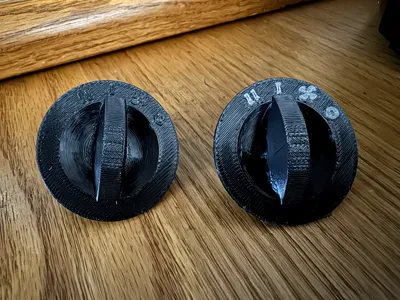
My wife bought one of these heaters for her office where she worked and wasn't long before the dial broke on it due to thin cheap plastic. While I was looking at it to fix it, she bought a second one…. which broke even quicker, stupid cheap shoddy plastic. They both had the flat thin plastic bit break right off.

First ugly replacement I replacement I printed months ago worked fine, but with more practice comes better outcomes.
So I decided to revisit this and fix the second while improving both.
Here is my from scratch attempt for a better OEM looking dial. I think it looks pretty good if I don't say so myself.
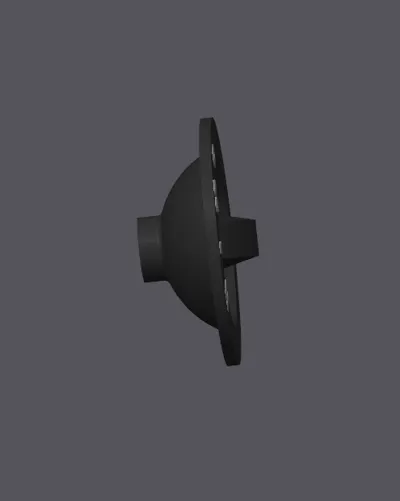
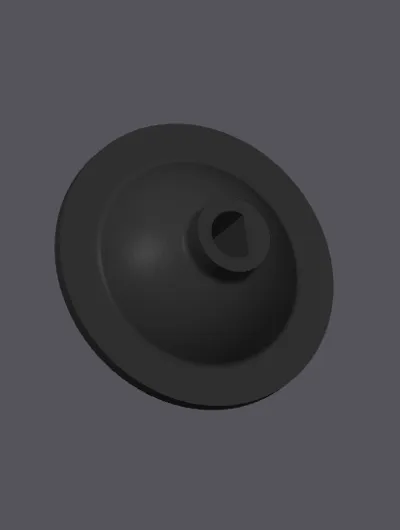
6.2mm Shaft Hole, which snuggly fits on the 6 mm it's being used on.
11.2mm deep
38mm Diameter Dial
17.77 mm in Height
I printed this in PETG but ABS or ASA may be more suited and you won't have to fight some of the battles I did below due to combating the reflective nature of PETG. While also getting a bit more in heat resistence.
I think the extra 15 - 20 Mins for the two color print in order to have the text Pop from the dial is worth it.
But I gave you the option between the two print profiles.

Biggest advantage was just ironing all solid surfaces!

Comment & Rating (5)