
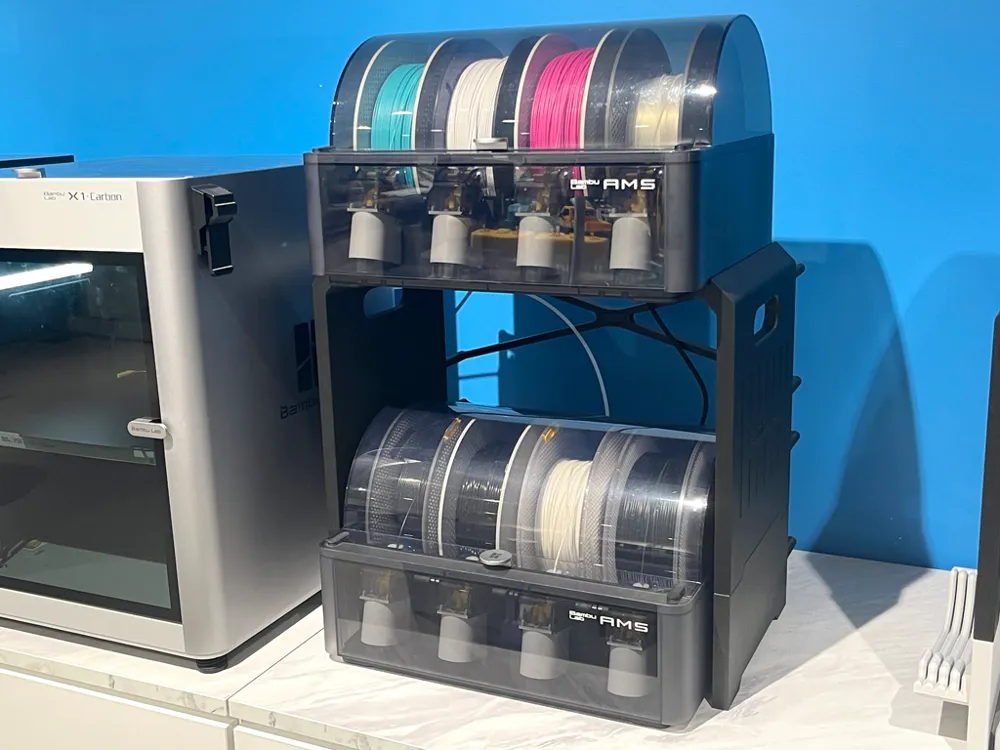
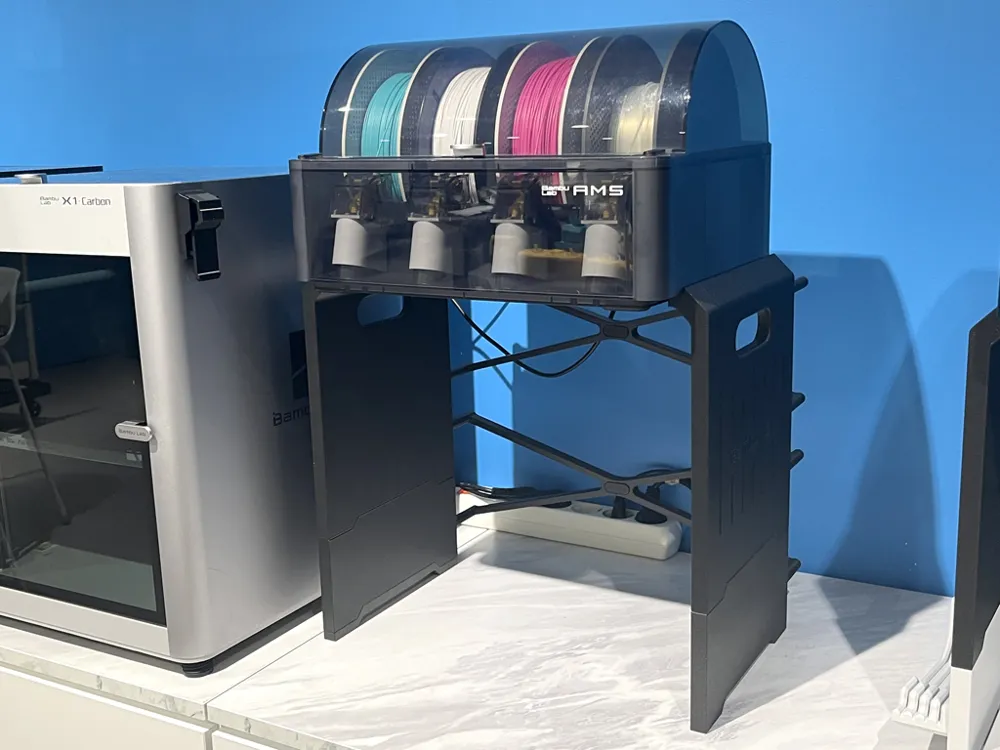
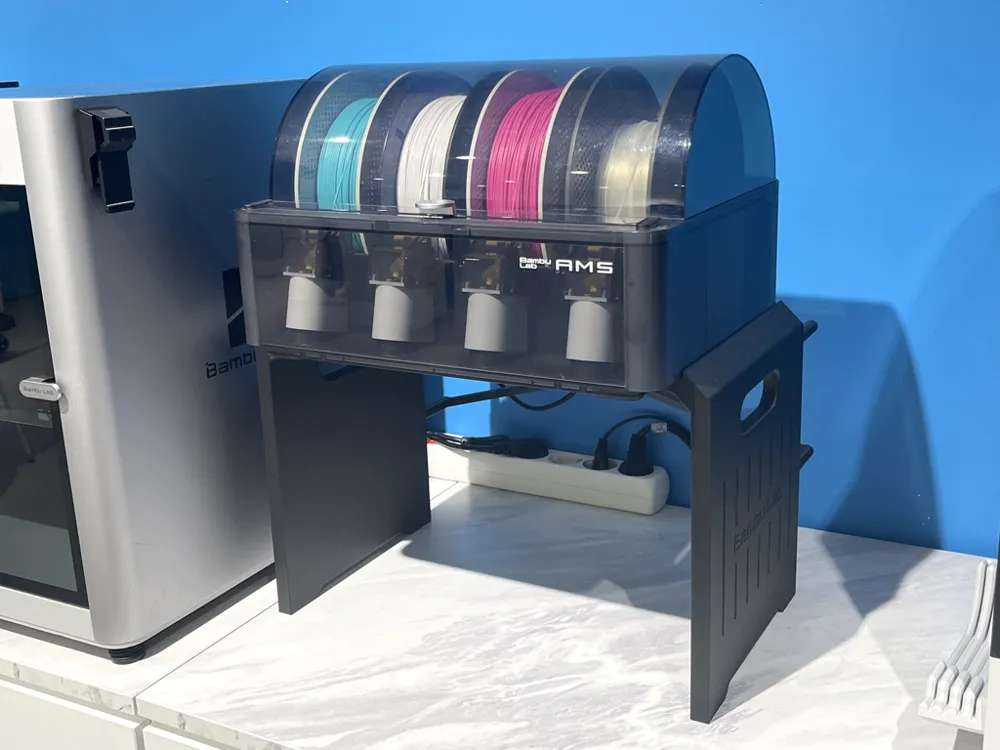
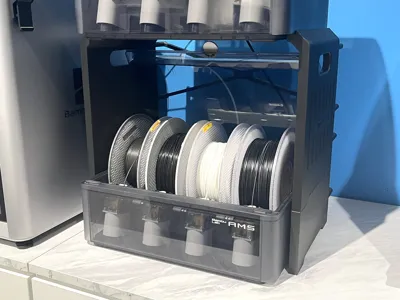
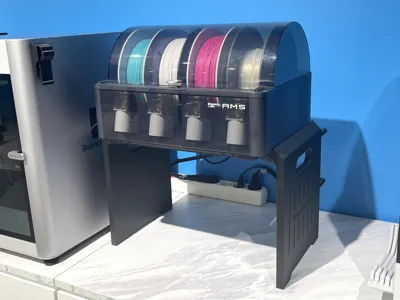
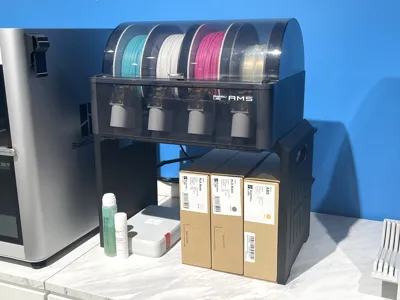
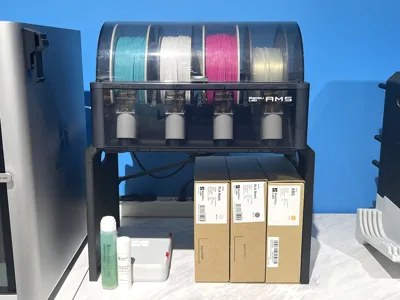
AMS Stacking Stand V3
Print Profile(5)


Description
※ Oct. 6th, 2025 / AMS 2 Pro version has been published seperately.
https://makerworld.com/models/1861875
※ The horizontal width of the bracing for the AMS 2 Pro is 3mm longer. You can simply print only the bracing parts(Plate 2) from the link above and use them for AMS 2 Pro.
----------------------------------------
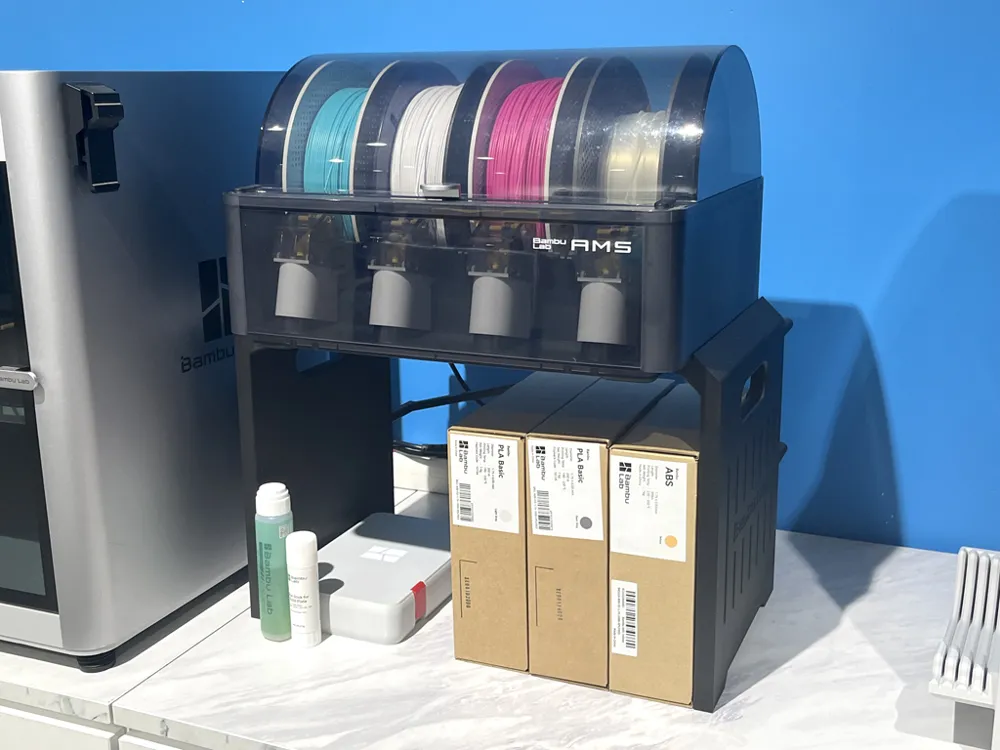
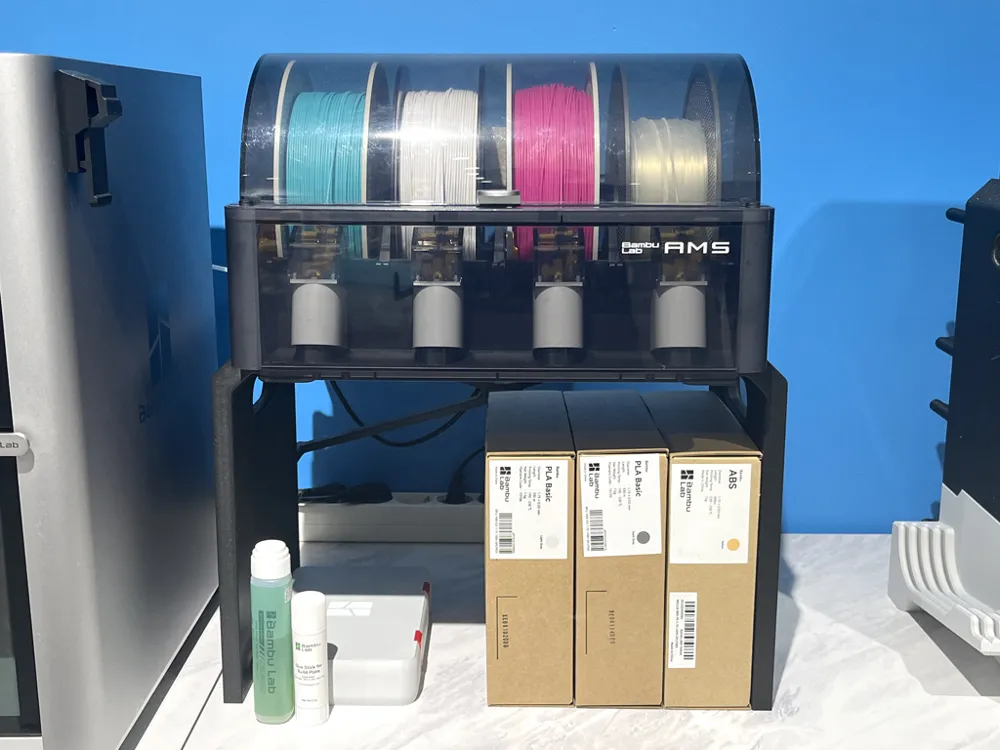
This is an AMS Stacking Stand with Bambu Lab P1P Armor Modplate style.
All gaps for assembly are intentionally very small. If it's difficult, please use a tool like a rubber mallet.
If you need a Build Plate Holder addition, please check the link below.
https://makerworld.com/models/62232
Also, if you're looking to use the AMS HT as well, you might want to check out the AMS-HT / Shelf Add-on designed by SigOS.
https://makerworld.com/models/2134937
Updated on Oct. 7th, 2025
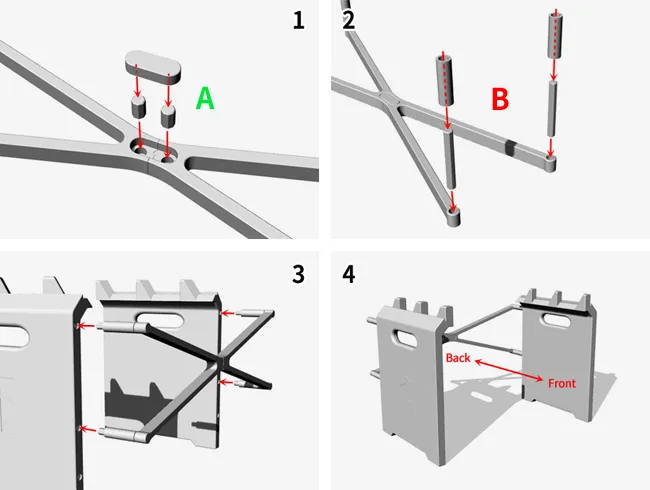
- The overall design has been updated to V3.
- When assembling the side panels and extensions, no separate pins are needed anymore.
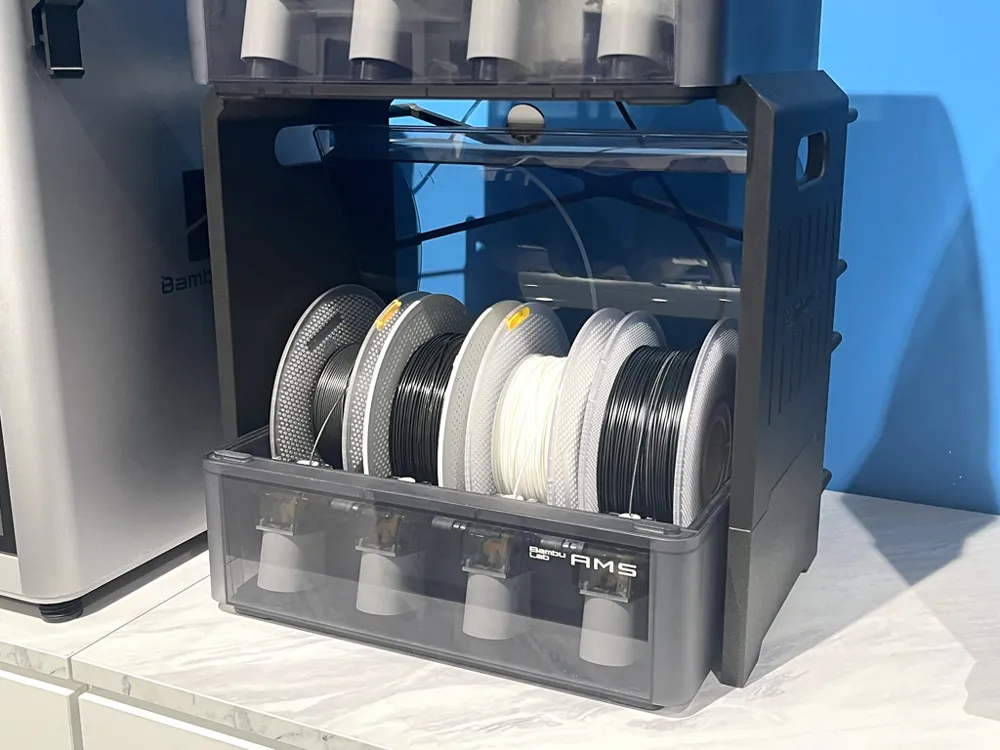
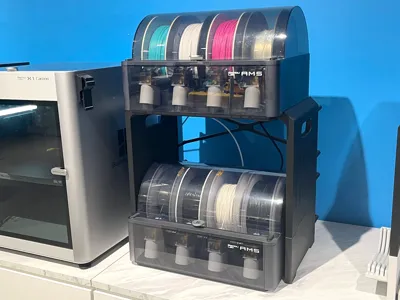
- The height of the extension panel has also been increased by 10 mm, allowing the lower AMS lid to open more fully.
- The previous data has been archived, so if needed, please download the Archive_251007.zip file.
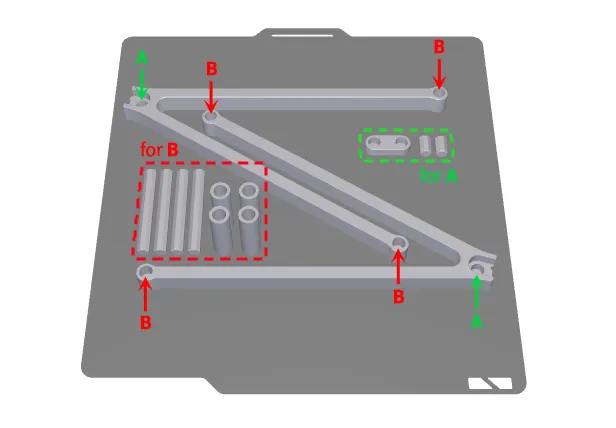
How to assemble
[ Instruction for Archived version ]
----------------------------------------
Updated on Jan. 7th, 2024
- The wall extension(Riser) is 20mm taller than the previous one, so the lower AMS top lid can fully open without the need to hold it.
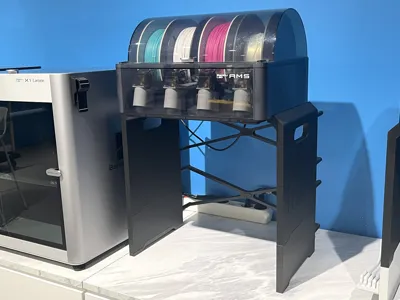
- Also, you can add one more bracing when you use the wall extension for more rigidity.
Pins are separate parts because they need more strength, so at least 50% infill and 4 wall loops are recommended.
* If you want to push the lower AMS further back, please use Pin4 v2 & Pin4-Spacer instead of Pin3 v2.
* All pins are redesigned for better strength. Thanks for the great idea! @djwhouse Now, pins can be printed horizontally.
- Pin1 v2(13mm) & Lock : for assembling bracing parts.
- Pin2 v2(40mm) : for adding side wall extensions.
- *Pin3 v2(20mm) : for joining bracing assembly and side walls.
- *Pin4 v2(50mm) & *Pin4-Spacer : (Deeper) for joining bracing assembly and side walls.
Documentation (1)
License

You shall not share, sub-license, sell, rent, host, transfer, or distribute in any way the digital or 3D printed versions of this object, nor any other derivative work of this object in its digital or physical format (including - but not limited to - remixes of this object, and hosting on other digital platforms). The objects may not be used without permission in any way whatsoever in which you charge money, or collect fees.


Comment & Rating (1061)