
AMS-HT / Shelf Add-On for AMS Stand
Print Profile(4)


Description
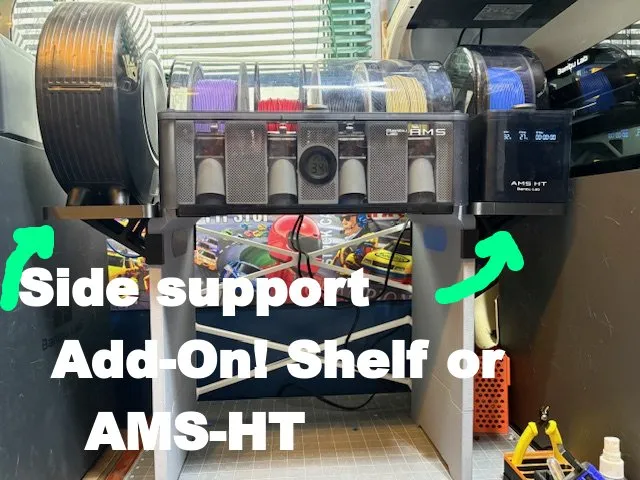
AMS-HT / Shelf Add-On for AMS Stand
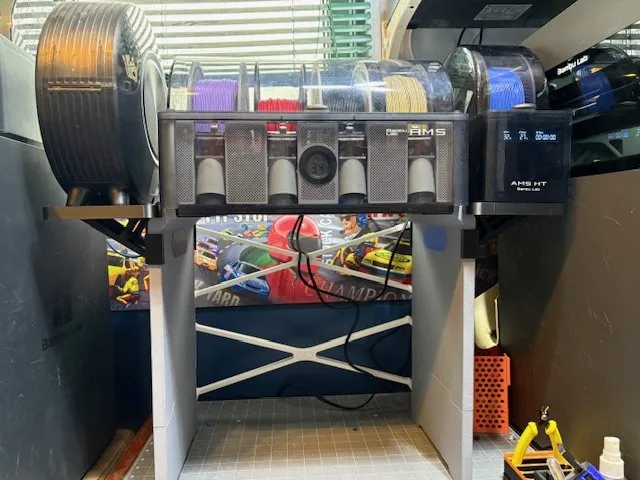
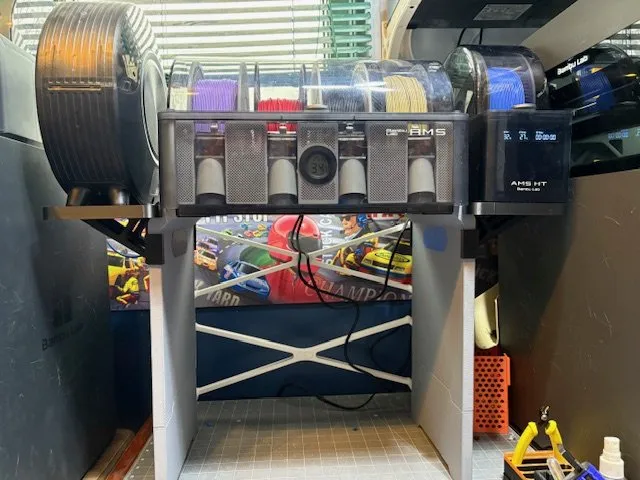
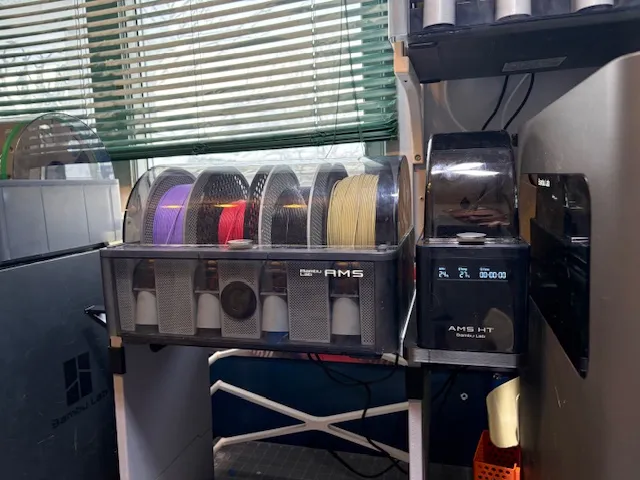
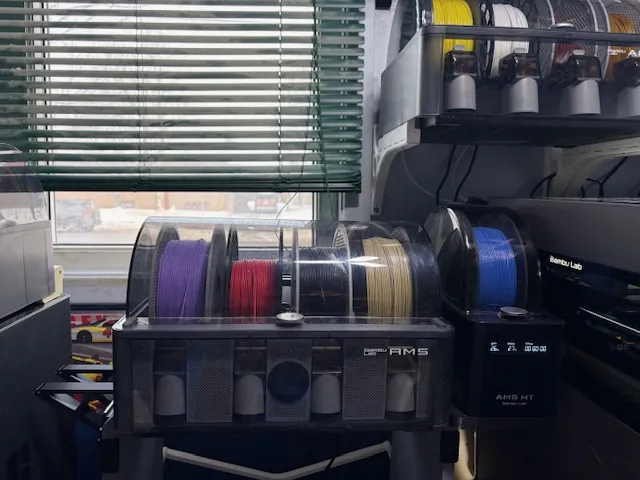
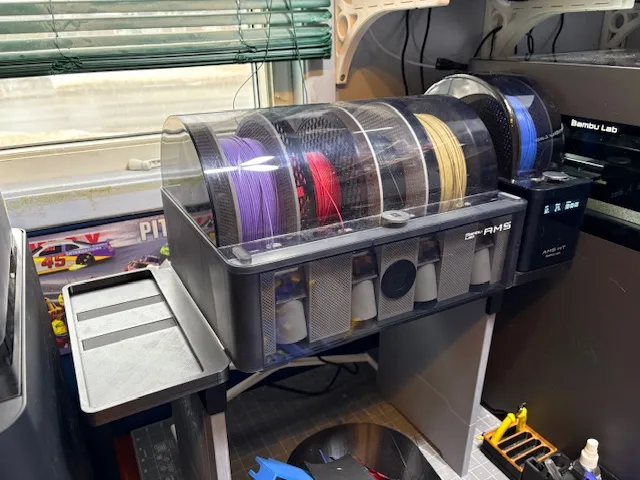
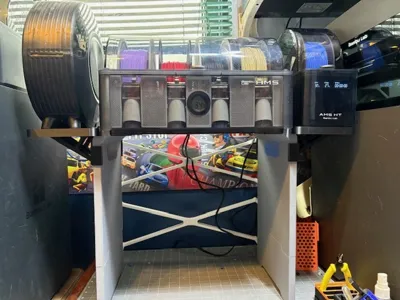
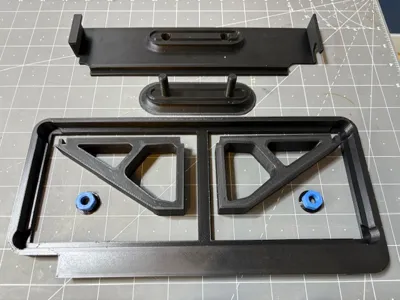
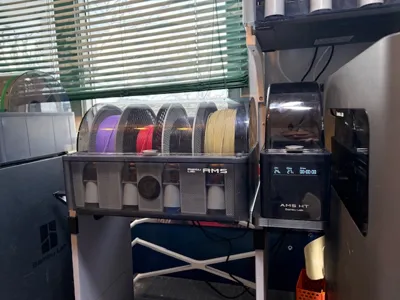
I really liked the AMS Stand made by @3DMONmaker, but I also wanted to add side mounts for AMS-HT (and got the shelf idea afterwards). After too much plastic waste, here is my design! It is compatible with these two designs :
- AMS 2 Pro Stand basic version, won’t work with the lite version
- AMS Stacking Stand V3 basic version, won’t work with the lite version
I have 4 different print profiles :
- H2 Series - Left side
- H2 Series - Right side
- 256MM plate : Left side. The AMS support is “truncated” to 254mm… The back of the AMS is NOT supported, if you push on it, it can slide back… But it still works well.
- 256MM plate : Right side. The AMS support is “truncated” to 254mm… The back of the AMS is NOT supported, if you push on it, it can slide back… But it still works well.
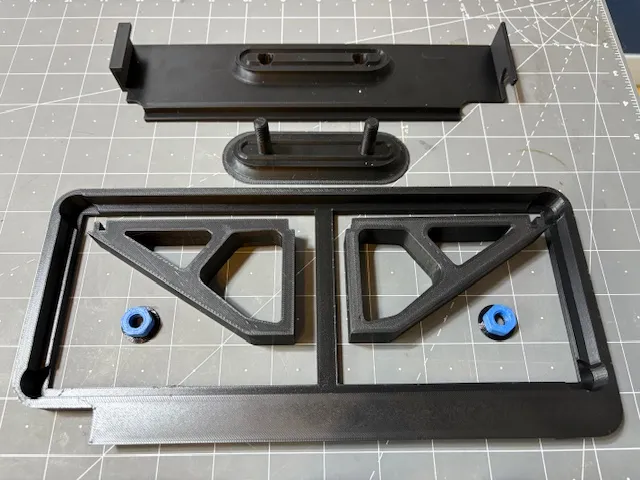
The M8 nuts that holds the brackets in place are in two flavors : single material or integrated 1mm TPU for AMS gasket / washer. The one with the washer grips a lot better.
WARNING: The studs on the inside part are definitely the weak part of this design. Make sure to use a strong filament with good layer adhesion to print them. My print profiles have modifiers to increase the infill to 100% in the studs area, but still, be careful with them to avoid breaking and do NOT over tighten.
UPDATE 2026/Jan/04: I just updated my print profiles to print the inside part (part with the studs) on the side with supports instead of on its back. It gives a lot more strength to the studs, making them less prone to break. The counterpart is that a little cleanup is required on the threads due to the supports.
Assembly
- Print the parts
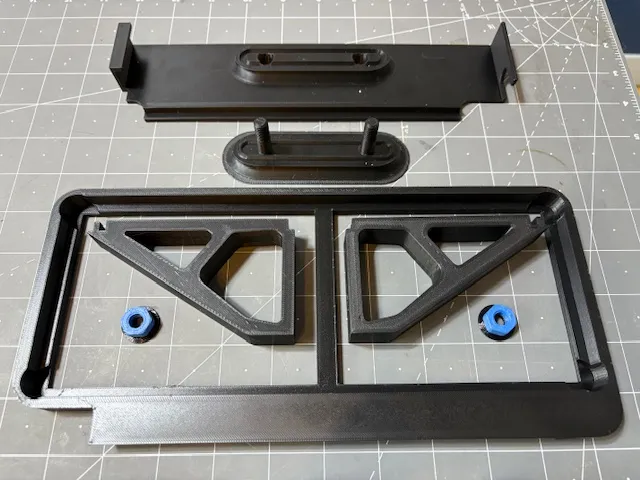
Insert the U-Shaped side of the outside part on the side of the AMS support
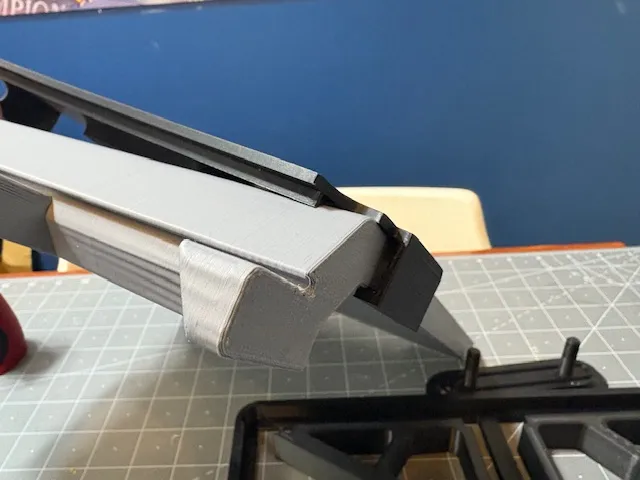
Push the part in place
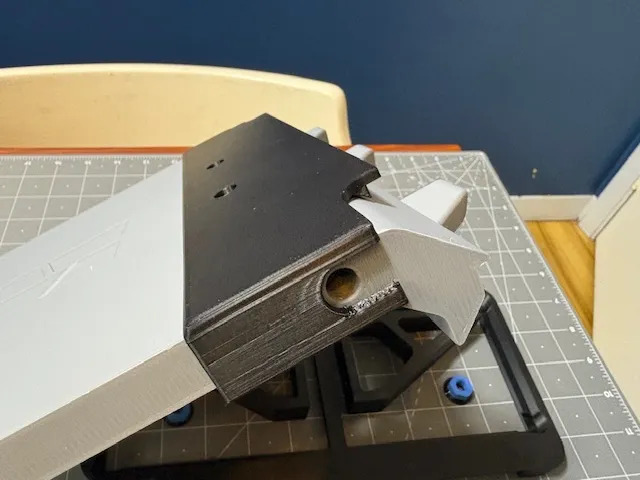
The support pin of the AMS support can then go in the U-Shaped slot made for it
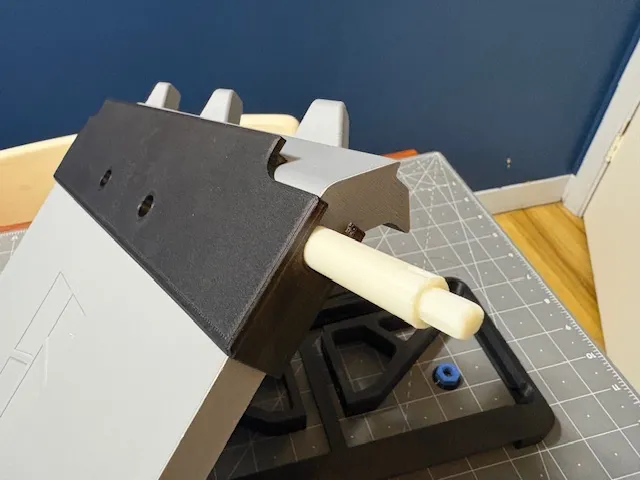
Insert the inside part into the hole of the outside part / the handle hole of the AMS support
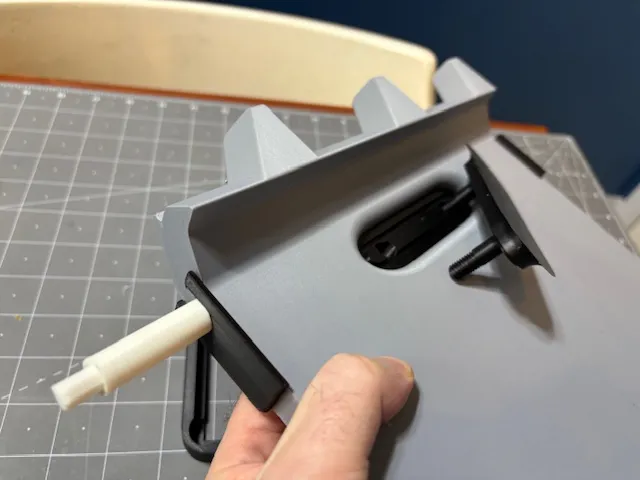 | 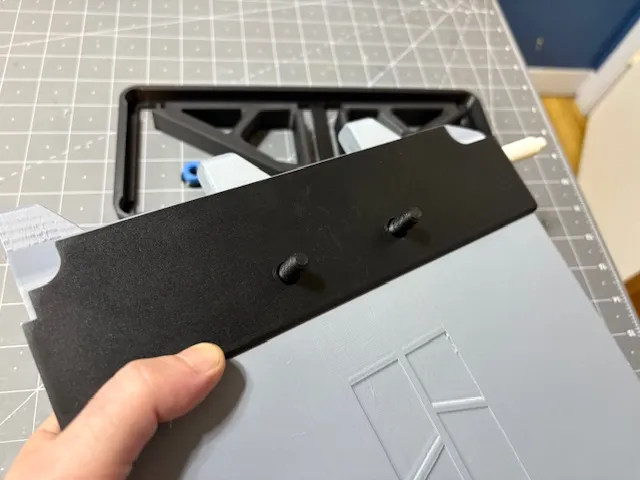 |
Insert the braces on the studs then screw the nuts. Warning : do not over-tighten the nuts, you will break the studs.
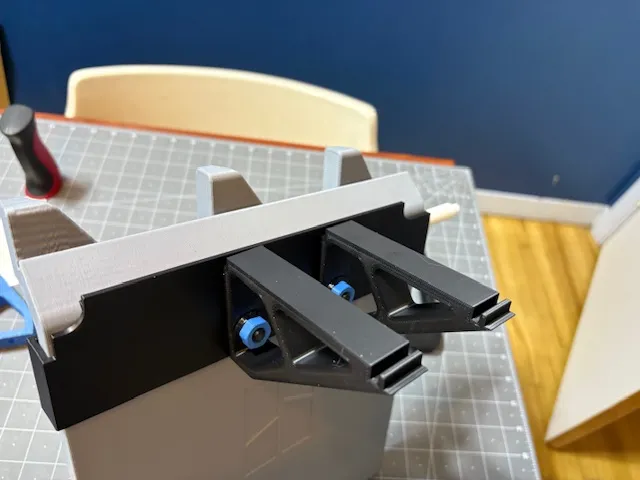 | 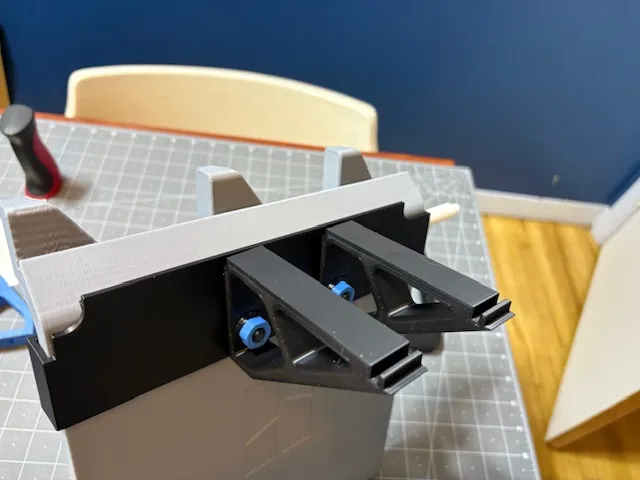 |
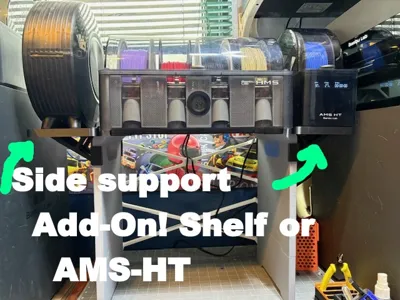
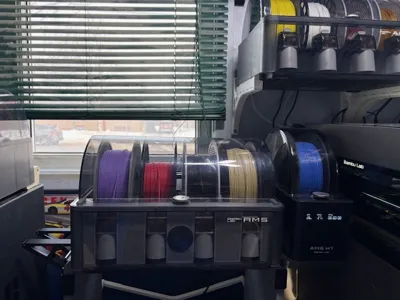
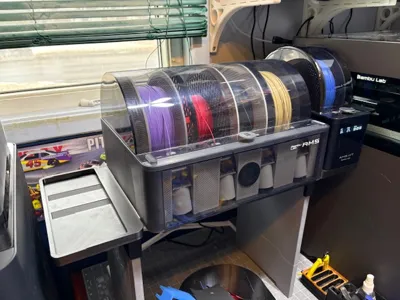
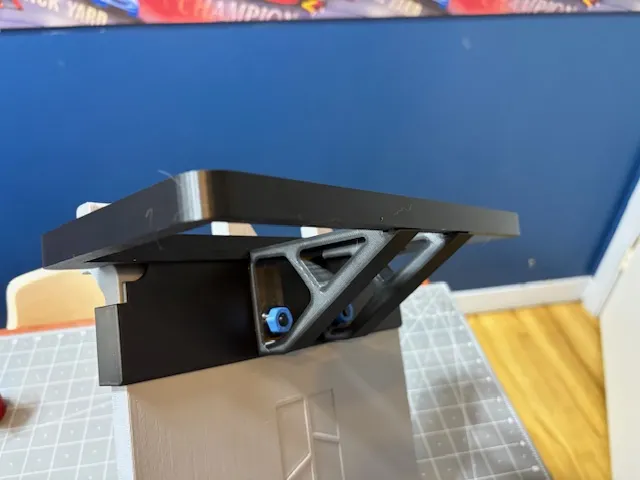
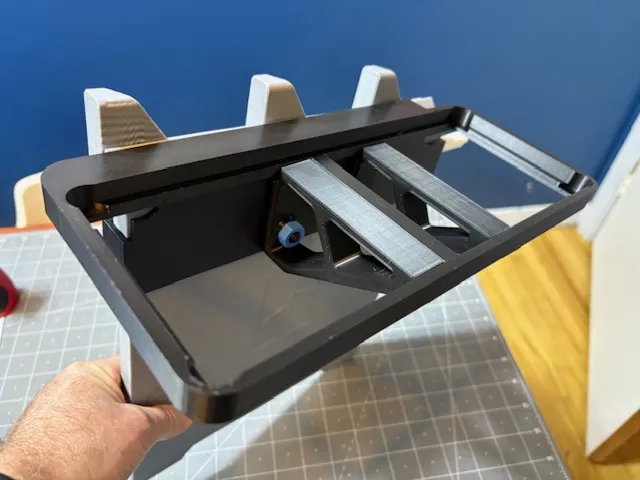
The shelf or AMS-HT support can now be installed. Note: The AMS-HT is a tight fit in the support, you will have to insist a little to fit it in.
 |  |
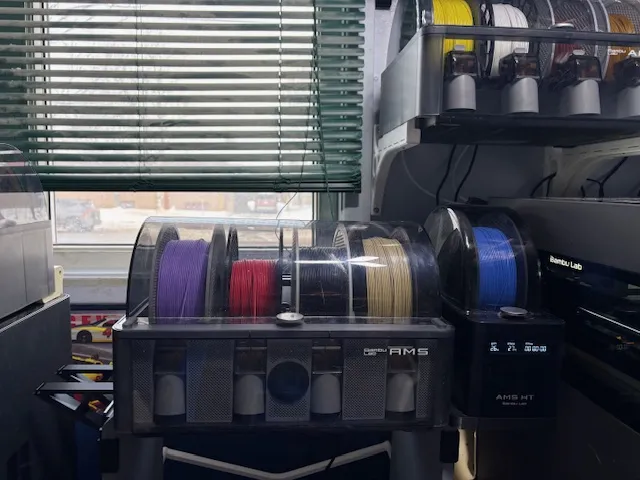
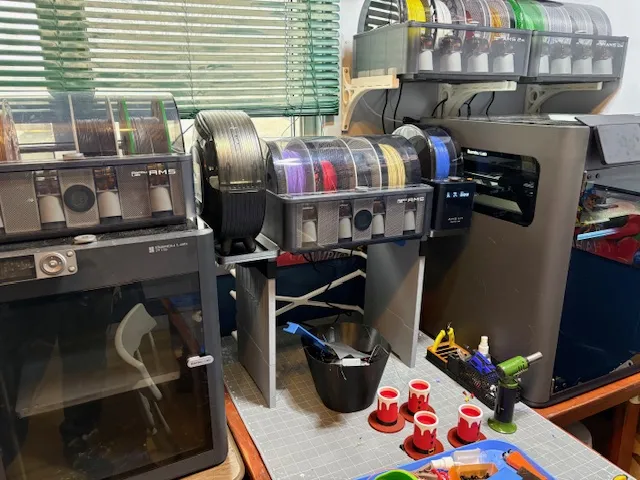
Voilà, supported AMS on the right, with a shelf on the left for my other dryer!
 |  |
Boost Me (for free)
If you like my design, a boost is always appreciated! It helps a lot for the tons of plastic required to make it as perfect as I can :)
License

You may create derivative works based on this object, provided that all such derivative works are published exclusively on the MakerWorld platform and include proper attribution to the original creator. You may not share, upload, host, distribute, or publish this object—or any derivative work of this object—on any other digital platform, marketplace, or distribution channel. Commercial use of this object and any derivative works is strictly prohibited. This includes, but is not limited to, selling, renting, sublicensing, or using the object in any context in which you receive monetary compensation or other financial benefits.


Comment & Rating (23)