Search models, users, collections, and posts


Bio
Designing fun stuff for a fun community!
Achievements
MakerWorld Guardian
Active more than 20 days out of last 30 days UTC time
Contest Winner
Won 2 model contest awards.
Featured Creator
3 models are featured by MakerWorld.
Maker's Supply Contributor
2 models with Maker's Supply Model Kit achieves 500 successful prints.
Popular Model
4 models more than 5,000 successful prints.
Popular Creator
More than 1,000 followers.
Stellar Reviewer
Rate or Comment 327 different models
Pioneer Maker
Print successful 233 different models and 2,957 hours
Pinned Models


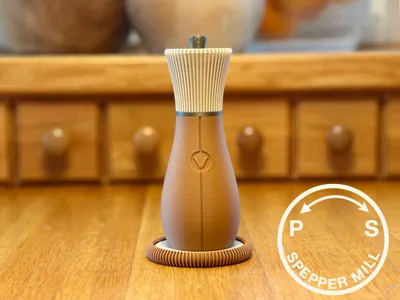
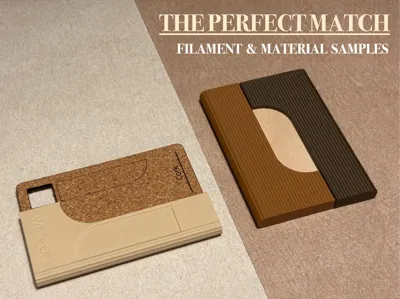
Recent Models

Recent Laser & Cut Models
Recent Article