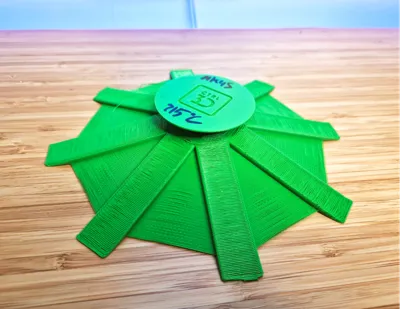
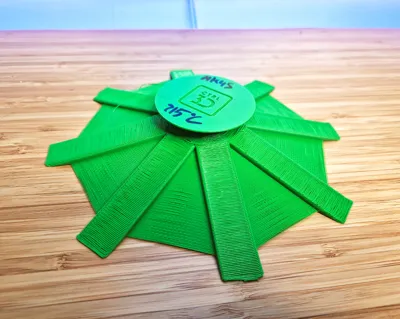
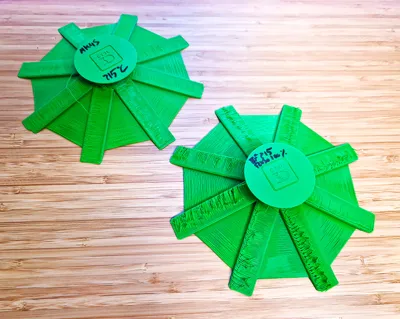
Extreme Overhang Test 75° / Overhang torture test


Print Profile(1)

Description
This overhang test was developed following extensive research and leveraging the expertise shared by Rudolf from Prusa Research.
It is a fixed test at 75°. The rationale for excluding other angles is that any printer with adequate layer cooling should successfully manage all angles from 0° to 75°.
For overhangs exceeding 75°, I recommend using supports (although some printers may handle them without support).
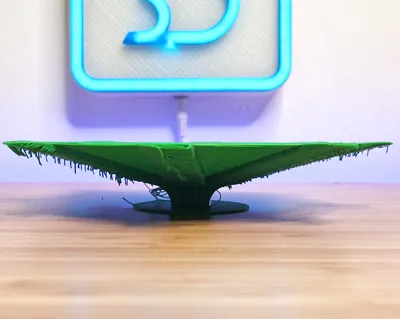
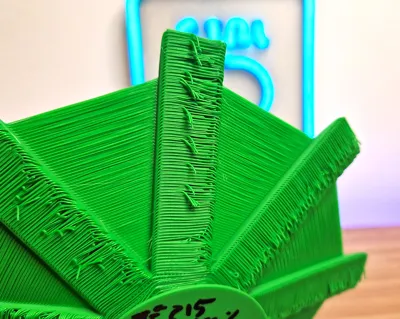
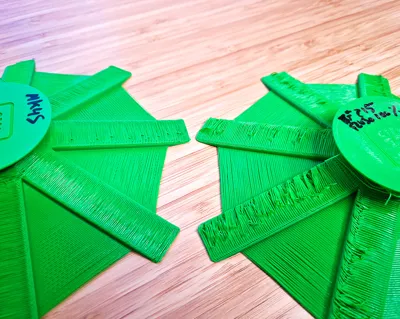
The principle is that the longer an overhang at this angle, the more challenging it becomes to achieve a flawless print. Therefore, it is crucial to AVOID SCALING THE MODEL.
I have meticulously optimized the design to minimize material consumption.
Crucially, DO NOT ALTER THE PART'S ORIENTATION and PRINT WITHOUT SUPPORTS
RECOMMENDED SETTINGS
- Layer height: 0.2 mm
- Speeds: The fastest your machine allows 😜
- Infill: Any infill type suffices. 15% grid infill is adequate.
- 2 perimeters
- Approximate material use: 54 g
---------------------------------------------------------------------------------------------------------------
This overhang test has been created after extensive research and thanks to the expertise shared by @rudolf.
It is a fixed test at 75°. The reason for not including other angles in this test is that any printer with decent layer cooling should handle all angles from 0 to 75° without issues.
For overhangs above 75°, I recommend using supports (although some machines might be able to handle them).
The idea is that the longer an overhang at this angle, the harder it is to achieve a clean result. That’s why it’s important NOT TO SCALE THE MODEL.
I’ve optimized it as much as possible to minimize material usage.
RECOMMENDED SETTINGS
- Layer height: 0.2 mm
- Speeds: The maximum your machine can handle 😜
- Infill: Any type works. A 15% grid infill is enough.
- 2 perimeters
- Approximate material usage: 54 g
License
You shall not share, sub-license, sell, rent, host, transfer, or distribute in any way the digital or 3D printed versions of this object, nor any other derivative work of this object in its digital or physical format (including - but not limited to - remixes of this object, and hosting on other digital platforms). The objects may not be used without permission in any way whatsoever in which you charge money, or collect fees.
Comment & Rating (1)