
NES MicroSD Holder Keychain

Print Profile(4)


Description
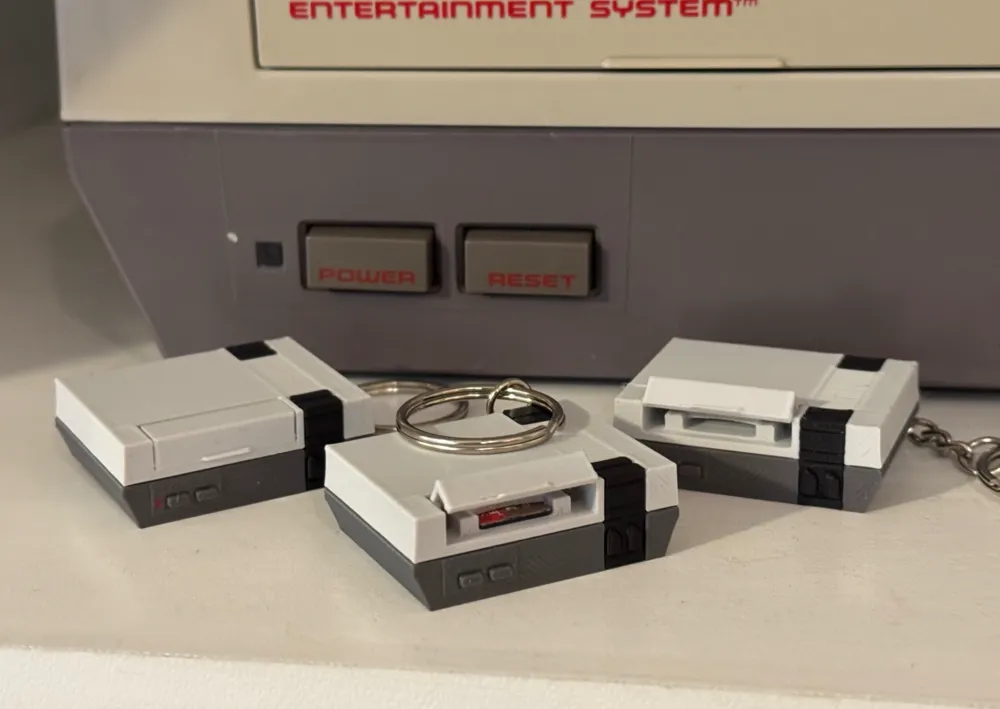
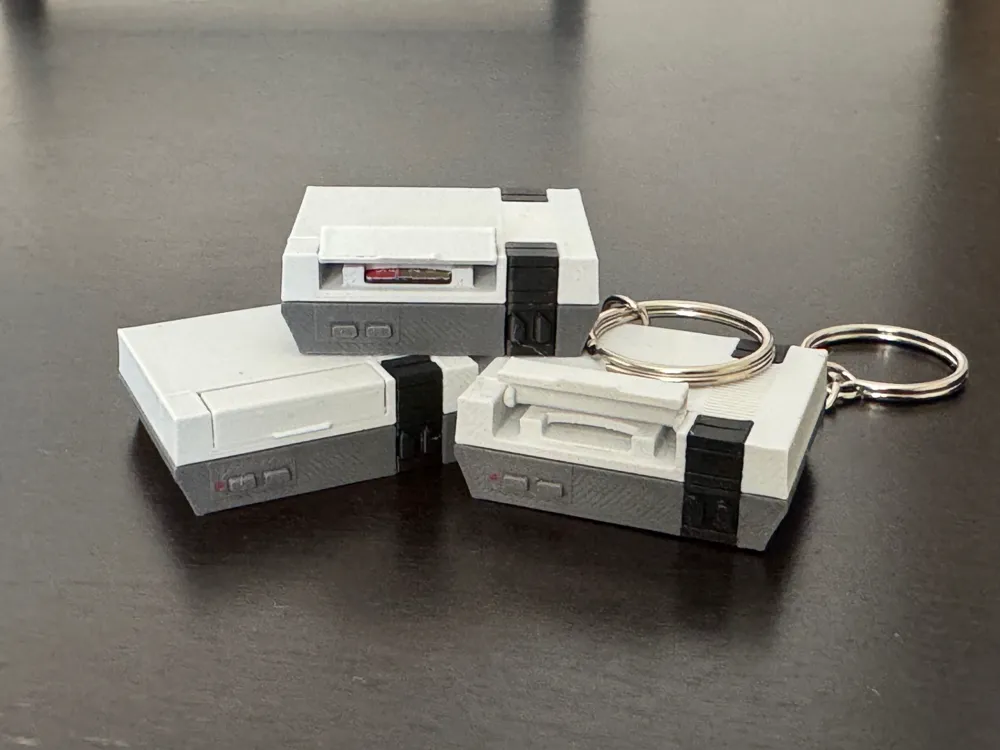
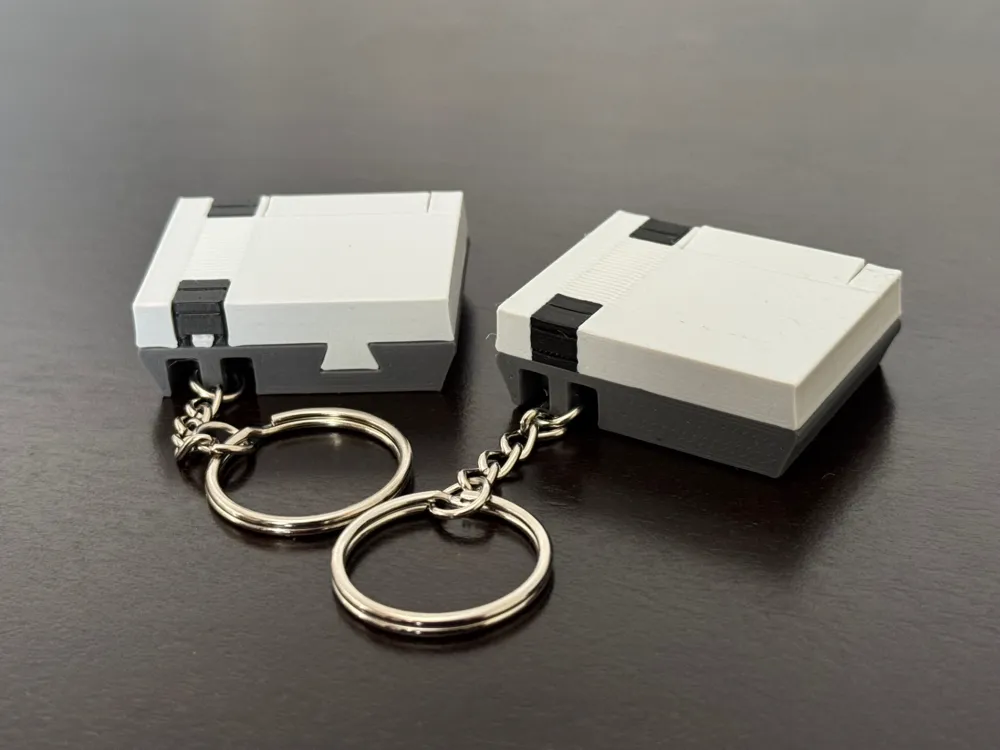
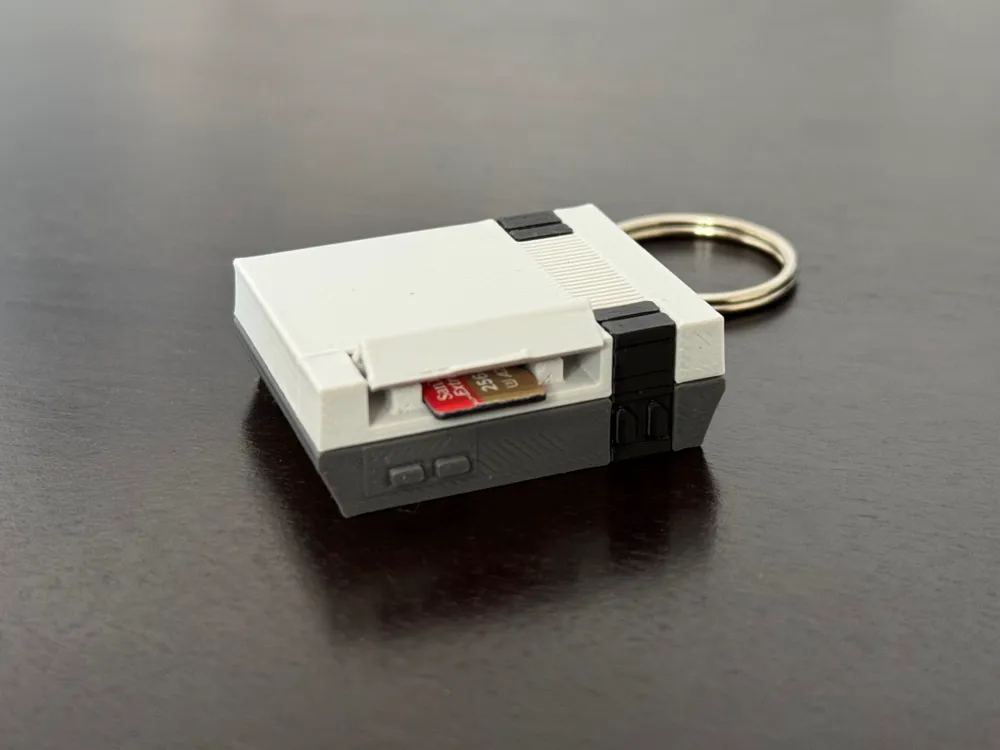
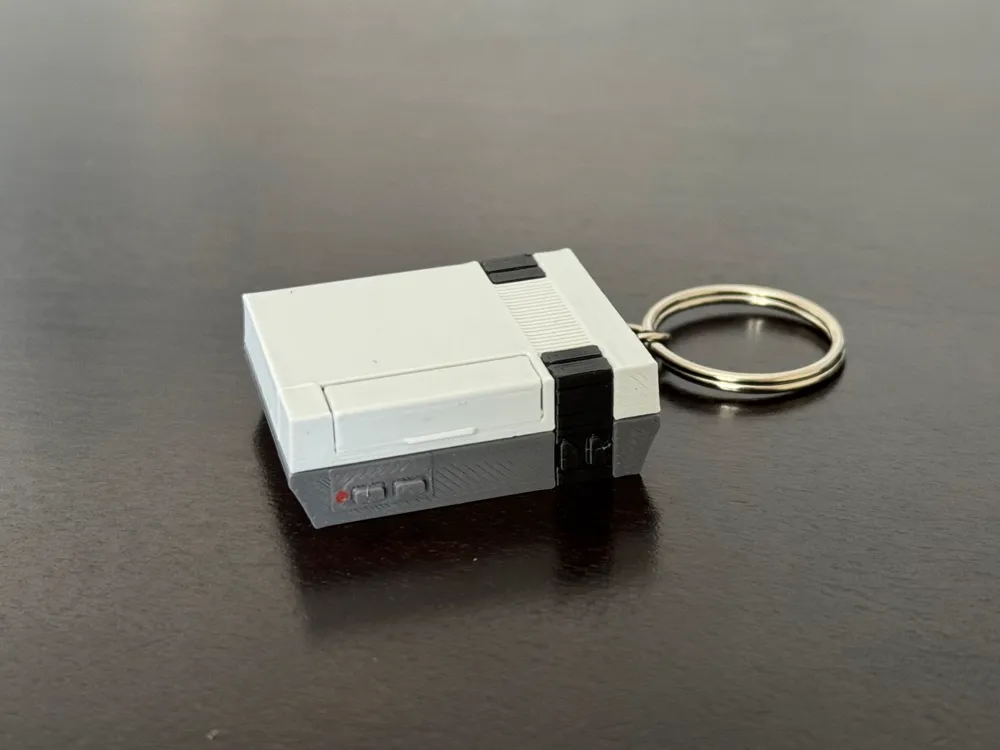
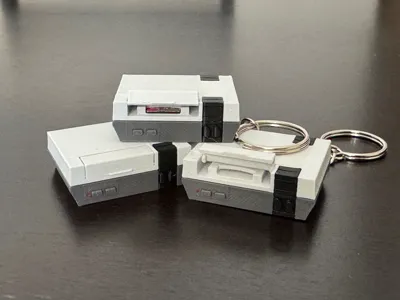
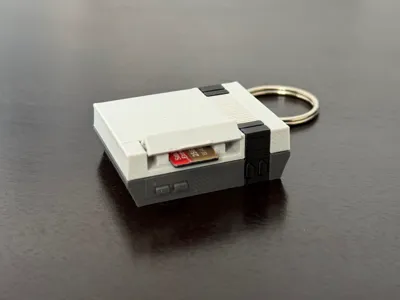
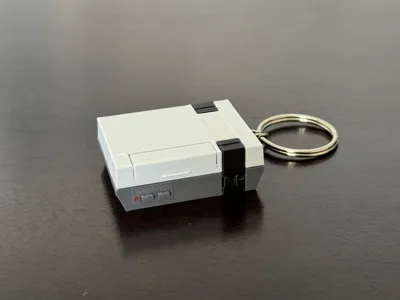
NES MicroSD Keychain
Introducing the NES (Nintendo Entertainment System) MicroSD Holder Keychain! Inspired by my NES and my need of MicroSD cards, this was a labor of love.
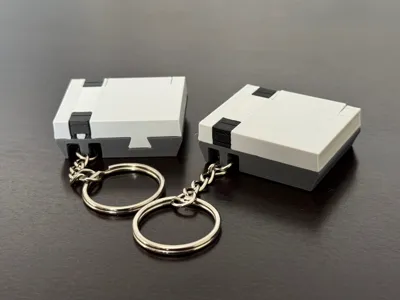
UPDATE: I added a hole in back just in case the SD card is in too tight so that you can use a small paperclip to push it out. Thanks to a user in the comments for a suggestion!
4 versions/profiles available:
- Separate color on a single plate (maybe AMS)
- This version has all pieces that can be assembled together arranged to print by object on a single plate
- Full color (AMS)
- This version prints the main body in 4 colors and the lid in one, on one plate
- This version takes a very long time to print and creates a large amount of waste. I suggest if you print this version that you add something else to the plate that you can flush into to help save some waste.
- Separate color with Red power light on a single plate (AMS)
- This version has all pieces that can be assembled together arranged to print by object on a single plate.
- This version includes the red power light painted onto the bottom section which requires the AMS.
- Separate color on separate plates
Colors Used:
(note: I used all standard Bambu PLA. This print is so small and tolerances are so tight that I can't guarantee whether it will assemble or work correctly using anything else. I have printed several using the standard Bambu PLA listed below with no issues though)
- Light Gray (10104)
- Dark Gray (10105)
- Black (10101)
- Red (10200)
Assembly Instruction:
Assembly is pretty self-explanatory but there are a few things to take note of.
- The front black part that pretty much holds the whole thing together is a very tight fit and takes some oomph to get on. I found pressing it down on a hard surface with some steady and straight force did the trick. I have done this multiple times and never had a break or anything. Once it is on that thing is never coming apart.
- The lid goes on fairly easily. You slide one corner in and then snap into the other corner by sliding it along the edge that leads to the last notch.
See a video of me assembling one here:
License

You shall not share, sub-license, sell, rent, host, transfer, or distribute in any way the digital or 3D printed versions of this object, nor any other derivative work of this object in its digital or physical format (including - but not limited to - remixes of this object, and hosting on other digital platforms). The objects may not be used without permission in any way whatsoever in which you charge money, or collect fees.


Comment & Rating (114)