
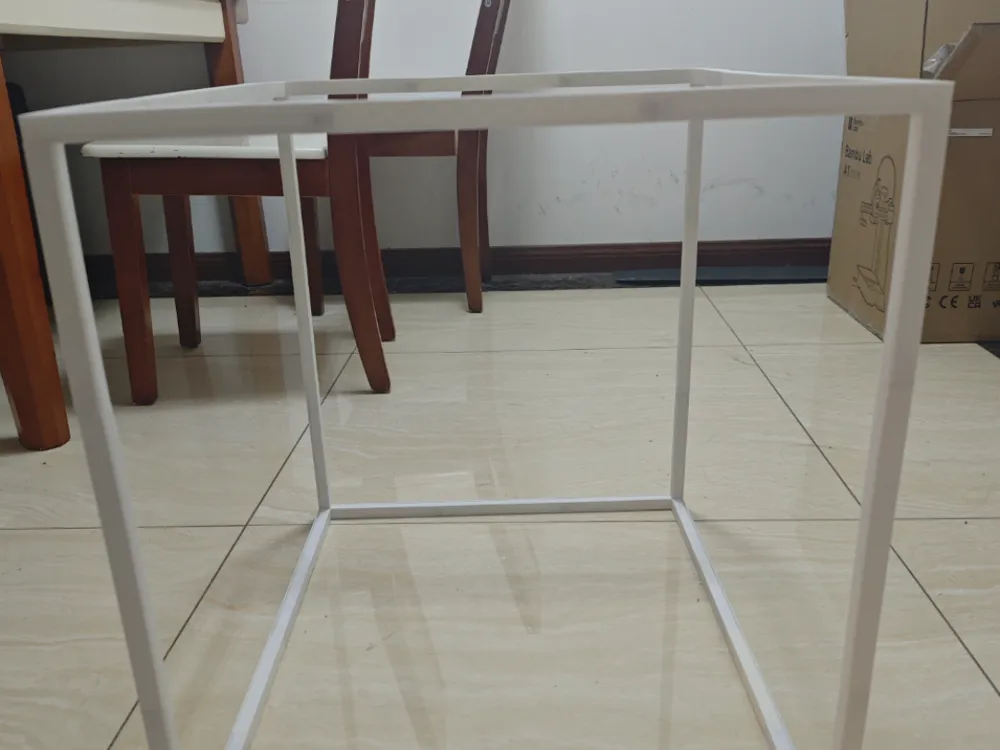
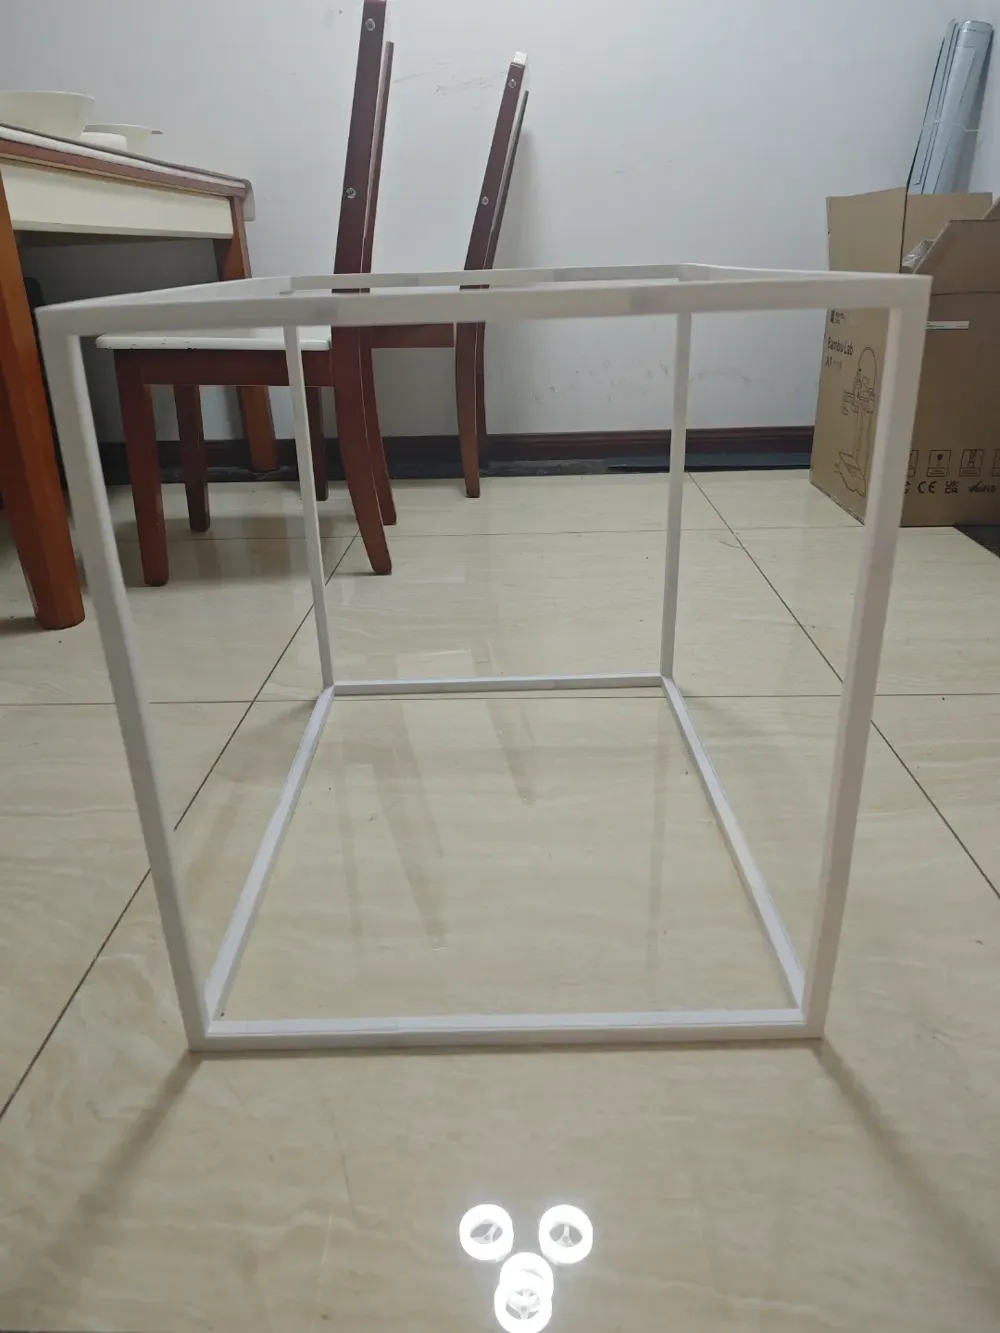
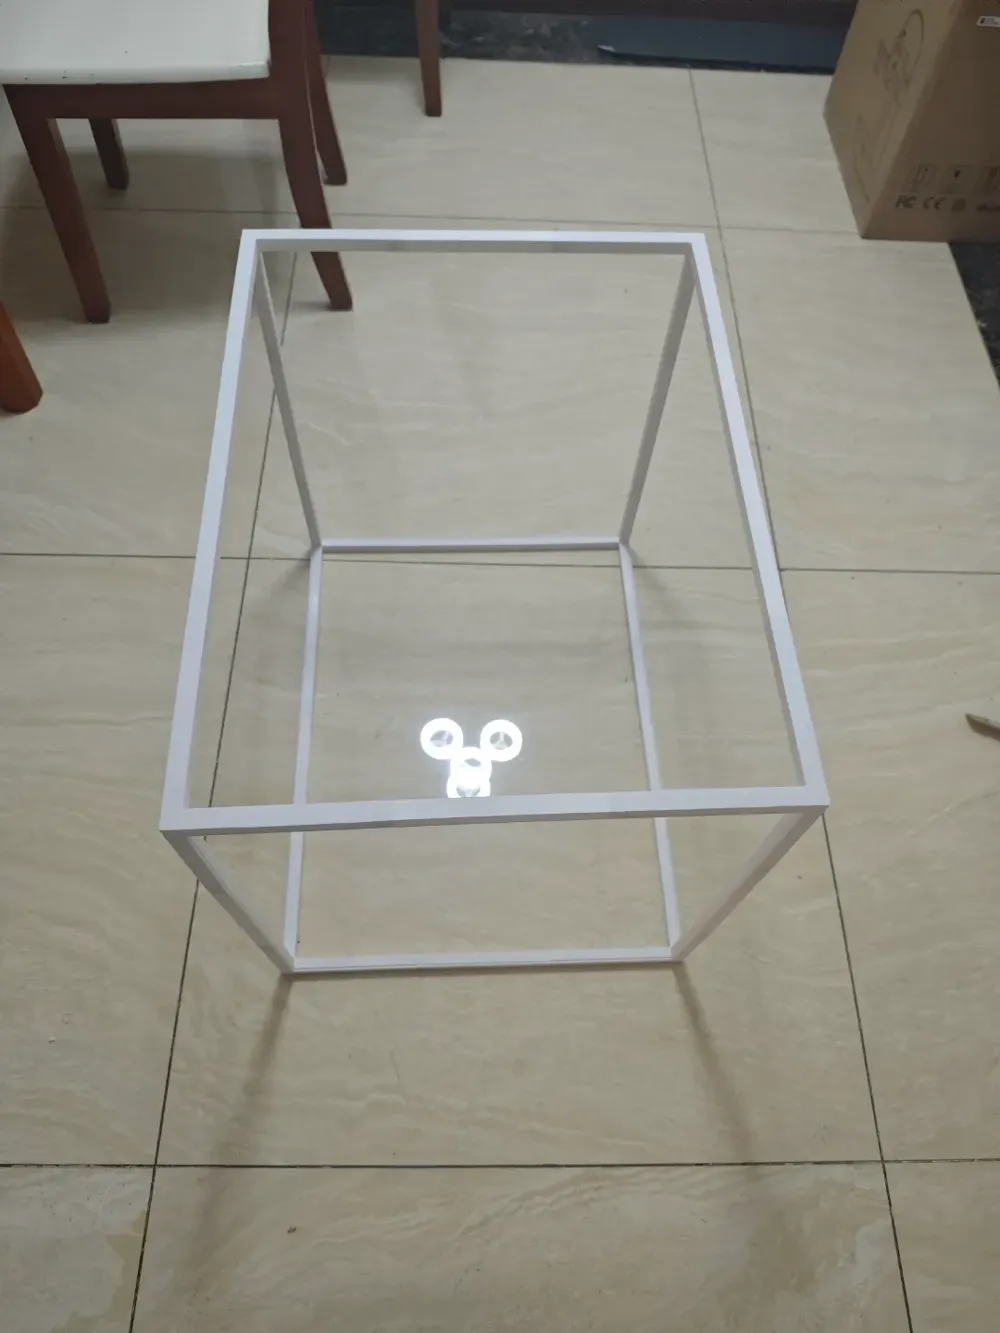
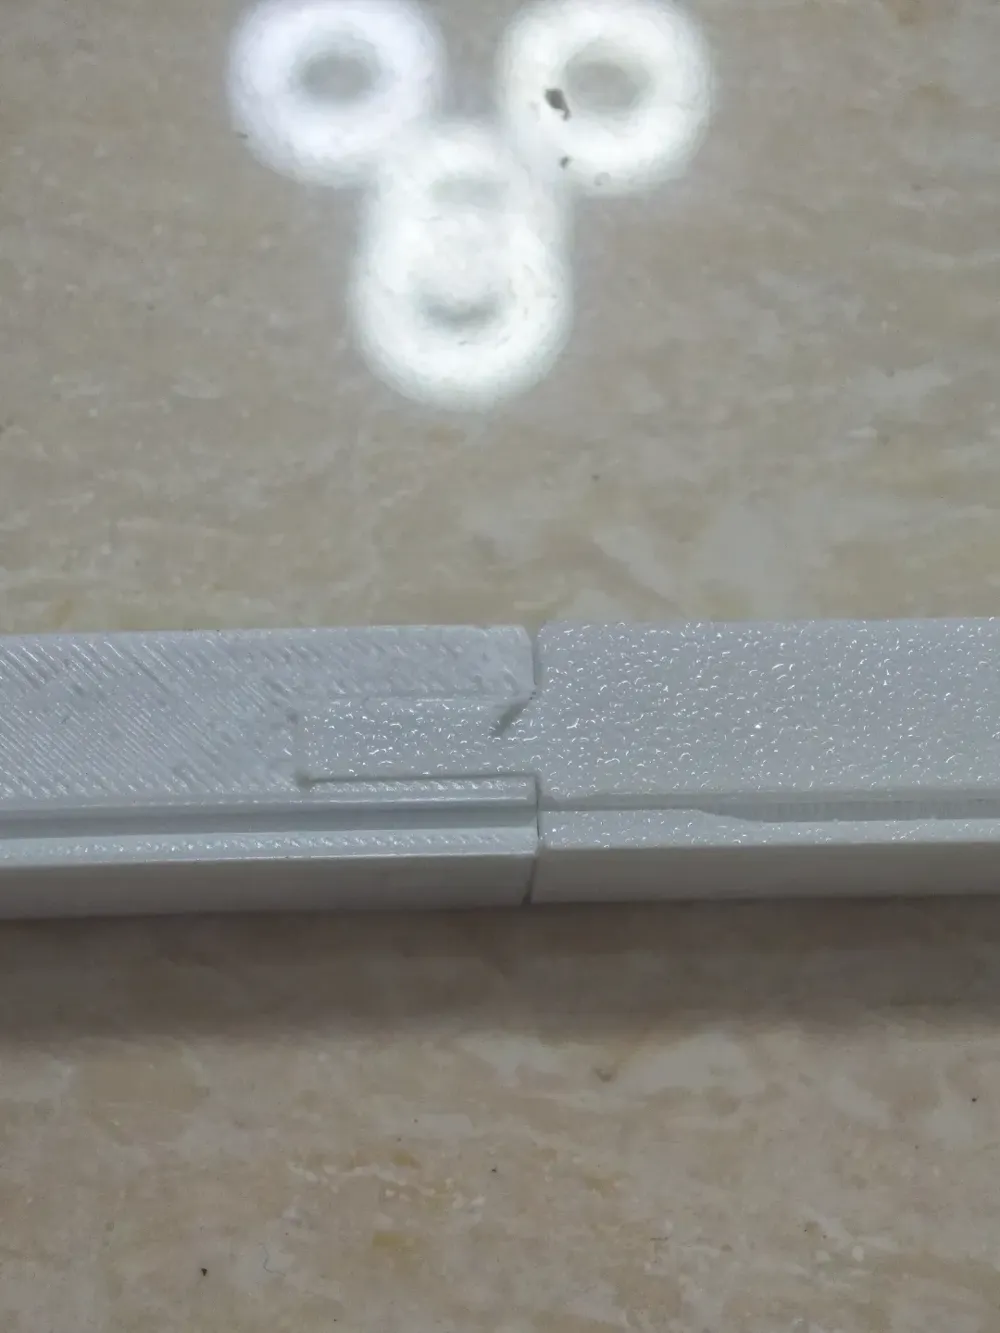
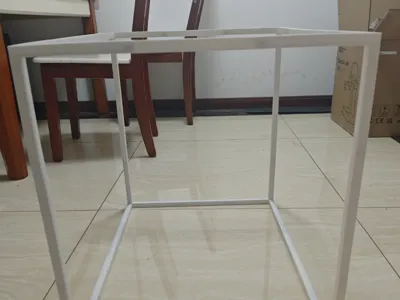
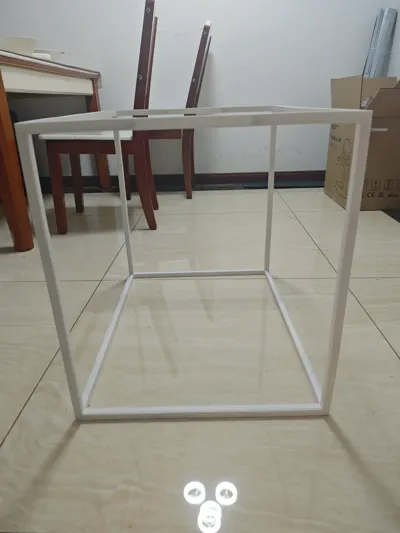
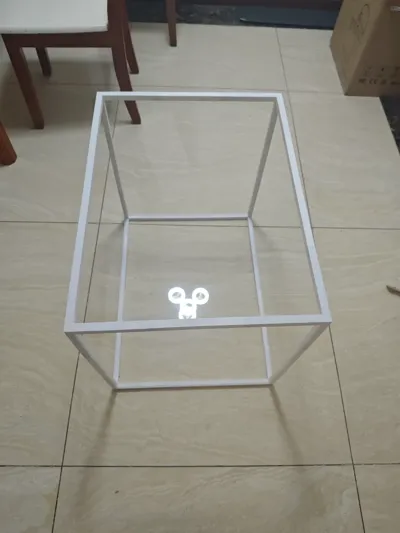
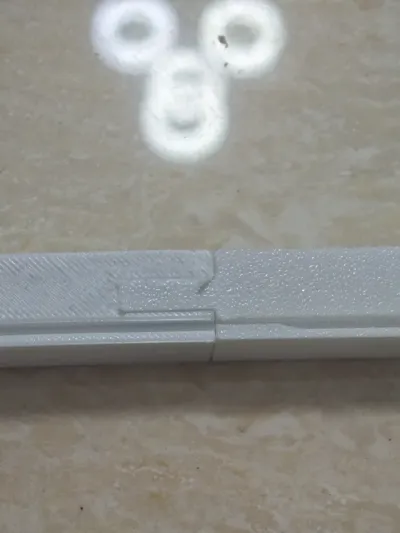
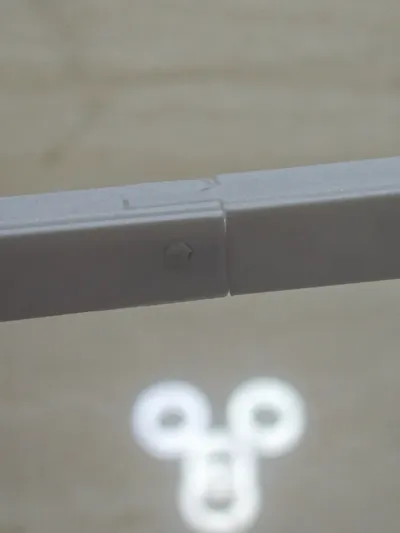
A1/A1 mini enclosure frame, entirely mortise and tenon construction! No hardware required!
Print Profile(4)


Description
New UpdateAMS lite Fully Mortise and Tenon Enclosure No Hardware Required! Quick Side Release! by HuaiminYieWeiQin - MakerWorld
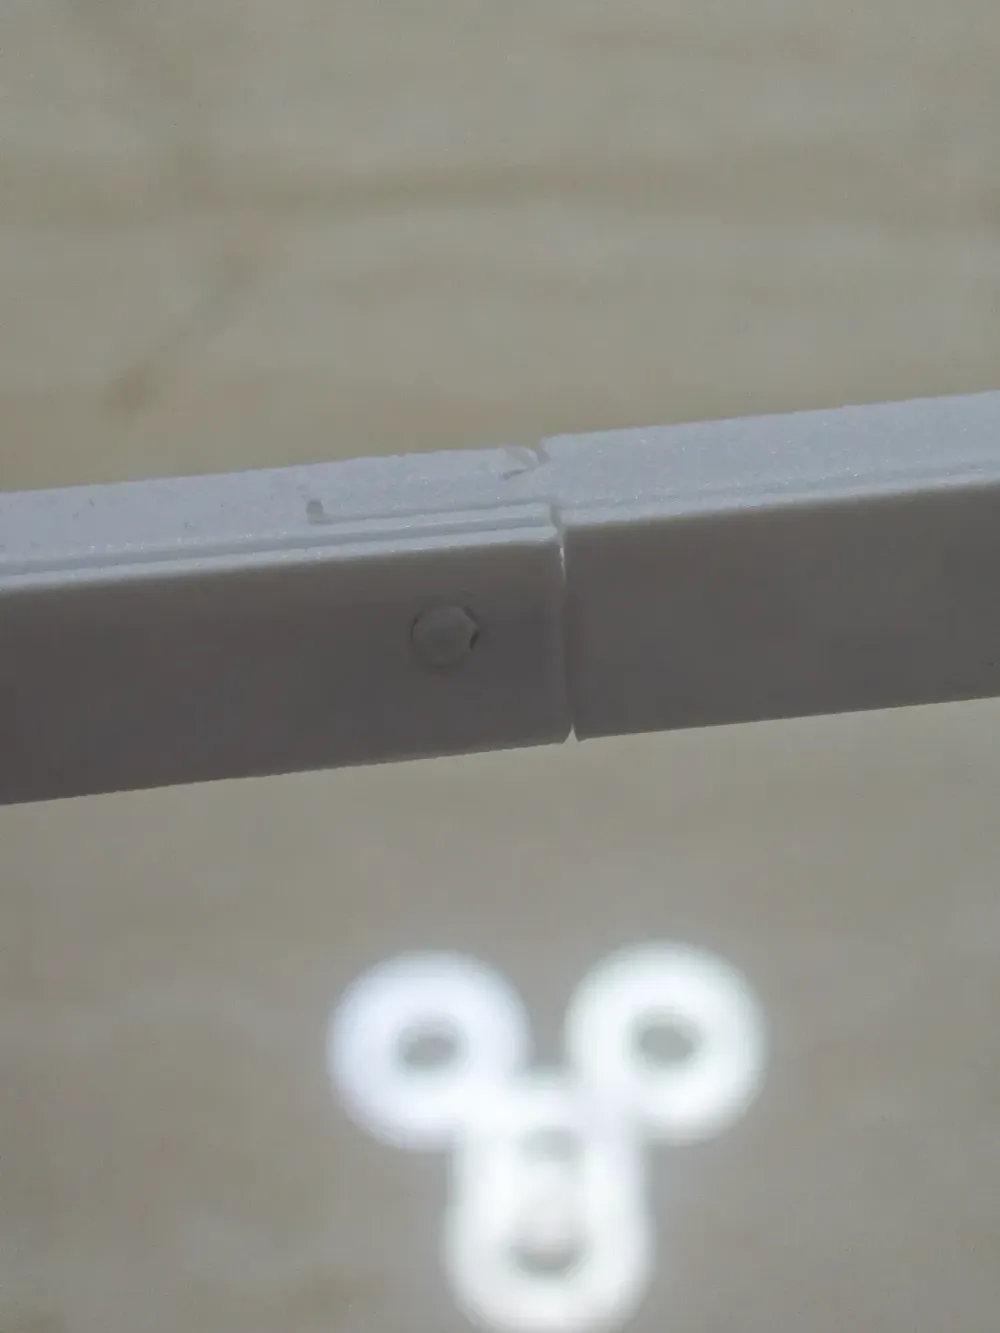
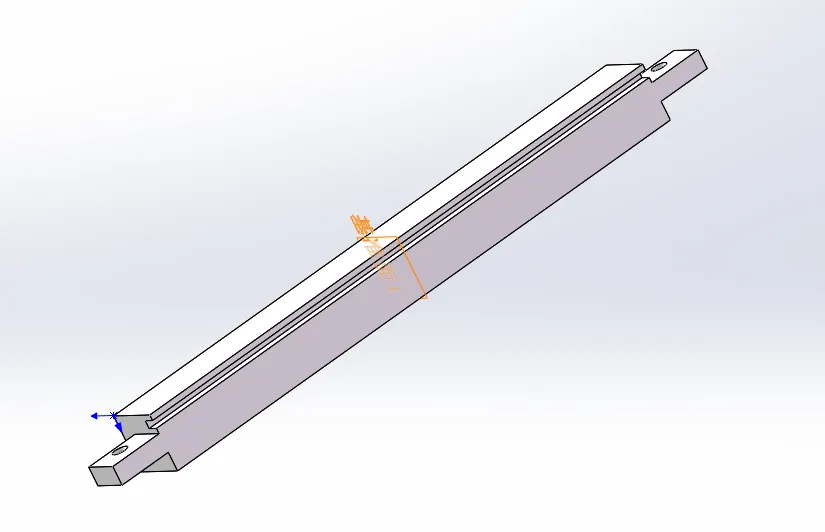
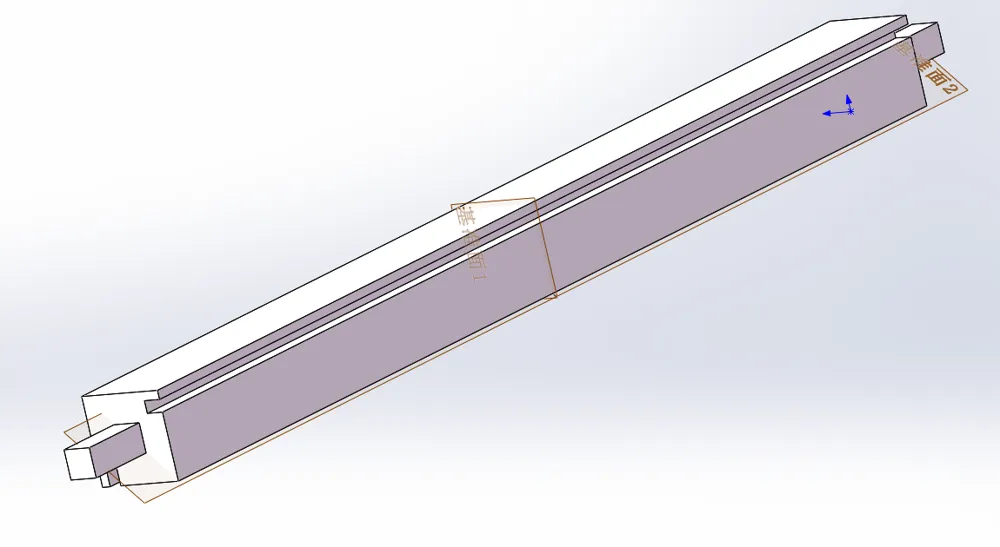
Bambu Lab A1/A1 mini enclosure frame, fully mortise and tenon! No hardware required! With 2mm acrylic panel slots, no hardware needed to secure the acrylic! Dimensions 48X60X50! Frame connector size 15X15 mm!
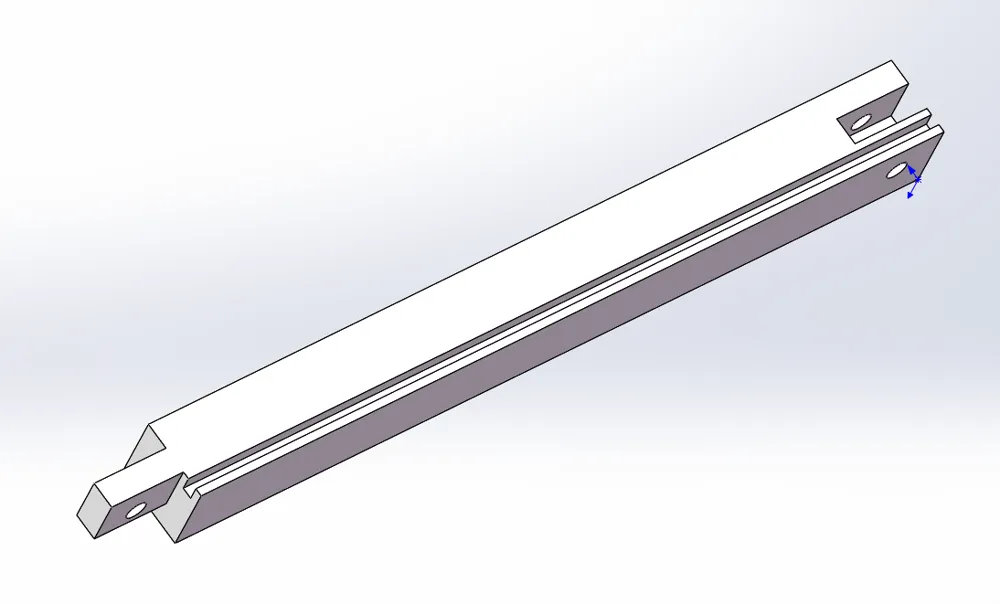
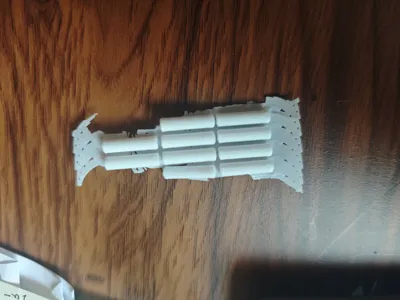
All configurations default to heat-set bonding (recommended to enable, otherwise the connecting rods will bend if warping occurs), support usage has been minimized as much as possible, do not easily remove existing supports! The support for one acrylic slot on the 210 connecting rod is more difficult to remove (the other slot has no support), to ensure printing quality, it is recommended to enable supports (if the filament is good, you can try removing this support and printing to see).
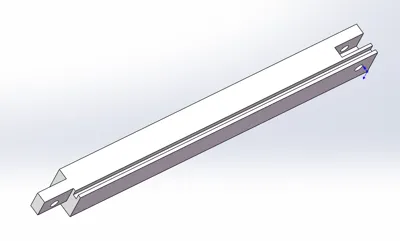
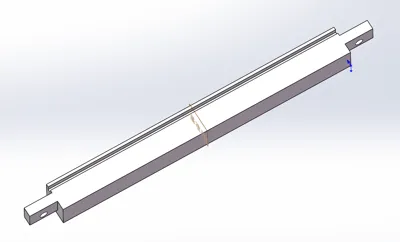
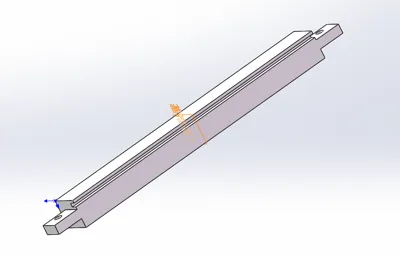
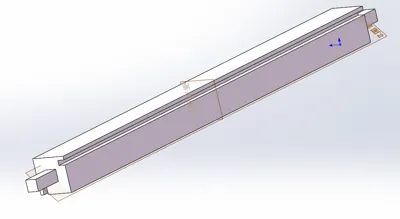
Required printed parts for A1 mini (enclosure dimensions 48X60X50!): Height: 210 connecting rod, Width: 160 connecting rod, Length: 155 connecting rod 1 and 155 connecting rod 2 (because I don't have enough white filament, some configurations use PLA, and some use PETG. From the printing results, both PLA and PETG are fine, and the tolerance has little impact)
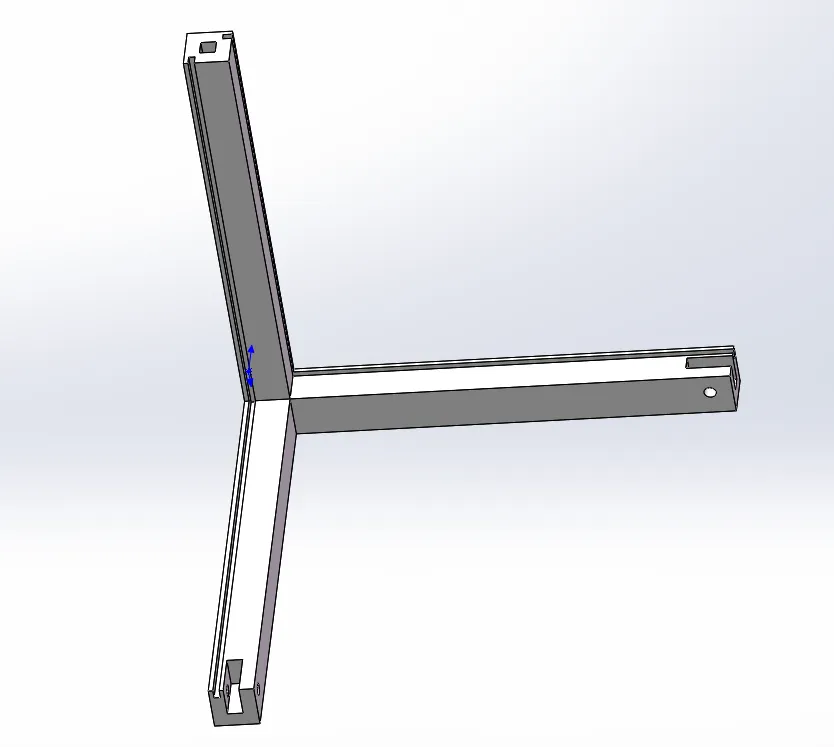
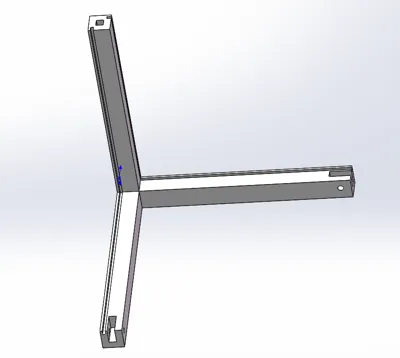
1.Tripod X8 (print profile: 1 plate, 2 pieces)
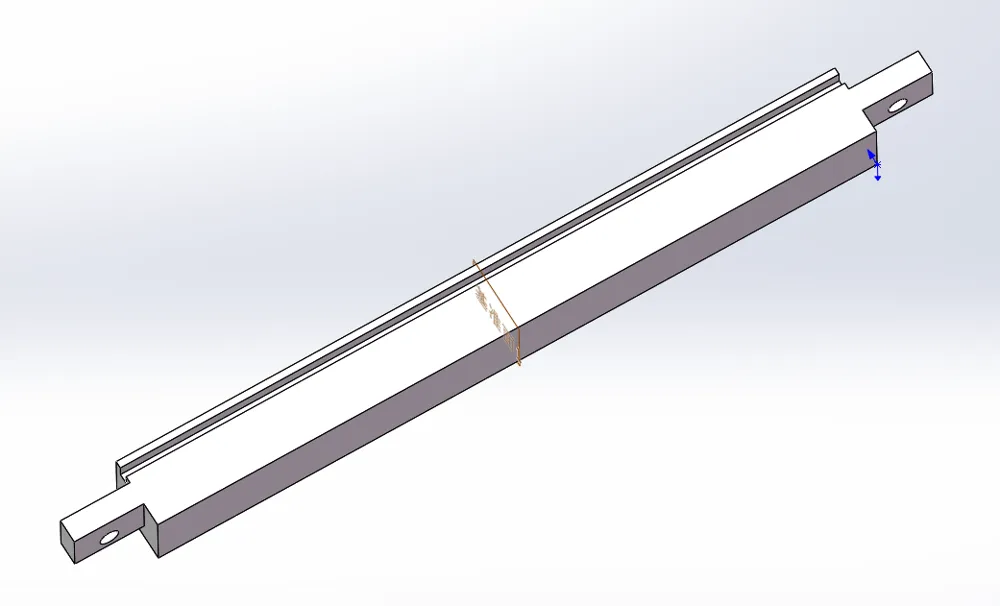
2.210 connecting rod X4 (print profile: 1 plate, 1 piece)
3.160 connecting rod X4 (print profile: 1 plate, 4 pieces)
4.155 connecting rod 1 X4 (print profile: 1 plate, 4 pieces)
5.155 connecting rod 2 X4 (print profile: 1 plate, 4 pieces)
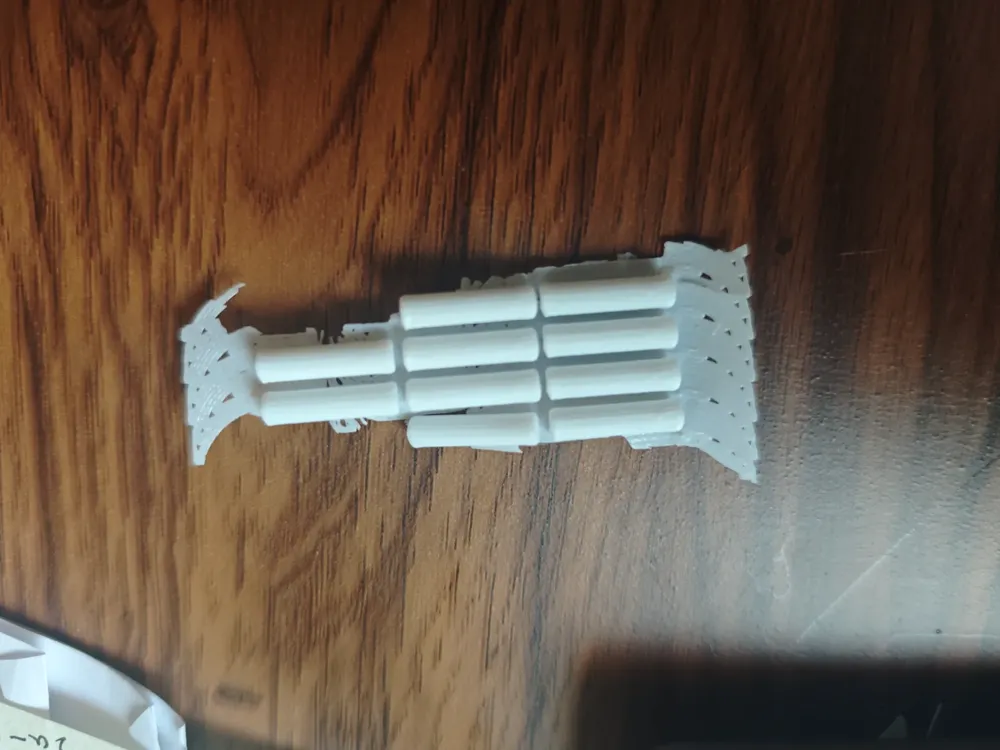
6.Pin X20 (print profile: 1 plate, 30 pieces)
Required printed parts for A1 (enclosure dimensions 63X79X75!): Height: 210 connecting rod and 210 connecting rod 2, Width: 155 connecting rod 1 and 155 connecting rod 2, Length: 155 connecting rod 1 X2 and 155 connecting rod 2
1.Tripod X8 (print profile: 1 plate, 2 pieces)
2.210 connecting rod X4 (print profile: 1 plate, 1 piece)
2.210 connecting rod 2 X4 (print profile: 1 plate, 4 pieces)
3.155 connecting rod 1 X12 (print profile: 1 plate, 4 pieces)
5.155 connecting rod 2 X8 (print profile: 1 plate, 4 pieces)
6.Pin X28 (print profile: 1 plate, 30 pieces)
Note that the tripod acrylic slots and connecting rod slots should be aligned
Do not insert pins for assembly trial first, otherwise the pins will be difficult to remove
If you need a larger size, print more 210 connecting rod 2 in the Z direction, print more 155 connecting rod 1 in the X-axis direction, and print more 155 connecting rod 1 in the Y-axis direction
License

You shall not share, sub-license, sell, rent, host, transfer, or distribute in any way the digital or 3D printed versions of this object, nor any other derivative work of this object in its digital or physical format (including - but not limited to - remixes of this object, and hosting on other digital platforms). The objects may not be used without permission in any way whatsoever in which you charge money, or collect fees.


Comment & Rating (77)