
SV08 Lack Acrylic Panel Enclosure

Print Profile(1)
Description
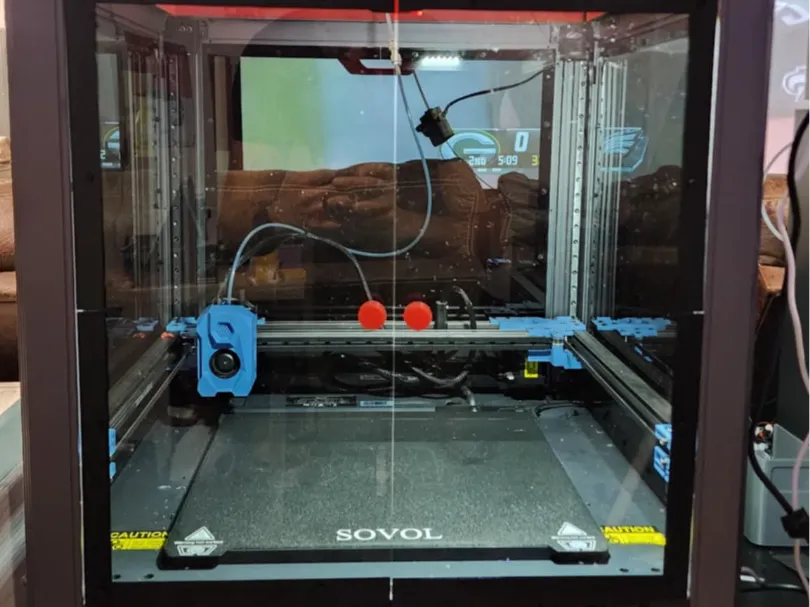
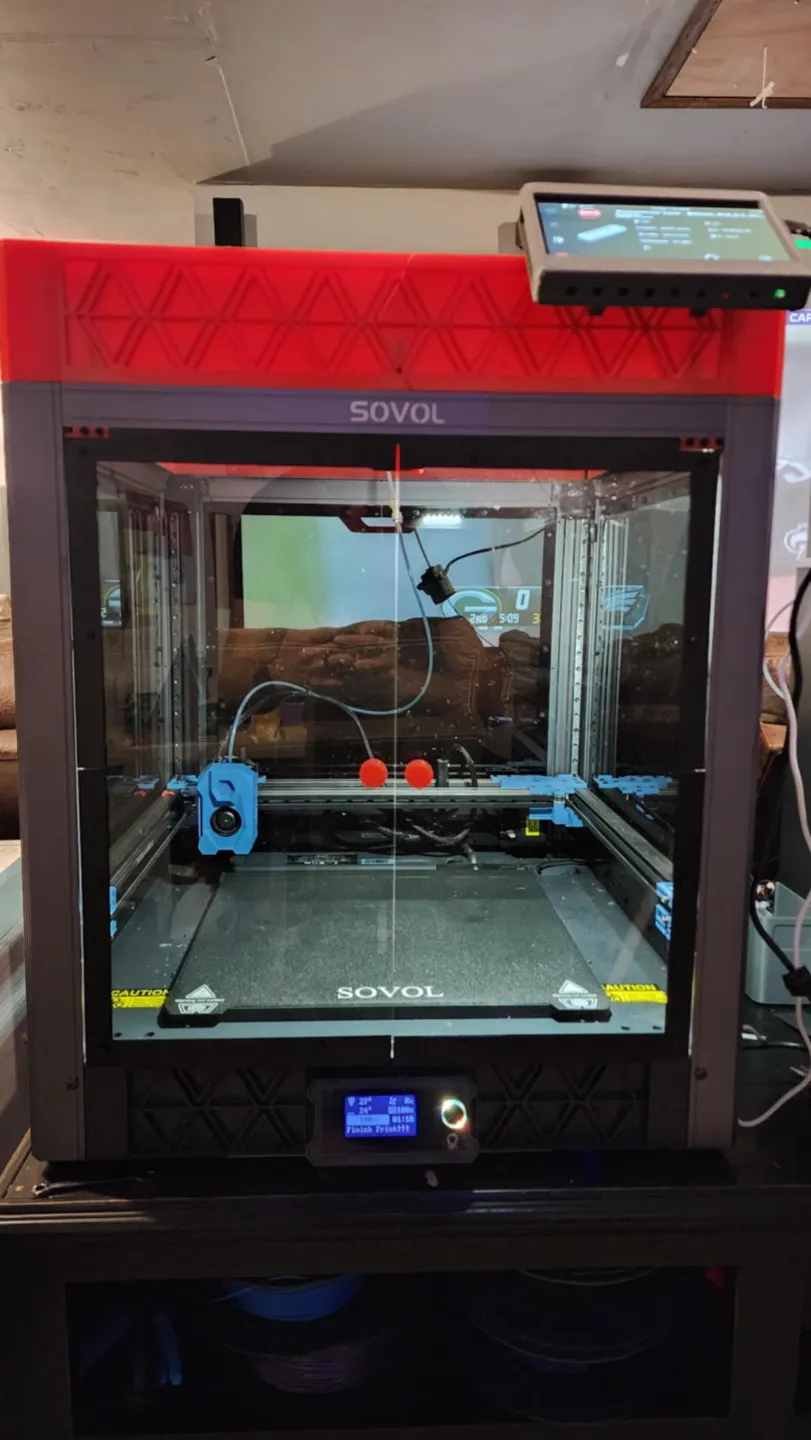
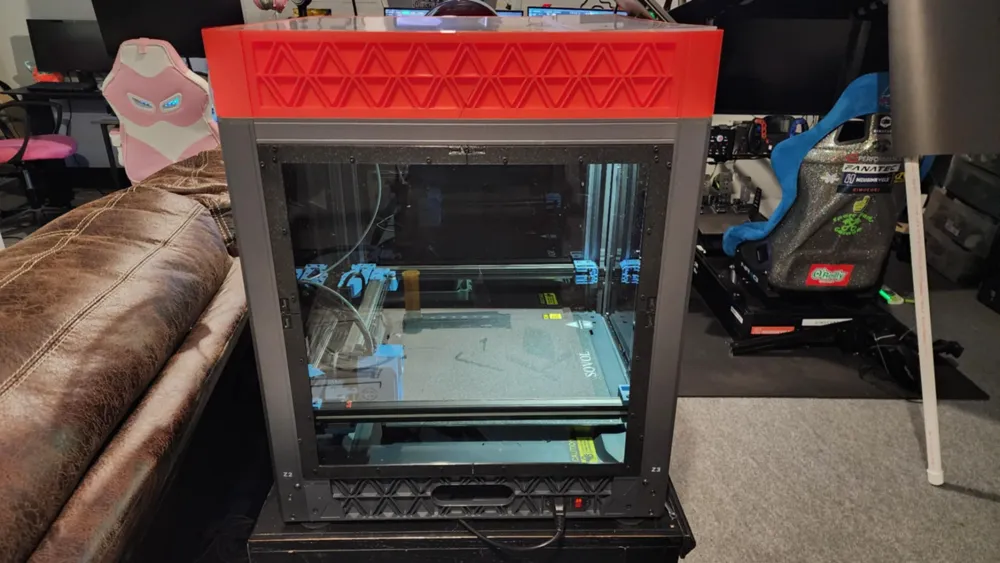
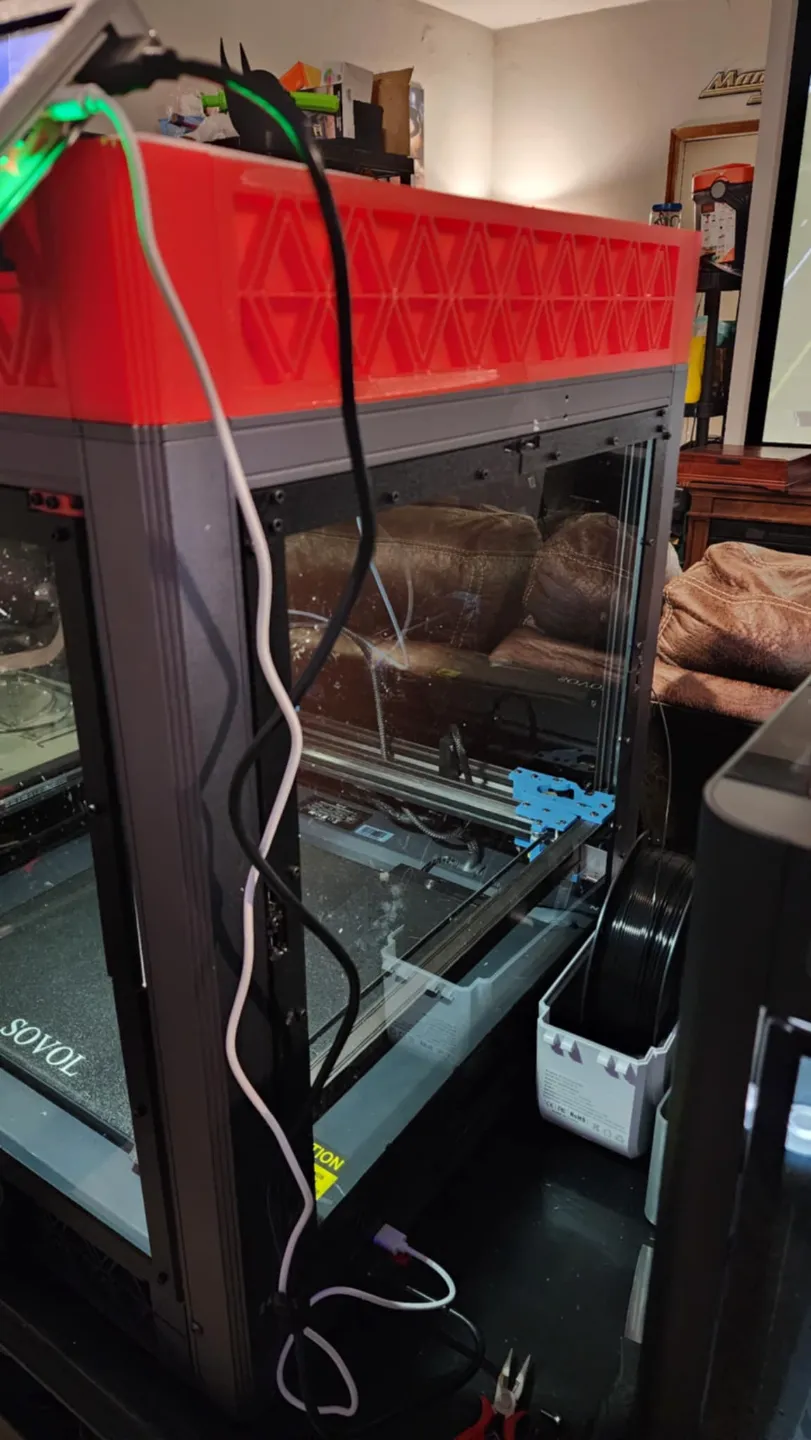
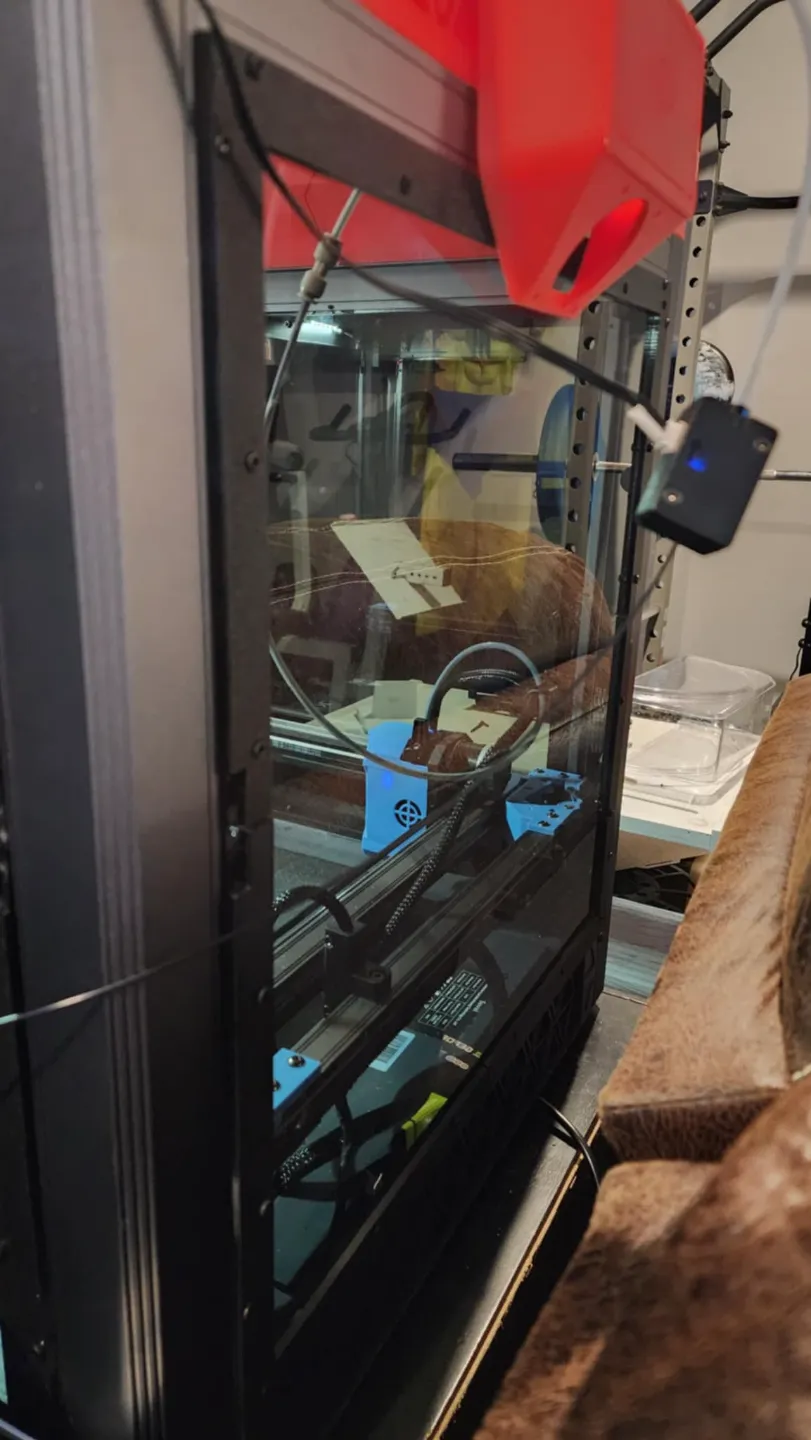
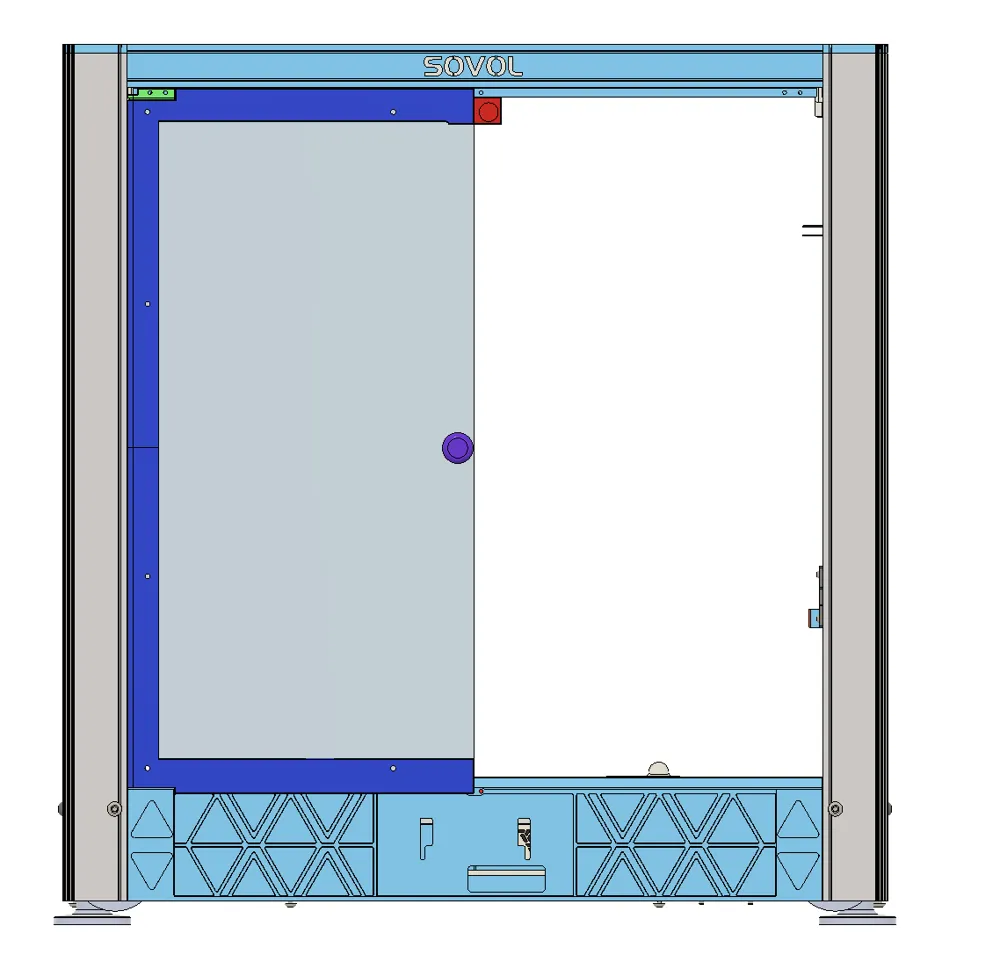
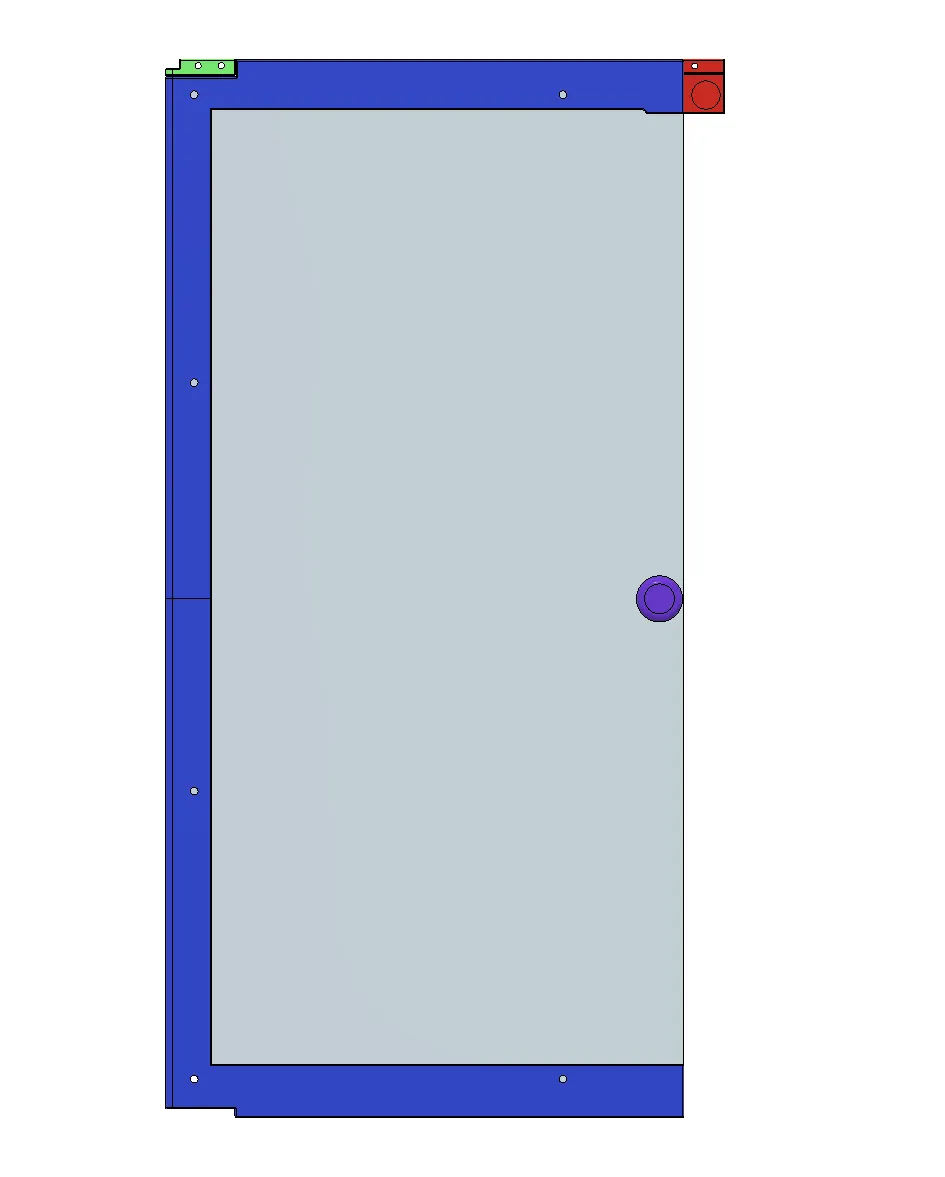
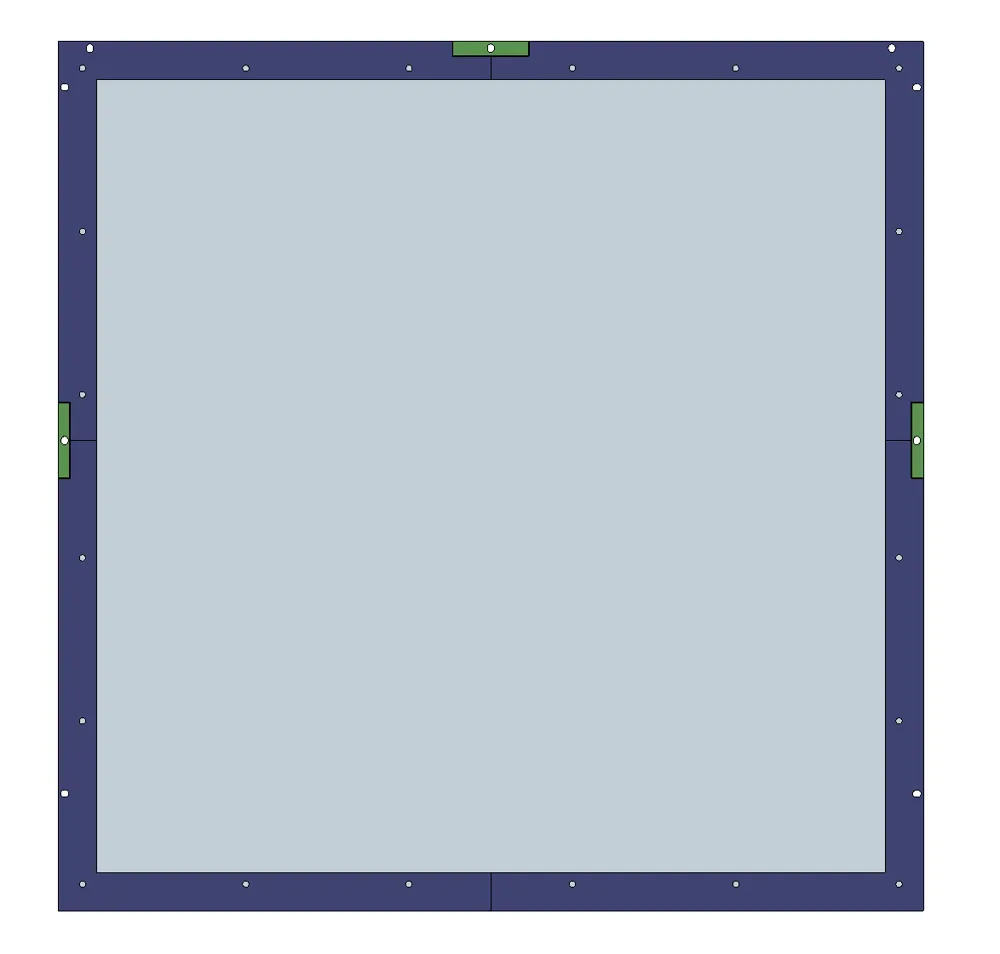
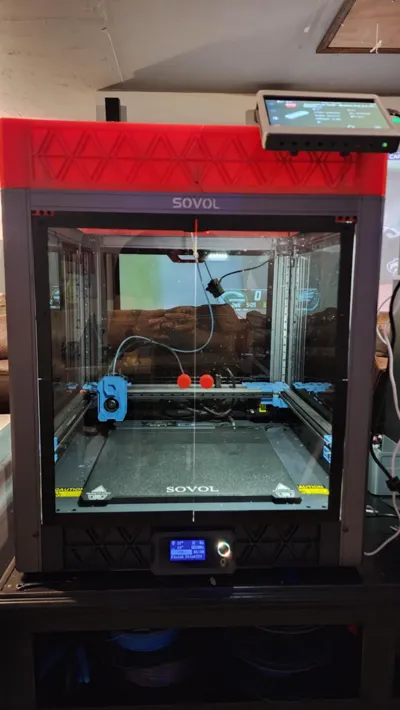
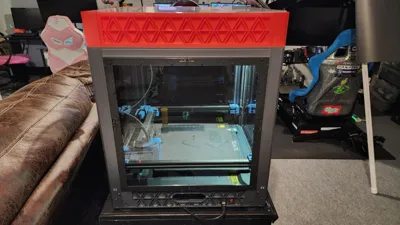
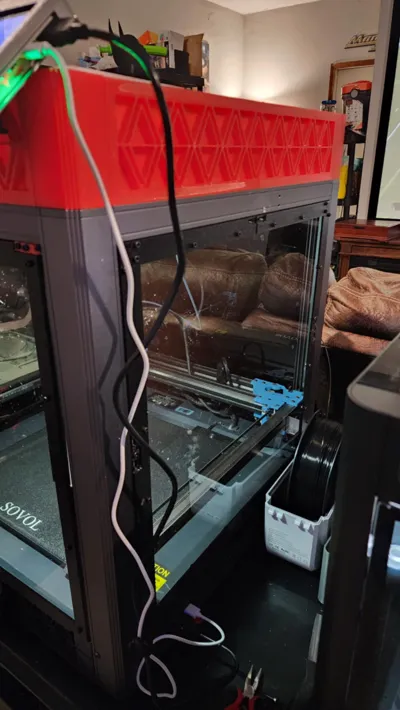
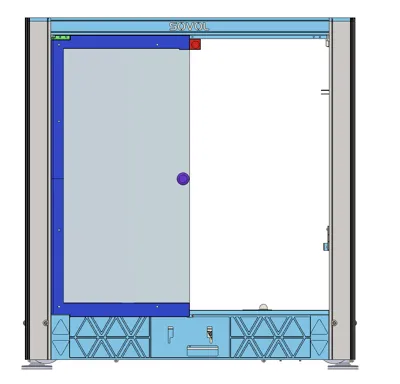
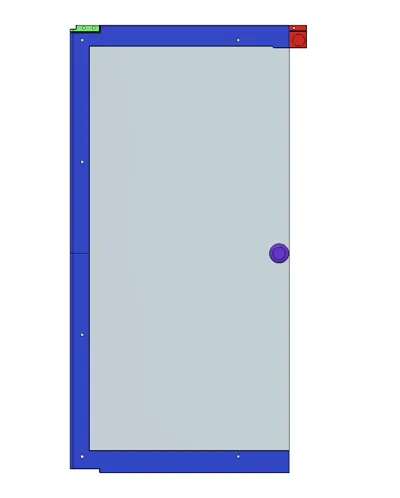
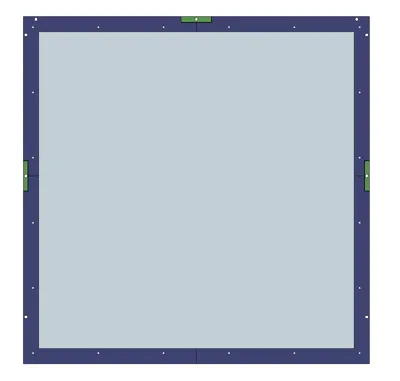
I found another listing on Printables that used the lack acrylic panels for the Ikea lack tables but my friend had a hard time printing them after buying the panels. So I ended up modeling this up so it's easier to print. The acrylic lack panels are a bit cheaper than buying the Sovol enclosure or larger acrylic and having it laser cut. You can find a set with 3 440x440x3 mm panels and 2 440x220x3 mm panels for about $45-60. The only downside is that you will have to do something for the top because the kit doesn't come with a top panel. I can try to model up something for the top panel if you want to use something else for a different panel but I'd probably recommend poster board for the top. I ended up cutting an acrylic piece for my friend though. Each piece can be printed on any printer 256 mm and larger.
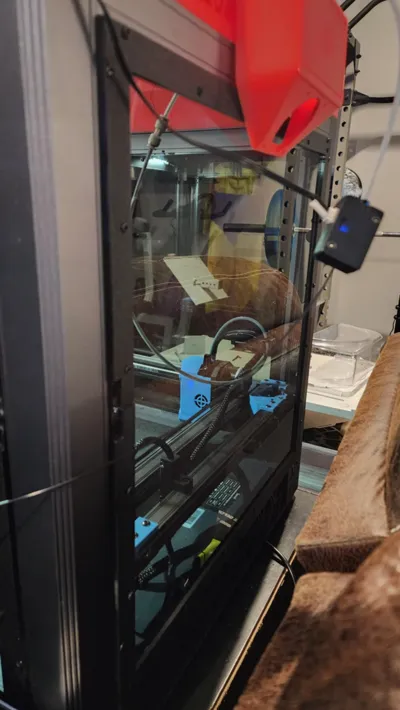
Since I made this for a friend, I didn't get to make assembly instructions. It should be pretty straightforward to install, the only thing is installing screws for the lower part of the hinge on the doors before installing the door panels. The screw that holds the top hinge to the door should be a little tight so you can screw it in.
You will want to be as precise as possible when drilling through the acrylic so it fits together properly. I left a .3mm gap all around the acrylic panels so there is slight room for failure and the holes are about .3 larger as well.
Parts needed:
83 x M3x8mm screws for side/rear panels and knobs
8 x M3x10mm screws for the hinge brackets and for holding the door in place. (I think my friend got away with using M3x8mm for the doors though)
52 x M3 nuts for mounting acrylic to printed panels
4 x 12x2mm magnets for doors and door stopper
4 x M3 .5mm wasters for hinges
CA glu for the magnets
Drill bit and drill
Some sort of clamp to hold the panels while drilling would be very helpful
Here is the link to the lack panels, the tinted version is cheaper.
https://www.amazon.com/Transparent-Plexiglass-3D-Enclosure-Precision/dp/B07MXV951T
If you print this in ASA or ABS, you will need account for shrinkage. My friend used PETG to print this.
~Disclaimer~
You may need to slightly sand or modify some of the printed parts to get it to fit together properly. My friend printed everything on his P1S and was able to get it all working but drilling the acrylic was kind of hard for him without a clamp so he has slight gaps but it still fit together. The doors are more crucial because there isn't much room for failure.
License

You shall not share, sub-license, sell, rent, host, transfer, or distribute in any way the digital or 3D printed versions of this object, nor any other derivative work of this object in its digital or physical format (including - but not limited to - remixes of this object, and hosting on other digital platforms). The objects may not be used without permission in any way whatsoever in which you charge money, or collect fees.


Comment & Rating (0)