
MTG Trading Card Box with Dice Space

Print Profile(2)


Description
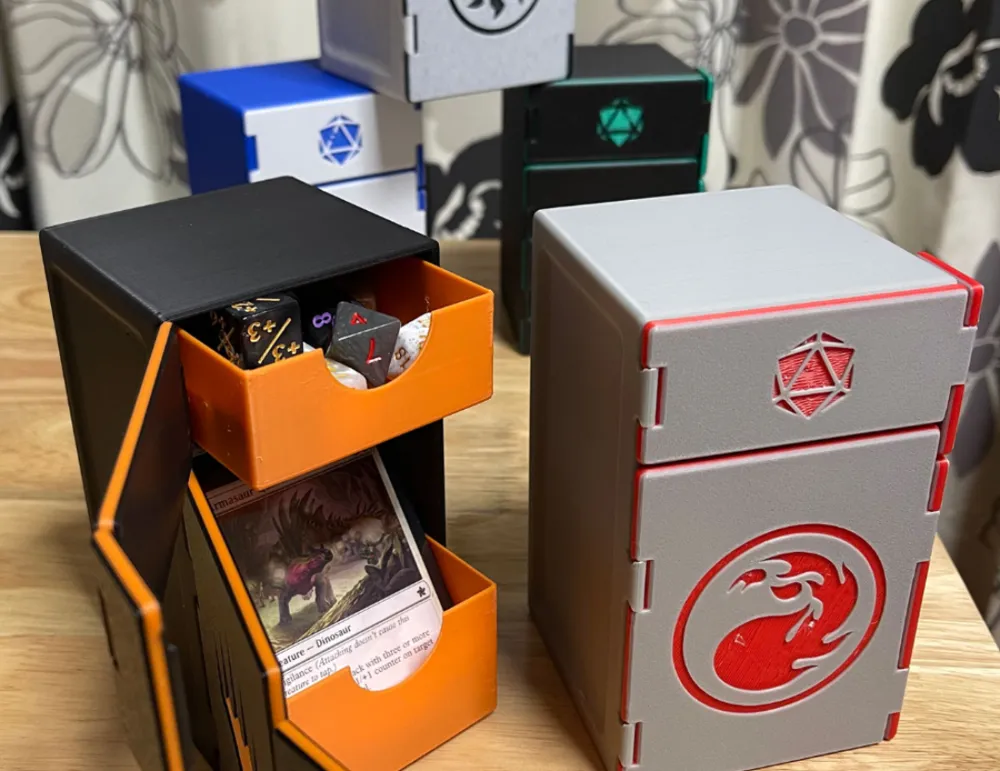
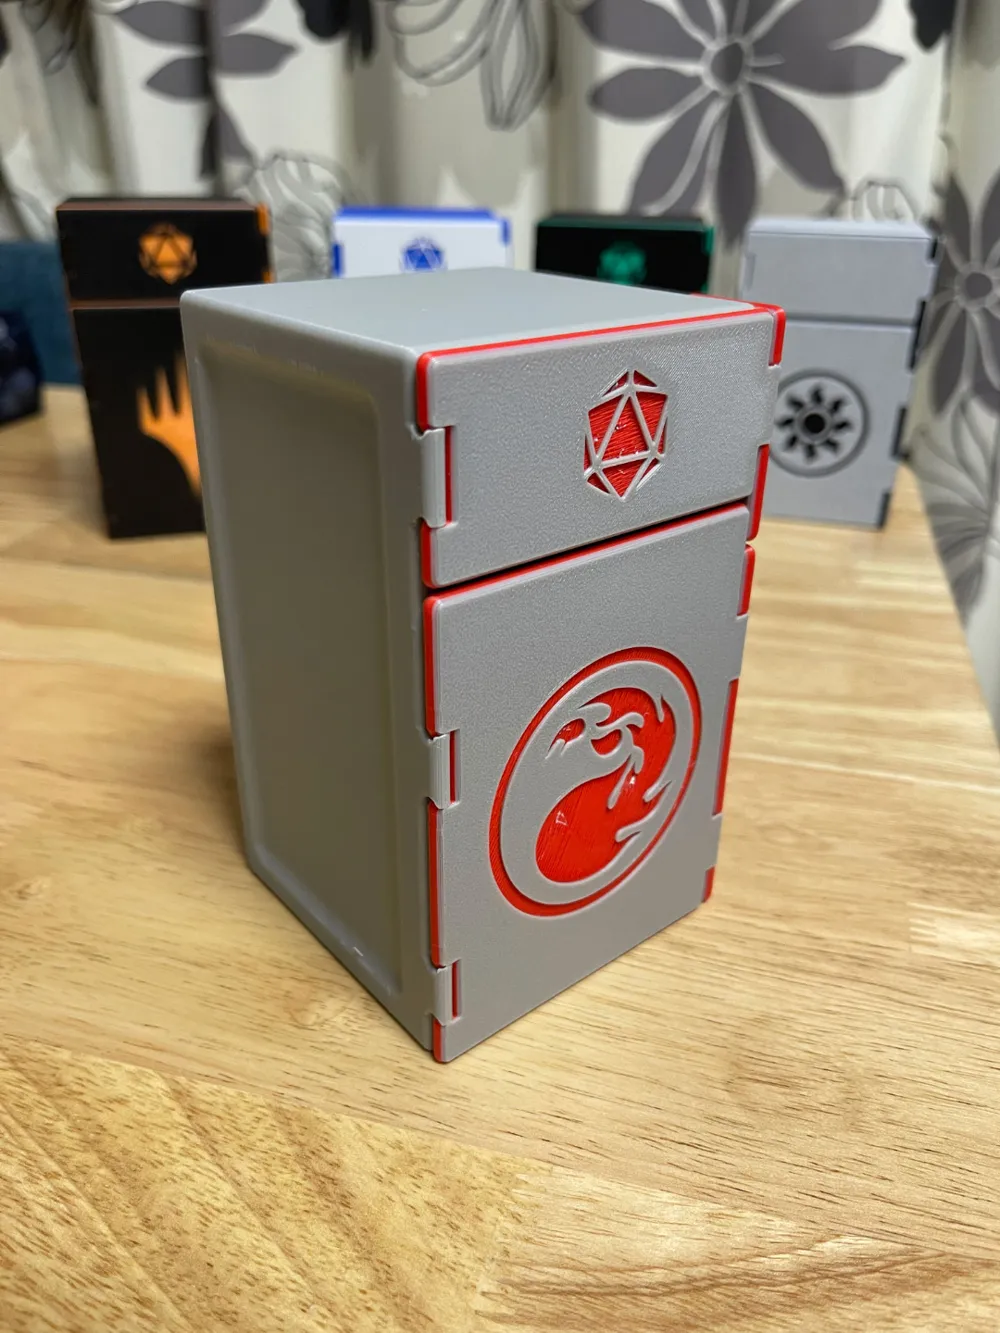
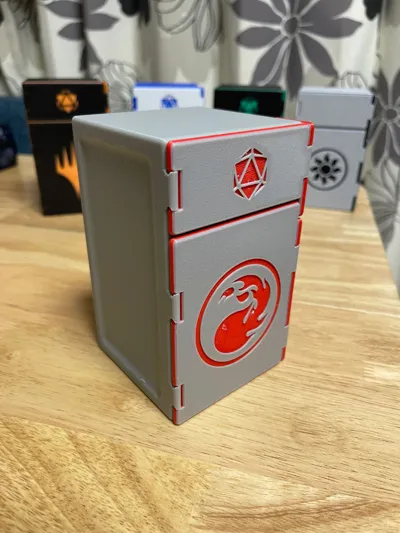
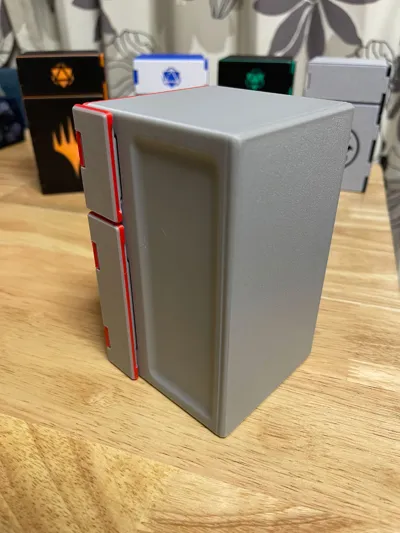
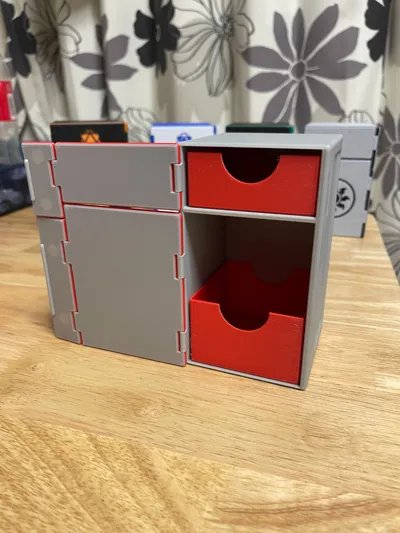
A deck box with Magic: The Gathering logos and themes. Can hold 100 sleeved cards with room for tokens and other cards. I haven't tried double sleeved, but they should fit.
Boost Me (for free)
Let me know you like the model!
Membership
If you like the updates and want to leave a tip or if you would like to sell physical copies of my models and need a commercial license, please consider becoming a member.
About Printing
The designs are all added inside Bambu Studio and are not part of the STL files. Also, the magnet space is added in Bambu Studio so you can adjust it to the magnets you have available, or use Eight (8) 10mm x 3mm Magnets which I've designed the space for. The tolerances are adjusted for my printer (A1 Mini, 4mm Hardened Steel End) and they should just pop into place when the printer pauses without needing glue or other adhesives.
Printing without AMS
I don't have an AMS and wanted the designs to work for everyone. If you download the non-ams file, there will be pauses added to the doors. First, load your printer with the main color for the door. Then on the first pause, unload main color and load the symbol color. On the second pause, change the filament back to the main color. There will be one more pause, but that will be for inserting the magnets into the door.
Printing with AMS
I've uploaded the second file with filament color changes in the Preview tab. In the process box, you can select the main filament color. Currently, 1 is the main color, 2 is the accent color, and 3 is the tray color. I don't have the wipe tower enabled, but you can enable it if you'd like. If you're using an AMS, the only time the print should pause is when it's time to add the magnets.
Assembly
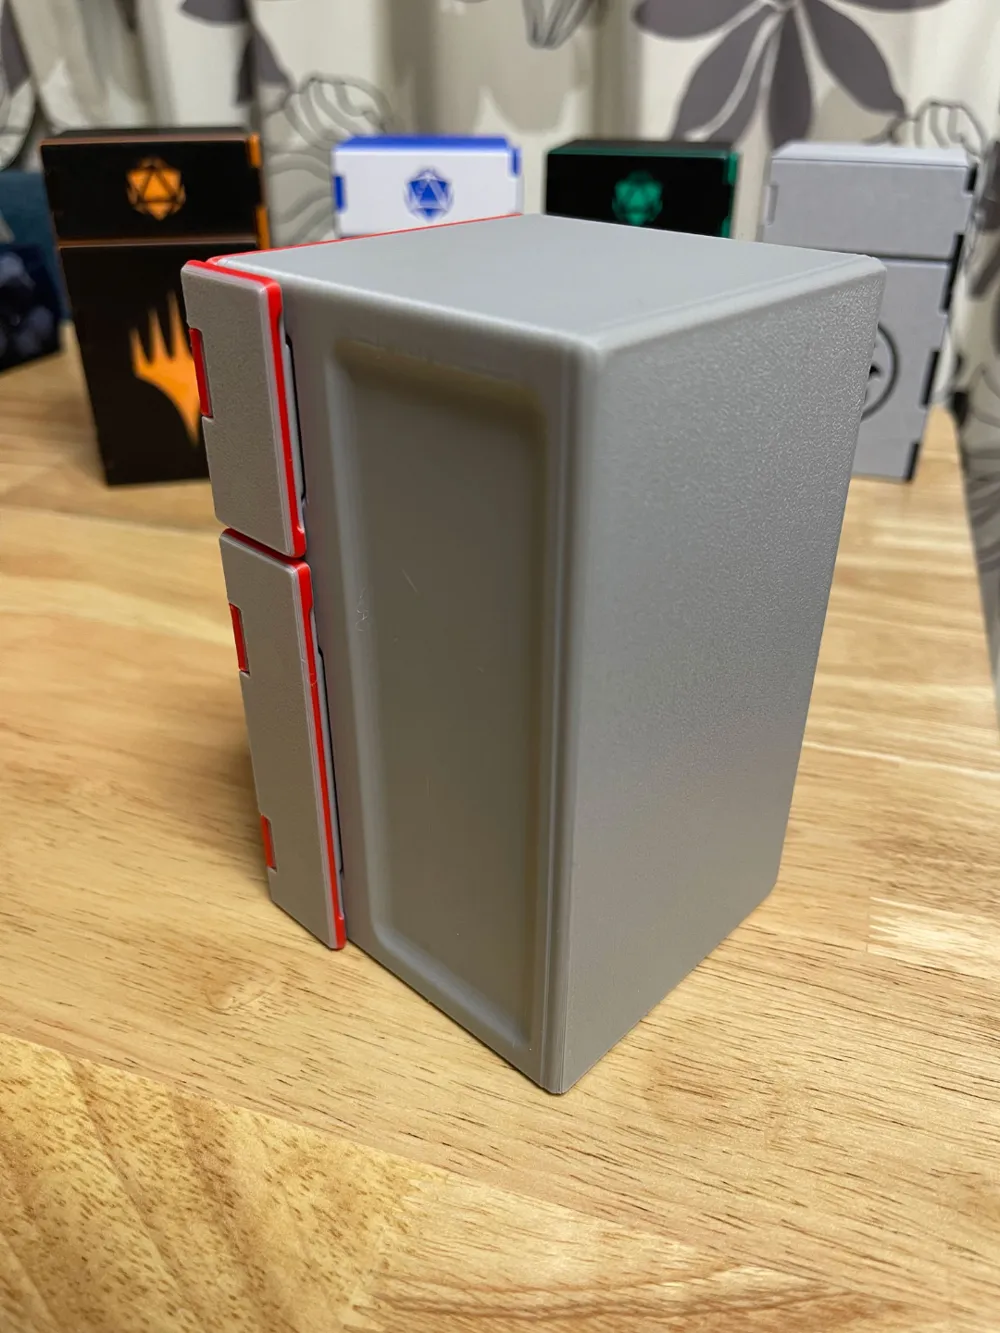
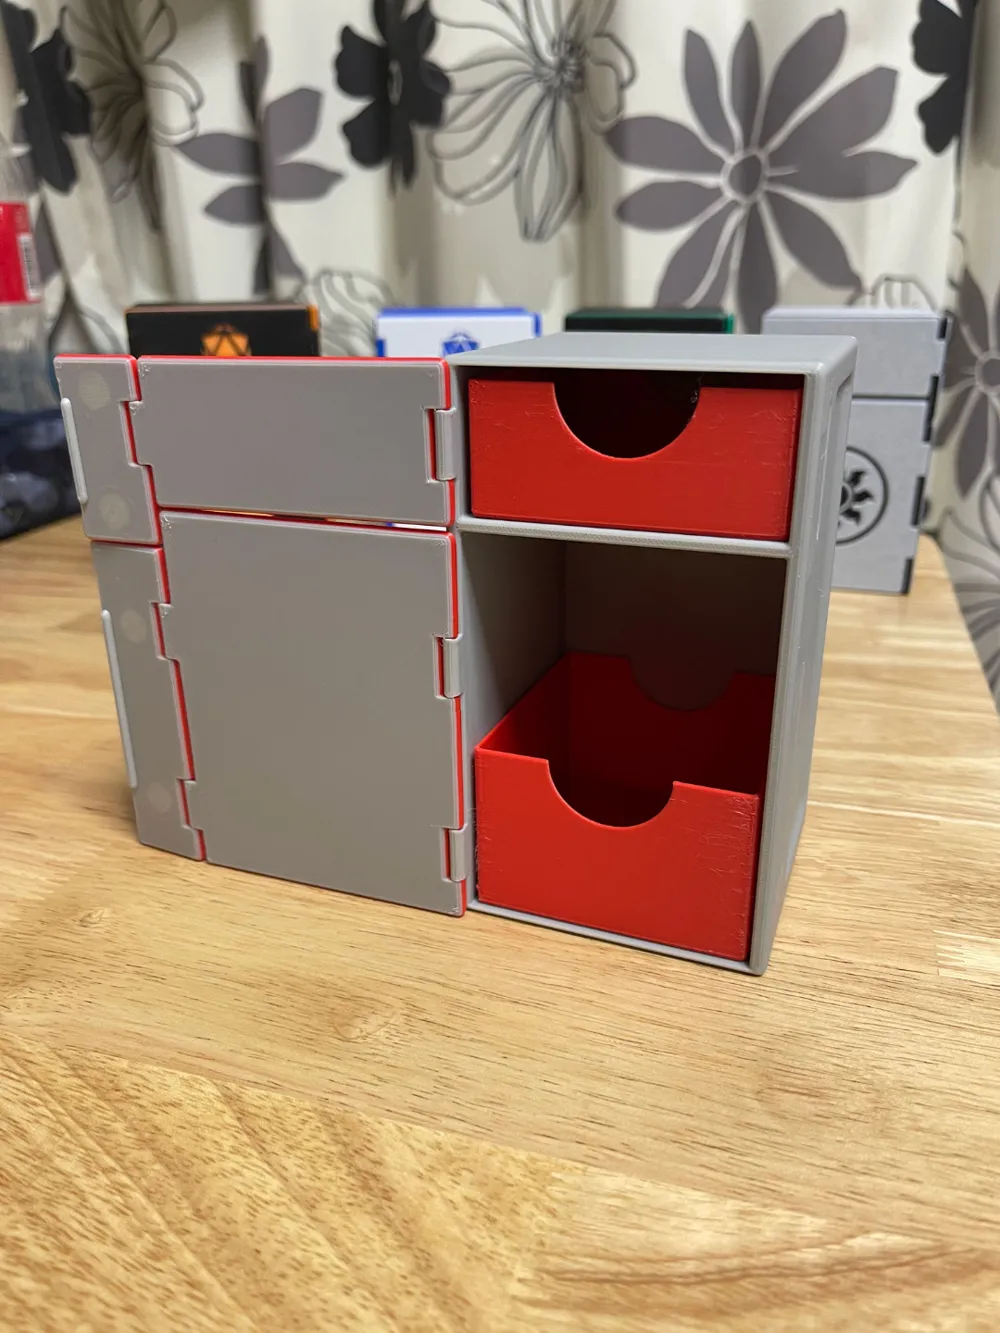
Due to the shape and size, I had to spend time coming up with a detachable latch that fit the size of the door while remaining strong and stable. The dice door required a slightly different design as there was only one hinge. For both doors, with the door in the fully open position, put either the top or bottom most joint in place and push down. It does take some effort, but it should click into place and shouldn't wobble. While it might be possible to remove the doors after they're on, they are not designed or intended to be removable and you might break the joint if you try.
Tips
When you're printing the box, there will be a pause to insert the magnets. As always, make sure the magnets are in the correct orientation to connect to the door. The slot for the magnets in the box do have a slightly smaller opening, so depending on tolerances, you may have to push a little, but the space below the opening is larger, so you should feel a little click as the magnet moves into place. However, sometimes the magnets can be attracted to the hardened steel tip and pop up. This is fine, I've never had a failure because of this and the process of printing pushes the magnet back down. But to make it a little easier or less fussy, add a magnet to the outside of the box to hole the inner magnets in place.
I've also disabled the supports for the doors. The printer can bridge the gaps in the symbols, but it will look a little messy. However, some of the recent prints I've done with the support have left pieces of filament stuck between the bridges. If you want to enable supports, give it a shot, but it seems to be mixed results both ways.
License

You shall not share, sub-license, sell, rent, host, transfer, or distribute in any way the digital or 3D printed versions of this object, nor any other derivative work of this object in its digital or physical format (including - but not limited to - remixes of this object, and hosting on other digital platforms). The objects may not be used without permission in any way whatsoever in which you charge money, or collect fees.


Comment & Rating (144)