
IKEA Skadis pegboard


Print Profile(9)



Description
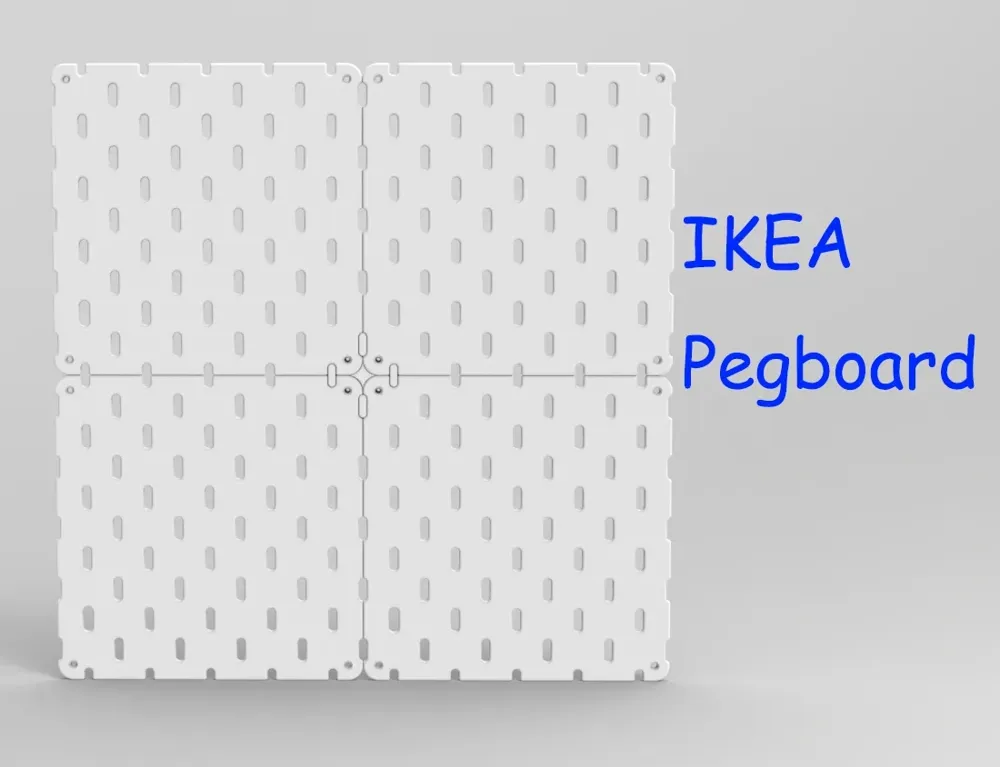
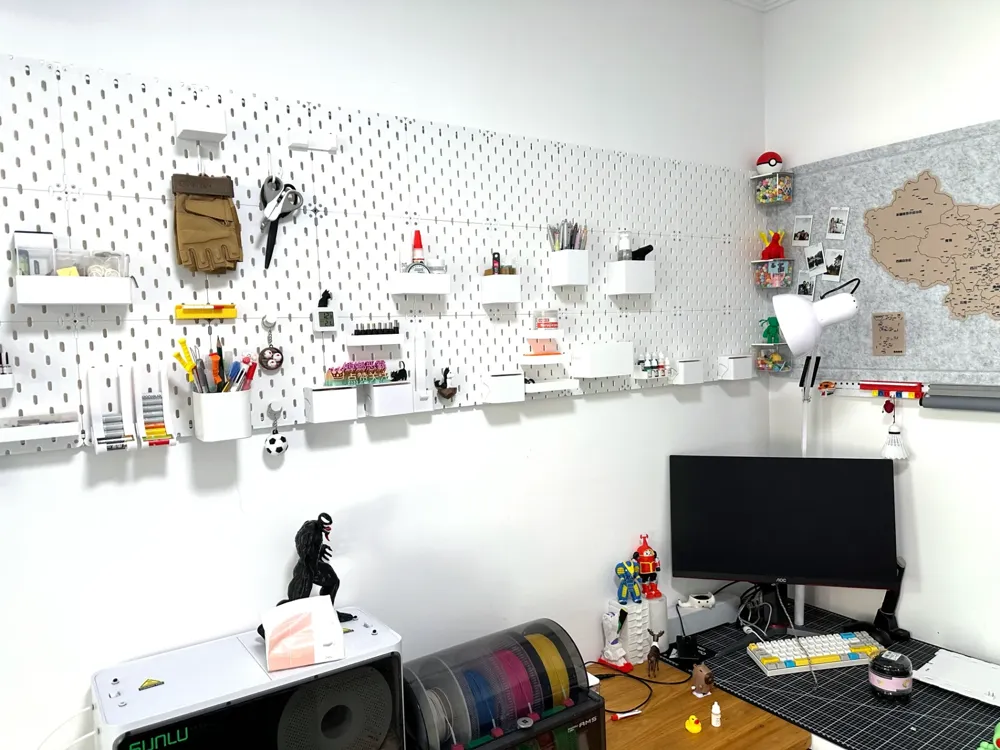
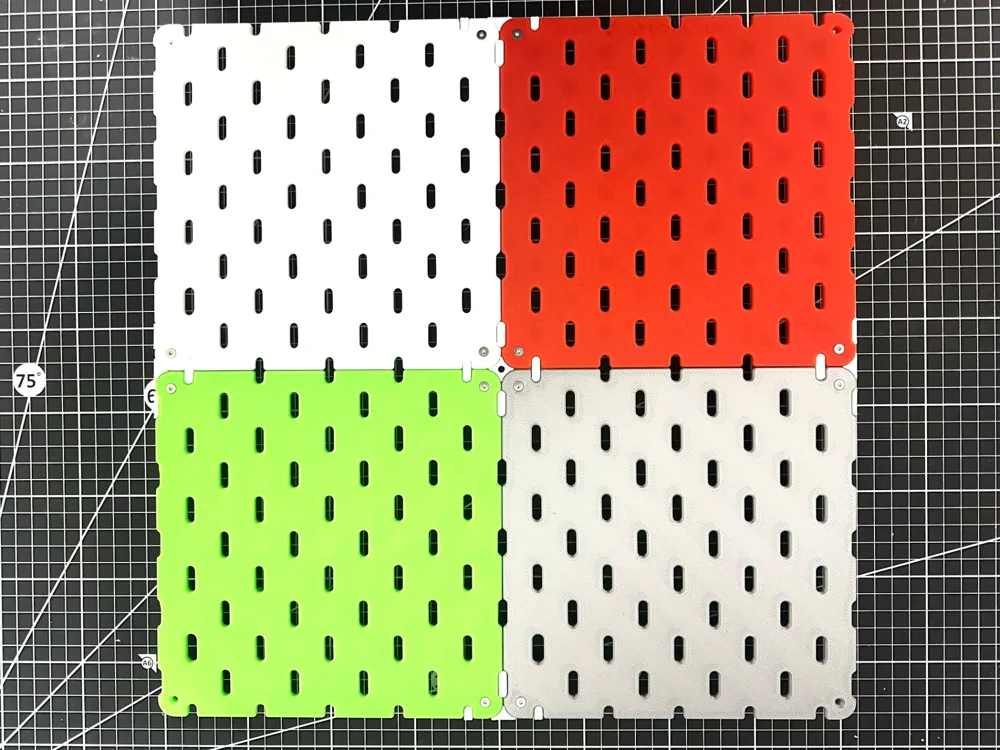
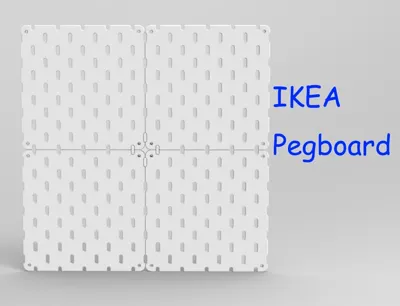
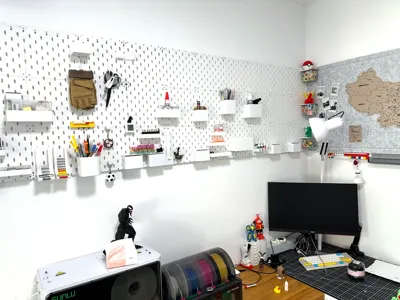
IKEA Pegboard v1.0
Key Features:
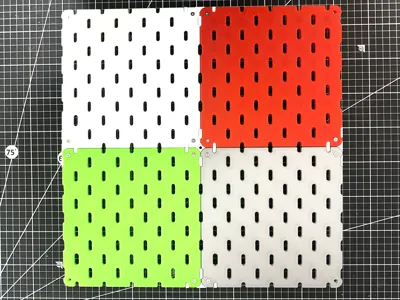
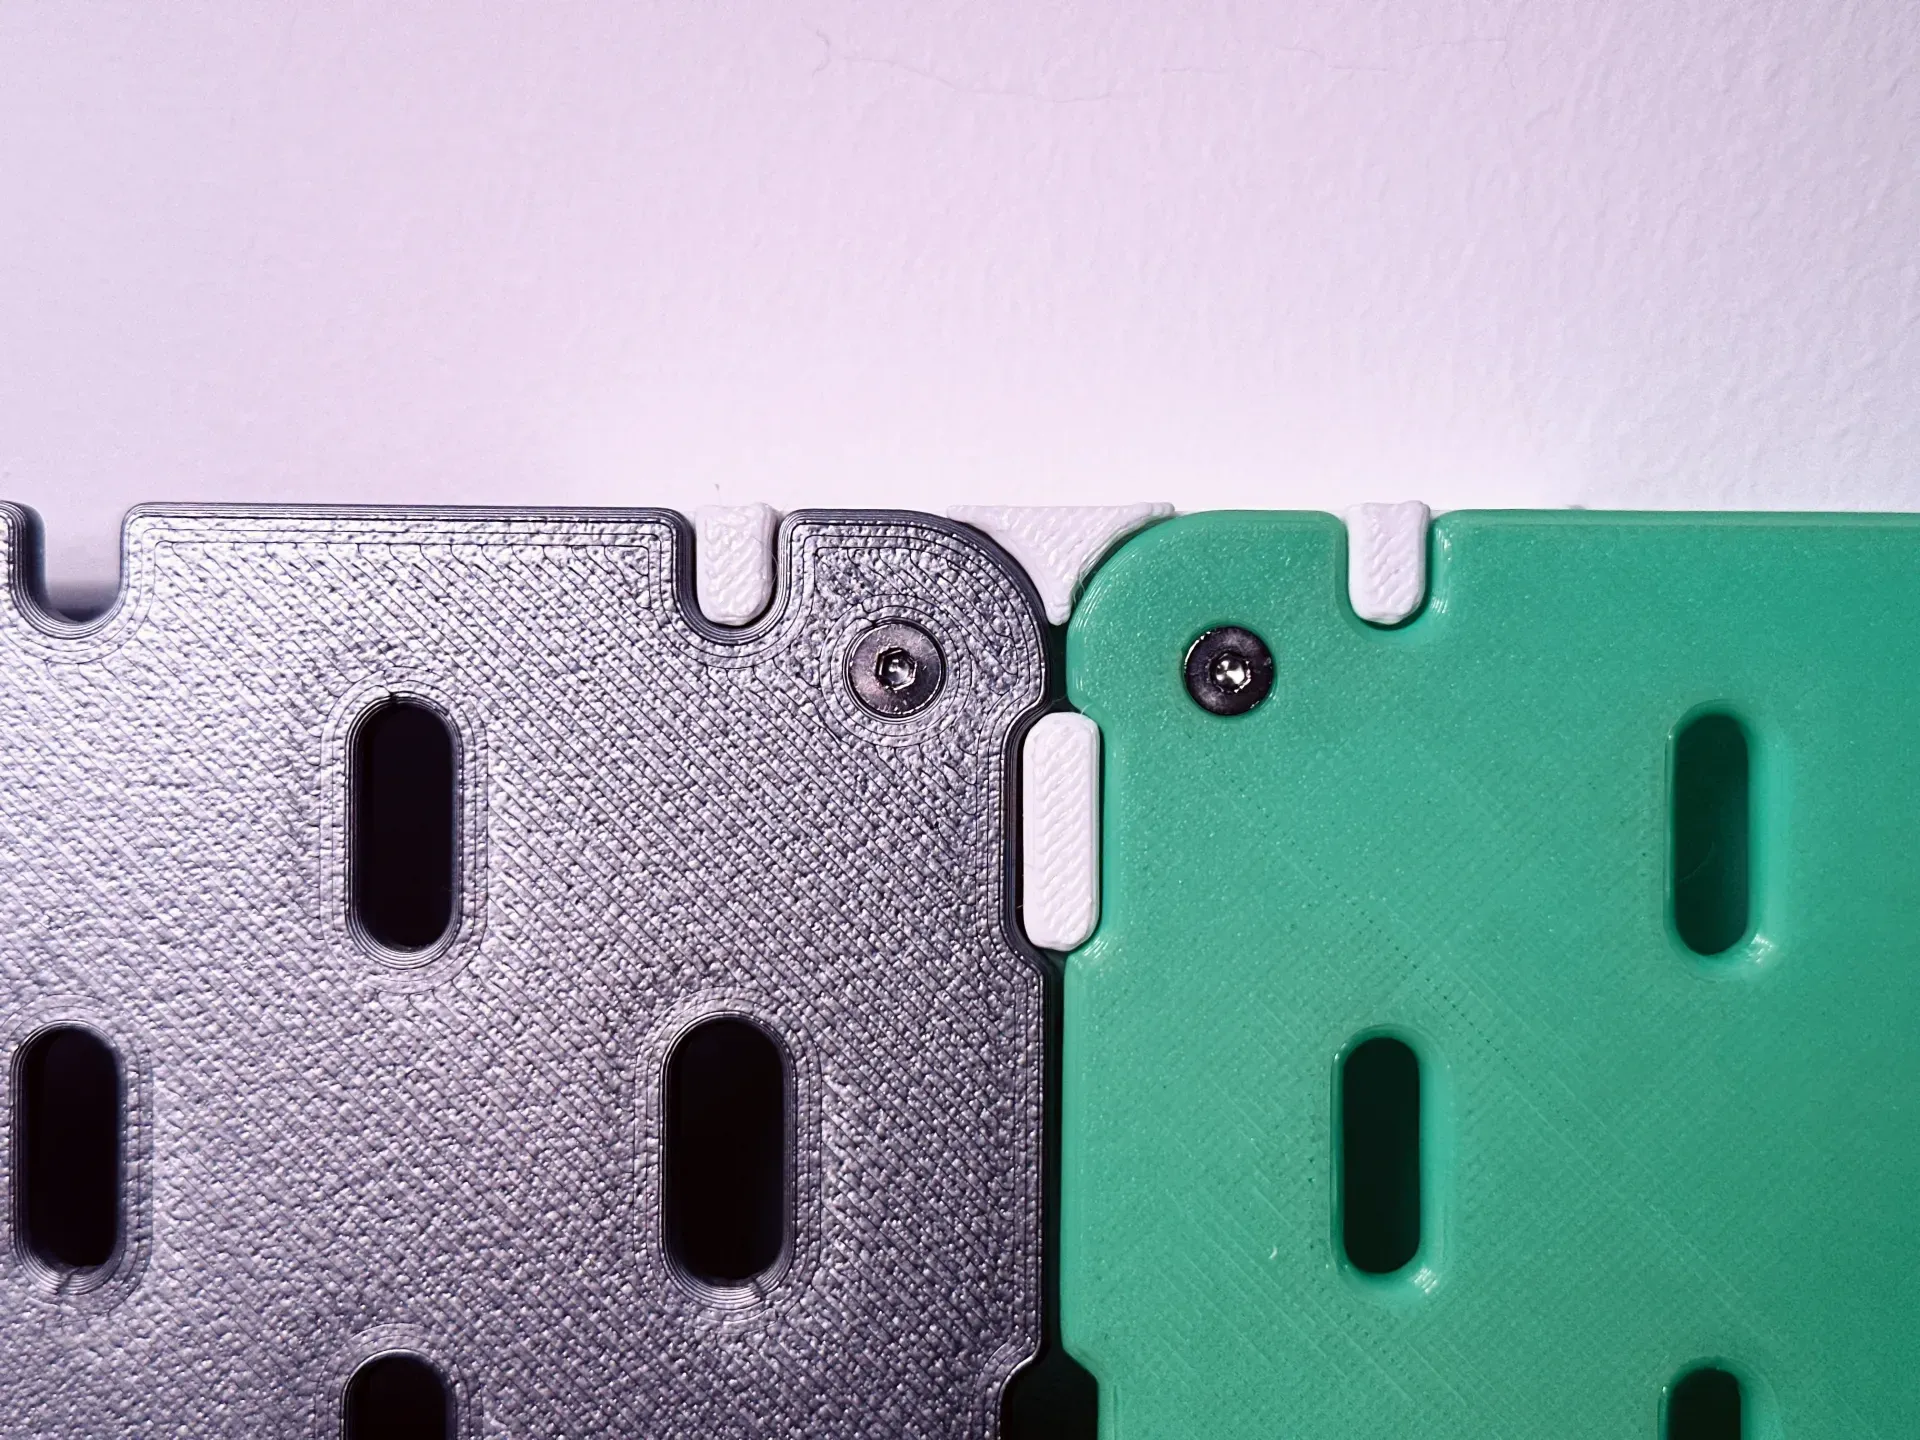
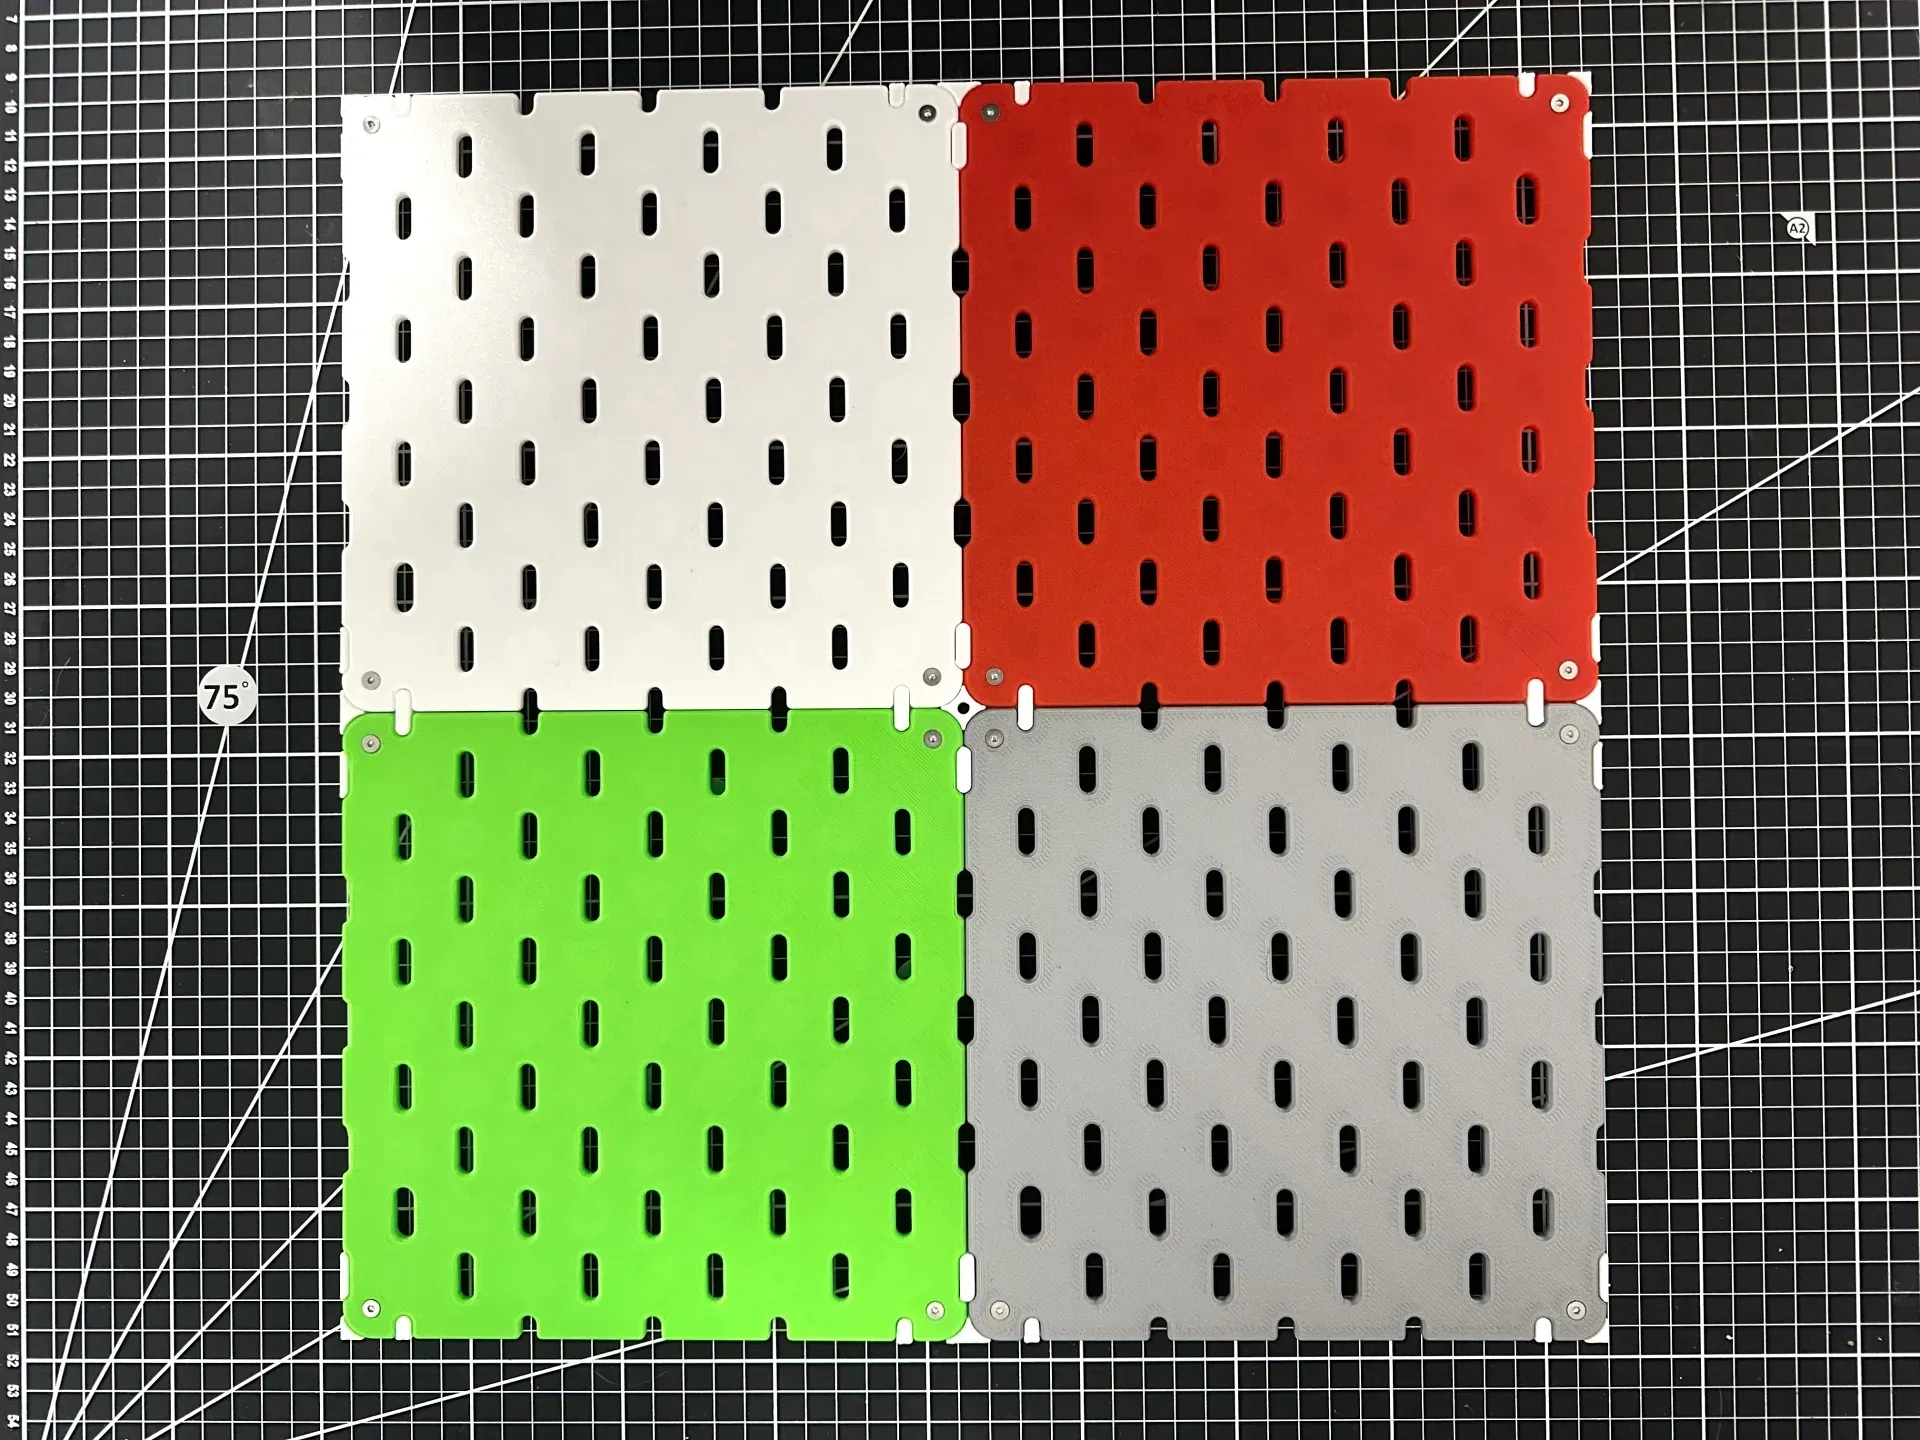
1.Resolves the common issue of discontinuous holes at the joints of most IKEA pegboards
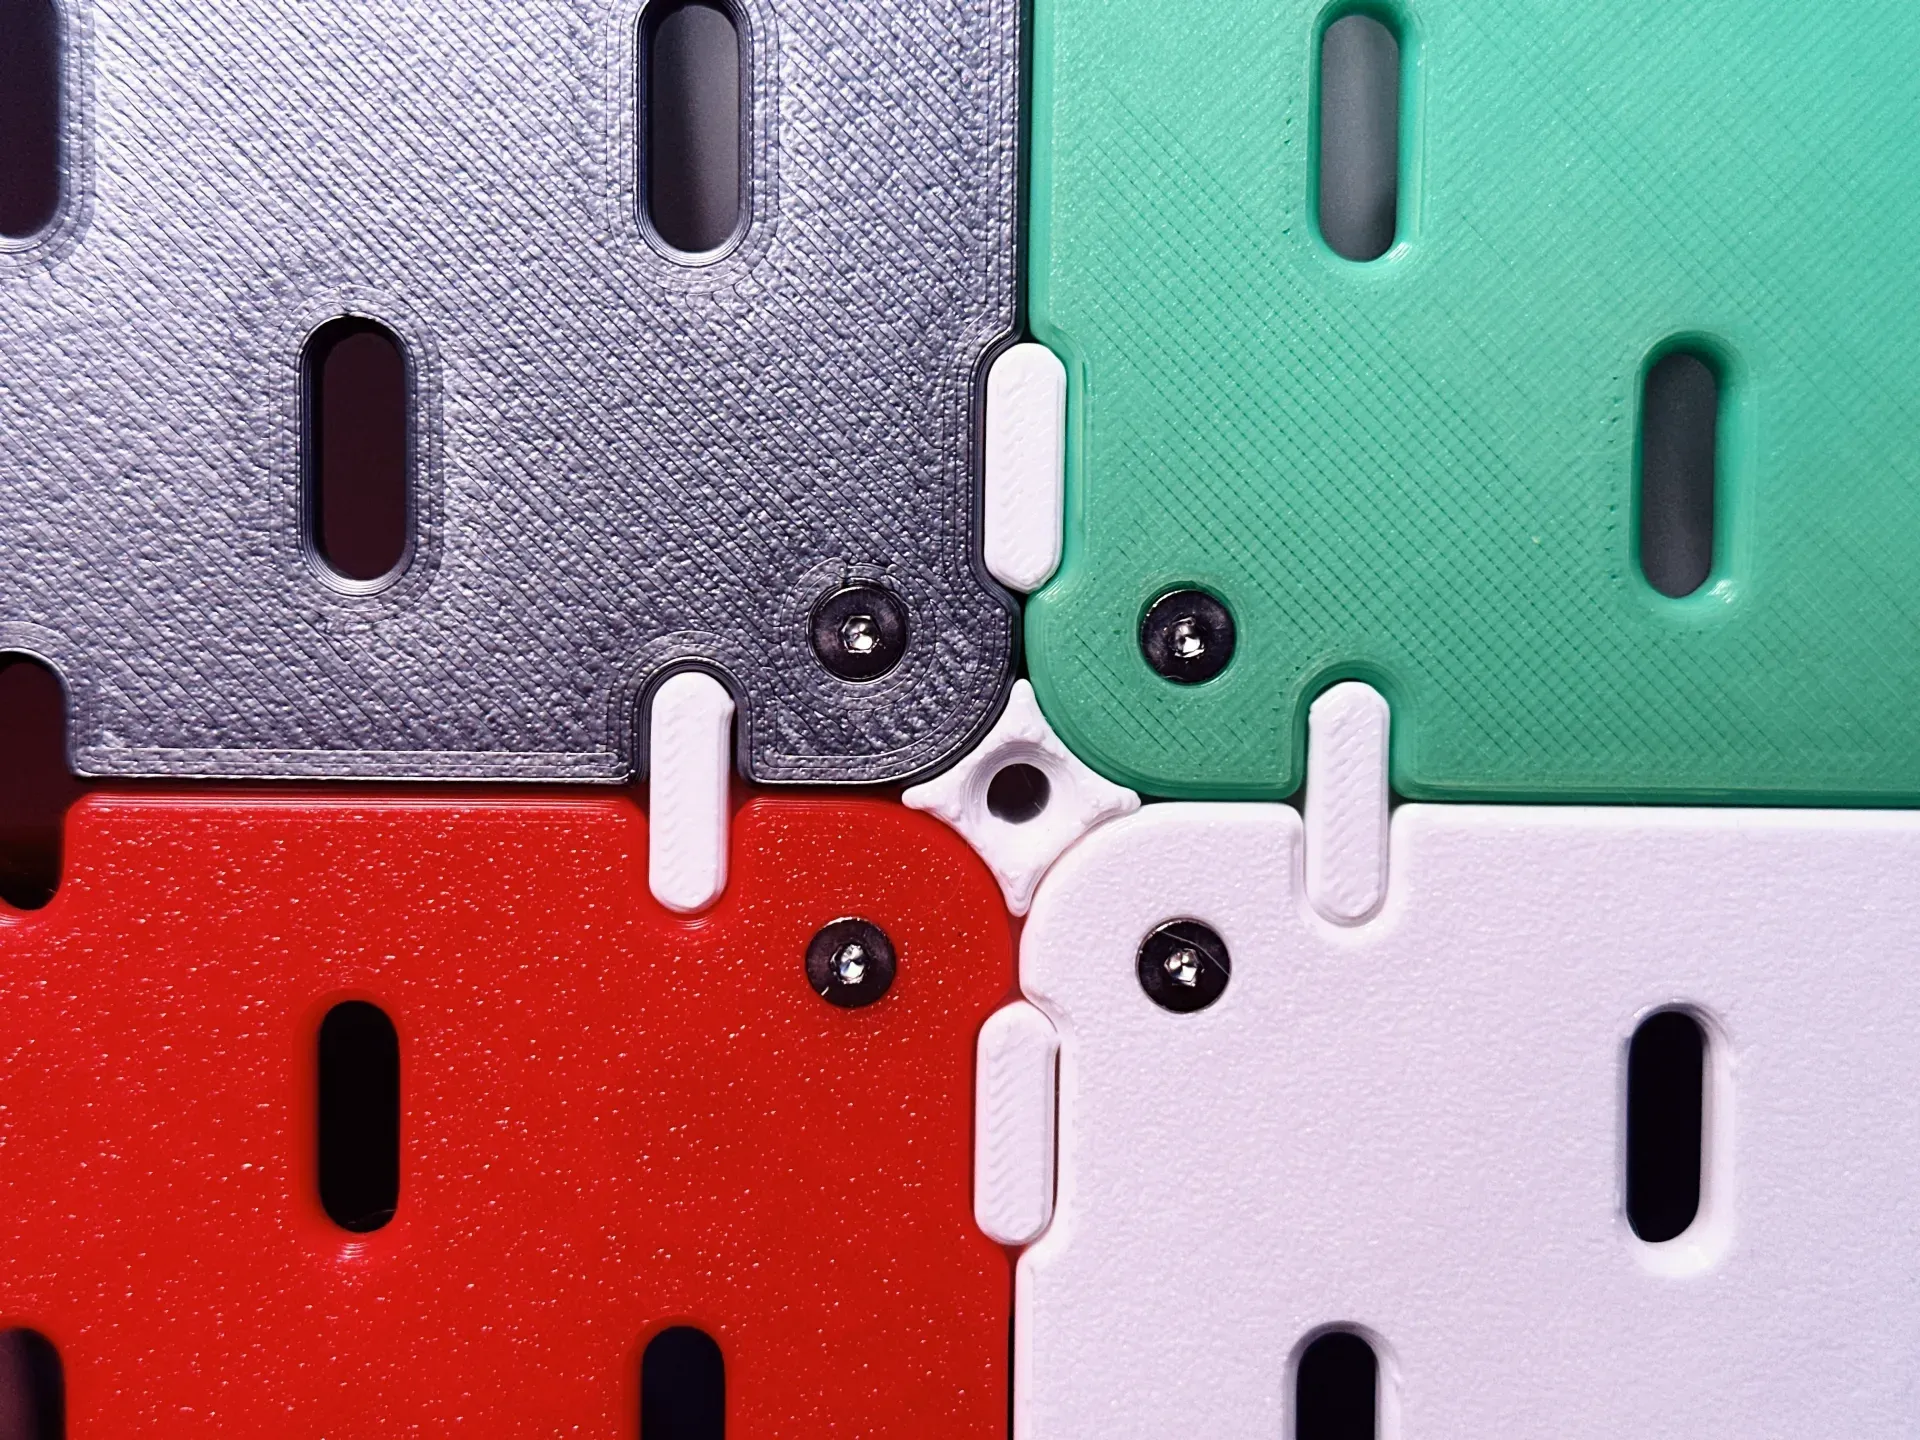
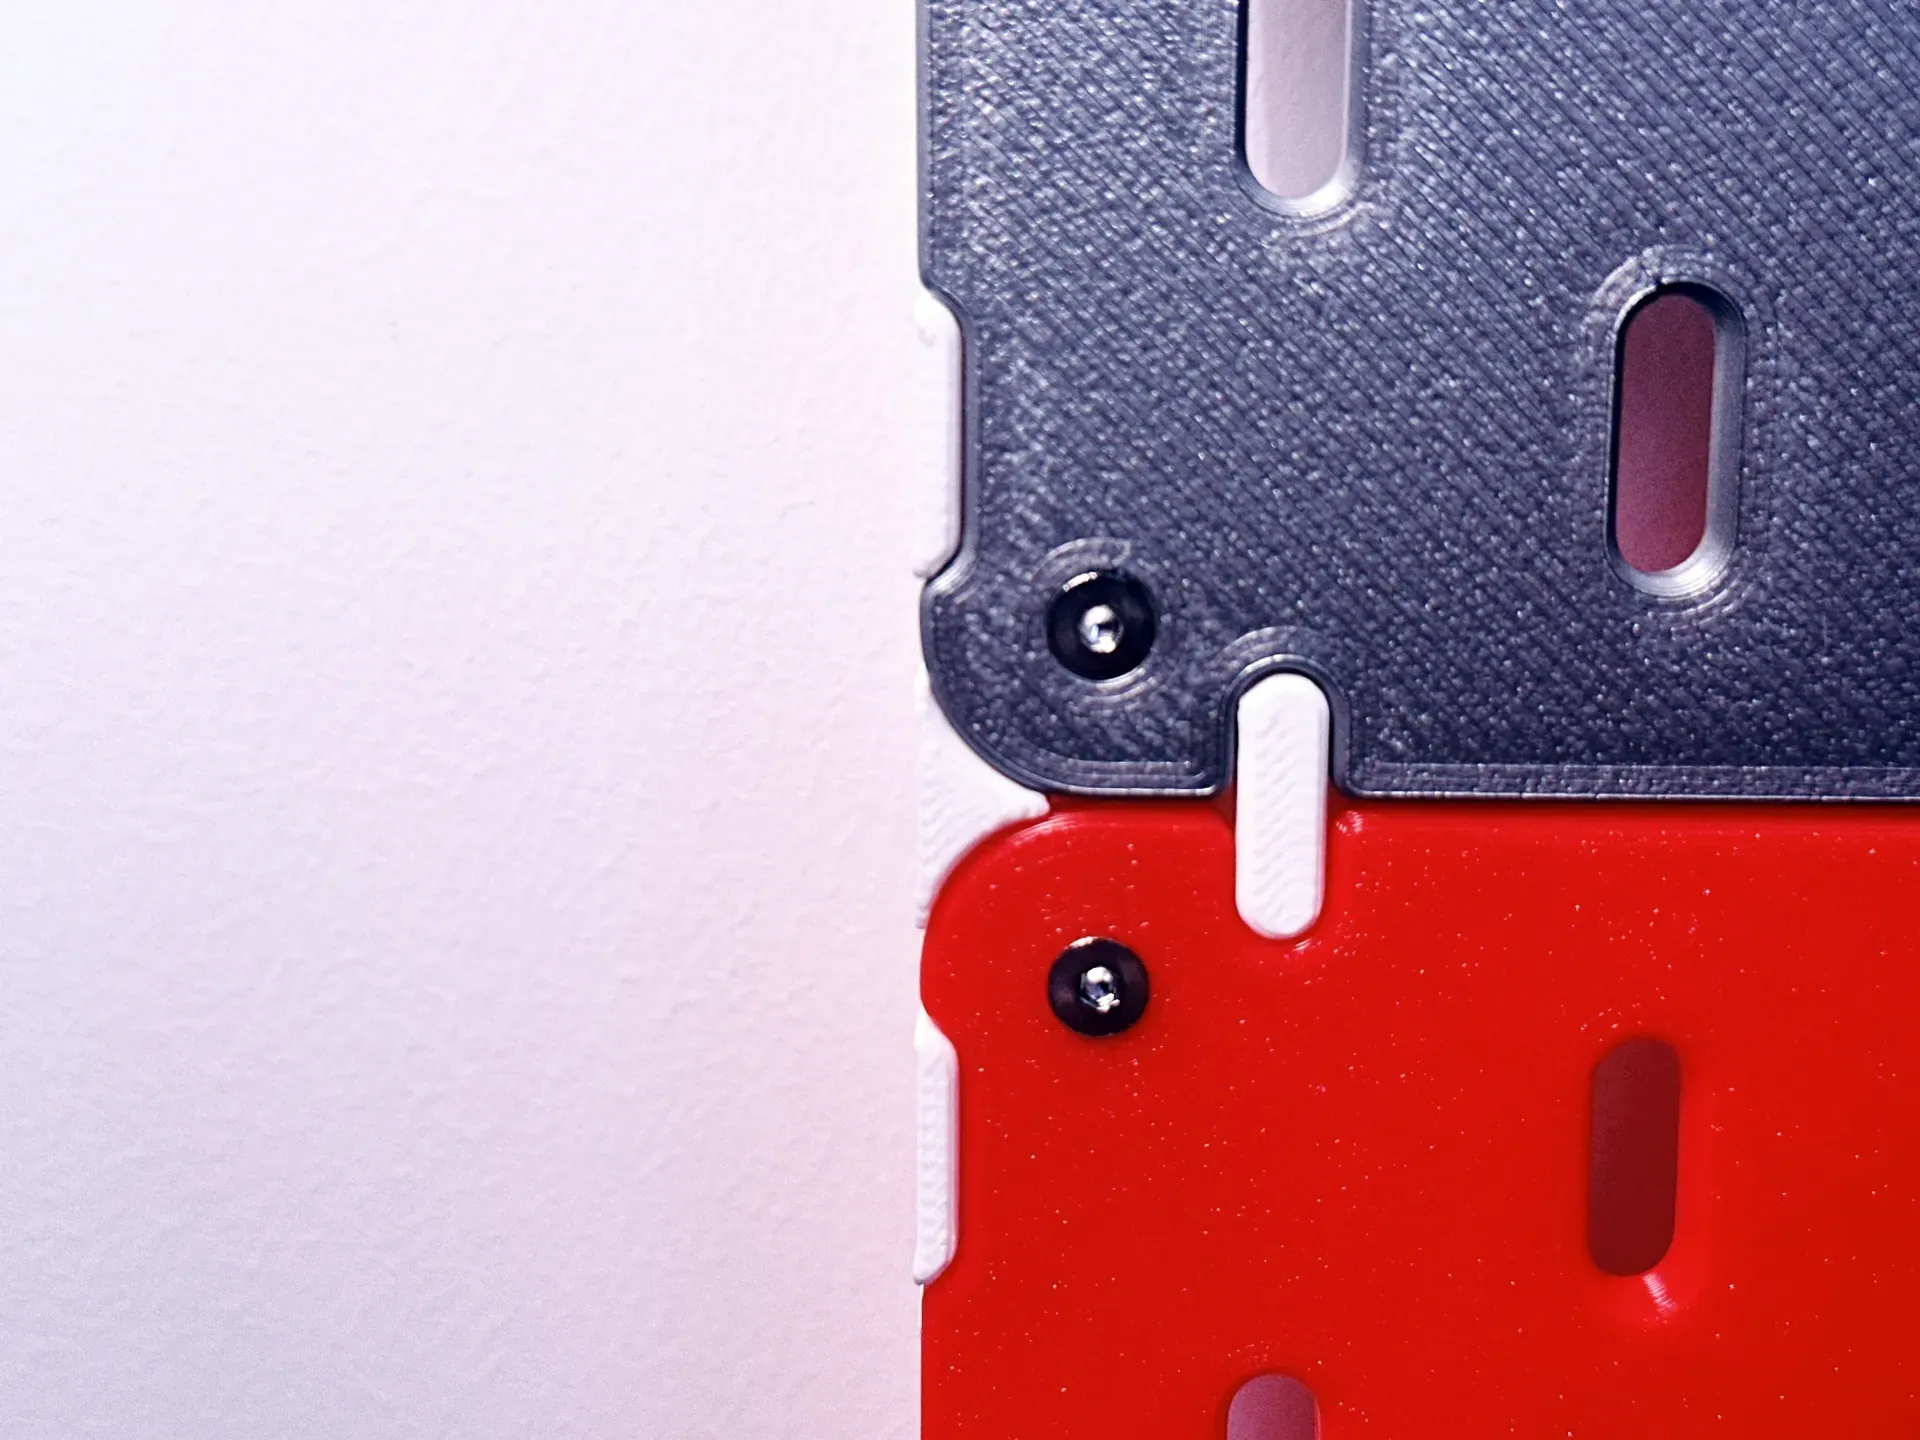
2.Reinforces the corner and edge bracket structure for enhanced stability and reduced wobbling
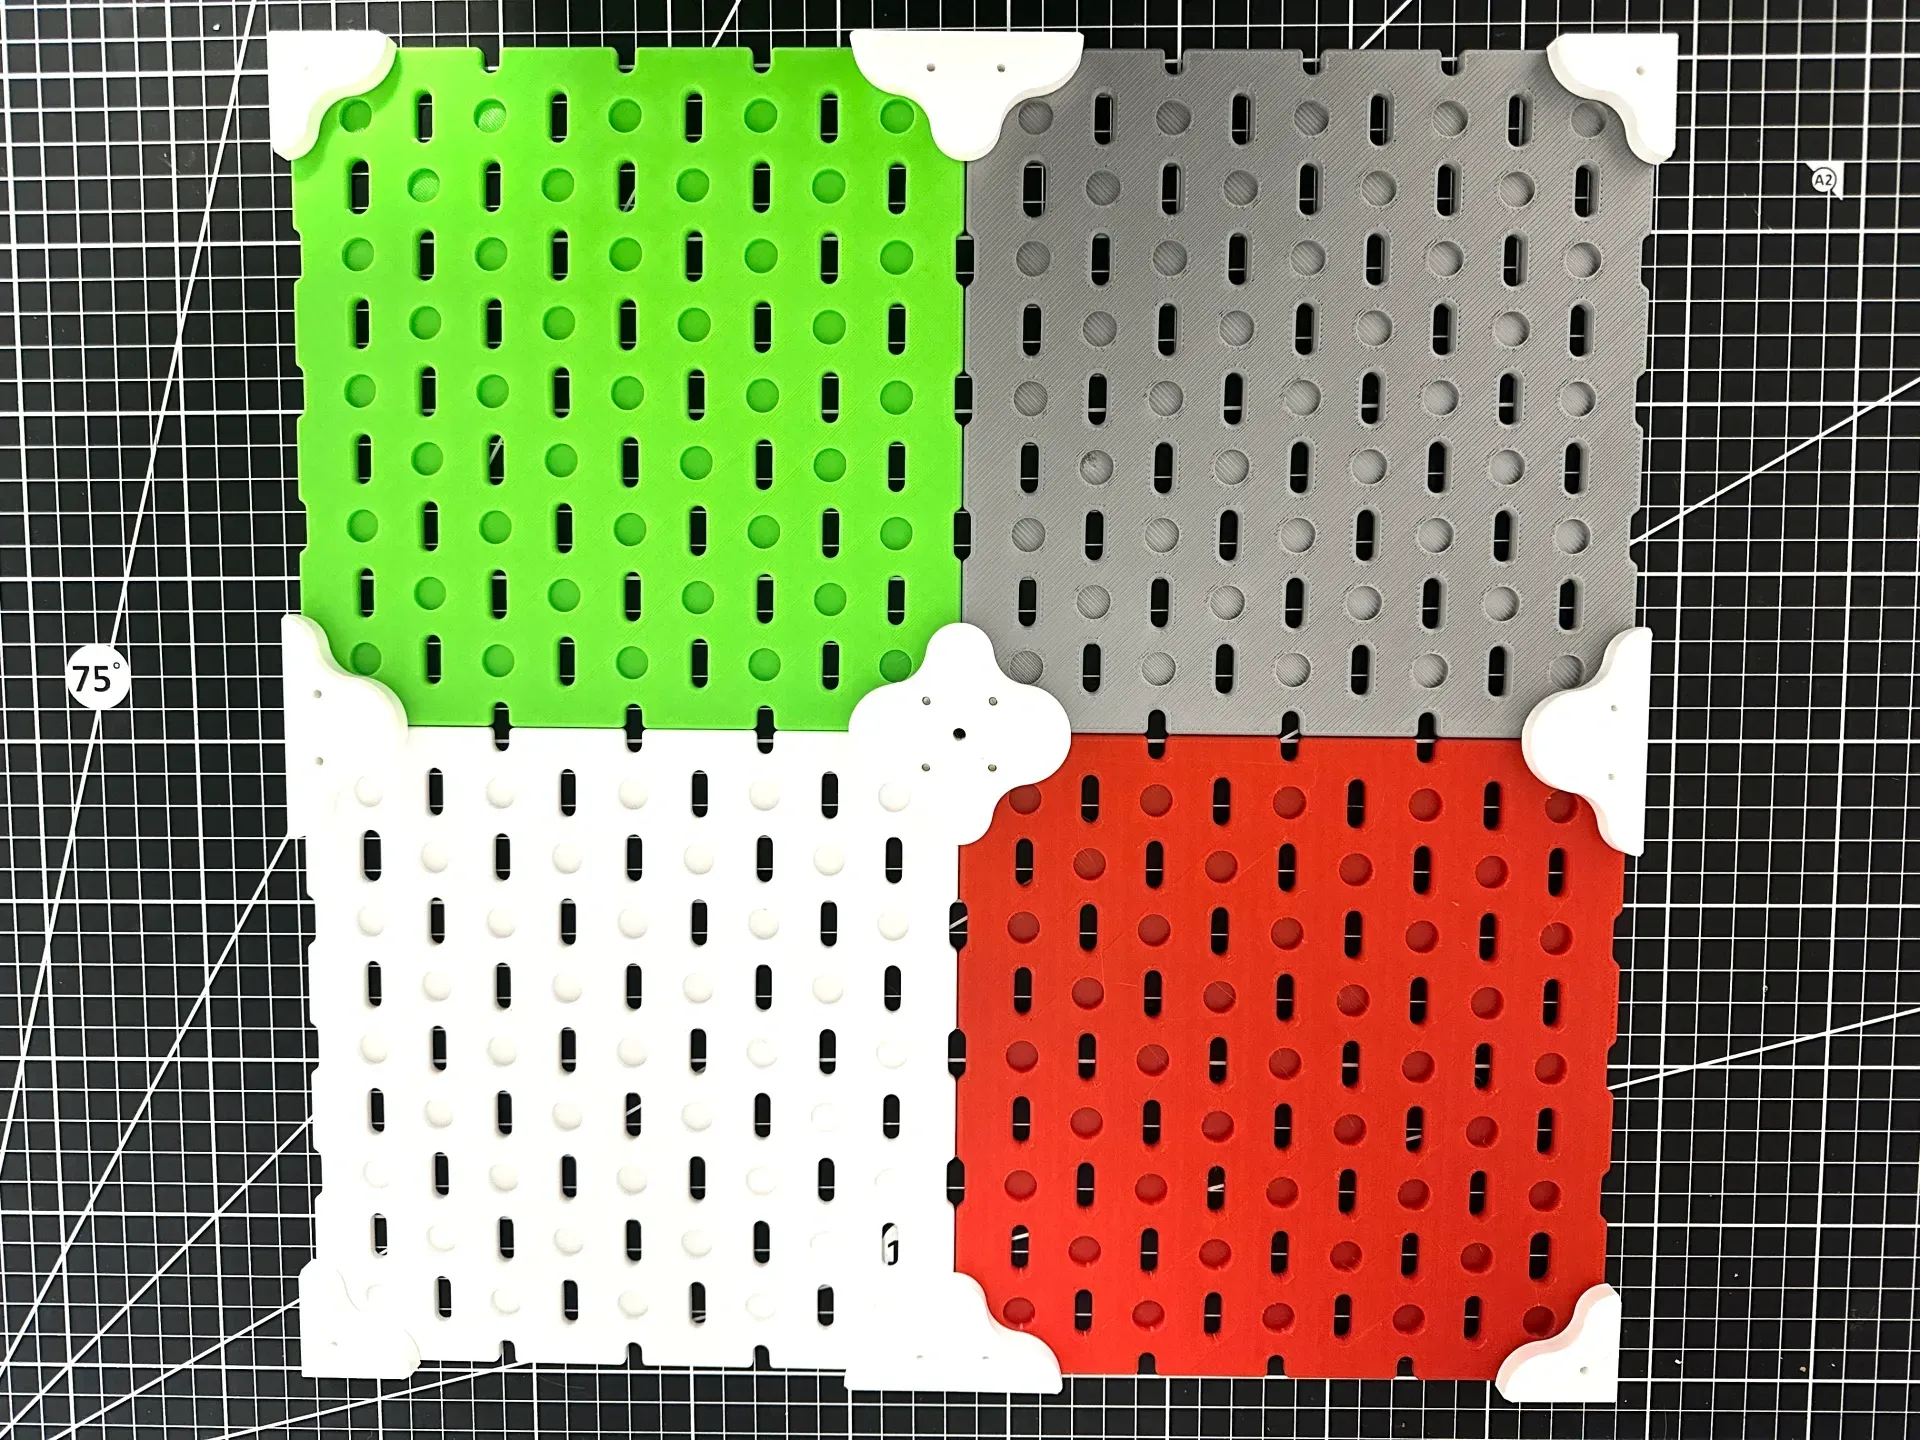
3.Features pre-drilled recesses on the back for magnetic attachment
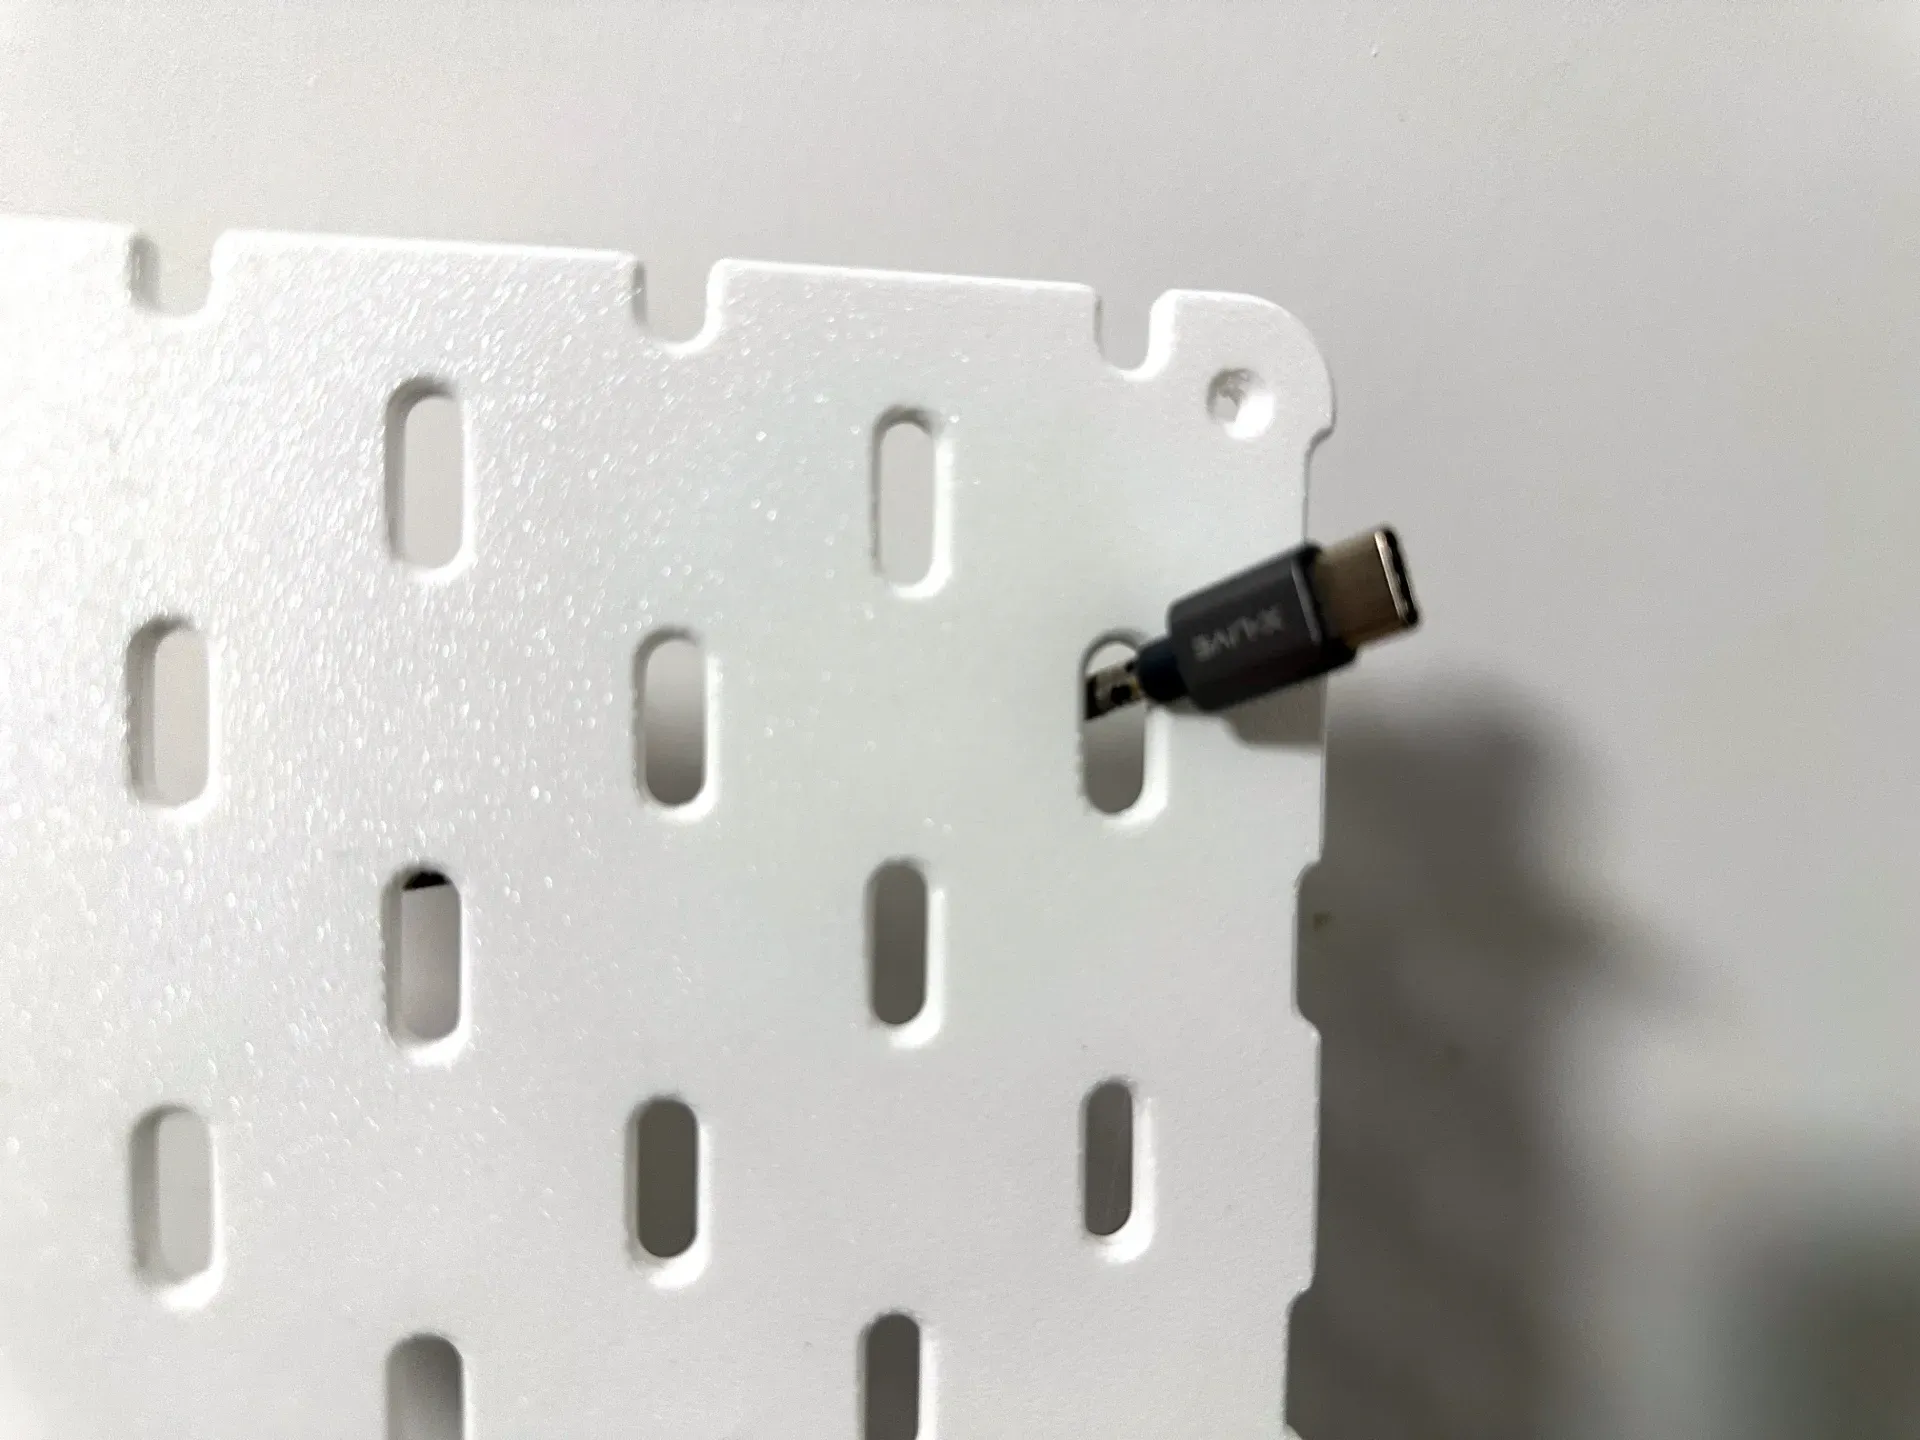
4.The top-rightmost hole is widened to accommodate Type-C charging cables
5.Central corner brackets incorporate expansion bolt holes for wall mounting
Installation Methods:
1.Adhesive Mounting: Secure corner brackets to smooth surfaces such as walls, cabinets, or tiles using double-sided adhesive
For wall mounting, ensure the wall is dust-free and free from peeling to prevent detachment. The pegboard base can rest on a table for added support and weight distribution
2.Expansion Bolt Mounting:
Central corner brackets feature pre-drilled expansion bolt holes for robust wall mounting
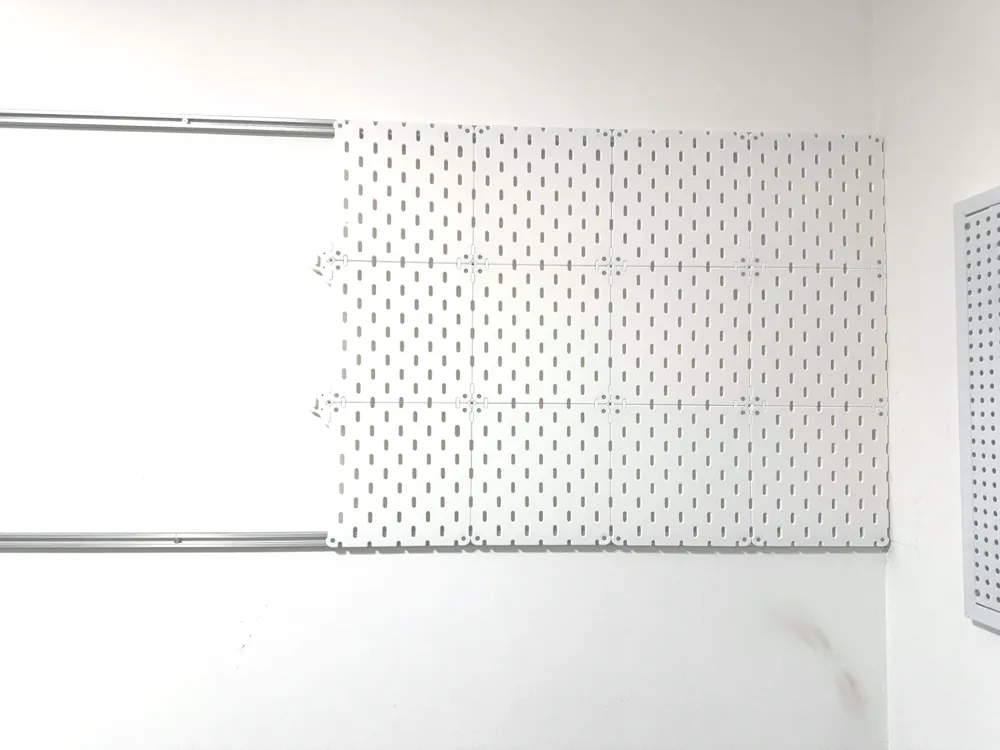
3.Aluminum Extrusion Mounting:
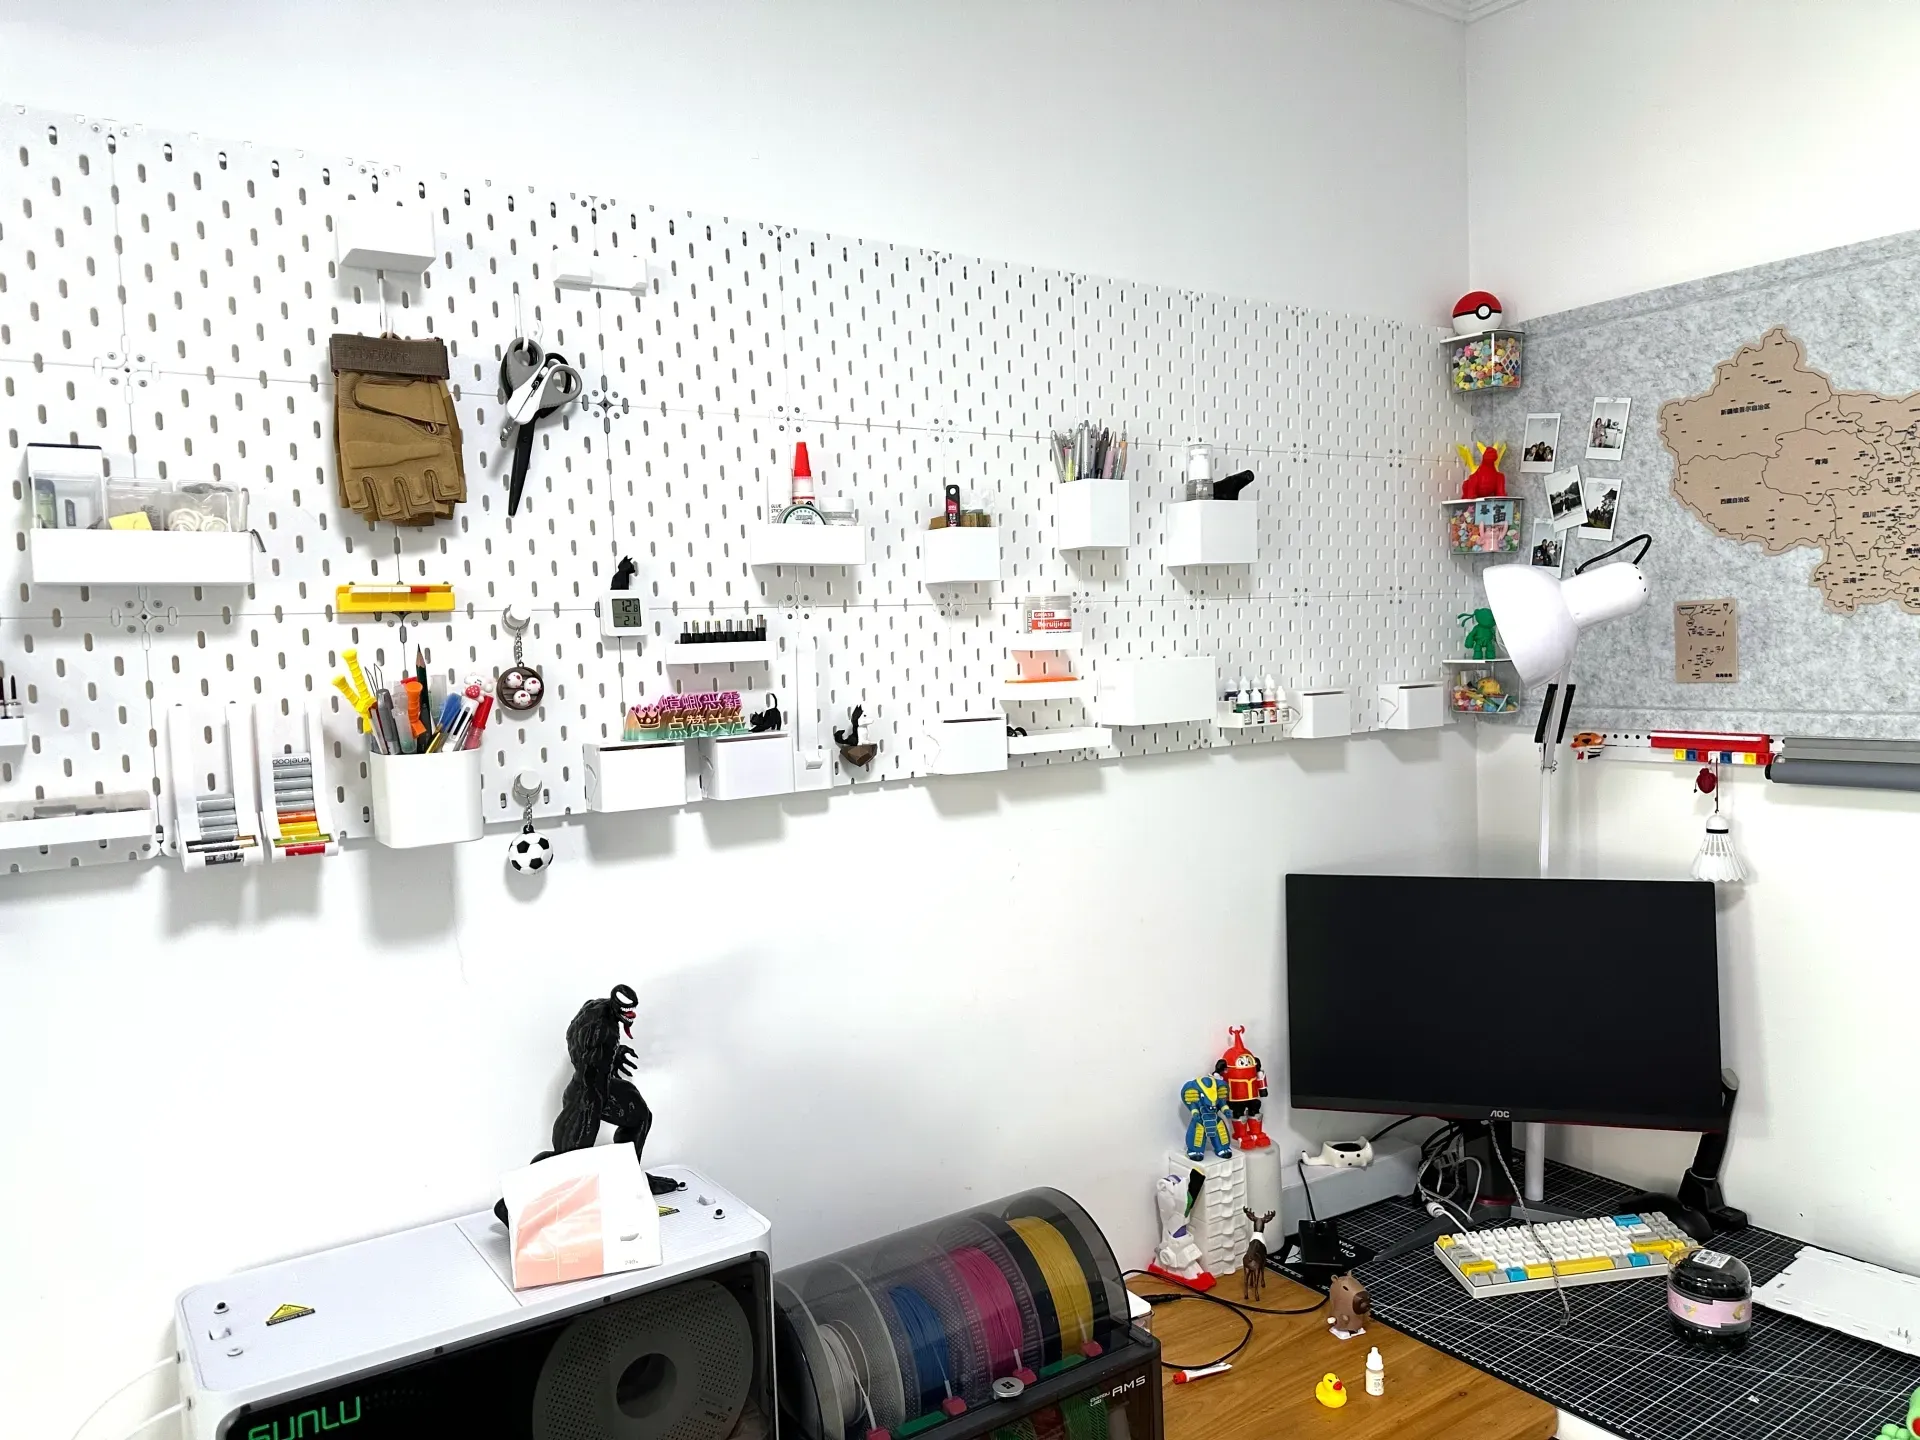
Method 1: Construct a square frame using aluminum extrusions, and embed the pegboard within the recesses
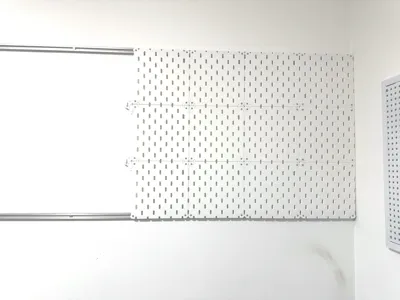
Method 2: For expansive pegboard installations, mount aluminum extrusions horizontally to the wall using expansion bolts (one every meter), with additional bolts at the top and bottom (using 1020 aluminum extrusion, 8.5/meter)
Assemble the pegboard normally, securing the top and bottom to the extrusion recesses using T-nuts (no need to print top/bottom corner brackets). The final installation is shown below:
Hardware Specifications:
1.M3*10 countersunk socket head cap screws for securing corner brackets to the pegboard
2.M6*35 expansion bolts for the central corner brackets (only necessary for wall mounting)
3.N52 10*3MM magnets for the magnetic recesses
4.For aluminum extrusion mounting, use standard 1020 aluminum extrusions with 20 T-nuts M3, available at affordable prices on Alibaba
Detailed Explanation
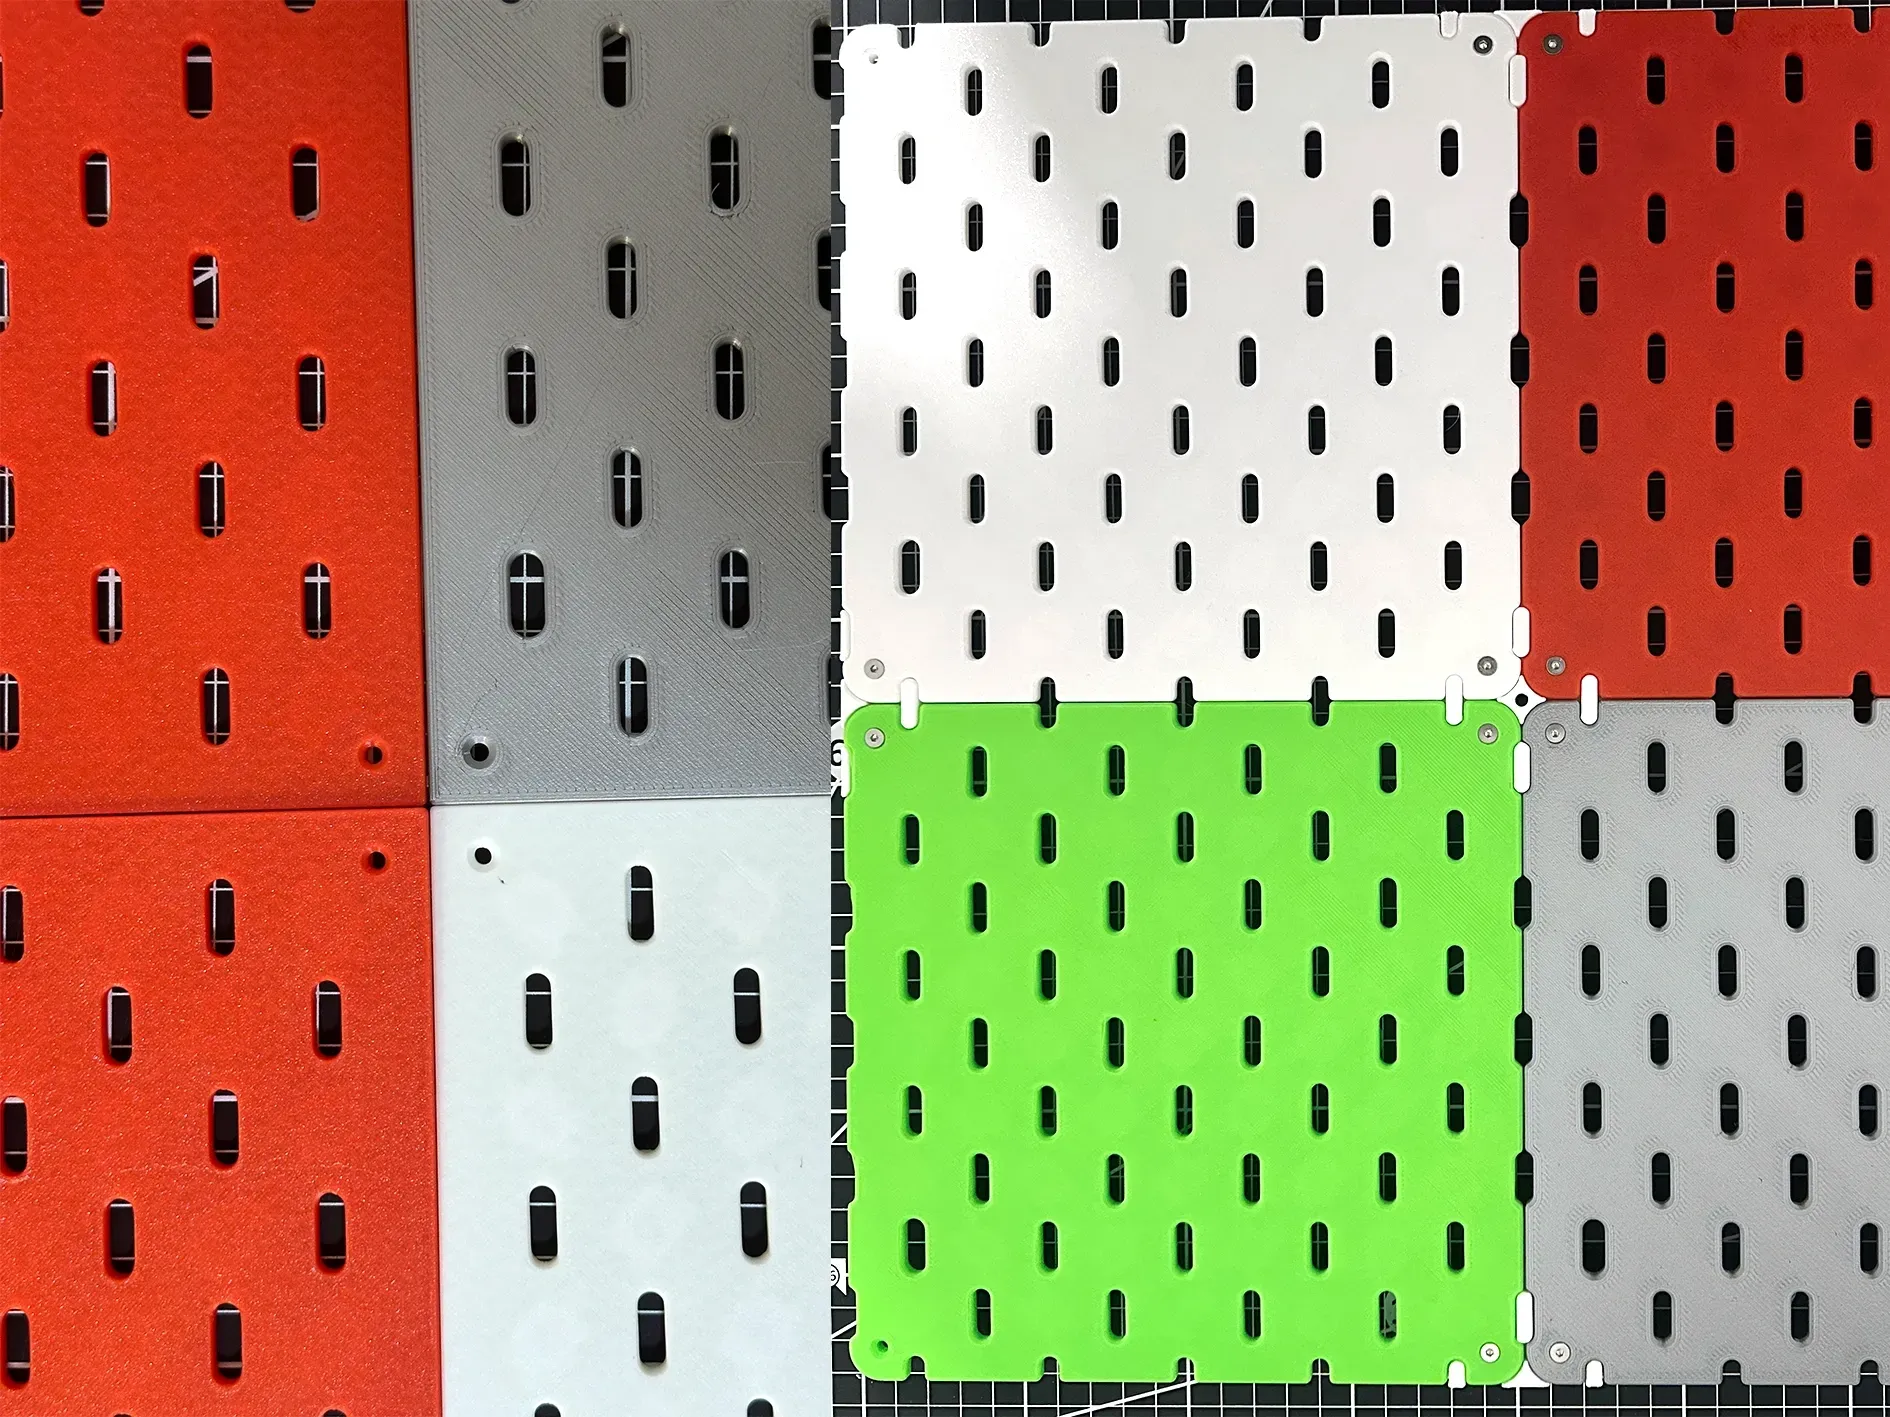
1.Resolves the common issue of discontinuous holes at the joints of most IKEA pegboards
Left (Before Optimization): Missing holes at the joint
Right (After Optimization): Properly aligned holes at the joint
2.Reinforces the corner and edge bracket structure for enhanced stability and reduced wobbling
3.Features pre-drilled recesses on the back for magnetic attachment
Magnets (N52 10*3mm) are press-fit for easy installation and removal
Install magnets as needed; not all recesses require magnets
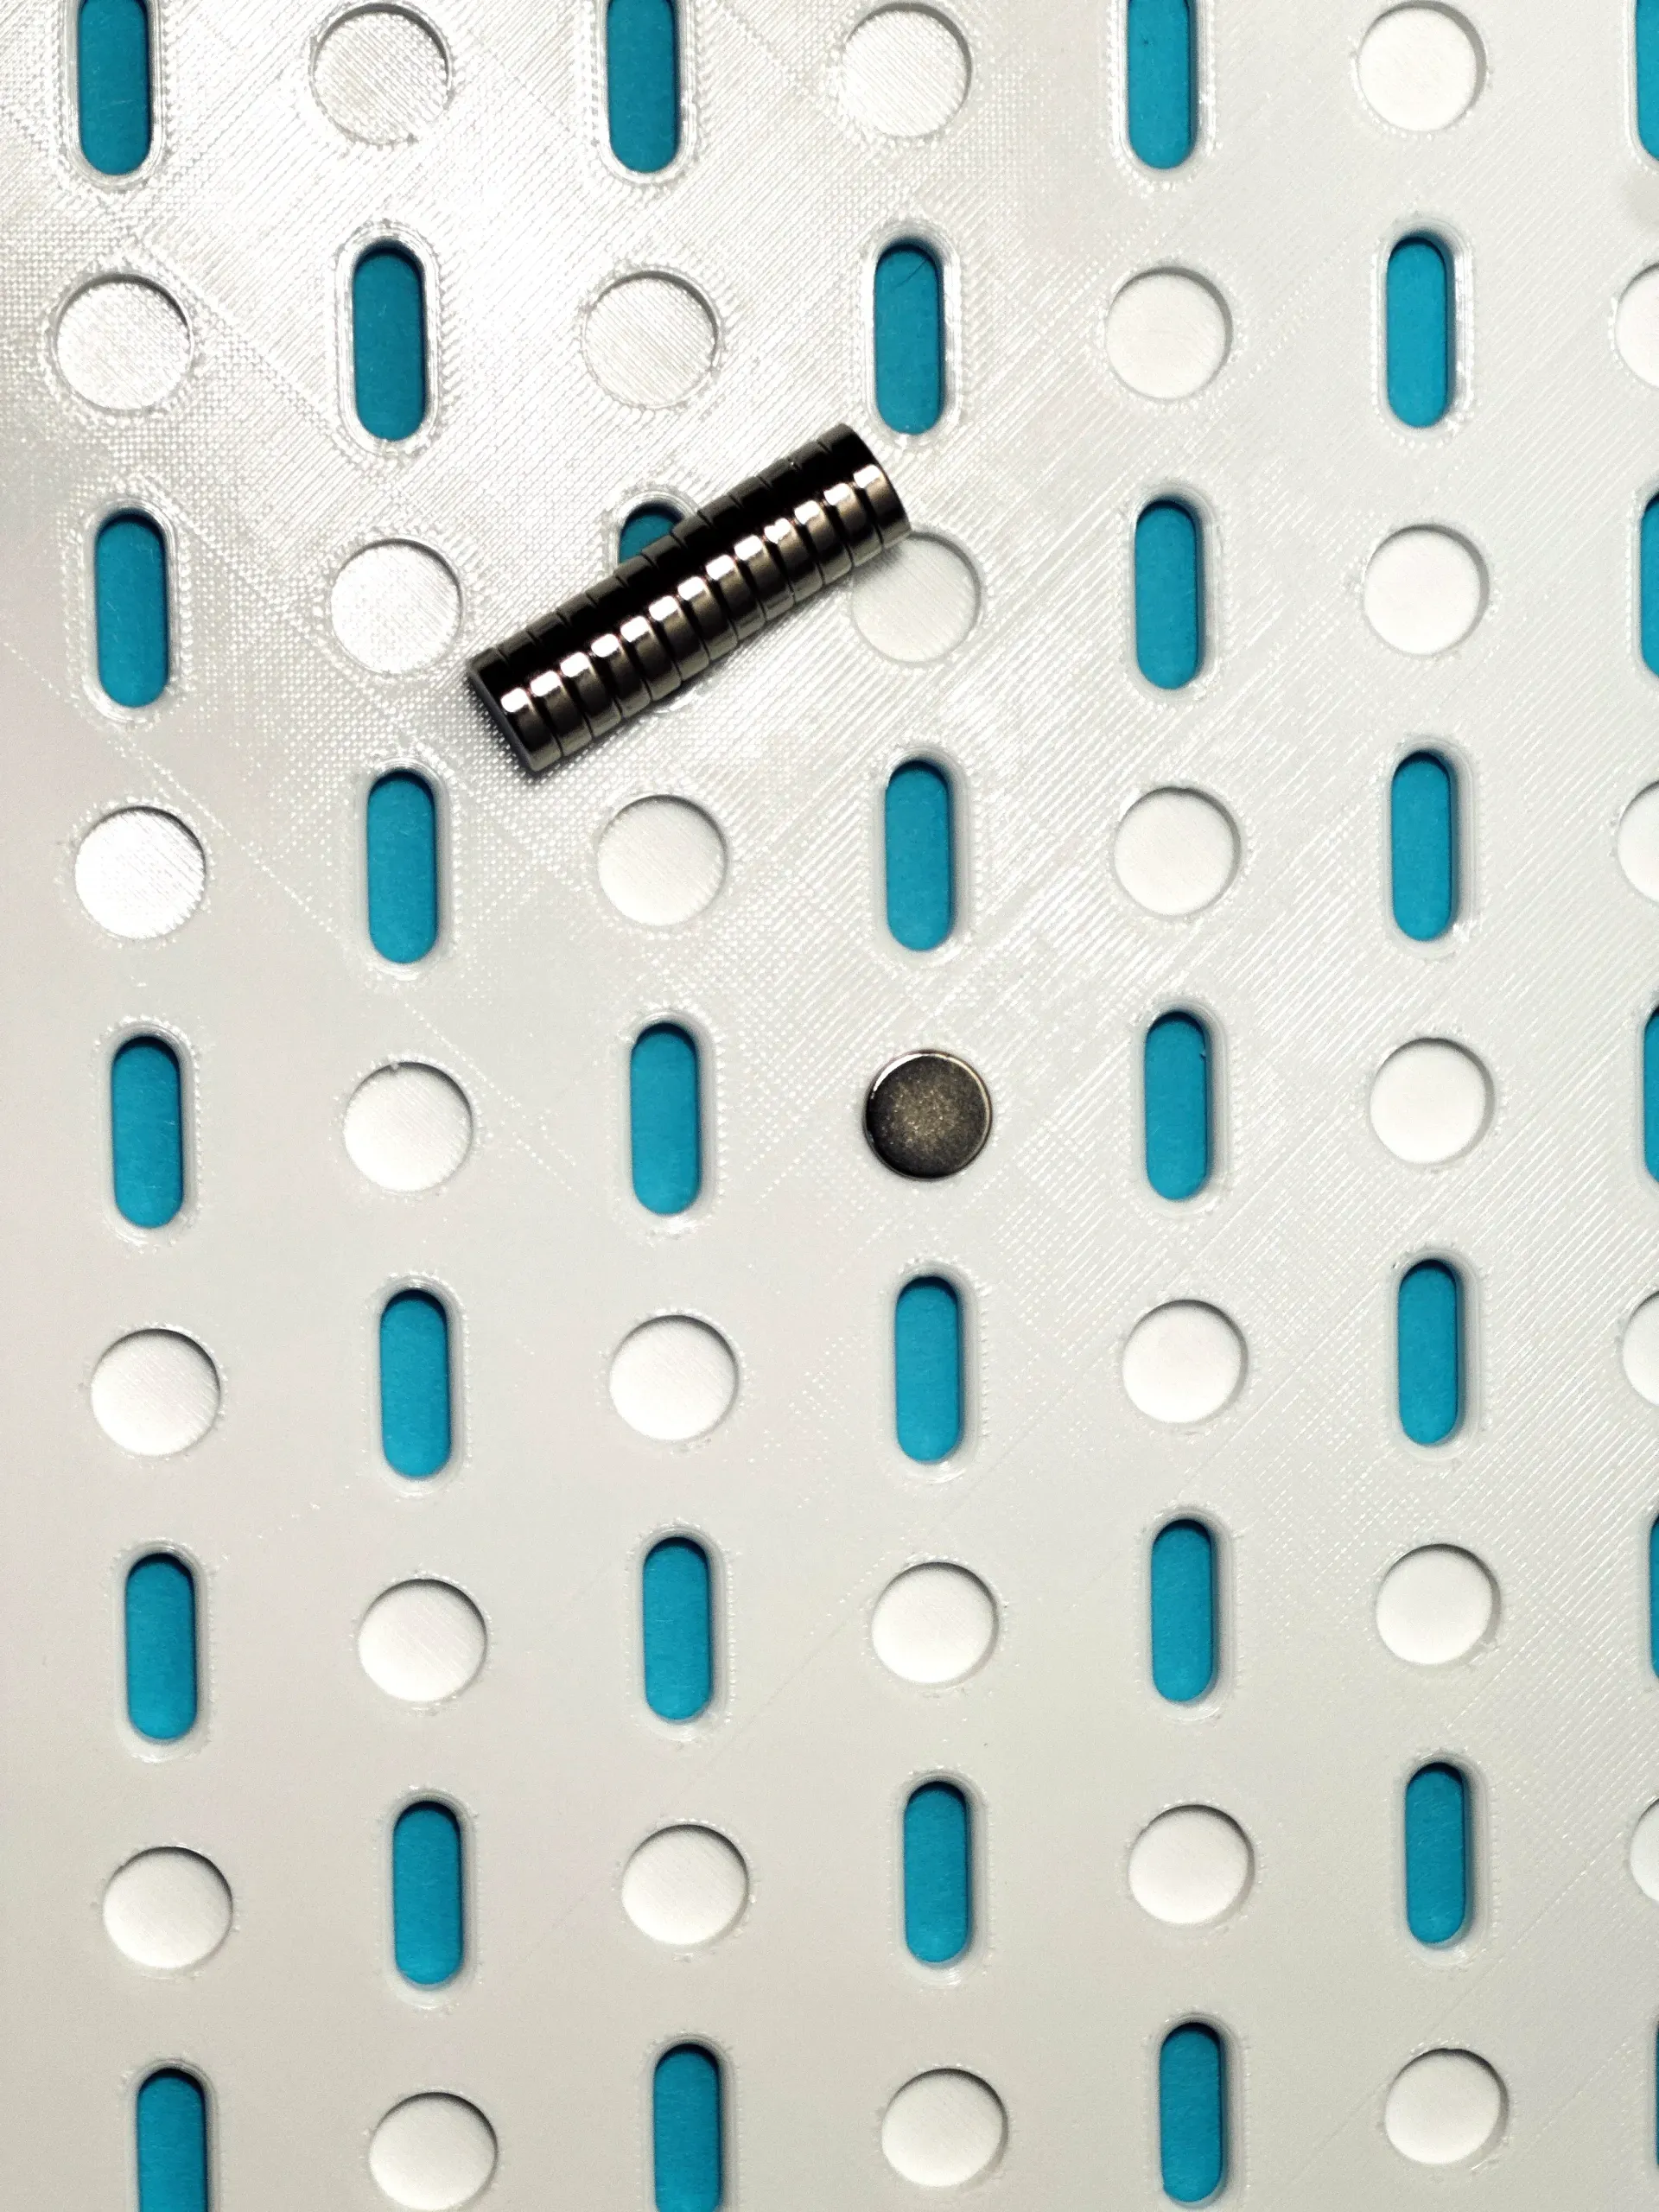
4.The top-rightmost hole is widened to accommodate Type-C charging cables
5.Central corner brackets incorporate expansion bolt holes for wall mounting
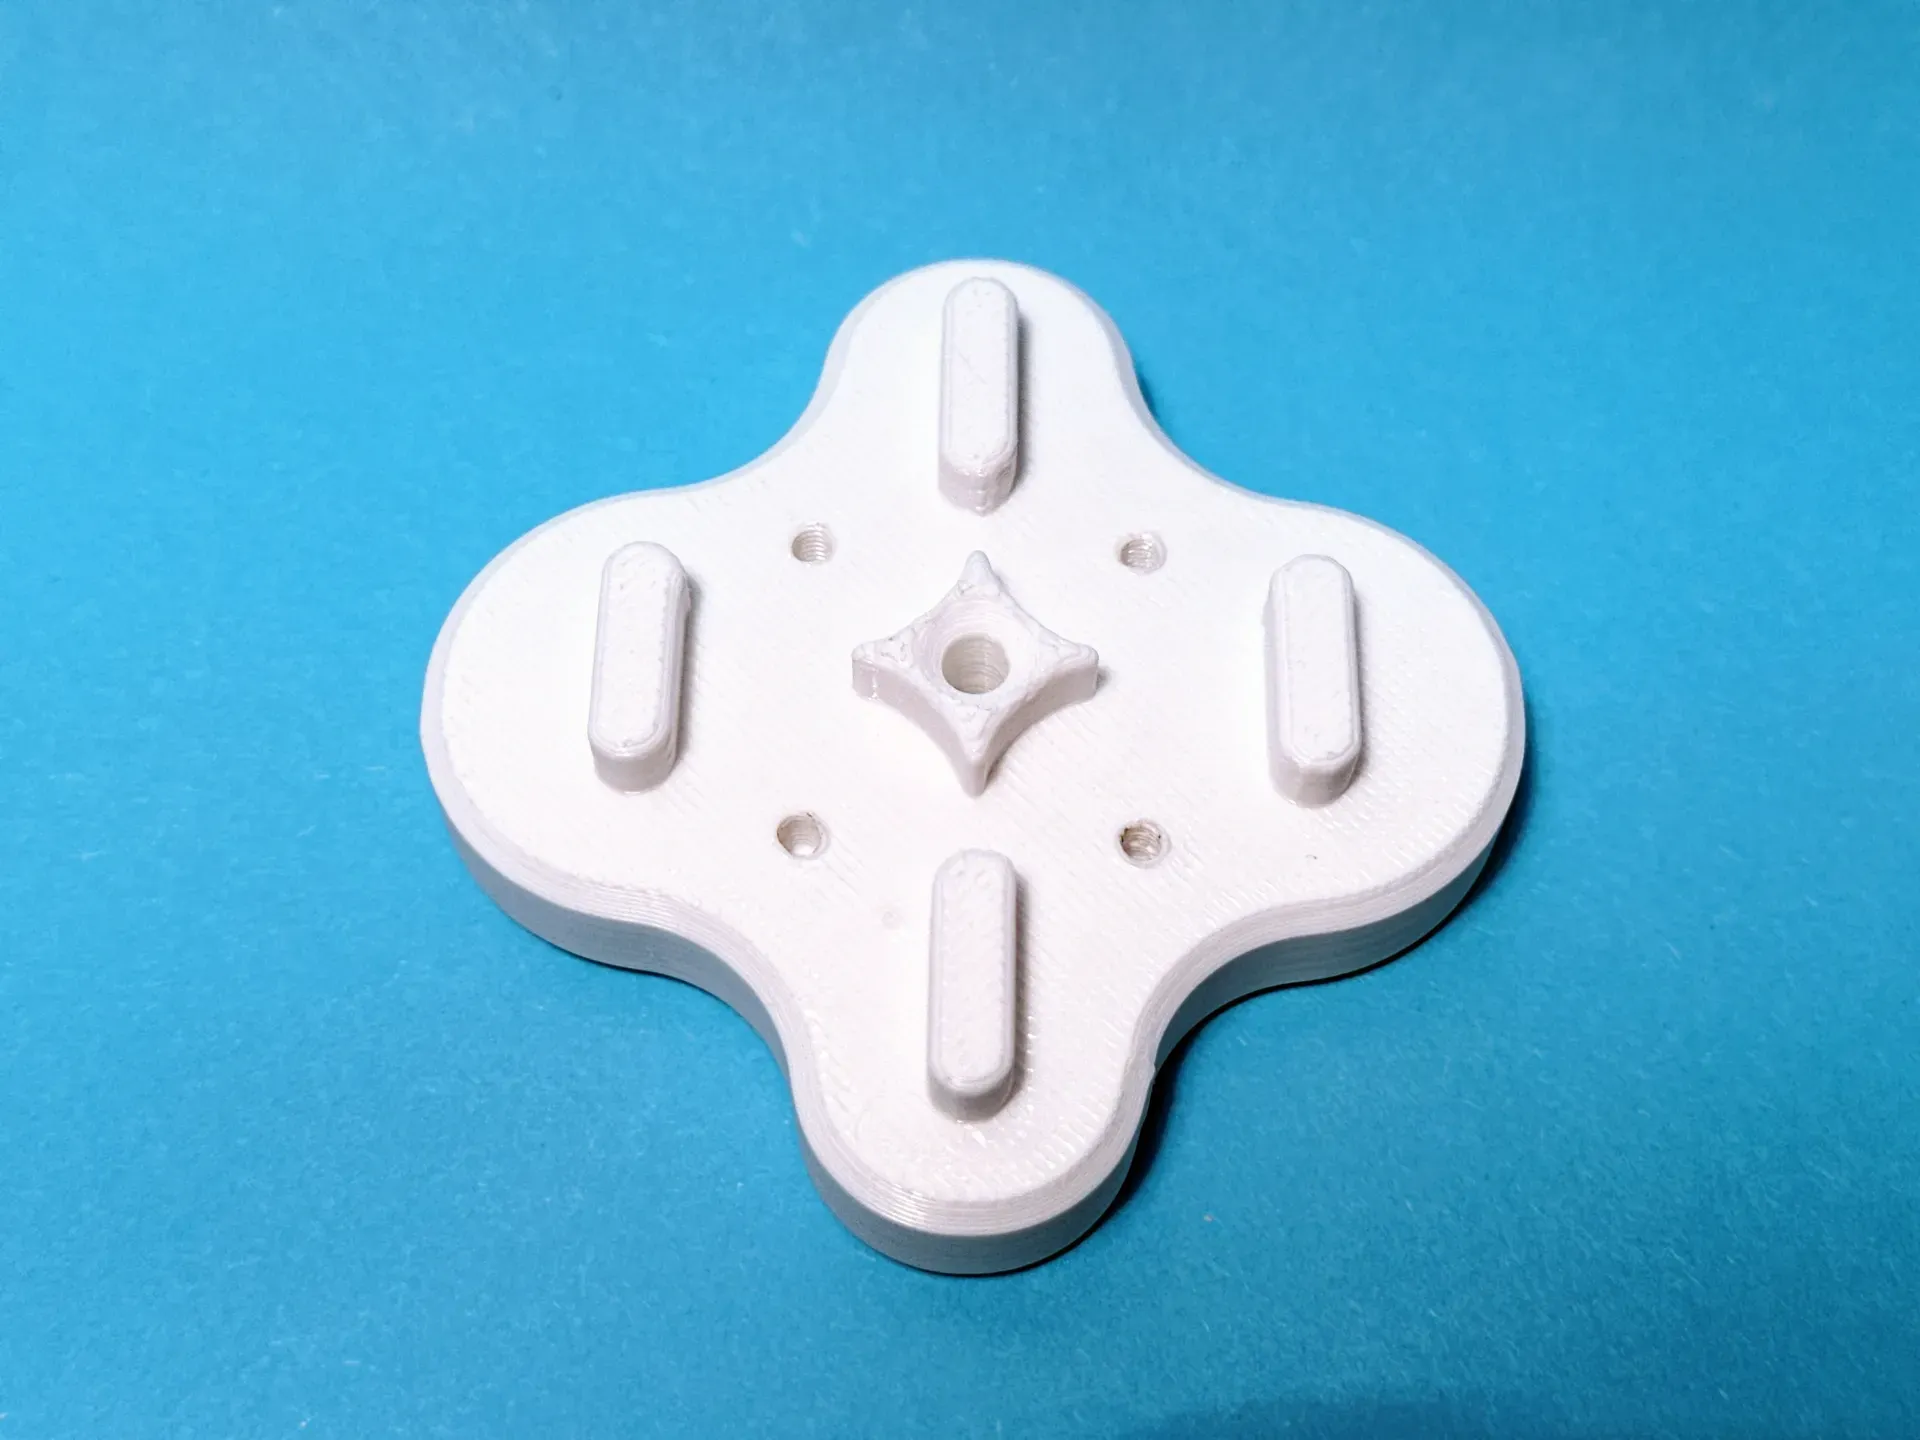
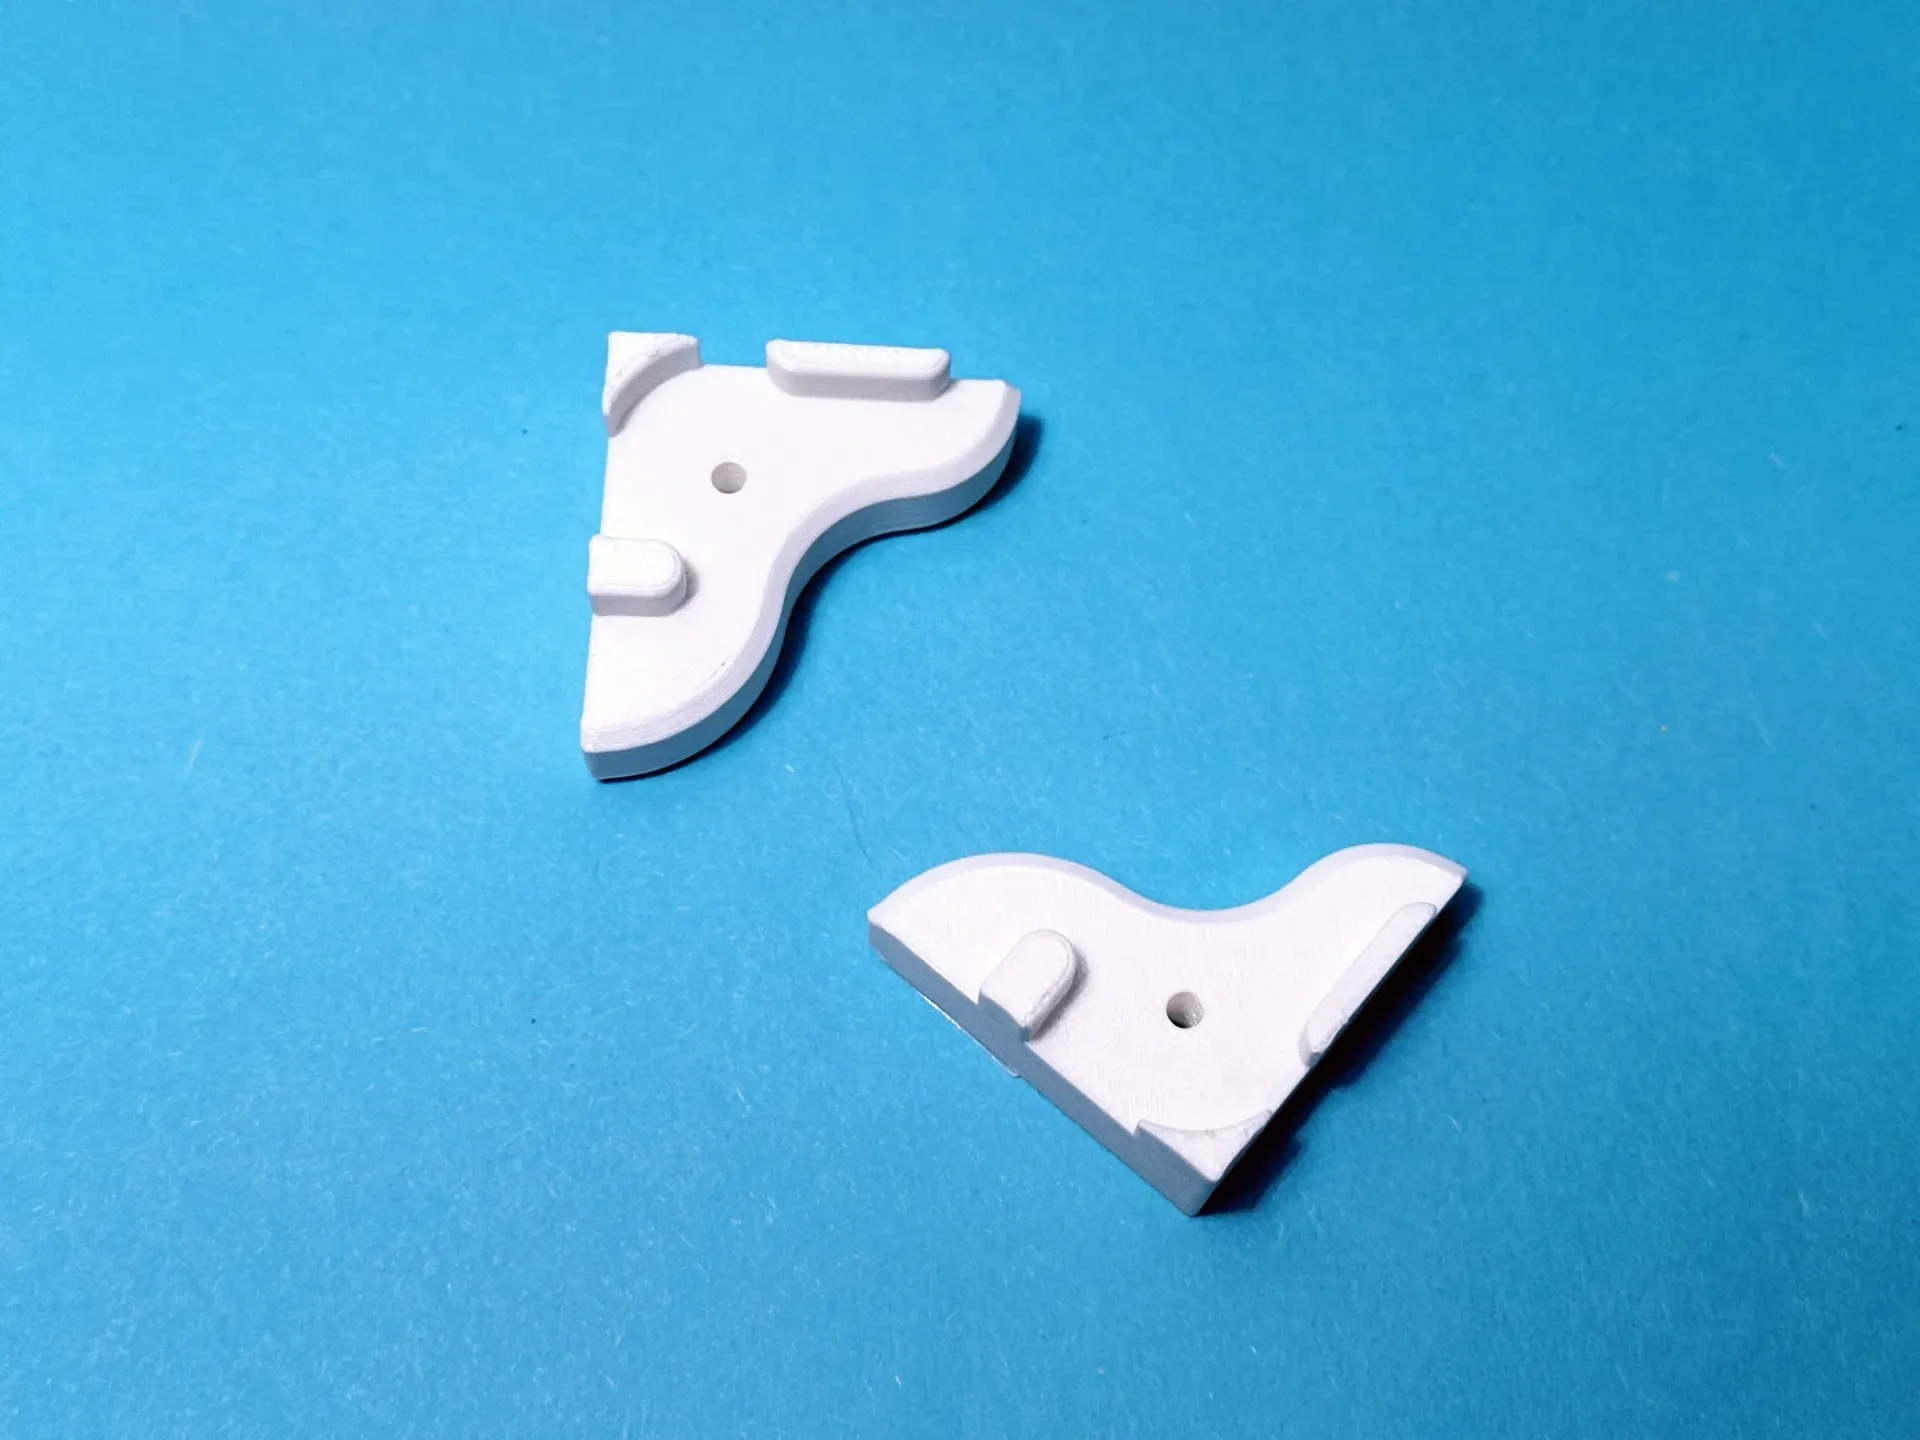
Bracket Overview:
1.Central Corner Bracket
2.Top and Bottom Edge Brackets
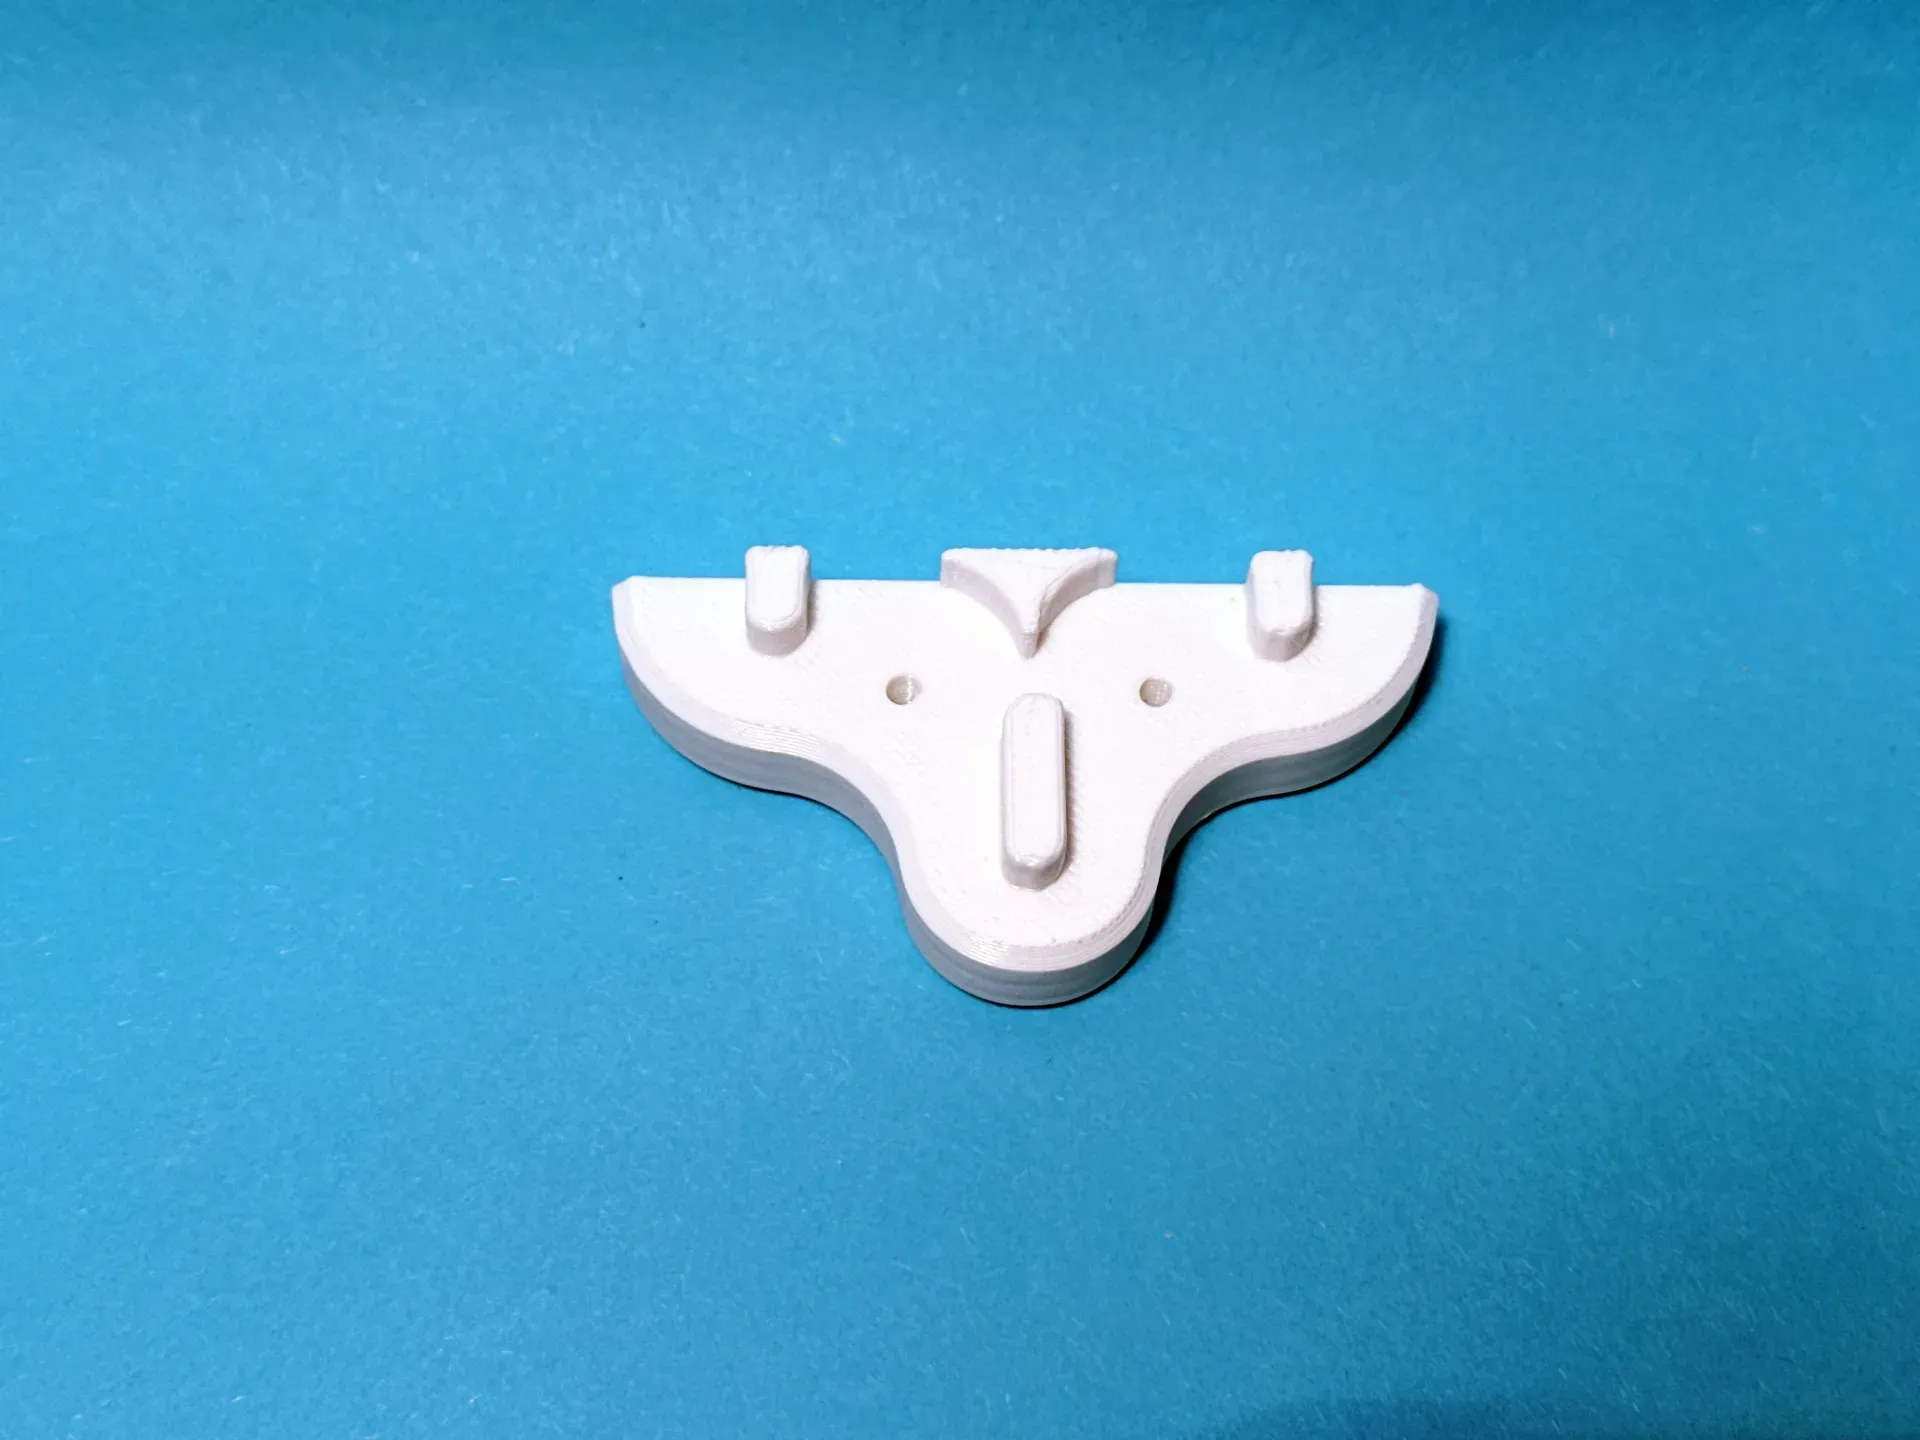
3.Left and Right Edge Brackets
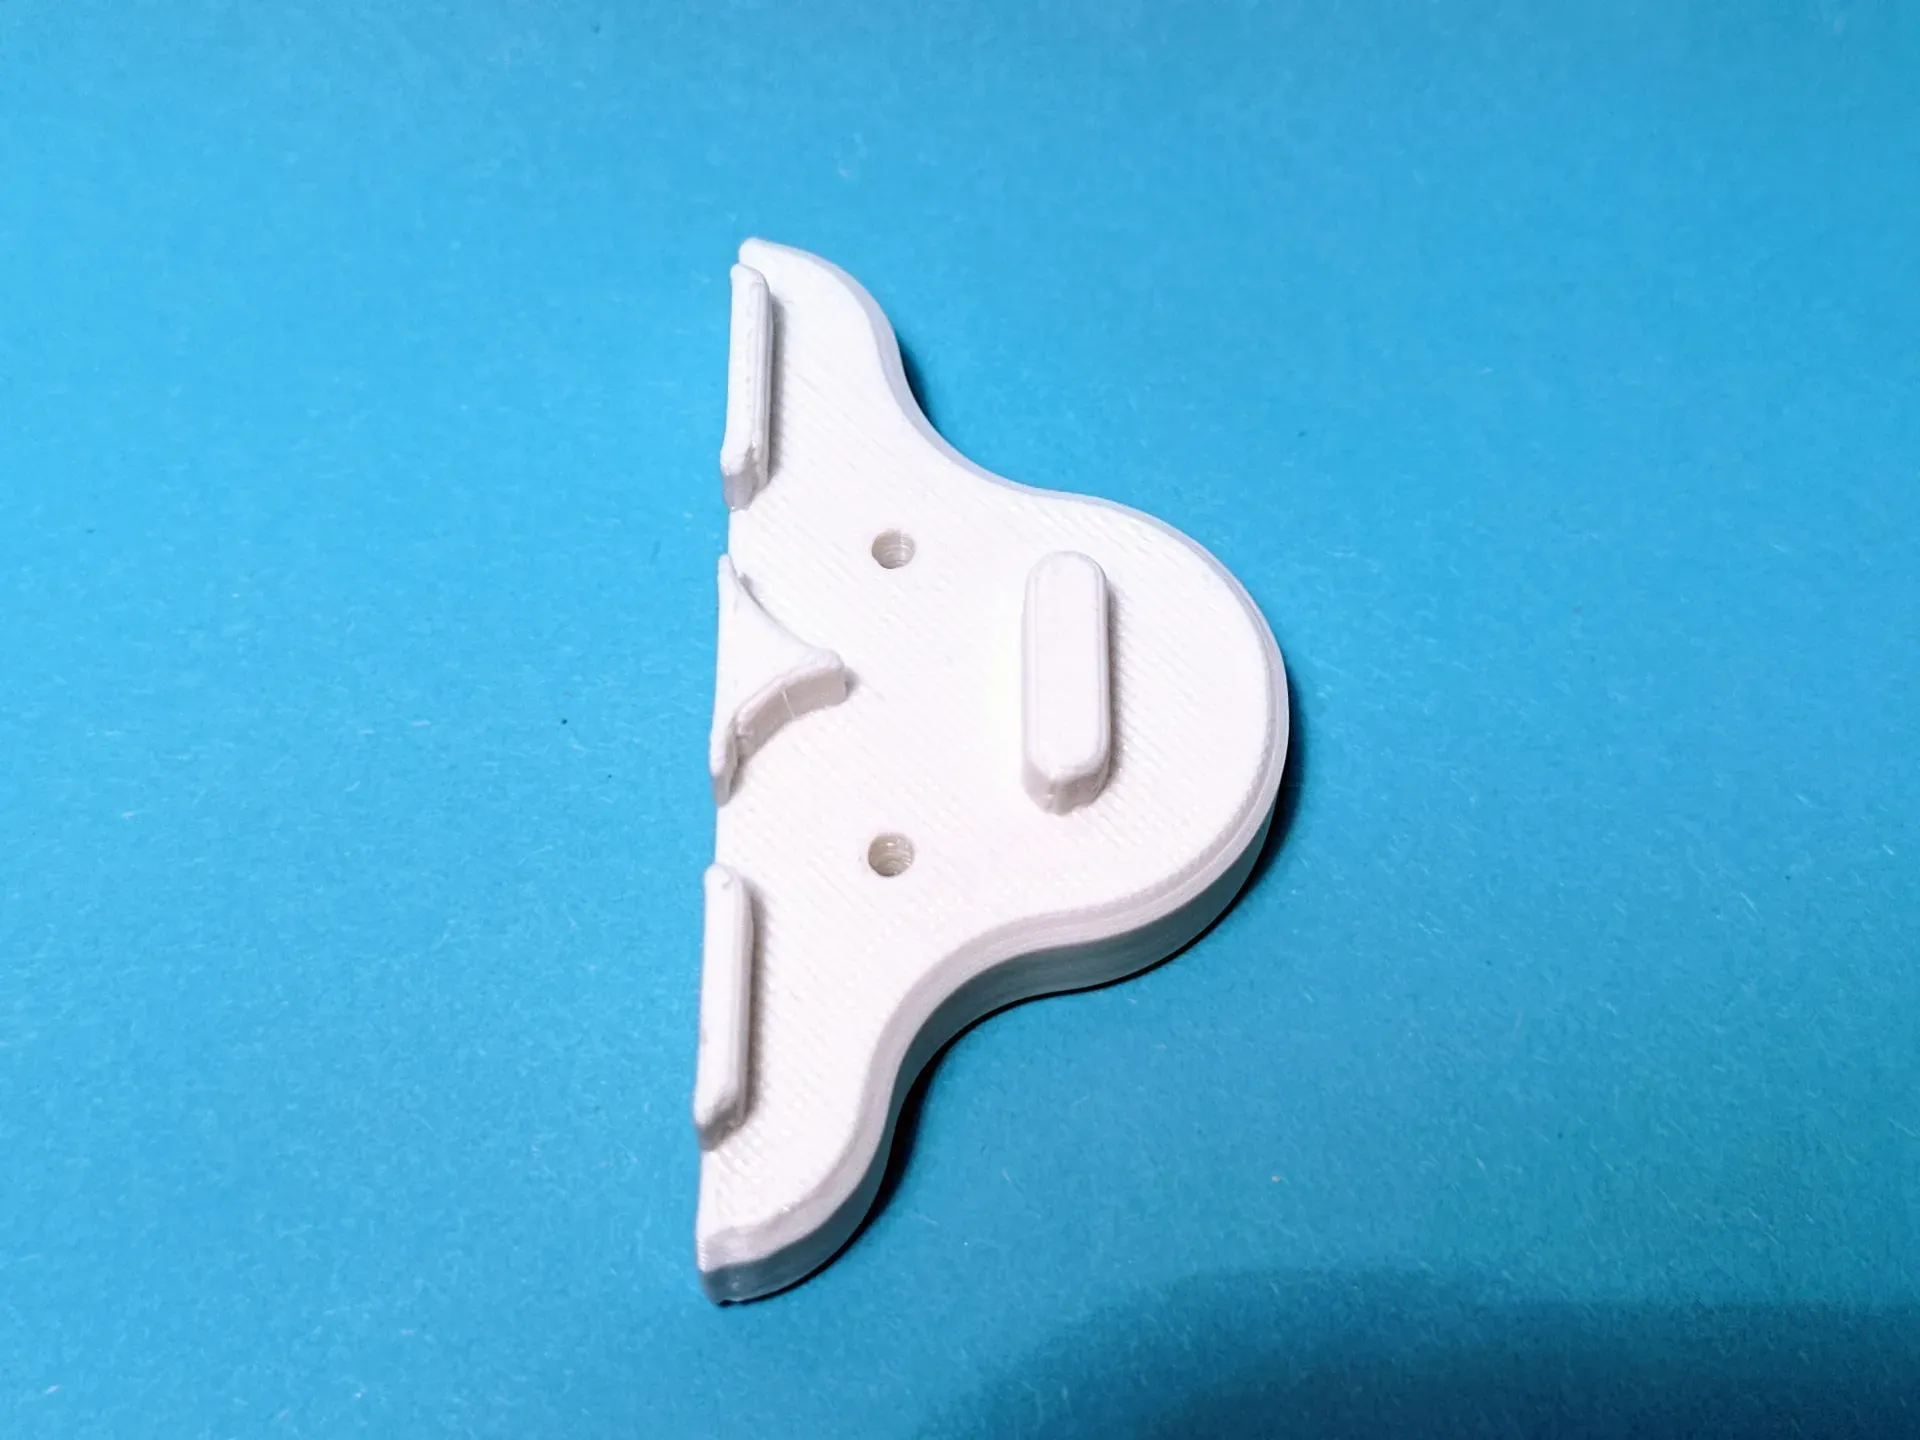
4.Corner Brackets
License

You shall not share, sub-license, sell, rent, host, transfer, or distribute in any way the digital or 3D printed versions of this object, nor any other derivative work of this object in its digital or physical format (including - but not limited to - remixes of this object, and hosting on other digital platforms). The objects may not be used without permission in any way whatsoever in which you charge money, or collect fees.


Comment & Rating (519)