
Kitchenaid Mini Mixer

Print Profile(1)
Description
Thank you
I'd like to share a heartfelt thank you to everyone who's taken the time to print, comment and post pictures of your mini mixers. This has been a difficult year for me personally and seeing how much joy this print has brought so many people all around the world makes the dark days a little brighter. Thank you for all of your kindness ♥
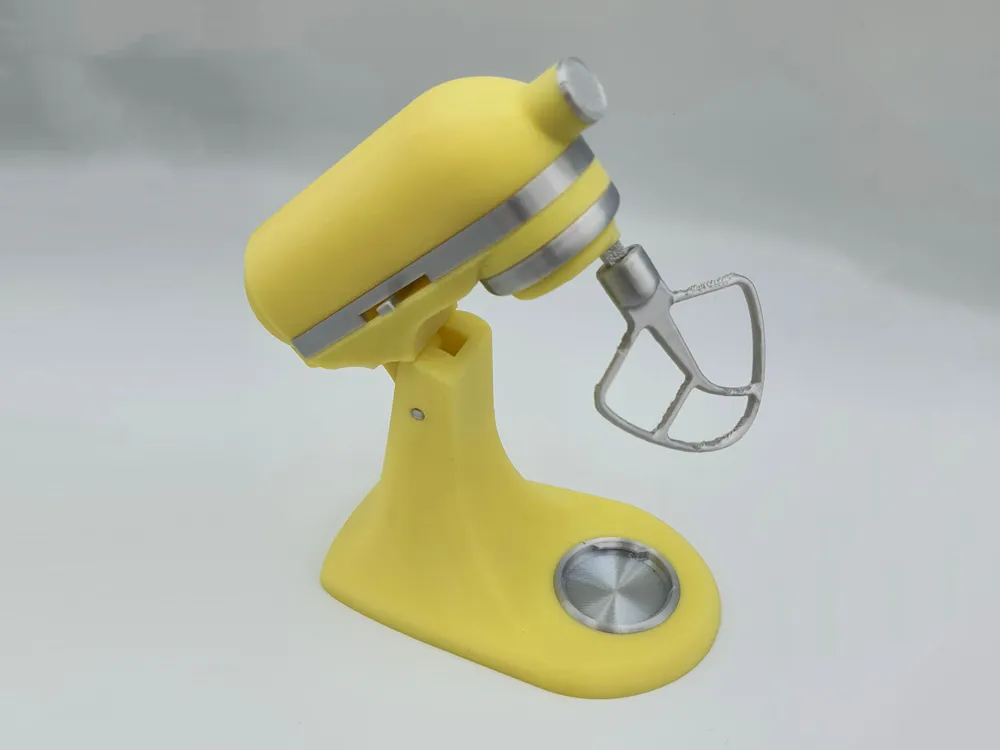
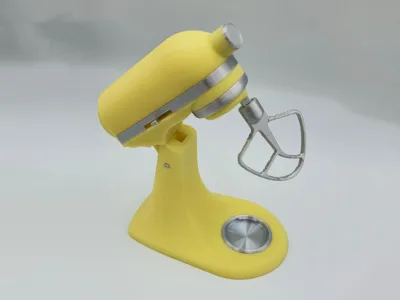
Introducing the Mini Mixer!
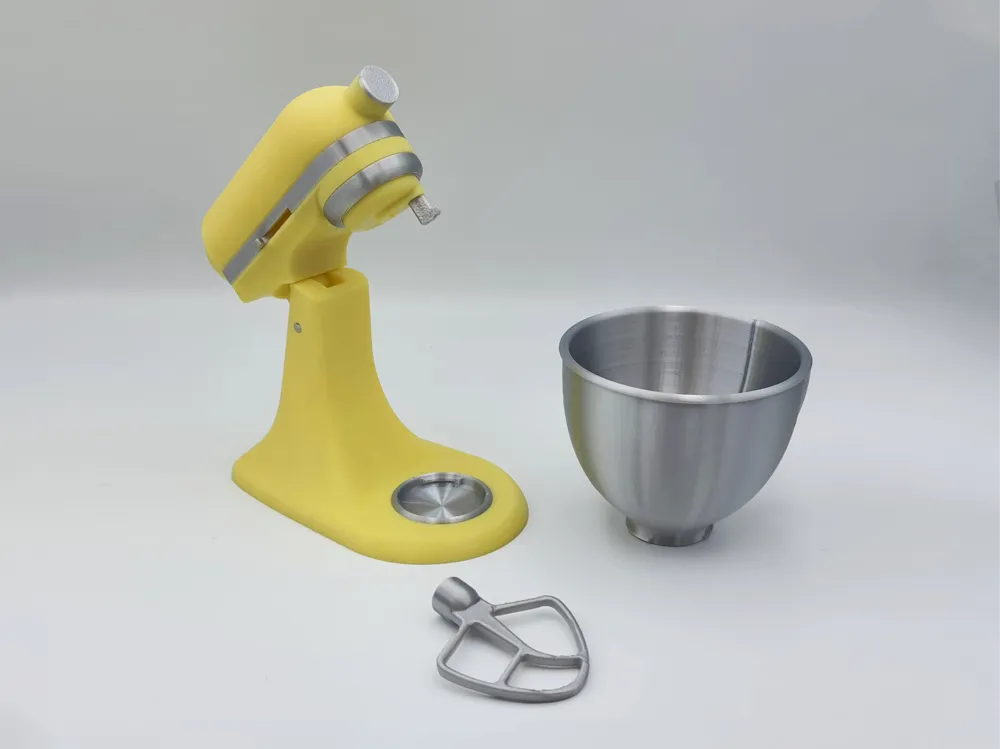
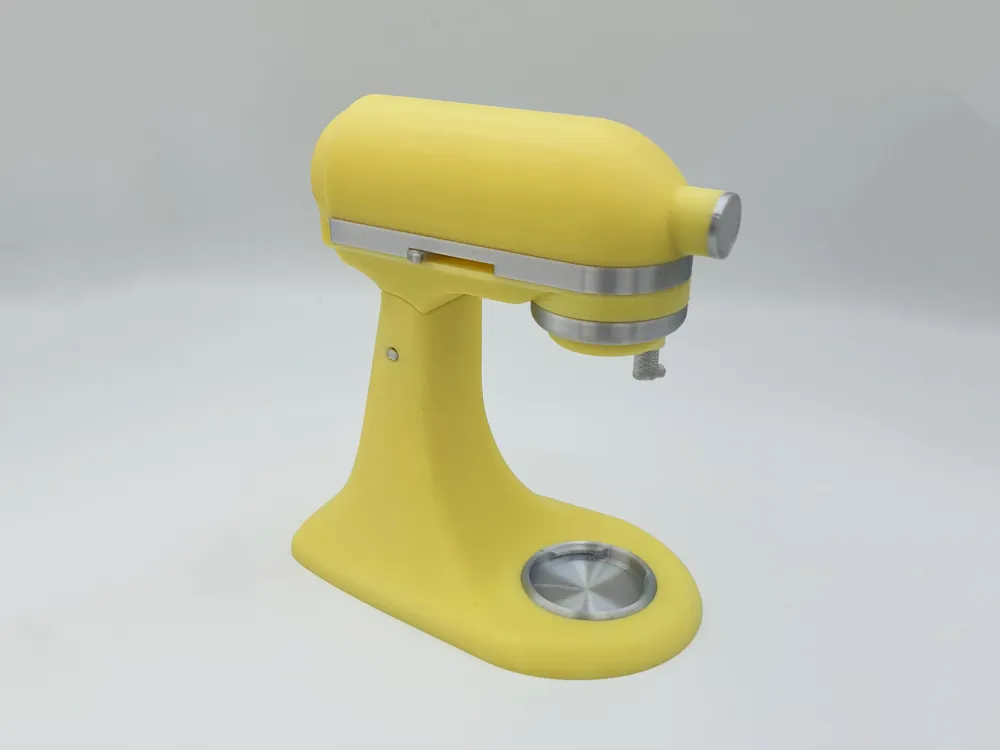
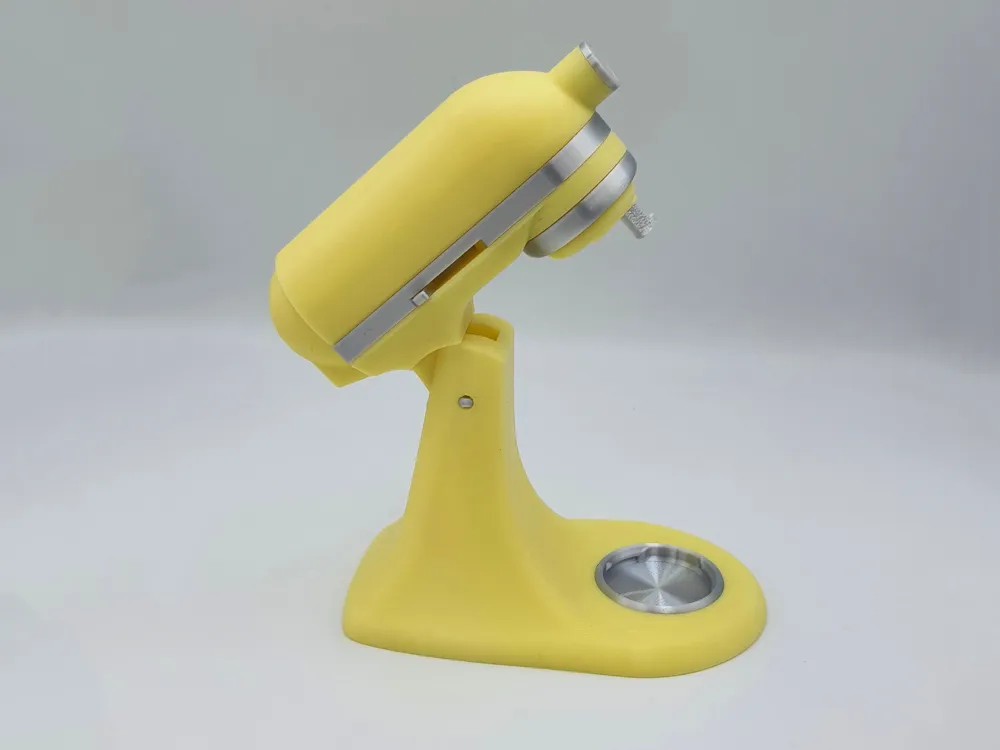
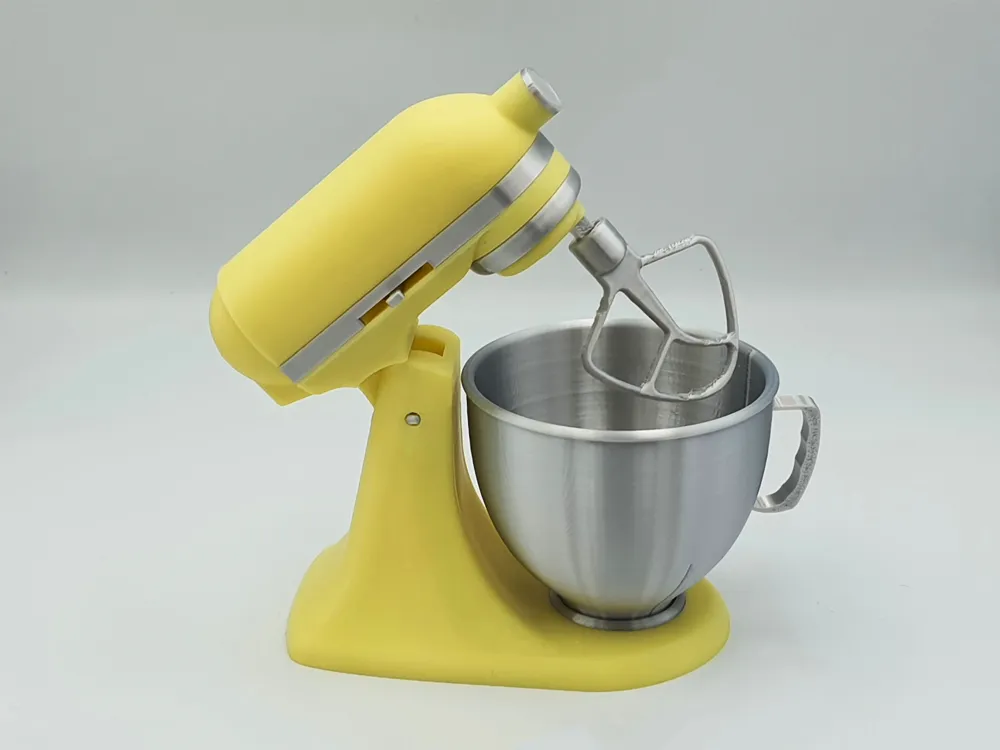
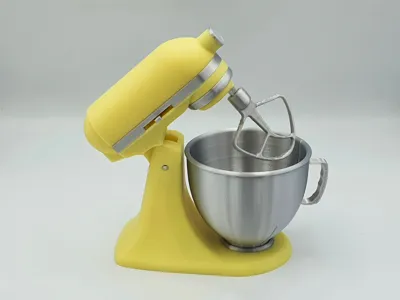
A (mostly) functional miniature version of a KitchenAid Artisan Stand mixer with some artistic liberties taken here and there.
All parts printed and snap together. Only handle on the bowl requires a little super glue to attach.
Boost Me (for free)
If you feel this model has earned it, please consider boosting me :)
Why?
I needed a holiday project that would challenge my CAD skills and a KitchenAid mixer was just perfect. I find that the models currently available for free online don't quite nail the complex forms of the base and head. This form took me several tries to get right and was the challenge I needed to push my CAD skills.
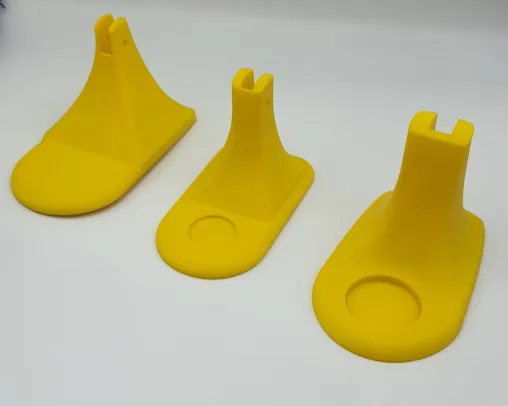
The base was one of the hardest shapes to wrap my head around as it has multiple compounding curves. I still don't think I've nailed it 100% and there is room for improvement. I ended up photo scanning my wife's mixer wrapped in tape, brining it into F360 and tracing curves from there.
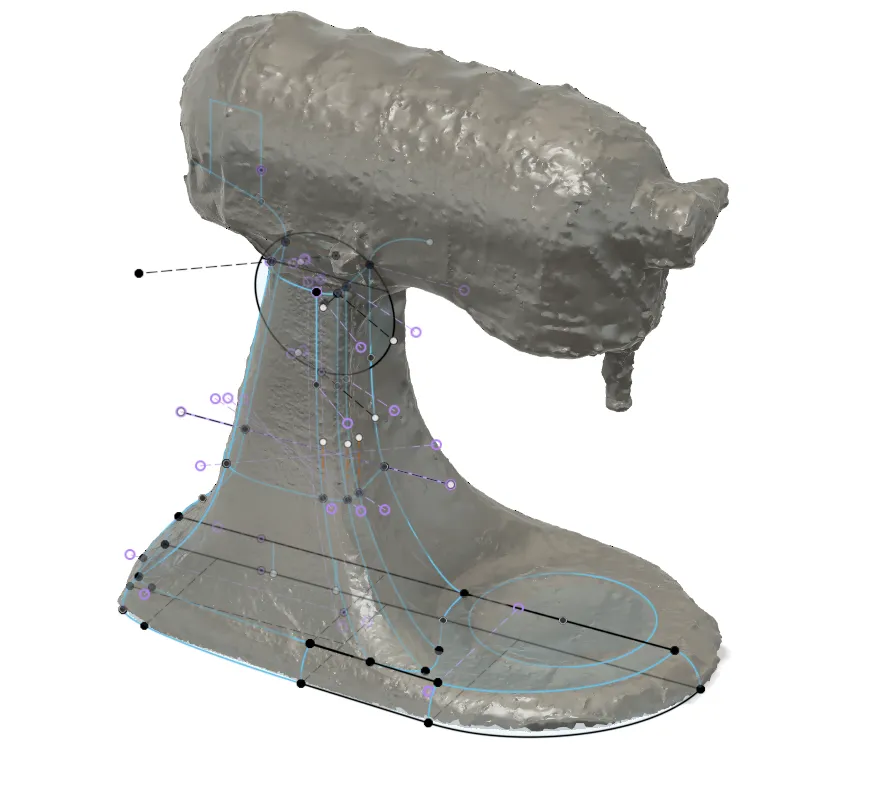
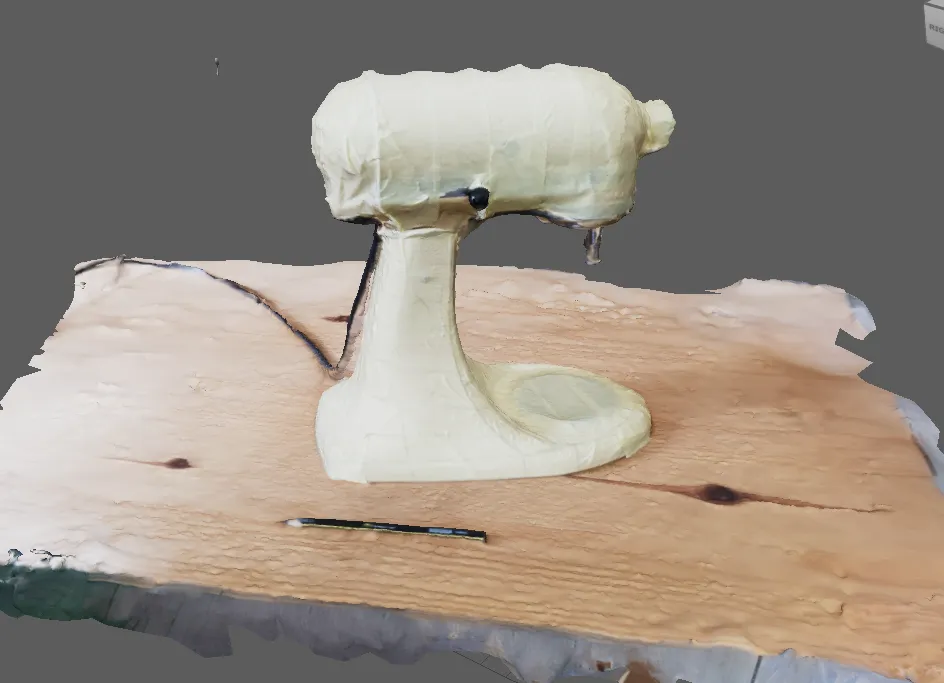
This project took many hours to complete with tons of test prints, but I am ultimately happy with how it turned out and the skills learnt along the way! I would like to make some improvements to the design, but I need to move onto other projects. If there is enough comunity interest in improvements I'll open this up again.
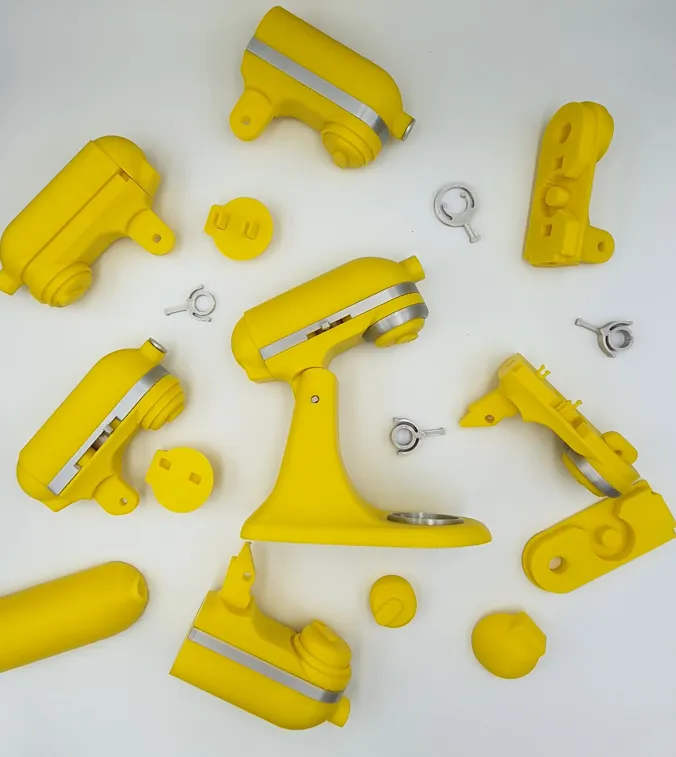
Assembly Instructions
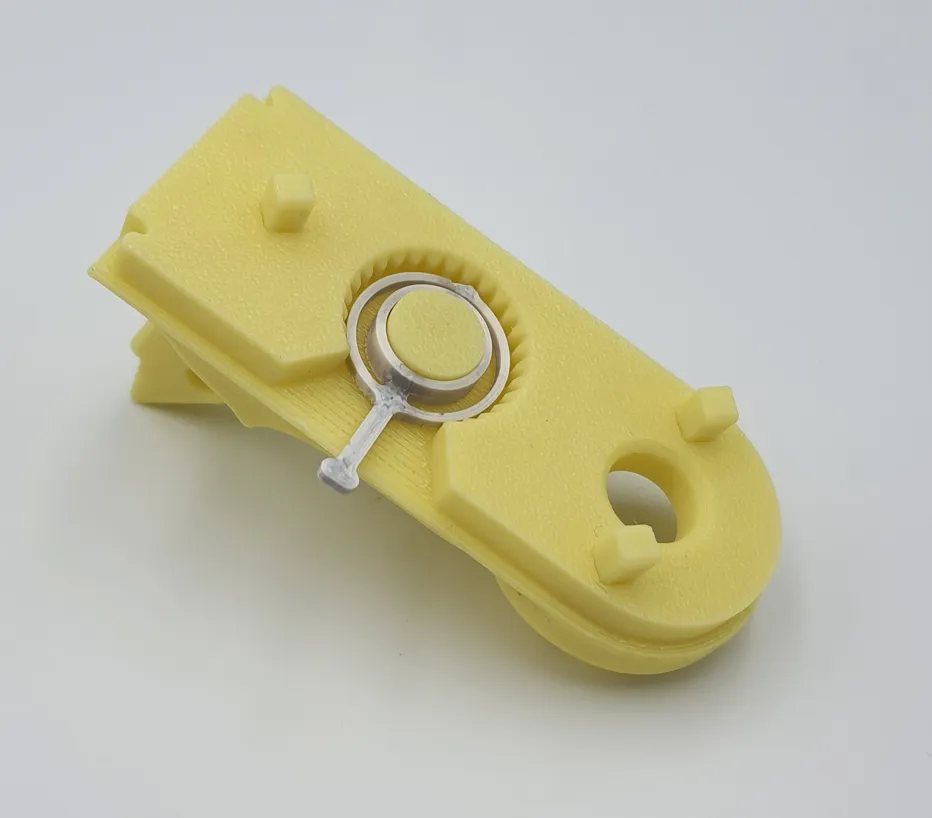
Place gear lever into slot. If motion is not smooth, sand back the bump that clicks on the gear teeth until motion feels right. There should be a subtle but satisfying click.
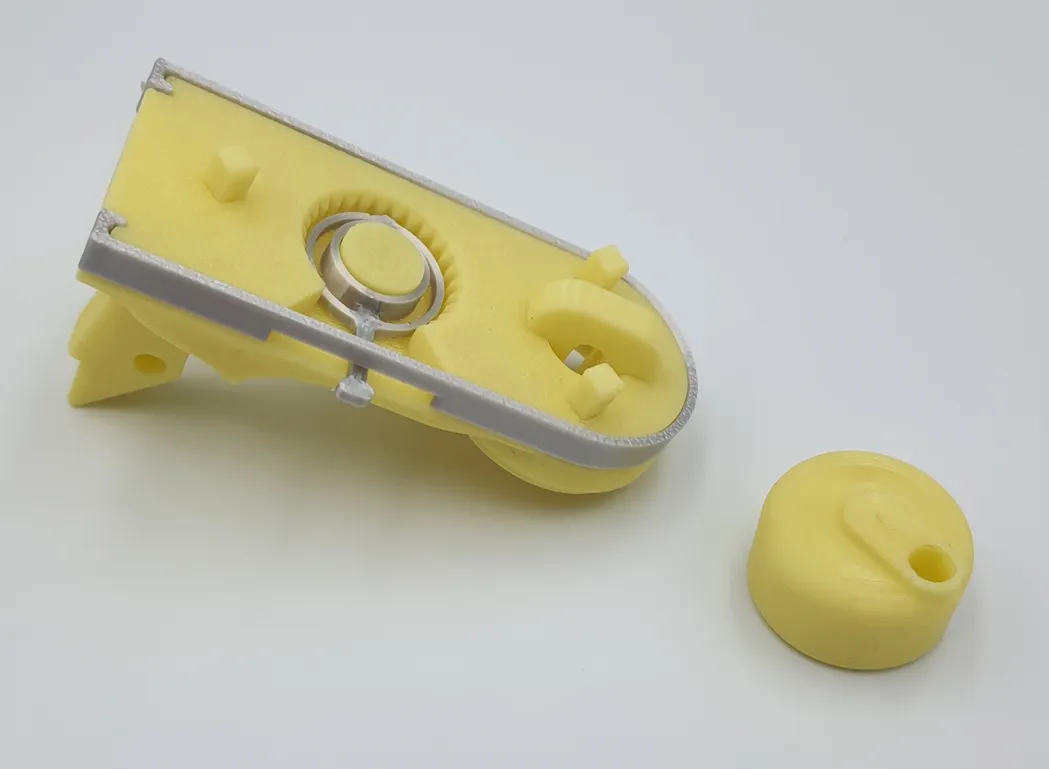
Add head clip ring, insert connector pins as well as the tool head pin. If the connector pins are not a good fit due to elephants foot on print, scale down the pins and re-print.
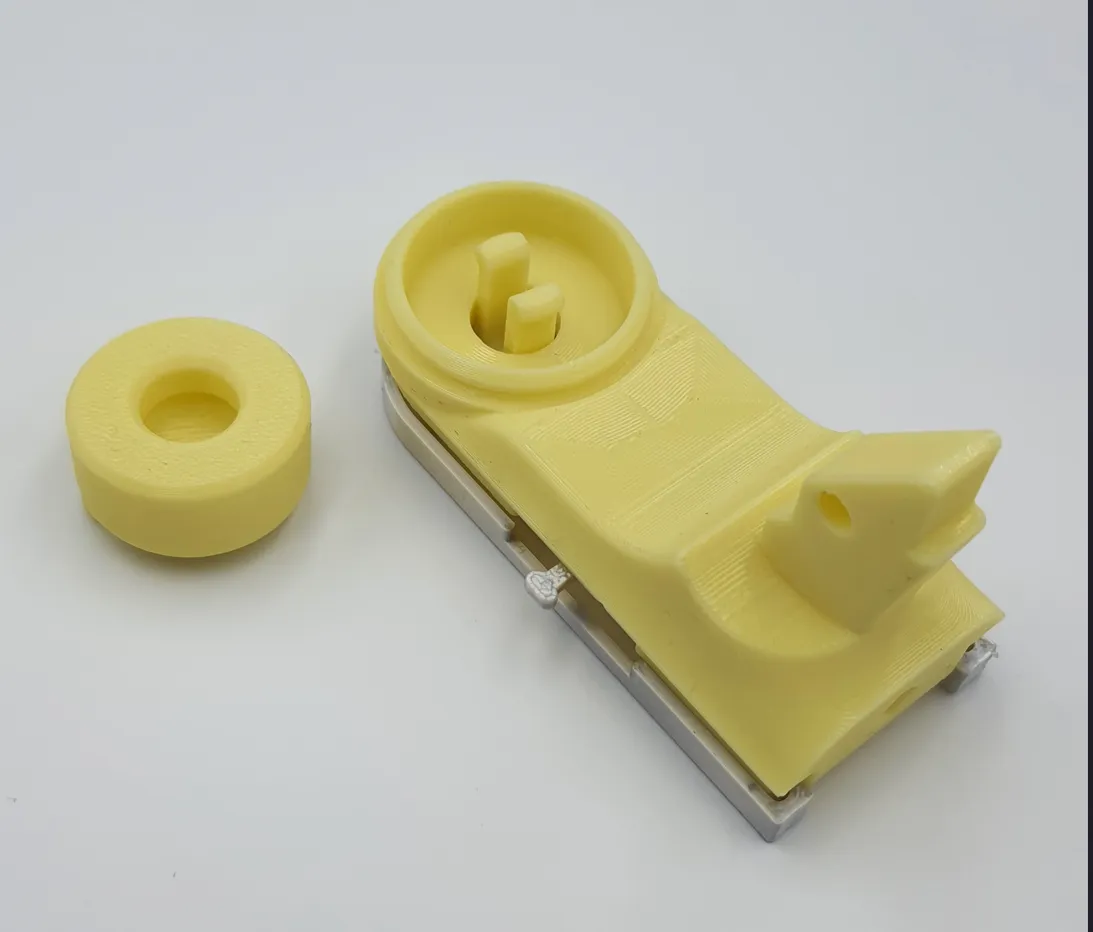
Flip over the head assembly and attach the tool head. It should click into place. It can also be removed later by pulling on the pin from above.
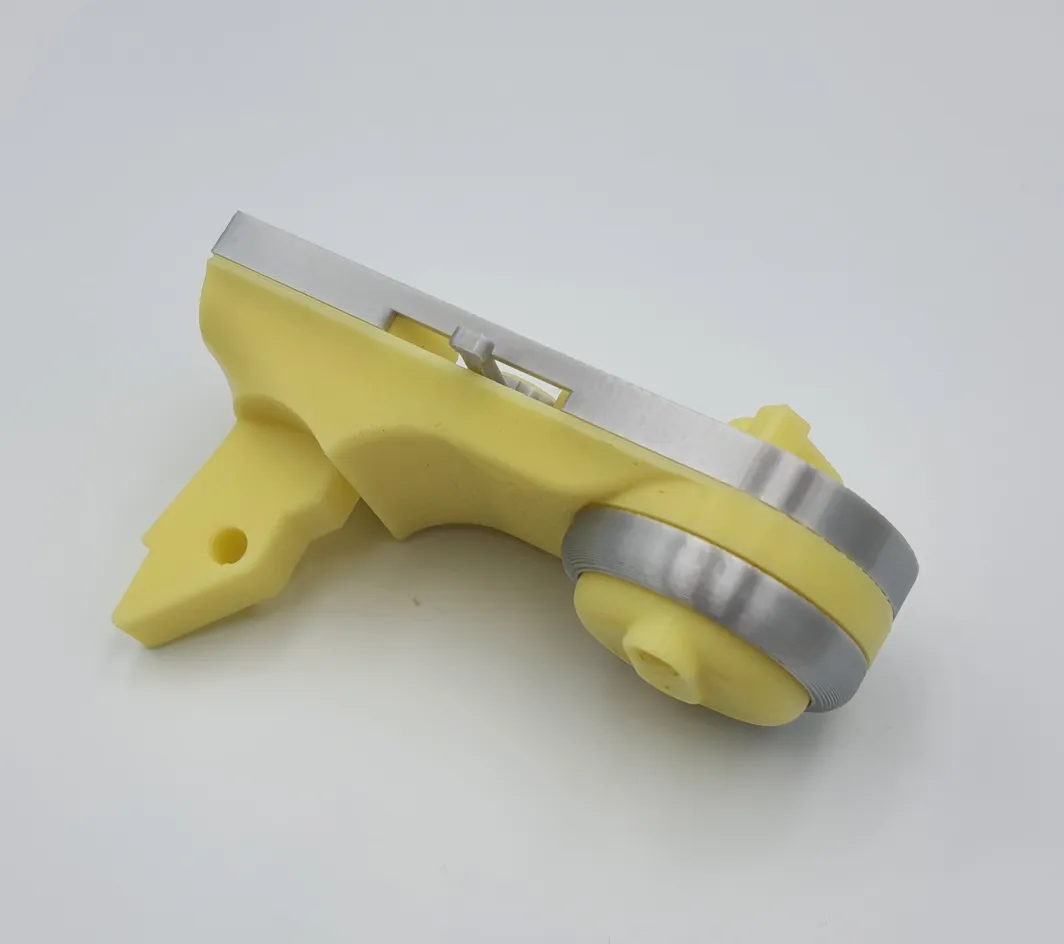
Snap on the toolhead ring. It should snap into place without much resistance.
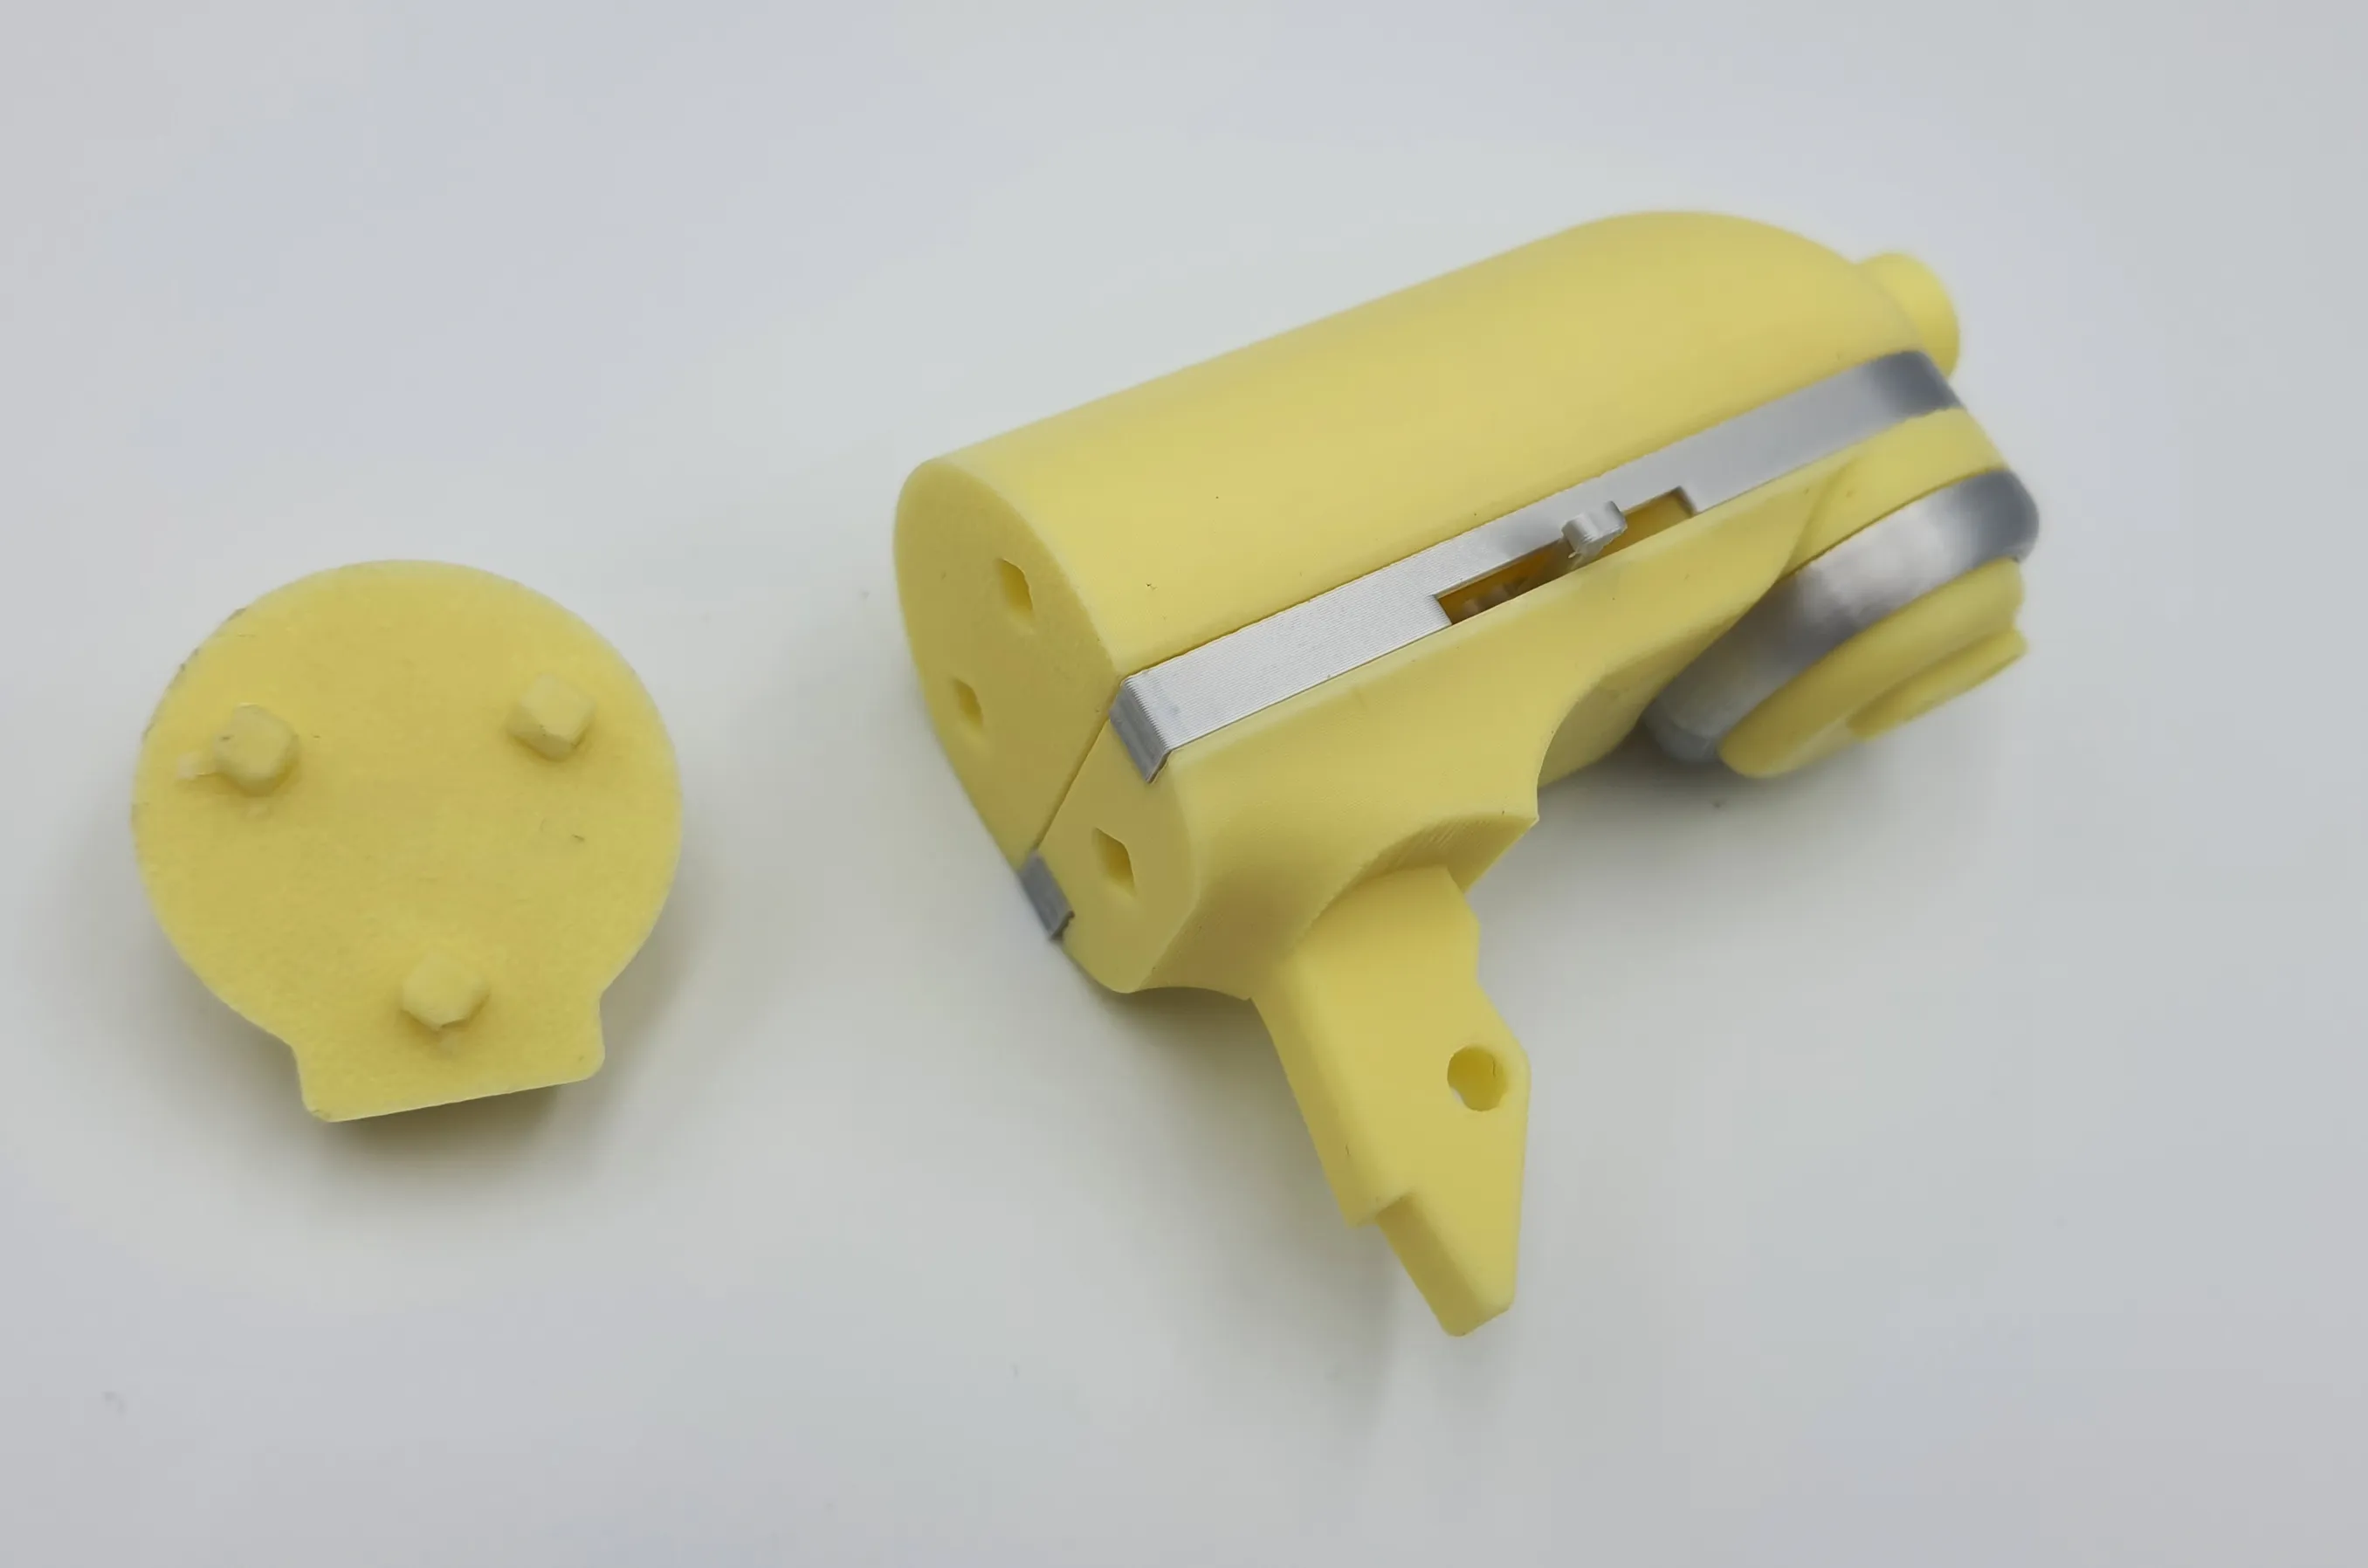
Insert last 3 connector pins into the rear head. Then connect the two halves. There should be little to no gap between pieces and the fit should feel solid. If there are gaps or fitment issues, try scaling the connector pins.
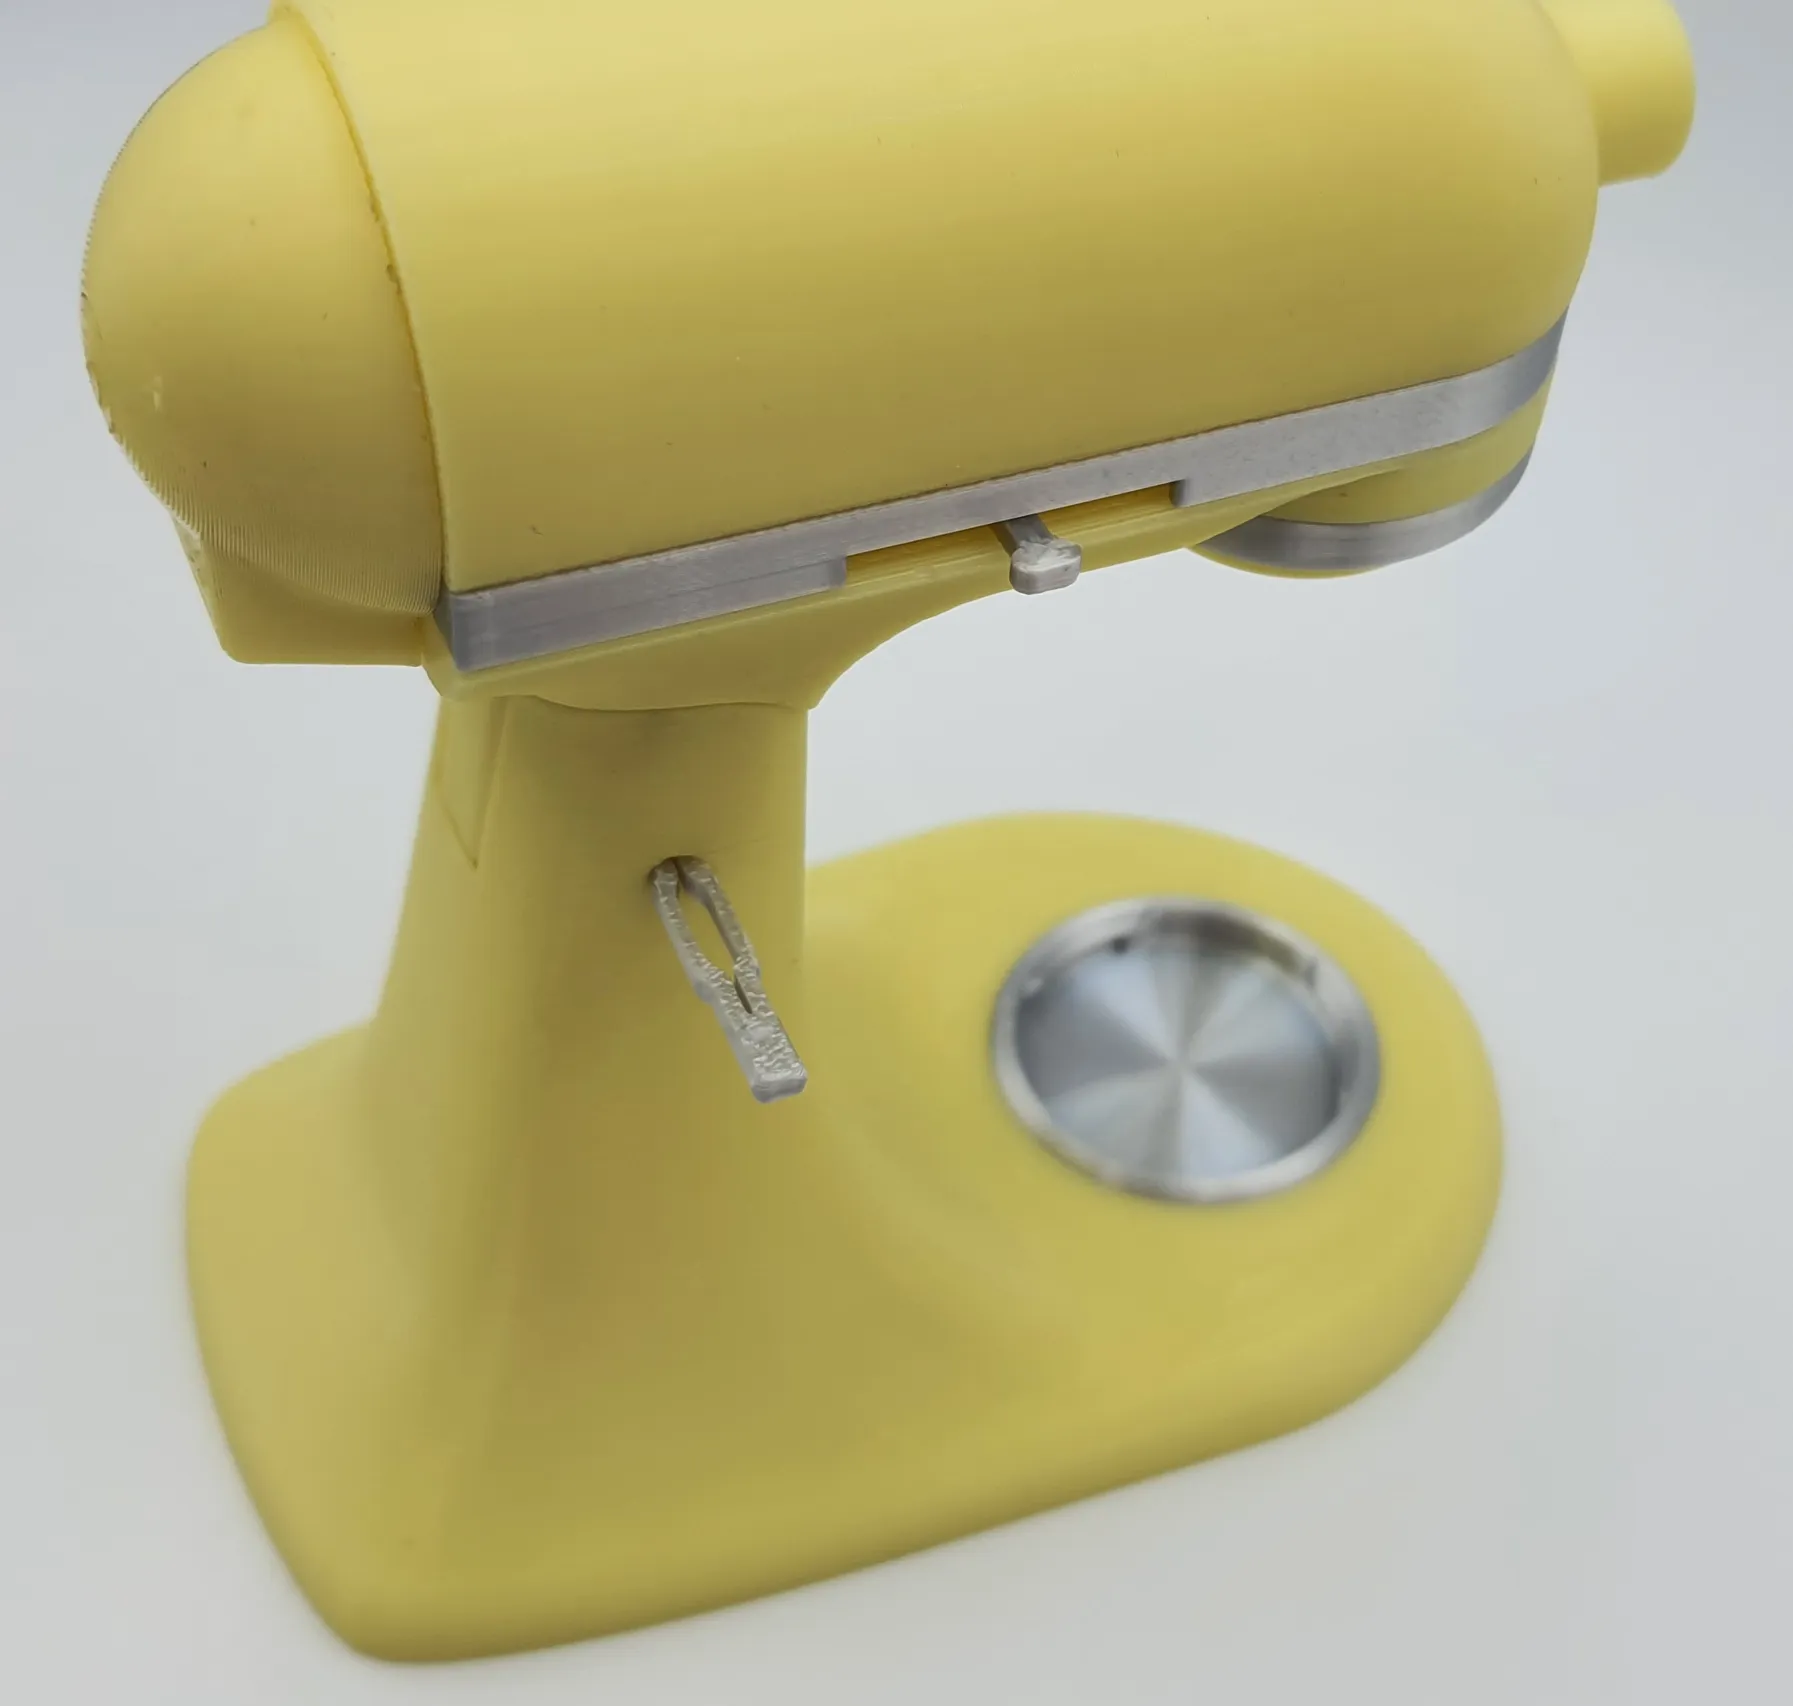
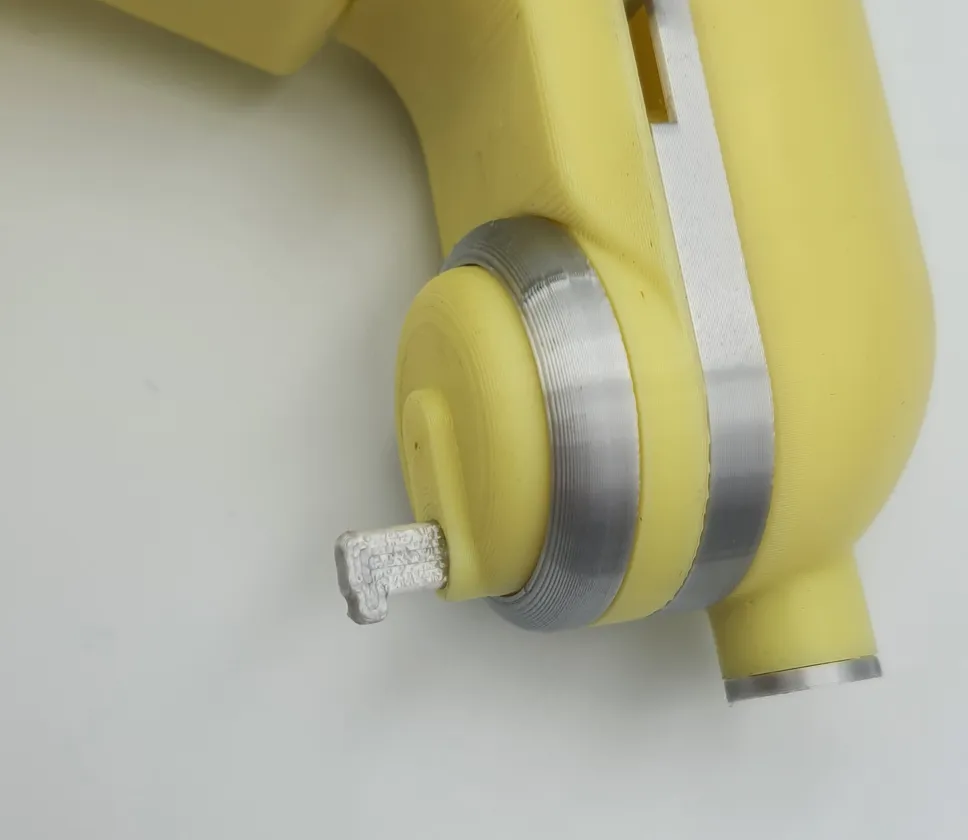
Attach the head to the base with the connector pin. It should compress and snap into place. Once in it can also be pushed out partially and pulled the rest of the way with tools. I recommend inserting it on the flat side as the printed hole will not be completely round.
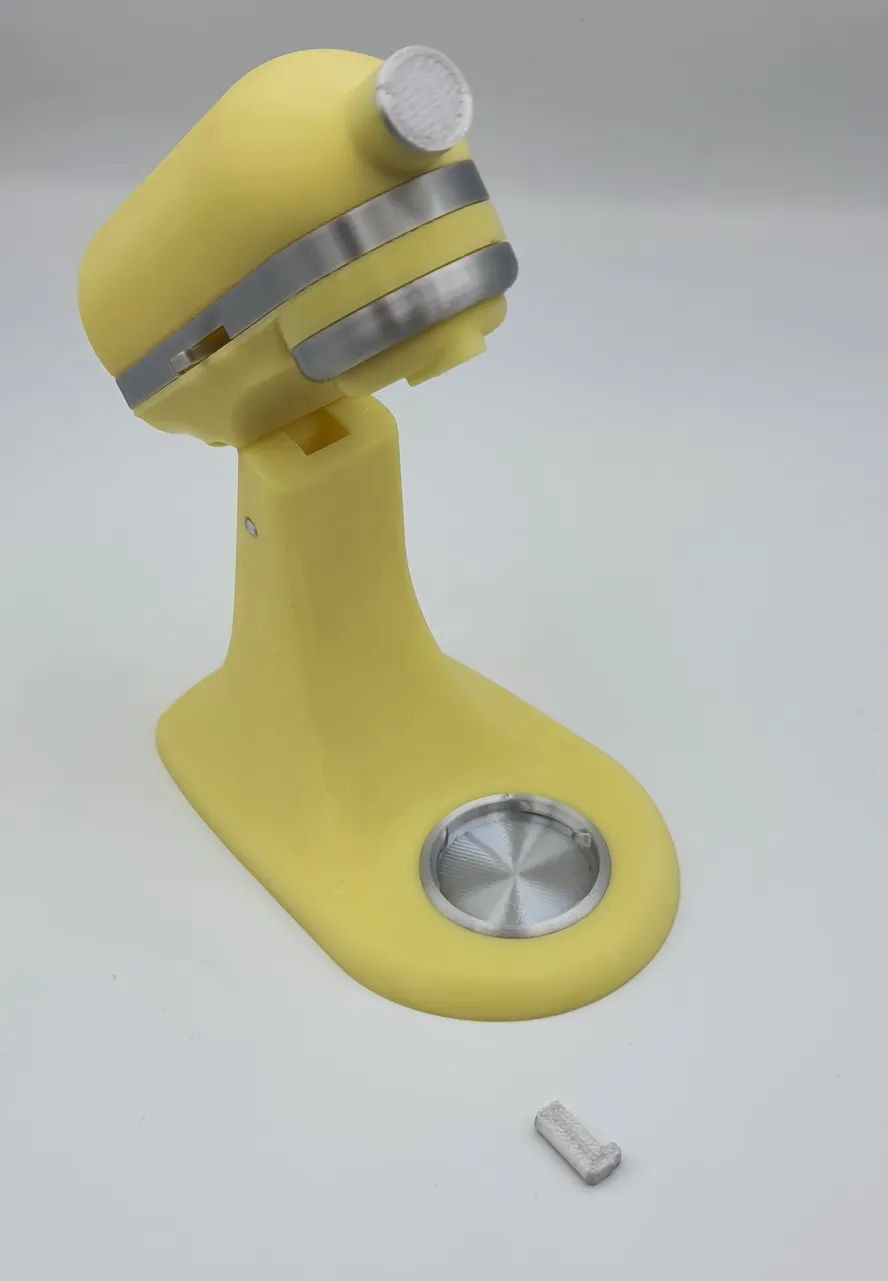
Finally add the bowl base and the tool pin. Bowl base should be a snap fit, but might need a dot of super glue to secure in place.
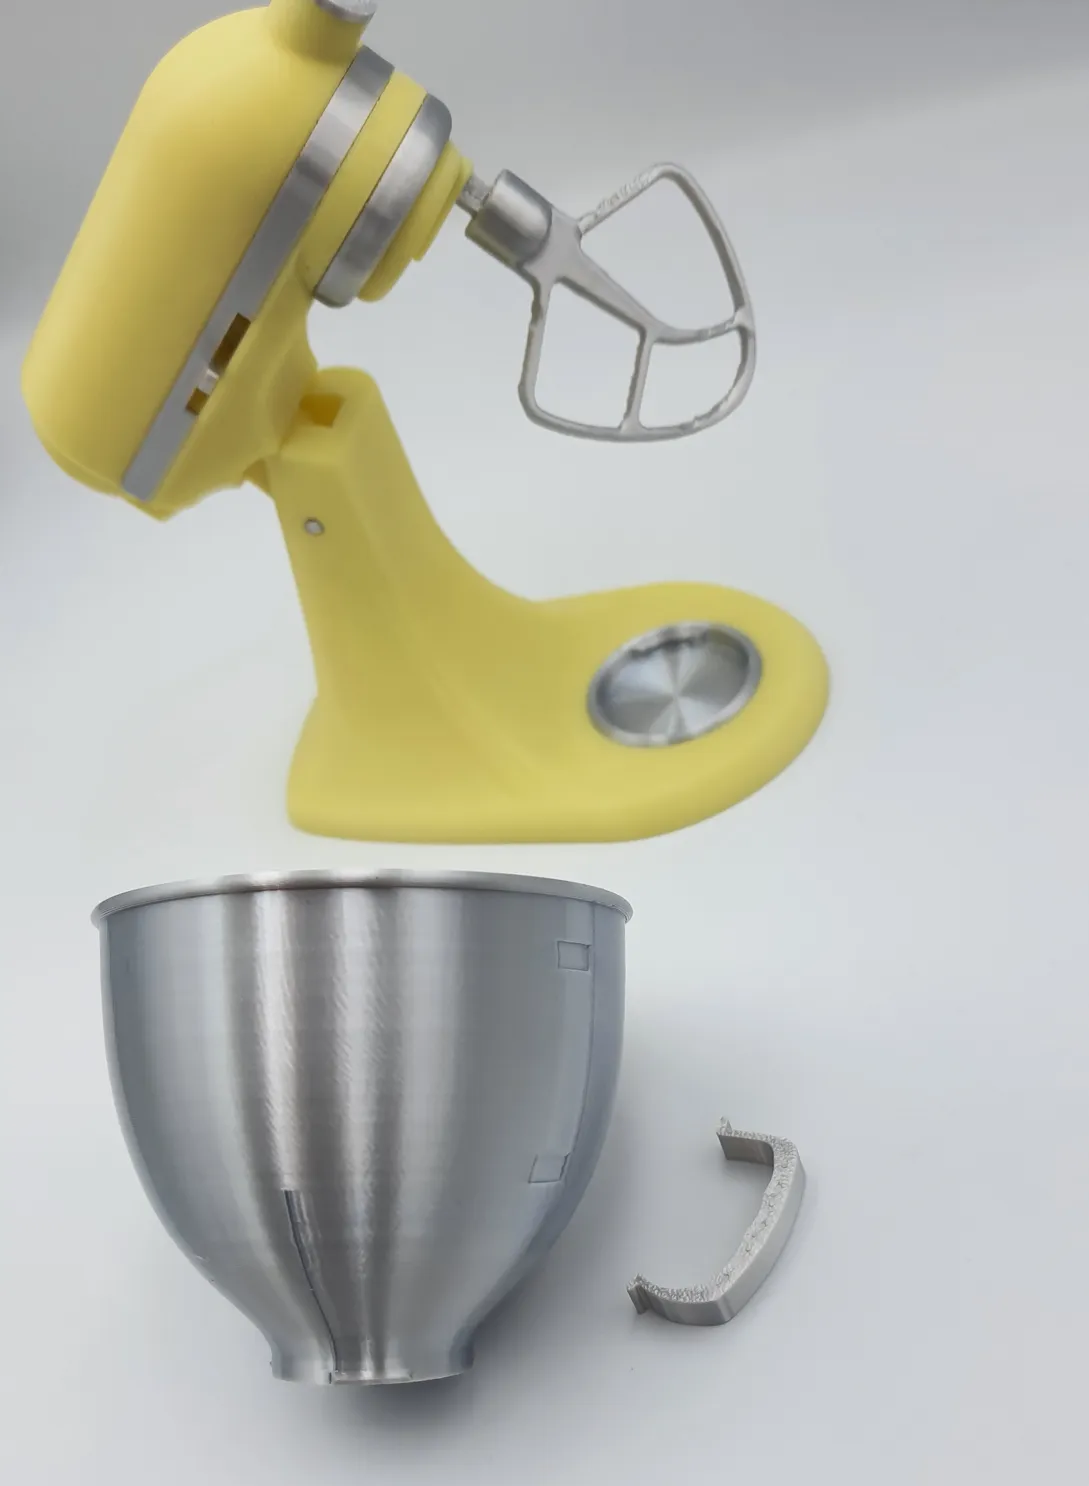
Lastly super glue the handle to the bowl and attach into the inset areas on the model.
Happy printing!
License

You may create derivative works based on this object, provided that all such derivative works are published exclusively on the MakerWorld platform and include proper attribution to the original creator. You may not share, upload, host, distribute, or publish this object—or any derivative work of this object—on any other digital platform, marketplace, or distribution channel. Commercial use of this object and any derivative works is strictly prohibited. This includes, but is not limited to, selling, renting, sublicensing, or using the object in any context in which you receive monetary compensation or other financial benefits.


Comment & Rating (372)