
Forest Marble Run - Swinging Bridge & 360˚ Detail

Print Profile(3)


Bill of Materials



Description

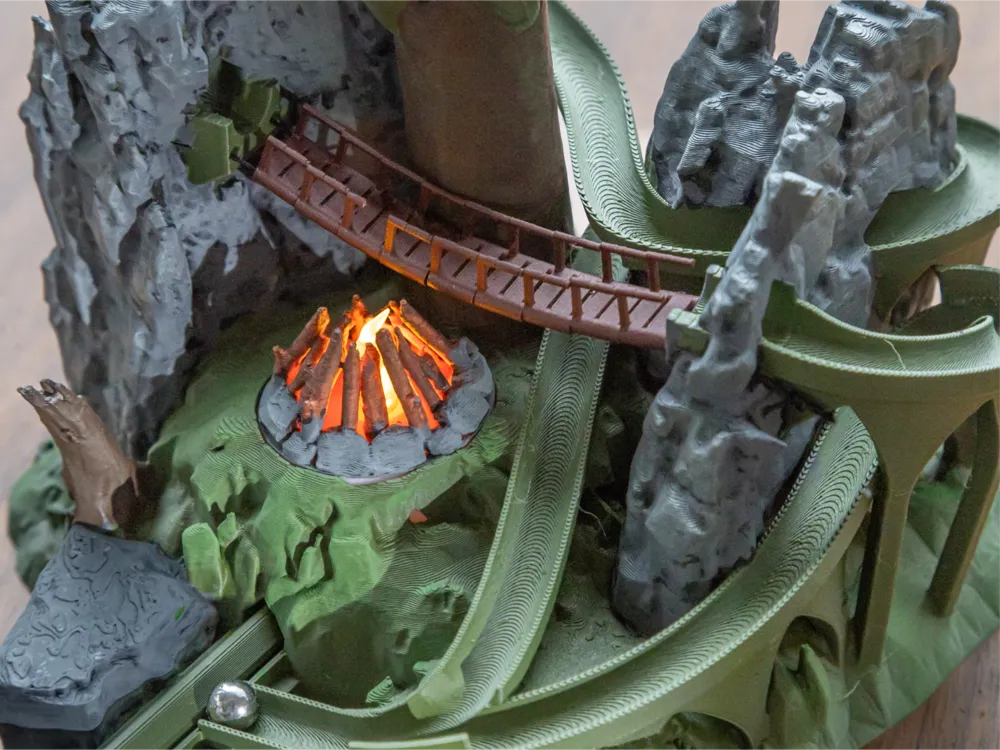
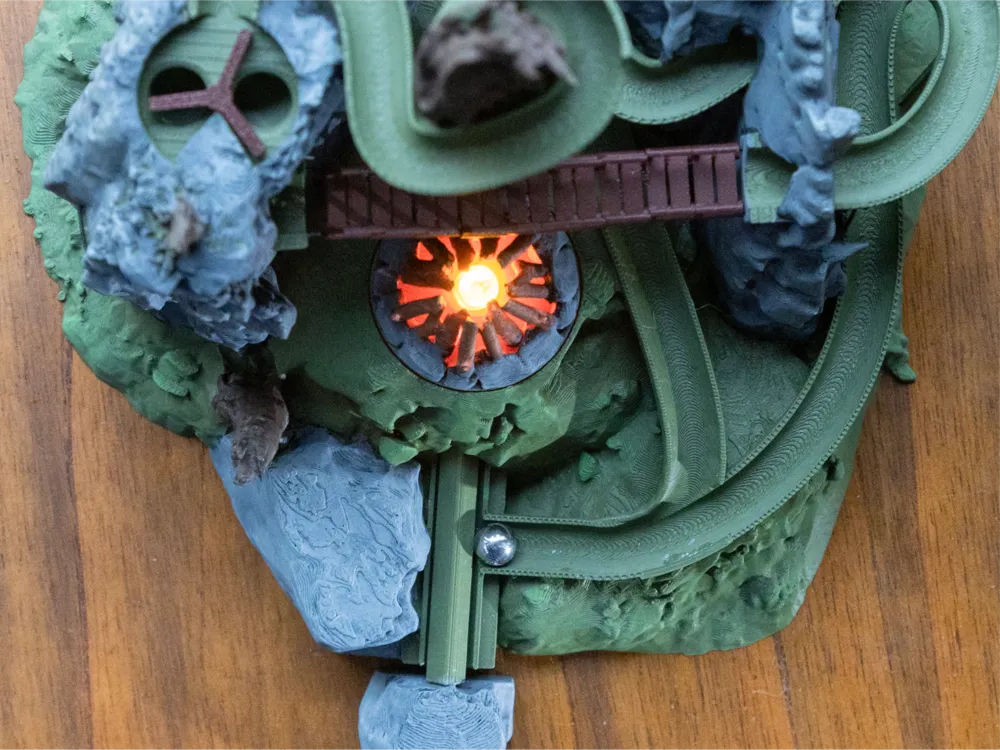
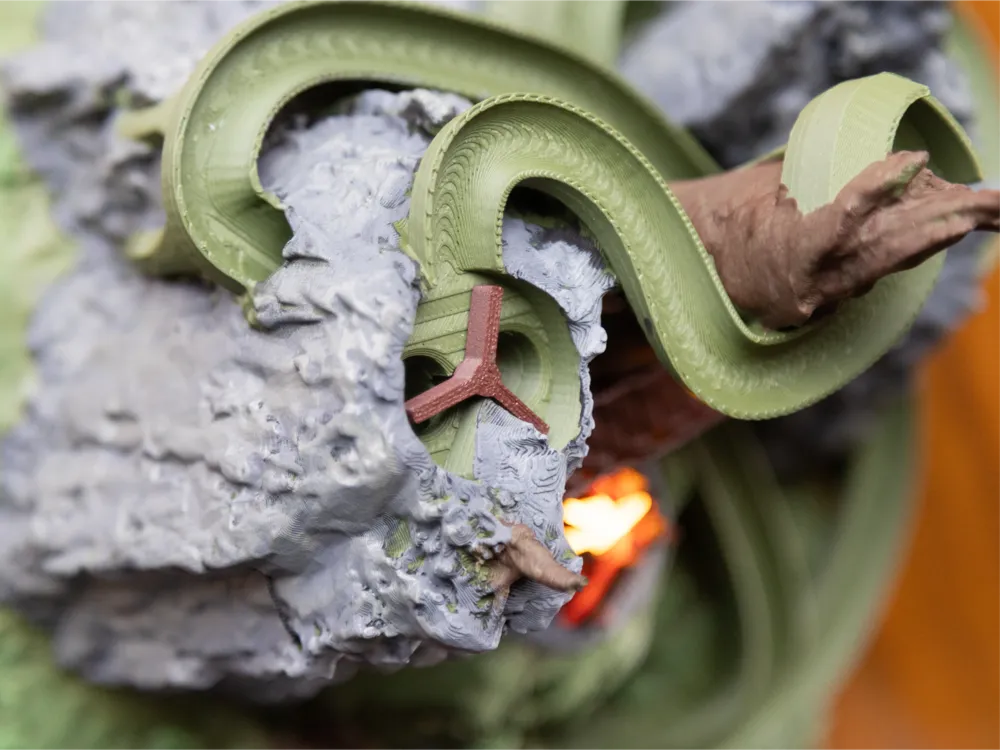
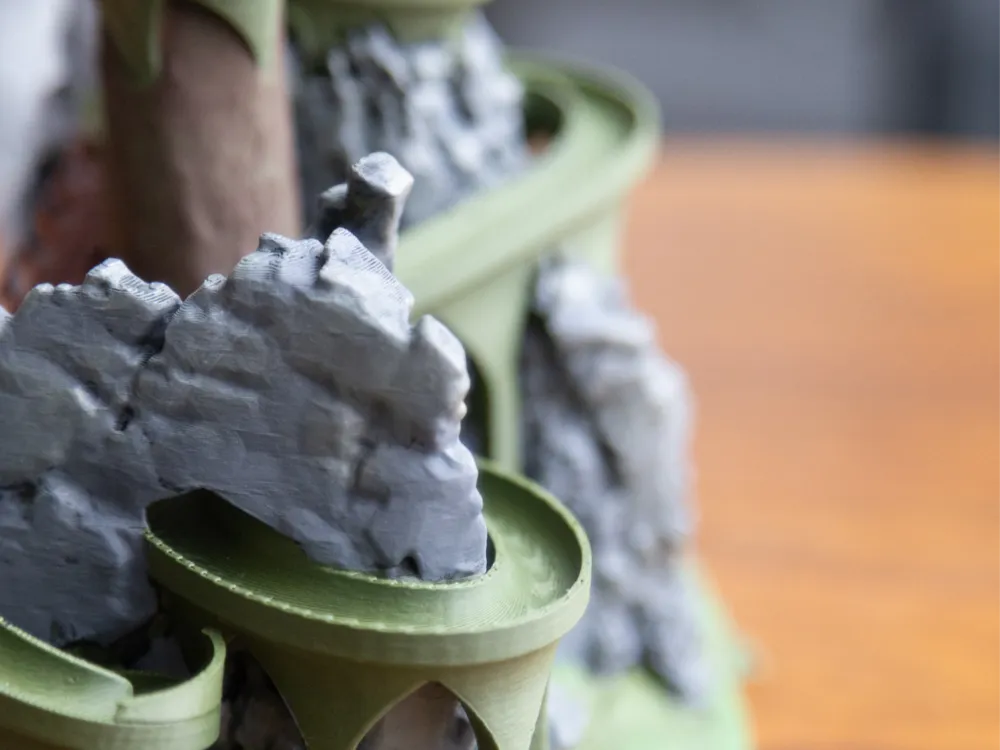
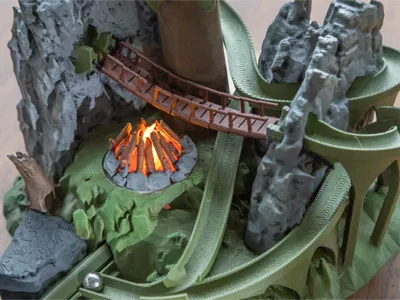
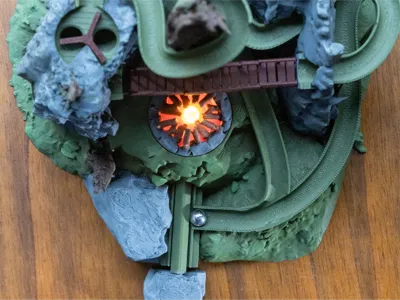
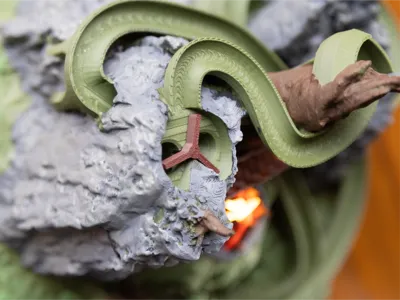
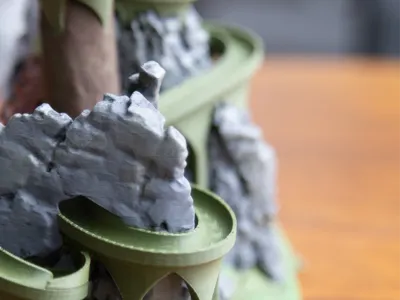
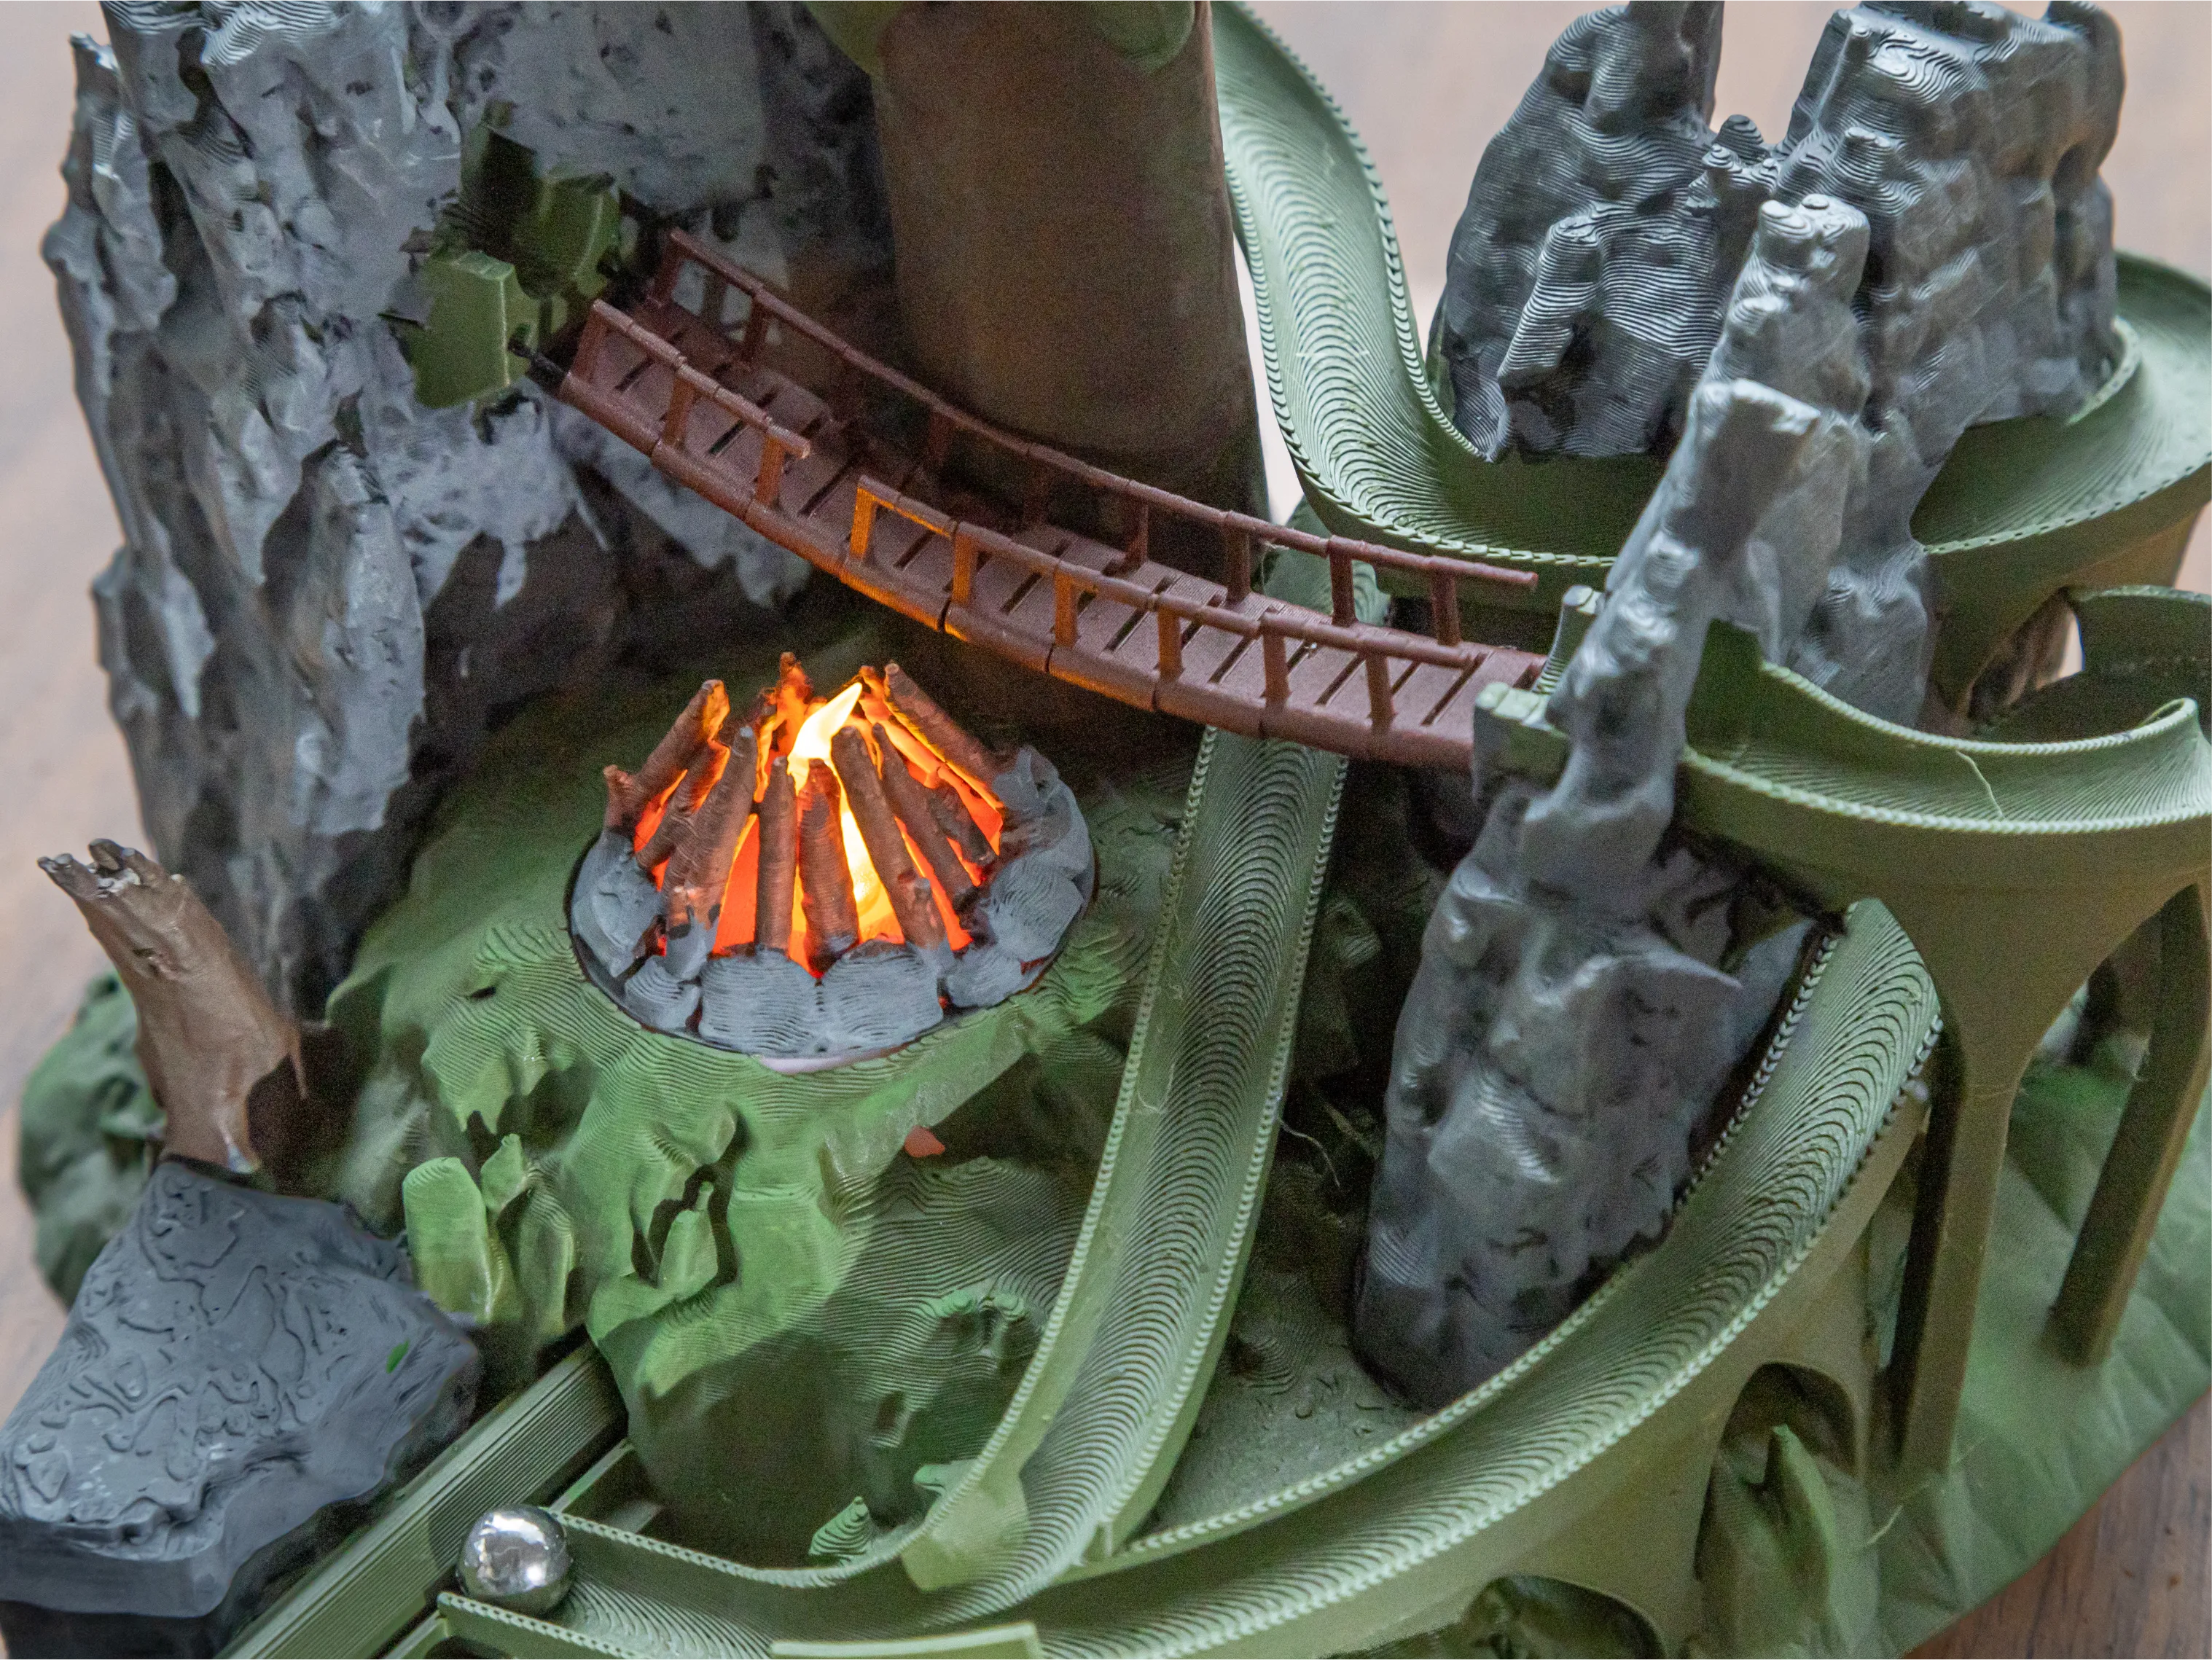
This hand-powered marble run is set around a cozy campfire in a forest with rock bluffs. You can pull back the plunger to launch a ball up through the center of the tree and then onto two short tracks. There's some variability in the rubber bands so if a ball doesn't make it up through the tree, you can just fire again! With a little practice, you can learn how hard the ball should be launched.
| Suitable for display from any angle, the model includes detail on each side. A good view is from slightly above so that you can view most of the tracks at once. |  |
| This type of forest environment is common in the Ozarks. If you love the hiking, mountain biking or the outdoors in general, you should come visit! This photo was from the Ponca, Arkansas area. | 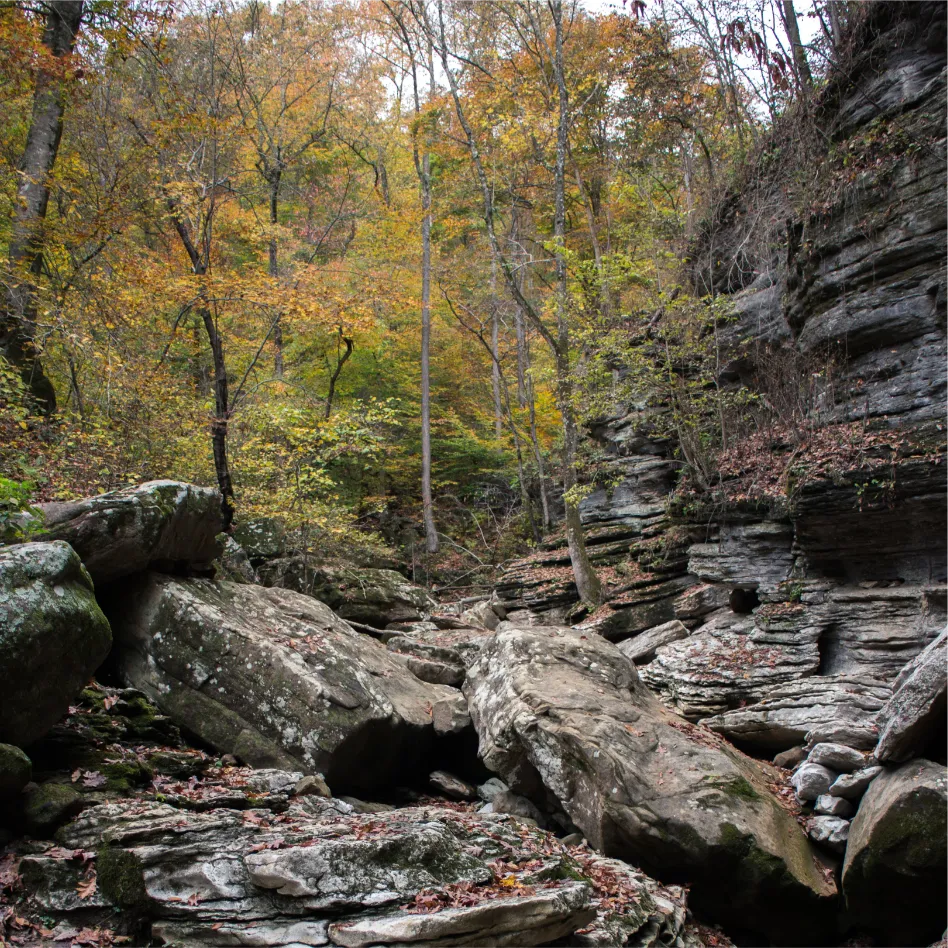 |
This model is compatible with the Maker’s Beginner Kit (B-ZC002). The kit includes various non-printed parts to support multiple designs, so some components may not be necessary for this specific model. This project uses:
|  |
Printed Parts
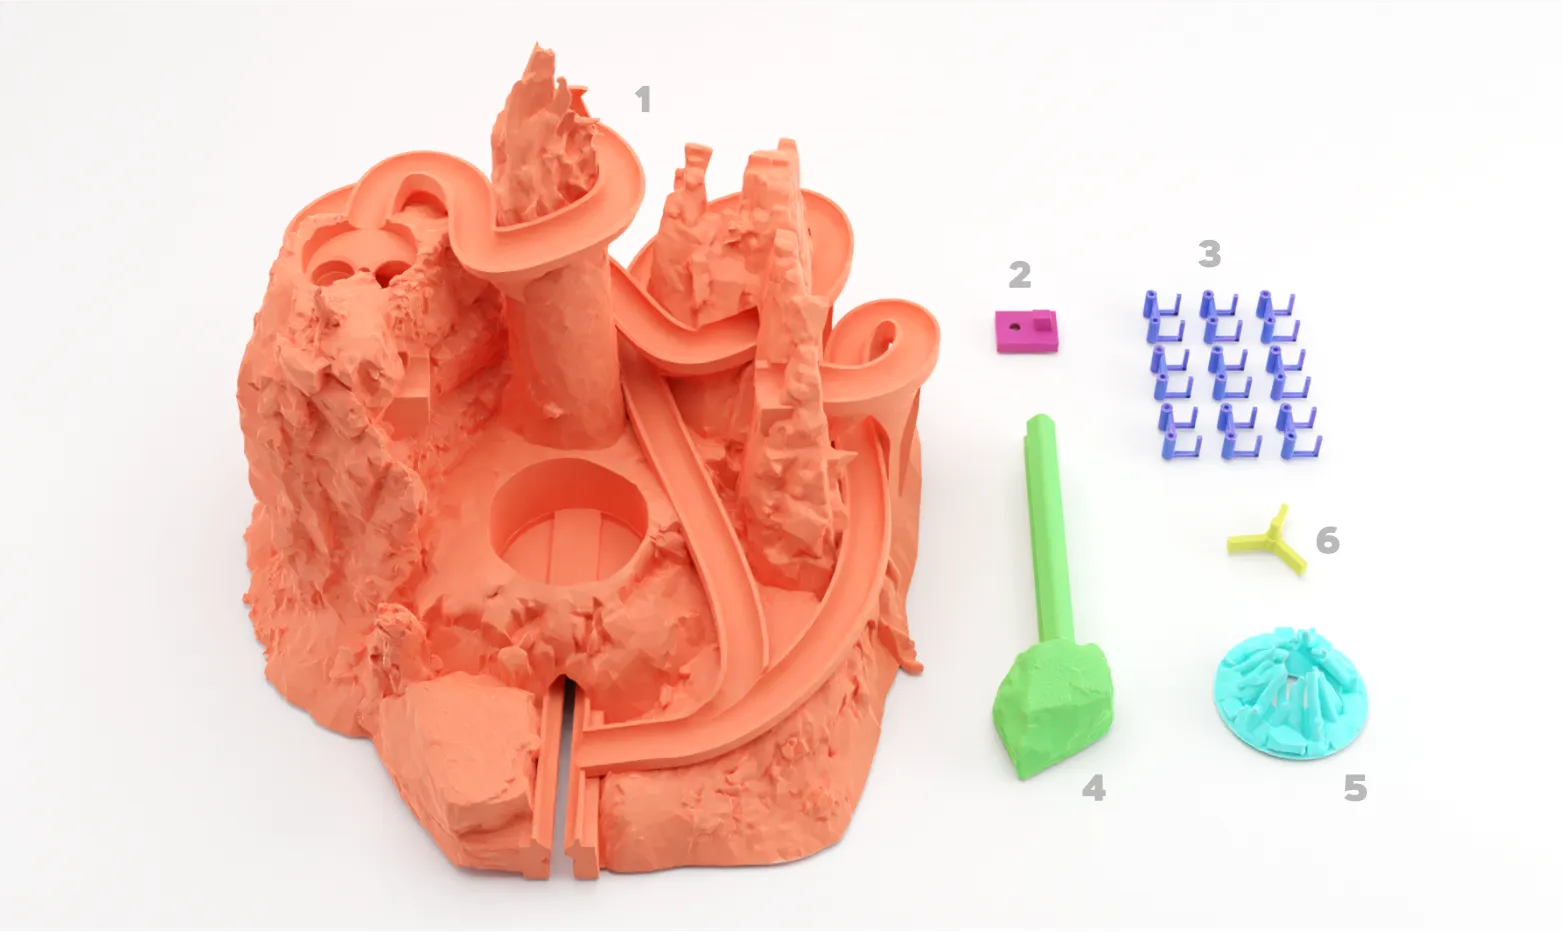
- Printed Parts
- Base
- Band Holder
- Bridge Pieces (9)
- Plunger
- Campfire
- Ball Director
Assembly Instructions
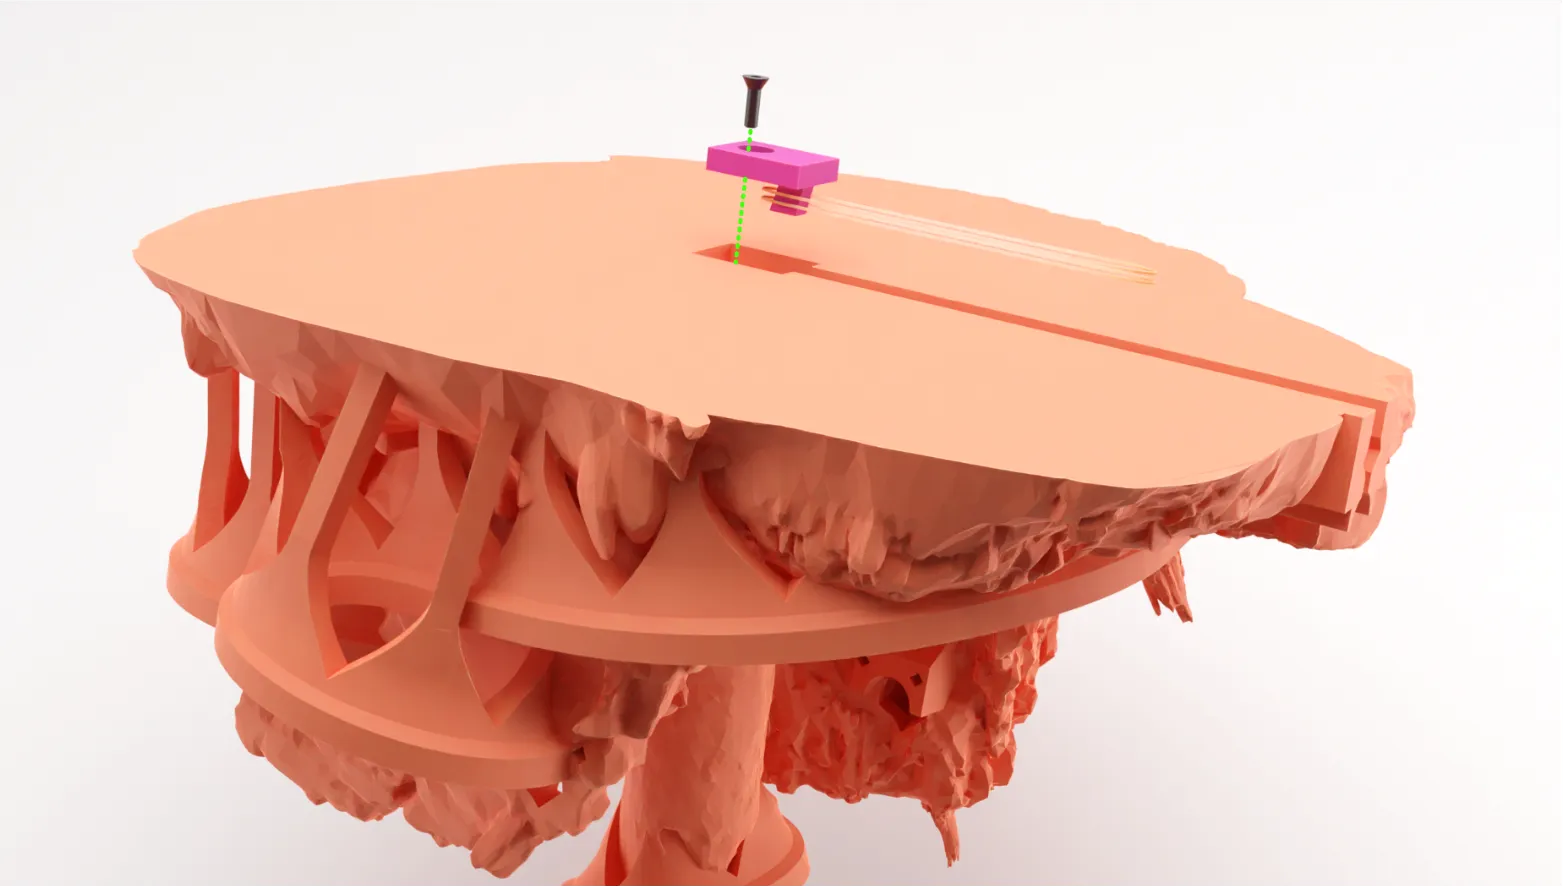
Remove the supports from the base & place one of the 1.4x20mm rubber bands over the hook in the Band Holder and screw it into the base using one 3x8 screw.
|  |
| Place the other end of the rubber bands into the hook in the Plunger. Stretch the plunger back and thread it into the channel in the base. The bottom of the plunger should be close to the bottom of the base. | 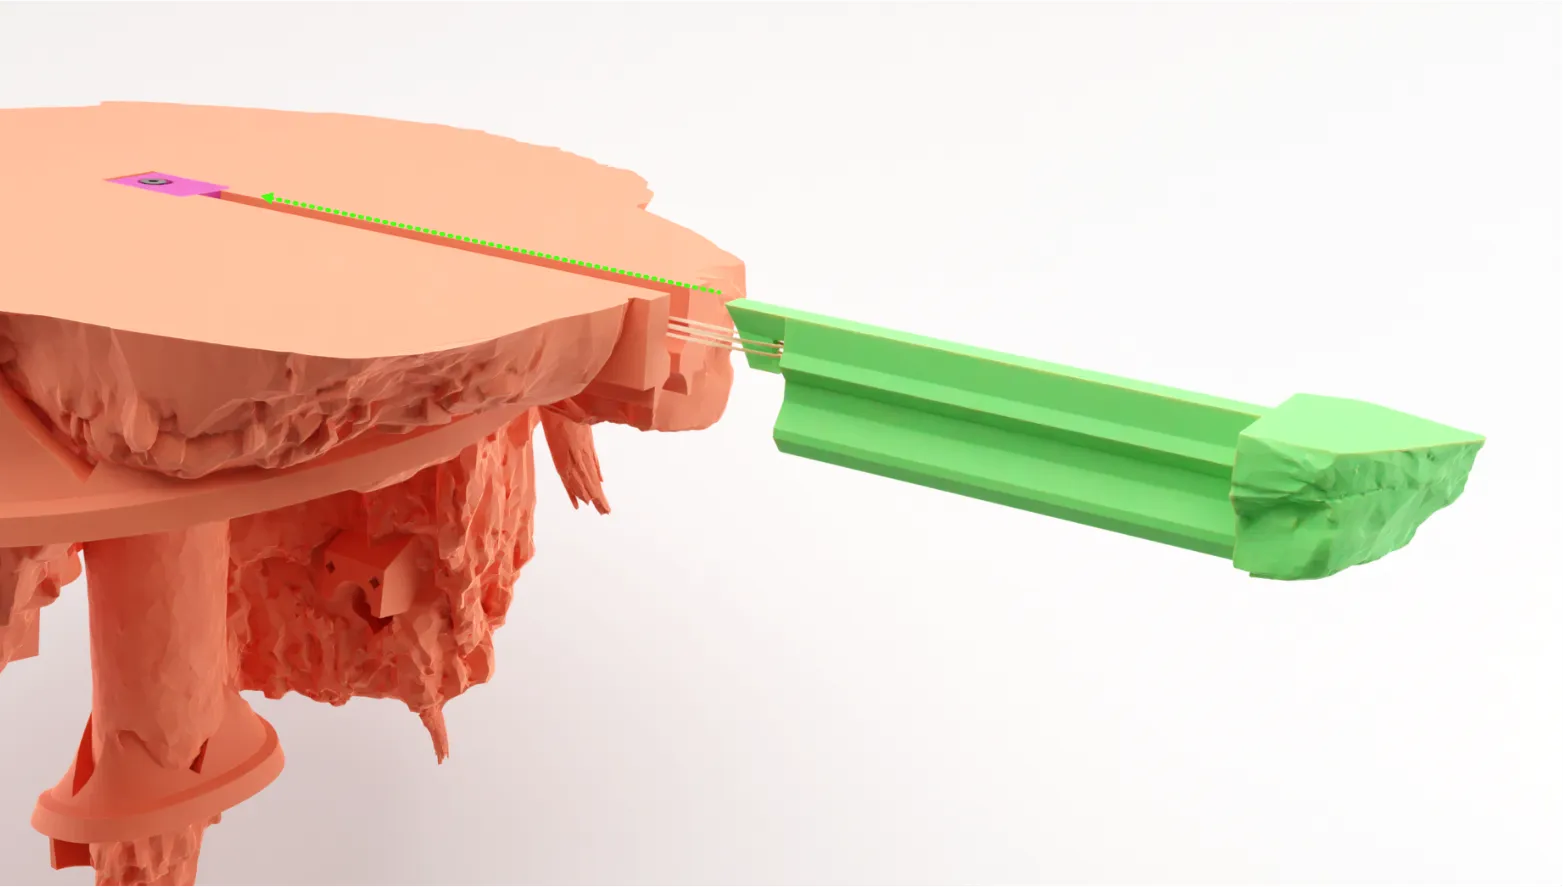 |
| Place the Tealight into the slot. The 'feet' of the tealight should be aligned to the deeper sides of the slot. Place the Campfire piece over the tealight flame. | 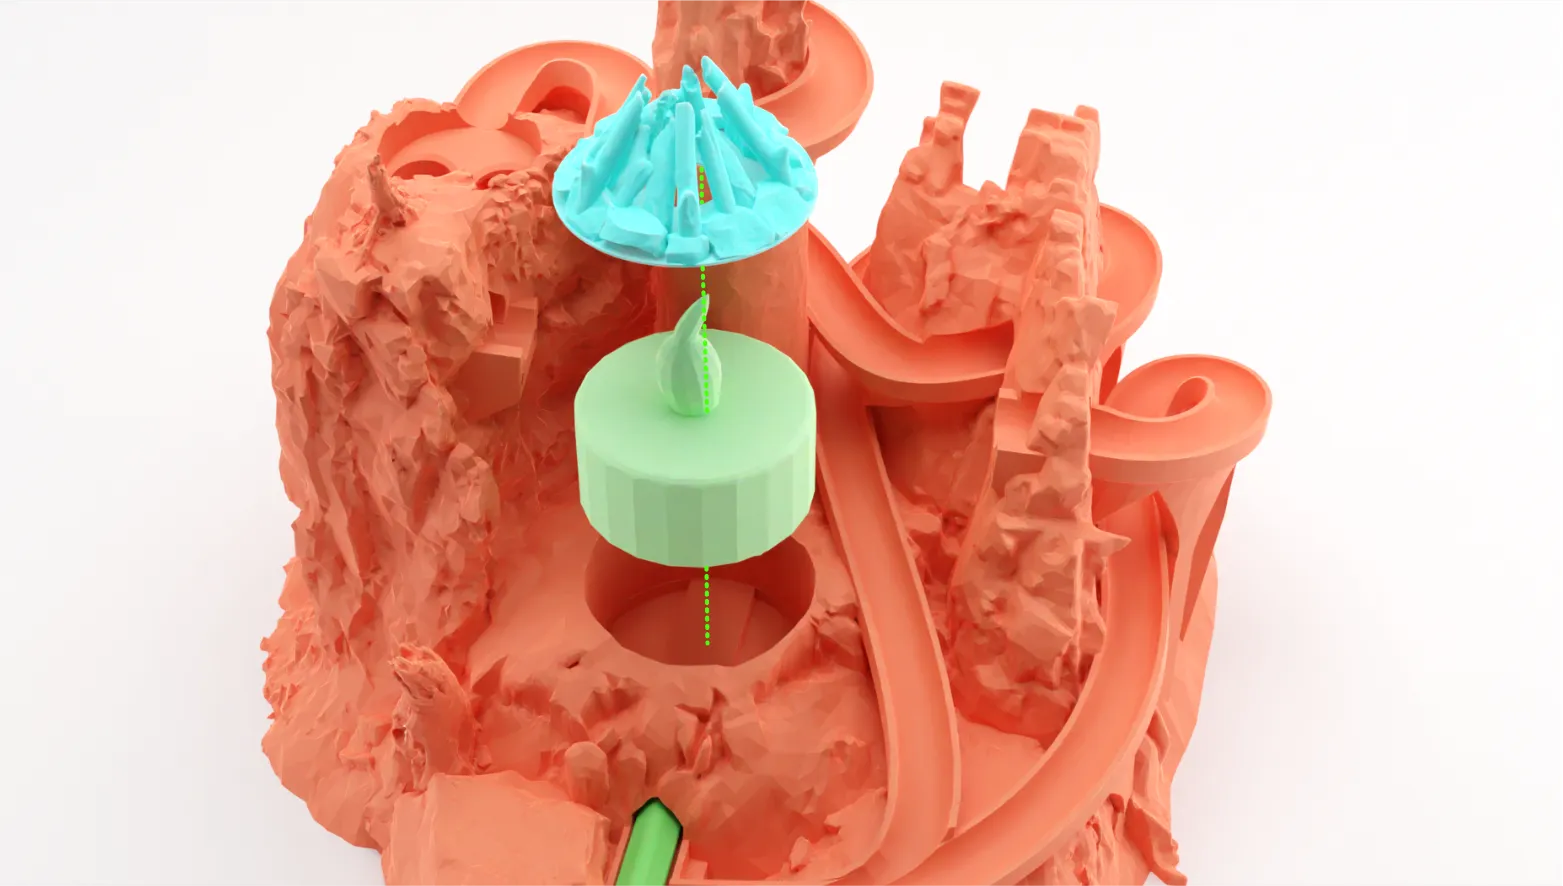 |
Assemble the bridge by threading the Nylon Cord through the sides of the base and each side of the bridge pieces to create a loop.
Sometimes the holes for the cord can get slightly plugged where the contacted the build plate. When this happens, you can use a small screwdriver bit or other too to slightly enlarge the opening. | 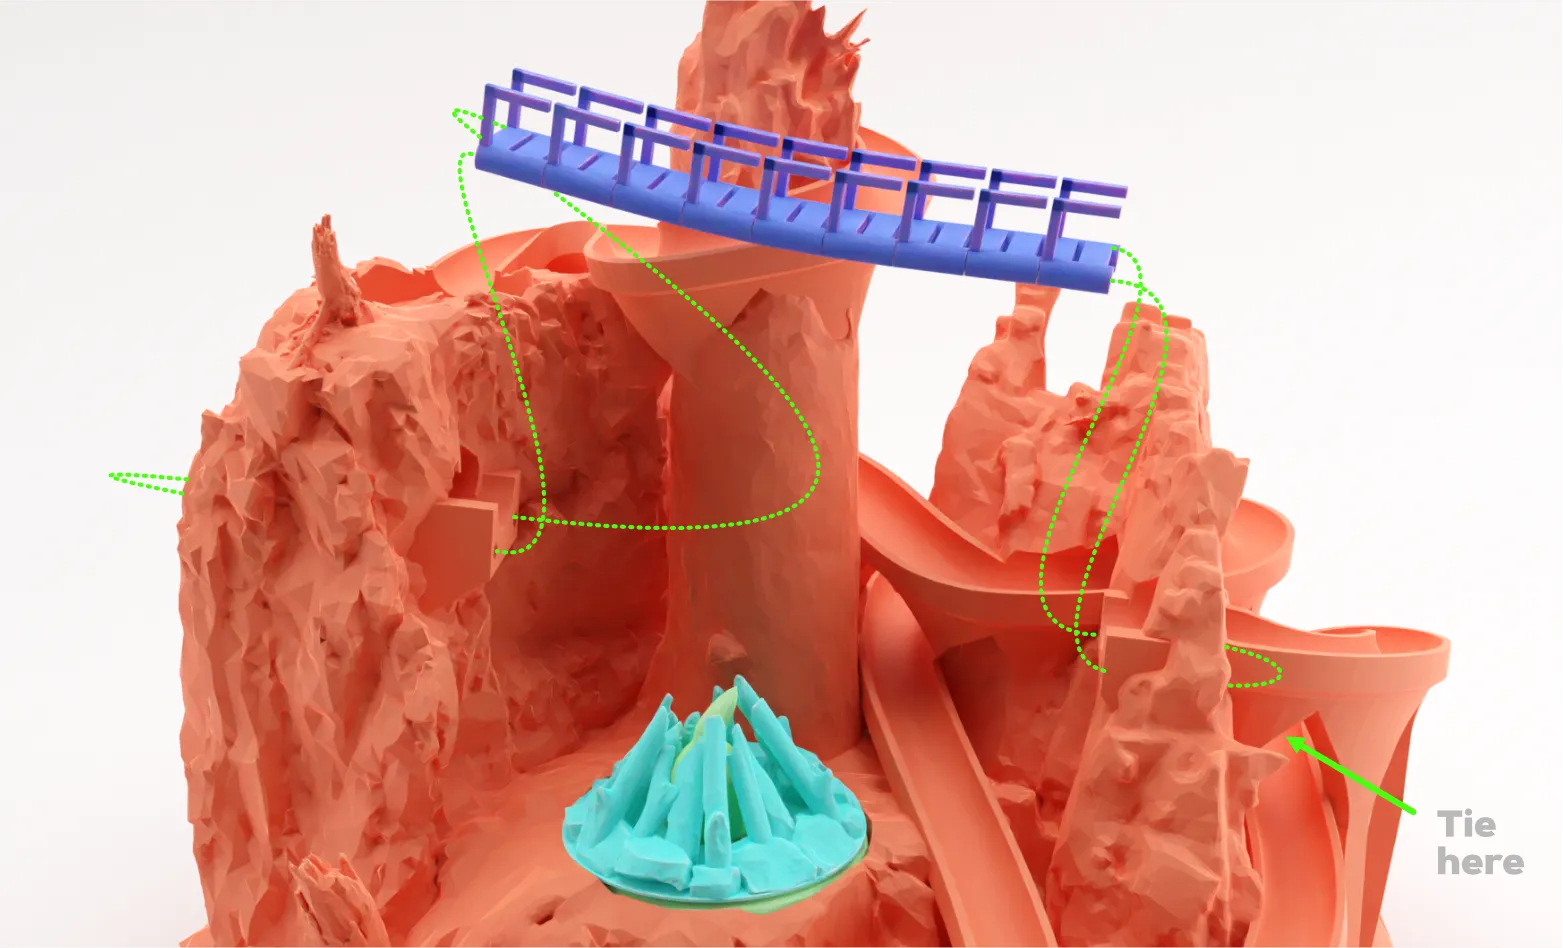 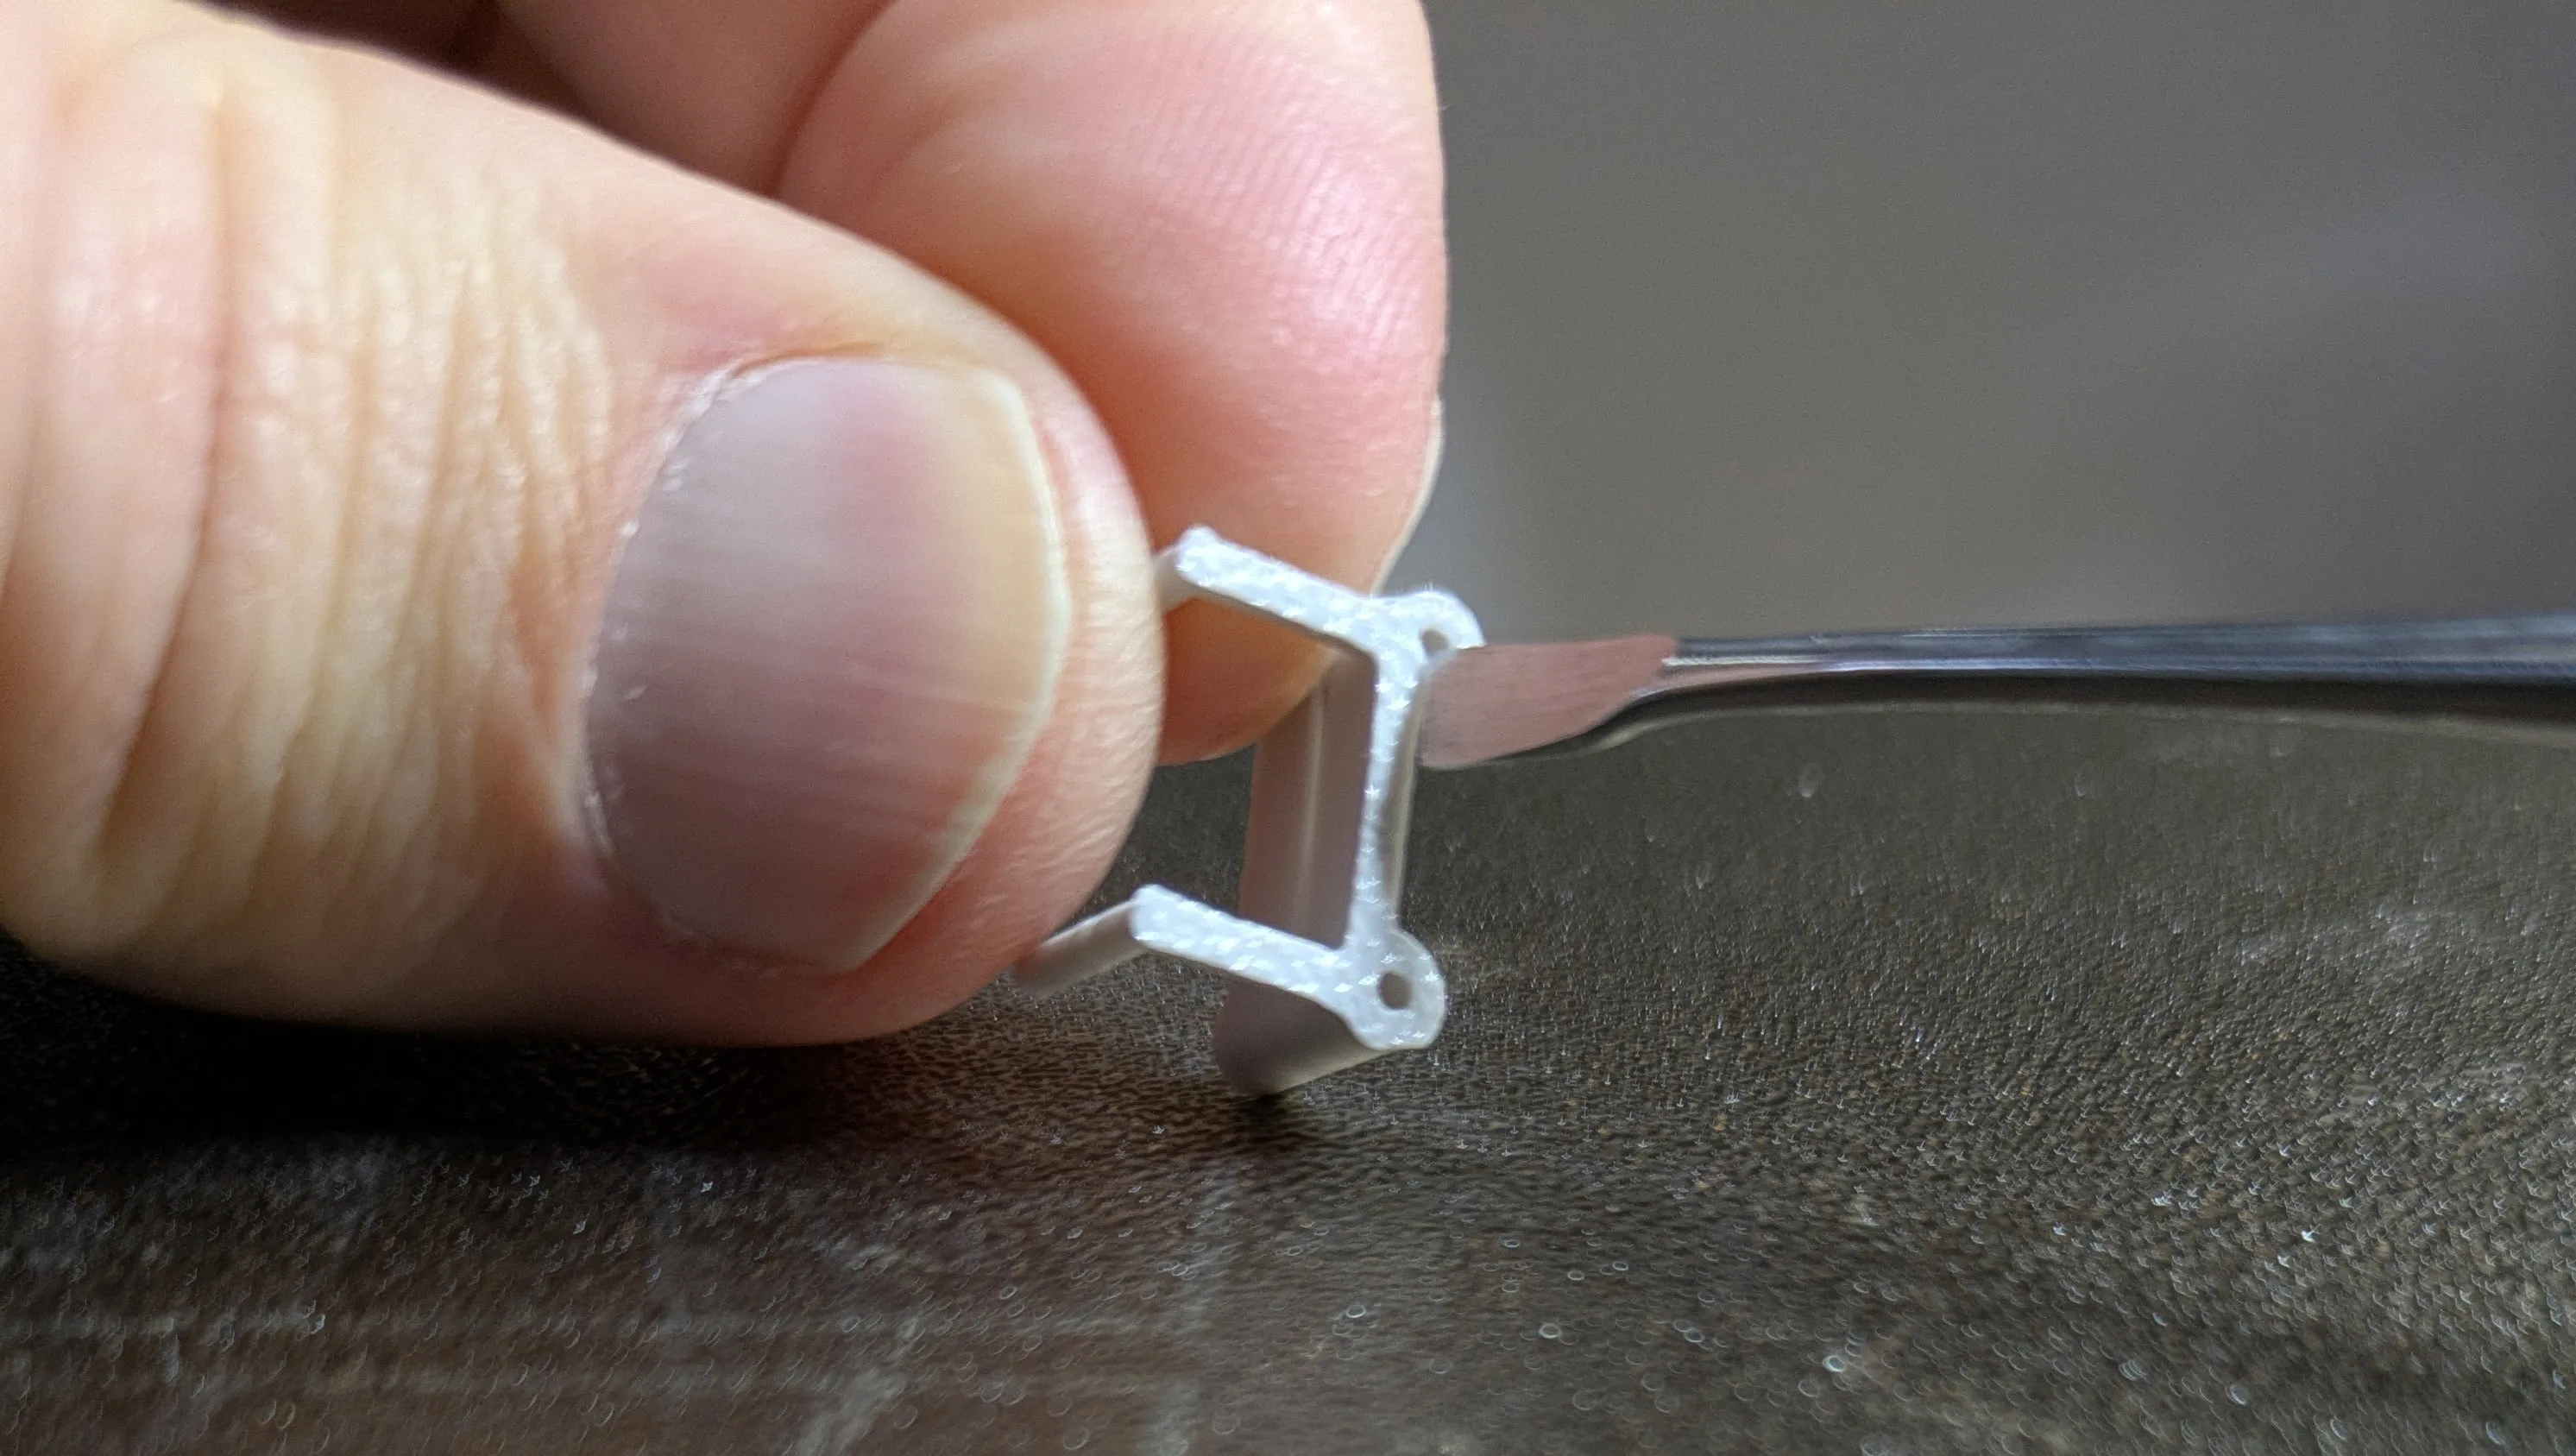 |
| Place the Ball Director into the slot. This should be a loose fit and it is recommended to rotate the piece several times so that it can move smoothly and freely. | 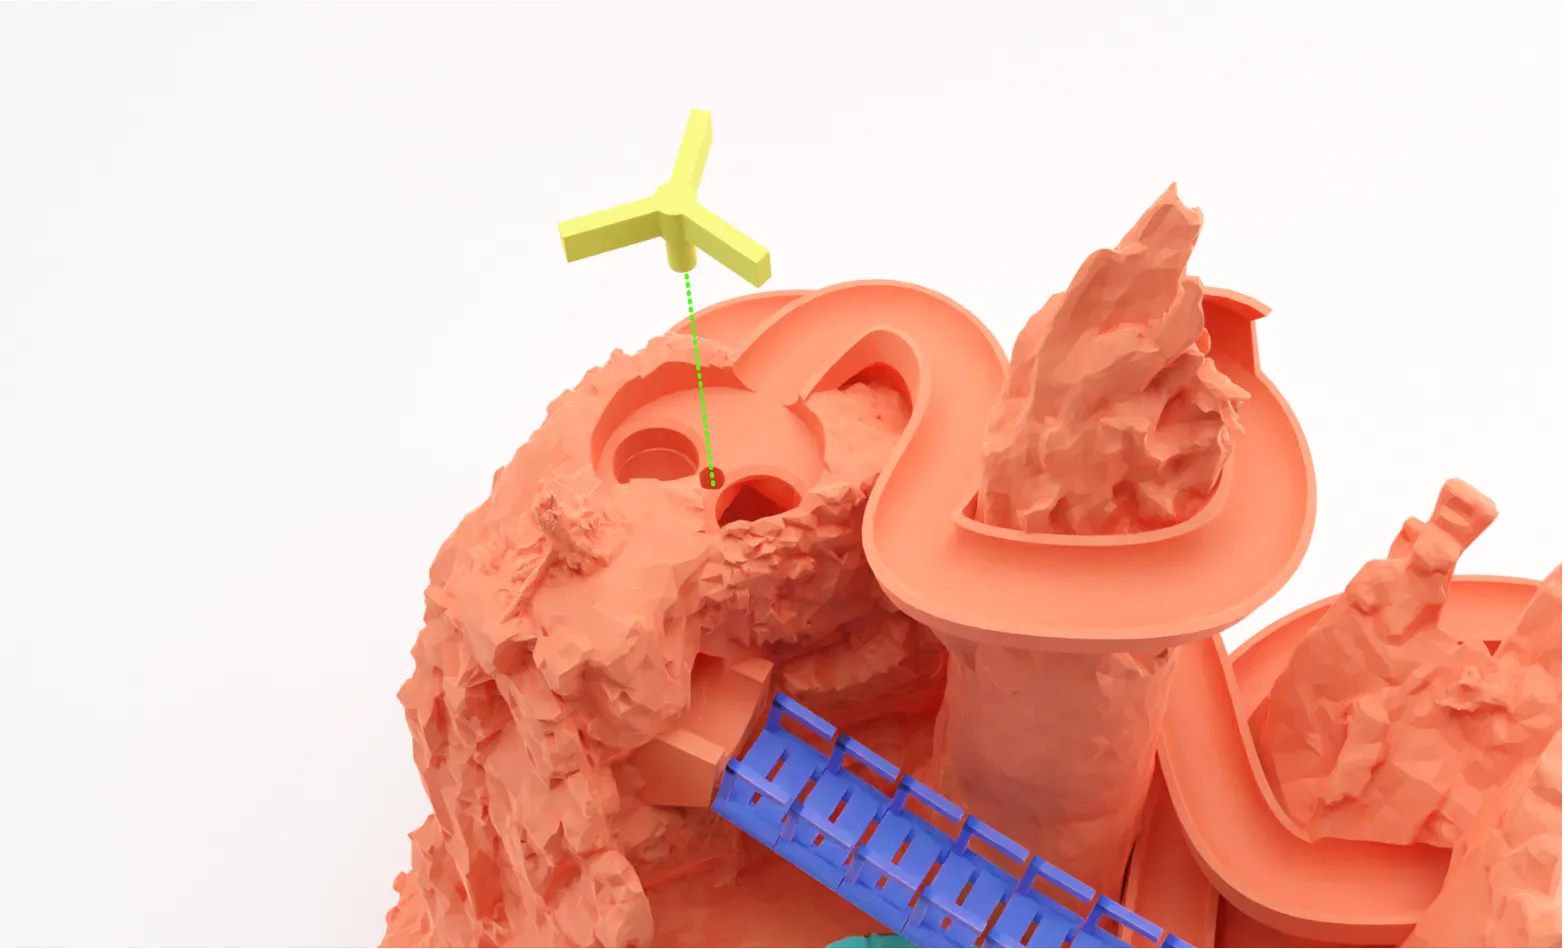 |
| Assembly complete! If needed, you can add an additional rubber band to increase the force applied when firing marbles. | 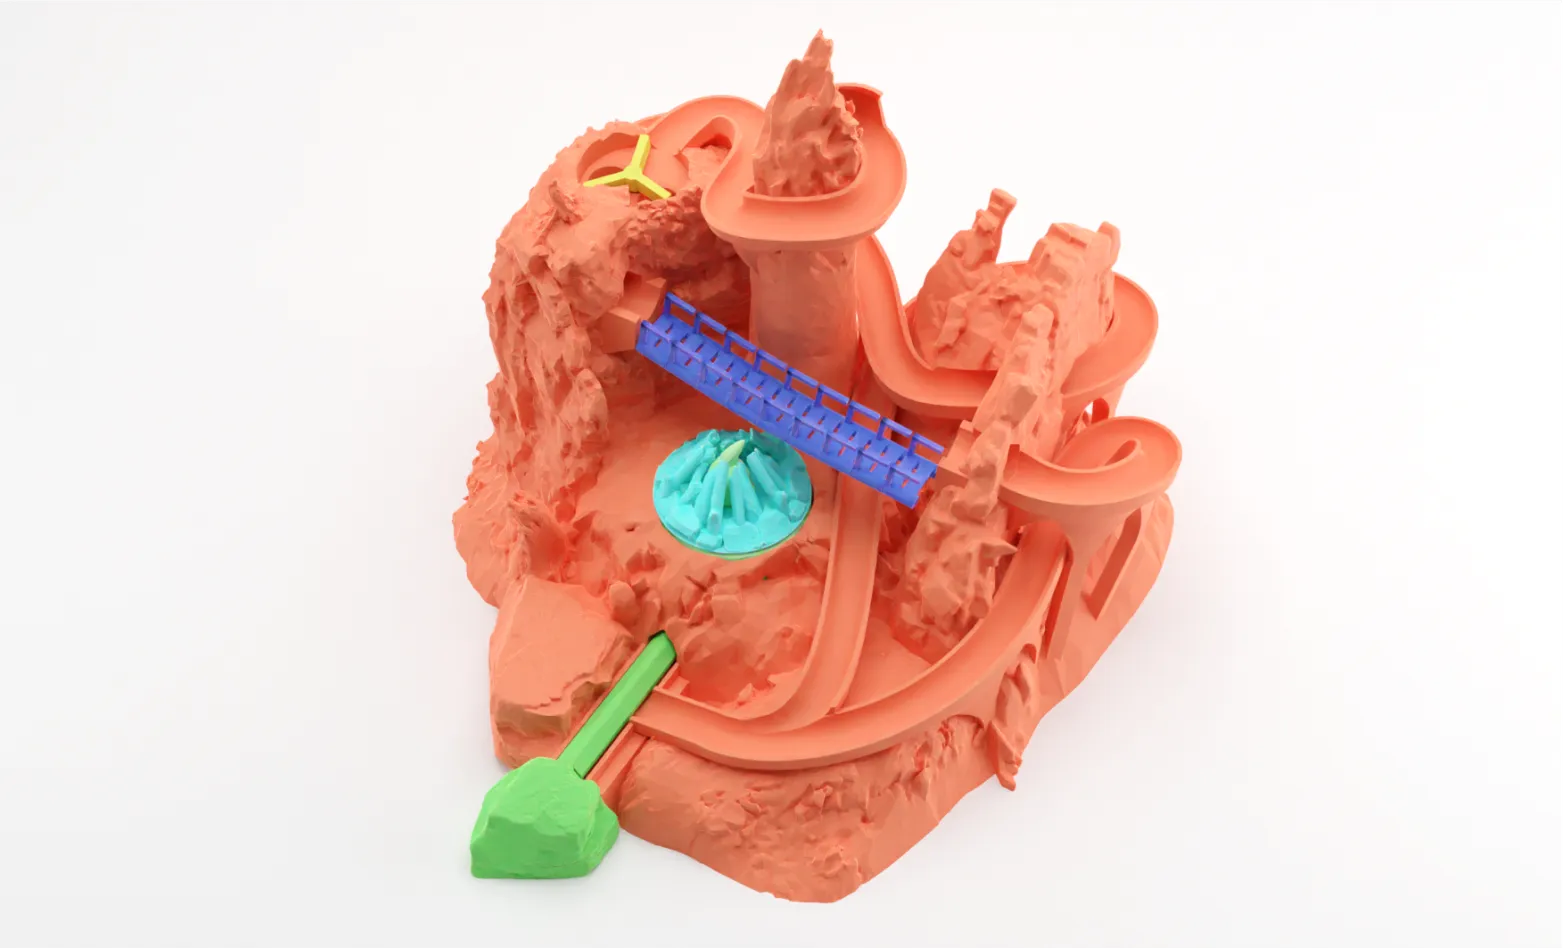 |
Printing Tips
- I have tested this print using a P1S with the filaments listed in the Bill of Materials although this should work with alternate filaments.
- A multi-color option is included but this add significantly to the print time. Also, please check the painting of the model before proceeding to ensure that you are happy with how the color is applied. Because I am still learning how to use these tools, please consider this experimental and check it in Bambu Studio before proceeding!
- Although I used a wood PLA for the bridge pieces and gradient PLA (painted over with acrylic) for the fire, each of these pieces could easily be printed in other colors and then painted.
- Any build plat should be suitable since the portions of the parts facing the build surface aren't too visible.
- The model as photographed was painted using acrylics. Quixel scans were utilized for tree and ground textures.
Updates
- January 9th, 2025: Small tweaks to top and bottom runs to prevent balls from getting stuck or skipping out. Additional information added to instructions.
Boost Me (for free)
If you enjoy my models and would like to support me, please consider sharing a boost!
Membership
Want to sell prints of my models? This Commercial Membership grants you a license to all of my MakerWorld models!
I love creating models to share for free, personal use. If you enjoyed this model, please consider buying me a coffee or joining me on Patreon.
License

You shall not share, sub-license, sell, rent, host, transfer, or distribute in any way the digital or 3D printed versions of this object, nor any other derivative work of this object in its digital or physical format (including - but not limited to - remixes of this object, and hosting on other digital platforms). The objects may not be used without permission in any way whatsoever in which you charge money, or collect fees.


Comment & Rating (124)