
Print Profile(2)


Description
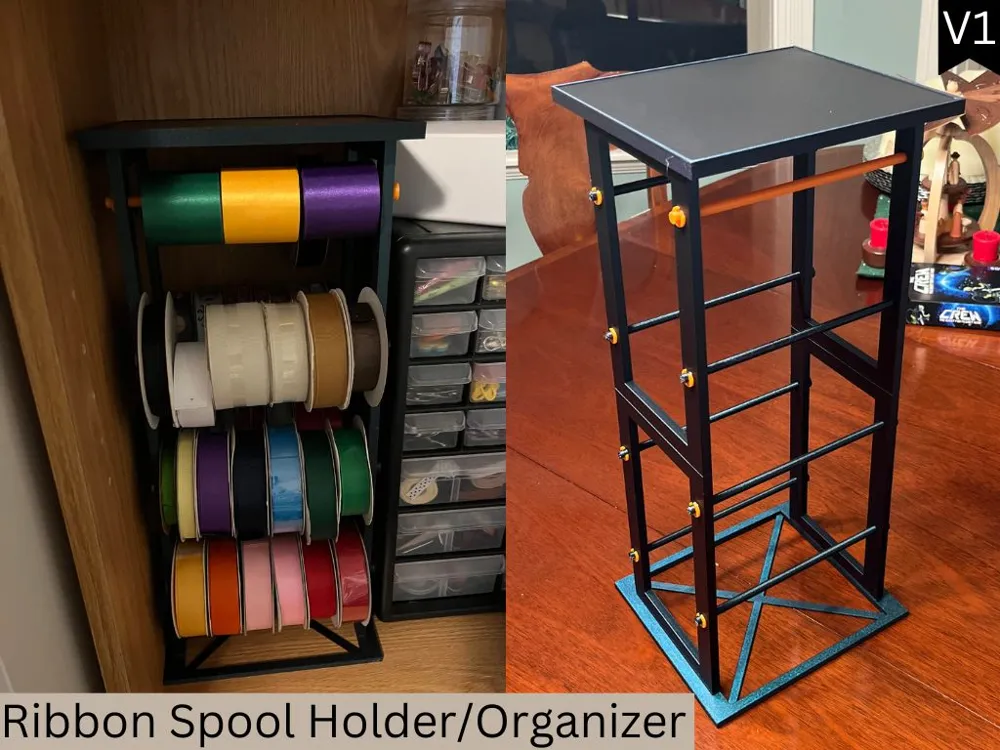
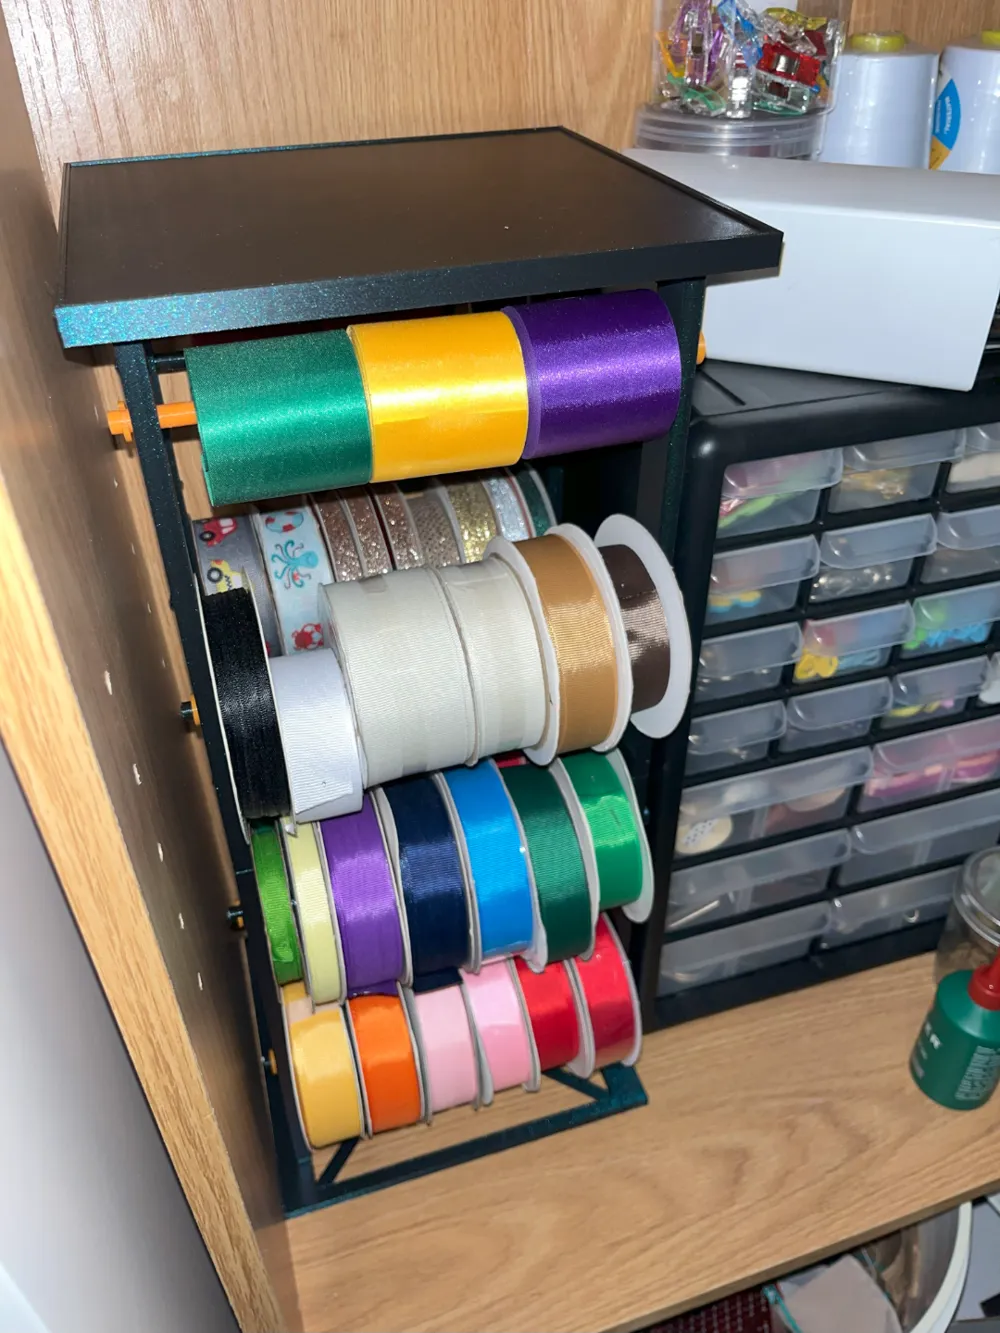
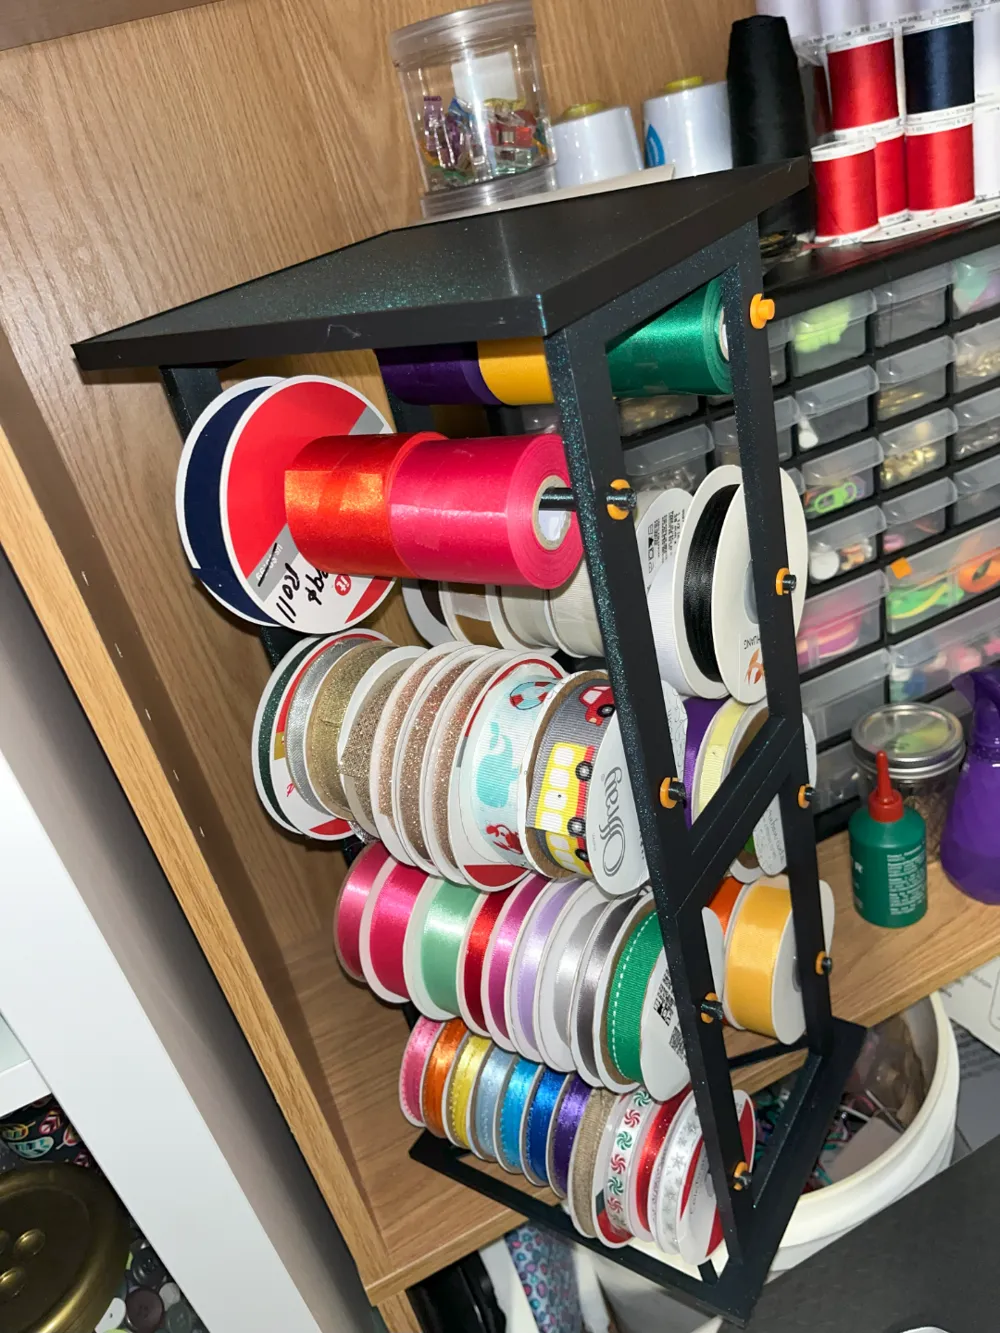
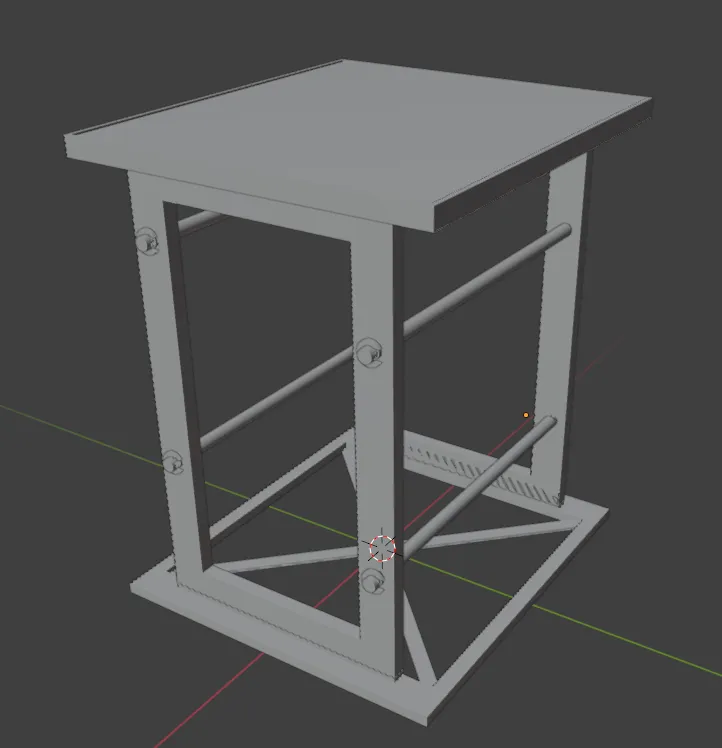
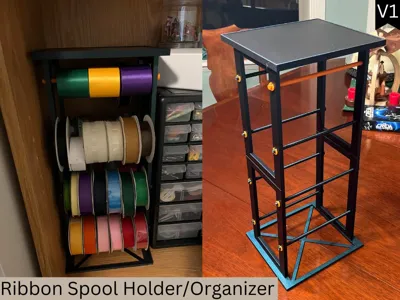
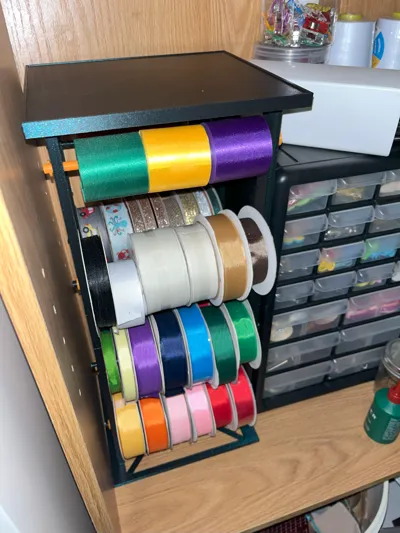
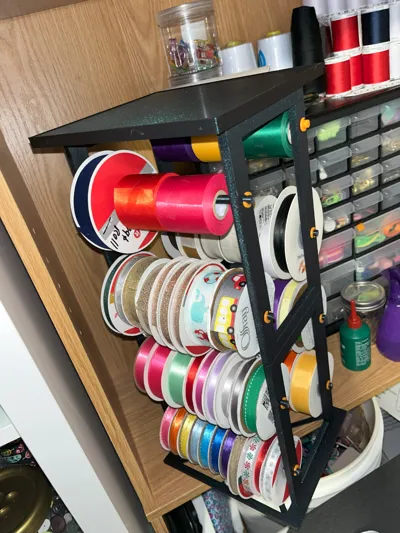
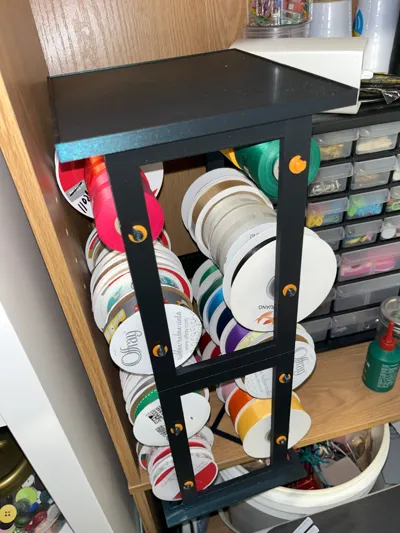
This print is designed to hold spools of ribbon so they can be easily accessed, while also staying organized. This print could also work for organizing wire, solder, or anything else found on a spool. The top has a shelf with a lip so you can further maximize your usage of space. You can even take the organizer off a shelf and use it to dispense materials as you need them, then easily put it all back on a shelf.
Note:
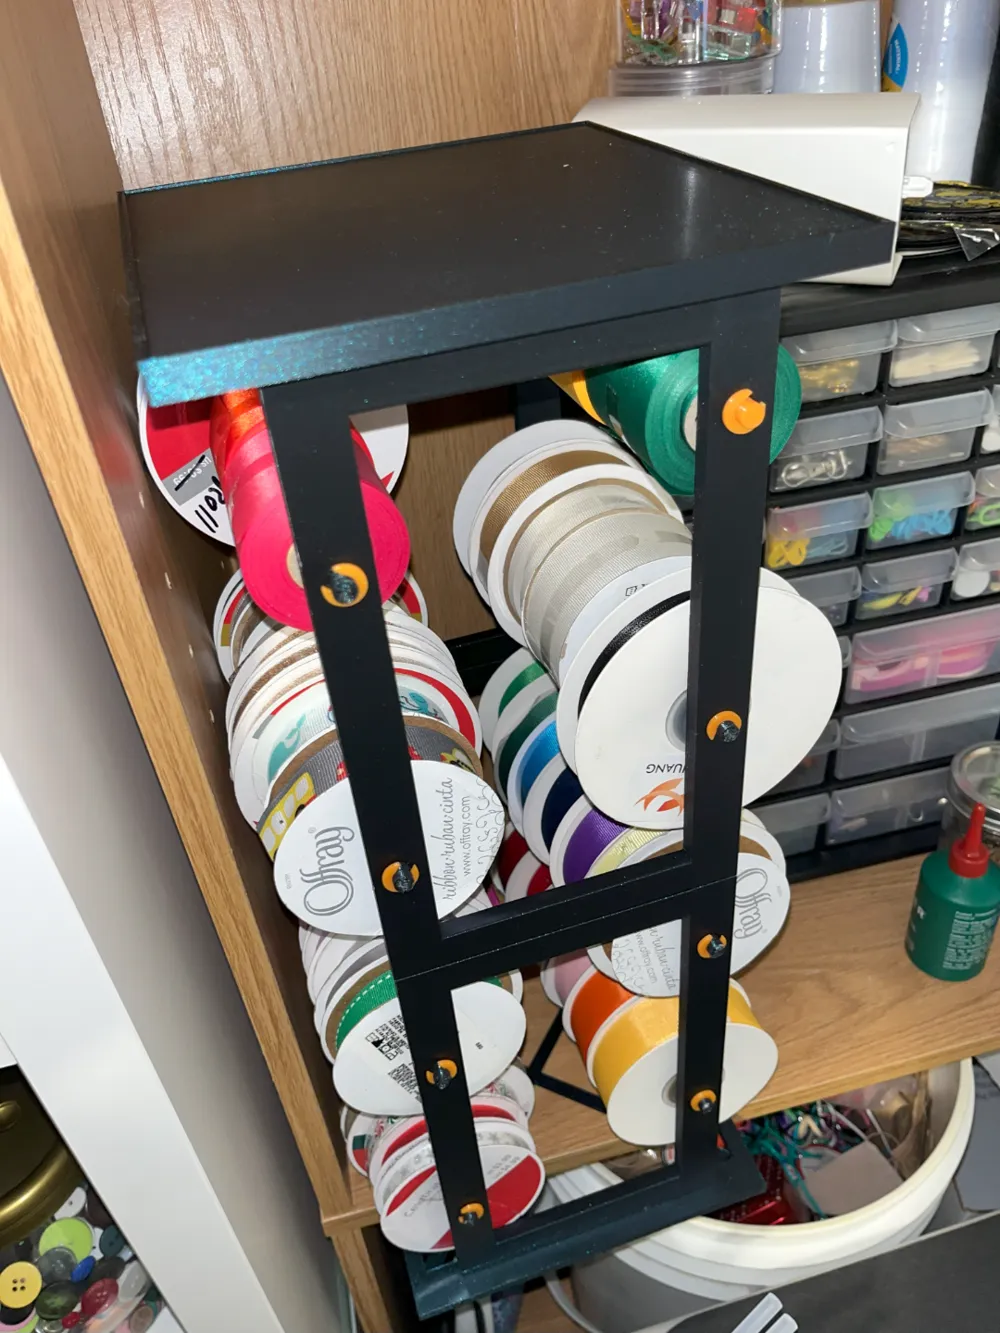
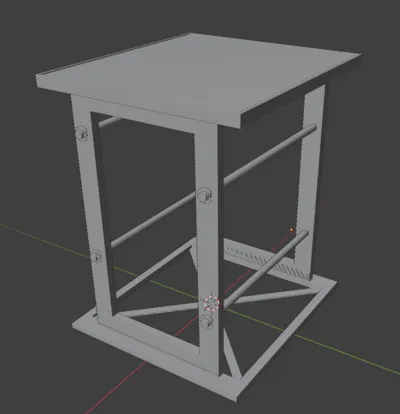
This print can be modified to either be one or two segments high and could possibly even be assembled three segments high, though It will grow more unstable the higher you stack it. Two segments high is still quite stable and gives a TON of storage for ribbon. To make it two high you need only print two copies of plates Three and Four (Named 1-2x Siding, 1-2x Pegs).
The rods sometimes have problems printing. Make sure that you give them a good brim to attach them to the build plate and slow down the print process so it doesn't mess it up (I have adjusted the settings for this already, so the print profile should already be ready).
The sides were having weird problems with supports and the best way I have found to print them is to lay it on its side. Feel free to experiment though.
Directions:
After printing all the parts, attach the sides to the base. If you want to make it two high then attach the next two sides to the sides already attached to the base, then attach the top. After all the base frame is assembled, you can attach the spools by putting the rod through one of the sides, then put the spools on the rod, and after you have filled it, run the rod through the other side. To attach the clip, simply push it into the groove and it should attach nicely, while still allowing the rod to spin freely.
You have fully assembled your custom ribbon holder! Enjoy!
License



Comment & Rating (22)