Desiccant box: car/fridge/etc. dehumidifier


Print Profile(2)

Description
Please pay attention to printing notes below!
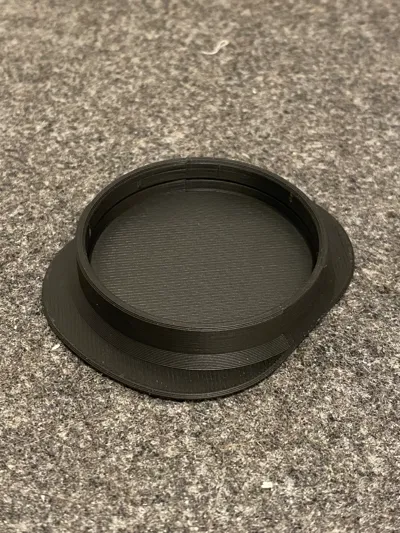
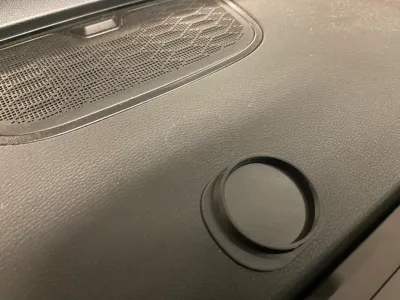
This Desiccant Box is a compact, reusable solution for reducing humidity in enclosed spaces. Ideal for cars, refrigerators, closets, or other small areas, it keeps your surroundings fresh and prevents moisture-related issues like foggy windows, mold, or unpleasant odors.
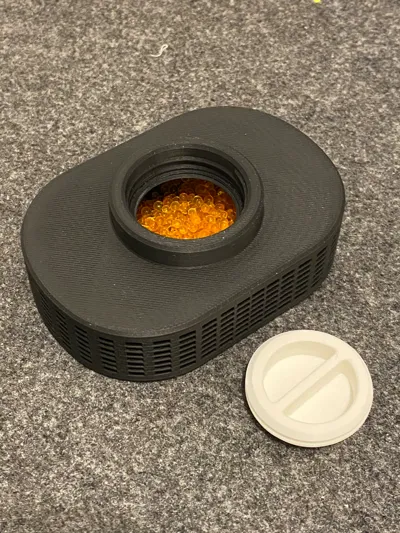
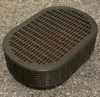
- Efficient Moisture Absorption: Designed to hold desiccant materials (like silica gel), ensuring effective dehumidification.
- Durable and Reusable: Made from sturdy material and designed for multiple uses - simply recharge your desiccant to maintain performance.
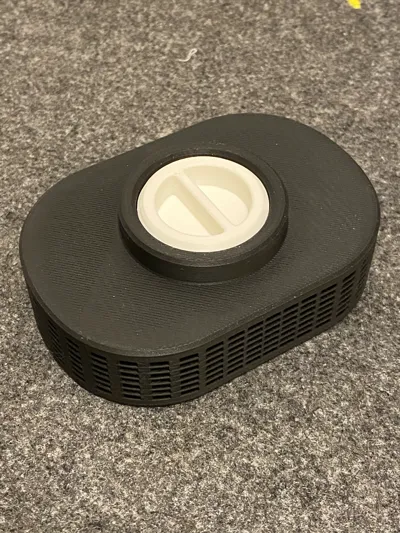
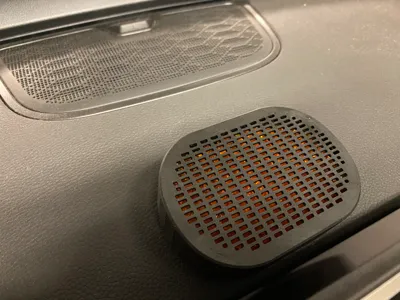
- Versatile Design: Its sleek, ventilated shape allows air to flow freely, maximizing moisture absorption.
- Compact Size: Easy to place anywhere—fits perfectly in tight spaces like glove compartments, shelves, or even drawers.
- Eco-Friendly: Reduce waste by reusing and refreshing your desiccant materials.
Perfect for anyone looking to control humidity in small, enclosed spaces, this desiccant box is an affordable, effective, and stylish solution.
Printing notes.
This model is a bit tricky to print, but no worries! The following steps will guide you through the process.
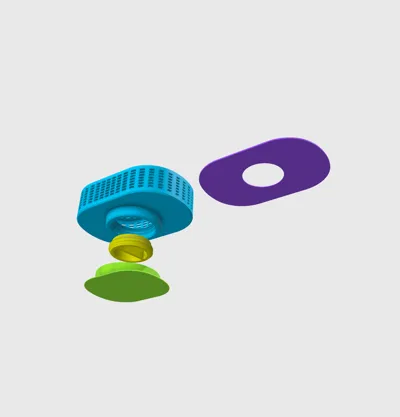
First of all the print profile contains two build plates:
- cap, stand support (required for printing plate 2).
- the box (requires the support printed on plate 1).
The support from plate 1 will be printed upside-down: you'll need to turn it over later.
Before printing the box on Plate 2, check and set (if it does not exist) pause on level 120. Refer to the picture below for details:

When the printer pauses at level 120:
- Take the support you printed on Plate 1.
- Carefully place it into the box on the build plate. Ensure the flat surface of the support is facing up.
- Check that the support is correctly positioned before resuming the print.

Once the support is in place, continue printing the box.
That’s it! Follow these steps, and your model should print successfully.
Boost Me (for free)
Like it? Support me to create more designs!
License
You shall not share, sub-license, sell, rent, host, transfer, or distribute in any way the digital or 3D printed versions of this object, nor any other derivative work of this object in its digital or physical format (including - but not limited to - remixes of this object, and hosting on other digital platforms). The objects may not be used without permission in any way whatsoever in which you charge money, or collect fees.
Comment & Rating (53)